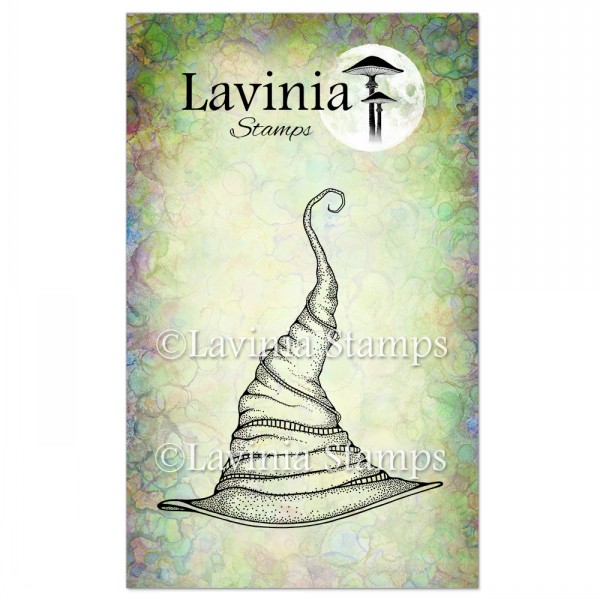
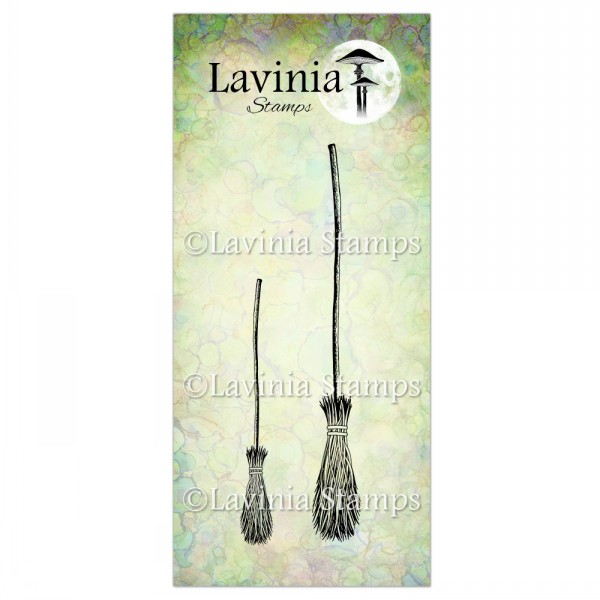
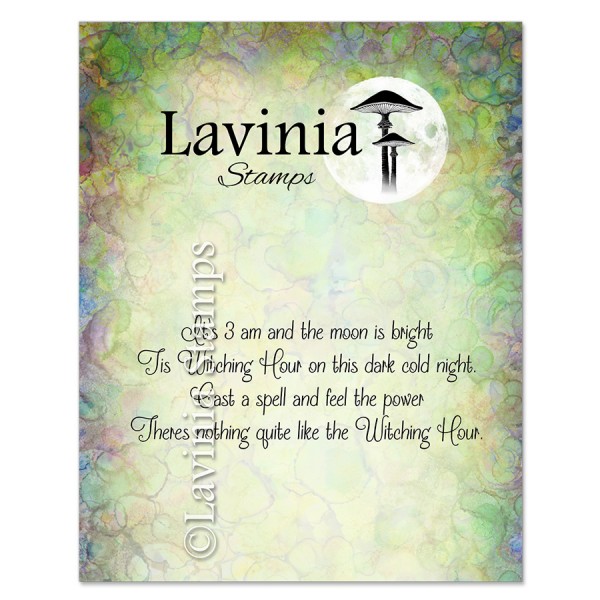
Stunning Landscapes
A step-by-step guide by Tracey Dutton
After drawing around a circular object cut out the circle creating your sun, place it over the card you will be using, for this process, glossy or mat coated card will work the best.Ink up the Brayer and take off excess on a separate sheet to avoid streaking. With a one way movement toward yourself flick the roller across the page over and over. The quicker you go, the better the ink will blend.
Inking up just part of the brayer this time, using a different colour, go back over your circular template, in the same position, creating a subtle change from red to yellow
Take the template off your card and to reveal the perfect sun
Take the roller over the edge of the of the card squeezing out that last bit of ink across the top, to create an atmospheric background.
To create the hills, take a piece of paper and either tear or cut it into shape.
Ink up just part of the Brayer again, this time taking off quite a bit of ink on a separate sheet. Place your torn paper across the card and again using the same technique, Brayer across the page, using a one way movement.
Moving the template slightly further down the page, ink up the Brayer in a slightly different colour, not taking off as much ink either, and repeat the process.
Then, picking two or three other colours, ink up part of the Brayer in one colour and roller straight across the page.
Repeat the process with a different colour
Take the last colour to the bottom of the page.
Now that we have a background, we can think about what stamps we want to use to create our picture.
All stamps are sold individually off our website, or why not come along to the shows listed where you can see demonstrations going on all day.
Peel the stamp off the acetate and apply to the Perspex block. When you have finished stamping, wipe the stamp with a baby wipe, peel off the block and put back on to acetate.’What could be easier? If at any time the stamp loses its stickiness, wash with soap and water and leave to dry naturally.
The black ink I use to stamp my images is Versafine Onyx Black. This is an oil based ink and a true black, drying shiny on a glossy card, it’s a great ink for depicting detail, which works wonderfully with our detailed stamps.
Tilt your Brayer to an angle as shown in the picture, and moving the roller round, Ink up just the very edge of the roller.
Then apply to your card in one movement. This grounds your image and finishes your picture off.
The finished result!