Step by Step by Tina Ashton
Hi Lavinians 🧚♀️ Hope you enjoy today’s tutorial named “Wild Pine”

Step 1
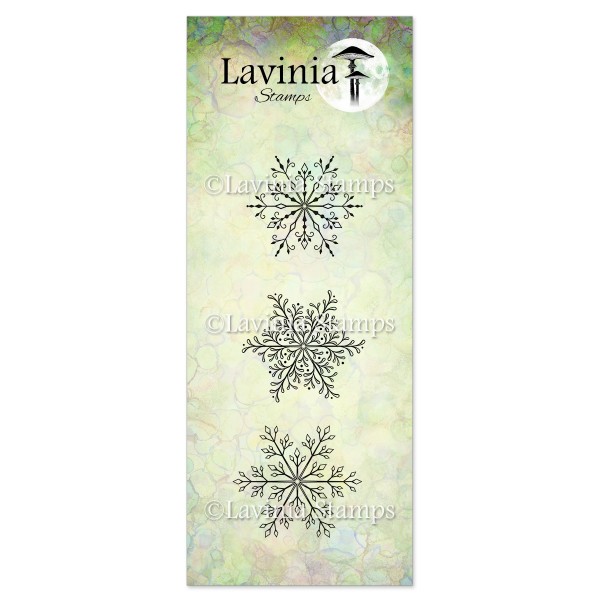
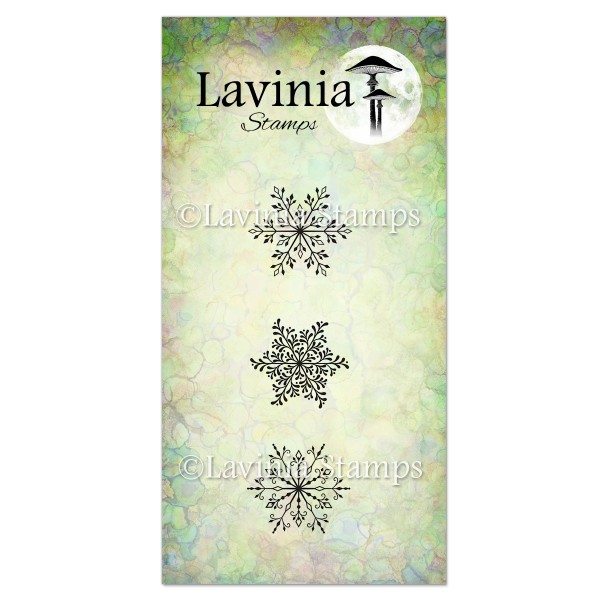
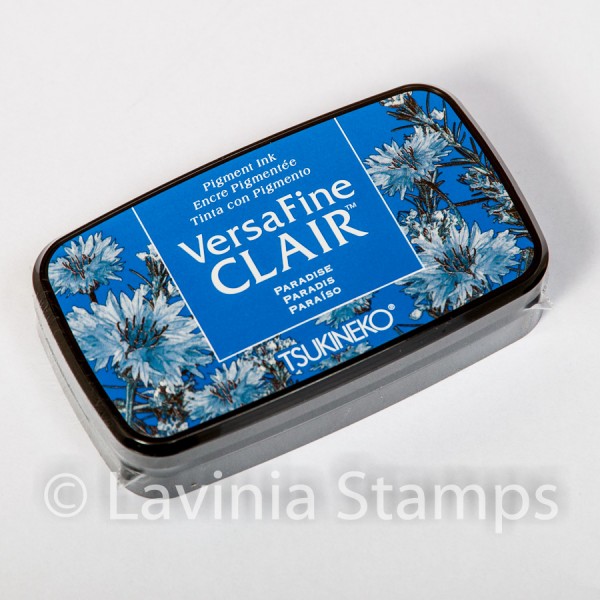
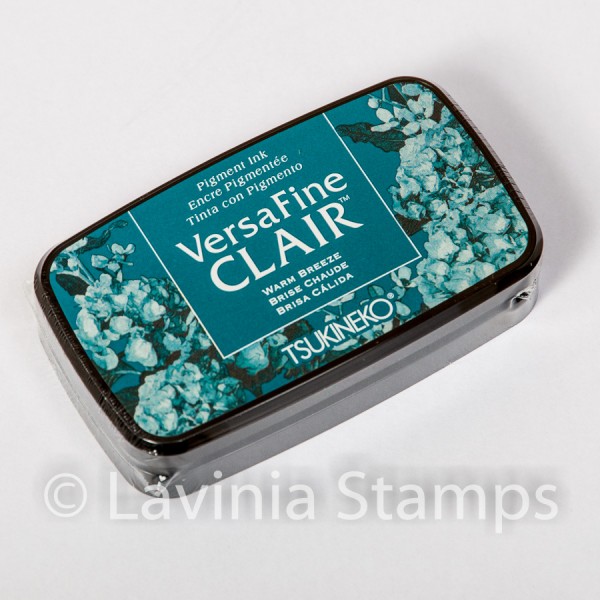
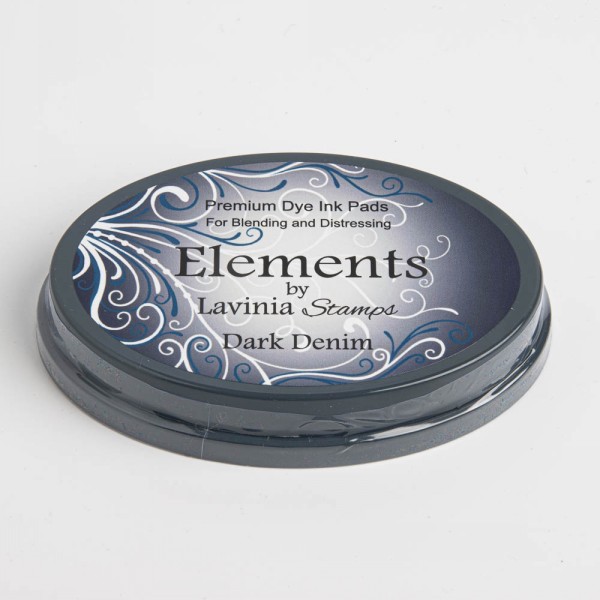
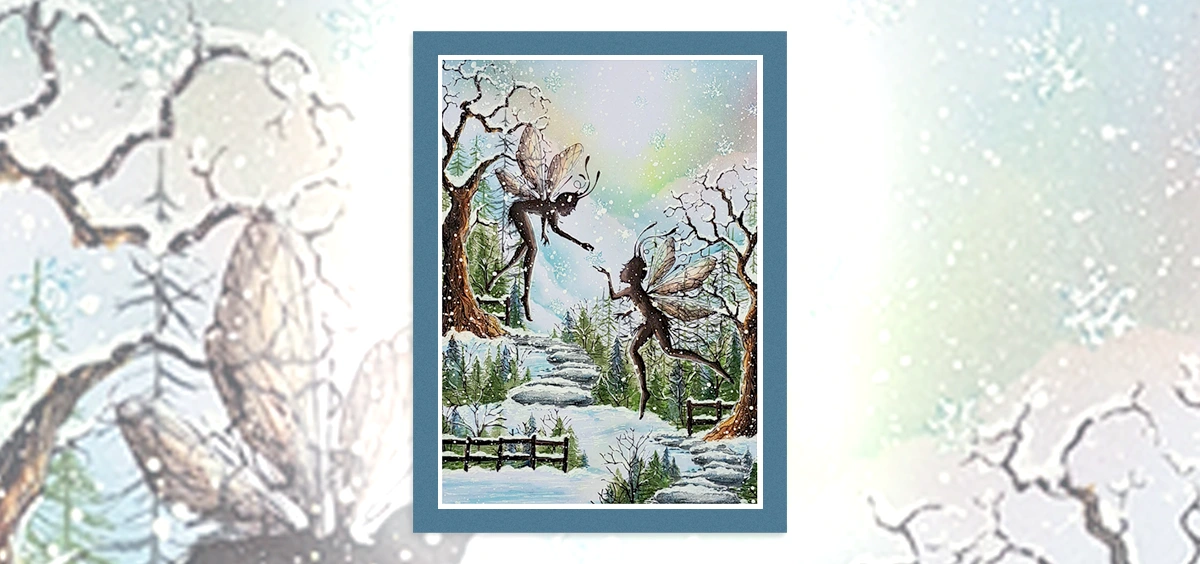
Take a sheet of A4 Multifarious card and cut a sheet of white card to 11.5 cm x 19 cm. Get your Lavinia Snowflakes Stamps Large LAV842 and Small LAV843. Now stamp these over your white card using both 1st and2nd generation stamping in Versafine Clair Bali Blue, Paradise and Warm Breeze. Set this to one side. Next get a blank white greetings card sized approximately 20.5 cm x 15 cm. Then cut a piece of dark blue coloured card to 18 cm x 13 cm. If you don’t have any coloured card in your stash, you can make a really nice inked background from deep shades of blue ideally, using Elements Inks Dark Denim.

Step 2
Glue your dark blue card (or inked up card) to the white blank 20.5 cm x 15 cm. Then glue your white Snowflake card to the inside of the darker card, leaving a 1.2 cm edge visible all around it of the darker card.

Step 3
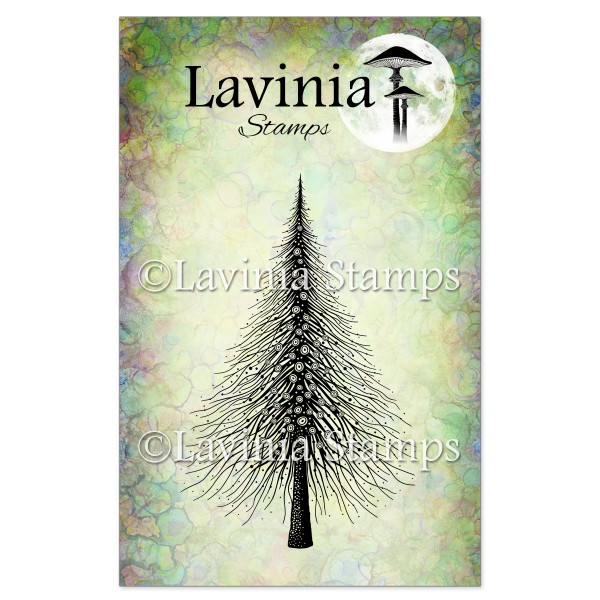
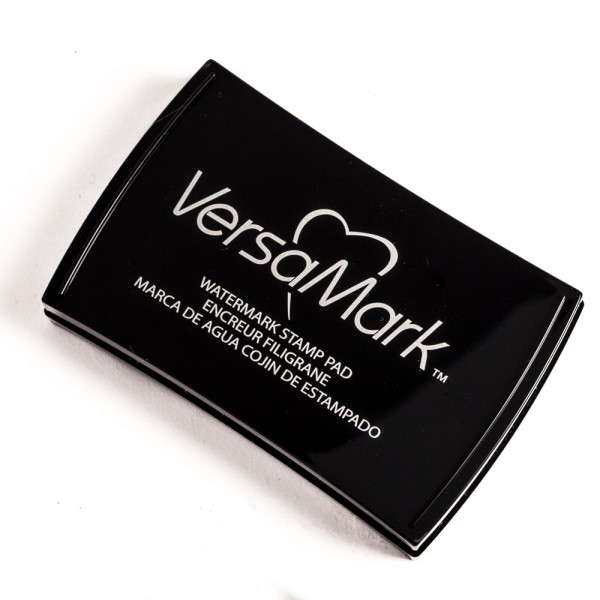
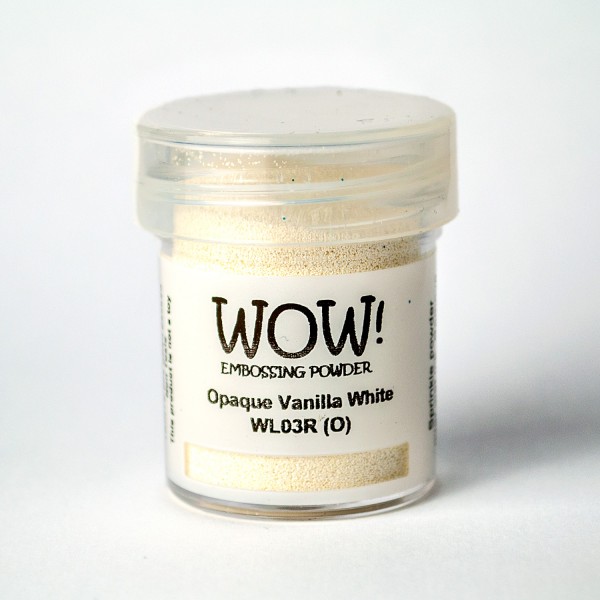
Get a large piece, A4 ideally, of dark blue card (or an inked-up background with deep/darker shades of blue that you have created). Get your Lavinia Wild Pine stamp LAV840 and stamp this twice onto the card close together in Versamark WaterMark Stamp Pad. Then heat emboss the two stamped Wild Pines in White Embossing Powder. Allow to dry.

Step 4
Also on the same A4 dark blue card, there should be space, stamp the Wild Pine one more time with Versamark WaterMark Stamp Pad and heat emboss this image using the Vanilla Sparkle Embossing Powder. Don’t worry if you don’t have the Vanilla Sparkle, you can always do this 3rd one in White just like the first two! Allow to dry.

Step 5
Cut out all 3 Wild Pines that you have stamped and heat embossed. Fussy cut each of them similarly, but there is no need to be accurate or have them identical as once assembled you will not even notice. Try and exaggerate the sharp edges of the branches as you trim around them, this gives a better effect.

Step 6
If you want to add any Stickles, or any of the Glitter Starbrights, now is the time to add these. If you add them to the first two trees, please note that only the very edges of these two will be showing once it is assembled. Your 3rd top tree can be decorated all over. Allow any Stickles or decoration to dry thoroughly before moving on to Step 7.

Step 7
Get your first white embossed Wild Pine and stick it on to your pre-assembled card, fairly central, and it should be glued on completely flat on top of the snowflakes. Your second white embossed Wild Pine needs to be bent very gently from the centre line, right down the middle so that the branches bend inwards. Keep the base of the tree trunk and the point at the top flat so that it can be glued down properly. Simply bending the branches inwards helps. I then stuck some double-sided tape down the centre line at the back of the tree (behind the trunk/spine) and then stuck this directly on to the first tree that was already stuck down. Line it up nicely with the base of the trunk and the point at the top.

Step 8
With your 3rd Wild Pine, you can bend this one even further inwards, once again keeping the base of the tree trunk flat. Bend it inwards from central trunk/spine so that the branches bend right forward. Use double sided tape along the back central spine of the tree down to the very bottom, and also right to the very point at the top, and then layer this by sticking it on top of your 2nd tree already stuck down, lining it up nicely.

Step 9
Once everything is stuck well down through the central trunk/spine of the tree, you can start adjusting your bended branches inwards even more for a better 3D effect. Your 3D Winter Wild Pine Card is now complete. Feel free to add a sentiment at the bottom or top of your tree if you wish. I look forward to seeing your 3D Wild Pines!


