Step by Step by Mona Hauge
Hello everyone
Hope you are all having a sunny and blooming week !
Today I share with you this Picture Tutorial of this famous building in the Enchanted Forest called “The White House “.
Hope you like it 🧚♀️
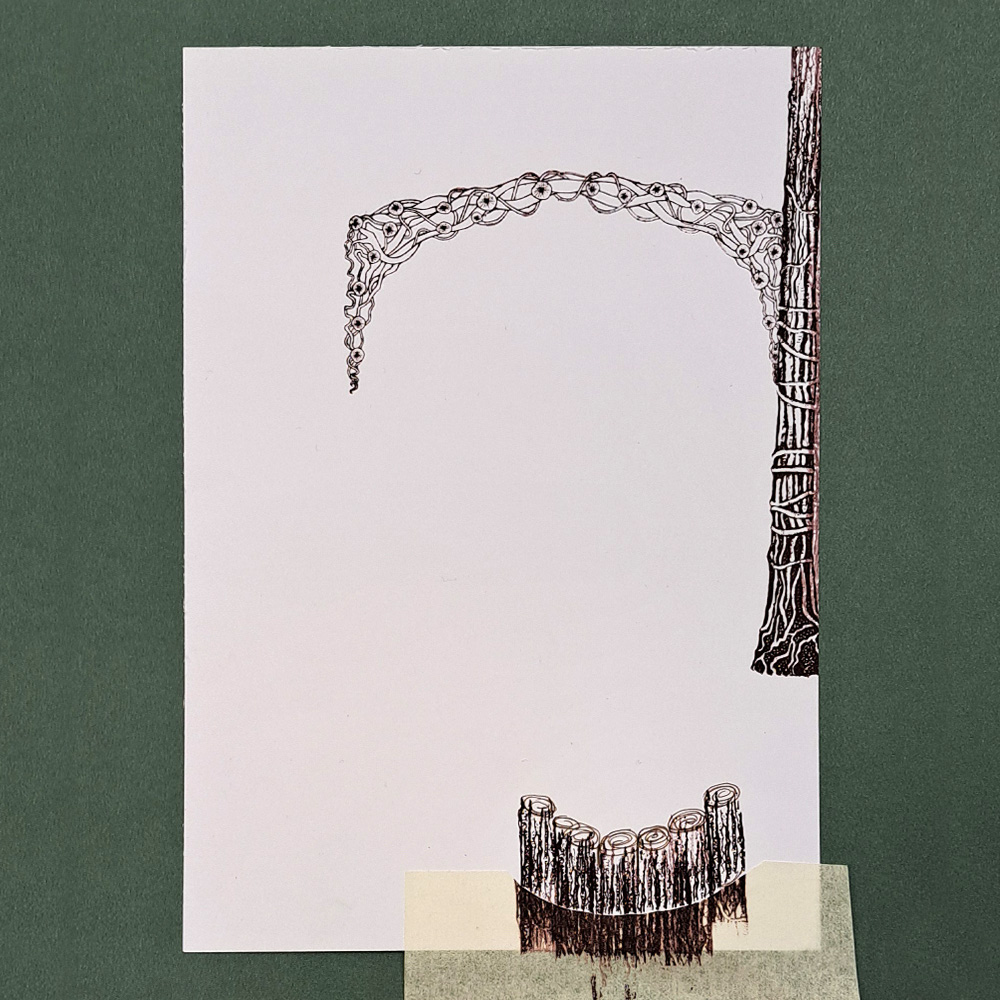
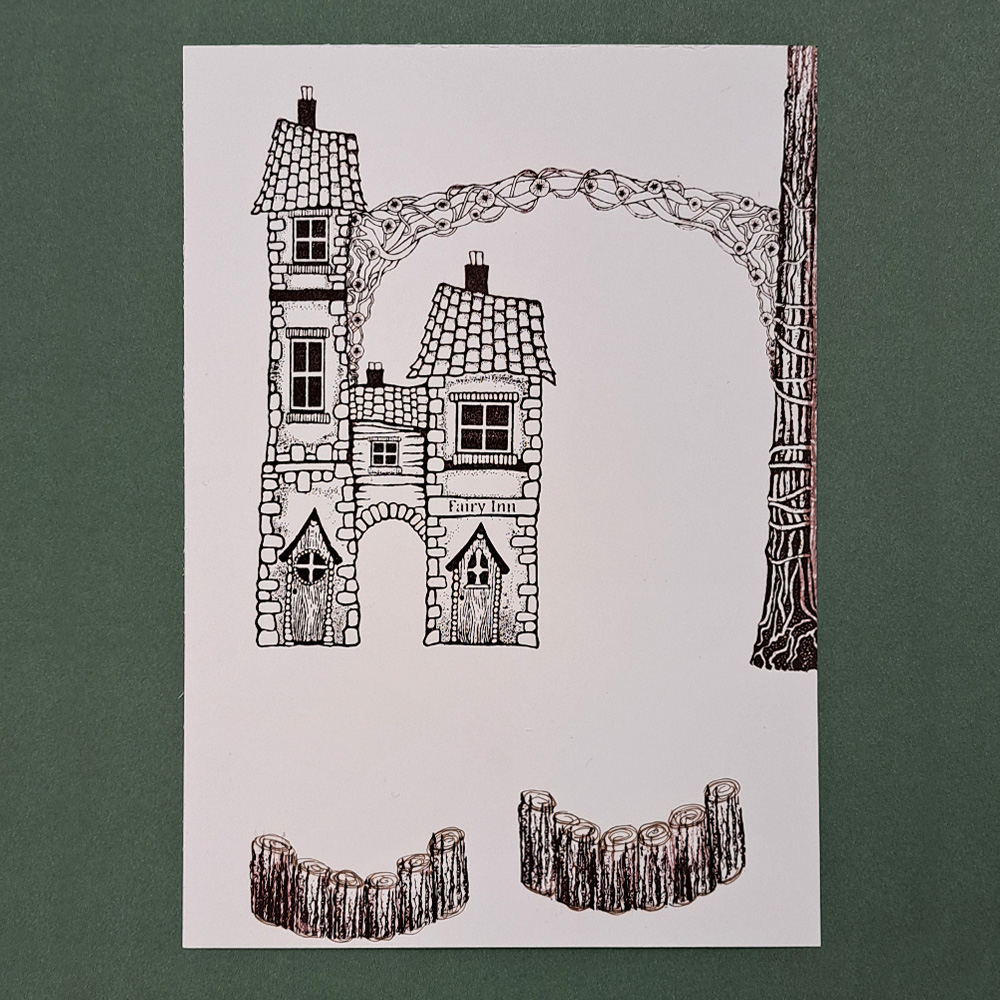
Picture 1
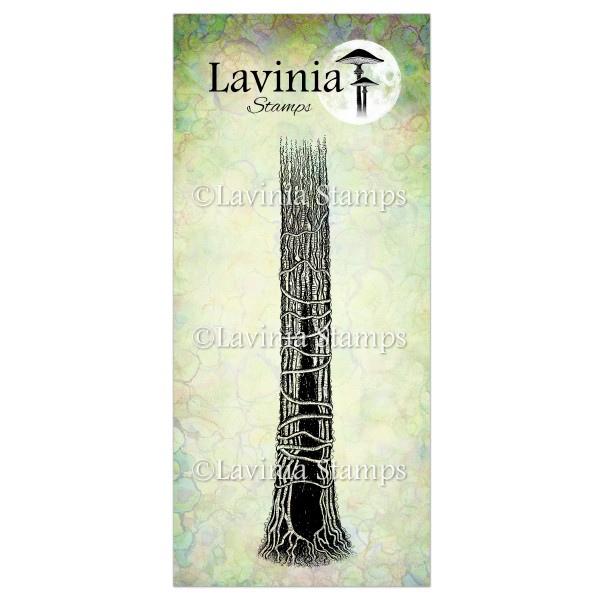
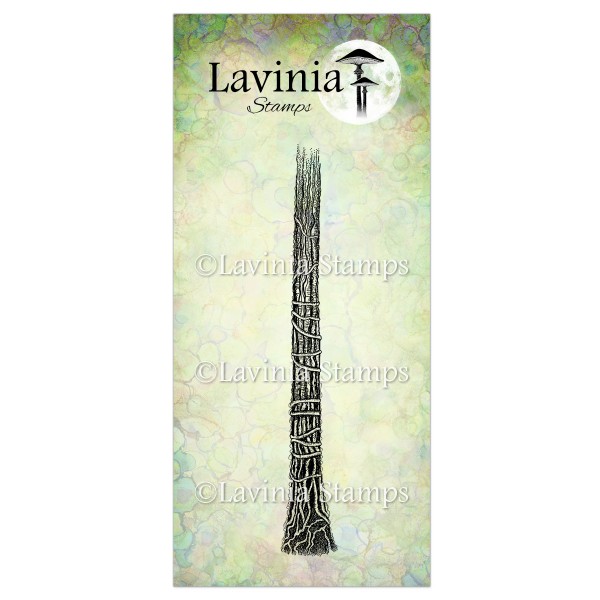
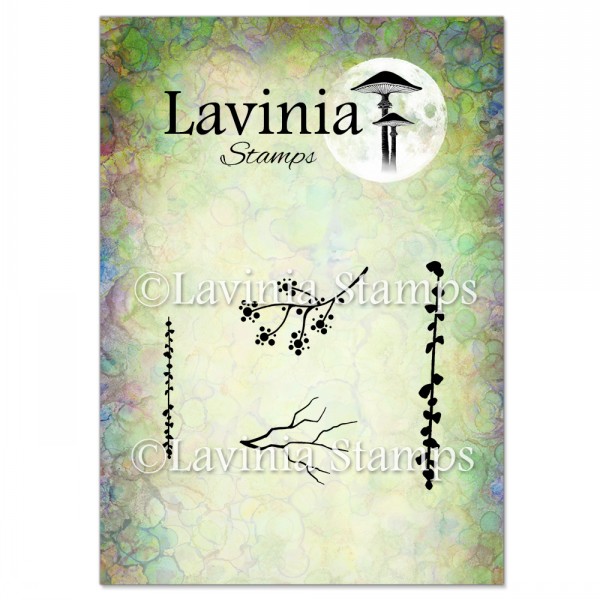
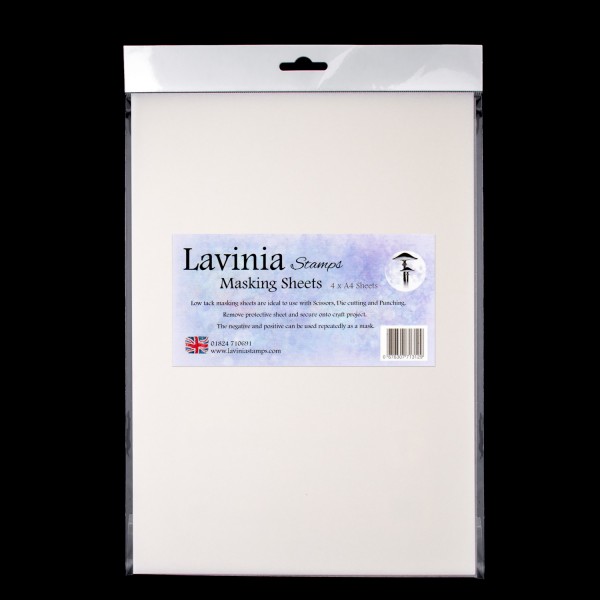
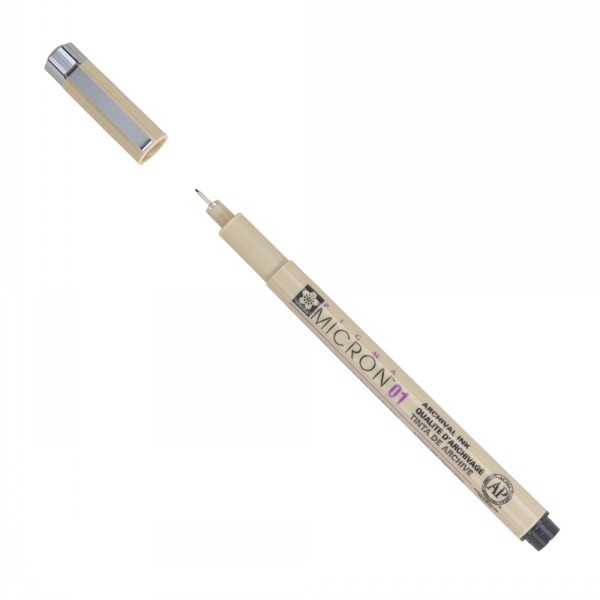
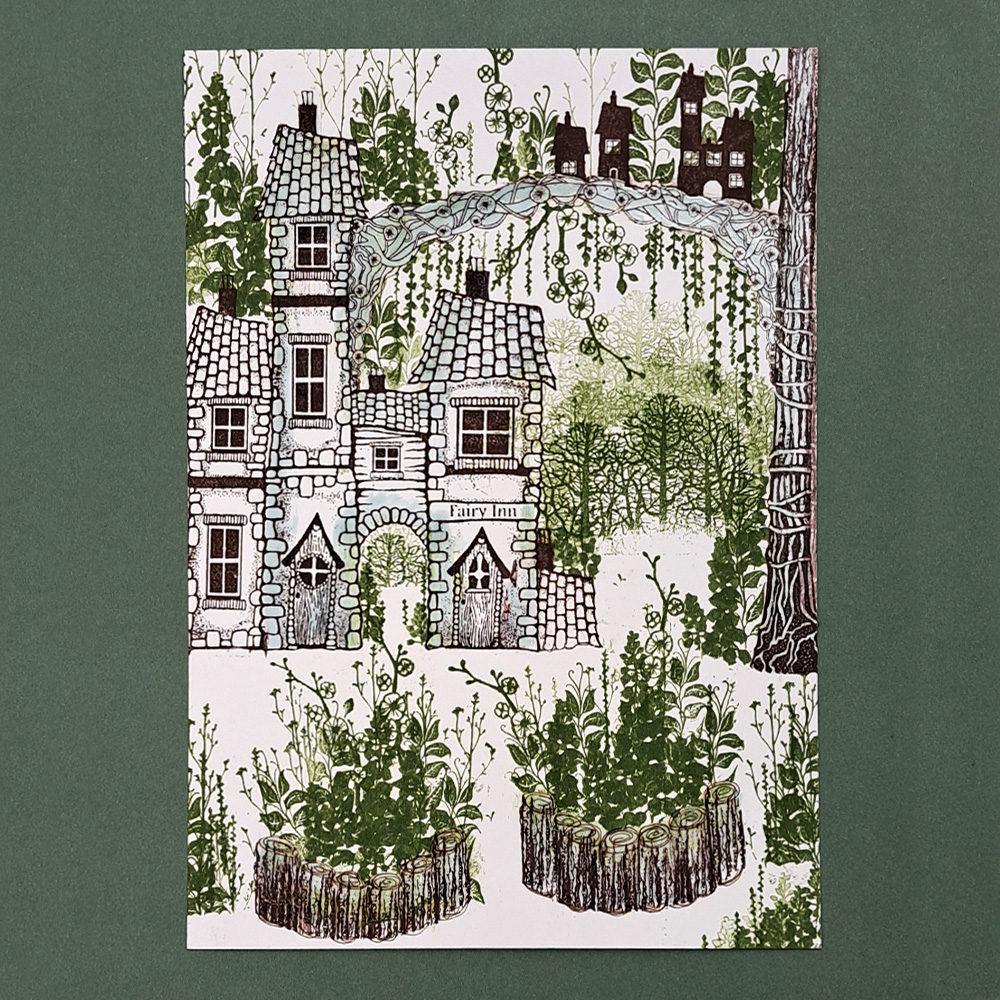
Using A5 white multifarious card Stamp the Tree Den LAV642 in Versafine Clair Nocturne on the right side of the card. Then Stamp the Druids Pass LAV870 like you see in the picture. Use a piece of Masking Sheet and cut a bow like you see in the picture, then stamp the top part of the Tree Stem LAV643 next to each other to create a planter made of logs. Use a Micron pen dark brown to draw a swirl on top of each of the logs .
Stamp all in Versafine Fallen Leaves. Remove the Masking Sheet and cover everything with Liquid Masking fluid.
Picture 2
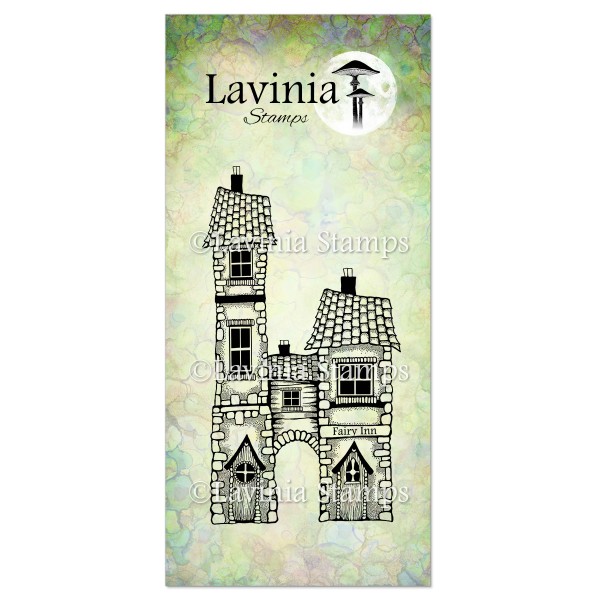
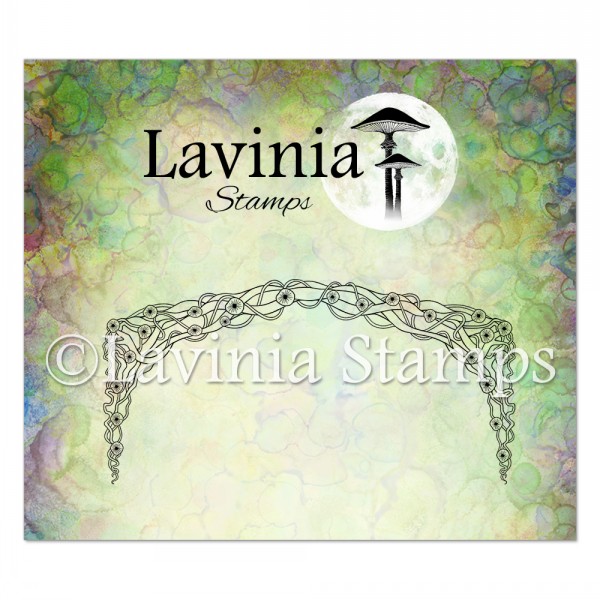
Now stamp the Fairy Inn LAV452 in Versafine Clair Fallen Leaves. Make sure that the Druids Pass is attached to the Fairy Inn. We want another log planter, so reuse the Masking Sheet and create another one as before. Cover everything with Liquid Masking fluid.
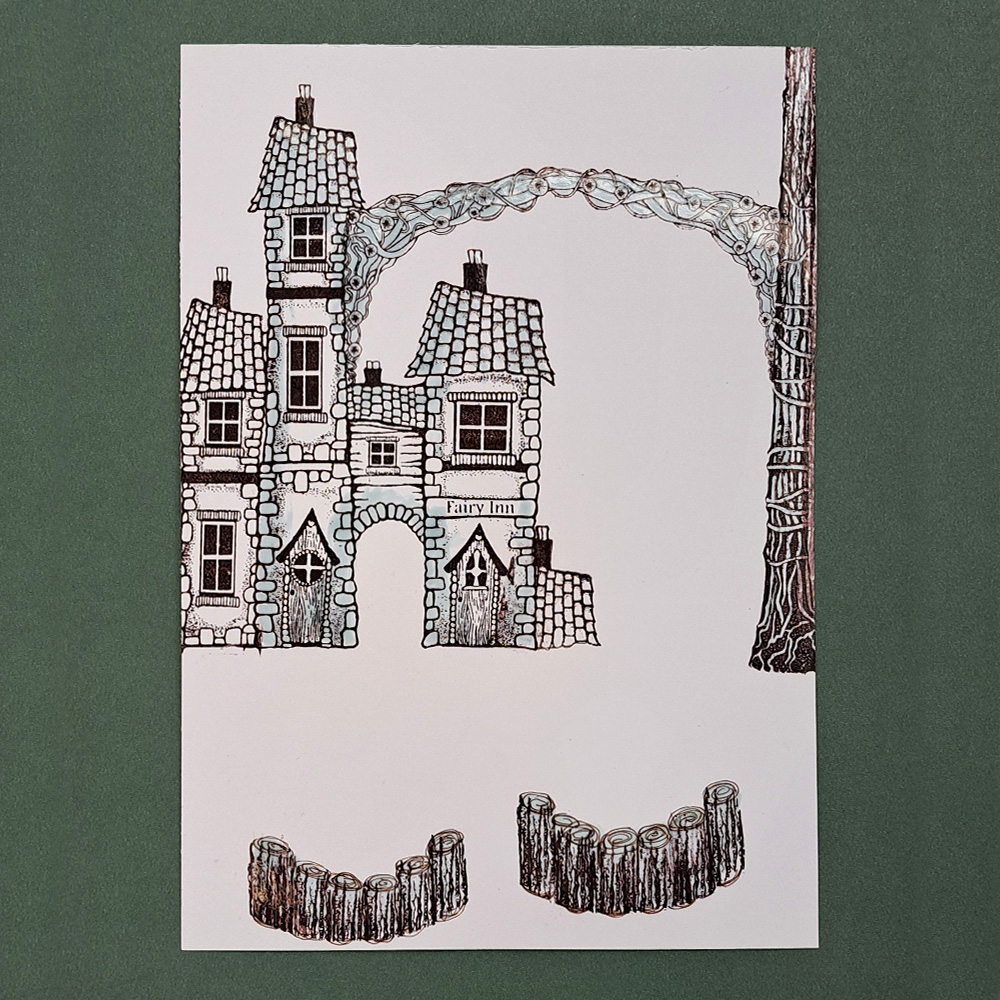
Picture 3
We want to have more space in our Whitehouse so we will expand with a little part of the Fairy Inn roof on the right side of the building and the top left part of the Fairy Inn as another wing of the White House on the left side of the Fairy Inn. Stamp in Versafine Clair Fallen Leaves. Cover in Liquid Masking fluid.

Picture 4
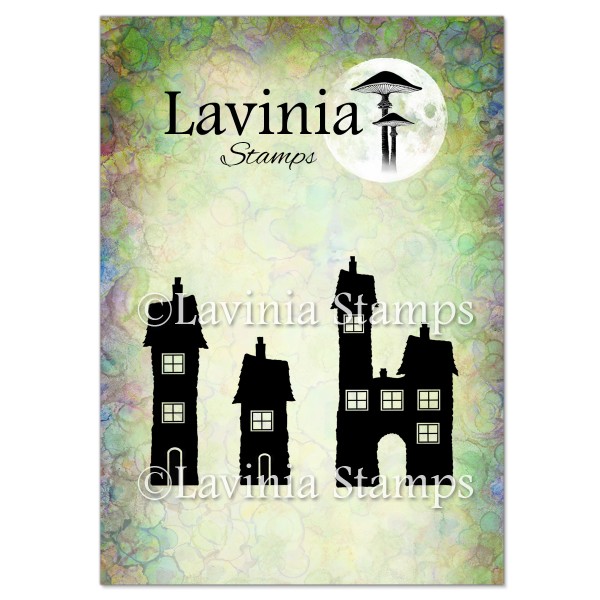
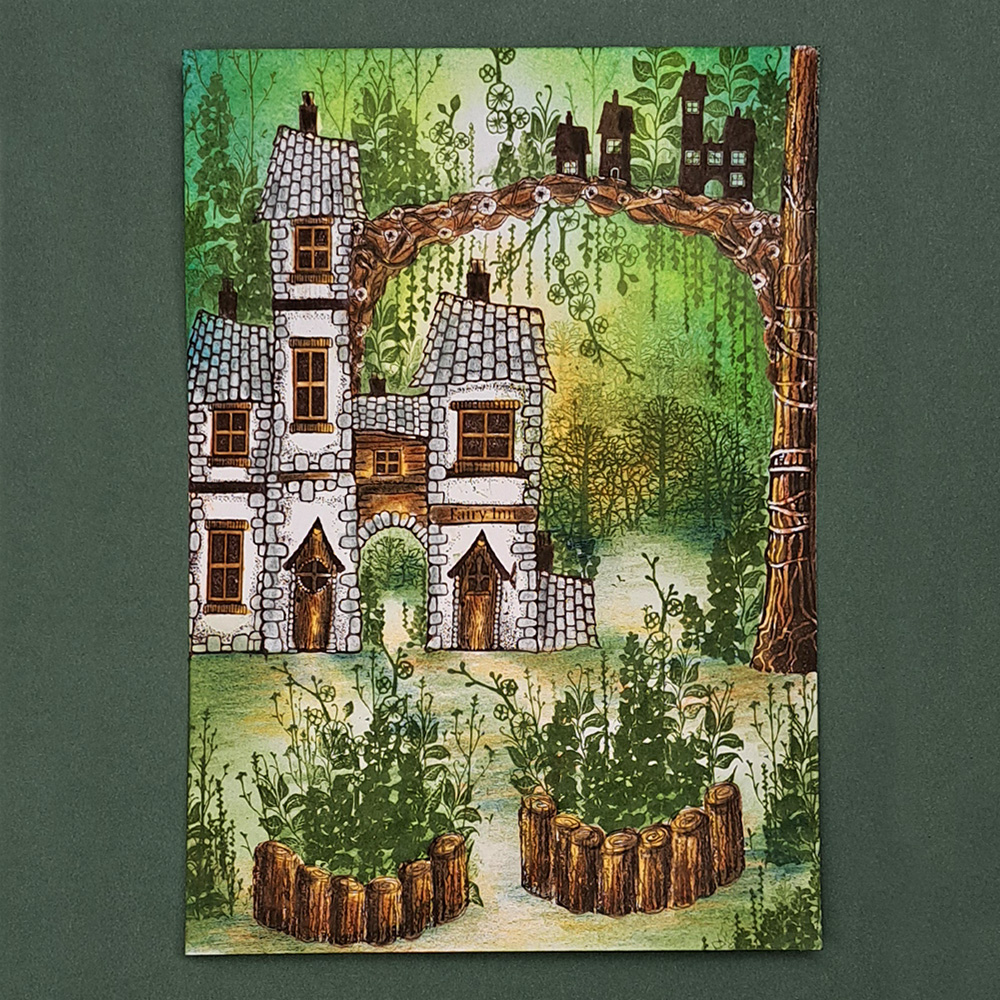
Make sure the Liquid Masking fluid is dry before stamping some Small Dwellings LAV640 on top of the Druids Pass. Stamp in Versafine Clair Fallen Leaves and cover in Liquid Masking fluid when dry. Let’s start creating some greenery with the Berry Leaves LAV577. Stamp in Versafine Clair Shady Lane. Check the picture for placement.
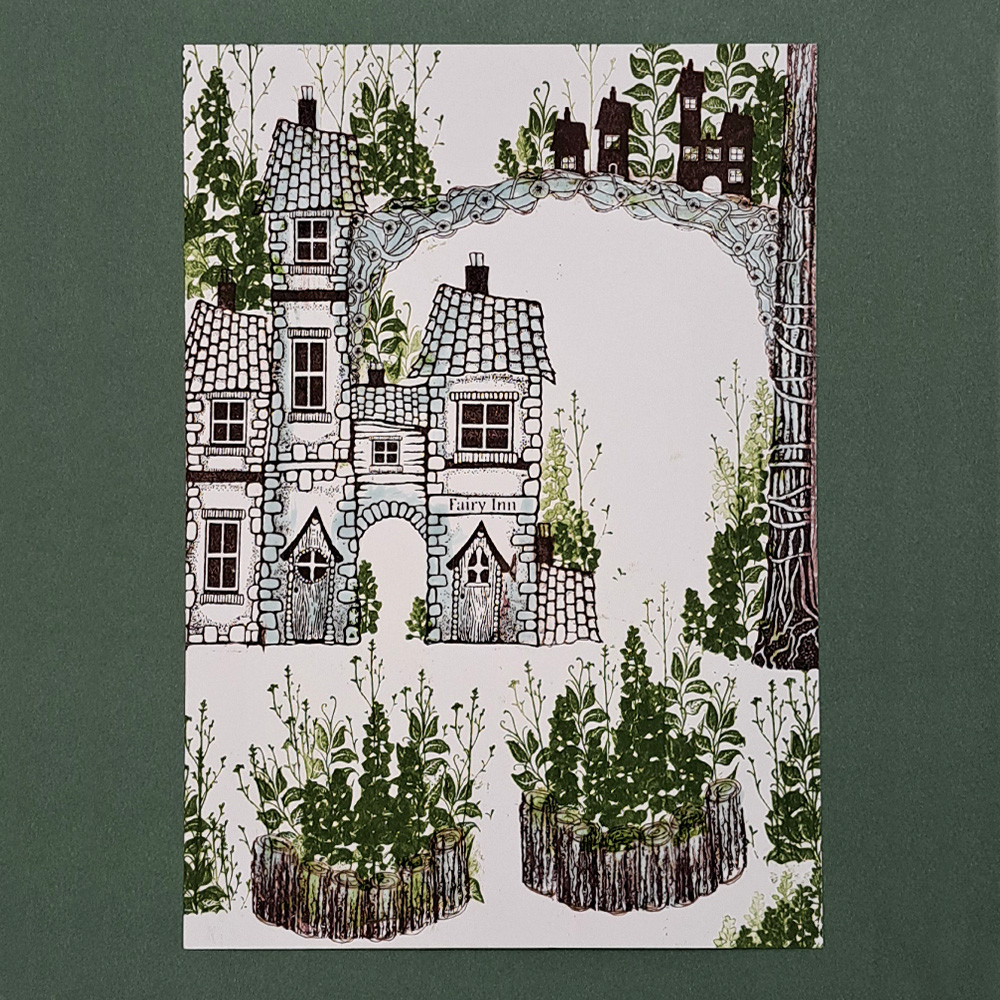
Picture 5
More plants and flowers are needed. Stamp Bluebells LAV002 and some Leaf Spray LAV741 in Versafine Clair Shady Lane. Do both first generation and second generation stamping.
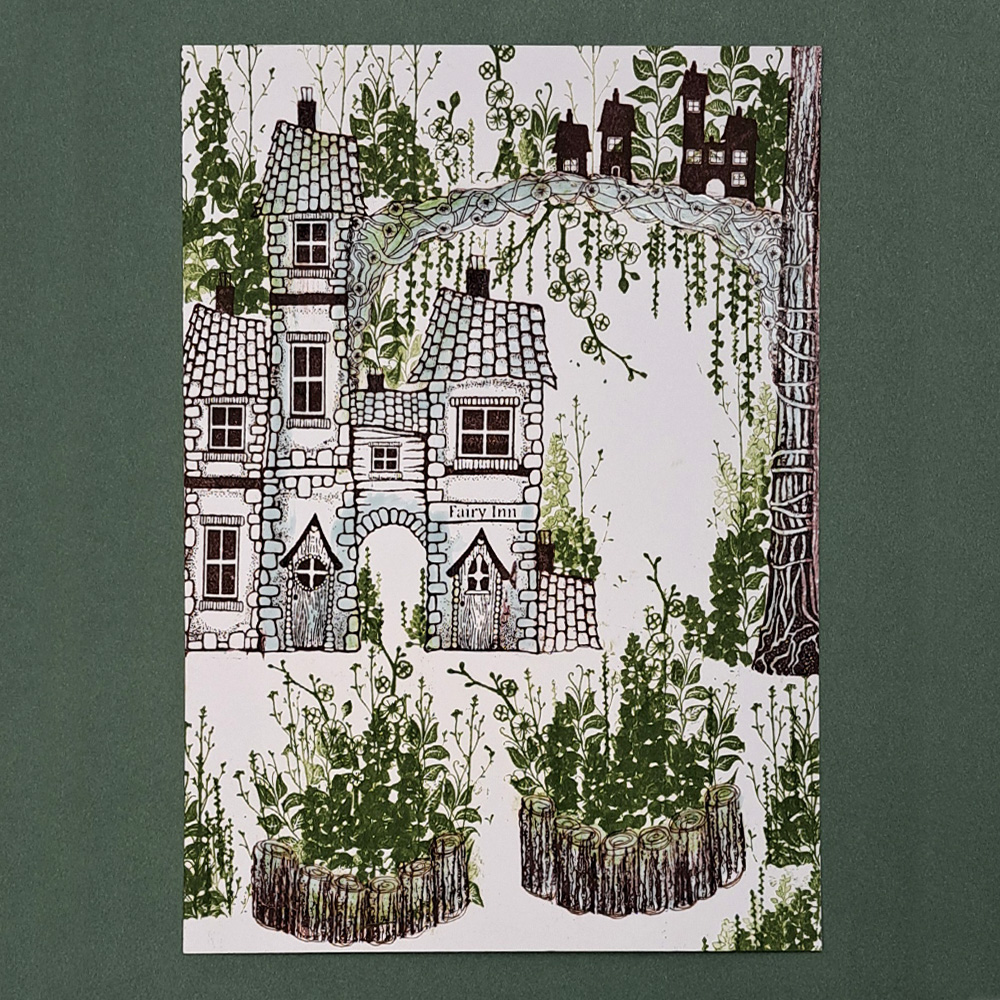
Picture 6
Now we stamp the Cherry Blossom stamp LAV176 and some Foliage Set LAV679 in Versafine Clair Shady Lane.
Picture 7
Some trees in the far distance will be good. The Forest Scene stamp is amazing for this. We will only be using the top part of the stamp so I use a piece of printer paper to mask the ground in front of the trees. Use Versafine Clair Shady Lane and do both first and second generation stamping. Look at the picture for placement.
Picture 8
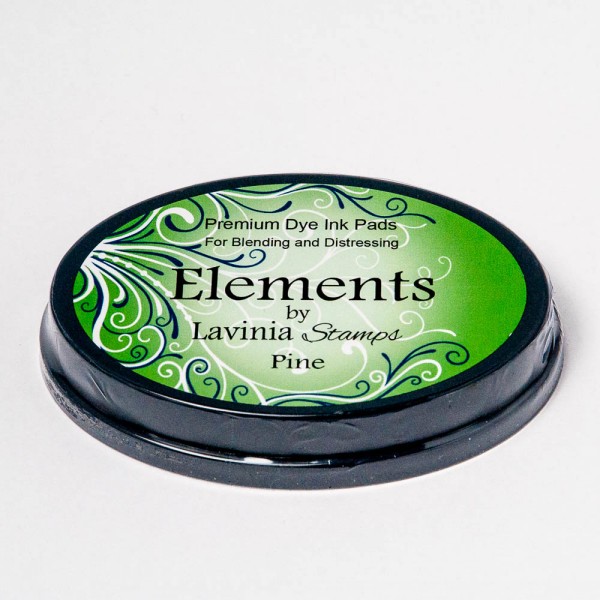
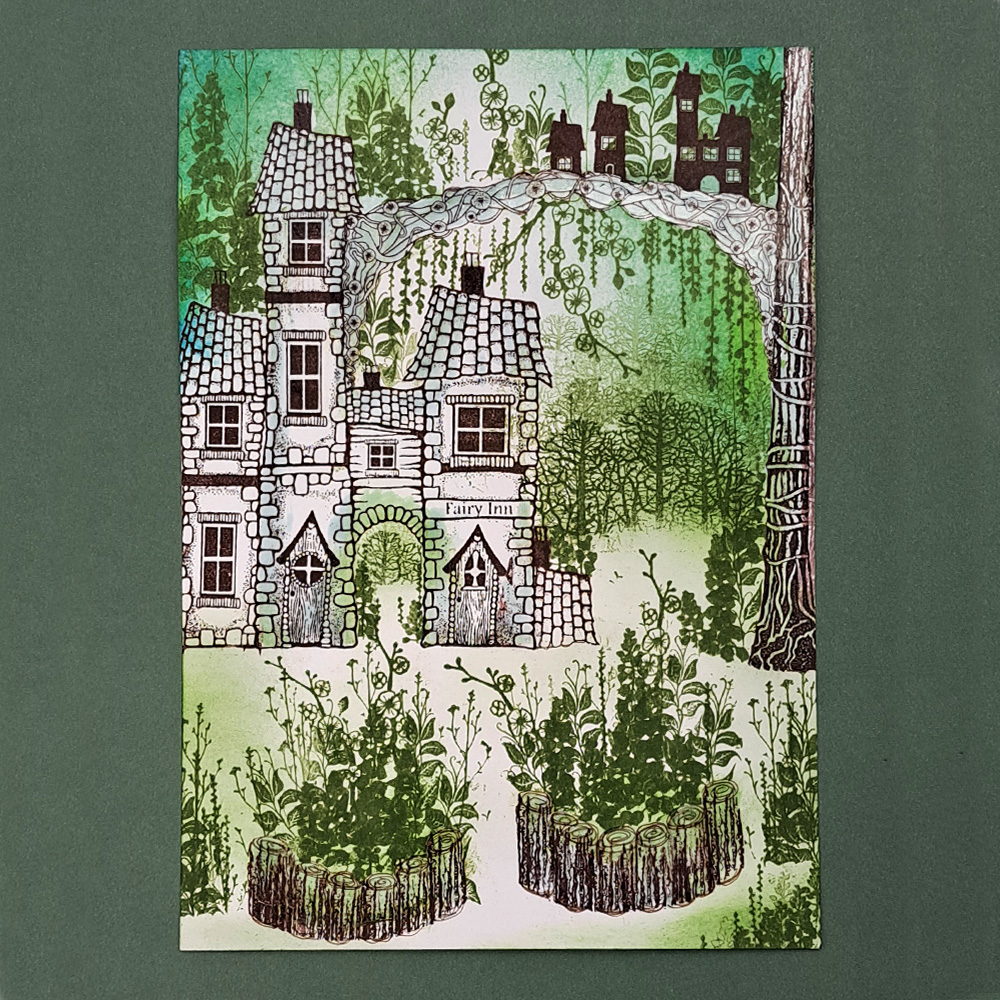
Now we will colour the sky and ground with some Elements ink. Blue Atoll and Pine for the sky and some Olive and Pine on the ground.

Picture 9
Make sure your card is completely dry before removing the Liquid Masking fluid, or else the paper can rip. Remove all the Masking fluid.
Picture 10
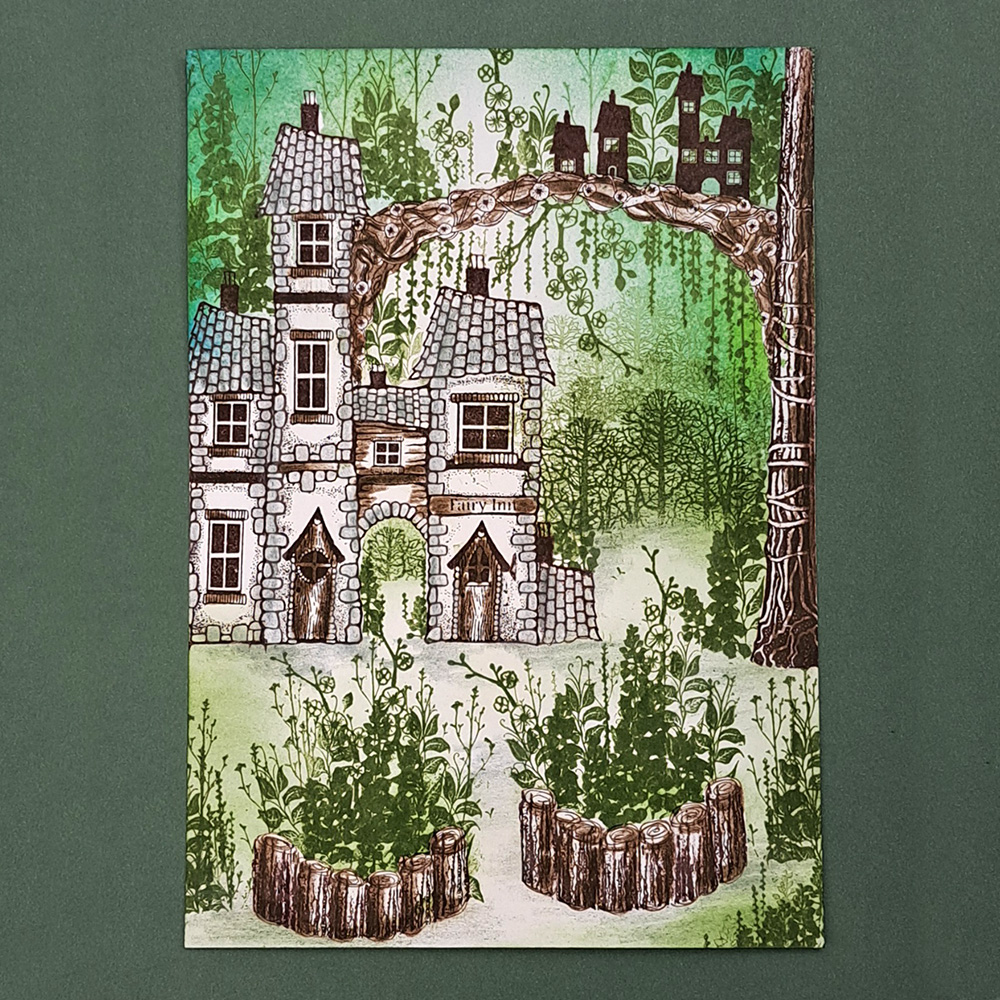
Let’s start colouring. I use my Mondeluz Watercolour pencils, because they are so soft and bright in colour. We start with a dark brown in places on the tree and wood. Look at the picture for placement.
Picture 11
Now we will use a few more browns to finish all the wood. A light brown, reddish brown and an ochre will give the different wood parts beautiful colours. Look at the picture for colour placement.
Picture 12
Some green colour on the ground and in the middle of the flowers and greenery to create some depth. Use a medium grey colour for all of the roofs and the Stone bricks on the house. To create some magical light we will use Pan pastel Hansa Yellow and Orange. I use a small stencil brush to apply the Pan pastel.
Picture 13
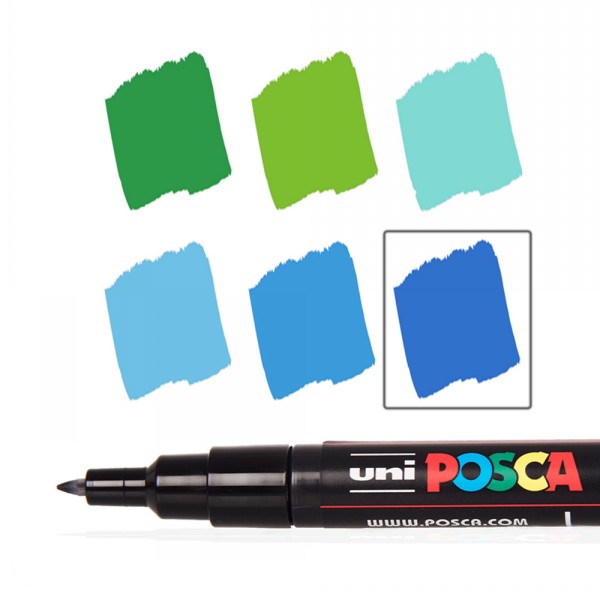
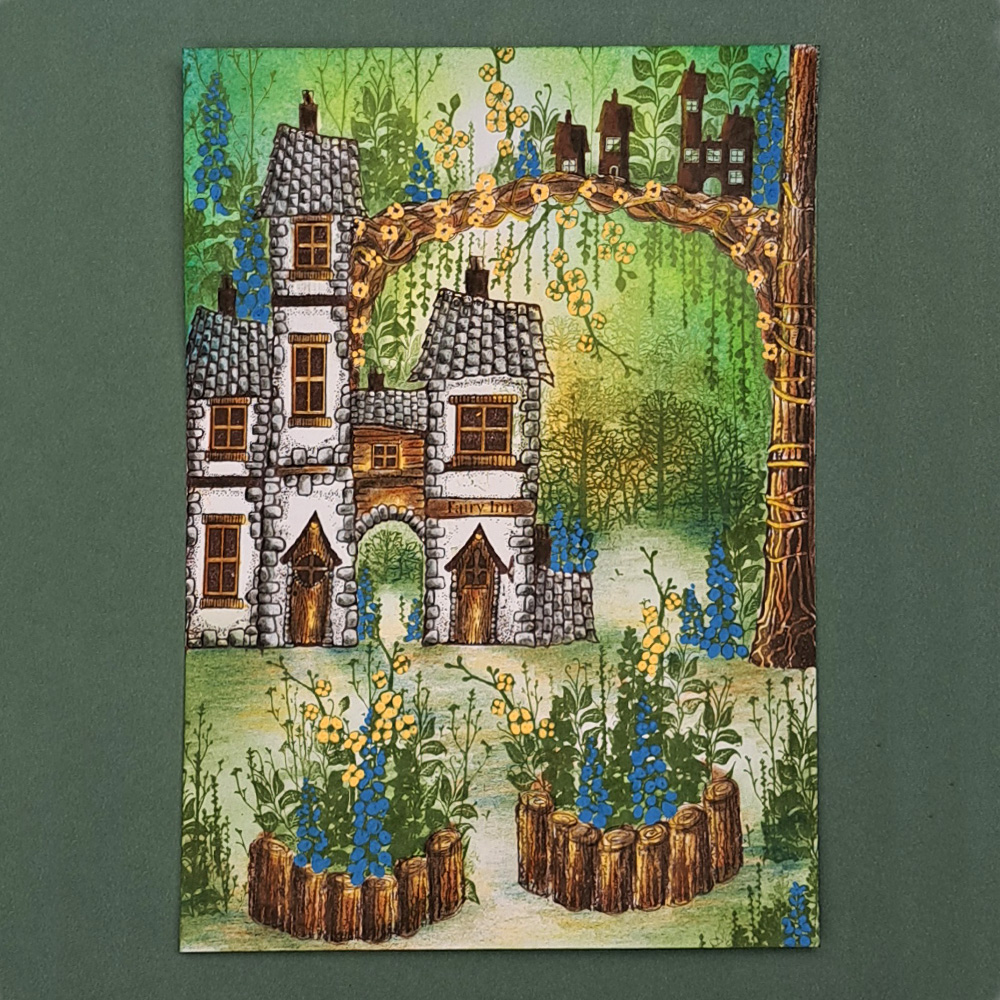
Now we will colour the flowers with some Posca pens. Sky Blue for the Bluebells and Apricot for our Cherry Blossoms.
Picture 14
Some of the Bluebells we can colour with a darker blue Posca pen to create some variety in colour on the Bluebells. When the Posca is completely dry it is possible to draw on top of it with the Mondeluz watercolour pencils. I use the Mondeluz pencils because they are soft and it is easy to draw on top of the Posca colour. Use a dark blue colour pencil to draw some shadow on the sky blue Bluebells and a red colour pencil to create some shades on the Cherry Blossoms. On the dark blue Bluebells use the sky blue Posca pen to create some highlights. Use a green pencil to create some shadow on the Berry Leaves and a black pencil to draw shadows on all roof tiles and Stone bricks on the house.
Picture 15
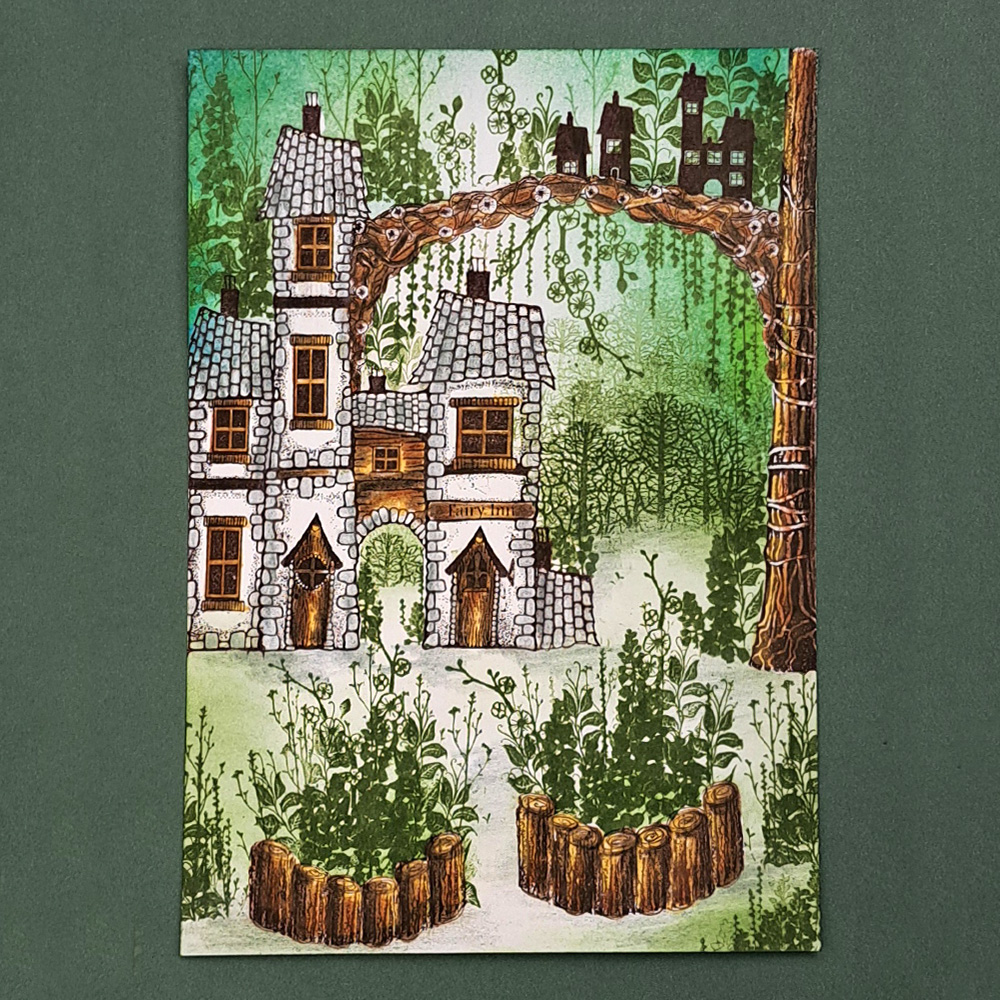
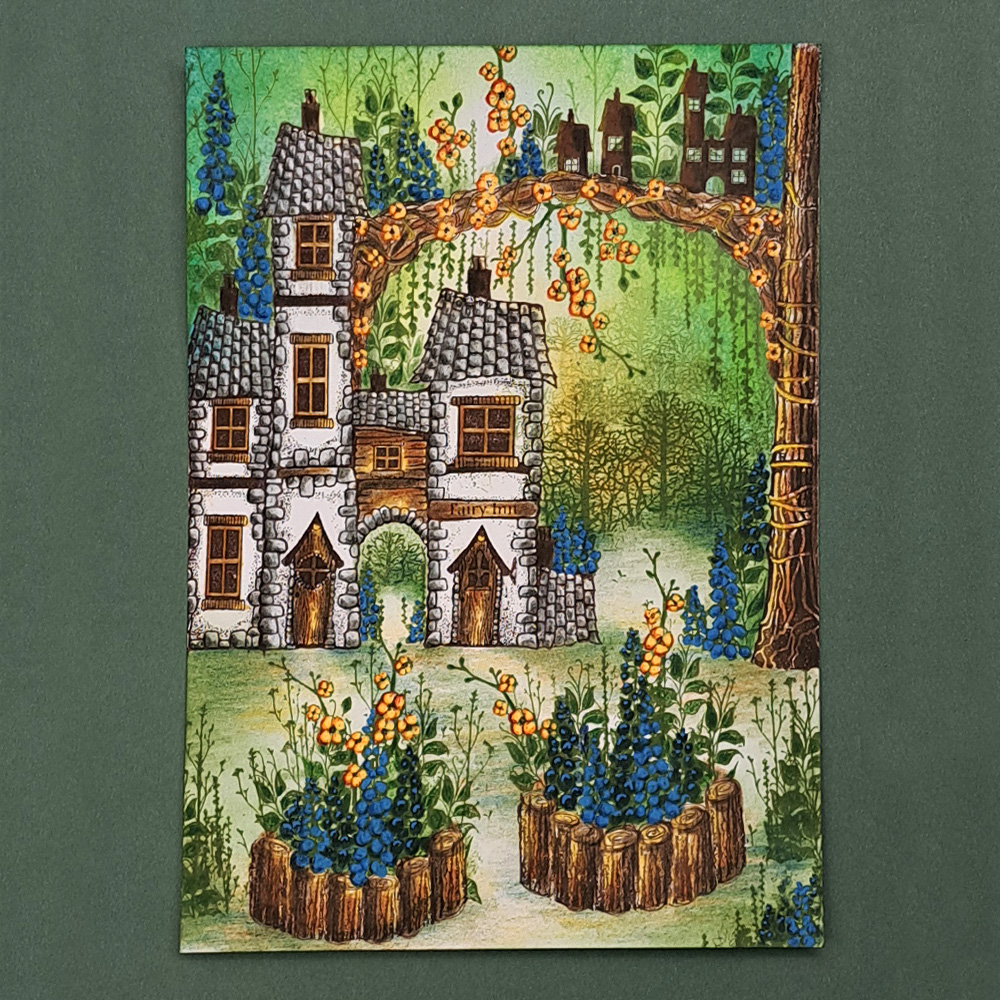
We need a few more flowers so stamp the Foliage Set LAV679 in Versafine Clair Rain Forrest. Colour the petals with a white Posca pen or a white Uniball pen and colour the centre with a yellow Posca pen. Use the same white pen to draw light in all the windows adding some Yellow light in the bottom corners of the windows to create some warmth.
We also need a bit more colour on the ground, so use a medium brown colour pencil to create some more shadow very gently. Now we need dome white highlights on absolutely everything. Look at the picture if you are unsure where to place the highlights.
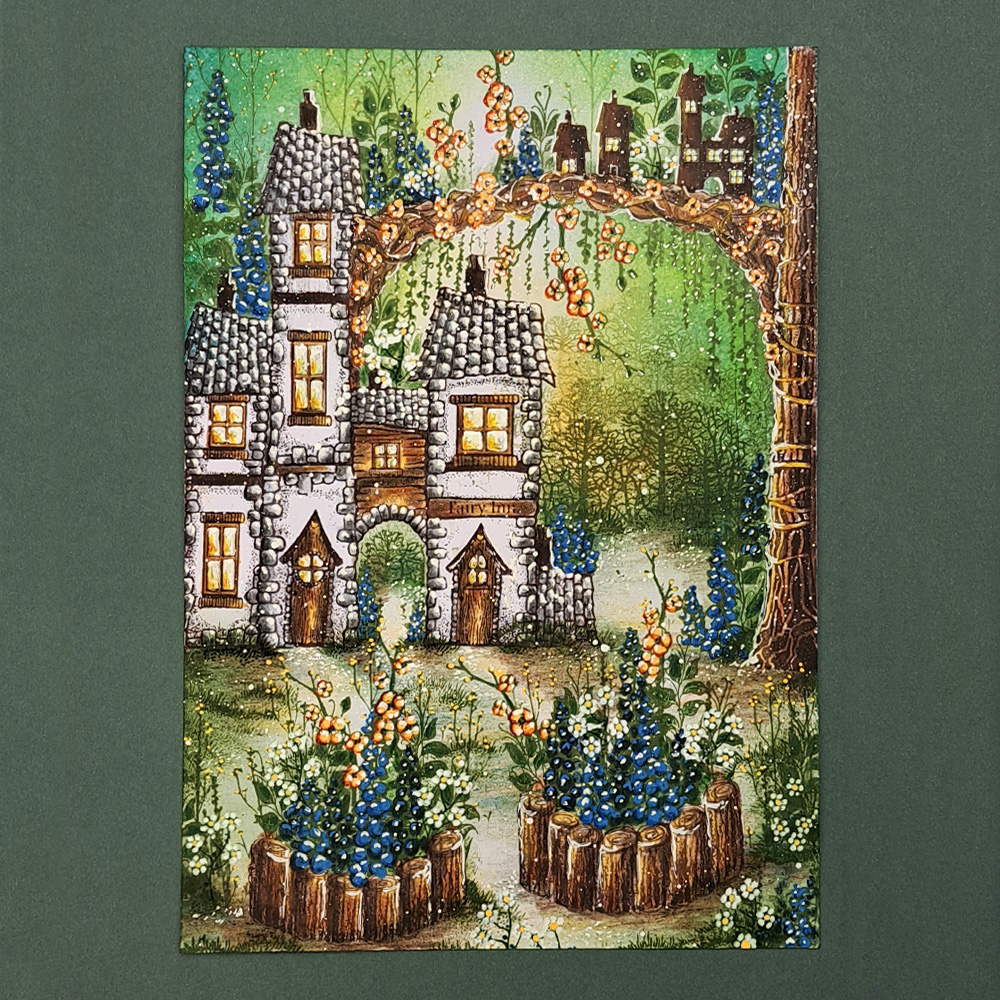
Picture 16
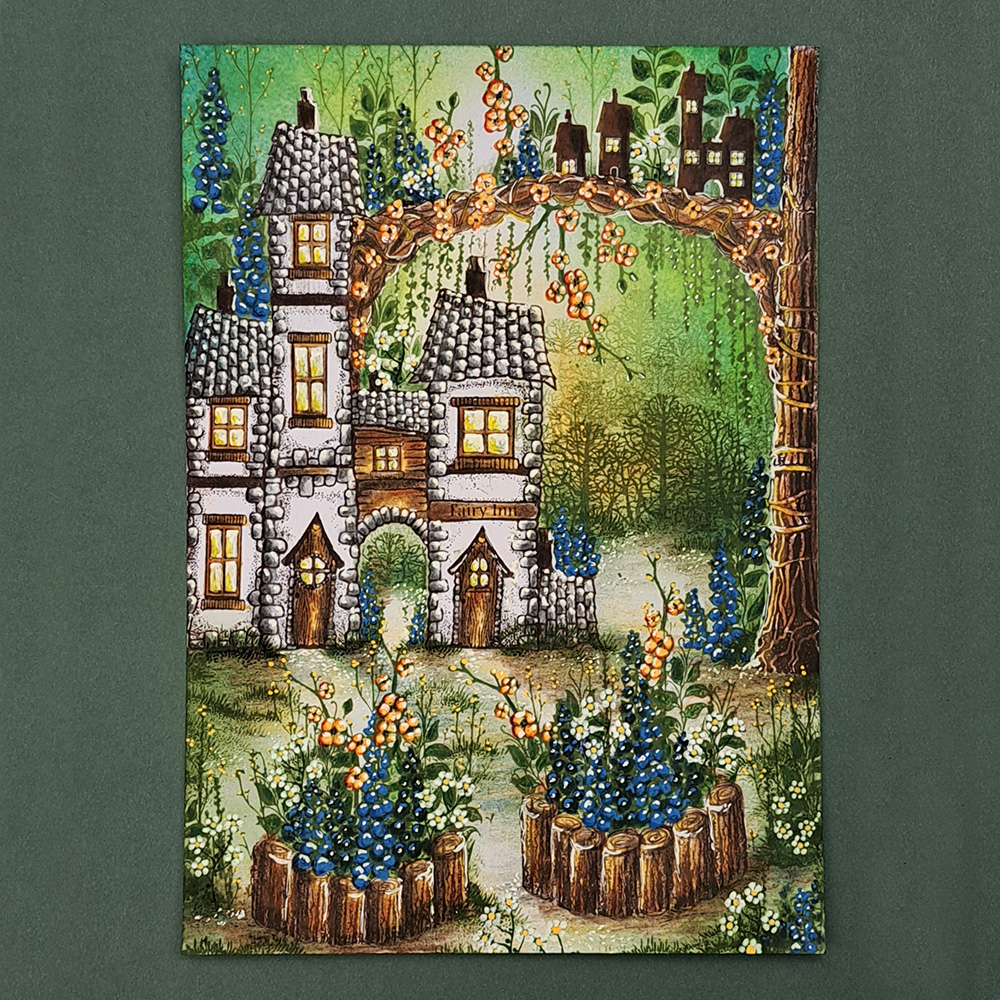
For our final touch we will do some Posca Pen splatter.
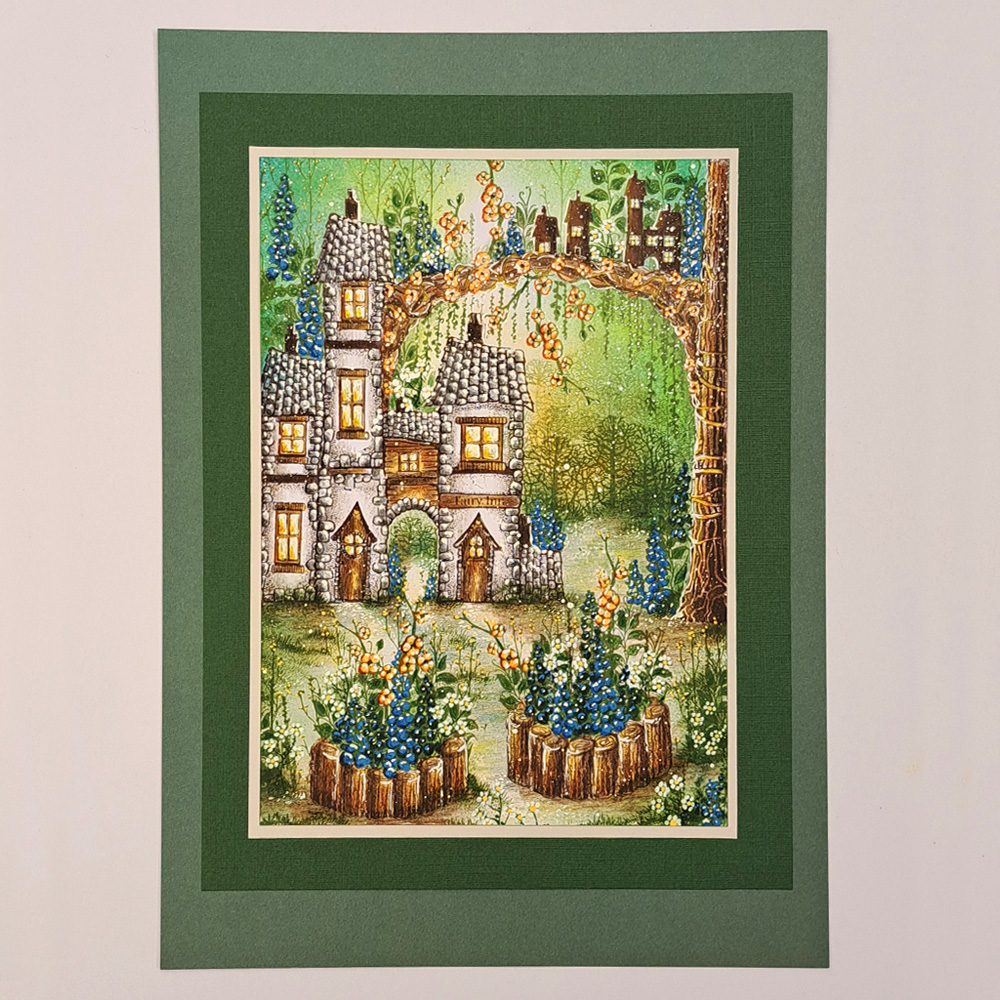
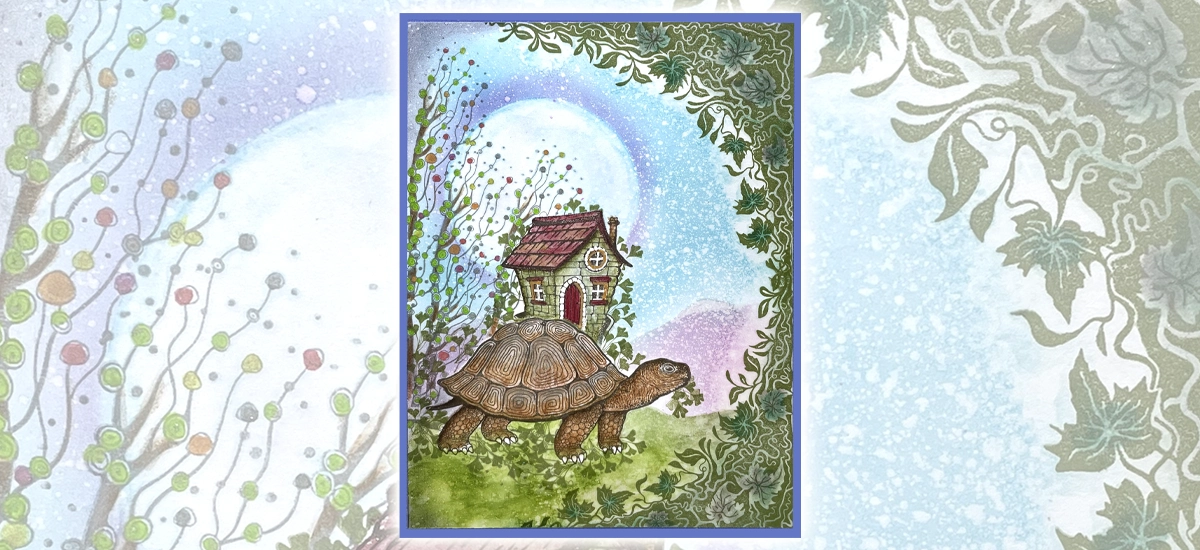
Picture 17.
The picture is now complete! Hope you have enjoyed following my tutorial and if you have any questions just ask me and I will answer as soon as I can!
Big hugs from Mona.