Welcome Winter by Lisa Taggart
Well, the clocks have changed again and the dark nights have started. That can only mean one thing… winter is coming. It’s also a time when our creations explore the themes of cooler weather.
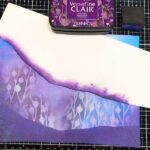
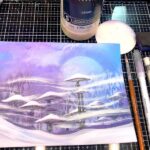
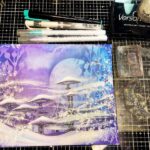
I love to create snow scenes and today’s project shows how our stamps can be tweaked to accommodate any season, even the winds of winter!

The Products I used…
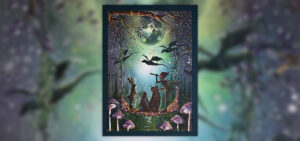
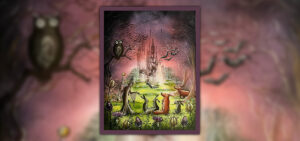
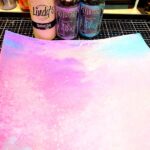
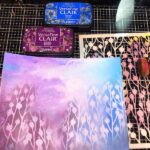
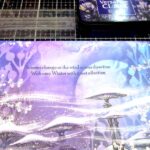
The Steps in creating “Welcome Winter”
(click on the first image to view as a slideshow)
- I combined some cool winter coloured ink sprays with white spray and achieved this interesting pale background.
- I stencilled using a couple of colours as a first background layer. I later extended this to the top of the card too
- I added some land to the foreground using torn copy paper.
- Using the other half of the torn paper I masked off the land and repeat stamped the mushrooms in different colours inking up only the parts that I needed. I also created a higher one by following and extending the lines.
- Next came the fun part. Using white gesso and a paintbrush I painted over the land in loose waves. Making sure the brush wasn’t too wet I lightly swept the gesso across the mushroom tops using a sweeping motion. I made sure that the sweeps were to the right of the mushroom tops and that the gesso carefully repeated the mushroom shape on the left side. This creates a consistent wind direction. I went over parts of the tops with purple ink to add shading. I gently inked around part of a circle mask towards the top to hint at a moon.
- The berry wreath was stamped to each side and heat embossed using white tinsel embossing powder. The small berries were added on top and coloured with watercolour pens. A white gel pen added dots of white disturbed snow. A black pen restored some of the lost line work.
- The sentiment was stamped.
- The picture was mounted and final touches of glitter and extra highlights added.
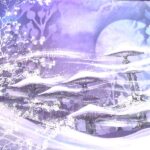
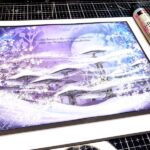
Very chilly indeed. I really hope no fairies ventured out in that weather!
Till next time…
Lisa xx