


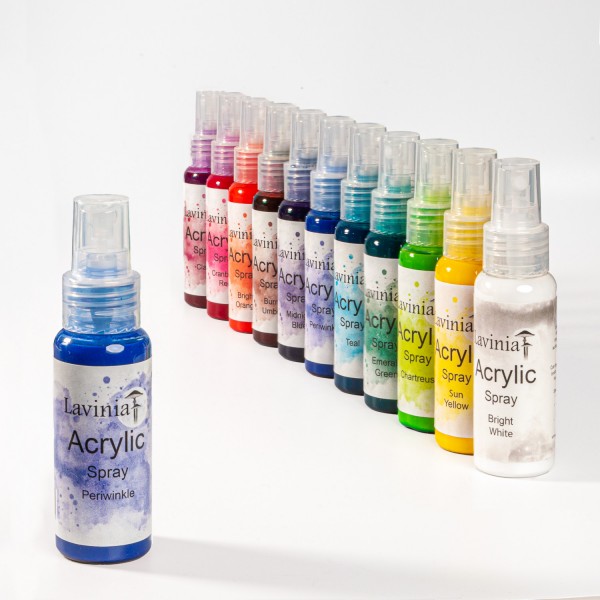
 Acrylic Spray Periwinkle
£6.29
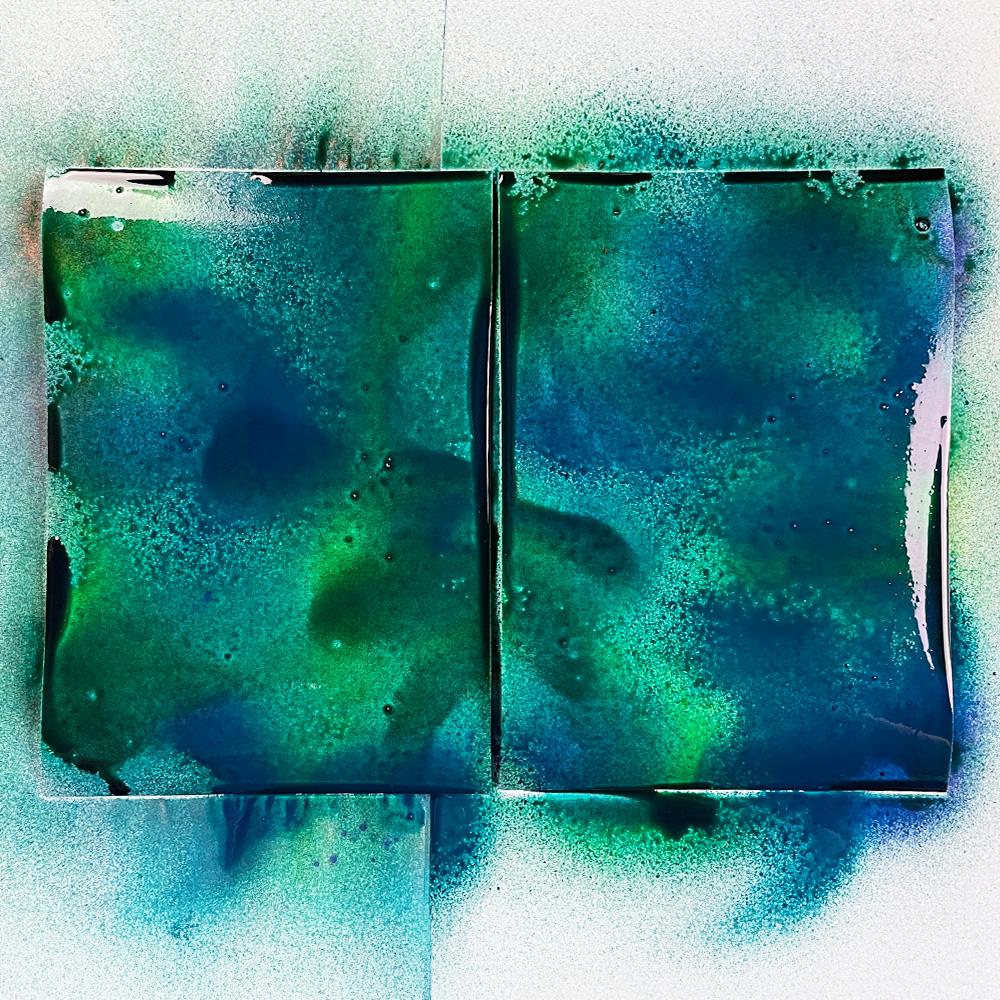
Add to cart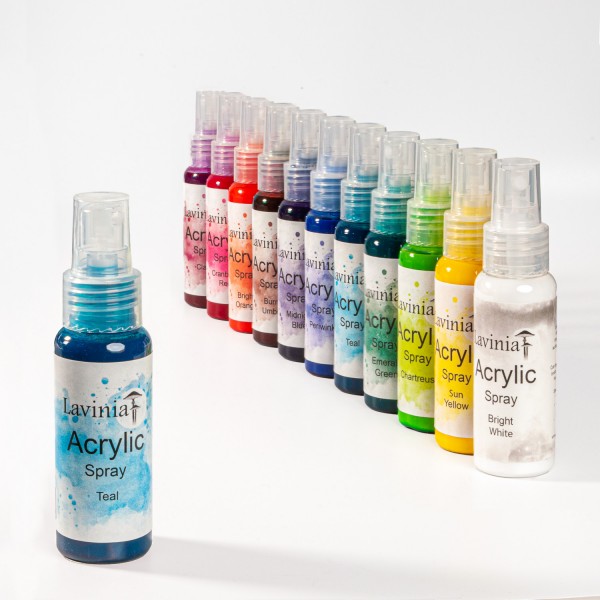 Acrylic Spray Teal
£6.29
Add to cart Acrylic Spray Sun Yellow
£6.29
Add to cart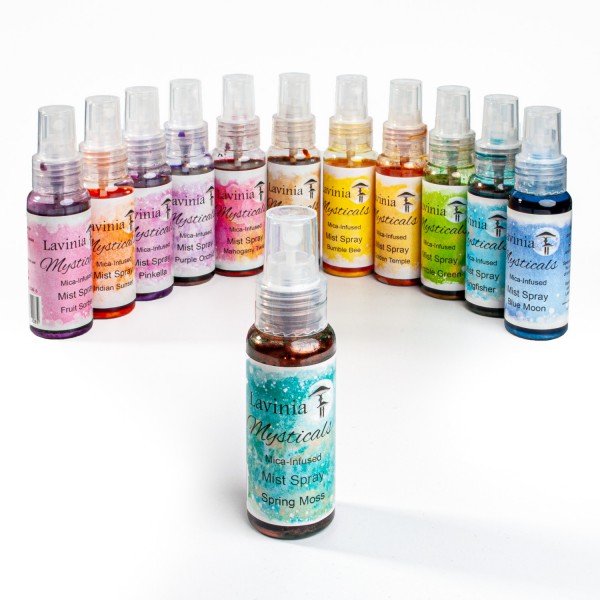 Mysticals Mica Mist Spray – Spring Moss
£6.29
Add to cart Dinkles Ink Powder Pink
£3.25
Add to cart Dinkles Ink Powder Yellow
£3.25
Add to cart Versafine Clair Ink Pad – Nocturne
£5.80
Add to cart Kuretake Clean Colour Real Brush Pens Set of 120
£249.00
Add to cart Elements Premium Dye Ink – Sahara
£5.85
Add to cart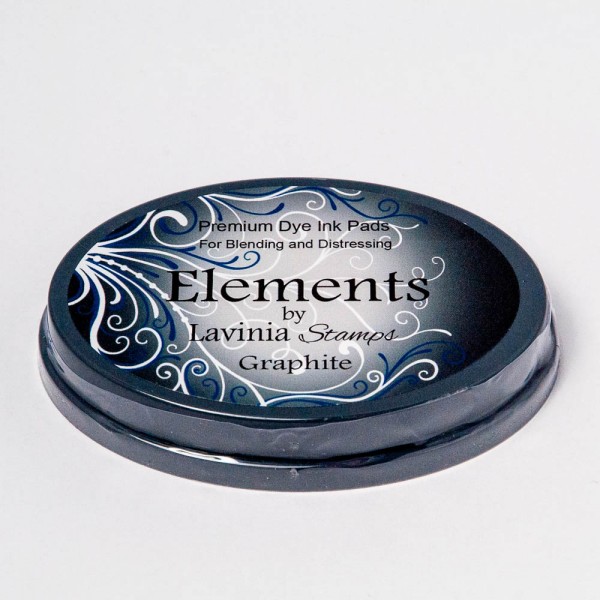 Elements Premium Dye Ink – Graphite
£5.85
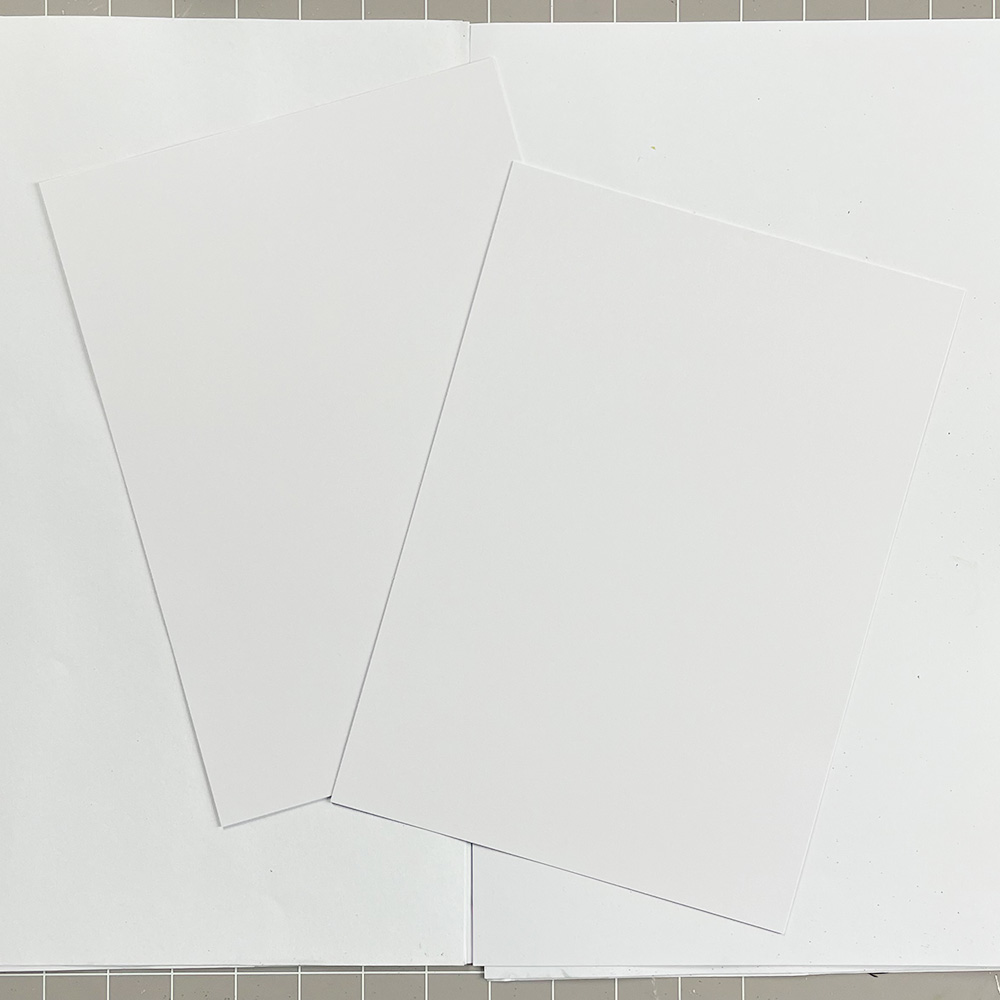
Add to cart Multifarious Card – A5 White
£5.80
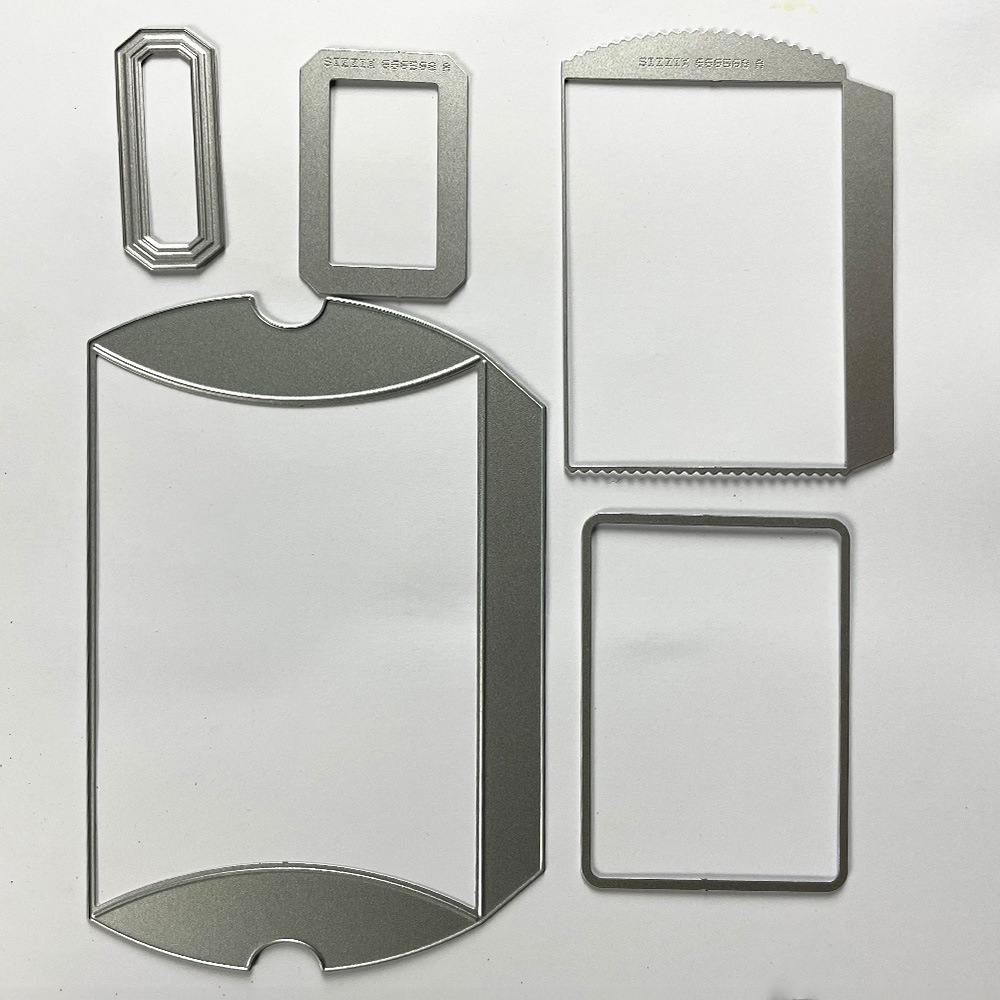
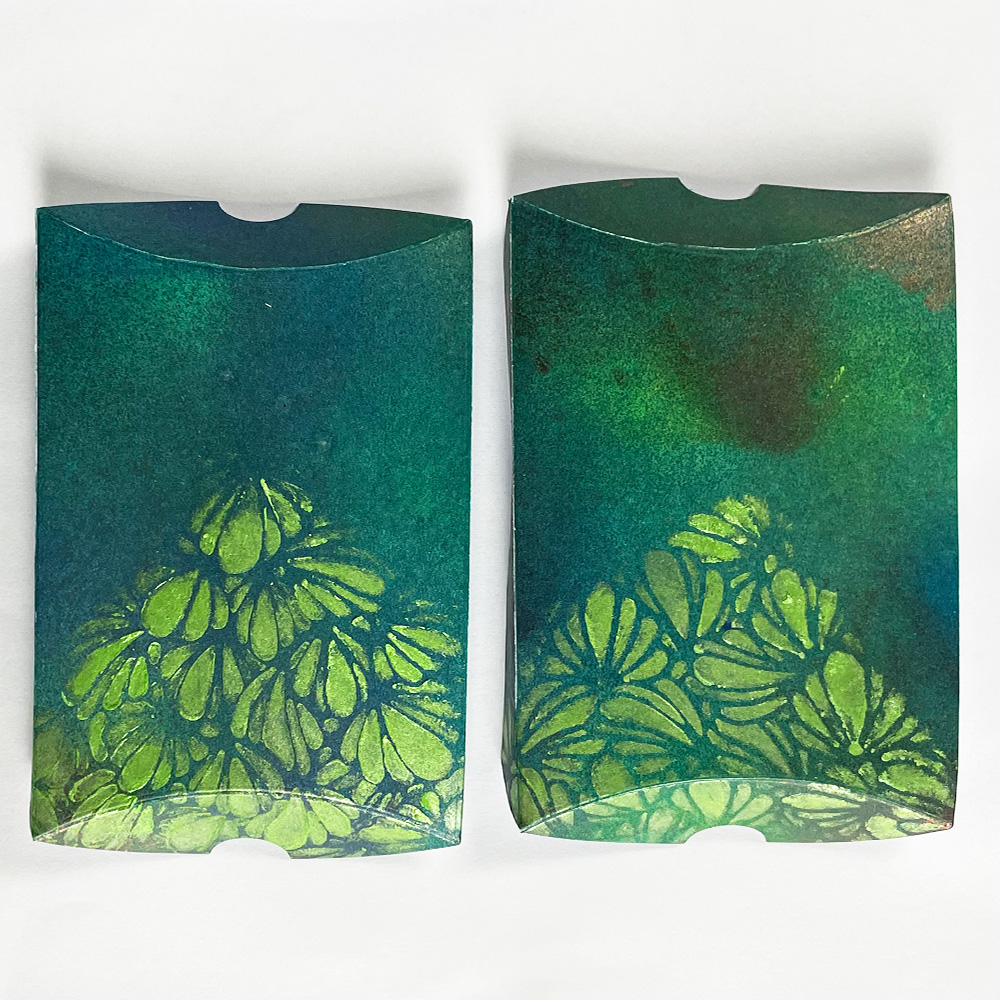
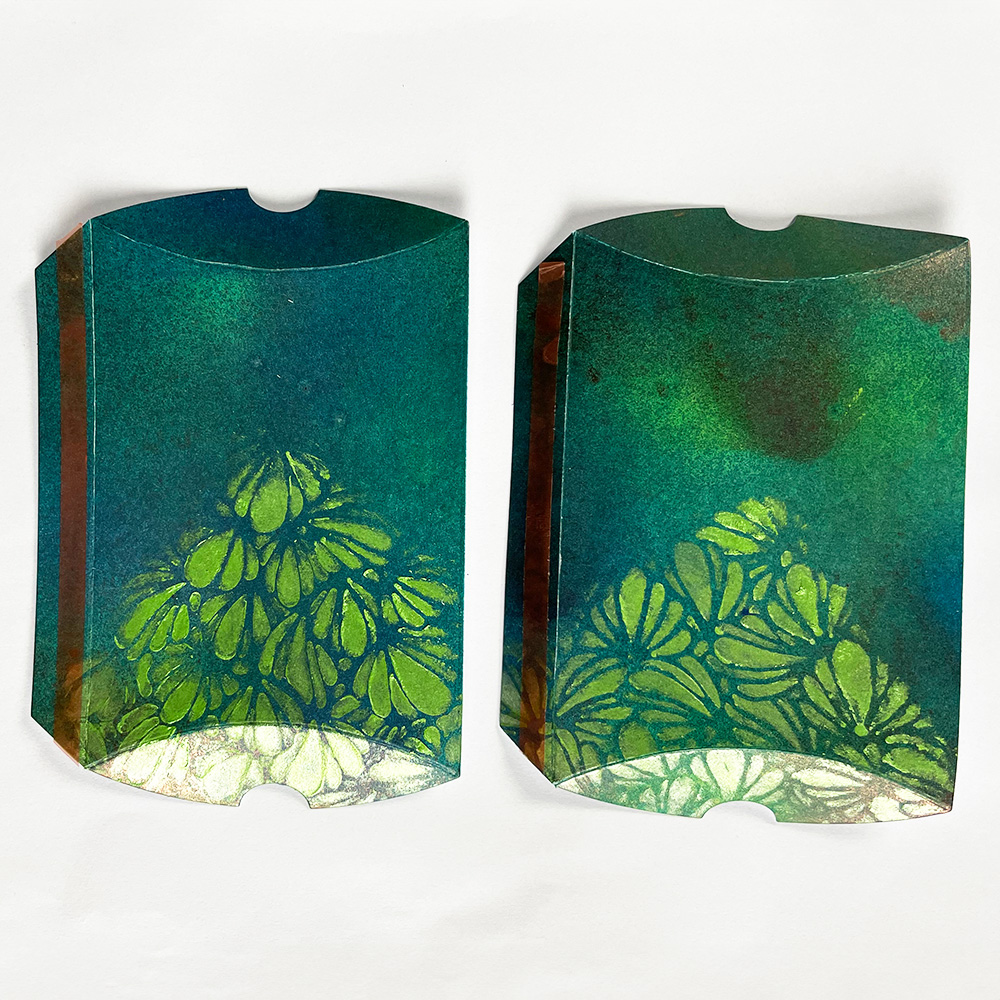
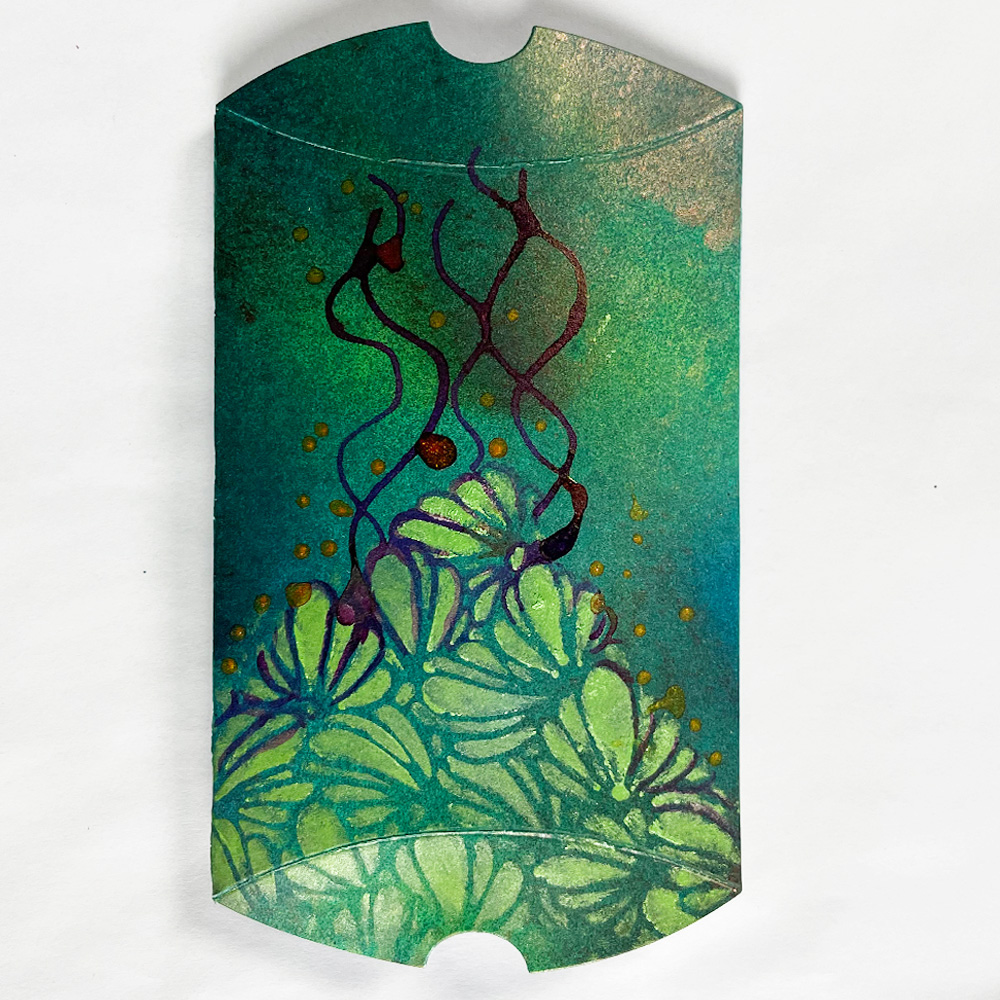
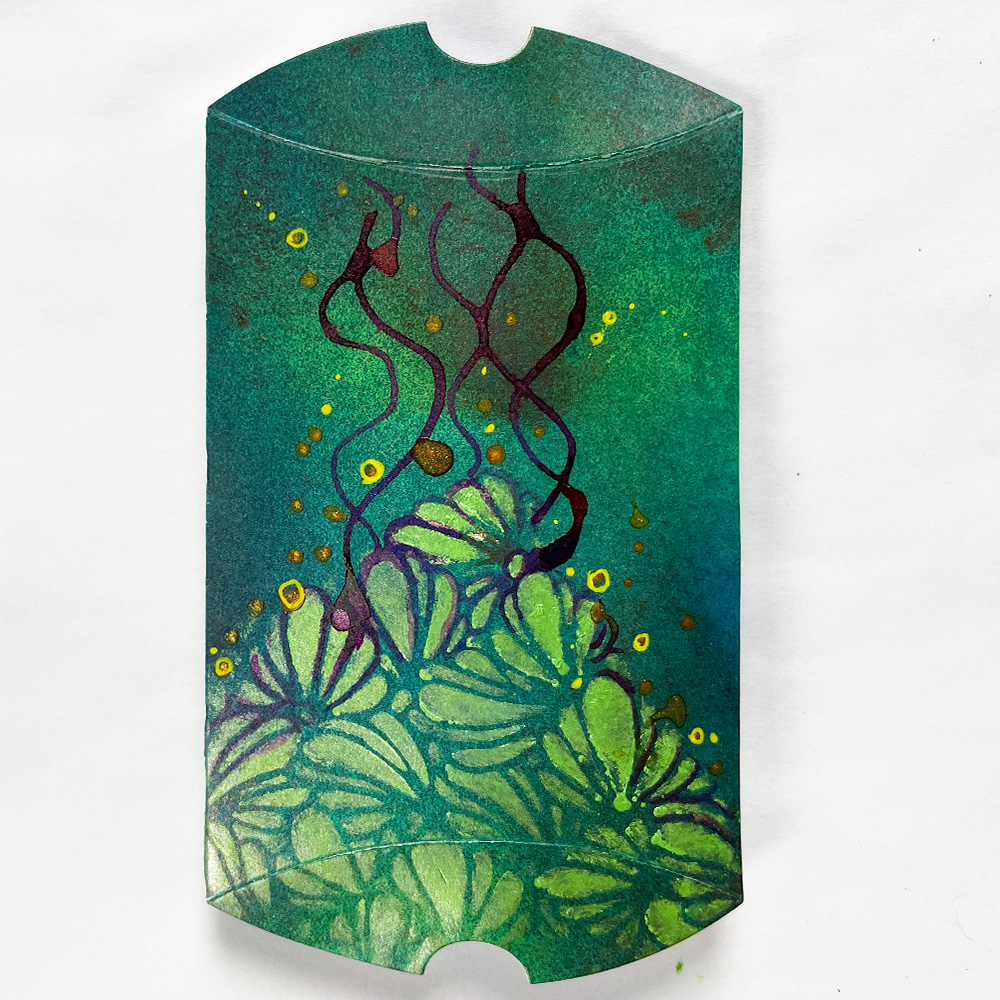
Add to cart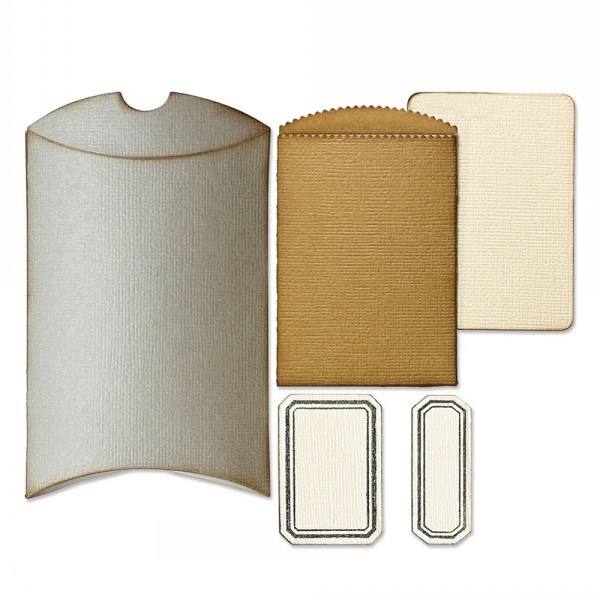 Sizzix Thinlits Vault Pillow Box Die Set
£17.99
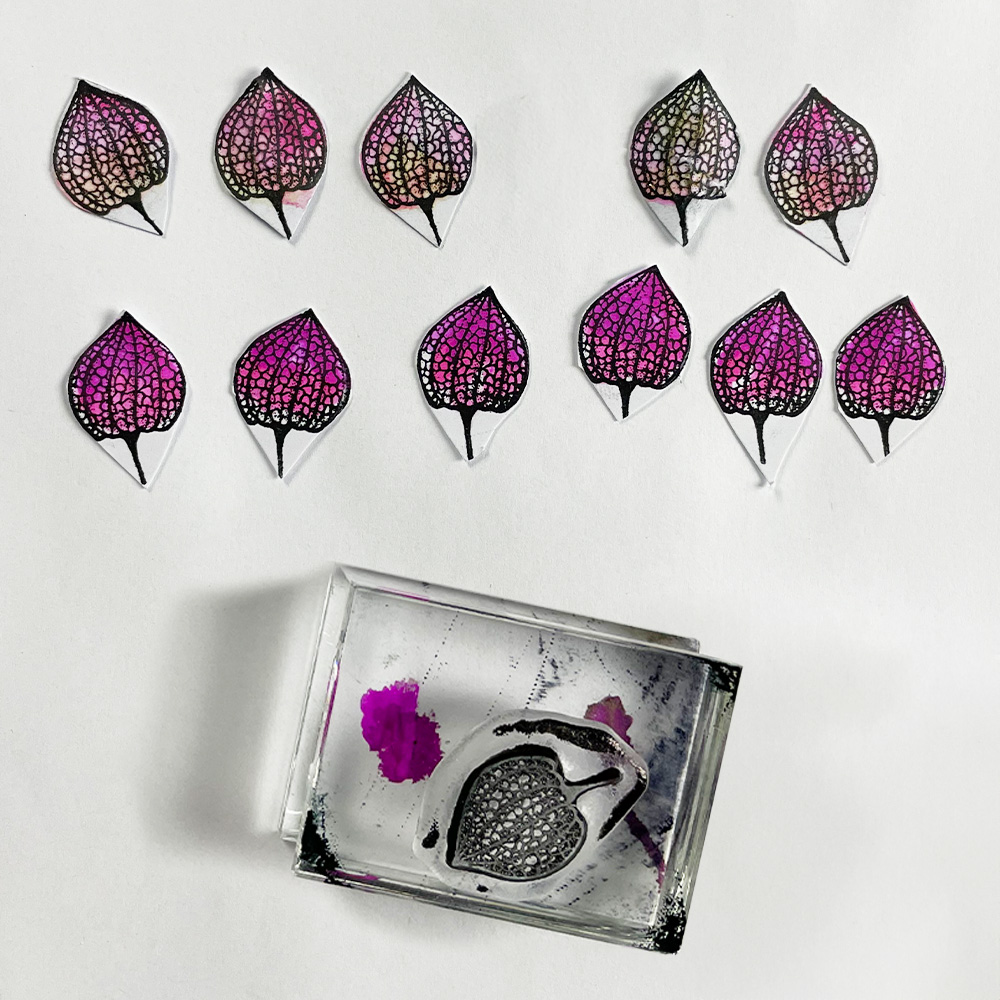
Add to cart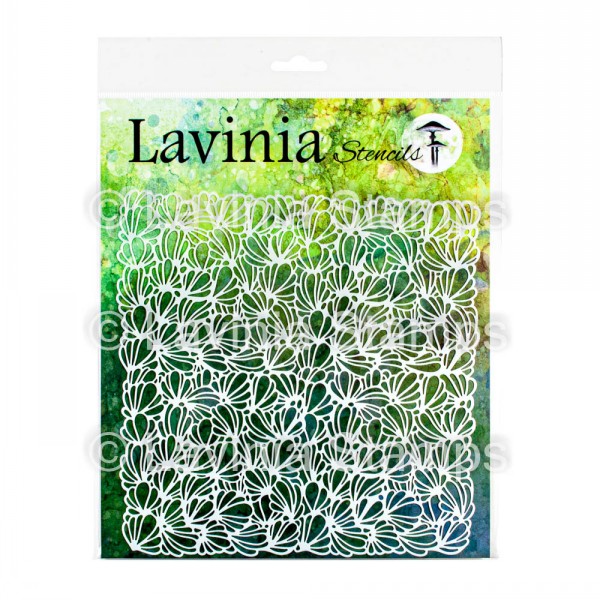 Ambience – Lavinia Stencils
£5.50
Add to cart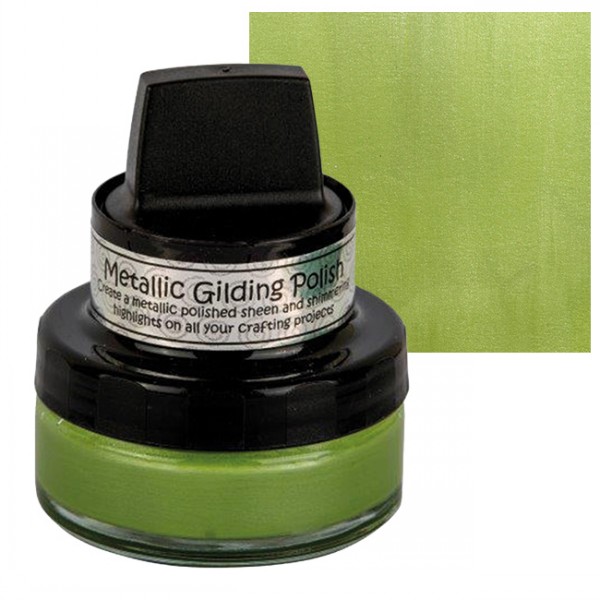 Metallic Gilding Polish Vibrant Collection
£6.75
Select options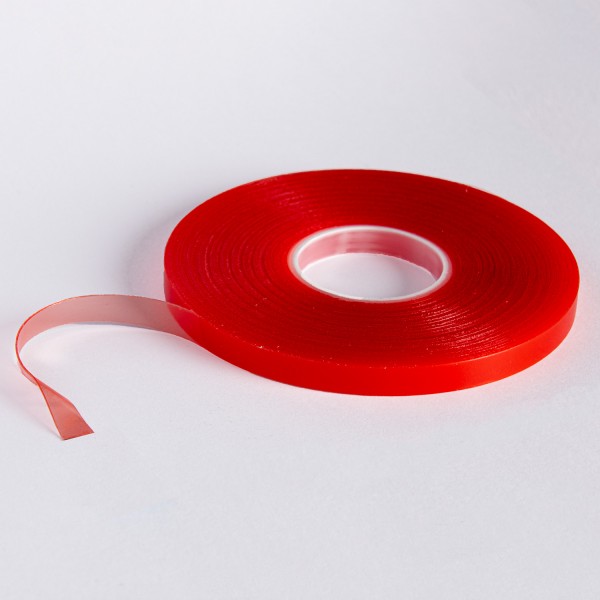 Extra Sticky Double-Sided Tape
£2.50
Add to cart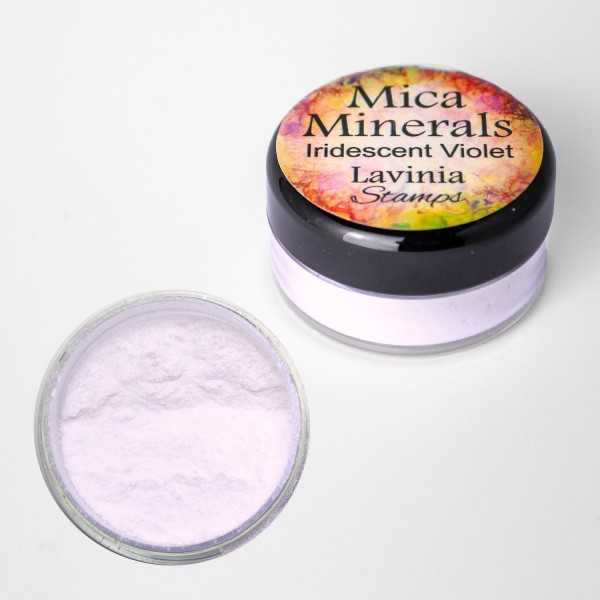 Mica Minerals – Iridescent Violet
£2.25
Add to cart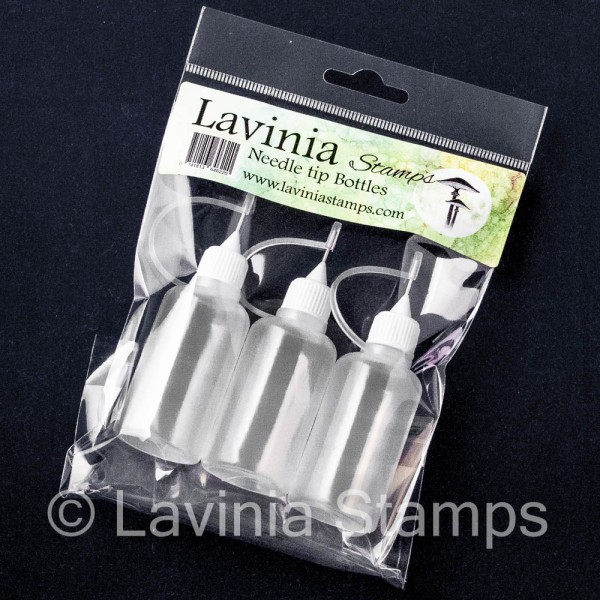 Needle Tip Applicator Bottles
£4.80
Add to cart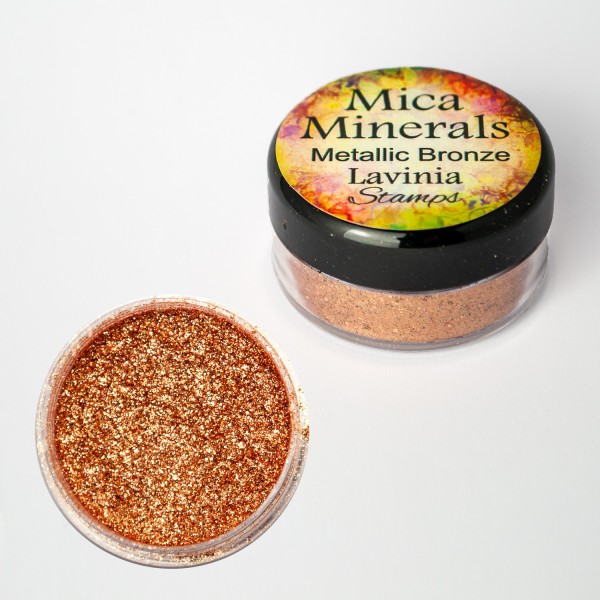 Mica Minerals – Metallic Bronze
£2.25
Add to cart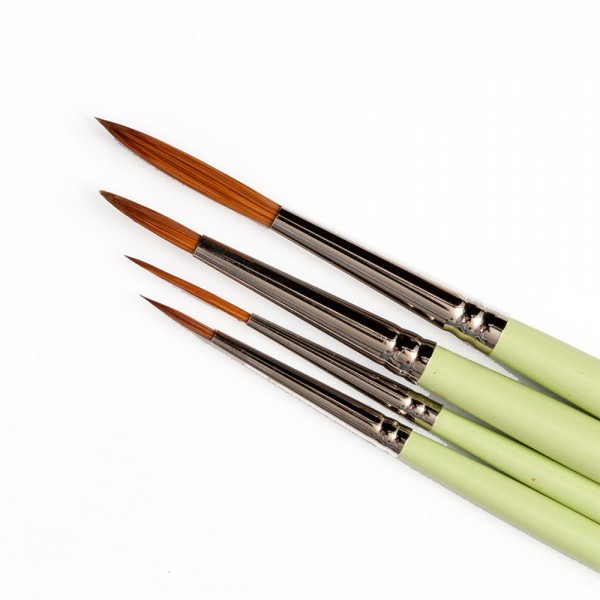 Lavinia Watercolour Brush Set 1
£16.50
Add to cart Posca Fine Tip Pens Summer Collection
£3.15
Select options Bippity Boppity Glue
£6.25
Add to cart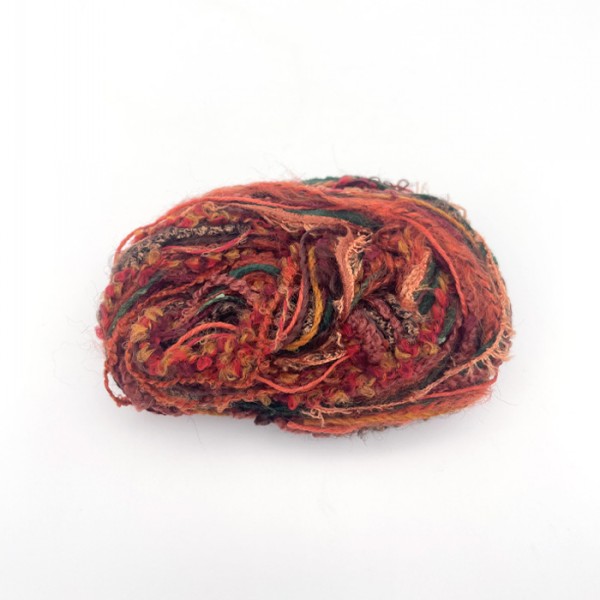 Crafting Yarn – Terracotta
£4.45
Add to cart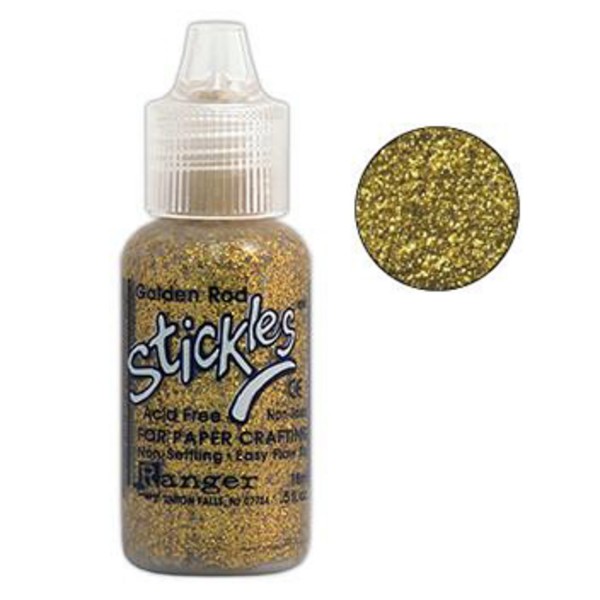 Stickles Glitter Golden Rod
£2.99
Add to cart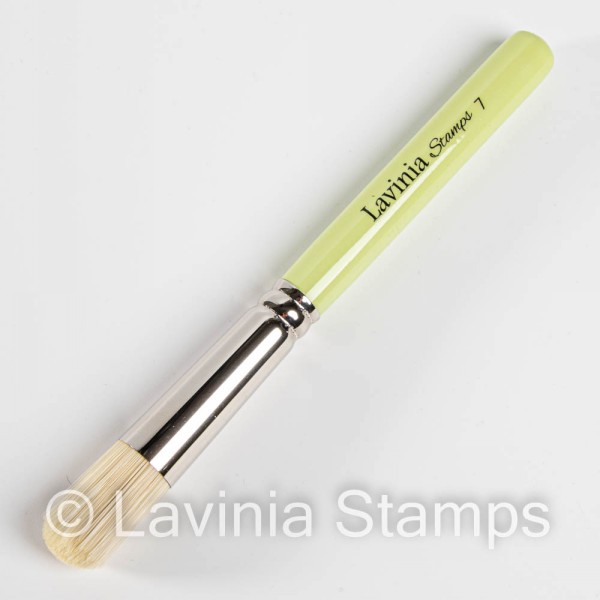 Lavinia Stencil Brush (Series 7)
£4.80
Add to cart