
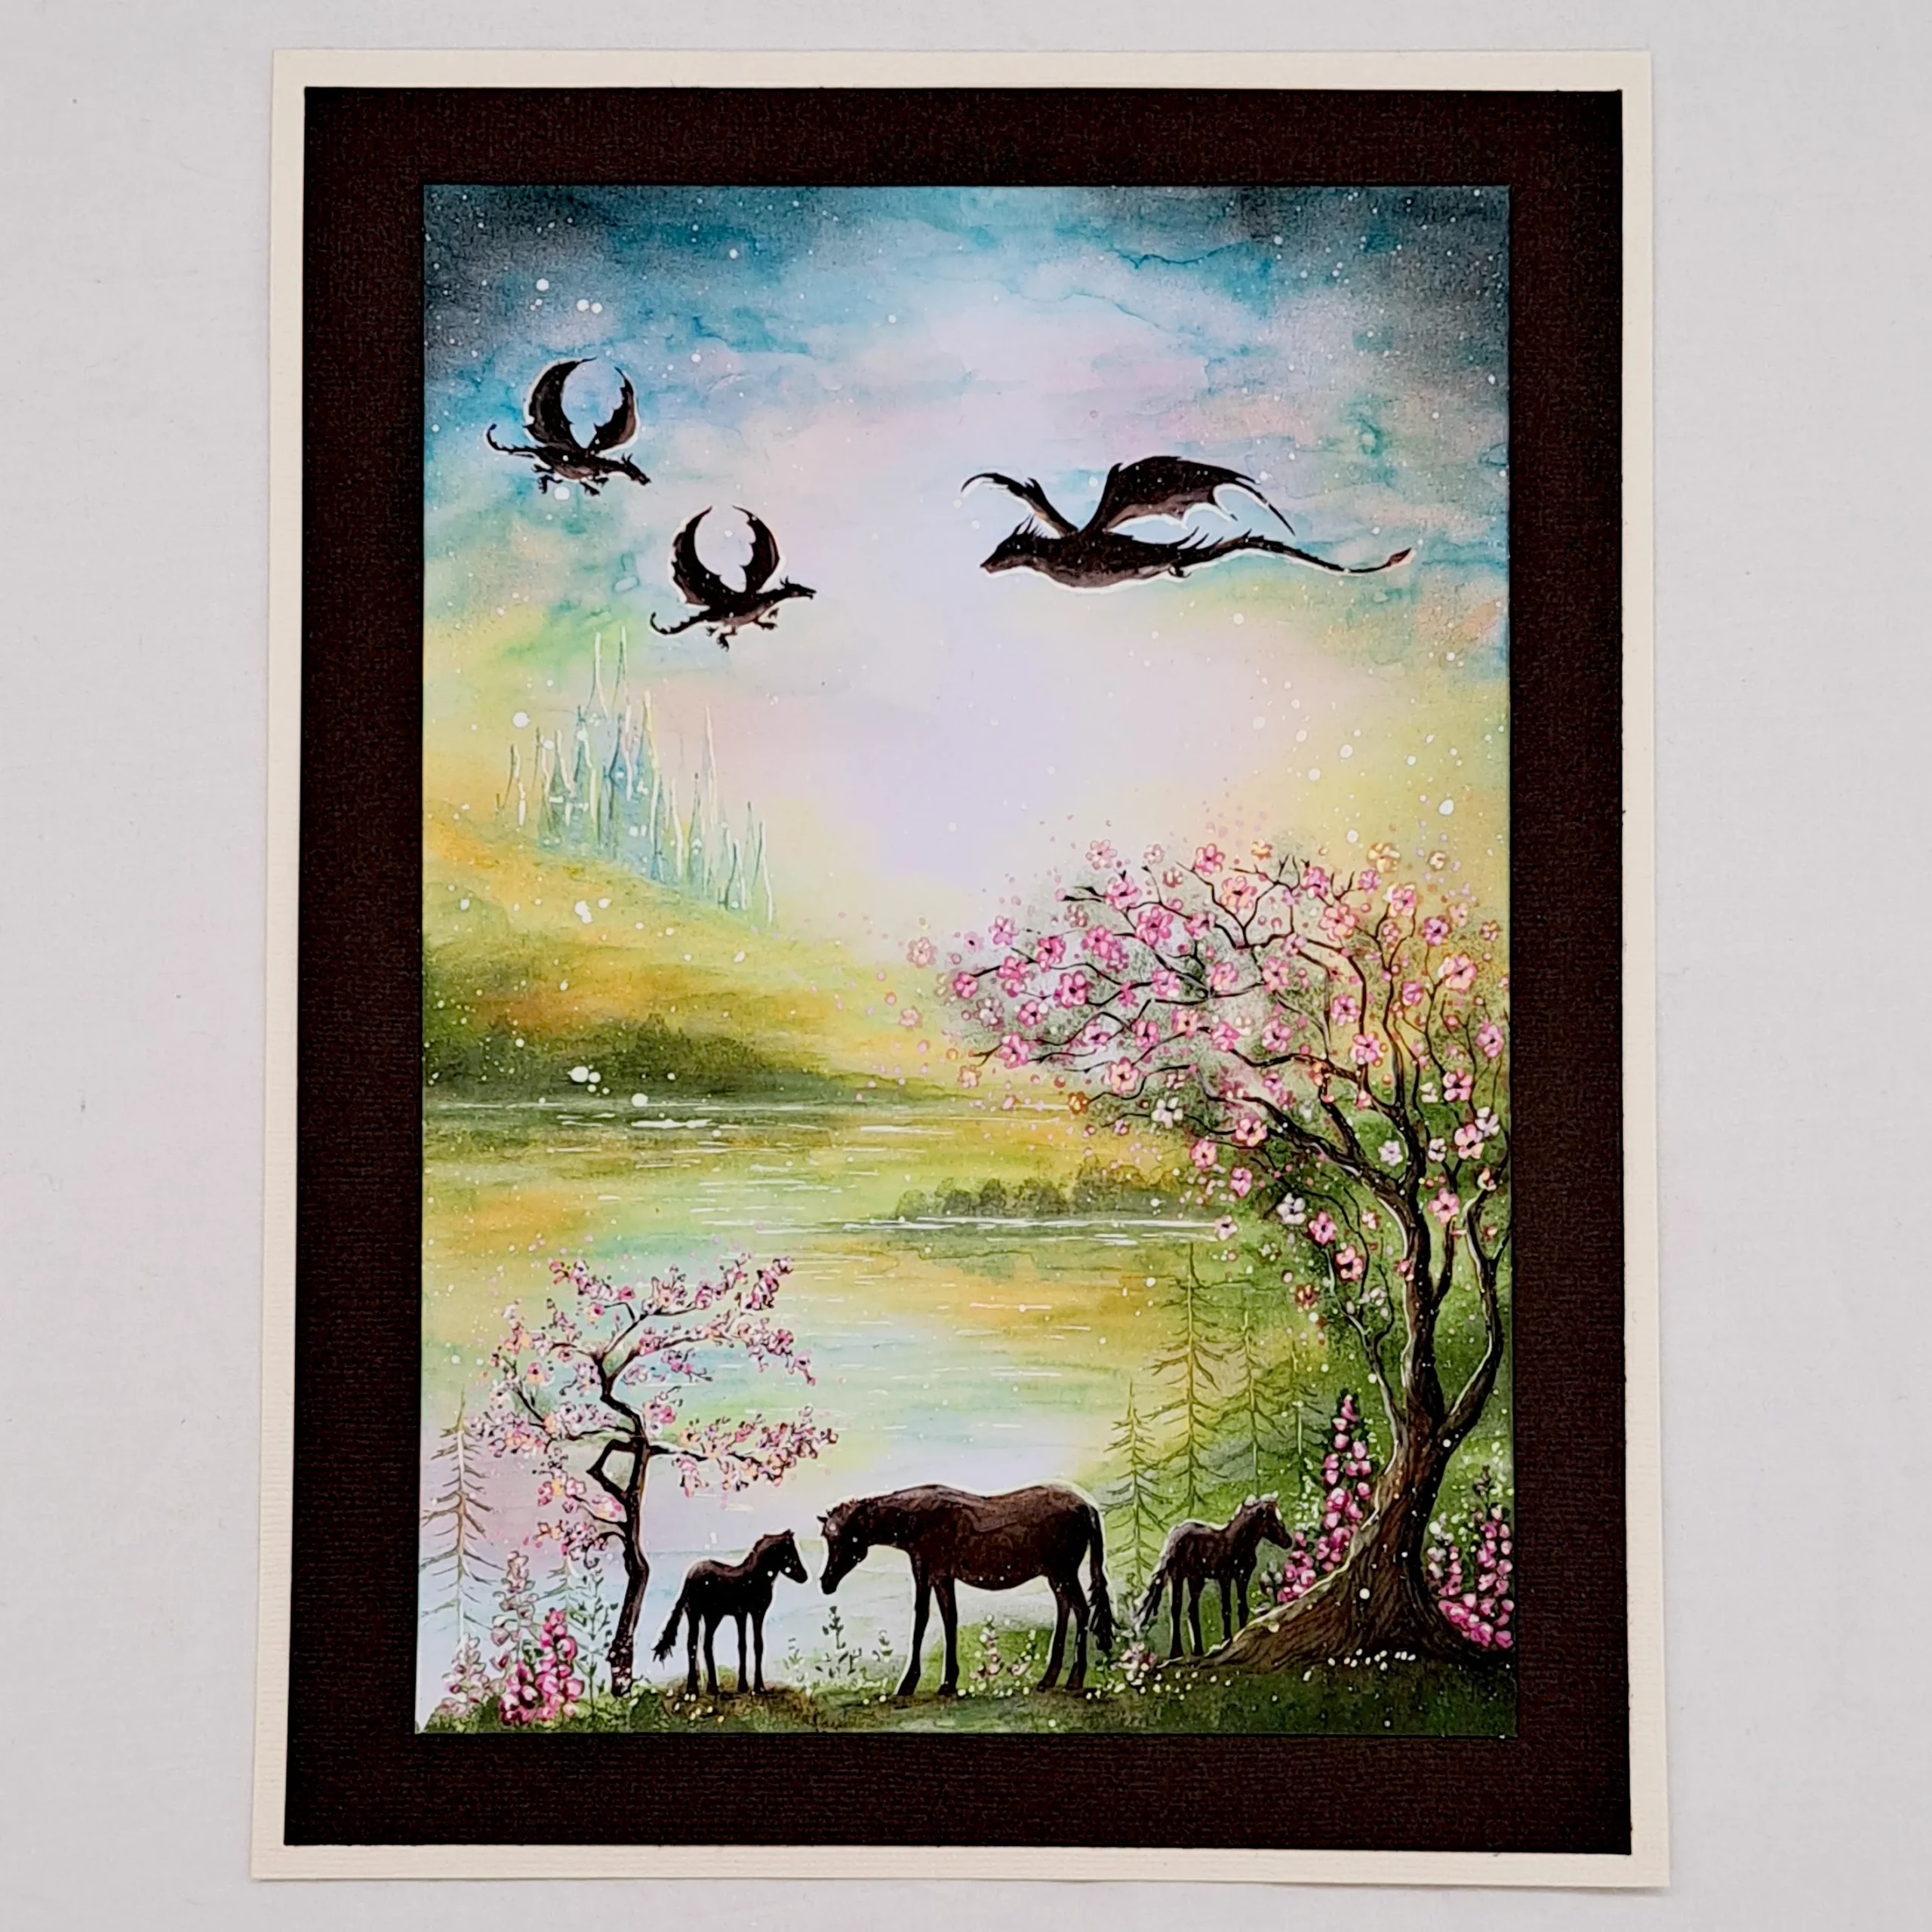


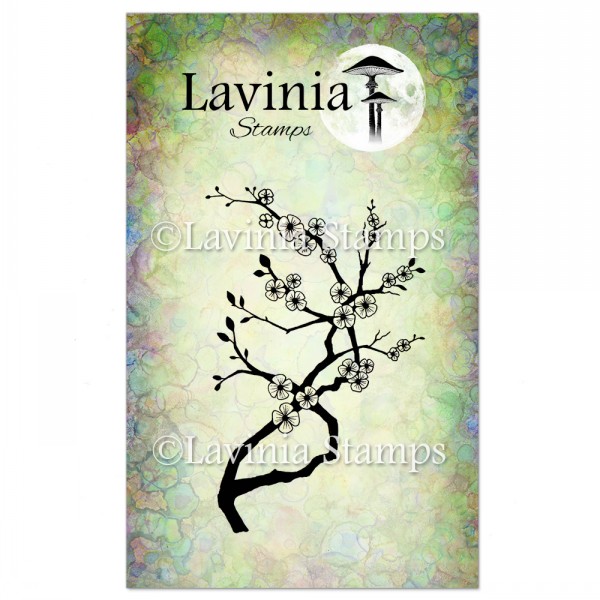
 Cherry Blossom Stamp
£7.80
Add to cart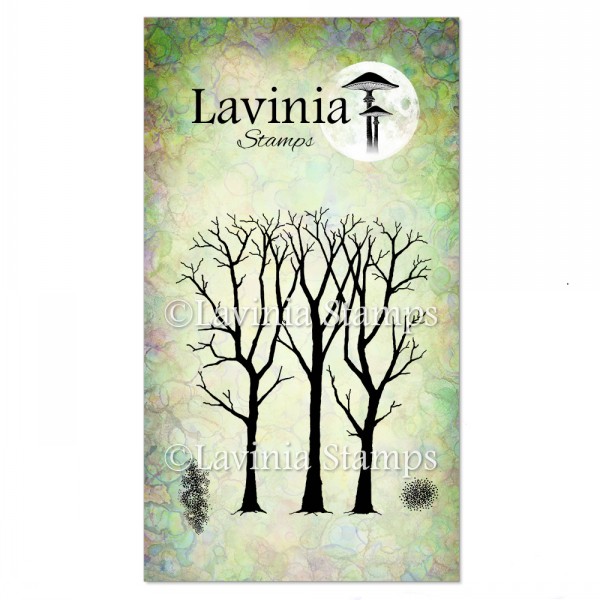 Spring Trees Stamp
£9.80
Add to cart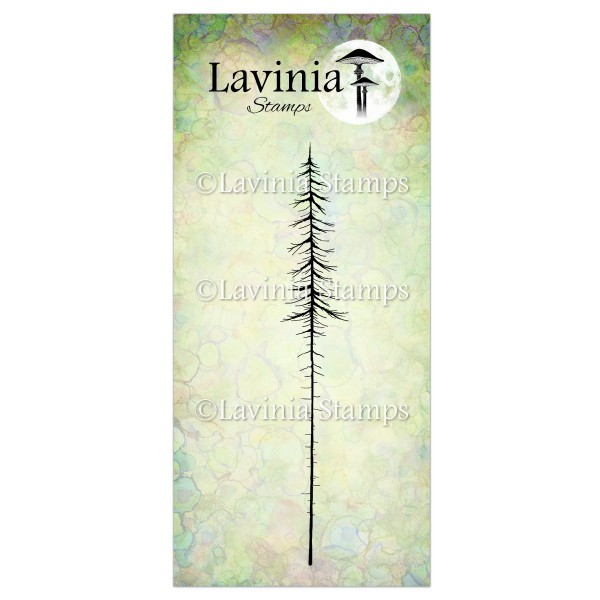 Red Pine (Small) Stamp
£6.30
Add to cart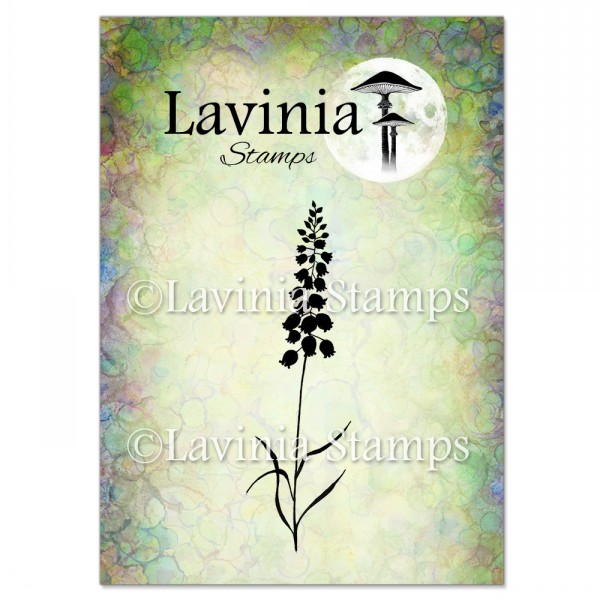 Bluebells Stamp
£5.80
Add to cart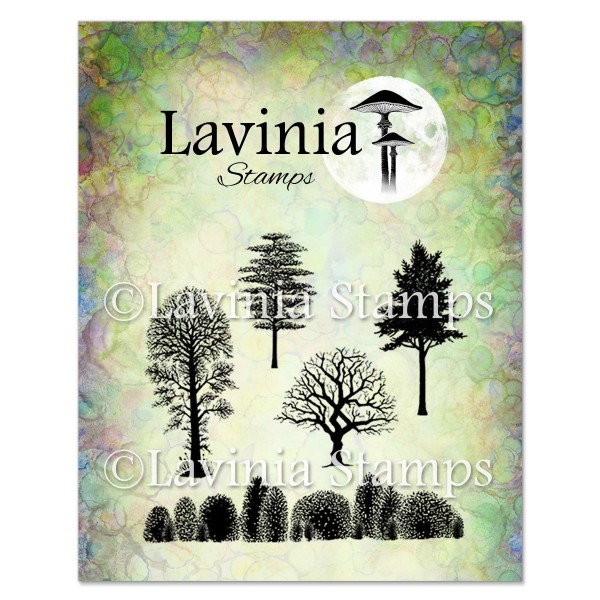 Tree Scene Stamp
£8.30
Add to cart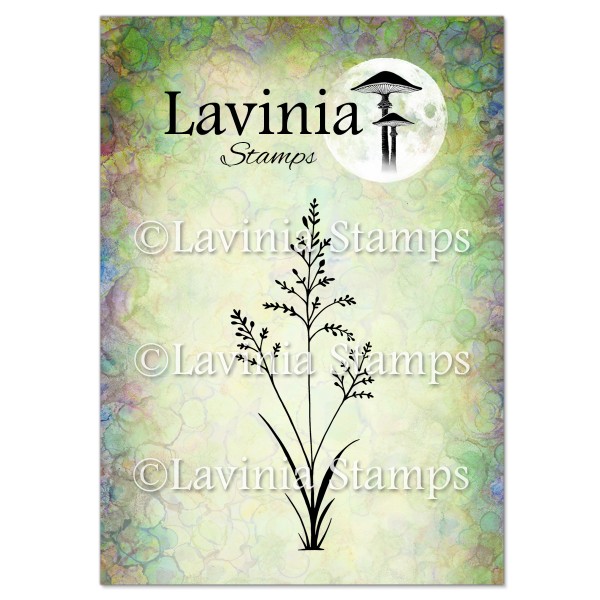 Orchard Grass Stamp
£5.60
Add to cart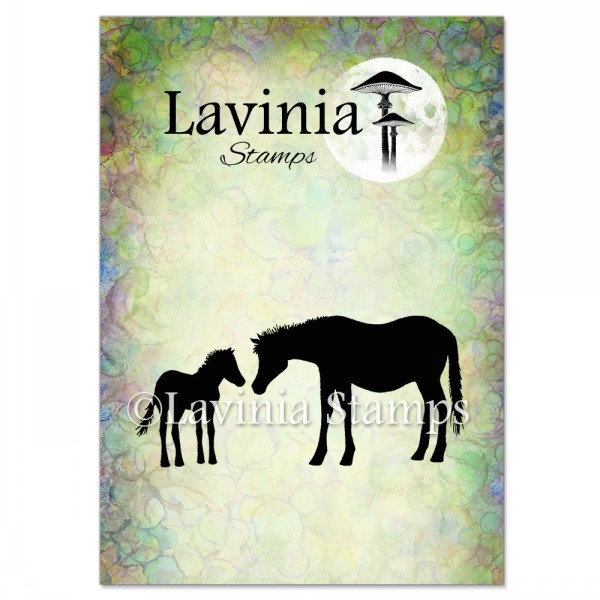 Horse and Foal Stamp
£6.80
Add to cart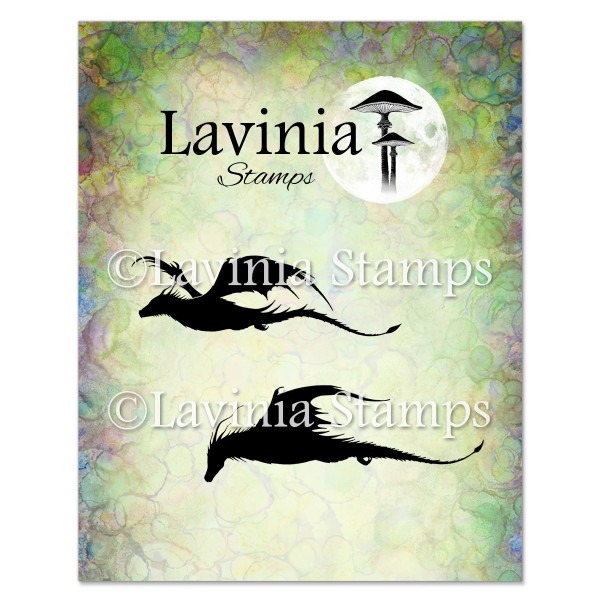 Dragon Set Stamp
£7.50
Add to cart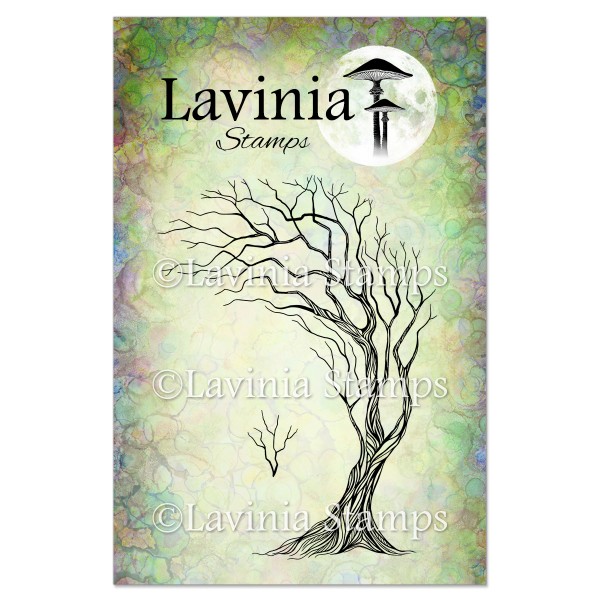 Tree of Hope Stamp
£10.80
Add to cart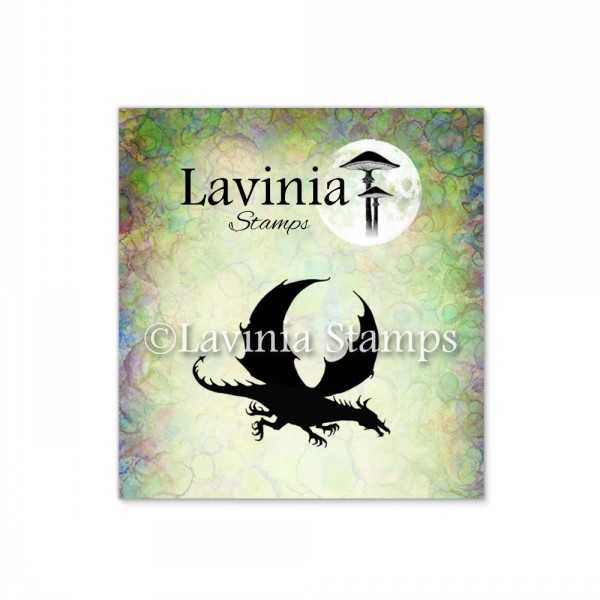 Dragon Mini Stamp
£1.10
Add to cart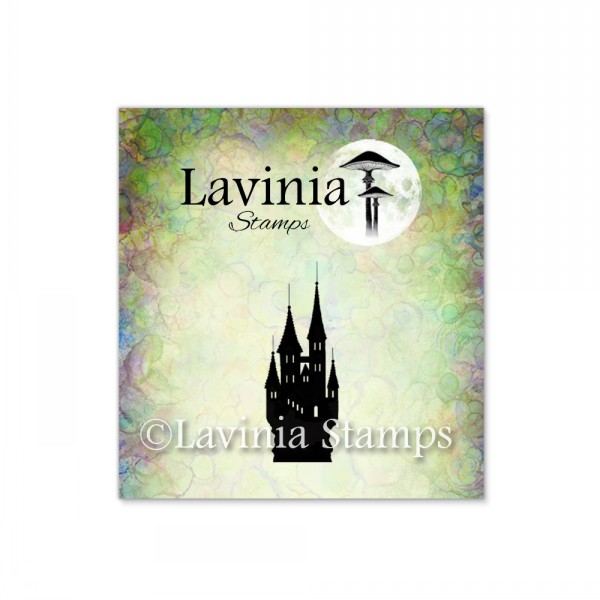 Castle Mini Stamp
£1.10
Add to cart Elements Premium Dye Ink – Blue Atoll
£5.85
Add to cart Elements Premium Dye Ink – Olive
£5.85
Add to cart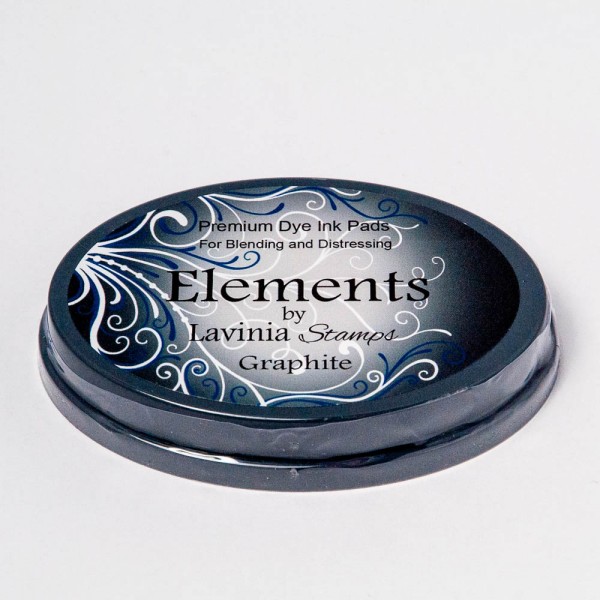 Elements Premium Dye Ink – Graphite
£5.85
Add to cart Versafine Clair Ink Pad – Pinecone
£5.80
Add to cart Versafine Clair Ink Pad – Shady Lane
£5.80
Add to cart Versafine Clair Ink Pad – Nocturne
£5.80
Add to cart PanPastels – Hansa Yellow
£9.30
Add to cart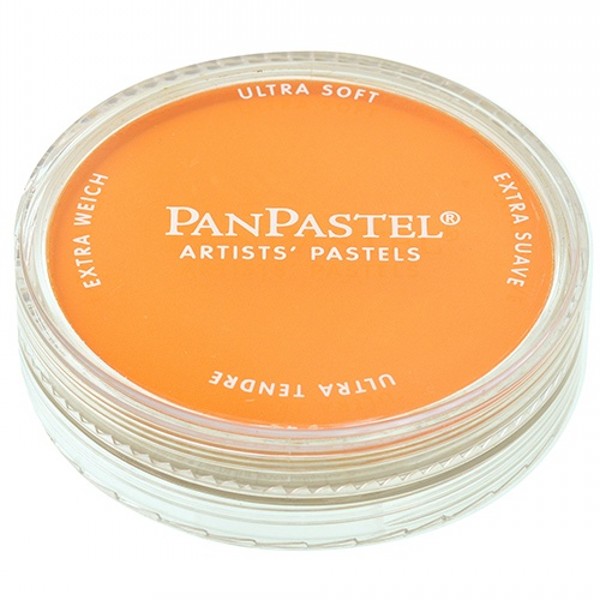 PanPastels – Orange
£9.30
Add to cart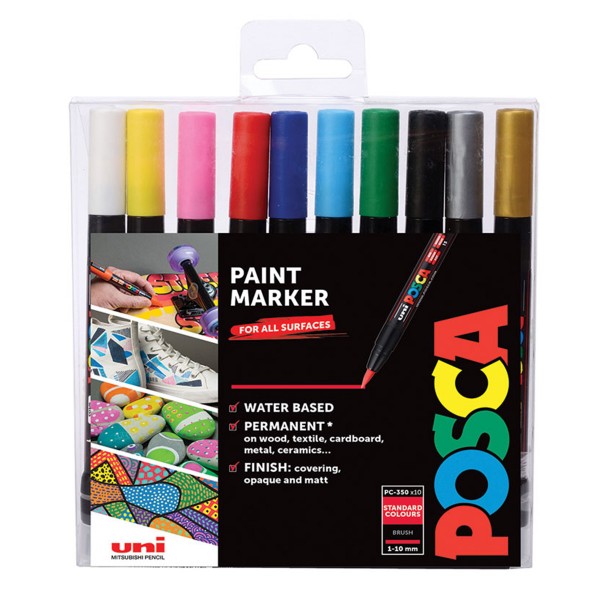 Posca Brush Tip Pens – 10 Pack
£49.95
Add to cart Uni-Ball Gel Pens
£1.90
Select options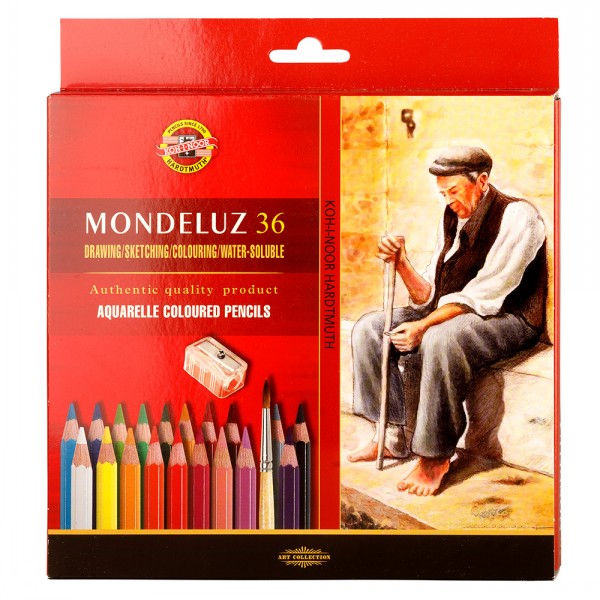 Mondeluz Watercolour Pencils 36 Set
£34.95
Add to cart