Step by Step by Guest DT Tina Ashton.
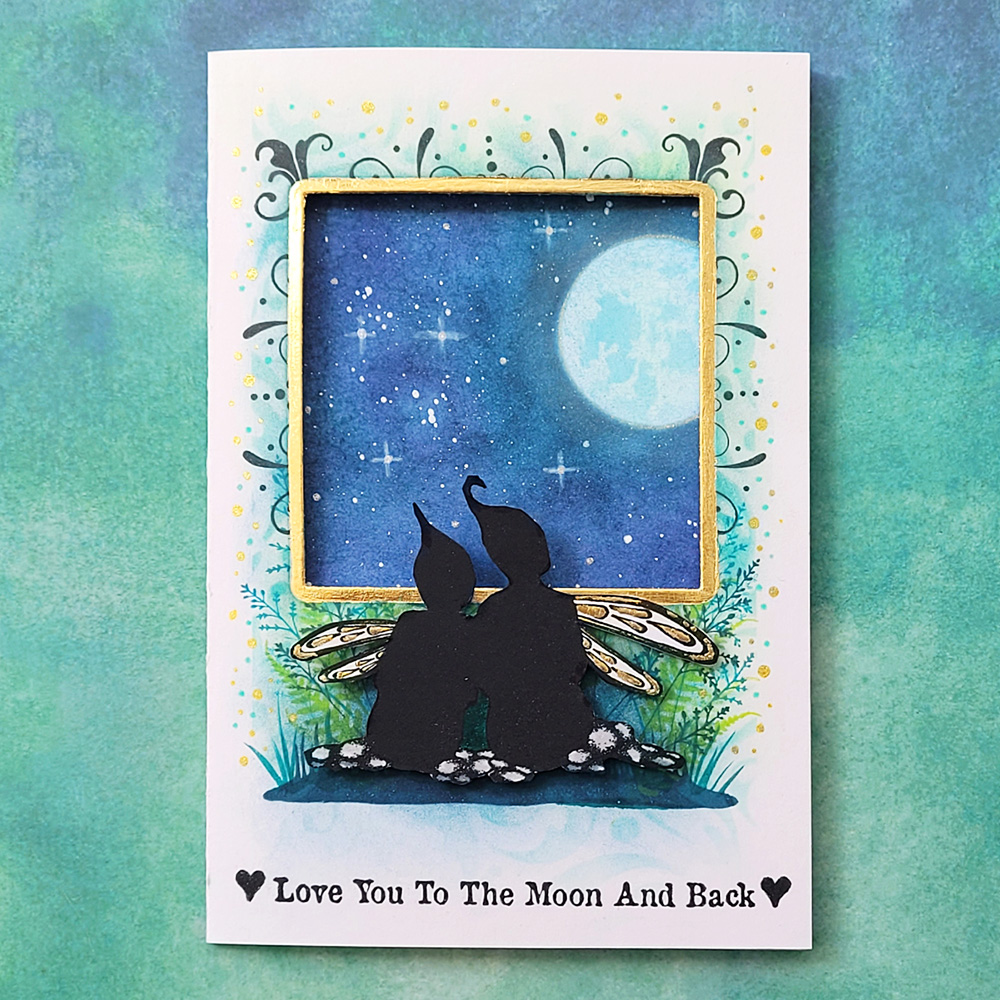
Hi Lavinians 🧚♀️ Hope you enjoy today’s tutorial featuring this magical Trifold Star Gazing Card.
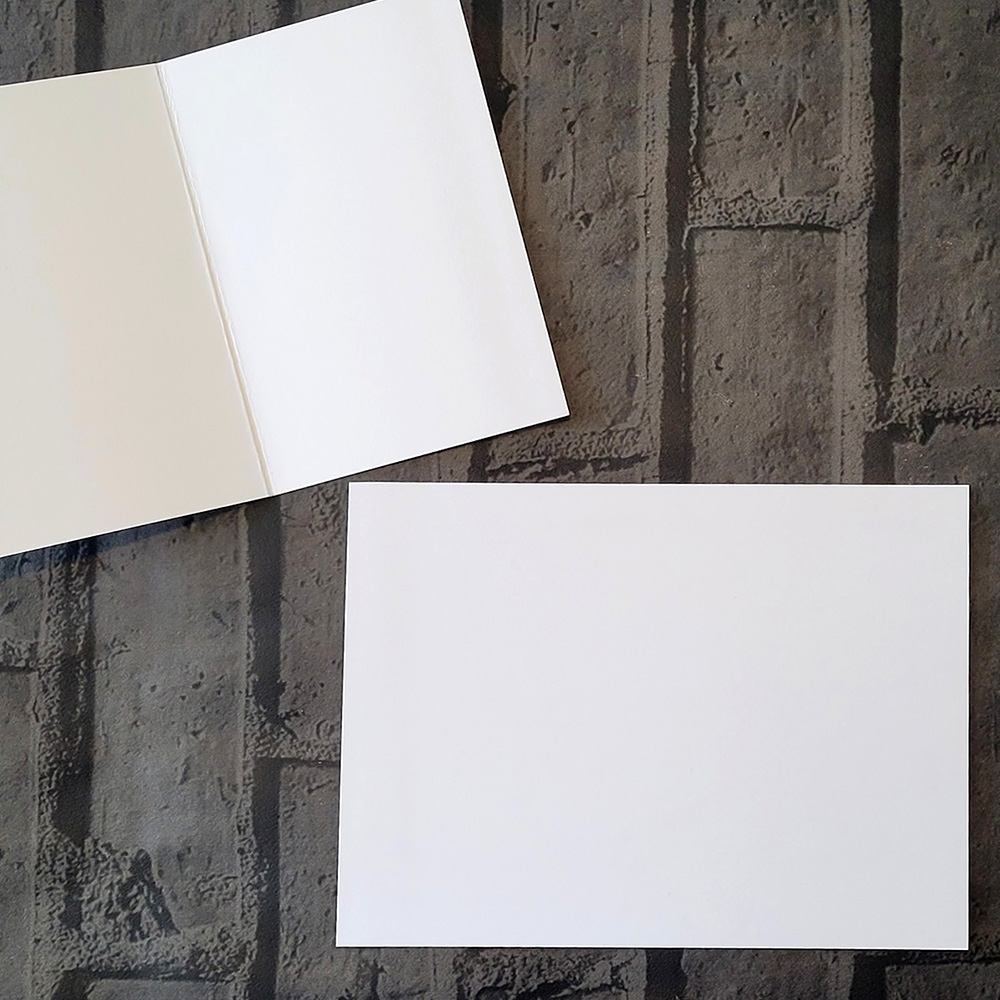
- Cut 2 pieces of white card to 8inches x 6inches and then fold them both in half down the centre on the long side (8inch) to give you two 6inch x 4inch cards (C6). Then cut 1 piece of Lavinia Multifarious White Card to be sized at 14.5cm x 9.5cm and set this aside until later.
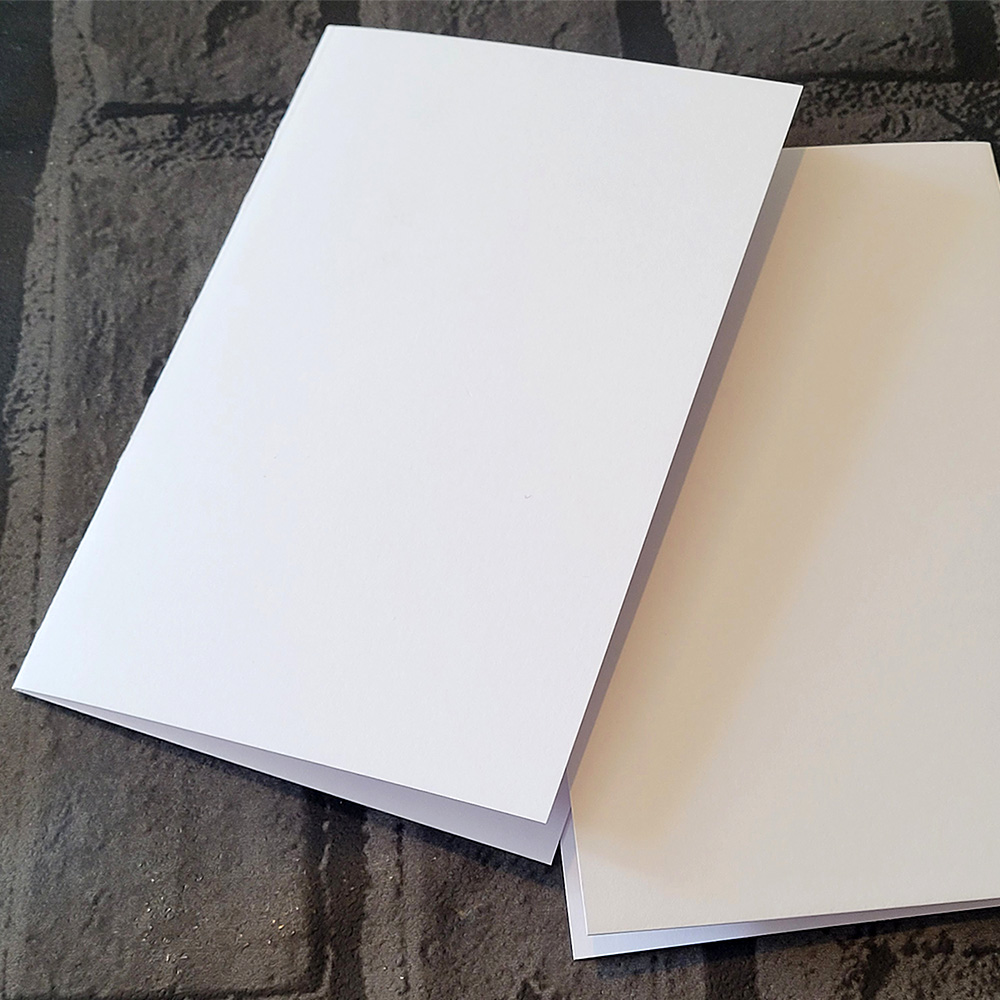
2. Grab your two C6 cards and with a guillotine trim a sliver of card from the back of each card. Turn and flip over the card on your right so that the cut out sliver is showing upwards and is facing in towards the other card on your left. When they are slid in towards each other they fit nice and snuggly together.
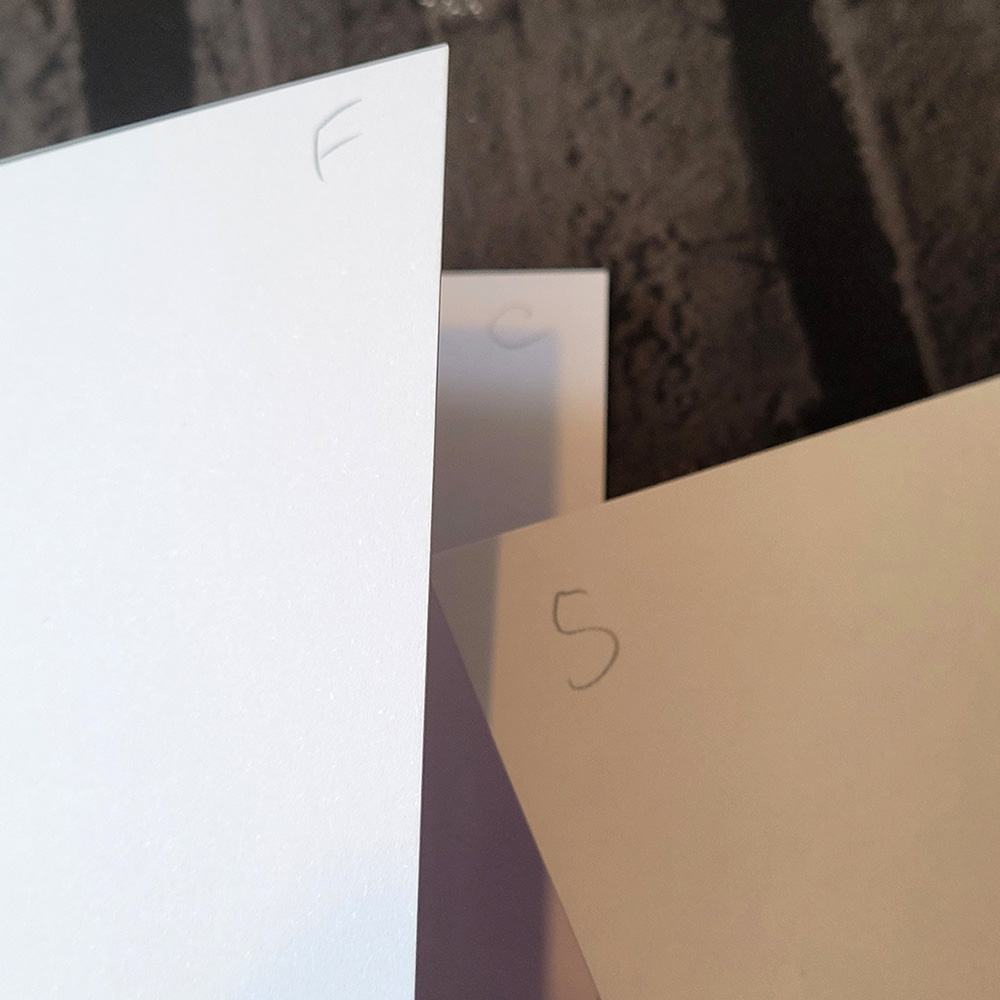
3. Mark up each side with a pencil so that we don’t get confused with which side you are working on! This is very easy as there are so many sides to this card in the beginning. I add an F to the top corner of the front side, a C for the Centre side and an S for the side that will have the scene on it. I also mark out the sides that will be stuck together to avoid confusion. Believe me, I have stuck the wrong side down in the past!
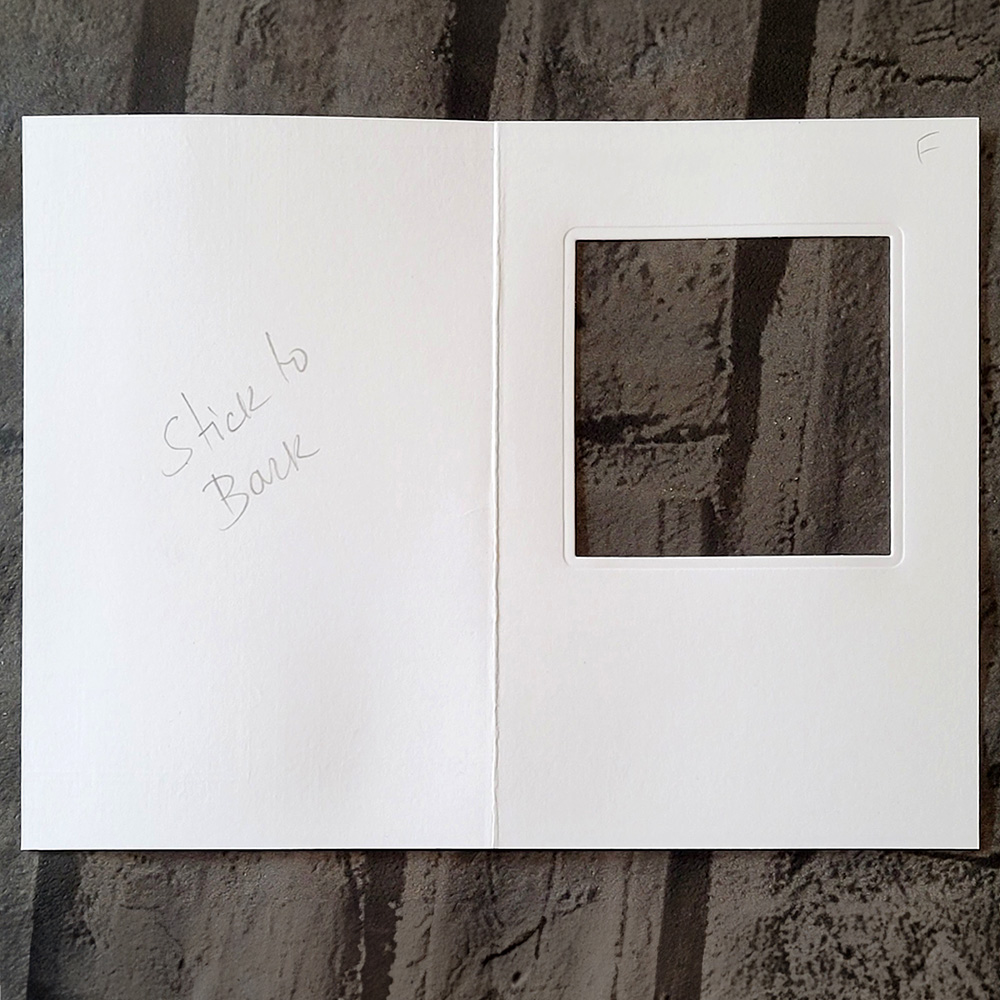
4. Put all to one side apart from the card with the F at the front. You now have to cut your aperture window (or a shape of your choice) out. I used a square die and my die cutting machine to cut this. My die was sized at 6.5cm square. Cut the square towards the top of your card to give you space below for the star gazers.
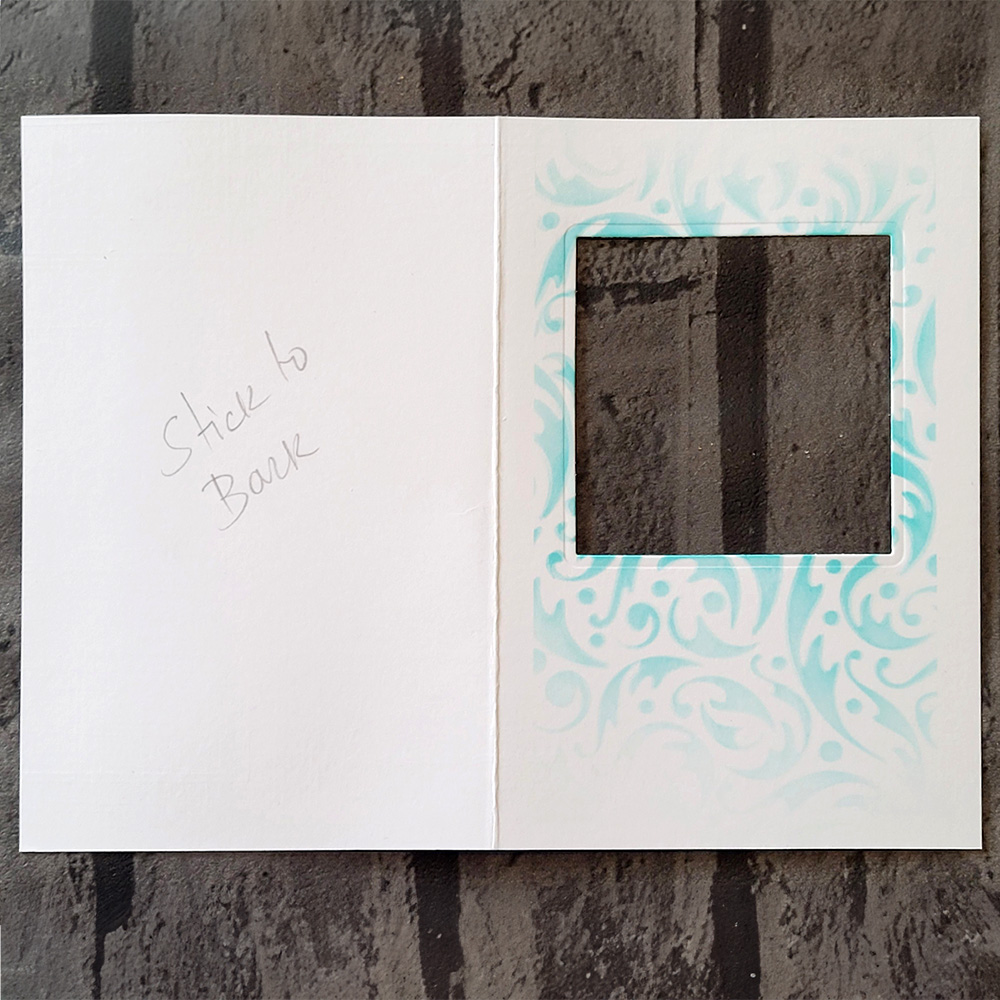
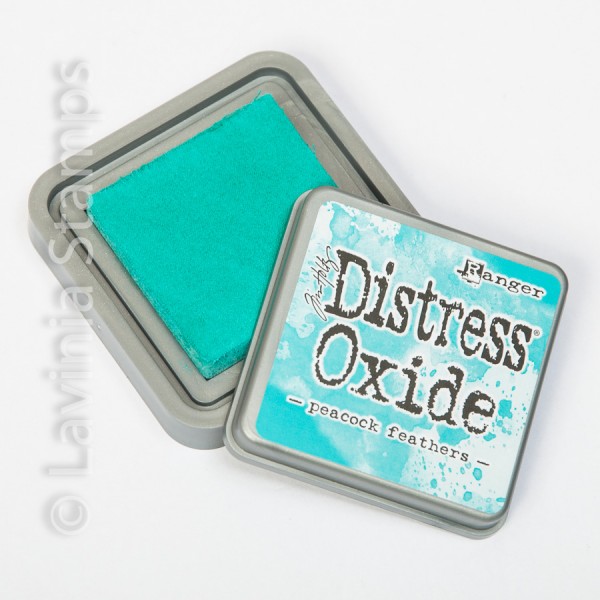
5. You can safely erase the F from the top as we now know the window side is the front card. Now it is time to work on the front design. I taped up some paper sheets to the sides. I stencilled with my Lavinia brushes and Distress Oxides in Salvaged Patina and Peacock Feathers. I used soft brush strokes for a more subtle design and avoided the outside edges and top and bottom to leave some white surrounding it.
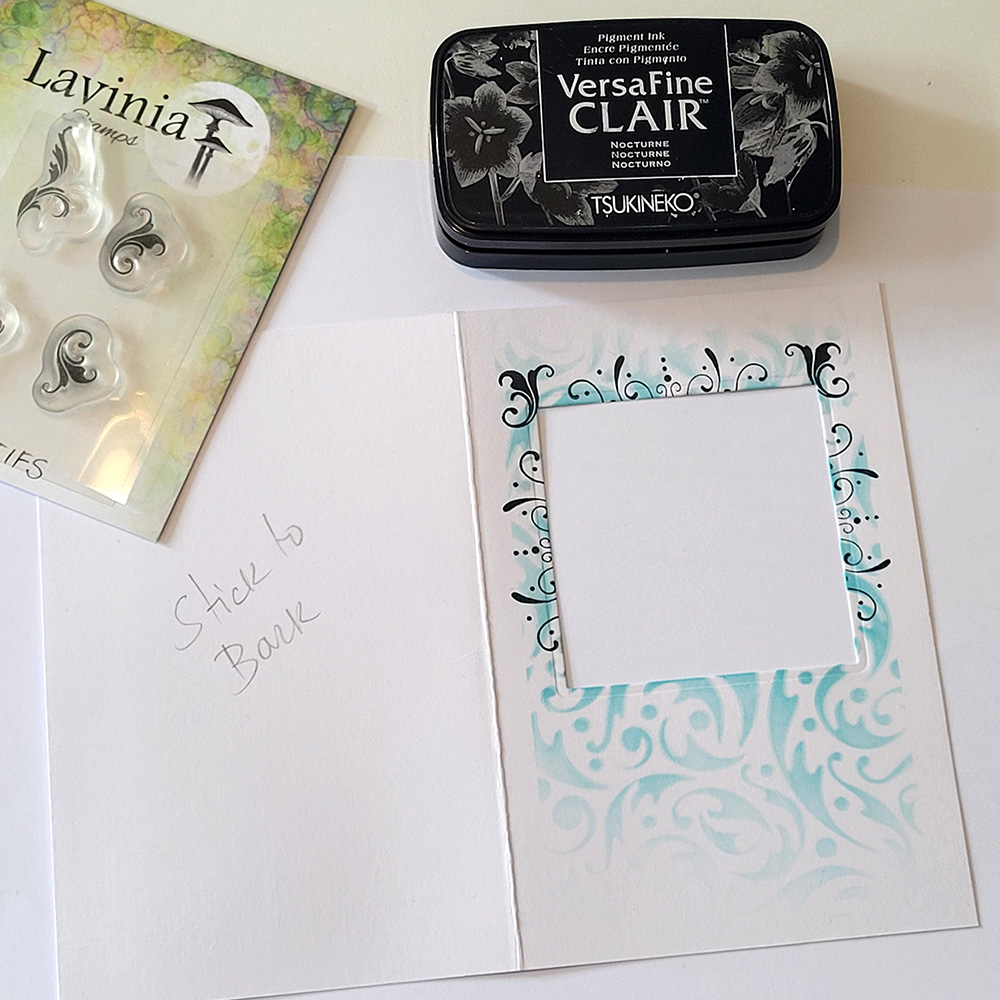
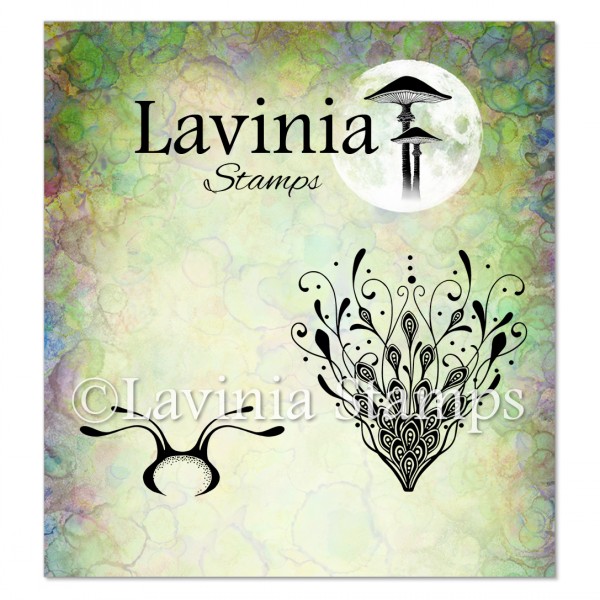
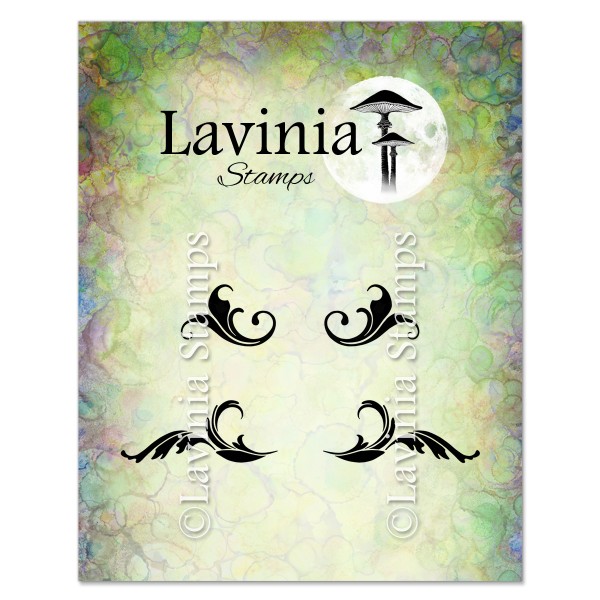
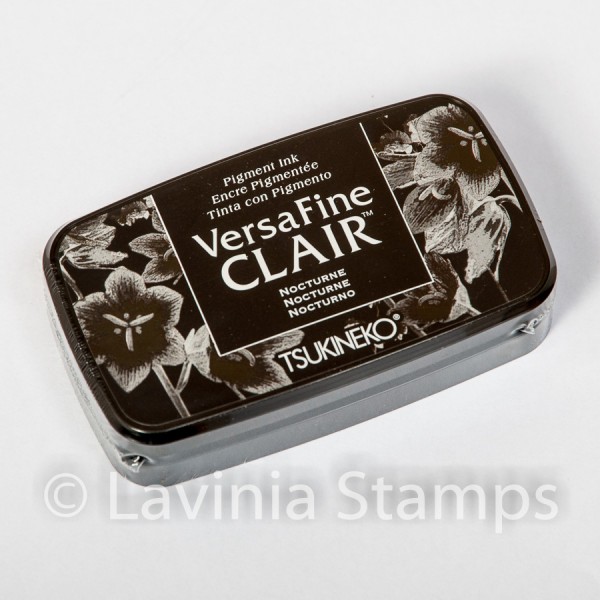
6. I then Stamped the Left, Top and Right edges of the window using Botanical Blossoms Bud, and Versafine Clair Nocturne. I also then stamped the top Left and Right Corners with the Motifs stamps and again Versafine Clair Nocturne.
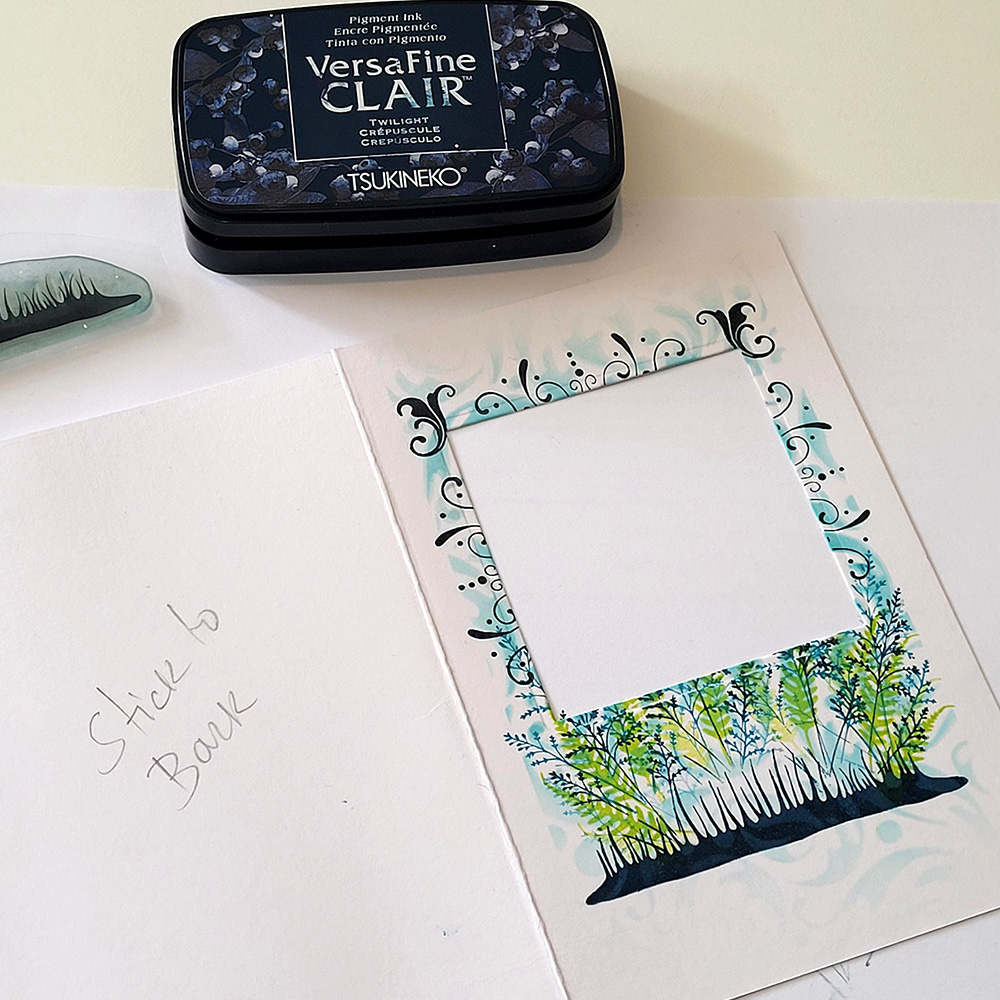
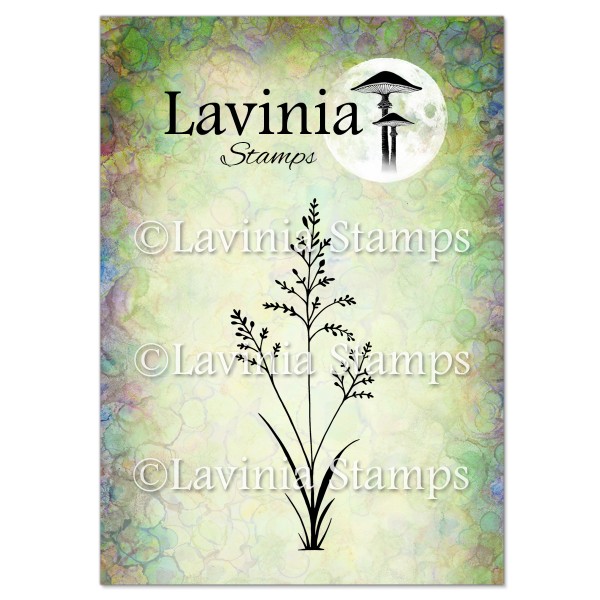
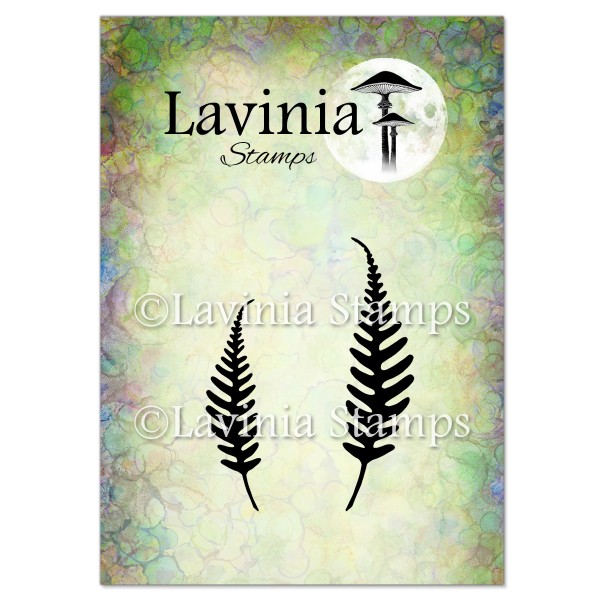
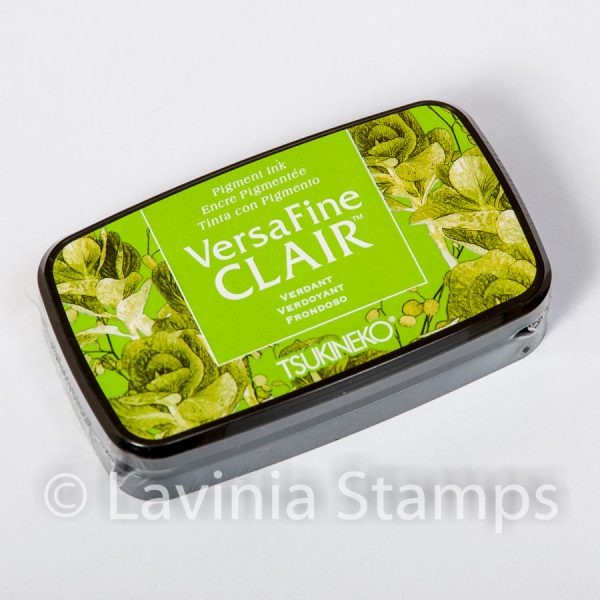
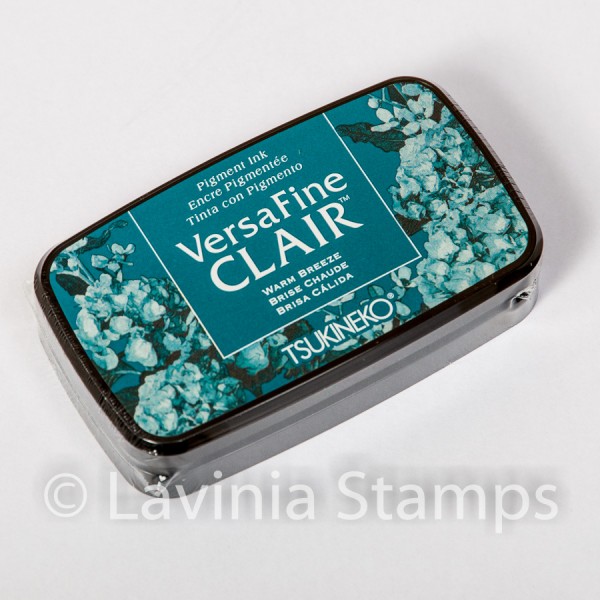
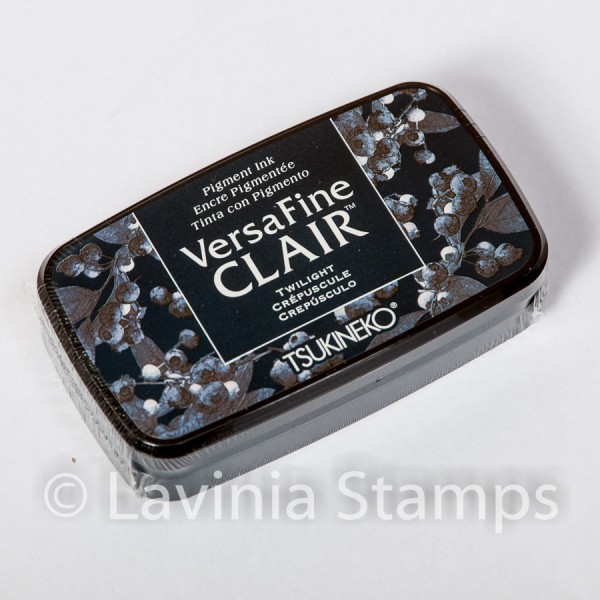
7. Then I grabbed my foliage stamps, Orchard Grass and Woodland Ferns and I stamped them several times using Versafine Clair Verdant, Warm Breeze and Twilight around the bottom of the window. Below this I then stamped the Silhouette Grass Stamp using Versafine Clair Twilight to give the Star Gazers a base to sit on.
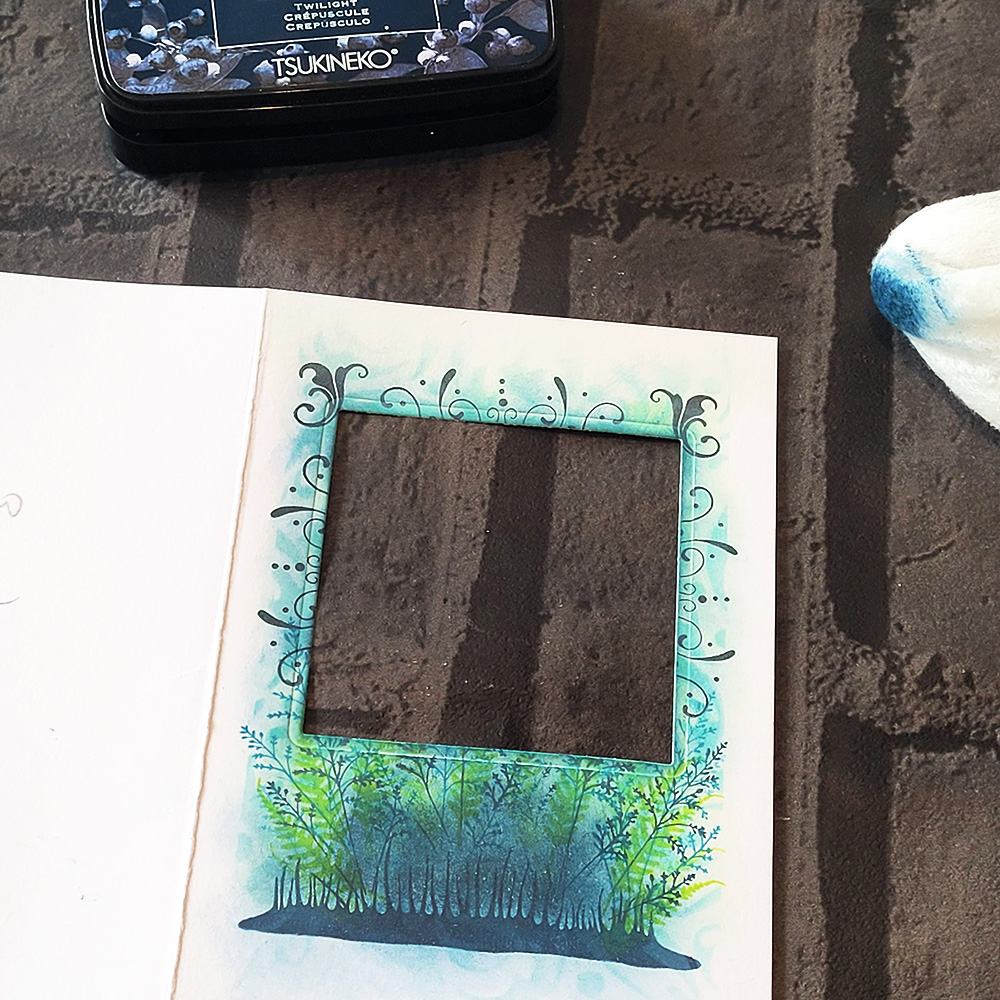
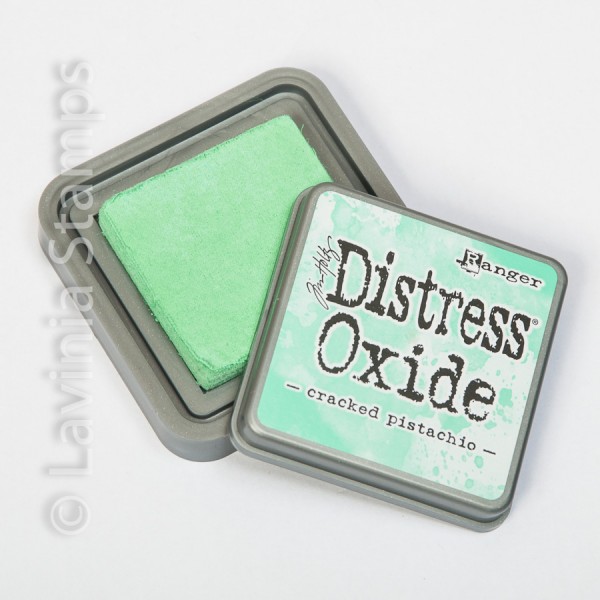
8. I softened the whole area using a little Cracked Pistachio Distress Oxide, then deepened the edges with a touch of Twilight Versafine Clair.
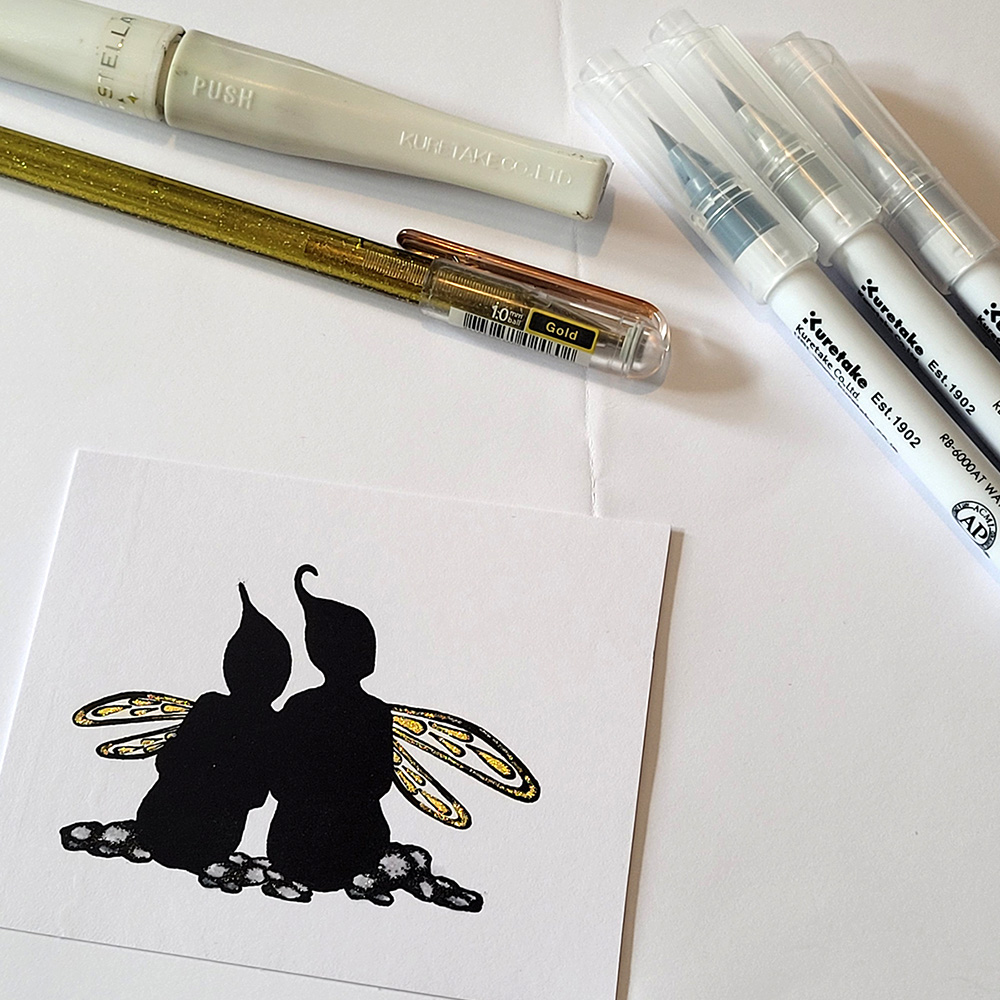
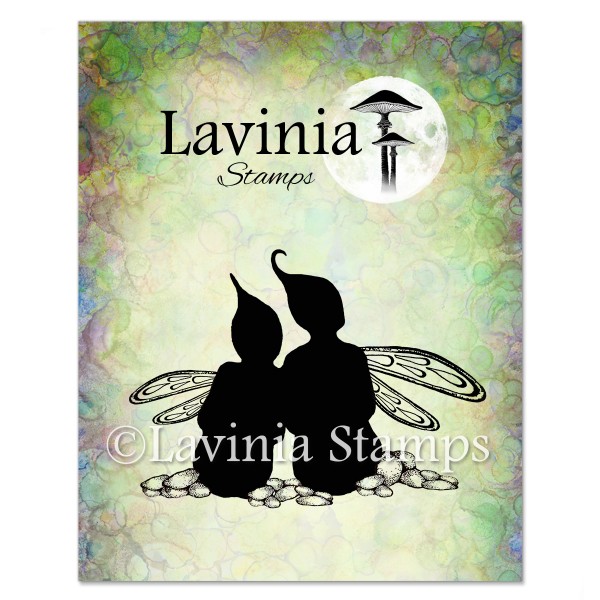
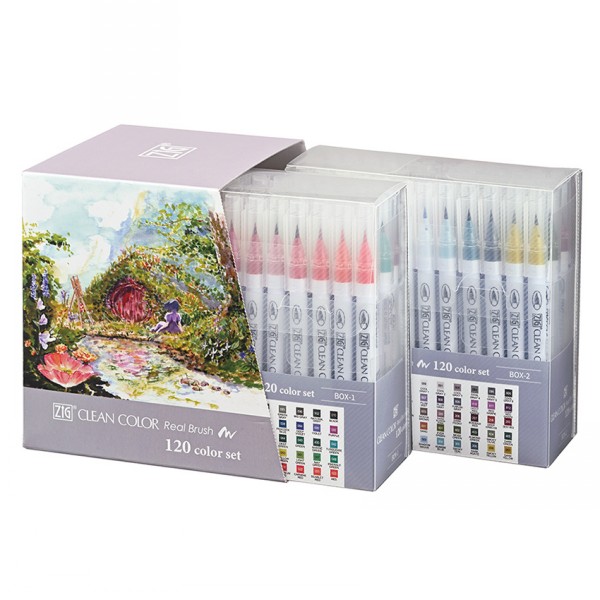
9. On a separate piece of white card stamp out the Lavinia Star Gazing Stamp. Colour in the pebbles with shades of grey, I used my Kuretake Soft Brush Pens. Add some sparkle to the wings of the Star Gazers with pens of your choice, I used a metallic gold pen. I then put some sparkle on the rocks/pebbles with the wink of stella pen. Set aside.
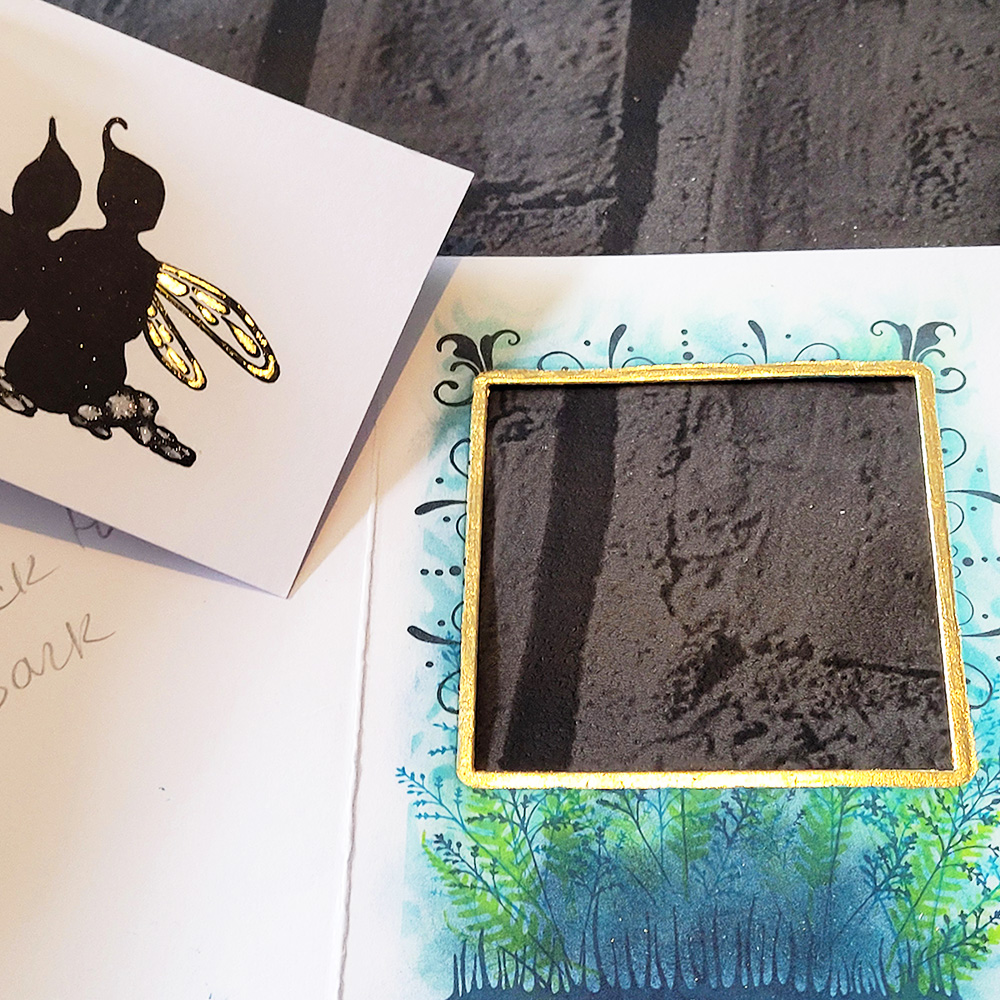
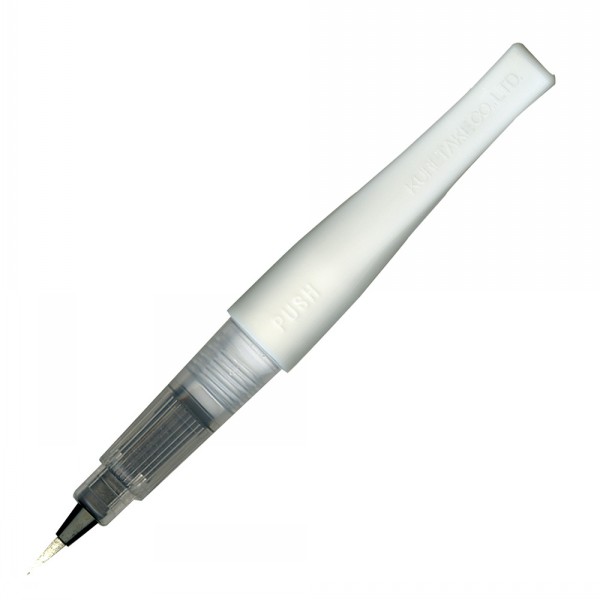
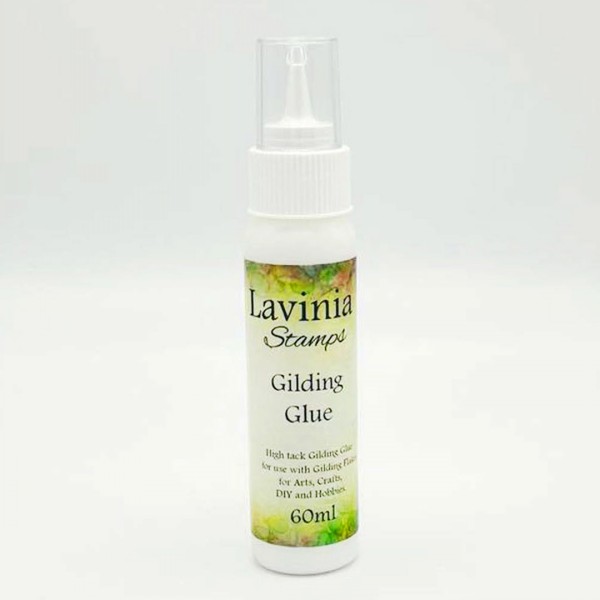
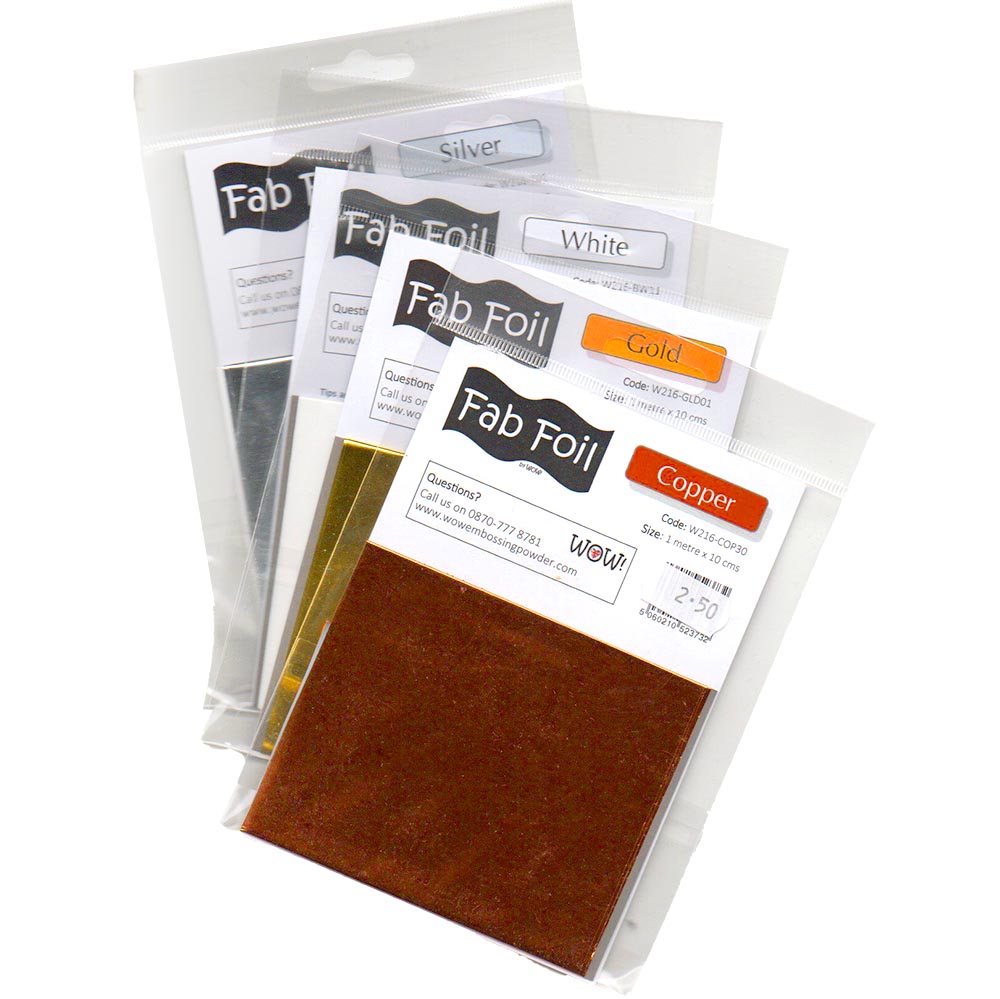
10. Get your Gilding Glue and Wow Fab Foil in Gold and add this to the inner edge of your window to create a frame, you’ll need a very fine brush and a careful hand. I also decided to add a little gold foil to the Star Gazers Wings. Set aside.
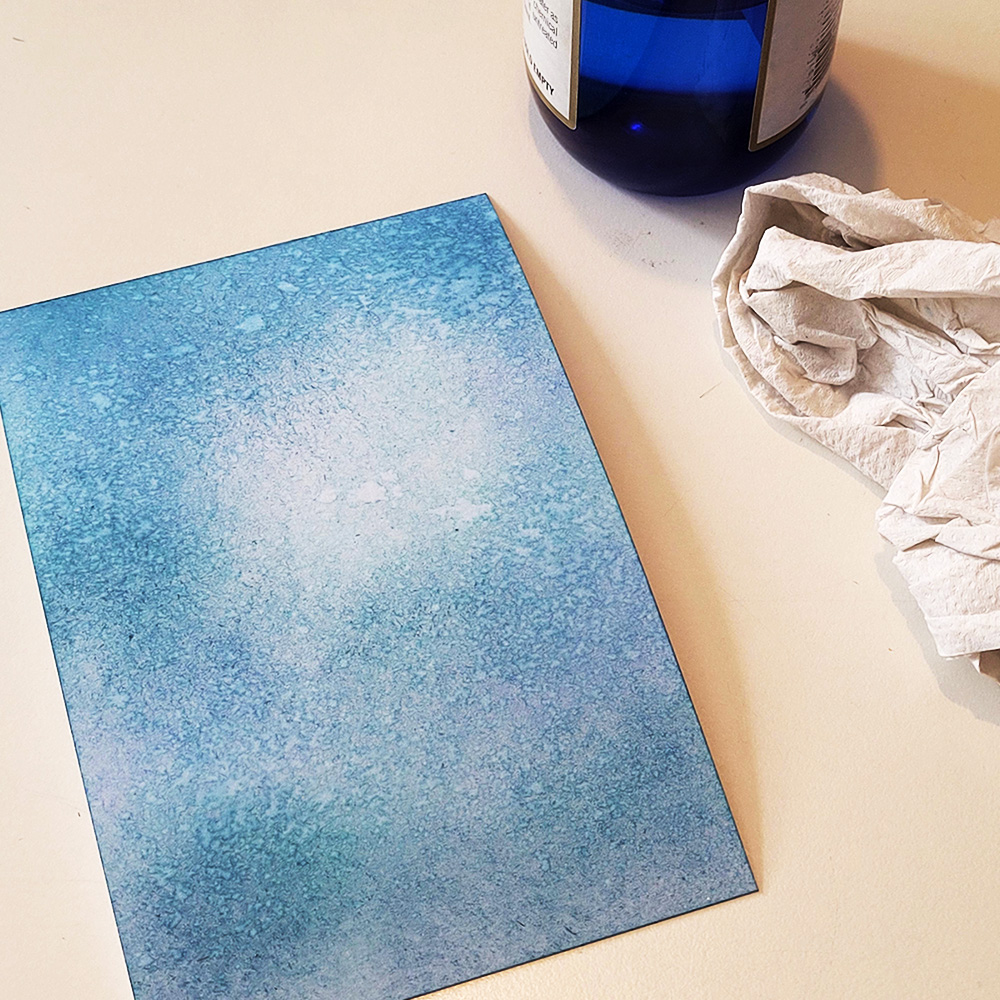
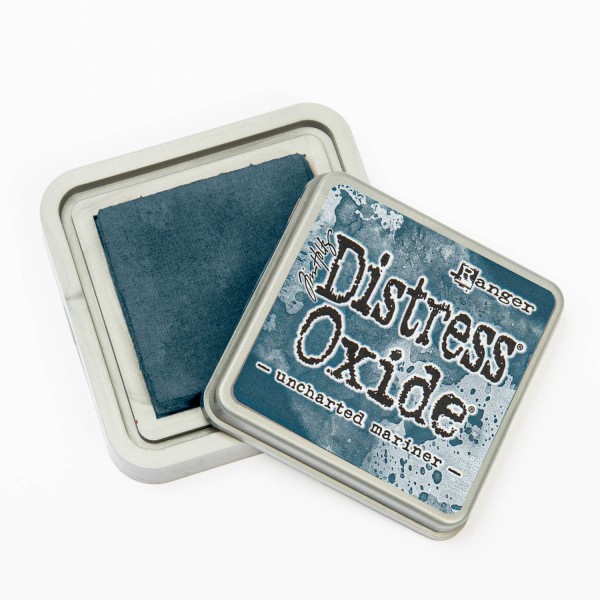
11. Grab your small sheet of Lavinia Multifarious card that you cut earlier for your scene. (14.5cm x 9.5cm). Start your scene. I brushed on Distress Oxides in Peacock Feathers, Blueprint Sketch and Unchartered Mariner. Leave a little bit of white space where shown to add your moon. Spray with water, leave a while and then dab off.
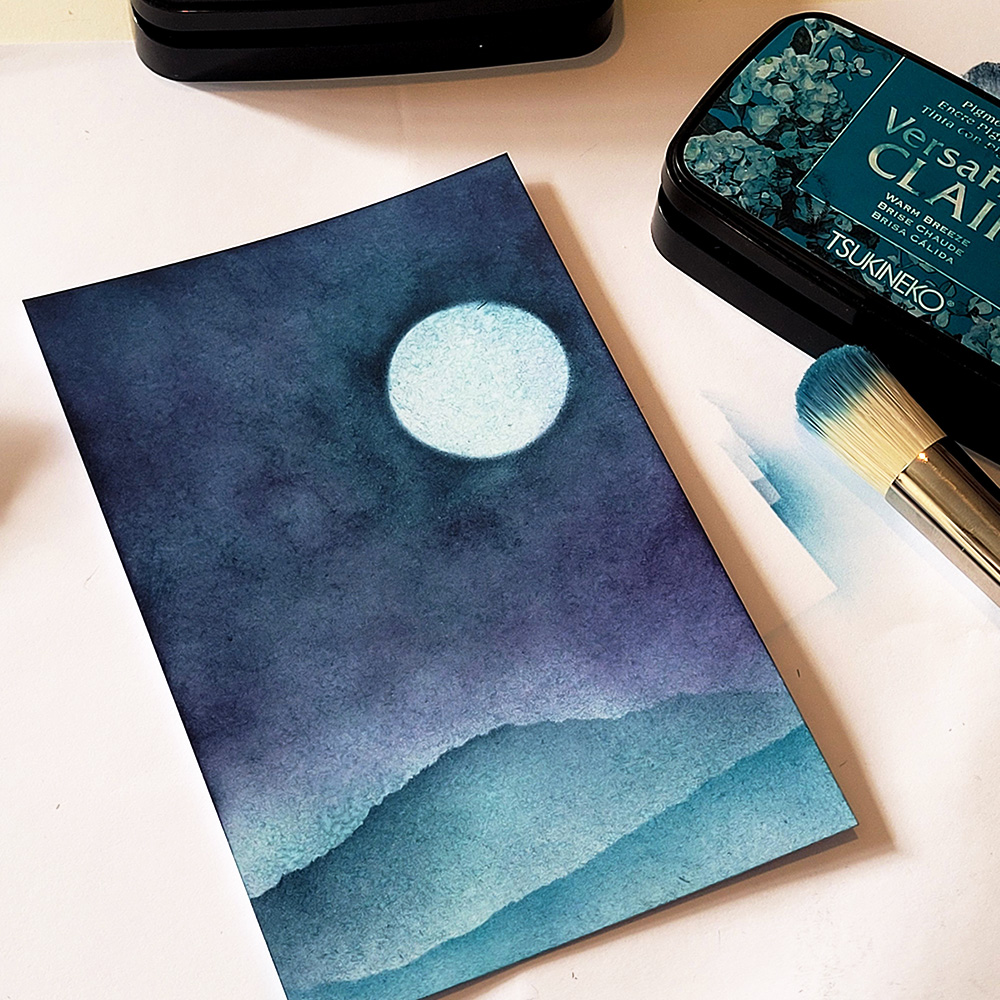
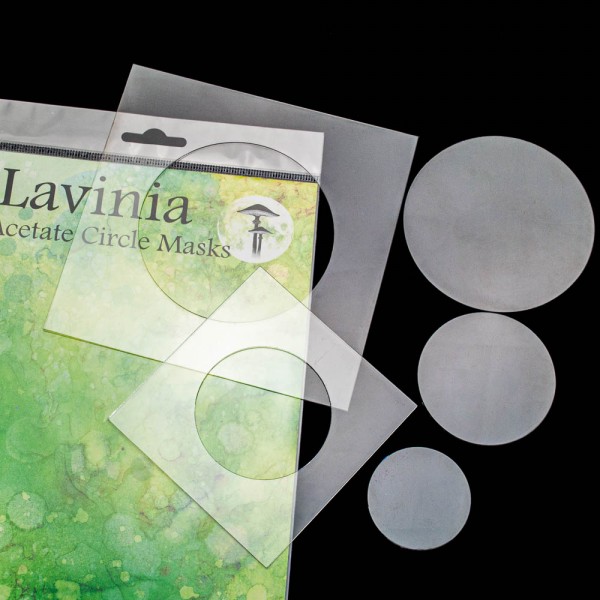
12. Get a small moon mask, approximately 3cm in diameter. Add Versafine Clair Twilight around the moon to bring it out, and darken the rest of the sky at the same time.
Then using some torn paper add in some ground/hills at the bottom of your scene. I used Warm Breeze and Twilight.
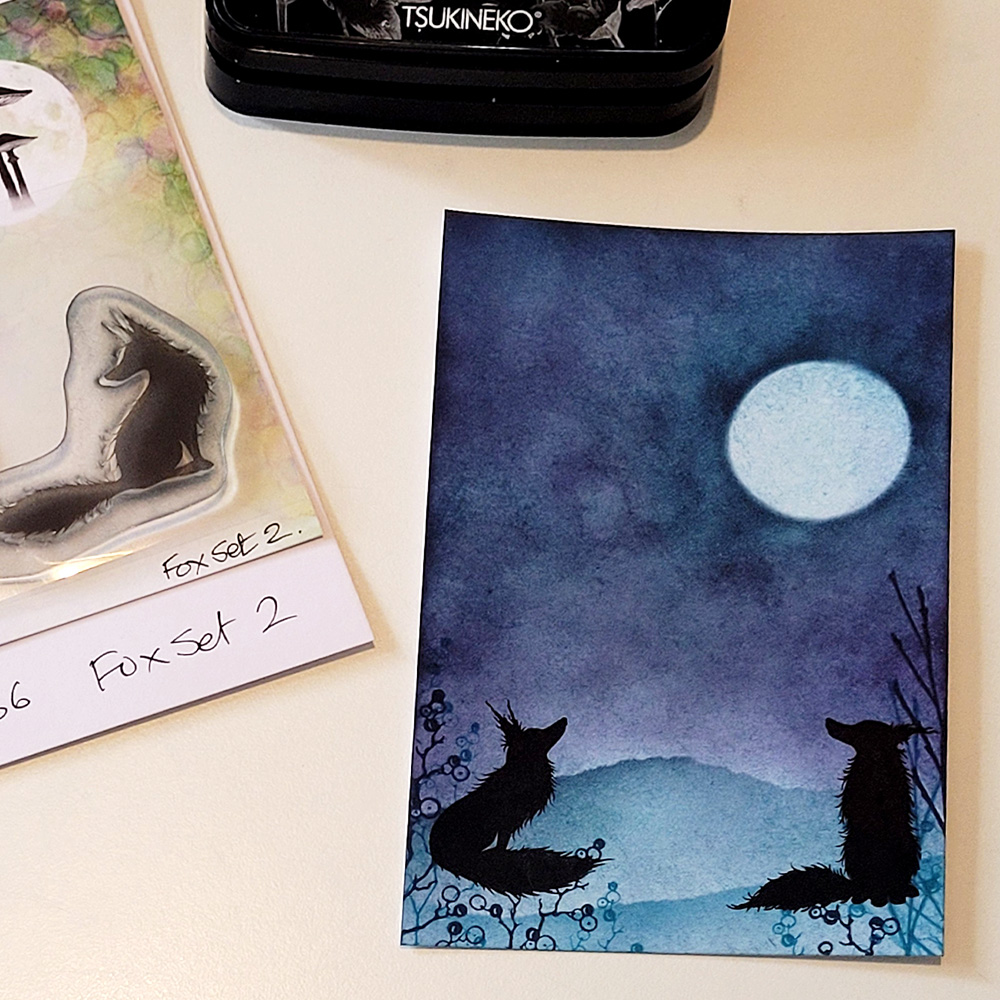
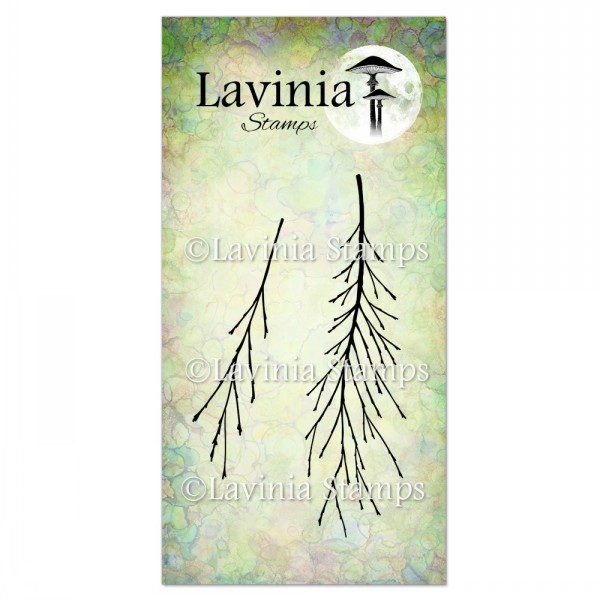
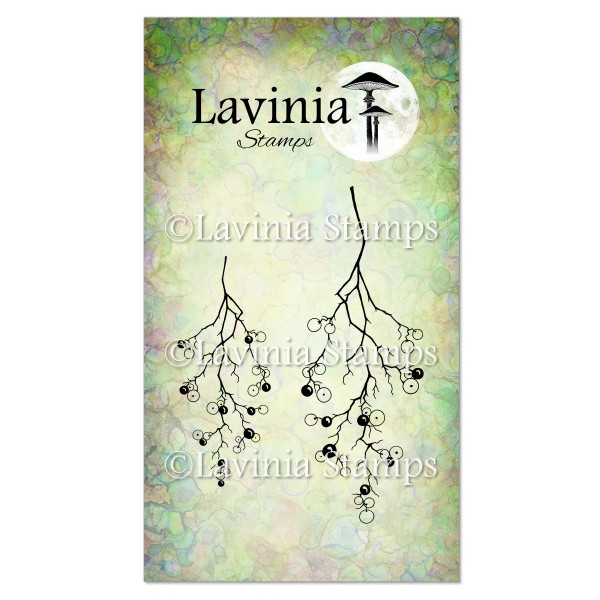
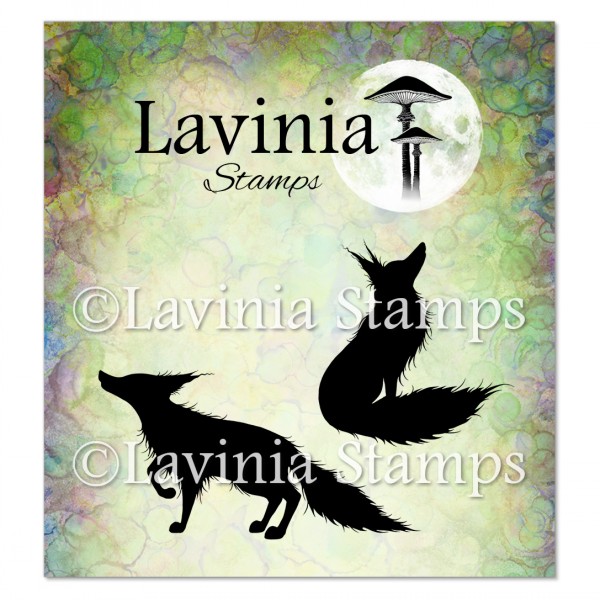
13. Stamp your Lavinia Fern Branches and Wild Berry Stamps in Versafine Clair Warm Breeze and Twilight several times on the bottom left and bottom right of your scene. This will be hidden from the window. Next Stamp the Lavinia Foxes on the bottom left and bottom right of the scene. I purposely kept them away from the window aperture so that they are a surprise when opening the card. Overlay your front window if you want to check their position.
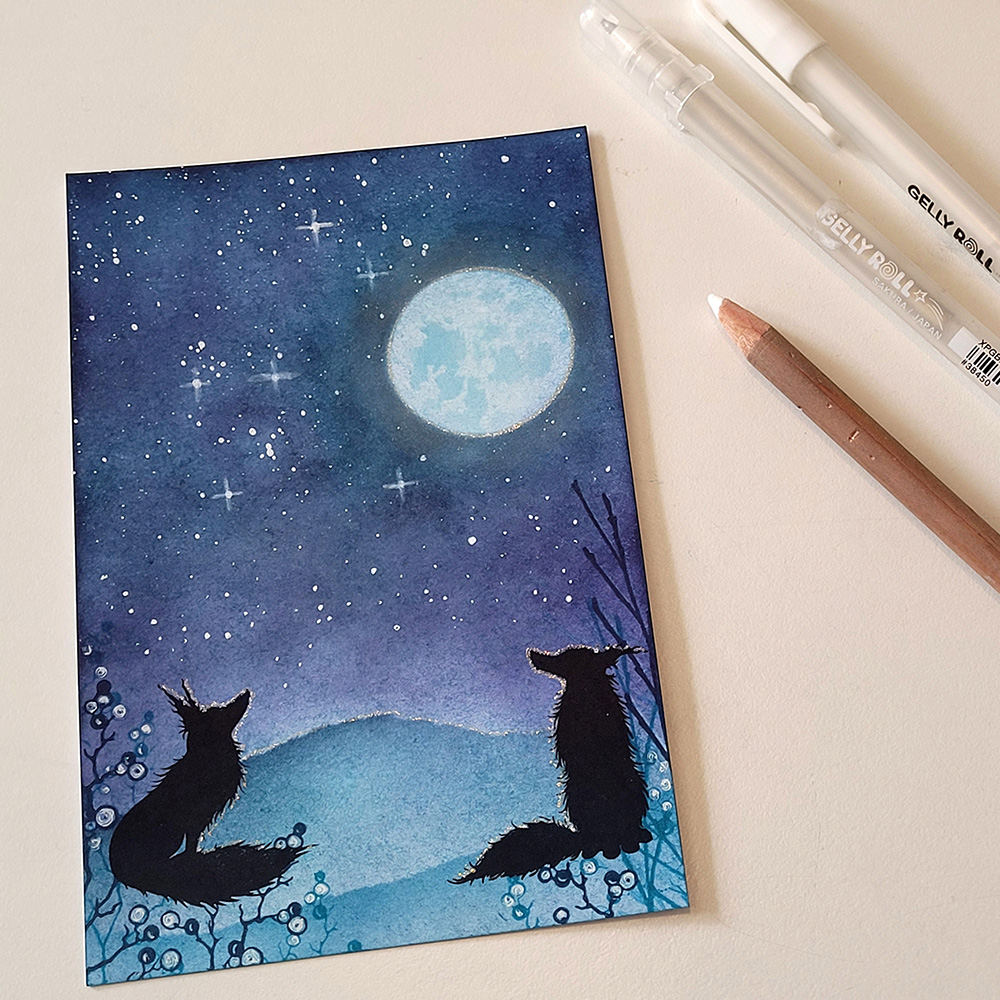
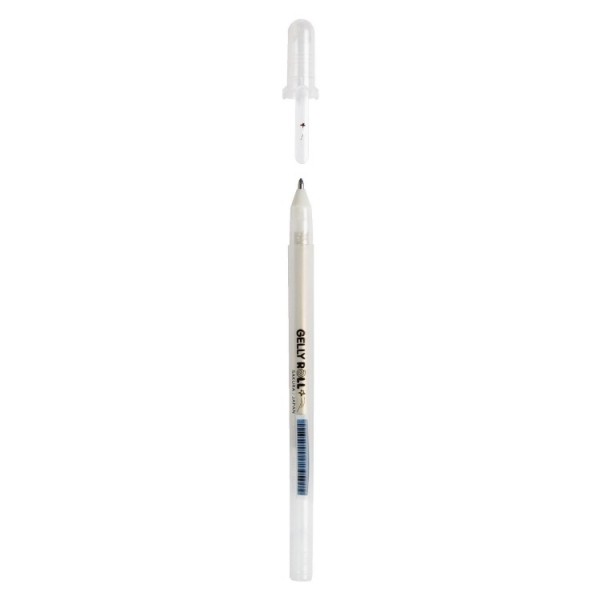
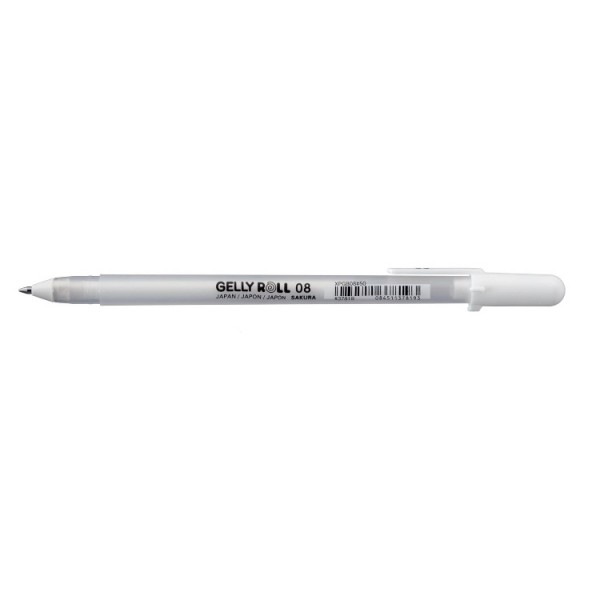
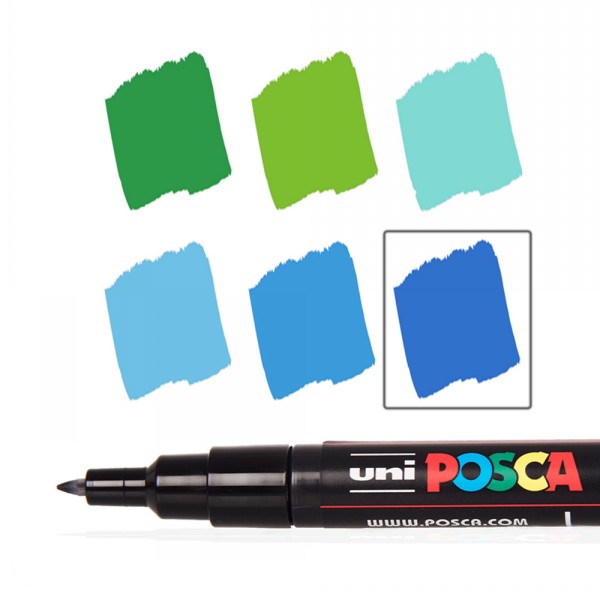
14. I then covered my foxes with some paper and used my White Posca Pen to splash a lovely starry sky. I also added a little white pan pastel to the moon and a Gelli Roll Pen in Clear Star around the Moon. I added White Gelli Roll Pen to the Berries, and to enhance some of the stars I used a white pastel pencil.
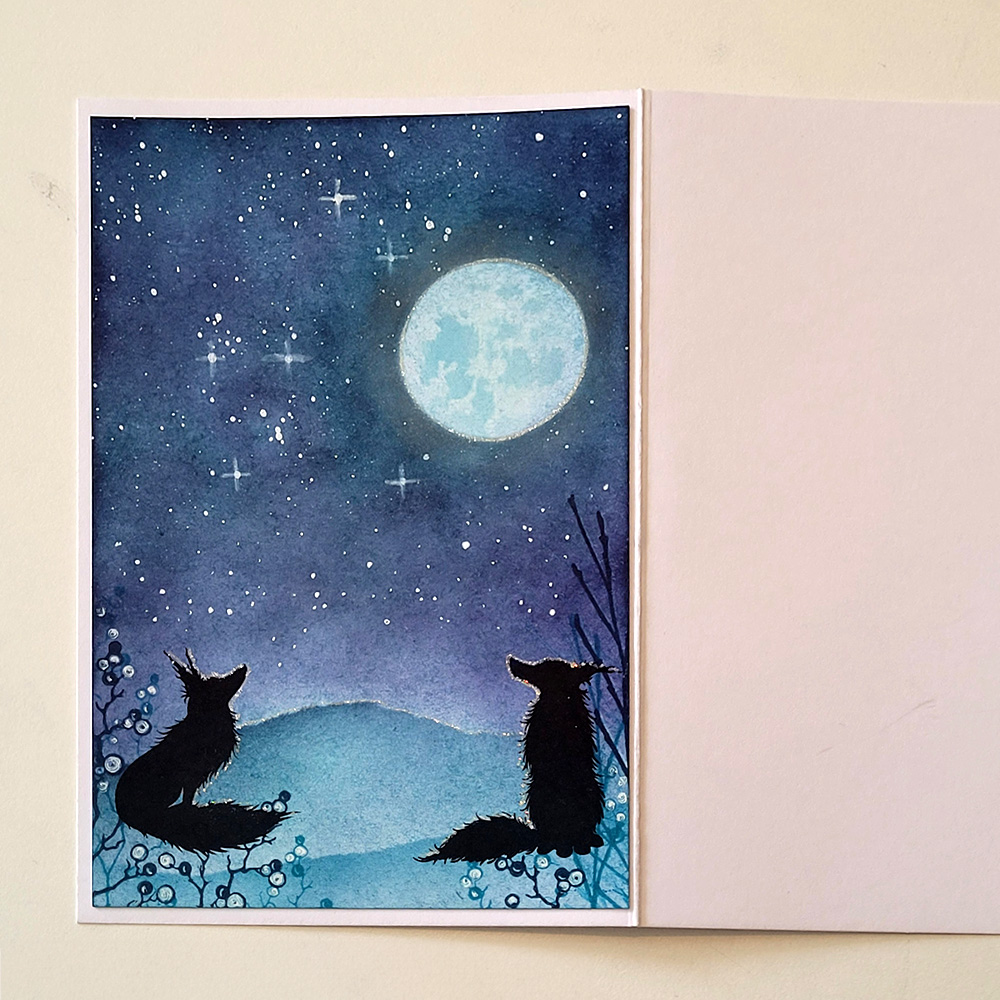
15. Now stick/glue your finished scene down to the card with the Side marked S.
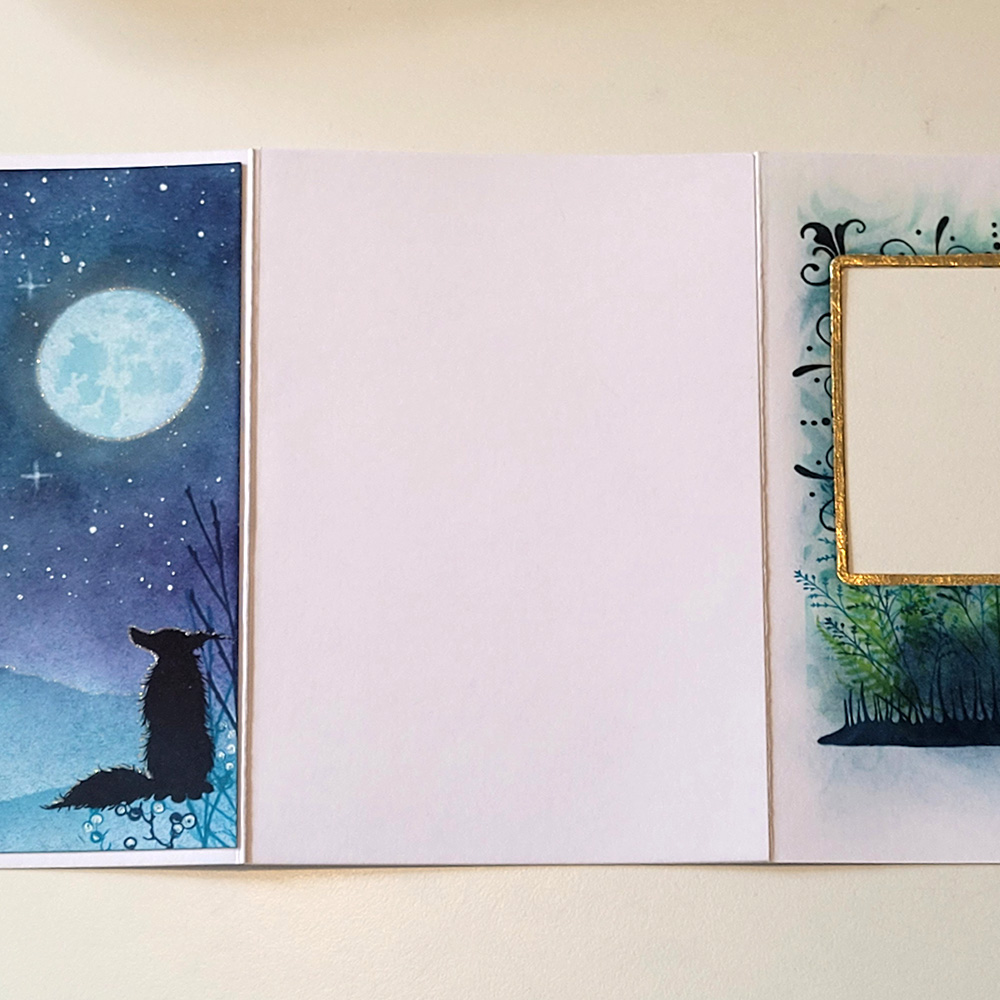
16. Now you can stick the two cards together by sticking/gluing down the Centre page to the back that we marked up earlier.
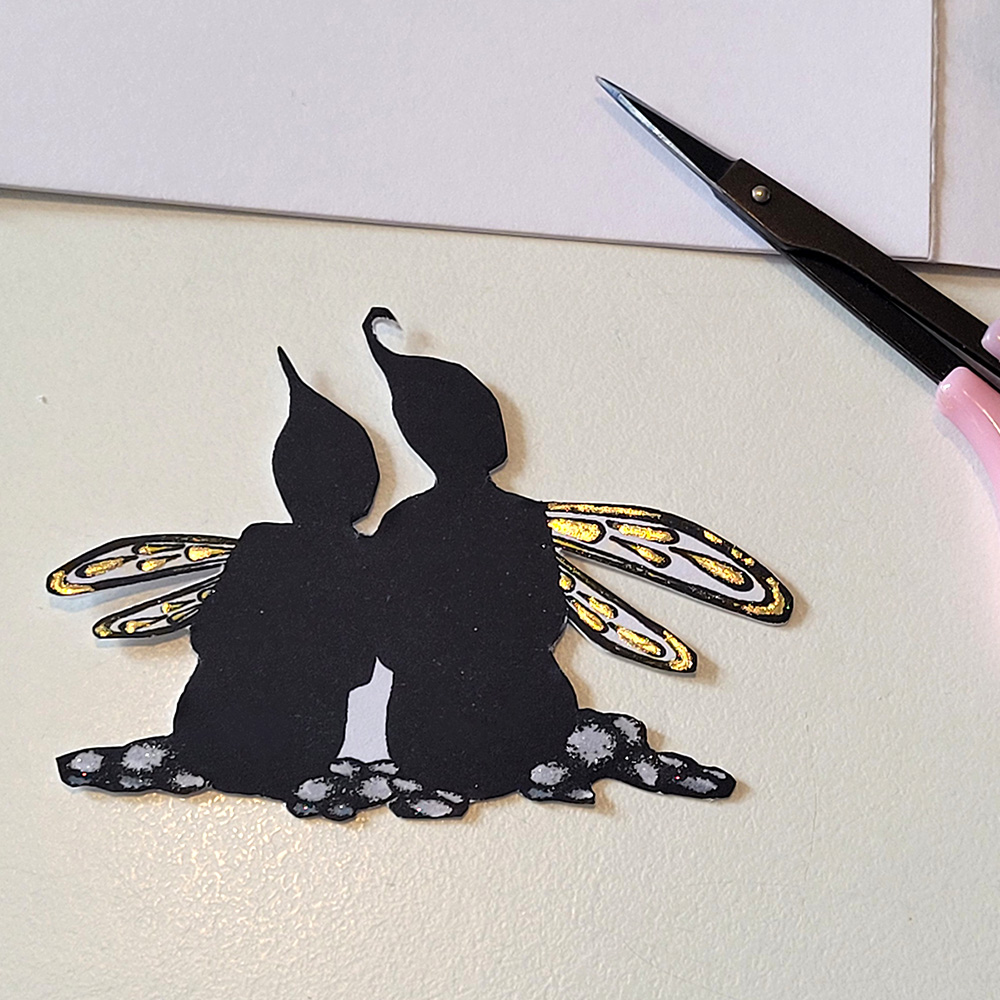
17. I then fussy cut out my Star Gazing Stamp we did earlier. It is not too tricky, but be careful around the top of their hats! Always better to leave some white on if it is getting too thin and then add black pen later!
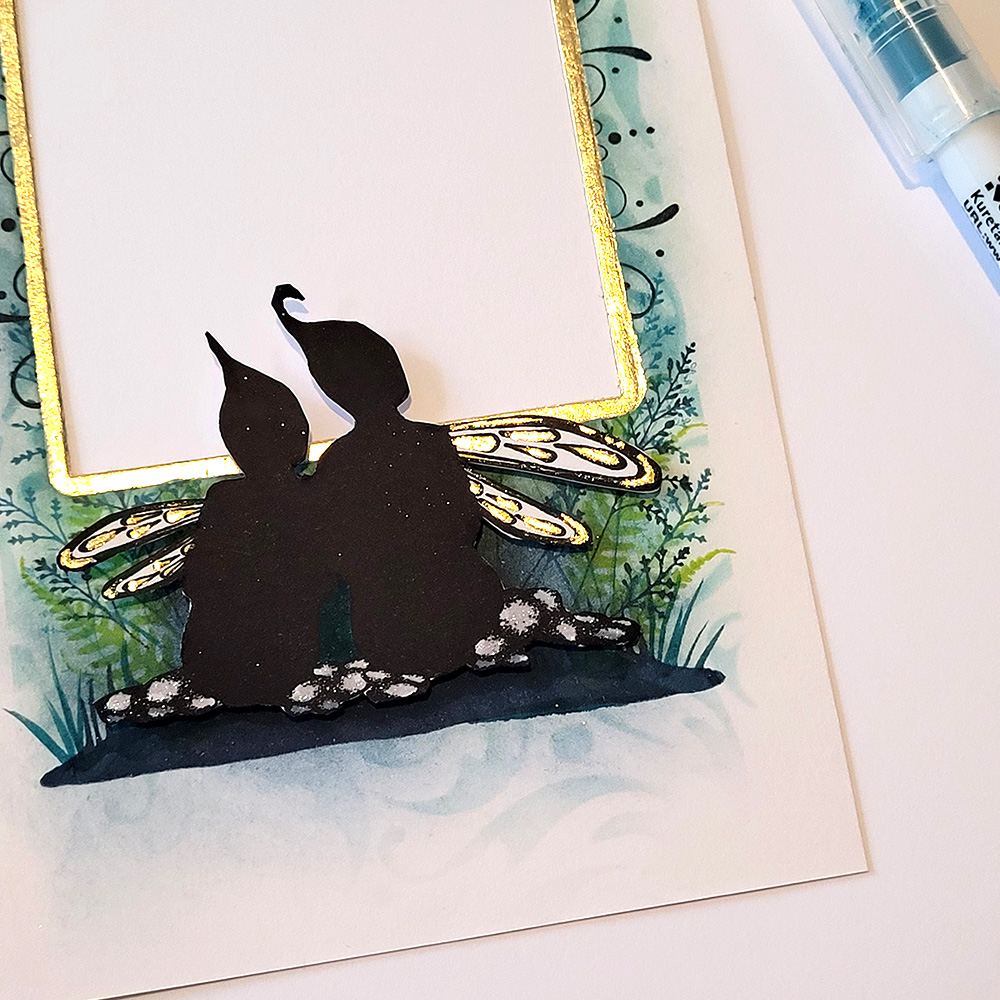
18. Using some Foam Pads I then stuck the Star Gazing Pair on the top of the Grass Silhouette Stamp mound we created earlier on the front of the card, so that their heads just pop over the edge of the window. I used a dark green pen to colour in the white space that was sitting in between the couple.
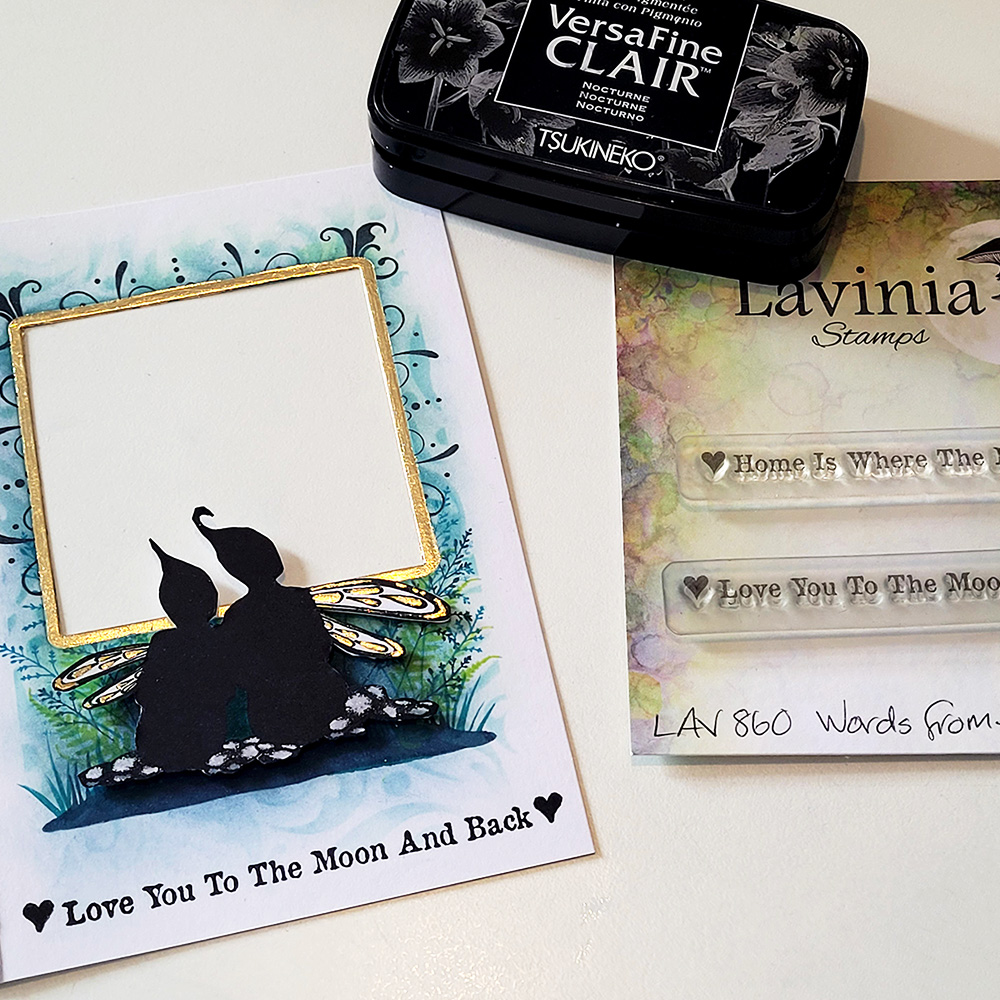
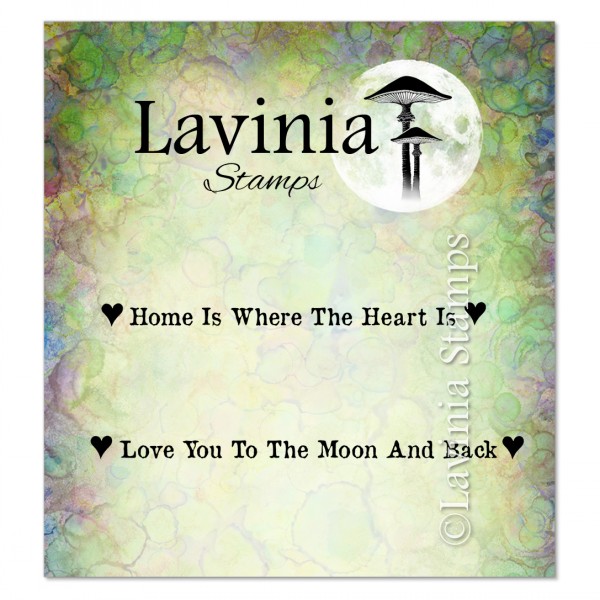
19. Then get your Words from the Heart Stamp and below the Star Gazing couple stamp out Love you to the Moon and Back in Versafine Clair Nocturne.
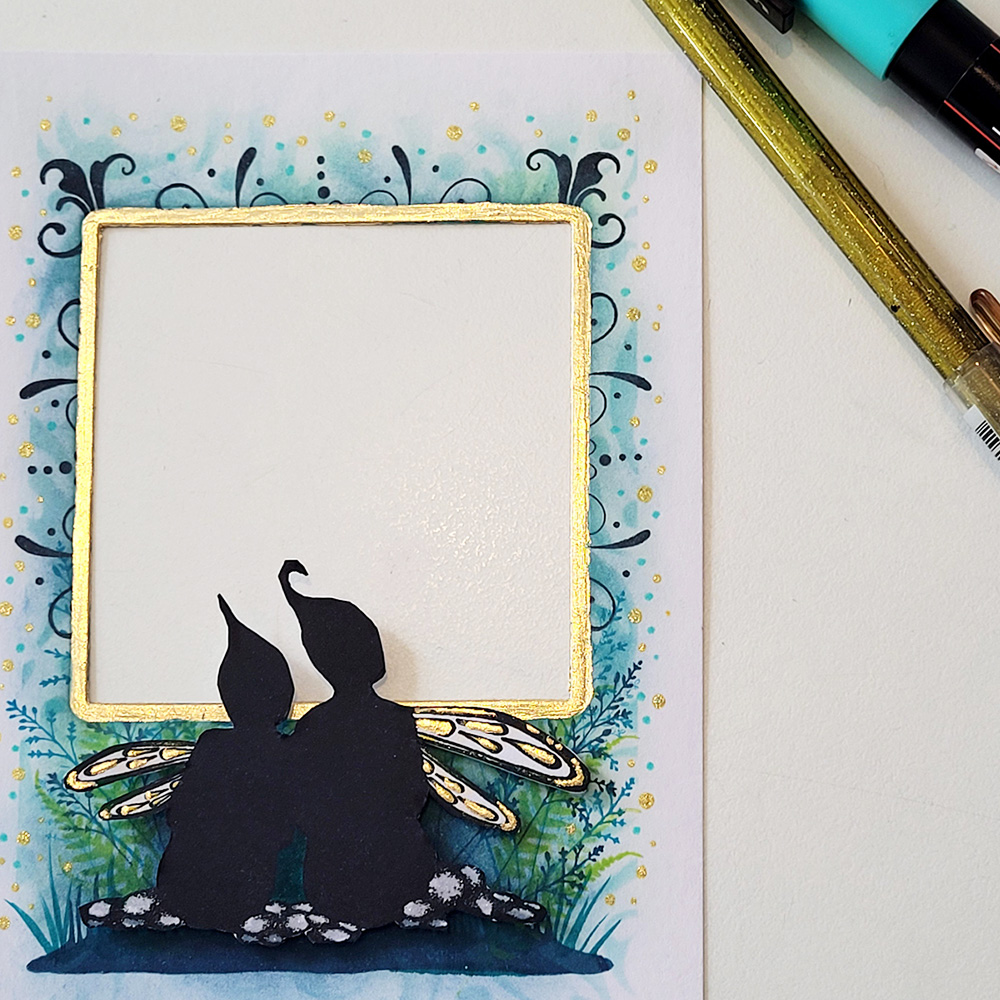
20. Add several dots around the window itself with Gold Metallic Pen or Posca Pen and Posca Pen in Turquoise.
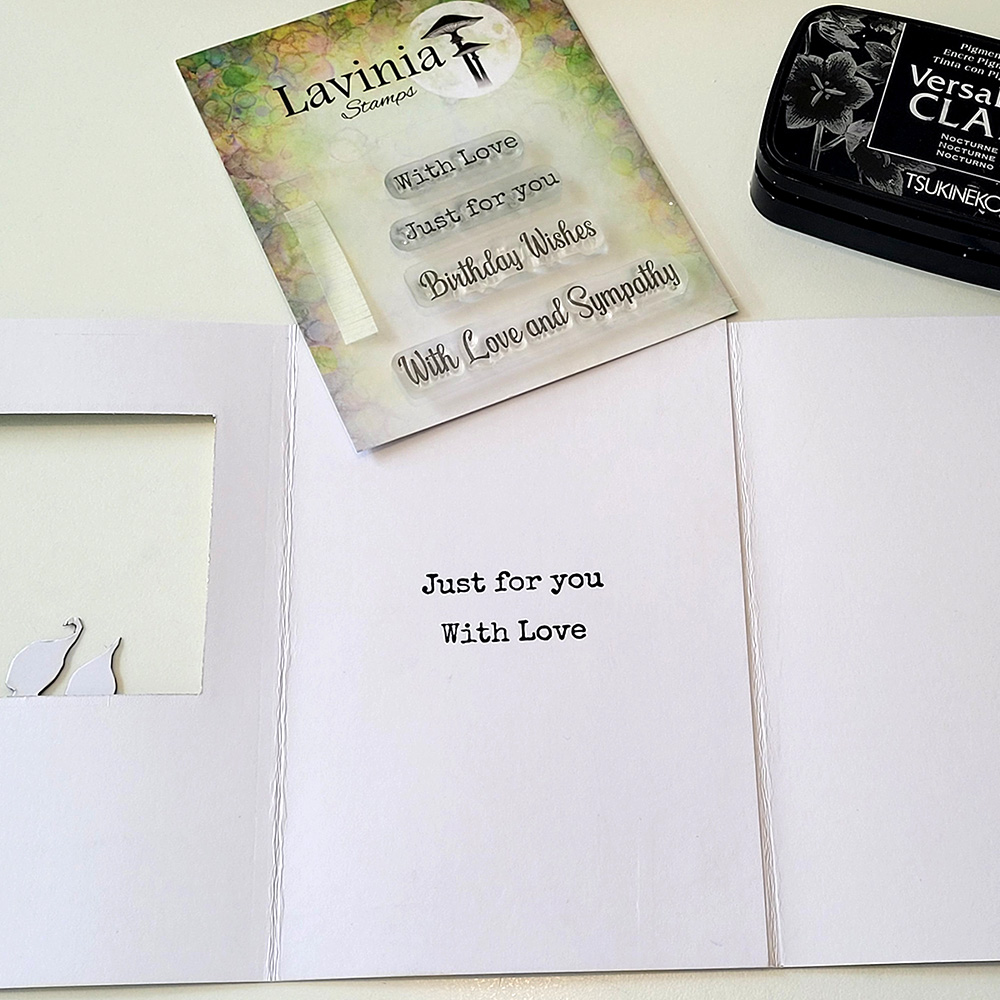
21. On the inside page I then added some sentiments, Just for you and With Love.
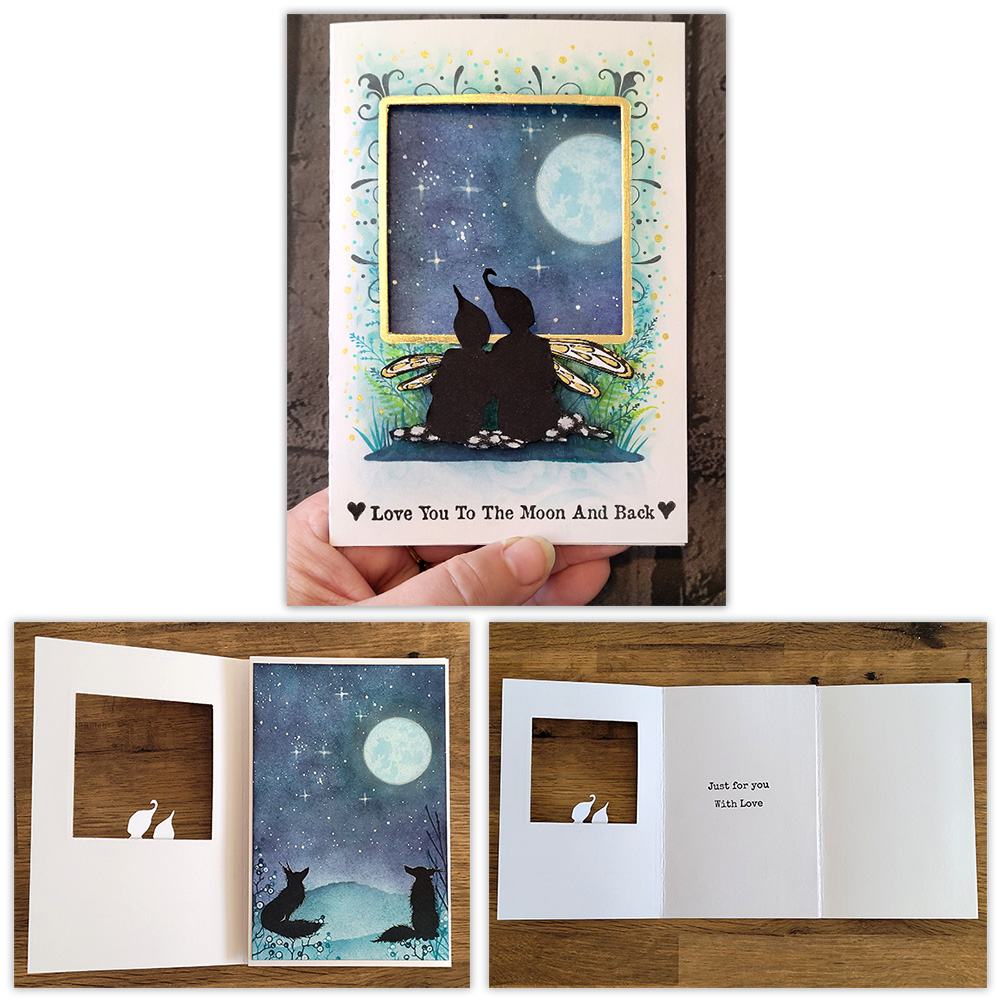
Now you have your completed Trifold Card, I hope you like it!
