


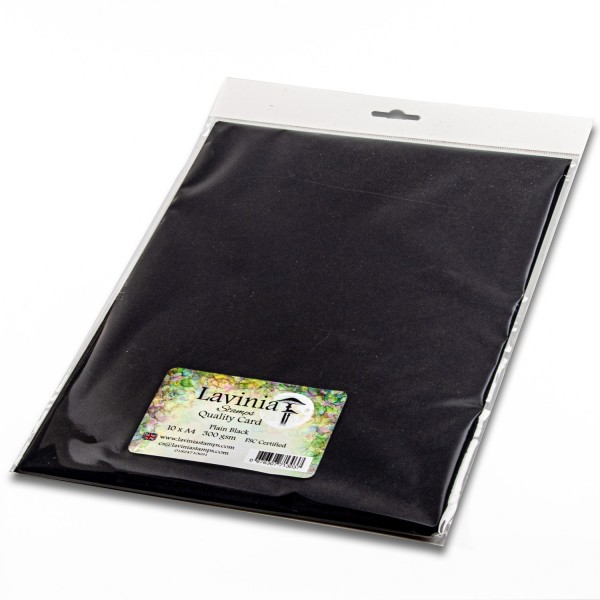
 Plain Quality Card – A4 – Black
£4.80
Add to cart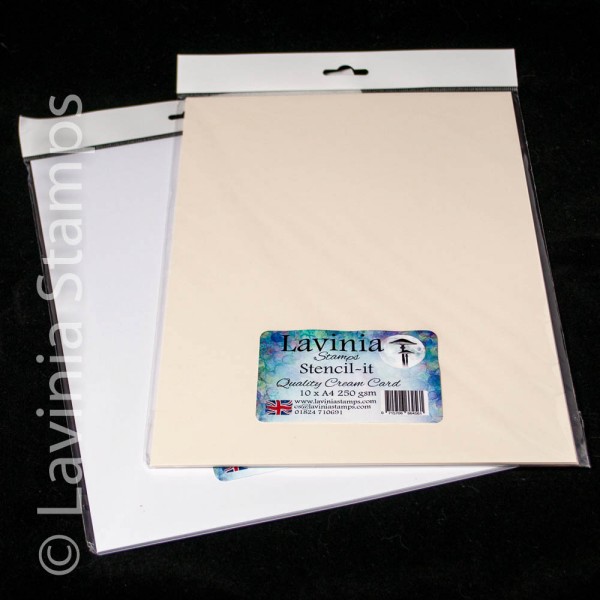 Stencil It – A4 Cream Card
£4.50
Add to cart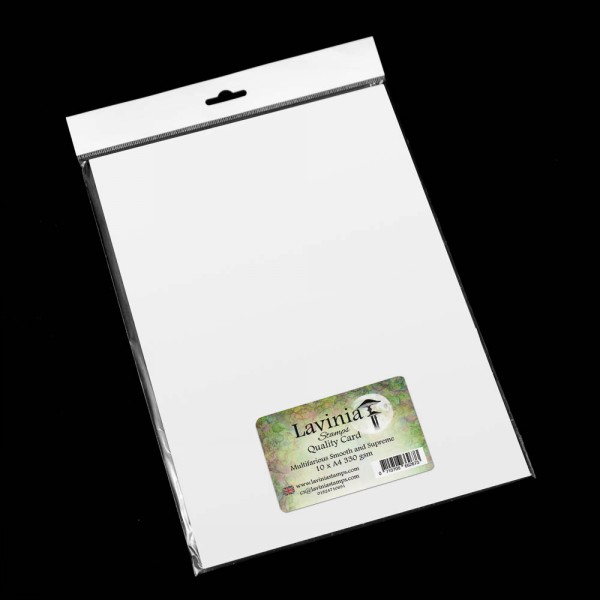 Multifarious Card – A4 White 10 Sheets
£5.80
Add to cart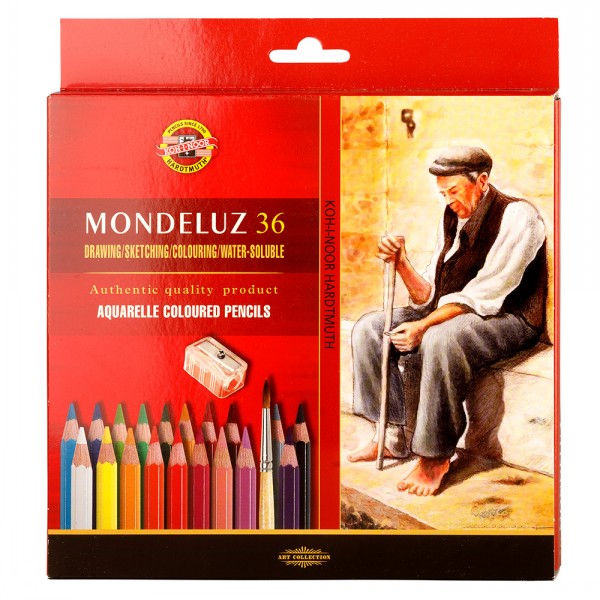 Mondeluz Watercolour Pencils 36 Set
£34.95
Add to cart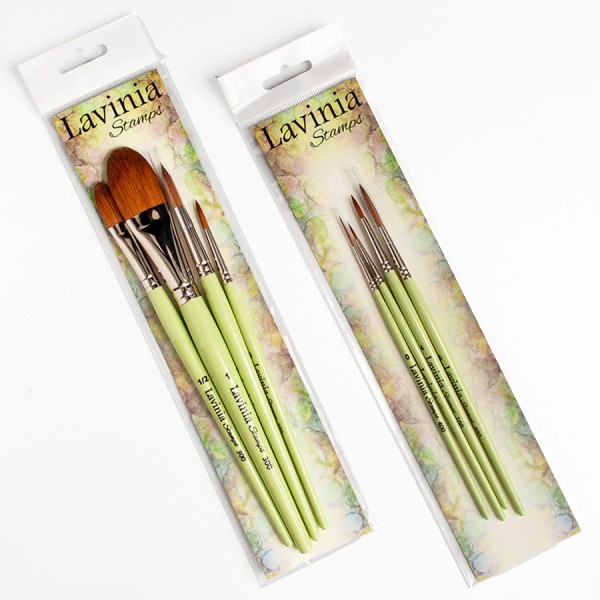 Lavinia Watercolour Brushes Sets 1 and 2
£42.00
Add to cart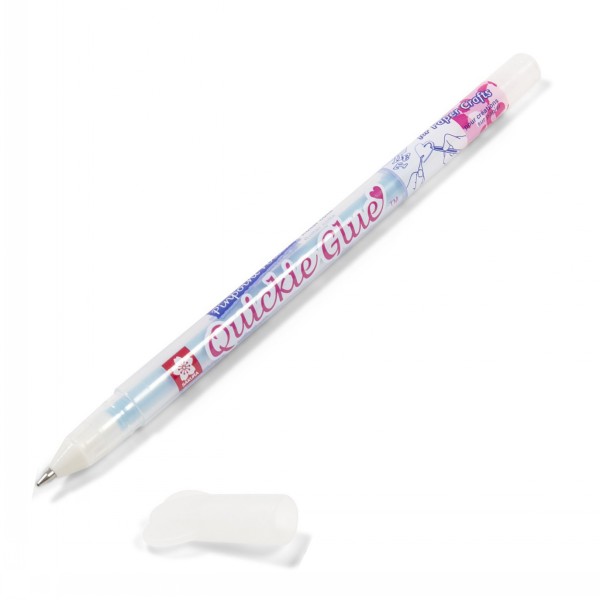 Quickie Glue
£2.90
Add to cart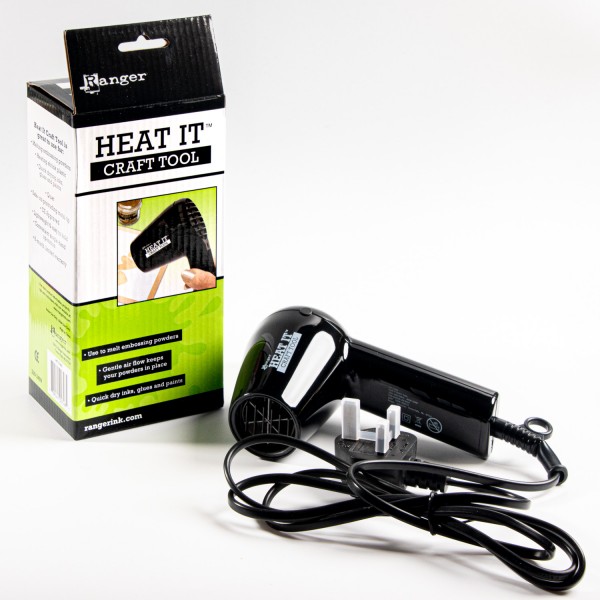 Ranger Heat Gun – Craft Tool
£32.75
Add to cart VersaMark Watermark Stamp Pad
£5.80
Add to cart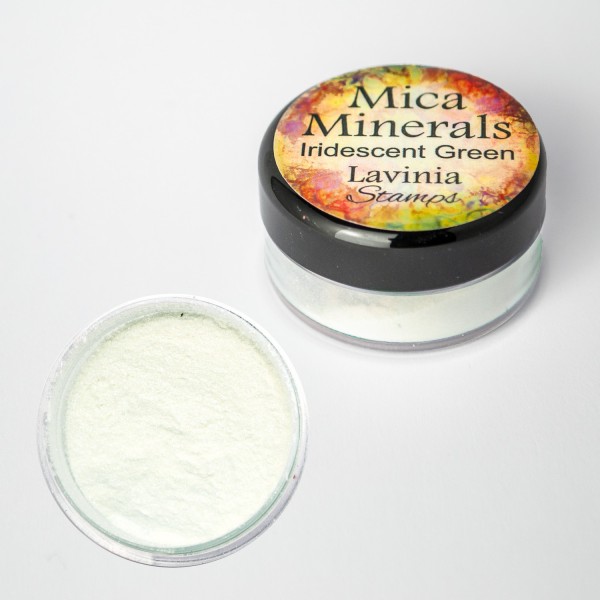 Mica Minerals – Iridescent Green
£2.25
Add to cart Bippity Boppity Glue
£6.25
Add to cart PanPastels – White FINE Pearl Medium
£9.99
Add to cart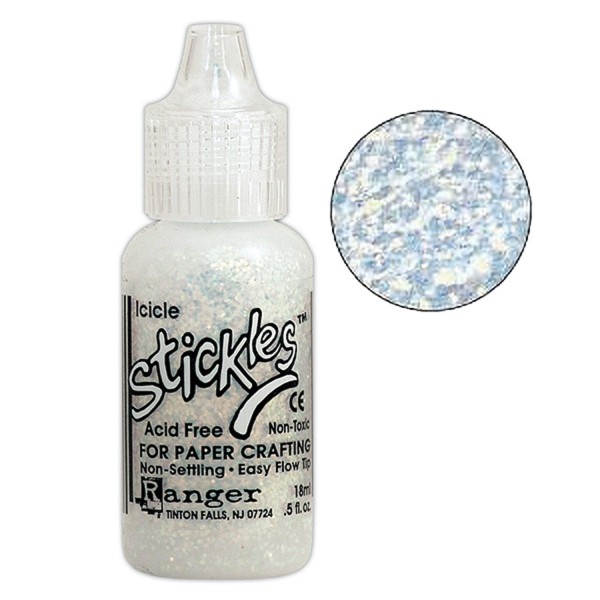 Stickles Glitter Icicle
£2.99
Add to cart