Step by Step by Mona Hauge
Hello everyone!
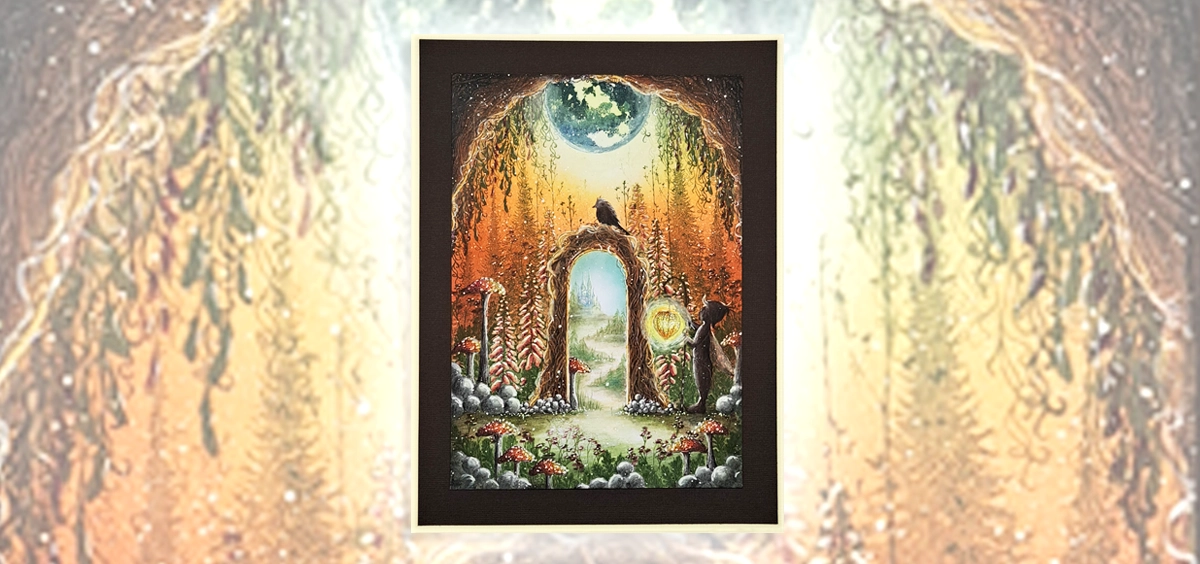
Hope you all are excited about the new fabulous and magical stamps. I love them so much. They get my imagination spinning with new ideas. Here is my new Picture Tutorial called “The World Beyond the Trees”.
Hope you like it.
Picture 1
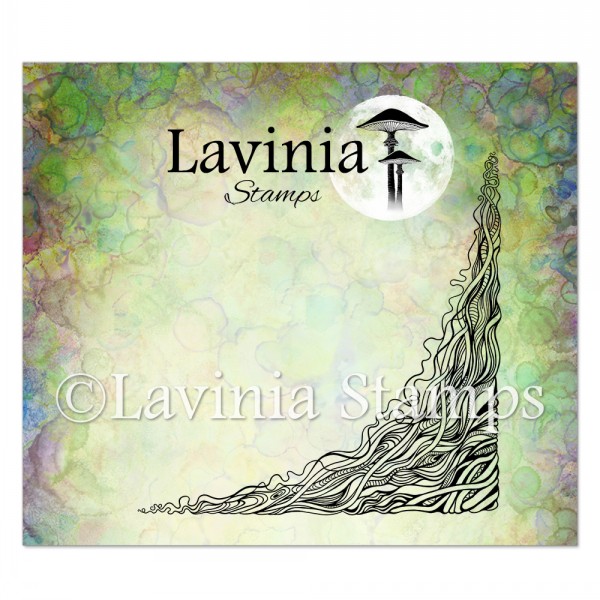
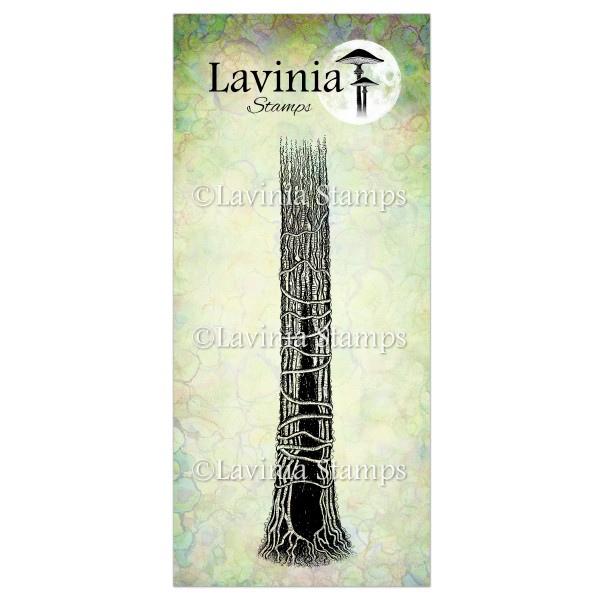
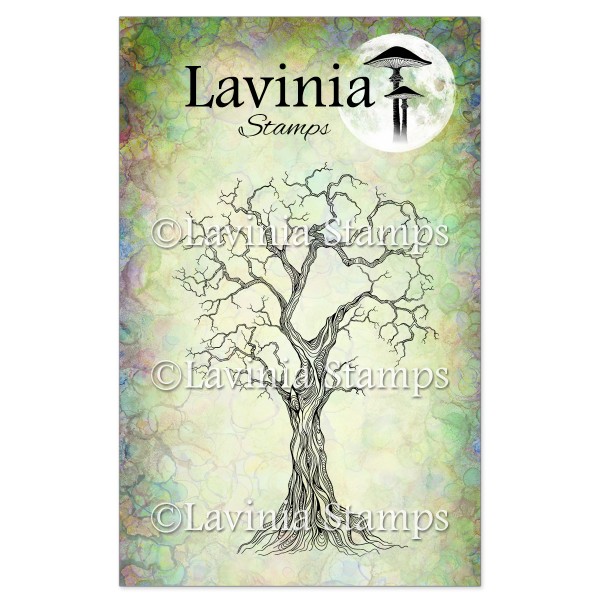
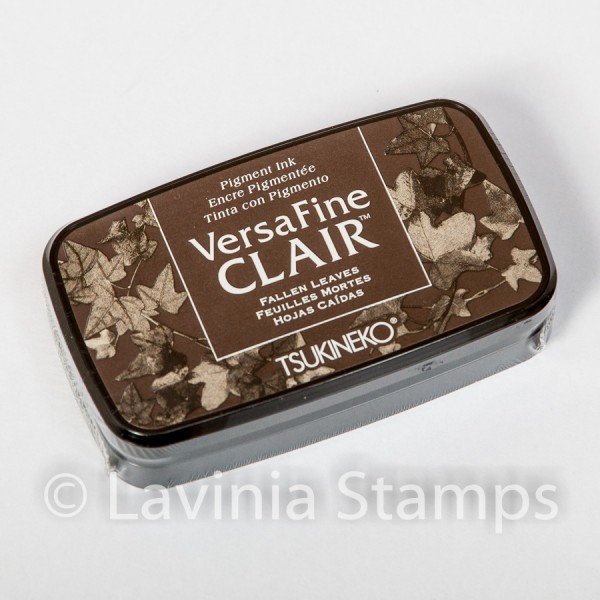
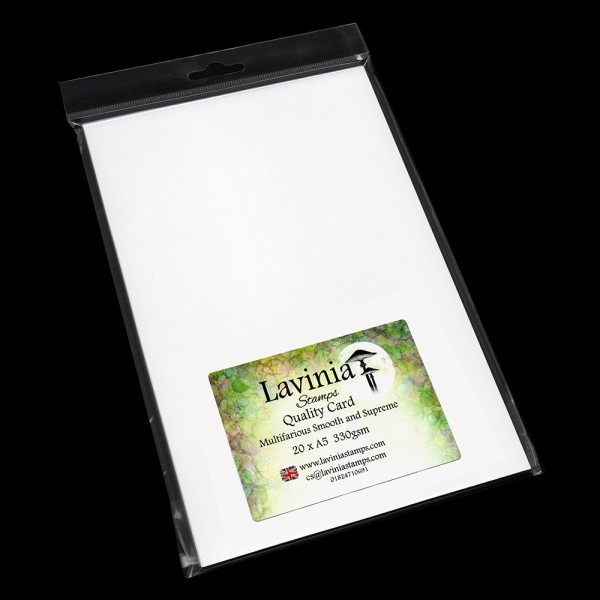
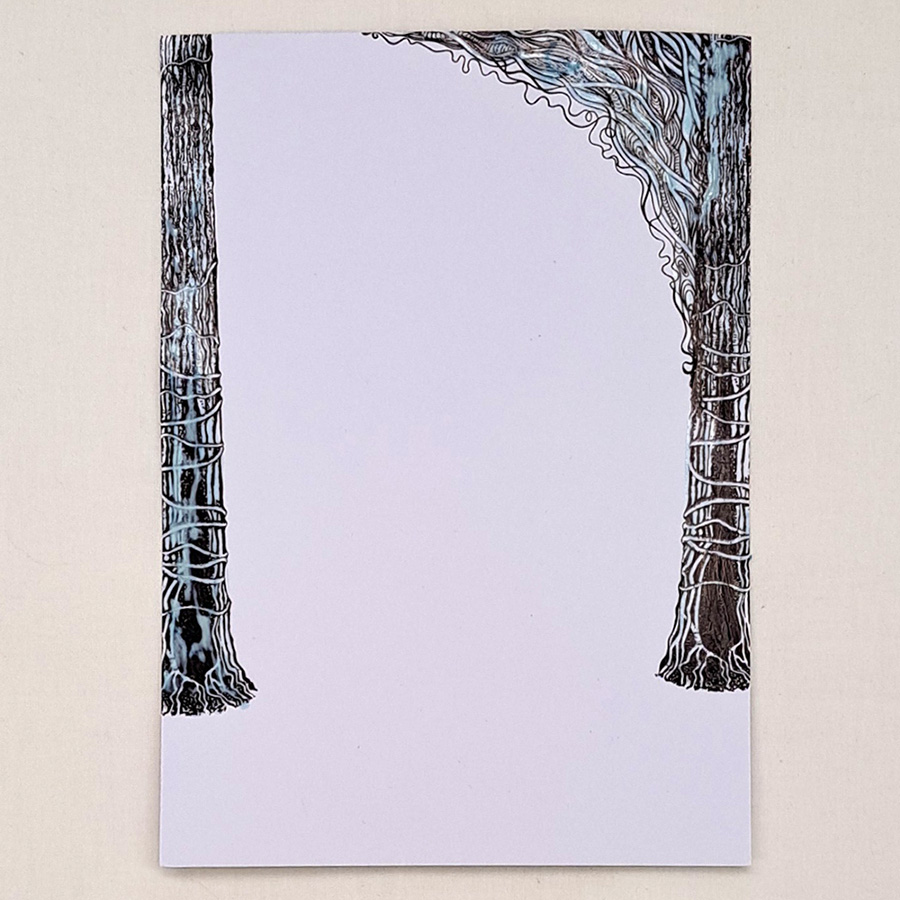
Start with an A5 piece of white Multifarious card and stamp the Tree Den LAV642 in Versafine Clair Fallen Leaves. One on each side of the card and then stamp the Dragon Root Corner LAV875 on to the side of the tree. Cover all in Liquid Masking fluid.
Picture 2
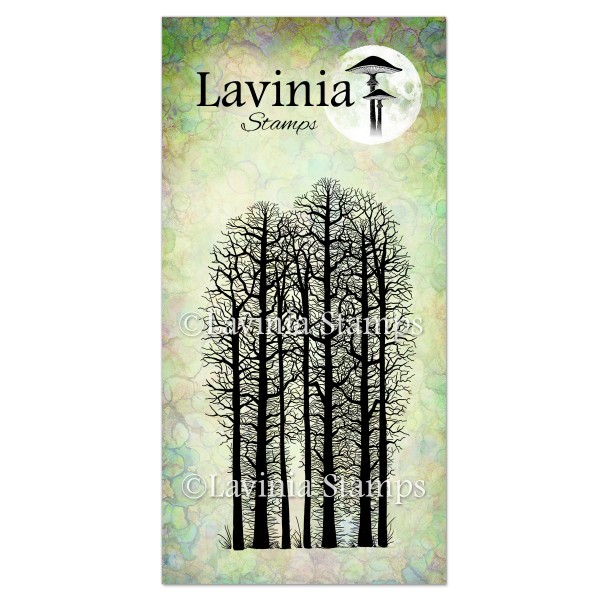
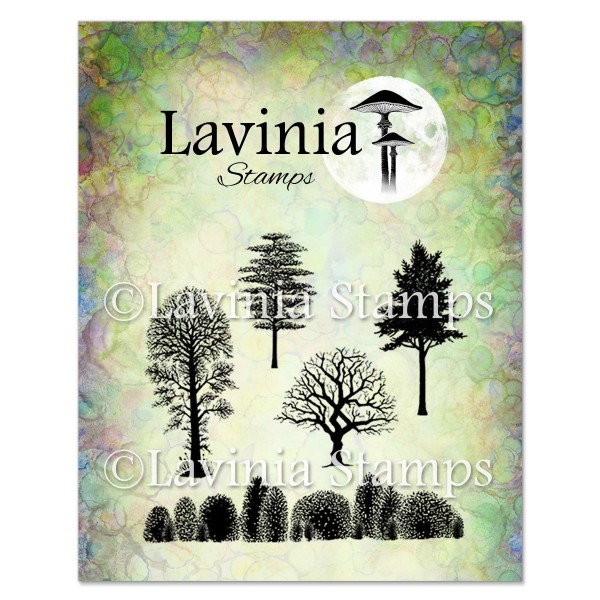
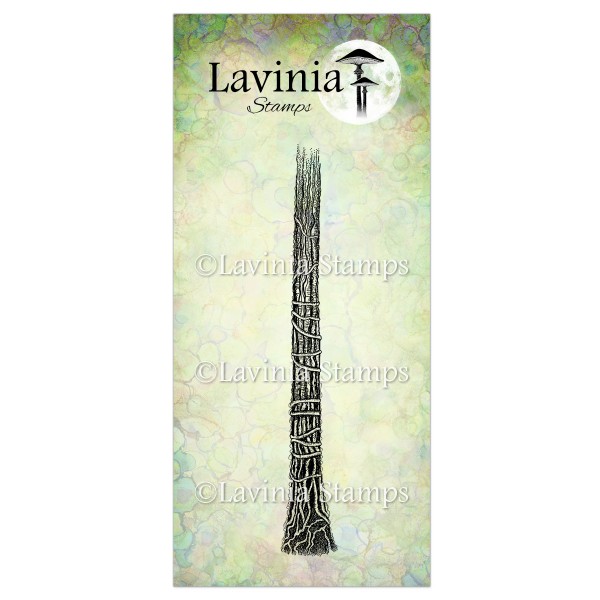
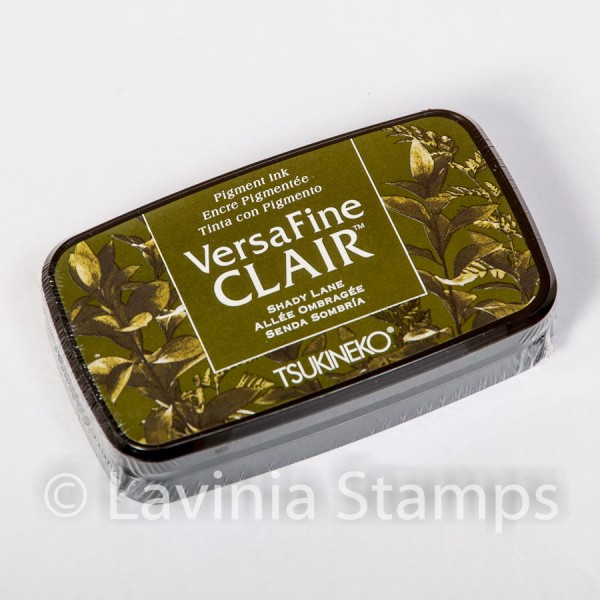
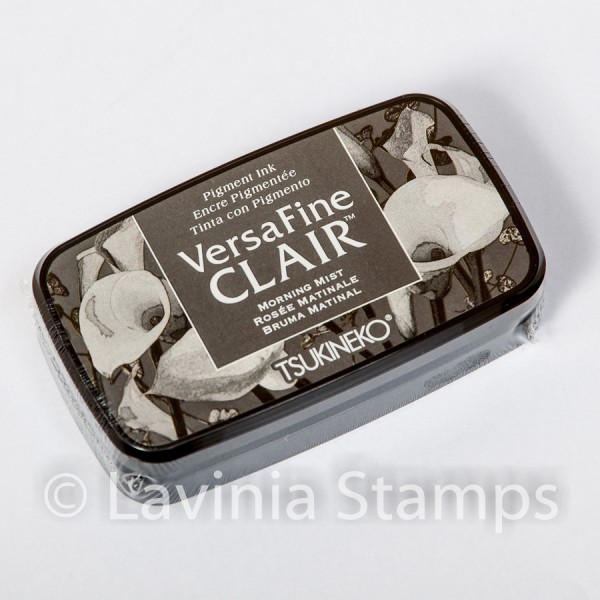
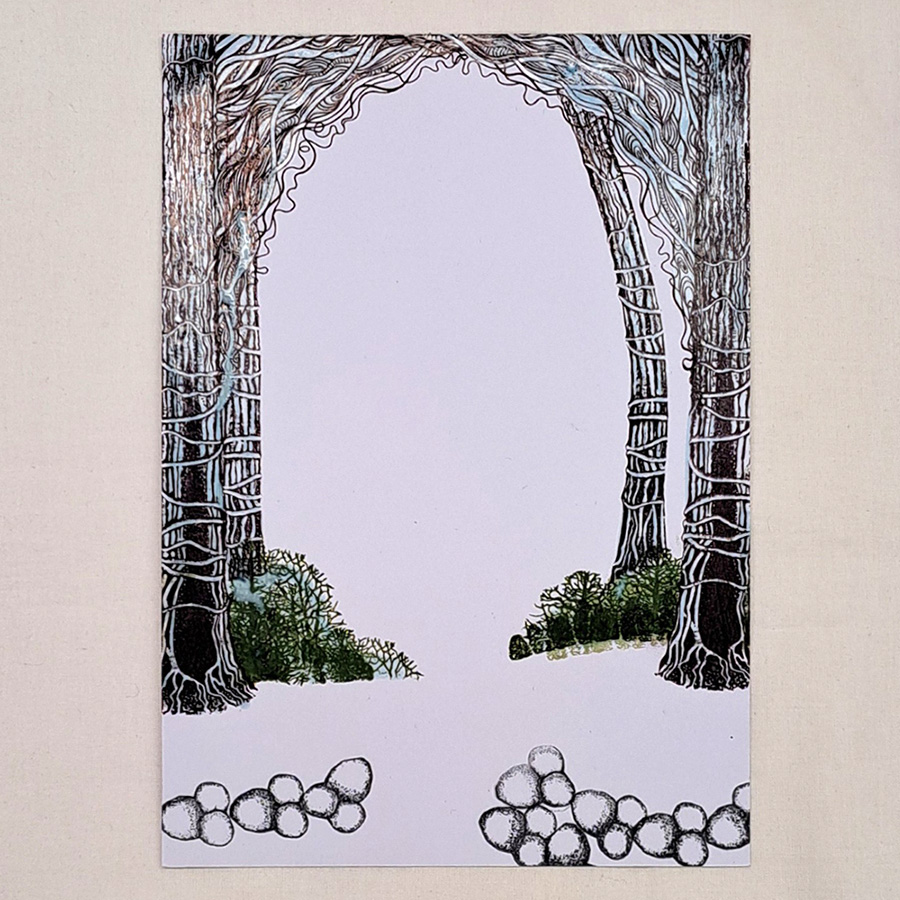
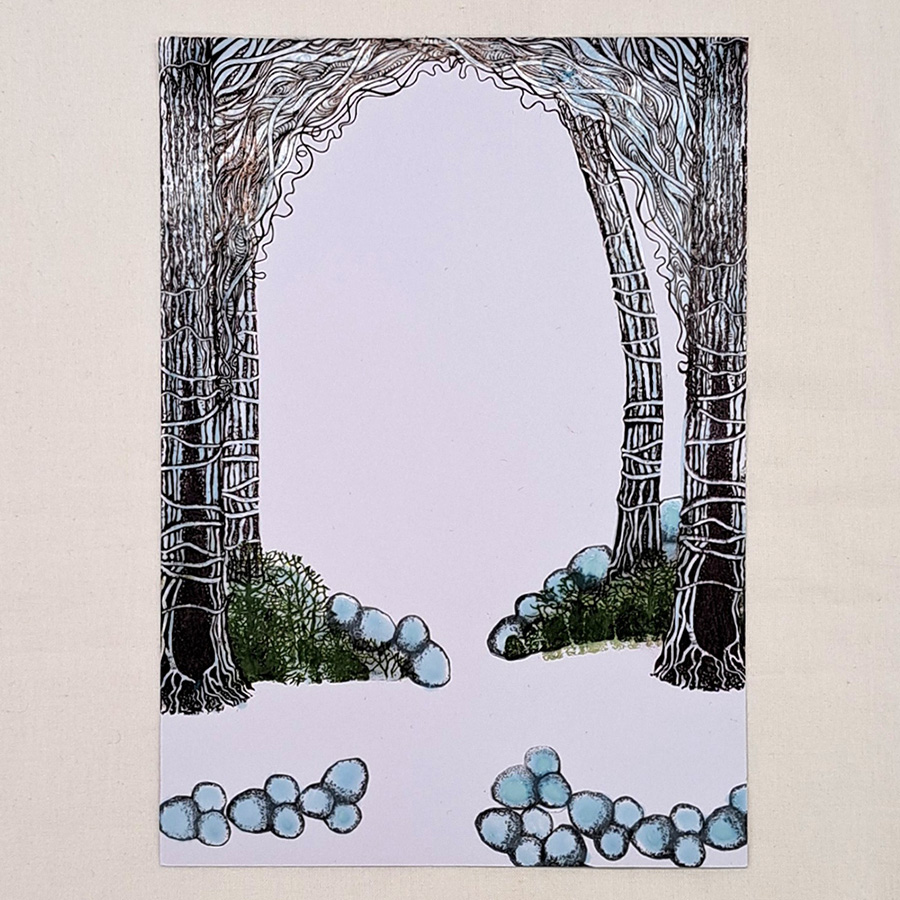
Stamp the Dragon Root Corner LAV 642 on the opposite side so that they become an arch. Cover with Liquid Masking fluid. Stamp just the top of the Forest Scene Stamp LAV524 in Versafine Clair Shady Lane like you see in the picture. Stamp the Tree Scene stamp LAV219 to create some smaller bushes in Versafine Clair Shady Lane. Cover the bushes with Liquid Masking fluid before stamping the Tree Stem LAV643 in Versafine Clair Fallen Leaves. On the left side the tree is just behind the Tree Den, but on the right side the Tree Stem is a bit further back, and it is slightly bent. This can be achieved by bending the stamp when you stick it on the acrylic Block. Stamp in Versafine Clair Fallen Leaves. Add some stones from the Forest Moss Stamp LAV857 in Versafine Clair Morning Mist. Cover everything in Liquid Masking fluid.
Picture 3
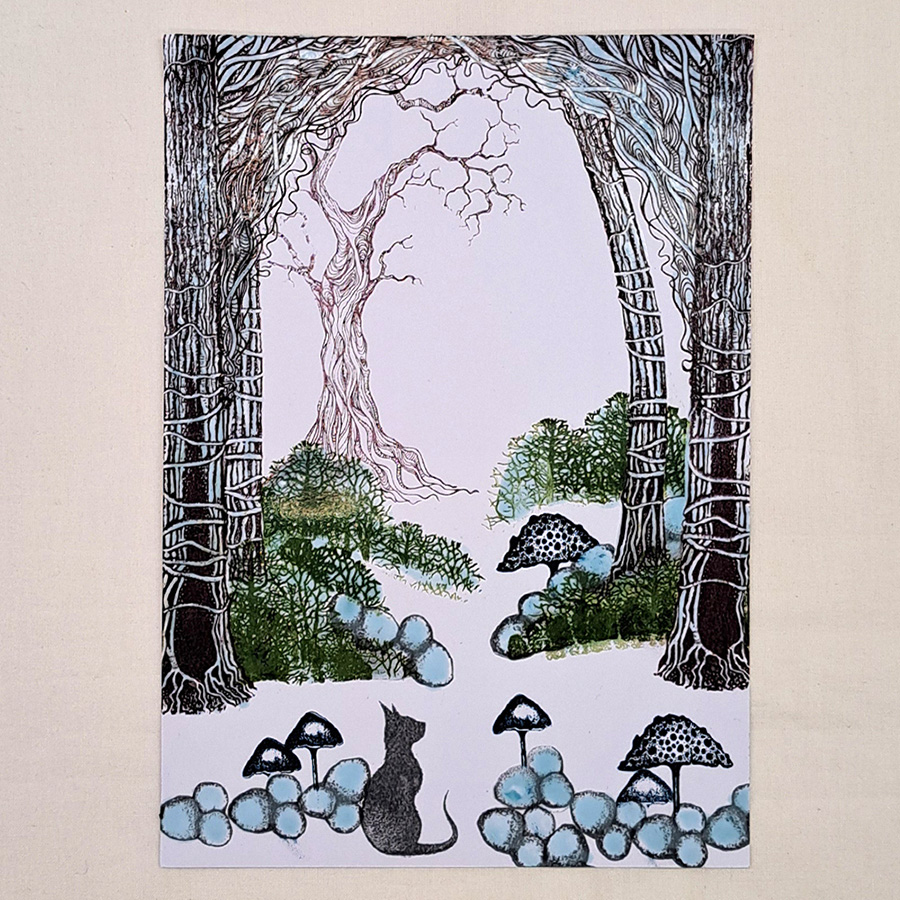
Now add some more stones from the Forest Moss Stamp LAV857 behind the bushes. Stamp in Versafine Clair Morning Mist and cover in Liquid Masking fluid.
Picture 4
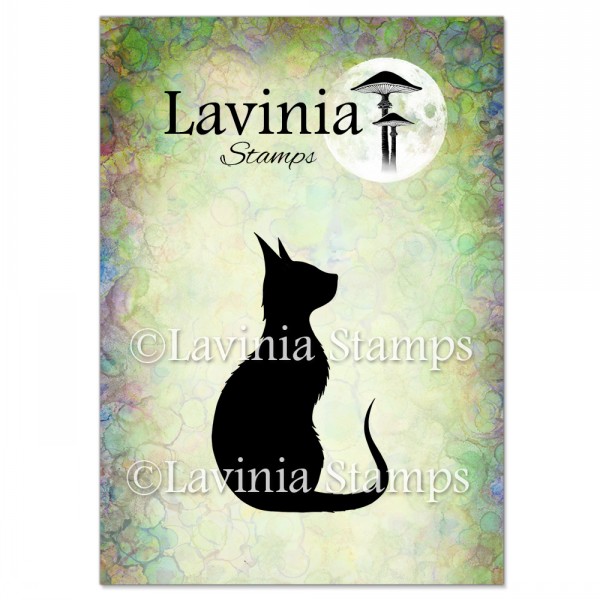
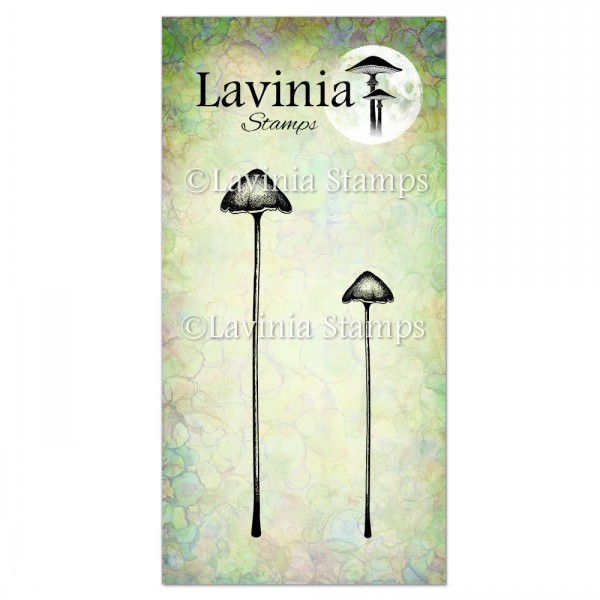
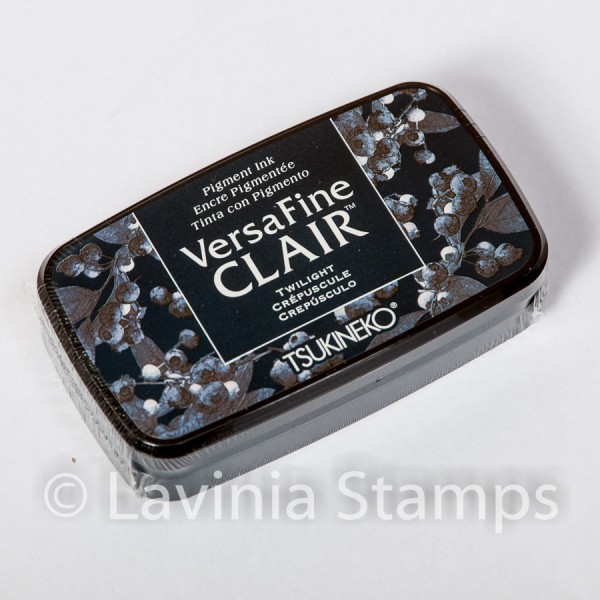
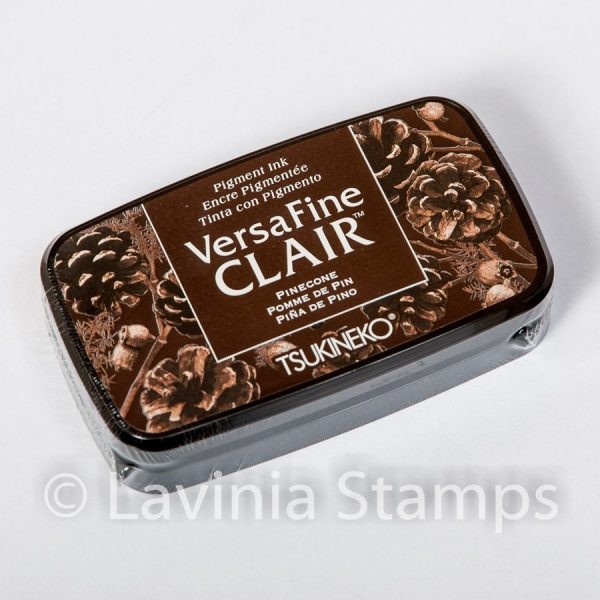
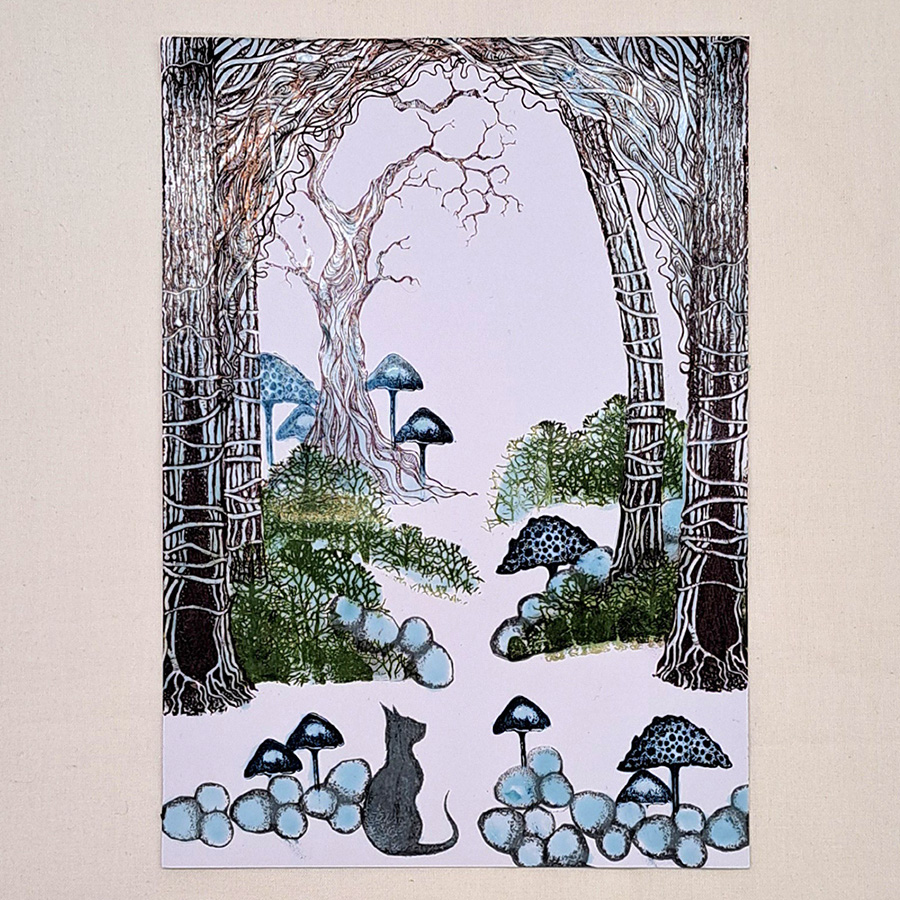
Stamp some more of the Forest Scene stamp LAV524 Look at the picture for placement. We want our cute new friend Luka LAV881 to sit in the foreground of our Picture. Stamp him in Versafine Clair Morning Mist and we can decide what colour he will have later. Stamp the new Moss Caps LAV882 and Elfin Caps LAV876 in Versafine Clair Twilight. We want a beautiful tree in the background so we will stamp the Tree of Wisdom LAV609 in Versafine Clair Pinecone and do second generation stamping on this tree. Cover all in Liquid Masking fluid.
Picture 5
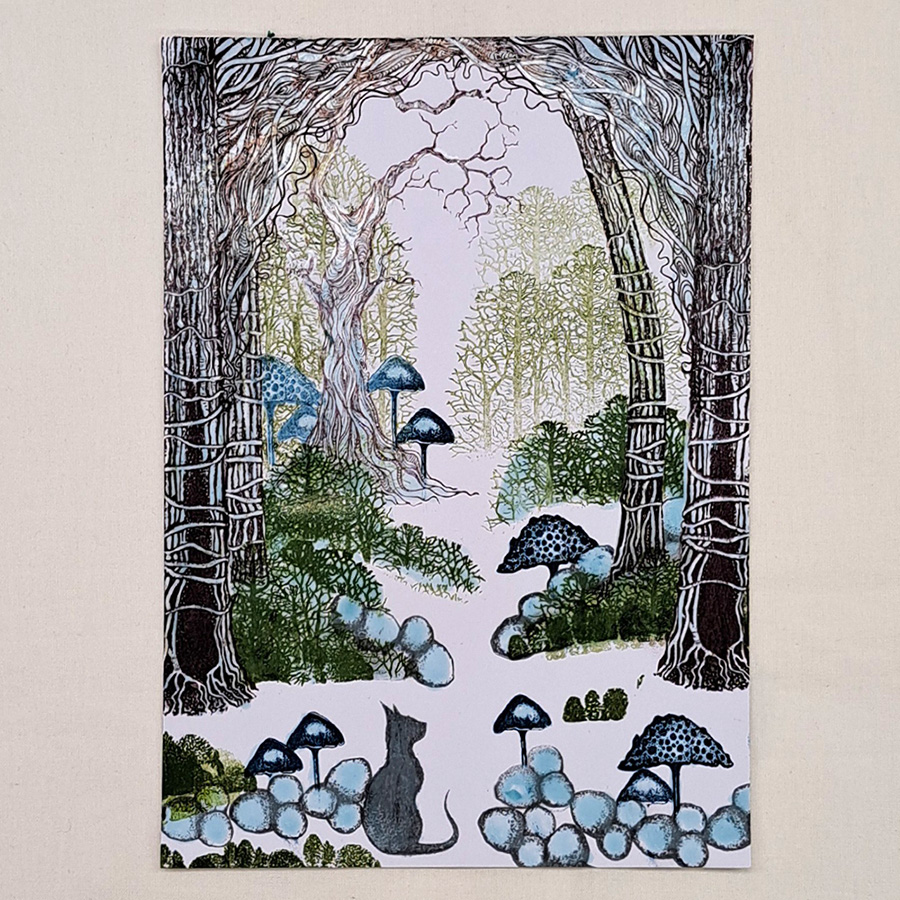
Add a few more mushrooms in Versafine Clair Twilight and cover the mushrooms in Liquid Masking fluid. We don’t need to mask the trees in the background.
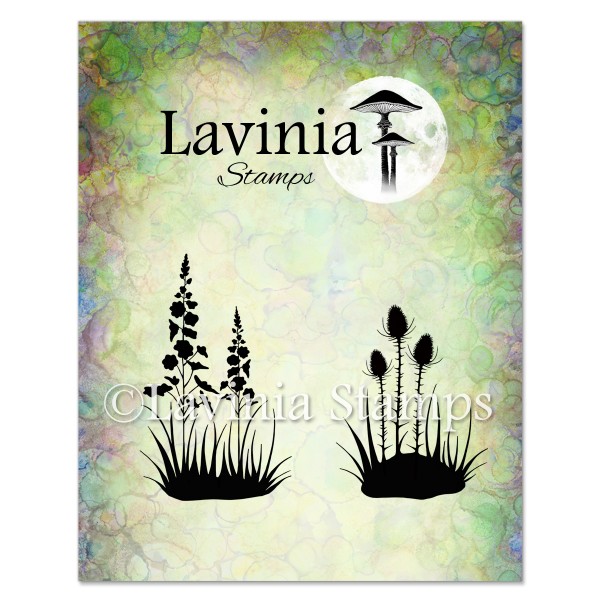
Stamp a few bushes in front as well in Versafine Clair Shady Lane using both Forest Scene LAV524 and Tree Scene stamp LAV219.
Picture 6
Now add some more Forest Scene LAV524 as bigger trees in the background (still not the whole length of the trees). Stamp these in Versafine Clair Shady Lane and do second generation stamping on the trees and do third time generation stamping on those trees behind the trees.
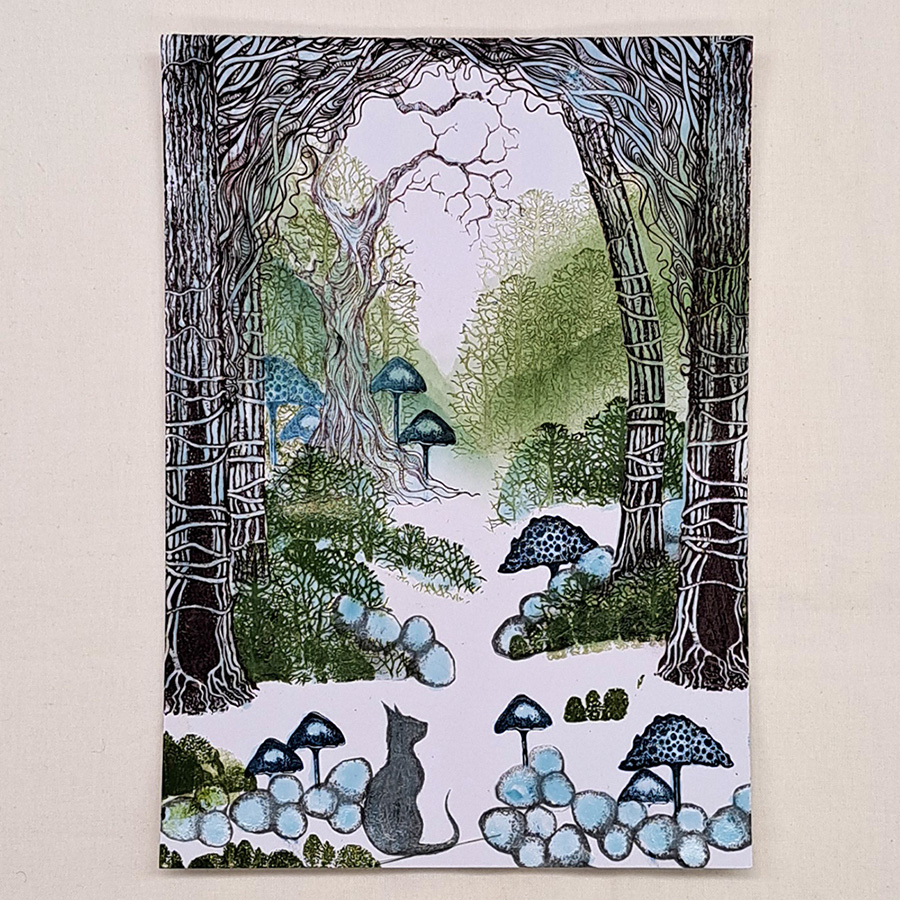
Picture 7
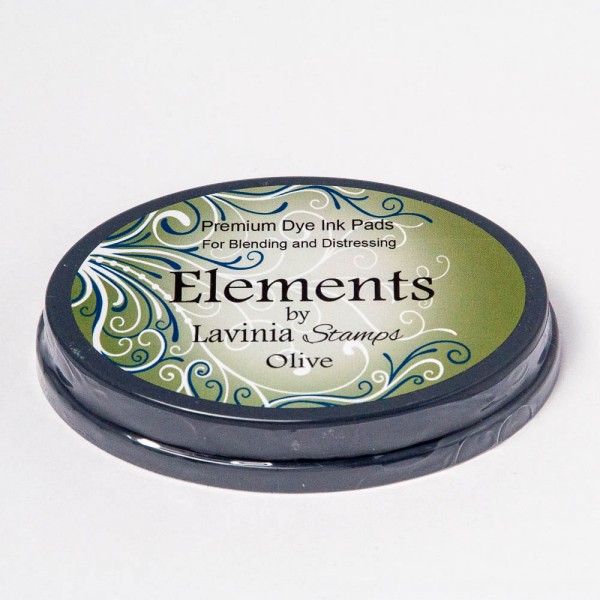
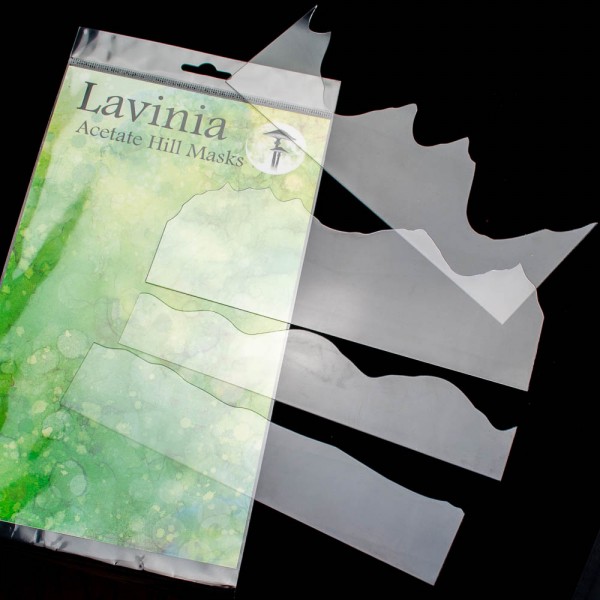
Use a Hills Mask to create some mountains in the far distance. I used my stencil brush that I use for Elements ink Olive but I did not apply more colour to my brush, I just brushed on the “left over” ink in my brush. To create a hill or mountains in the background you need very little product.
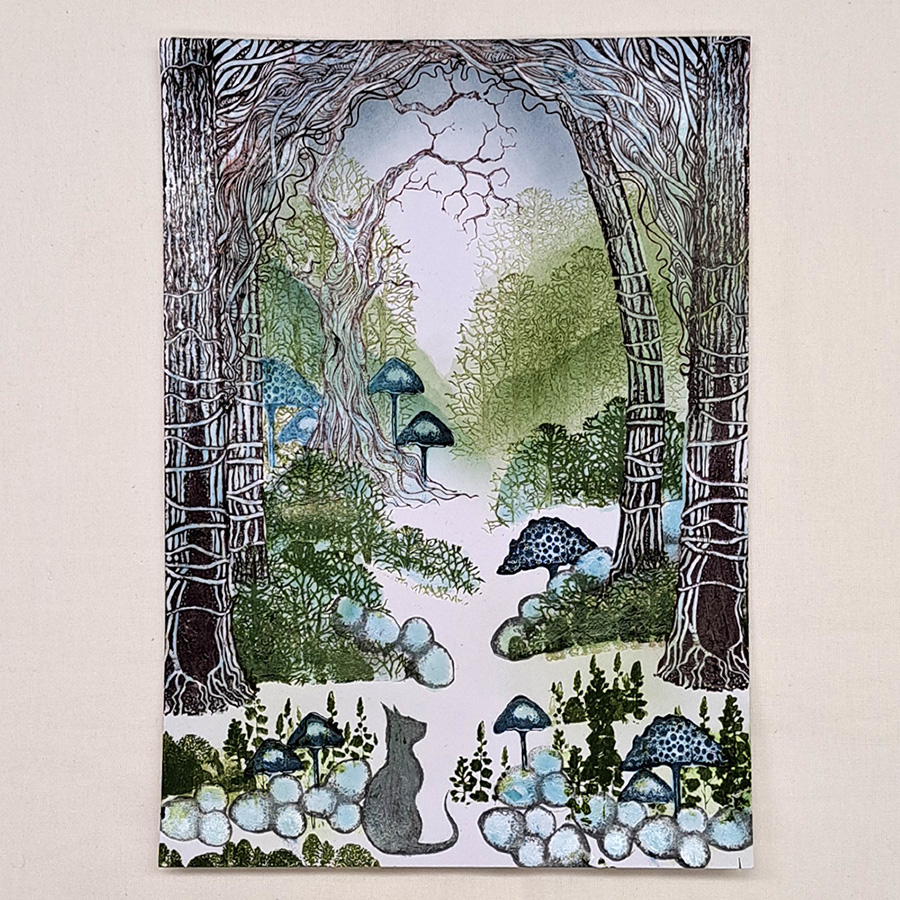
Picture 8
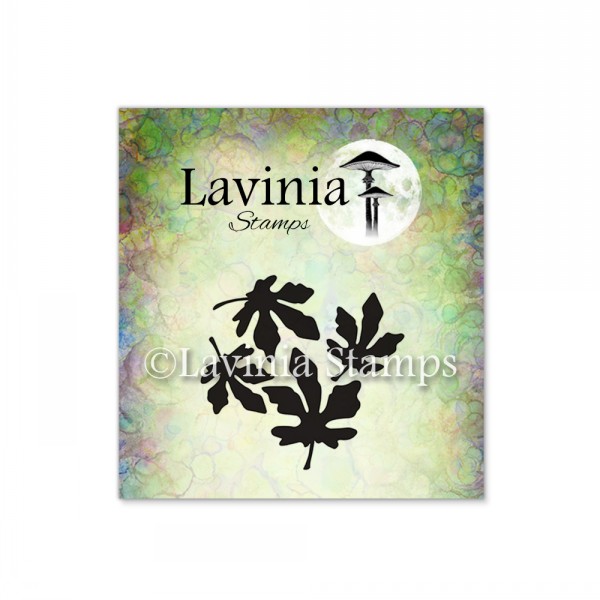
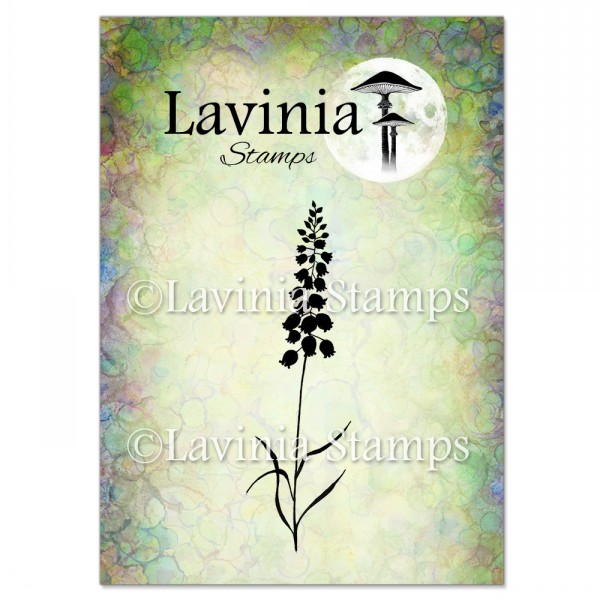
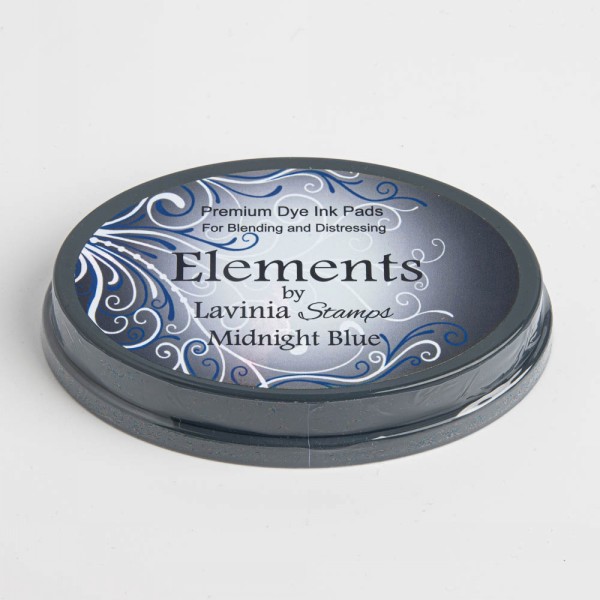
Stamp some Bluebells LAV002 and some Silhouette Foliage Set LAV683 in Versafine Clair Shady Lane like you see in the picture. Now we will start with some colour on the sky. Elements ink Midnight Blue is our first layer.
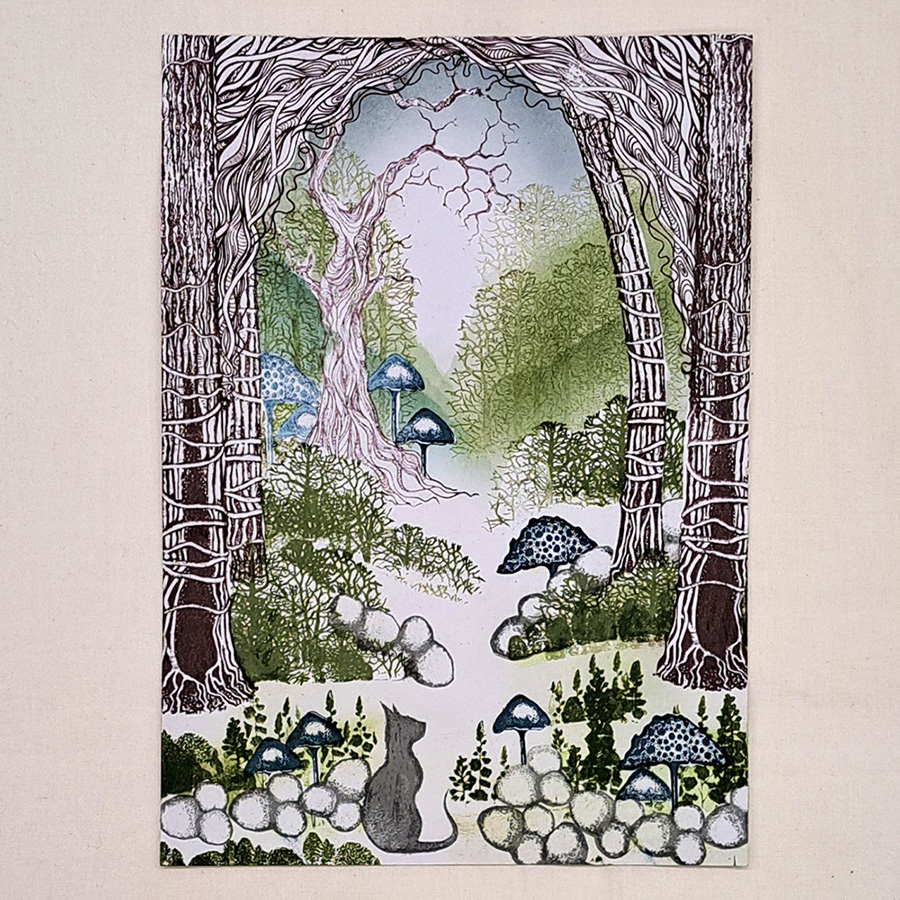
Picture 9
Make sure your card is completely dry before removing the Liquid Masking. I always use my Heat gun to dry it even if it feels dry. If there is a tiny bit of moisture the paper can easily rip.
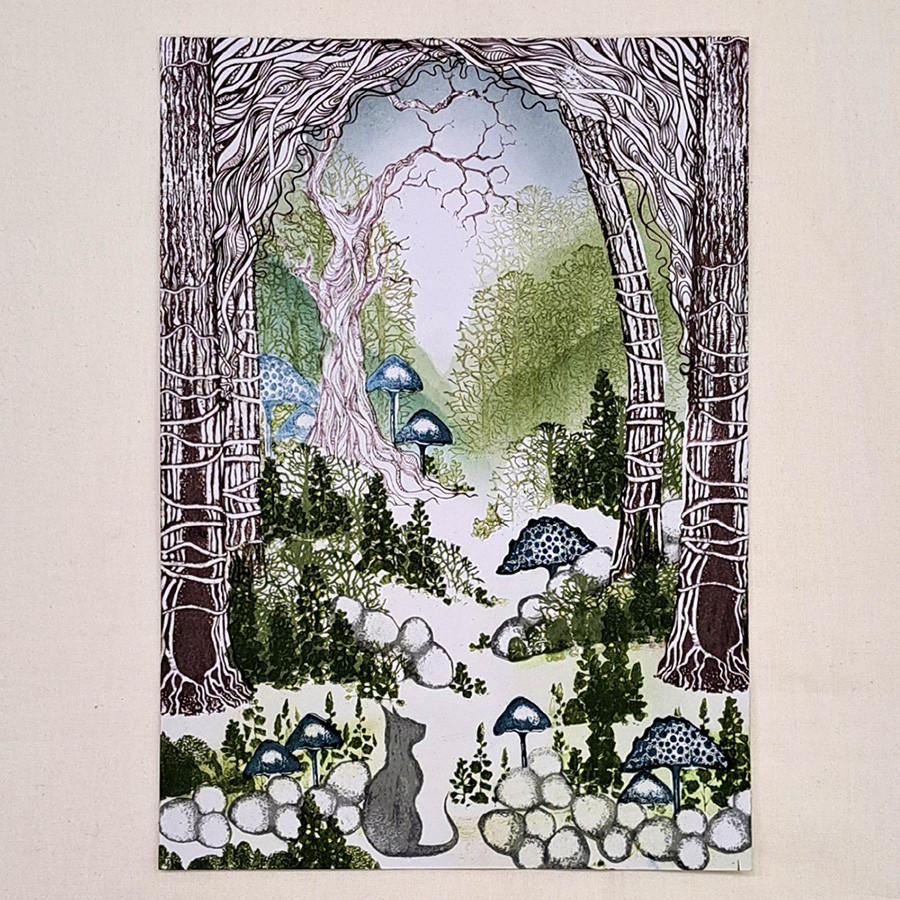
Picture 10
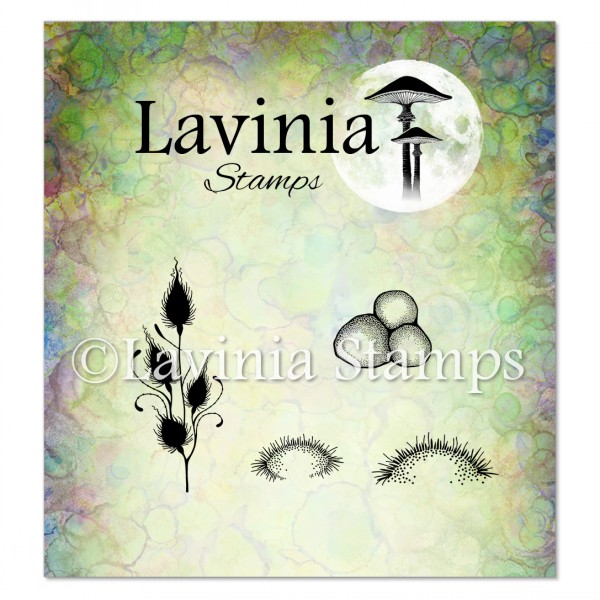
Stamp some more Bluebells LAV002 as you in the picture in Versafine Clair Shady Lane and some Silver Leaves Mini LAV891 on the Tree of Wisdom also in Versafine Clair Shady Lane but do both first and second generation stamping.
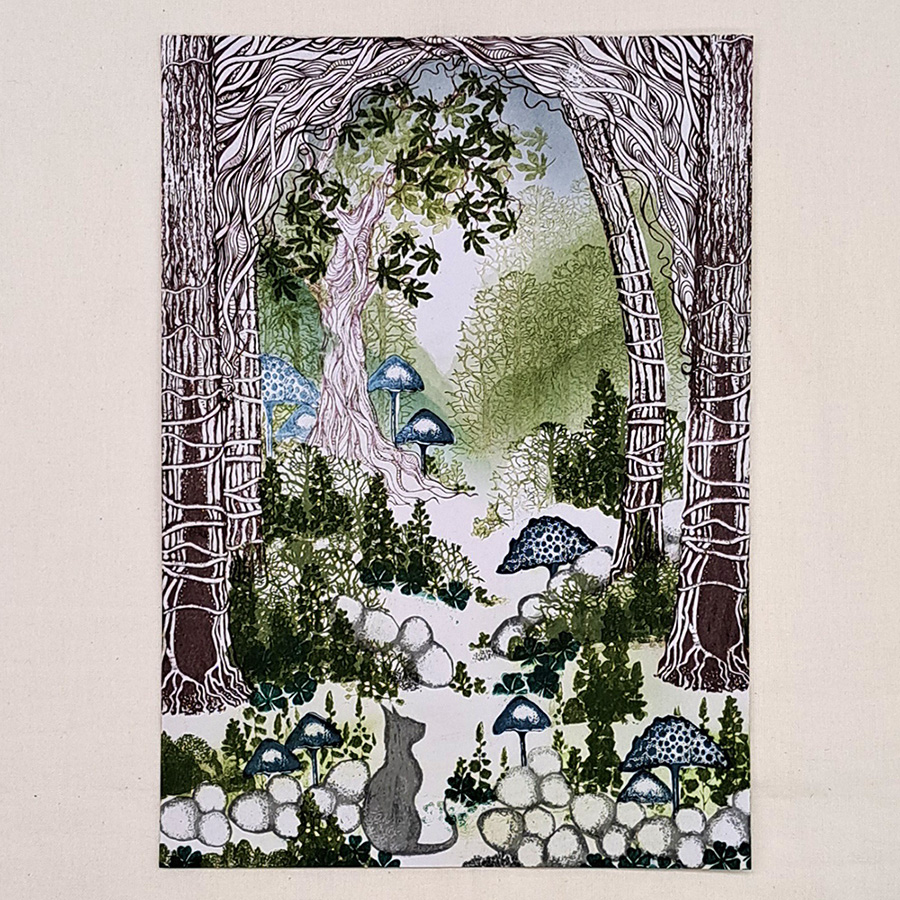
Picture 11
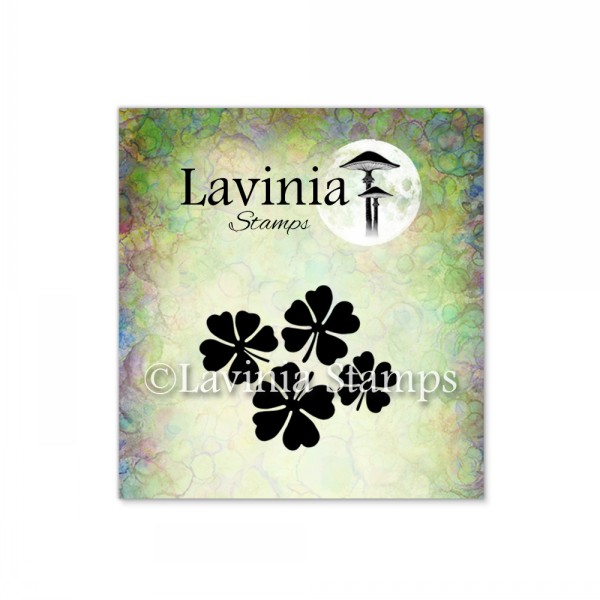
Stamp some beautiful Lucky Clover Mini LAV889 in Versafine Clair Rain Forest. Look at the picture for placement.
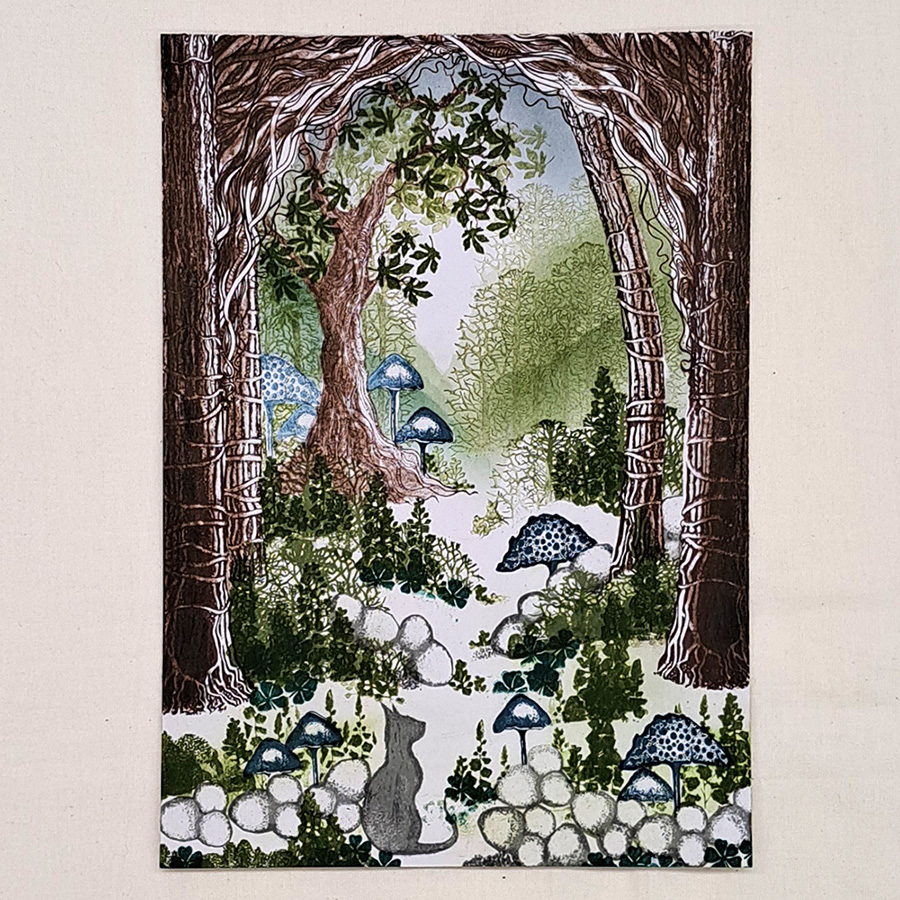
Picture 12
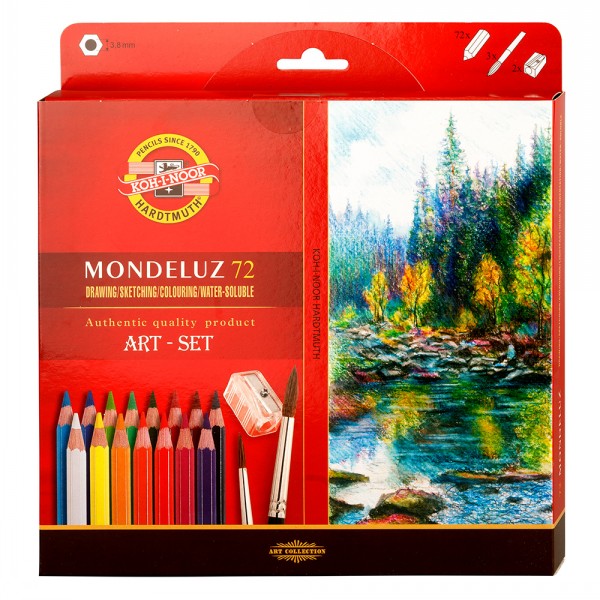
Now we will colour with the fabulous Mondeluz watercolour pencils. Use a warm dark brown to colour the darkest parts of the trees and the Dragon Root Corners. The Tree of Wisdom we will colour slightly lighter than the trees in front. This will help to have it look further away. Use a black pencil to make it very dark on the trees along the edge of the card.
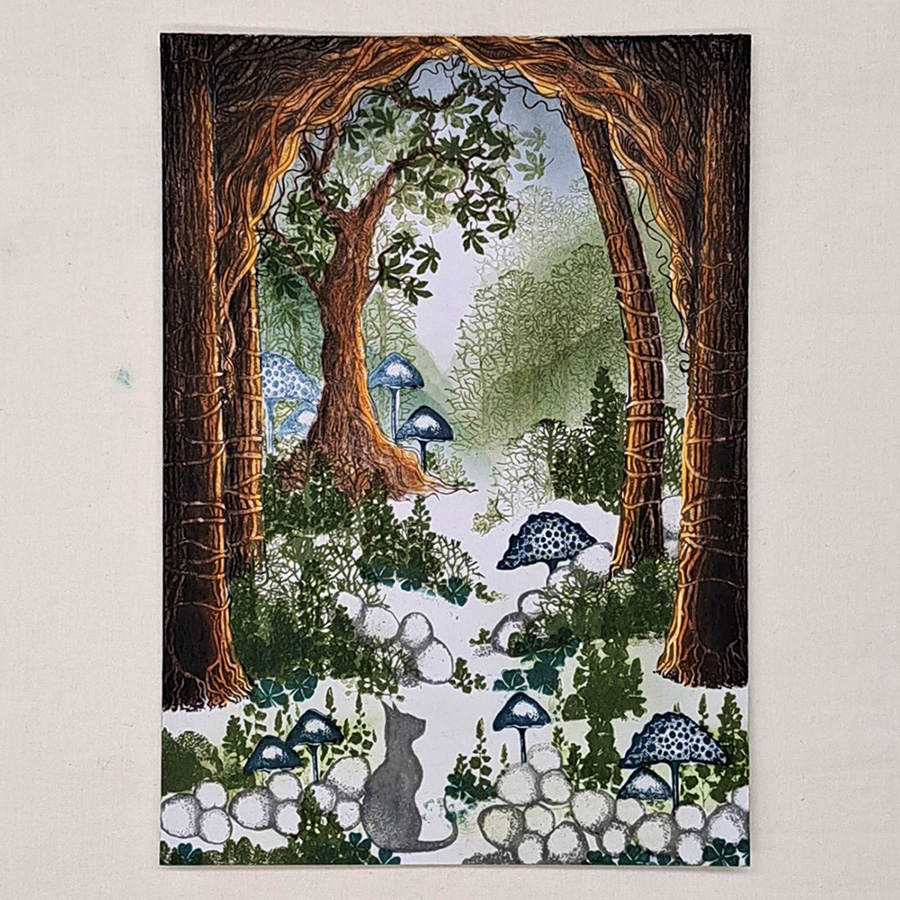
Picture 13
Now we will use a medium brown, reddish brown and the ochre to colour the rest of the trees. The Mondeluz watercolour pencils are so soft to use and the colours blend together perfectly when dry too. So, I don’t blend with water in any of my pictures.
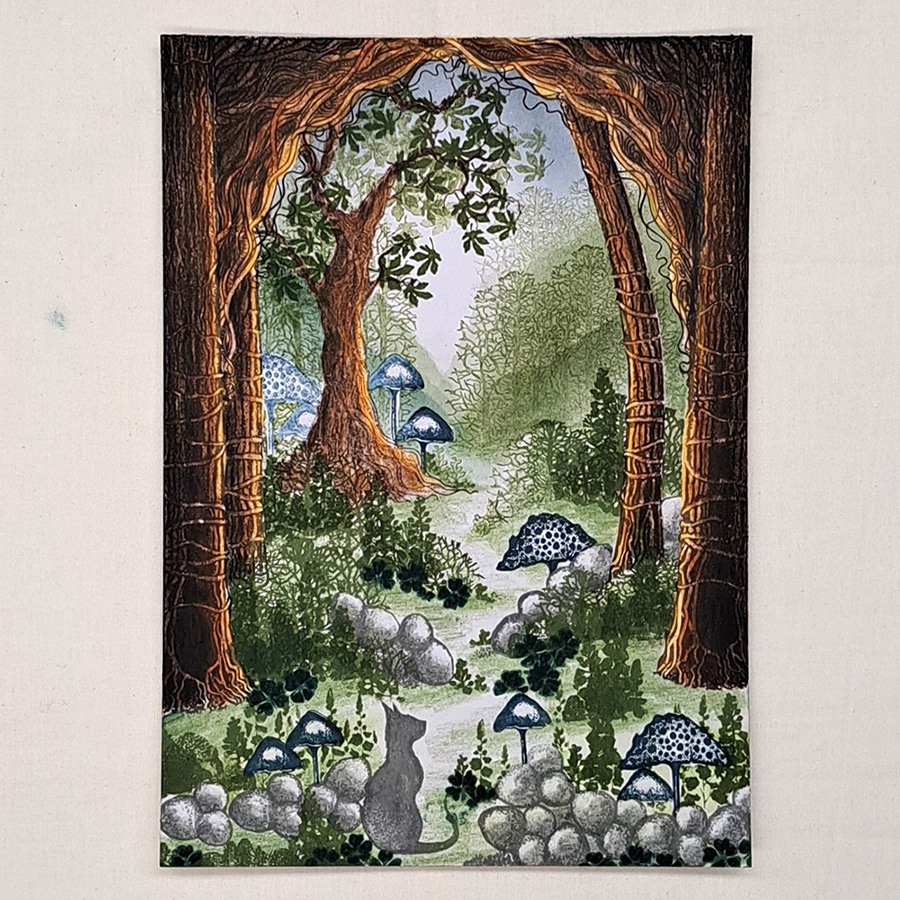
Picture 14
Colour all the stones with a medium grey and use a green pencil with a colour similar to the Versafine Clair Shady Lane to colour on the ground and in the bushes so that the bushes and Forest Scene trees are more solid.
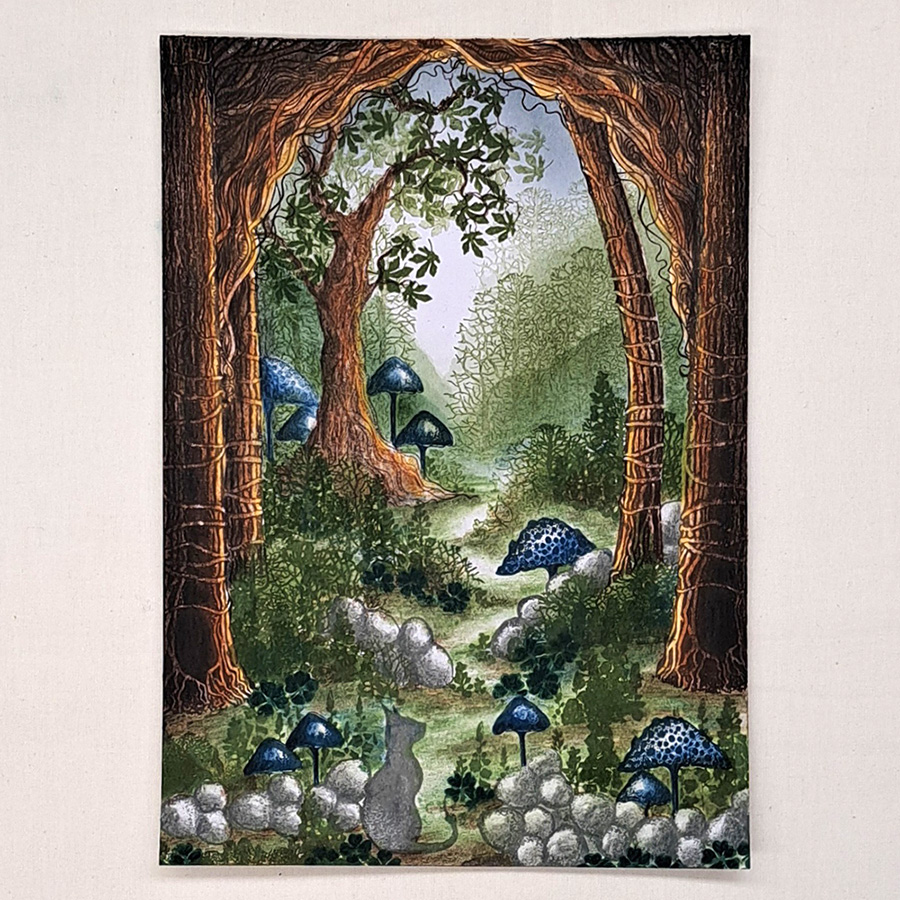
Picture 15
Use the warm dark brown pencil to colour in some darker shadows on the ground. Colour the mushrooms with a colour pencil like the Versafine Clair Twilight. Don’t colour in the whole mushrooms, just the darker parts. Look at the picture for placement.
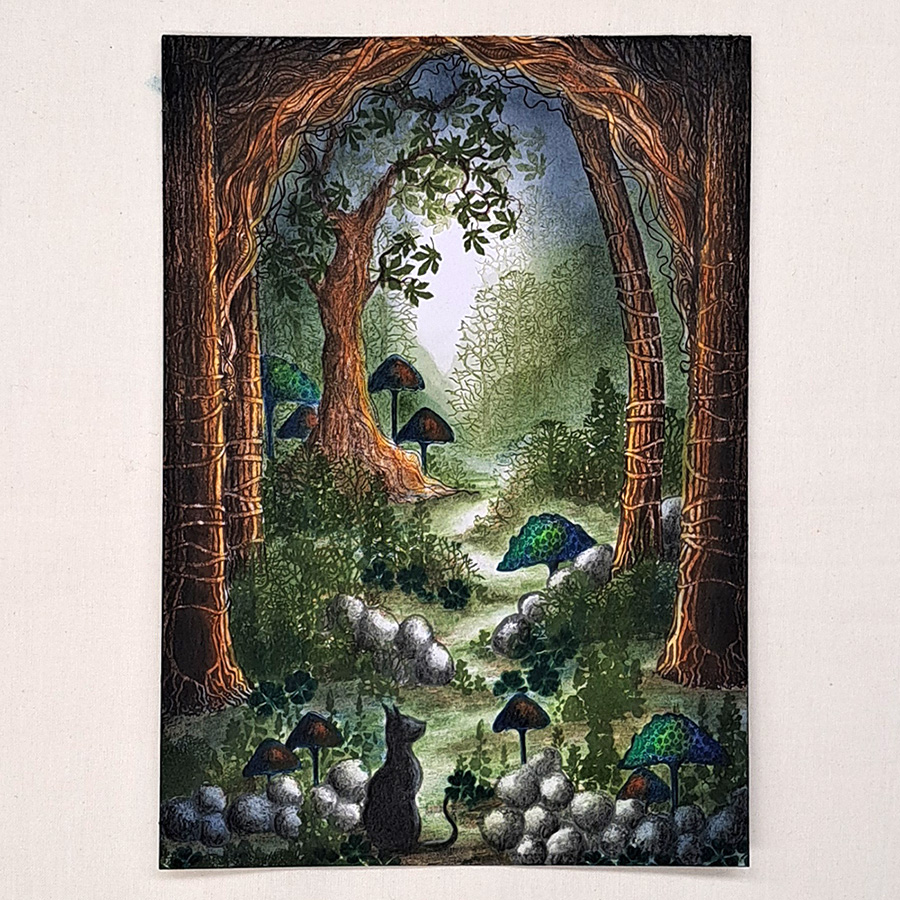
Picture 16
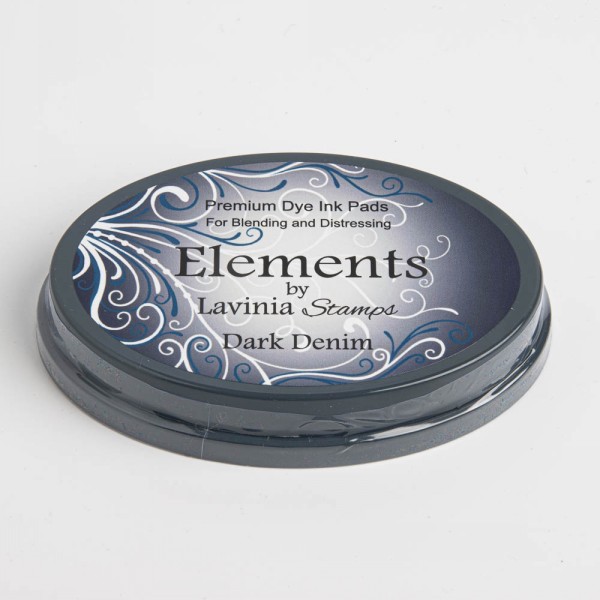
Use Elements Dark Denim to darken the sky. Now we will colour in our sweet new friend Luka. He will be a black cat. Also use the black colour pencil to create the dark shading on all the stones. The Moss Caps get a brown colour on them together with the dark blue. And the Elfin Caps get a green colour on them together with the dark blue.
Now use the stencil brush we used on the sky to darken both the bottom corners. If you look closely at the picture, you can see where the dark colour has been applied.
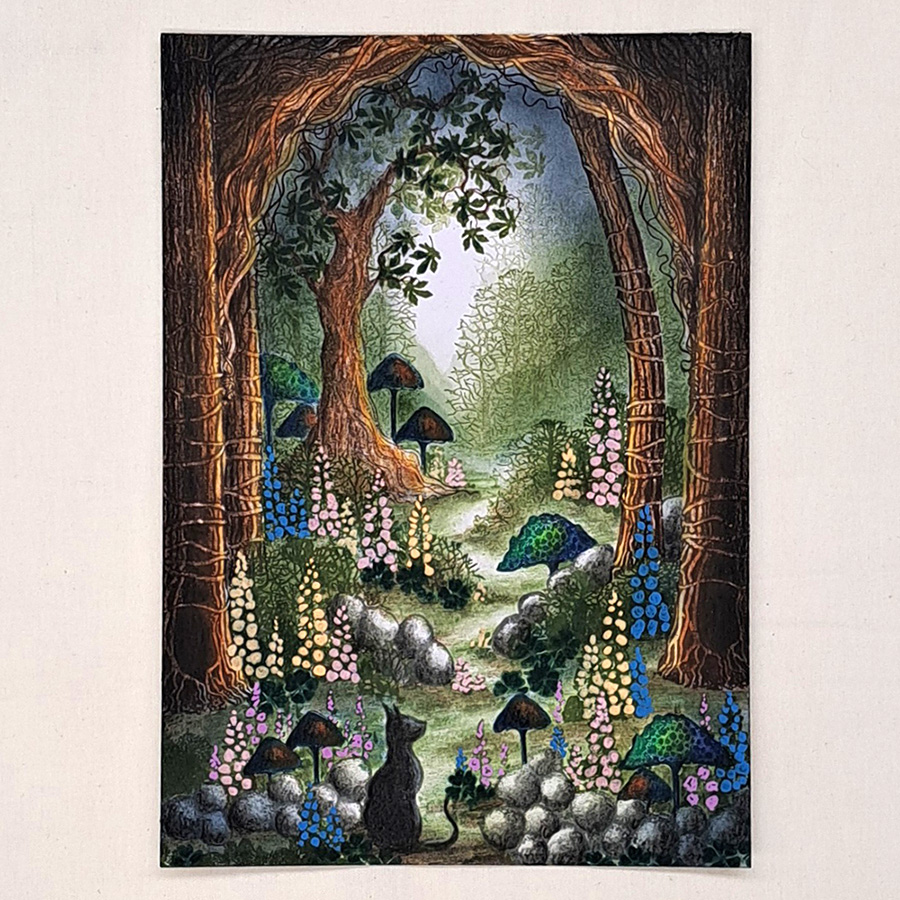
Picture 17
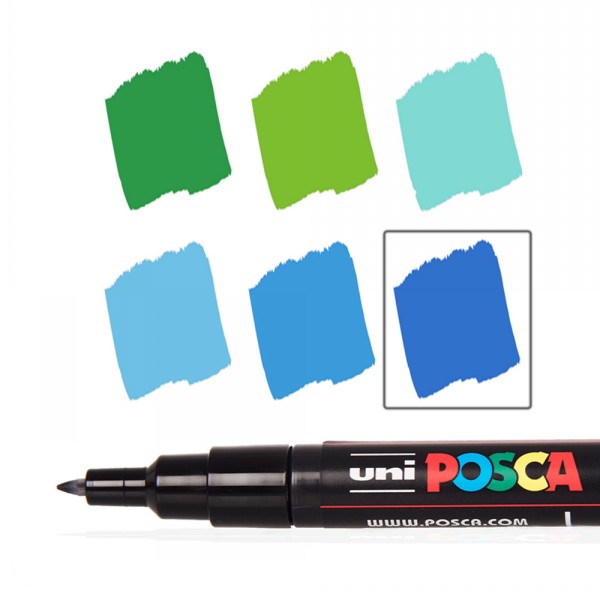
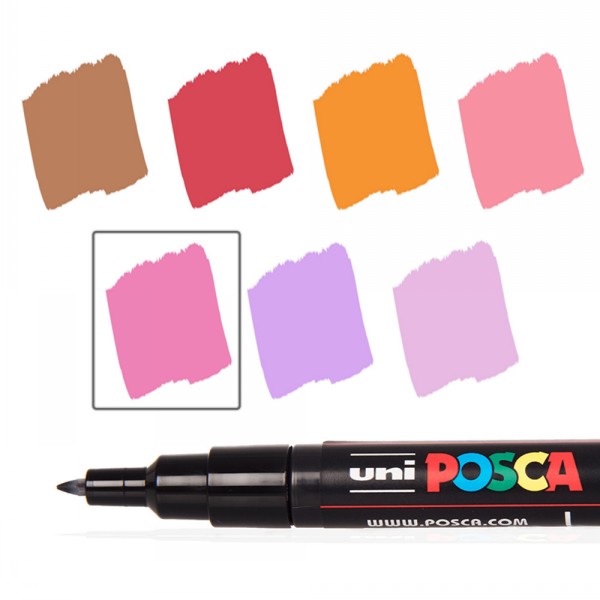
Colour all the Bluebells with some different Posca pens. I used Sky Blue, Light Pink , Apricot and Beige. On the Silhouette Foliage Set flowers I used Lavender.
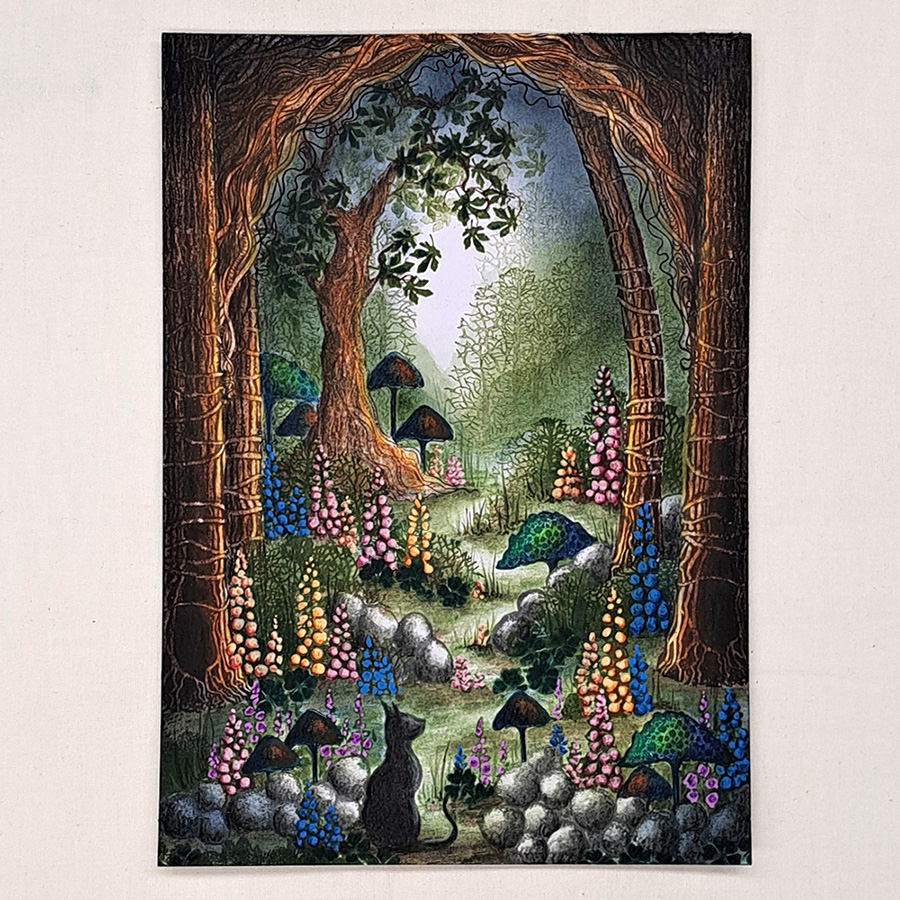
Picture 18
When the Posca pen colour is completely dry we can colour on top with our soft Mondeluz watercolour pencils. Mondeluz watercolour pencils are magical and can because they are soft don’t damage your work. They can be used on top of other colours, and they are very bright in colour.
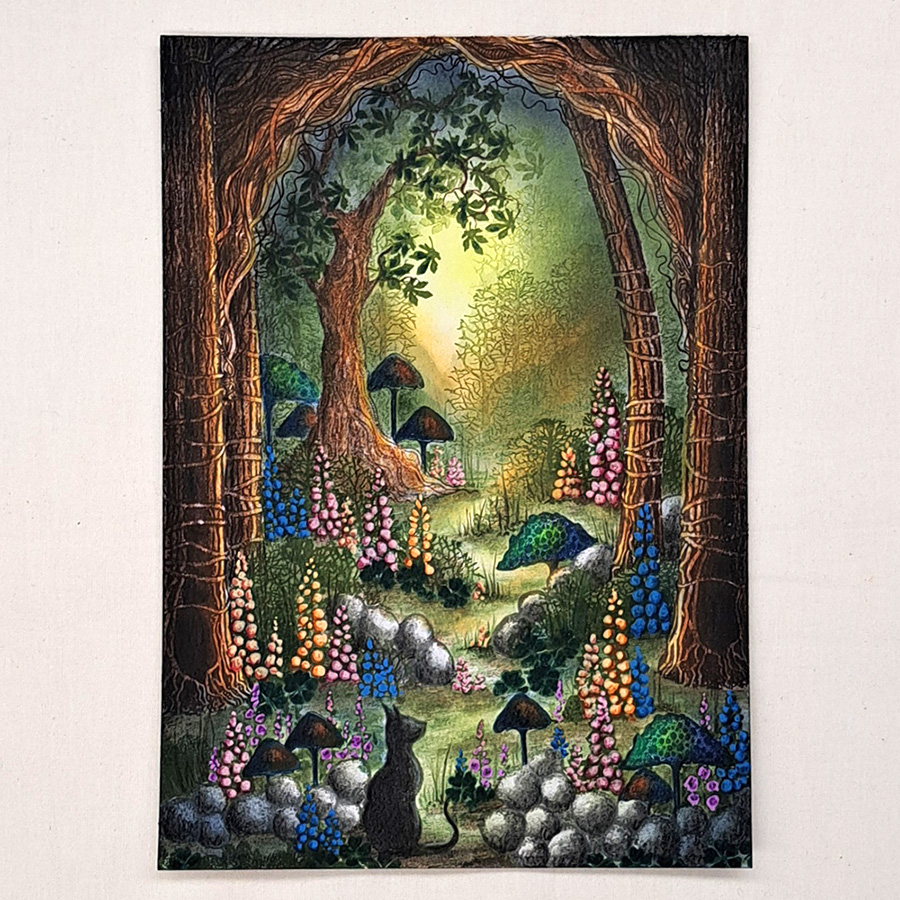
Picture 19
Stamp a few more Silver Leaves Mini LAV891 in Versafine Clair Twilight.
Now we will use our fabulous Pan pastels Hansa Yellow and Orange. Look at the picture for placement.
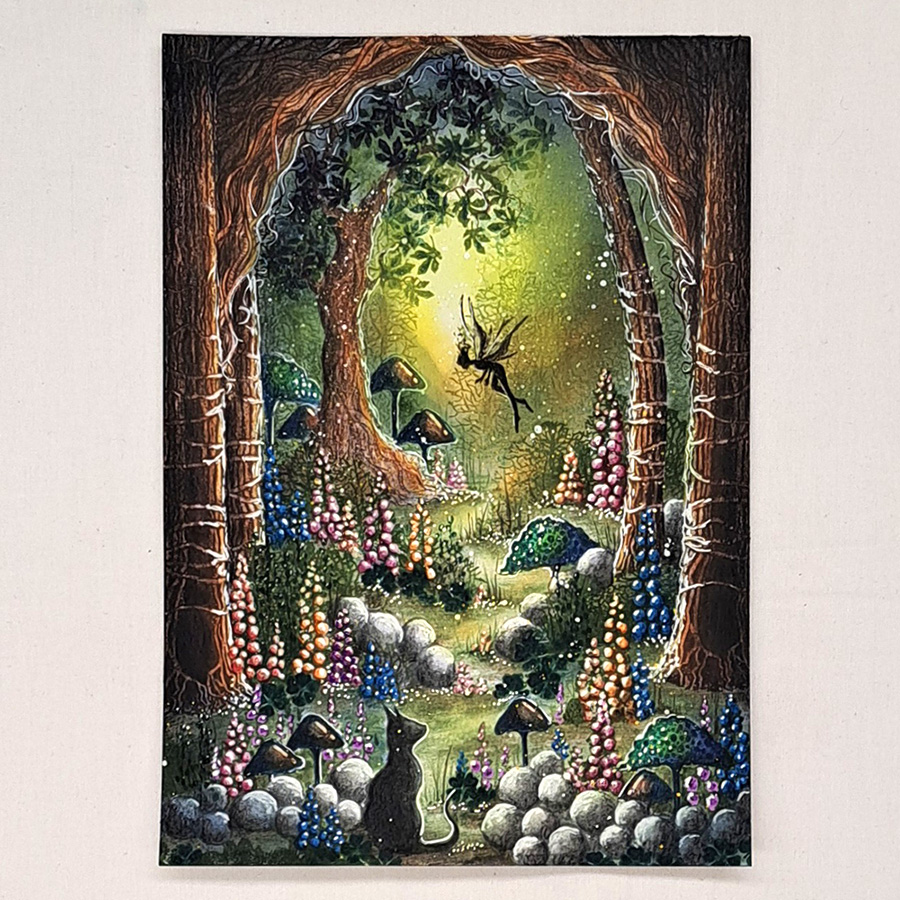
Picture 20
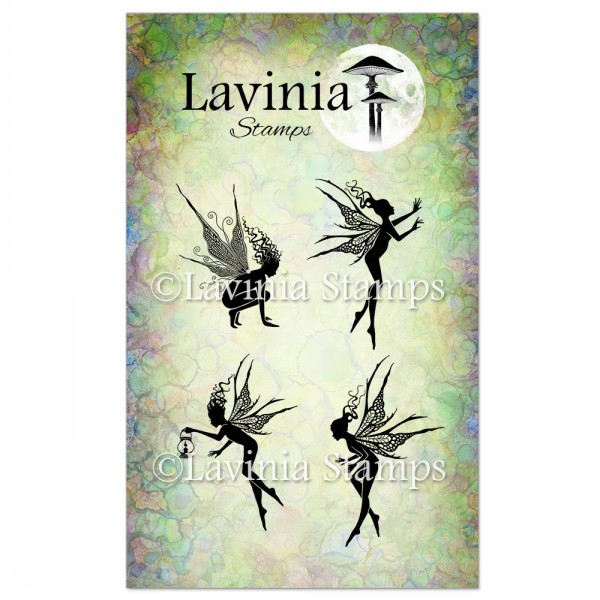
I decided to add another friend to the picture. Stamp in Versafine Clair Fallen Leaves, a Fairy Foragers Stamp LAV498 like you see in the picture. When dry, colour with a black pencil on her back, as this is the side away from the light we want to create some shadow. Now we will draw highlights on everything. I use a white Uniball pen to draw highlights with because I find it easier to draw thin lines with it. For a final touch we will do some Posca Pen splatter using the white Posca pen.
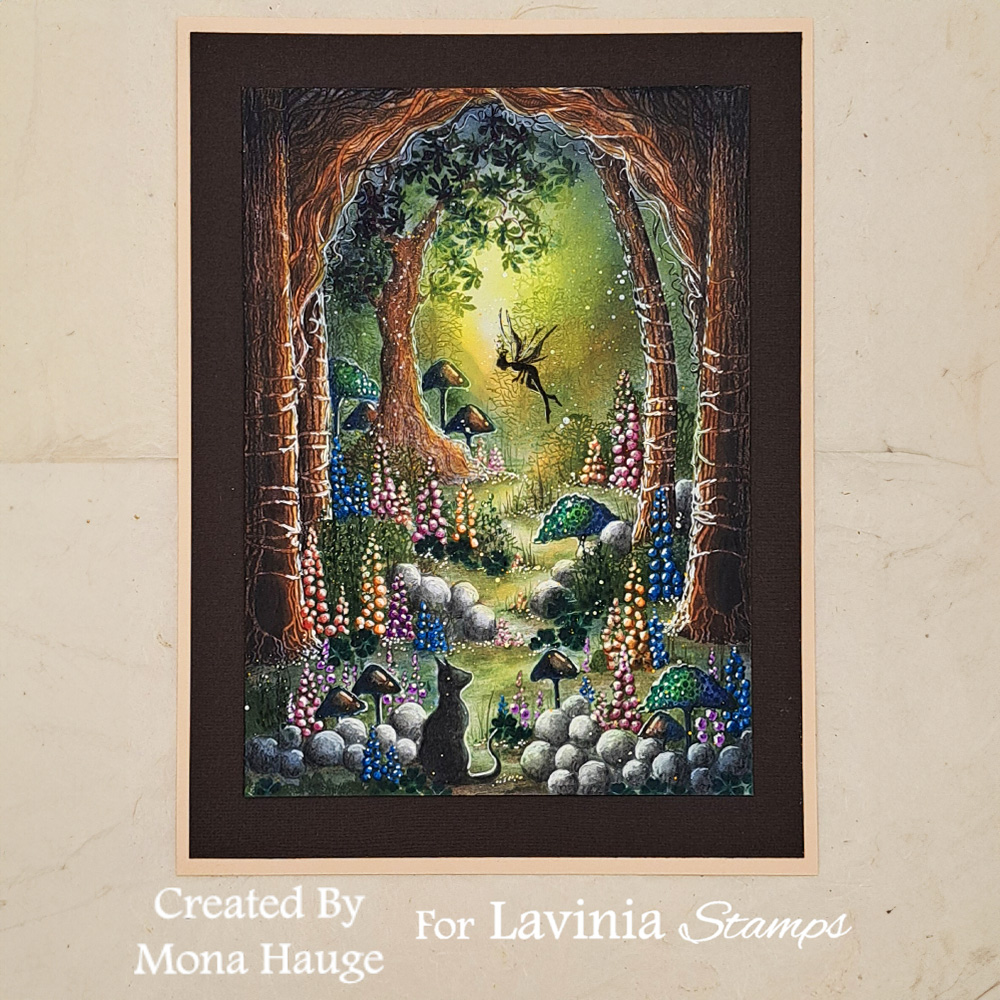
Picture 21
We are finished and I hope you enjoyed following this picture tutorial.
If you have any questions just ask me and I will answer as soon as I can.
Big hugs from Mona


