Step by Step
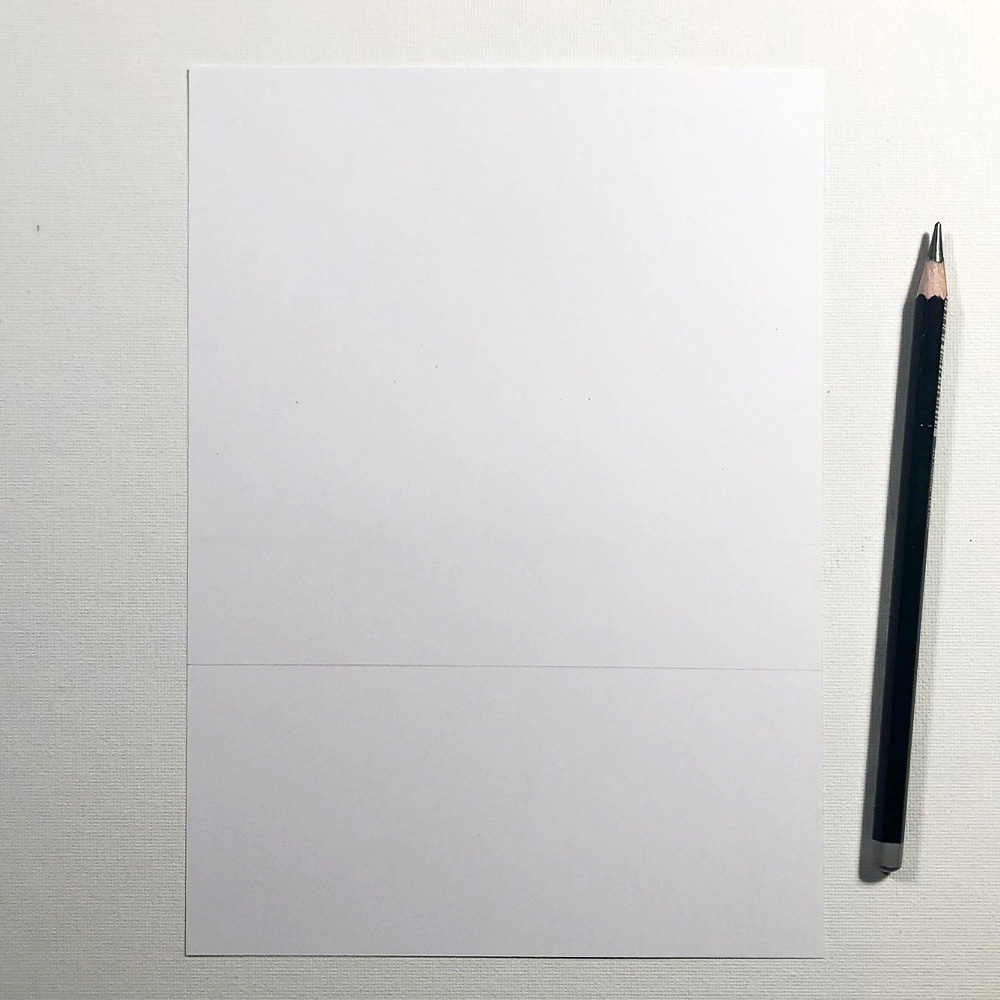
Taking an A5 sized piece of Multifarious card, draw a horizontal line on the card with a graphite pencil that is 7 cm (or 2 and 3/4 inches) from the bottom and goes all the way across.
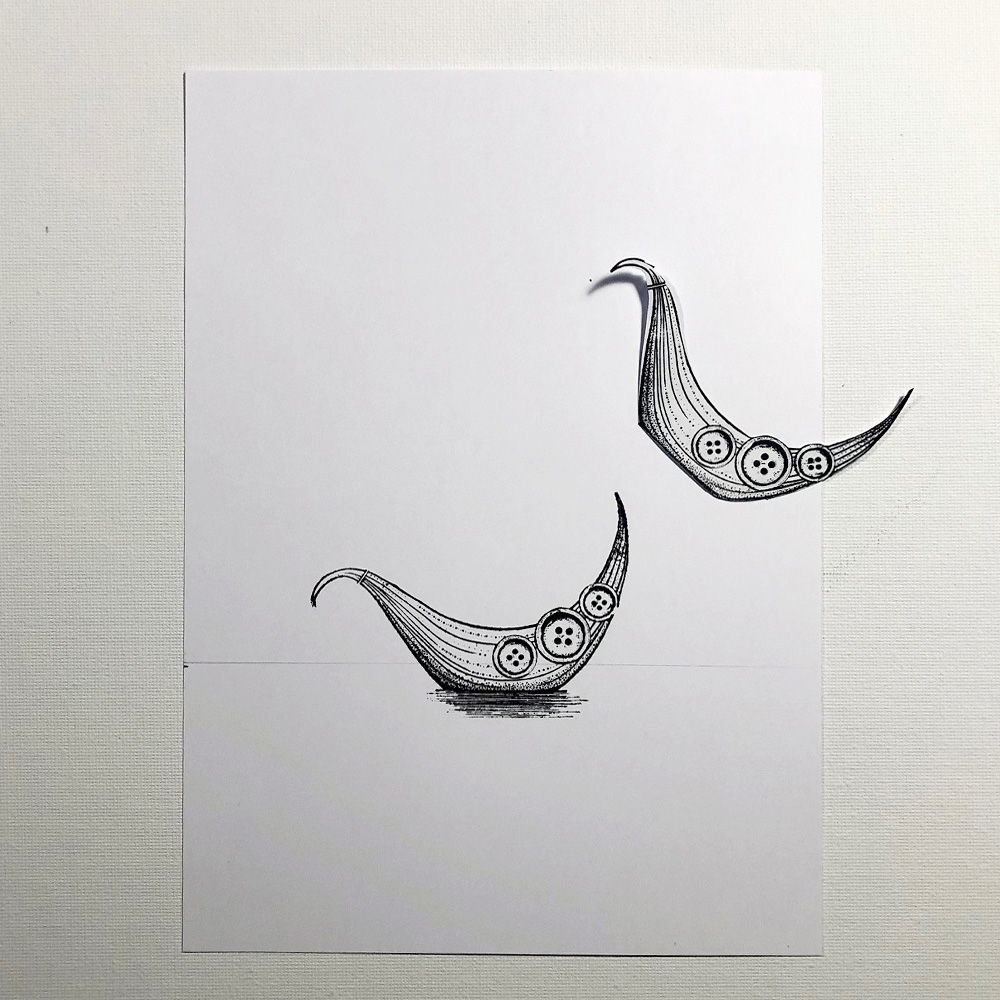
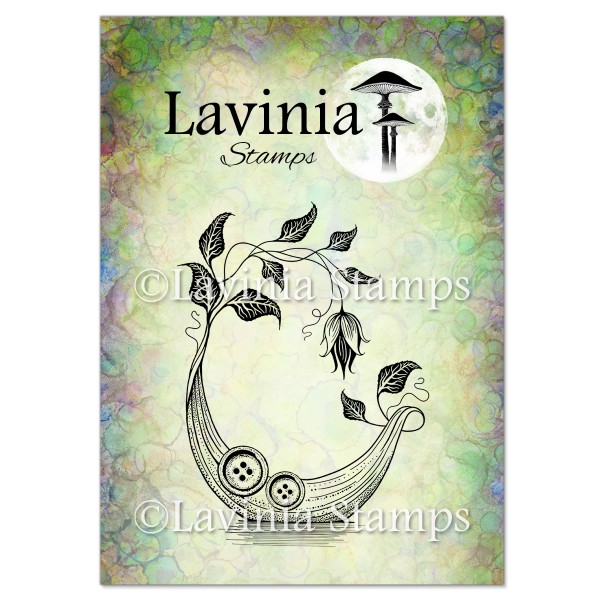
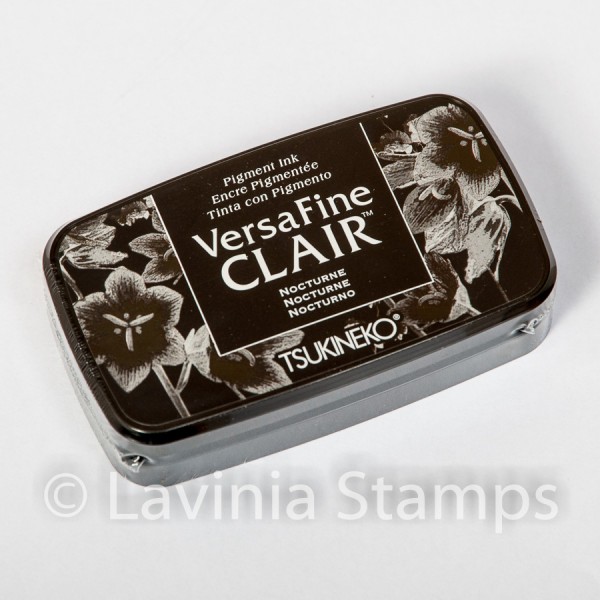
Using Versafine Clair Nocturne ink up the bottom part of the Fantasea boat Stamp and stamp the boat slightly below the horizontal line. Then stamp the boat on a masking sheet, cut it out and stick it on the stamped boat.
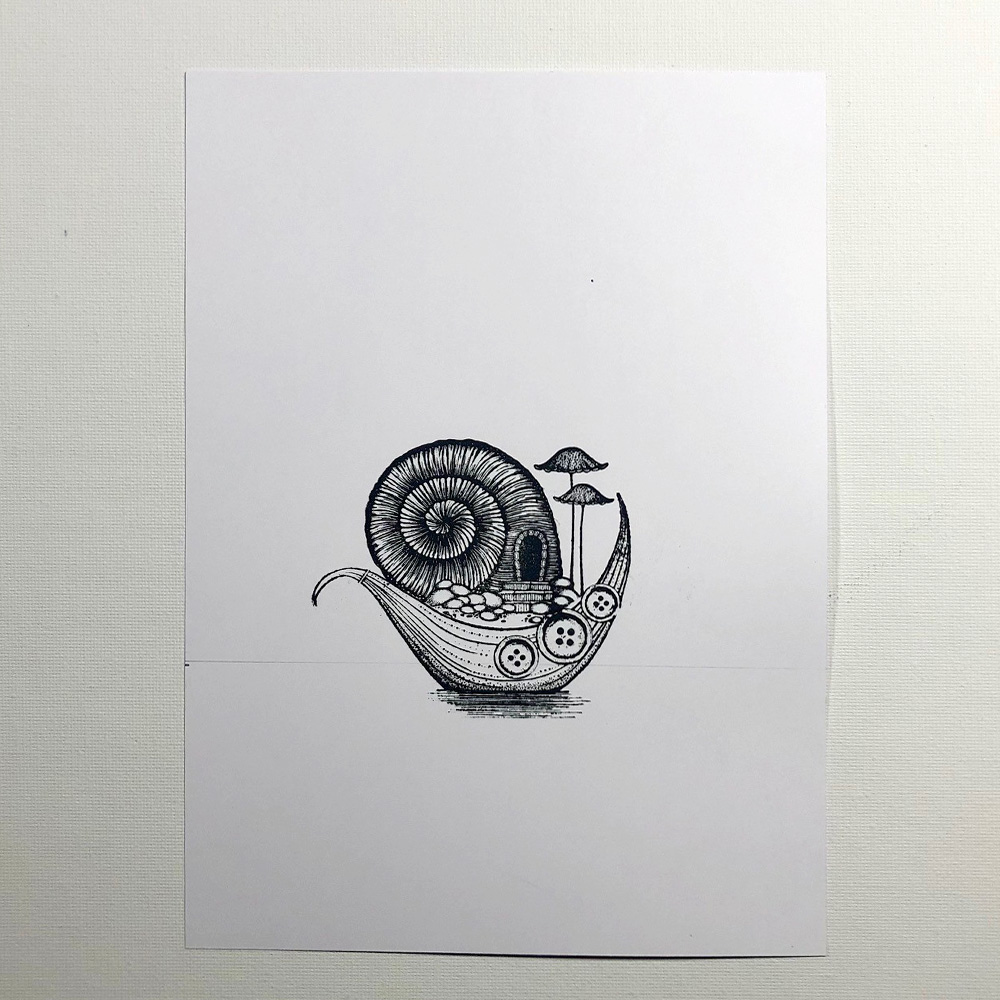
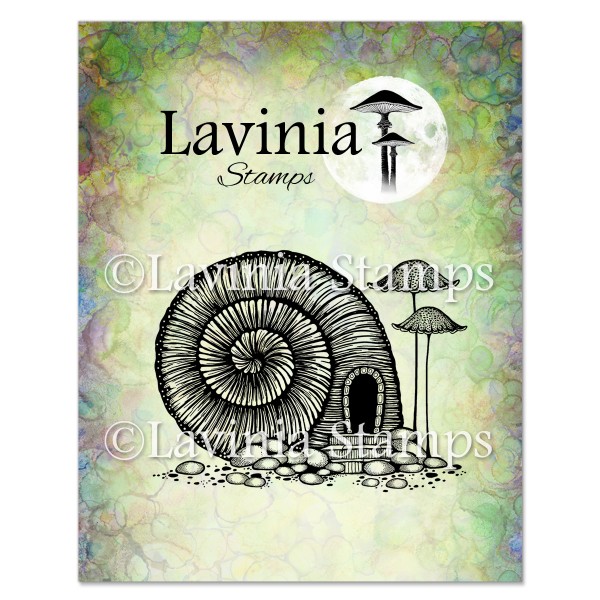
Now stamp the new Snail house stamp and some Thistle cap mushrooms with Versafine Clair Nocturne ink so they sit on the Fantasea boat.
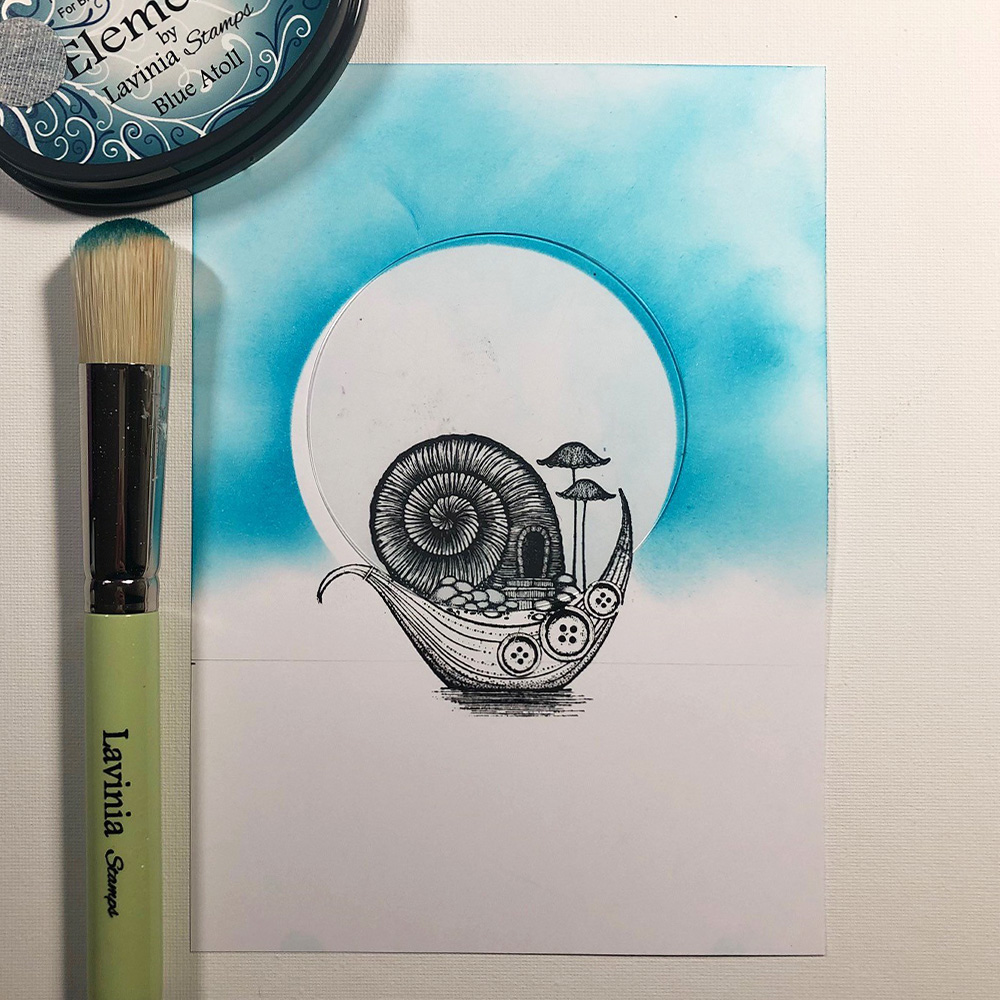
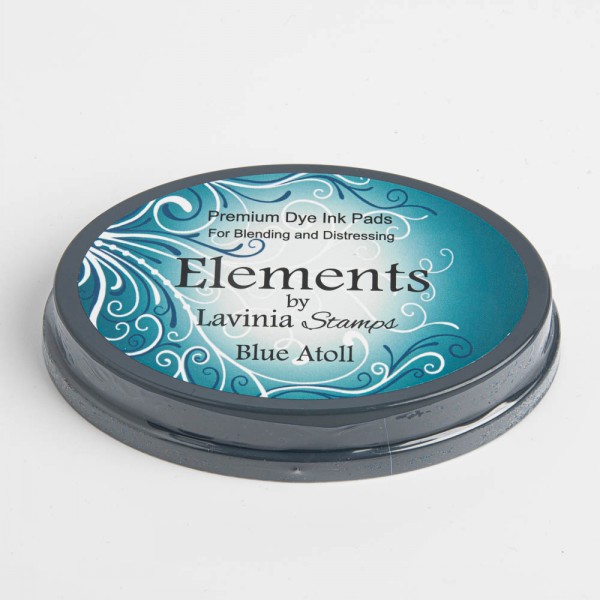
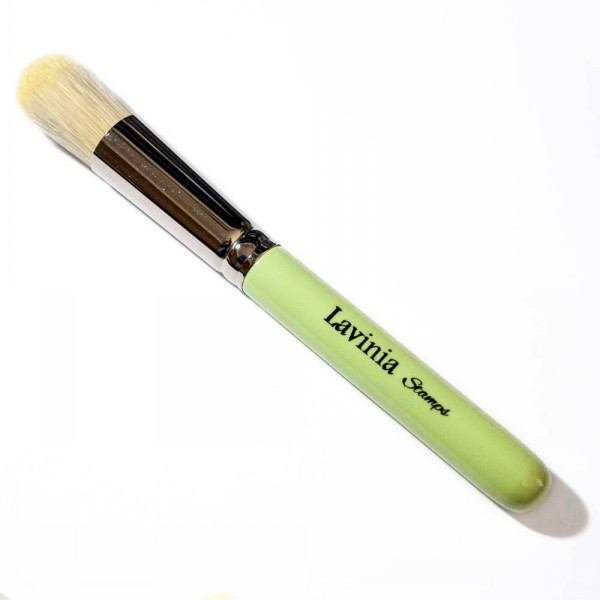
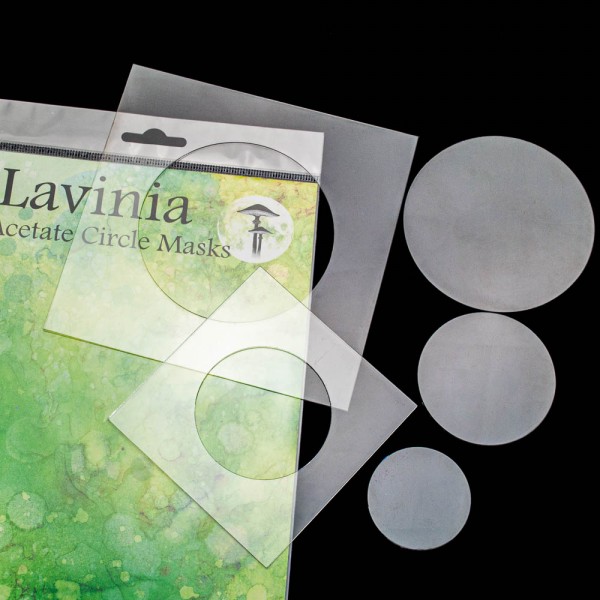
Take the largest size of the Acetate Circle masks and with a Stencil Brush series 9 apply the Lavinia Elements Blue Atoll ink. Blend the colour Blue Atoll from the circle mask to the outside of the card as you see it on the photo. Do not blend the ink all the way to the horizontal line that I drew with a graphite pencil. (See next photo!)
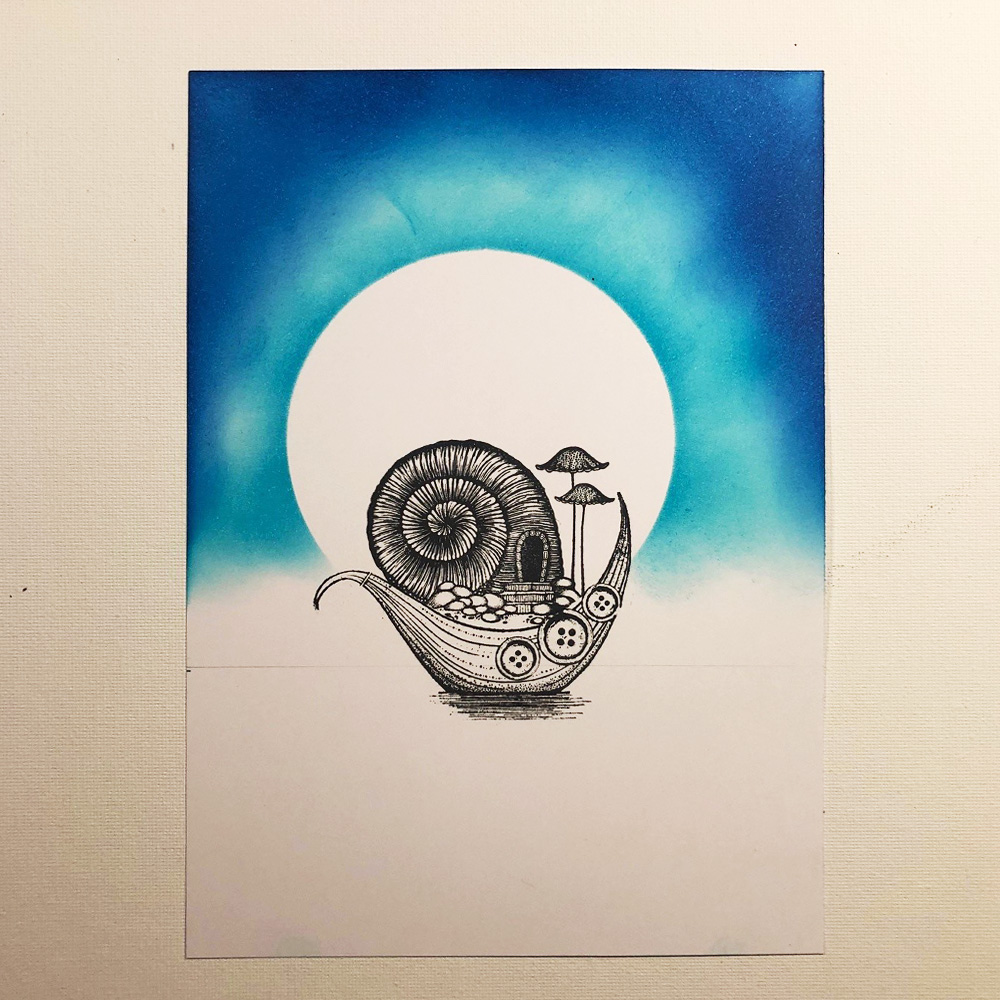
Now load the Stencil brush series 9 well with Elements blue Lagoon ink. Blend the ink from the outside with a rotating movement, to the middle around the moon. Make sure to leave an area around the moon so that only the Blue Atoll ink is visible.
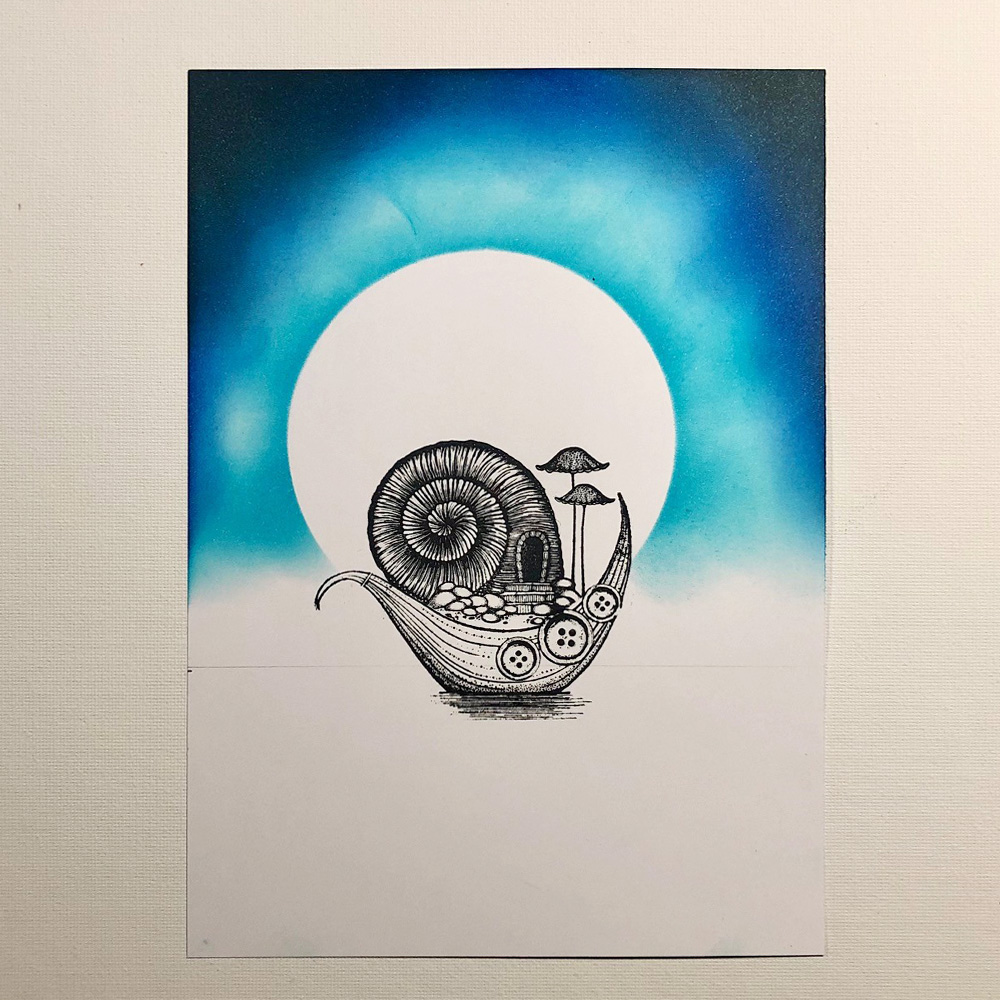
Do the same with the Lavinia Elements Graphite ink. You can see that this makes the colour Blue Atoll create a glow around the moon.
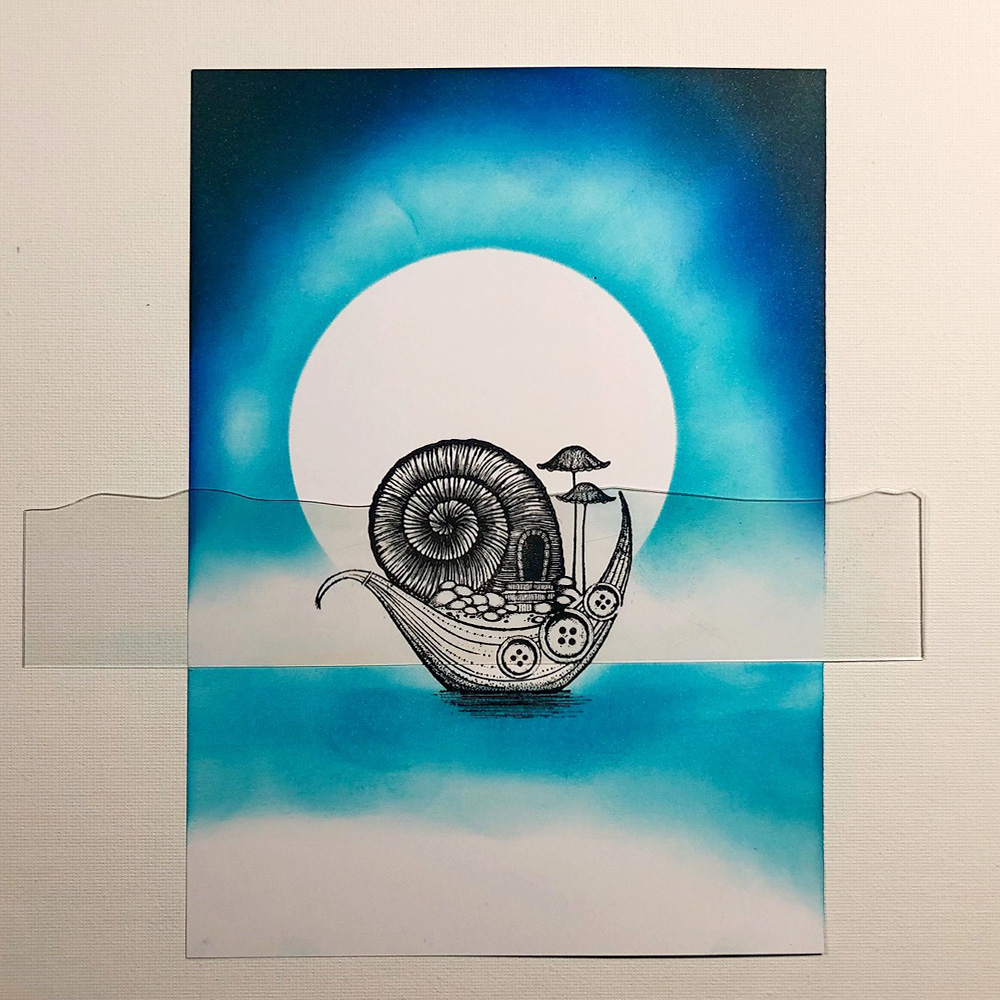
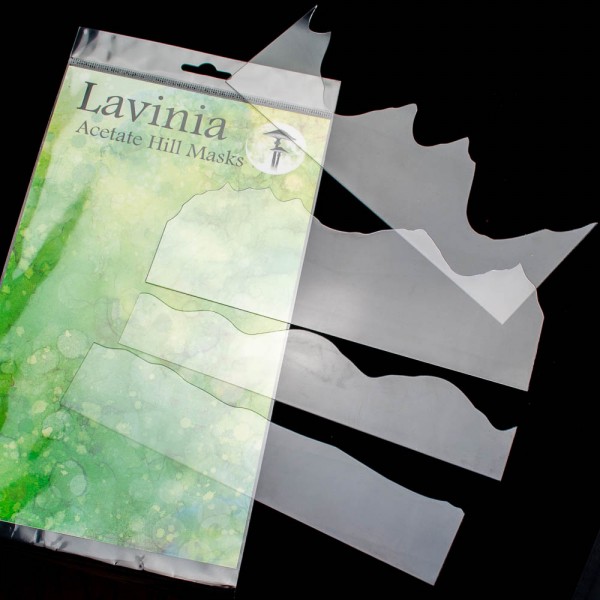
Take a piece of acetate from the Lavinia Hill mask and place it on the horizontal pencil line. Using Elements ink Blue Atoll create the sea by blending from left to right, with a Stencil brush series. Make sure you leave a piece of white for the beach and moss. (See next photo.)
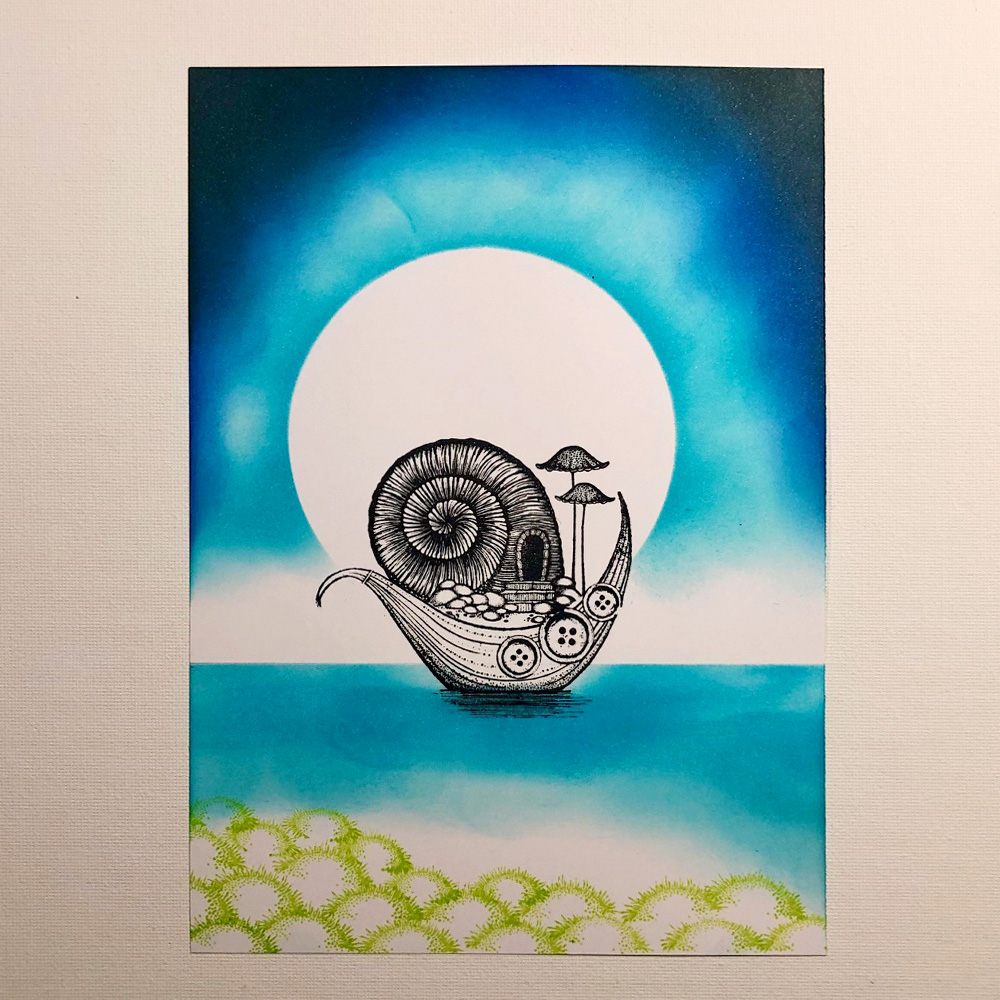
The moss is in two sizes, a large and a small one. First stamp the large one and then a few smaller ones closer to the seas.
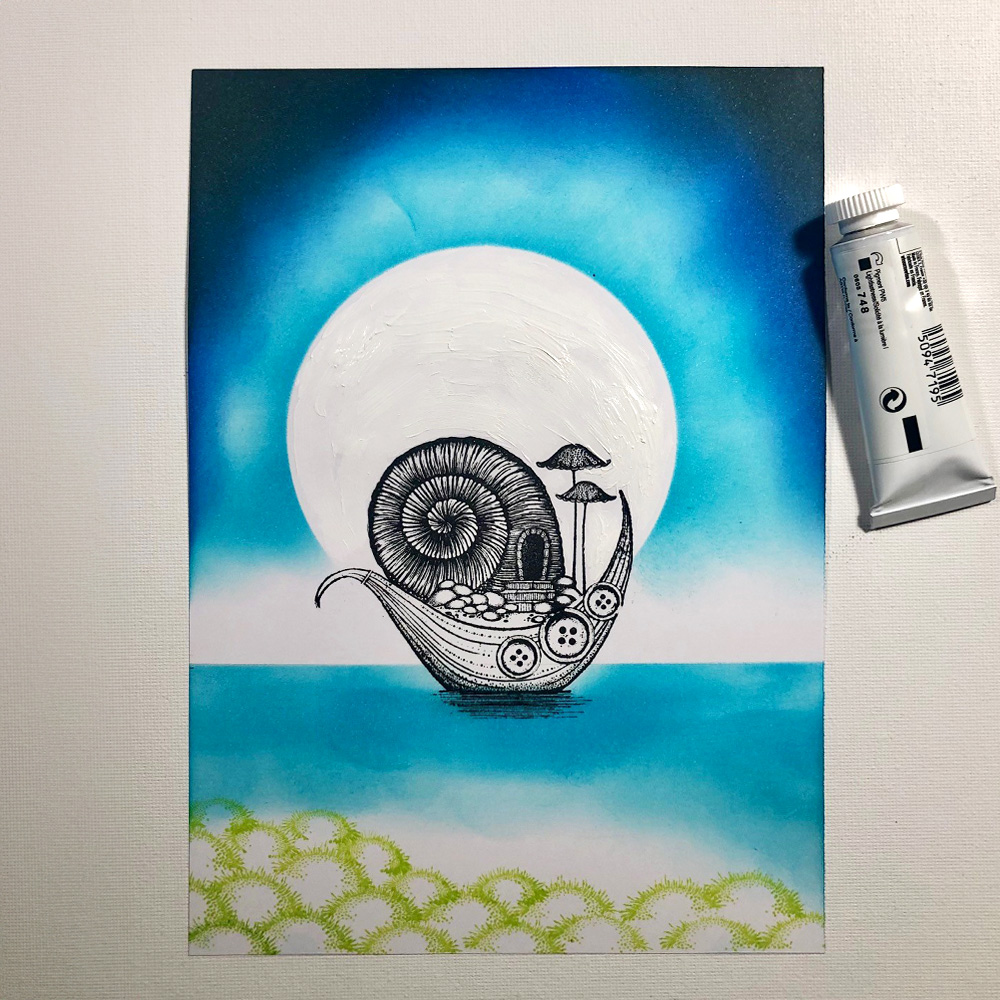
Apply some acrylic white paint to the moon with a brush. The paint creates some texture.
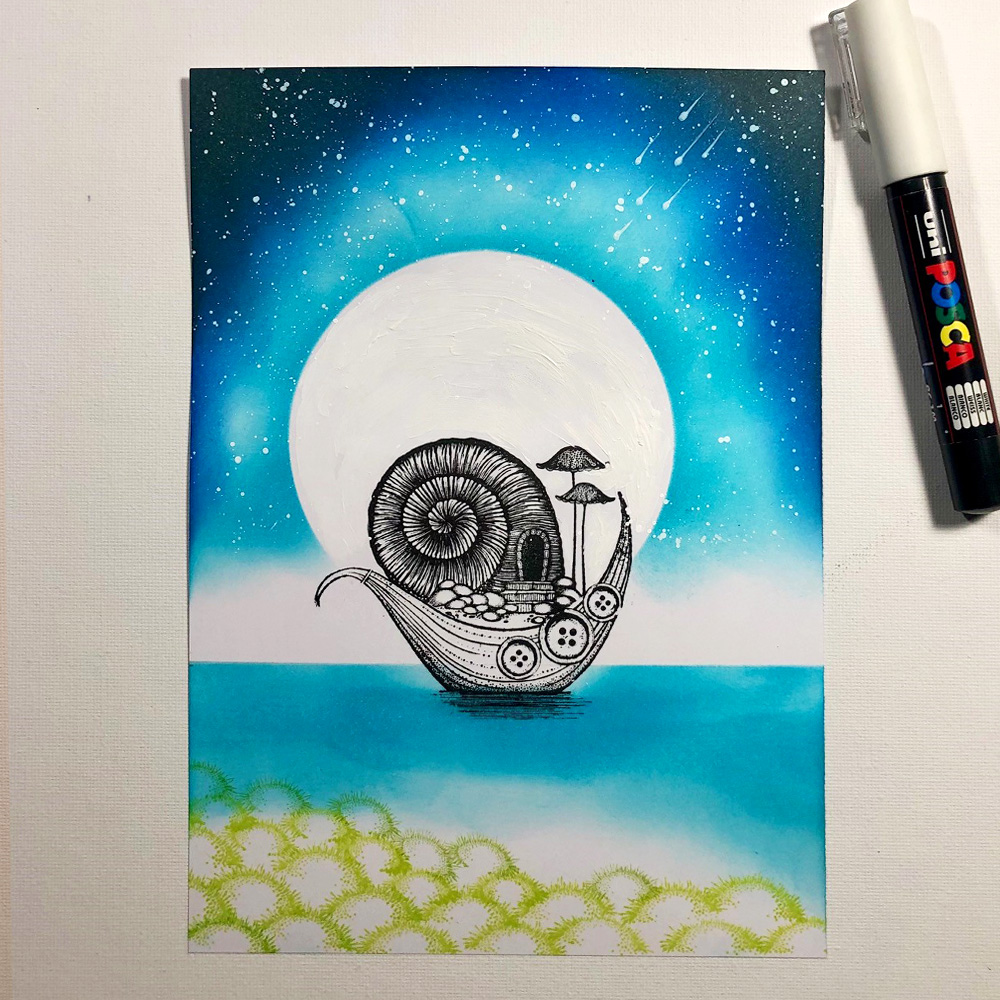
Make some stars with a White Posca pen. You can even make some shooting stars like in the picture.
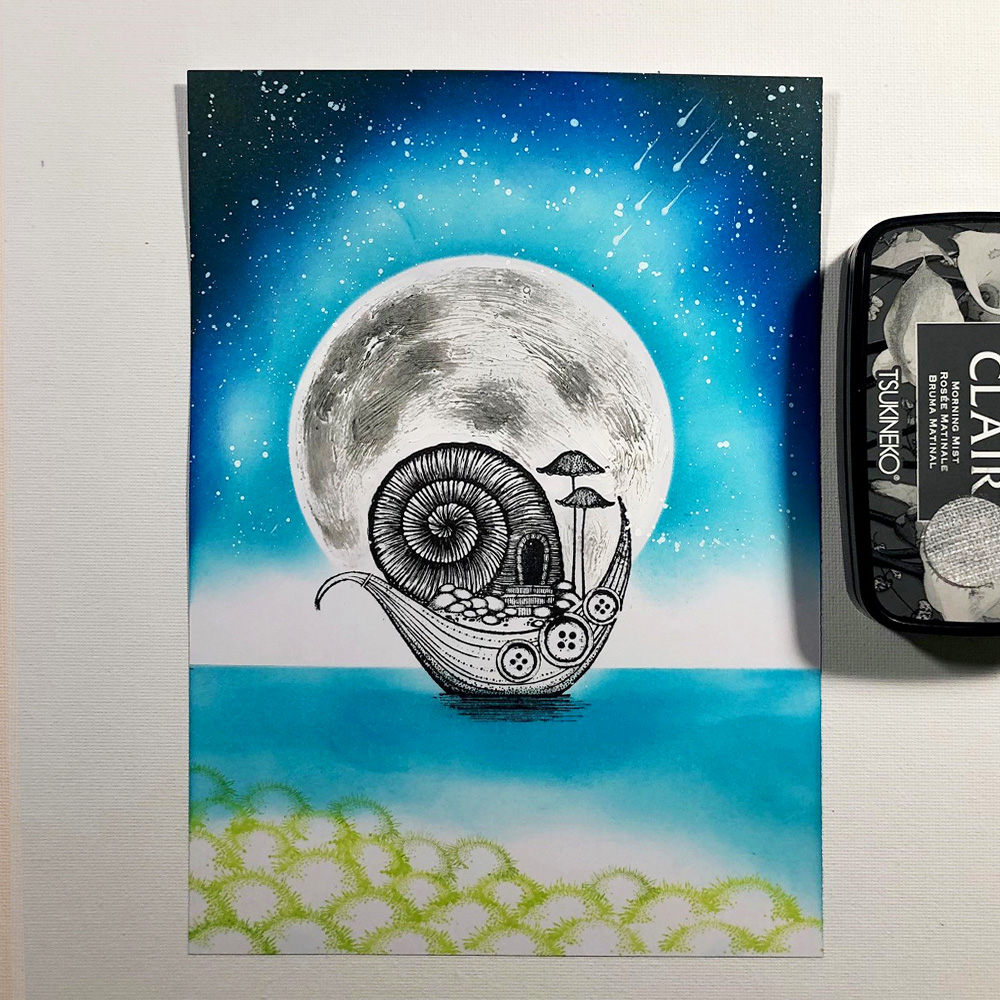
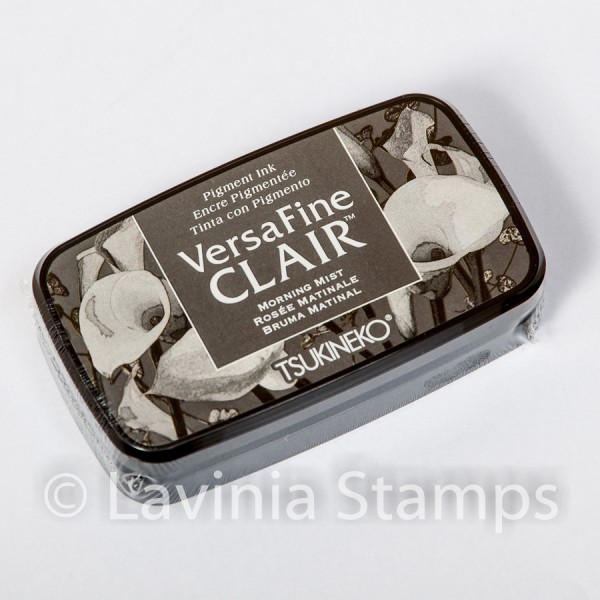
Use the tip of your index finger and lightly apply some Versafine Clair Morning Mist. . The texture of the Acrylic paint gives a beautiful effect.
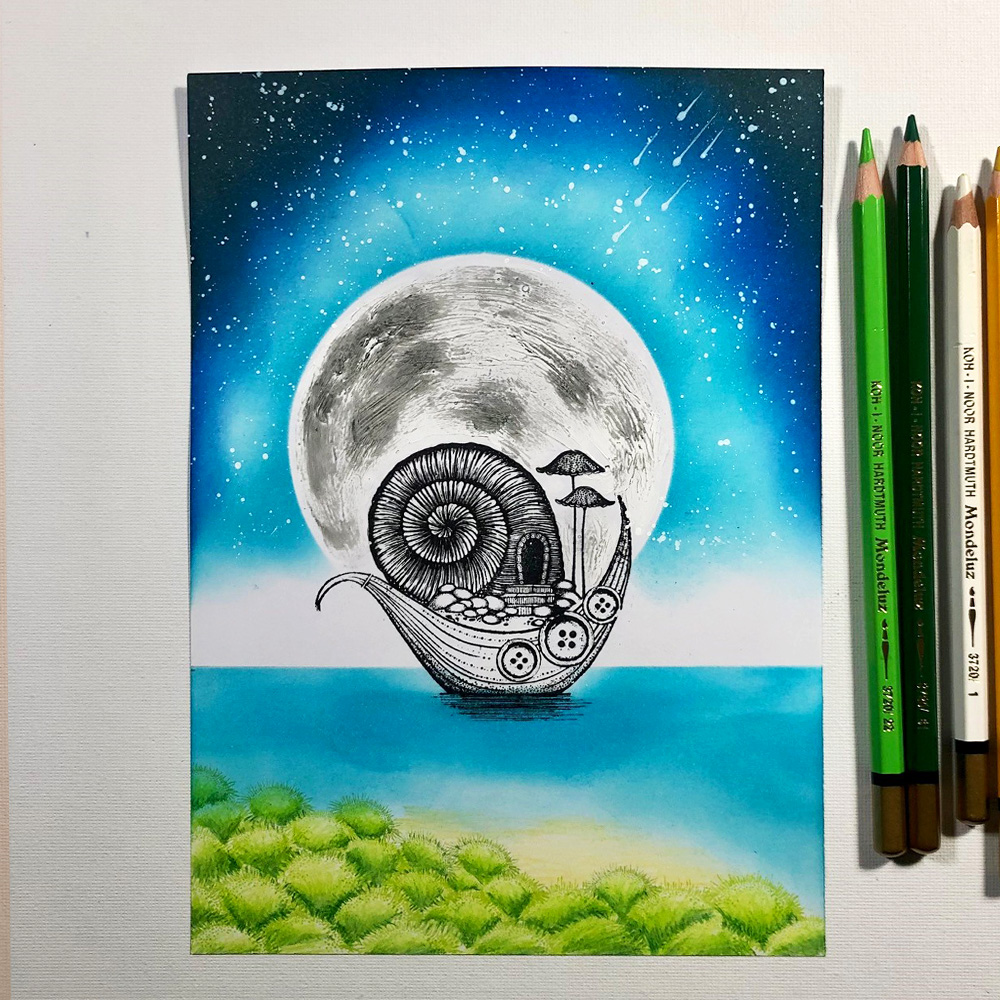
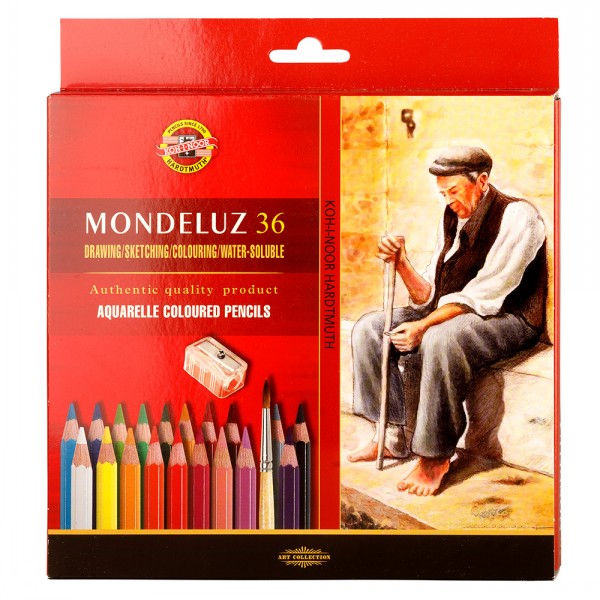
Colour the moss and beach with the Mondeluz watercolour pencils with a light and dark green.
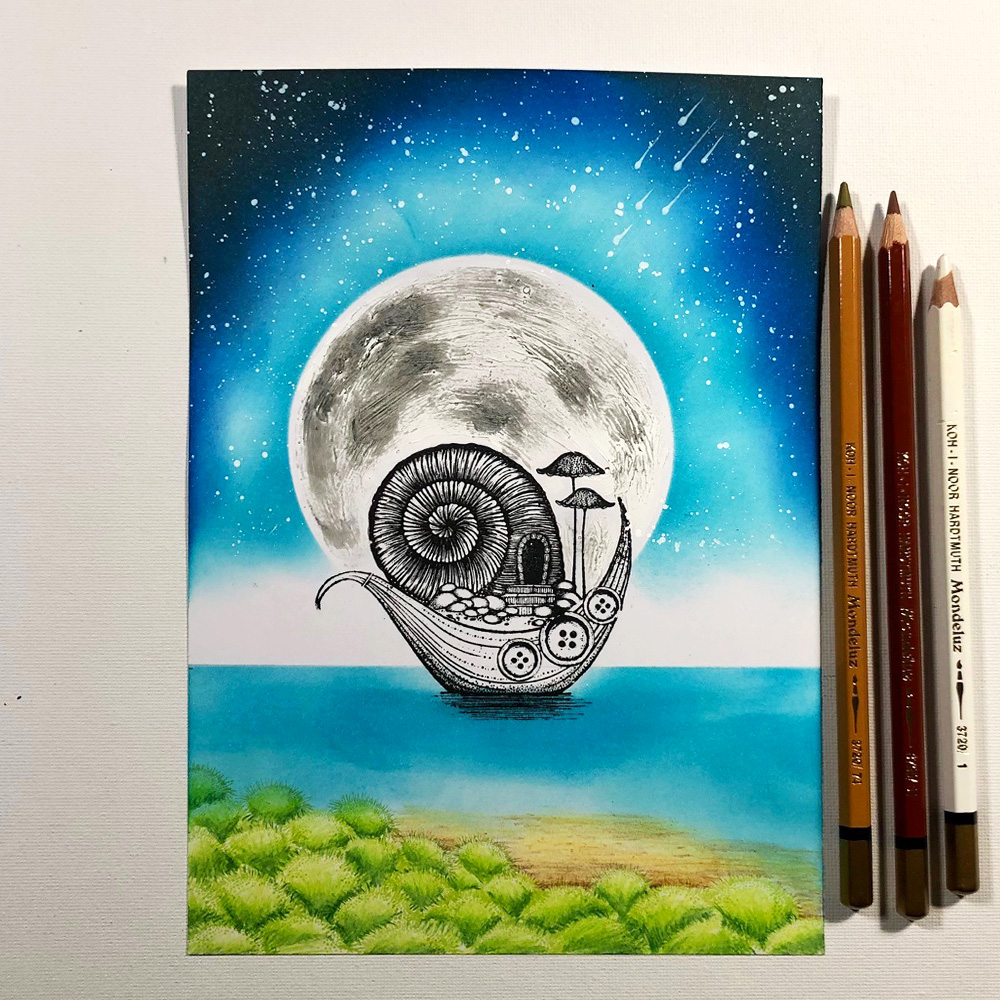
Finish the beach with the brown watercolours pencils and finally you can blend everything with the white watercolour pencil.
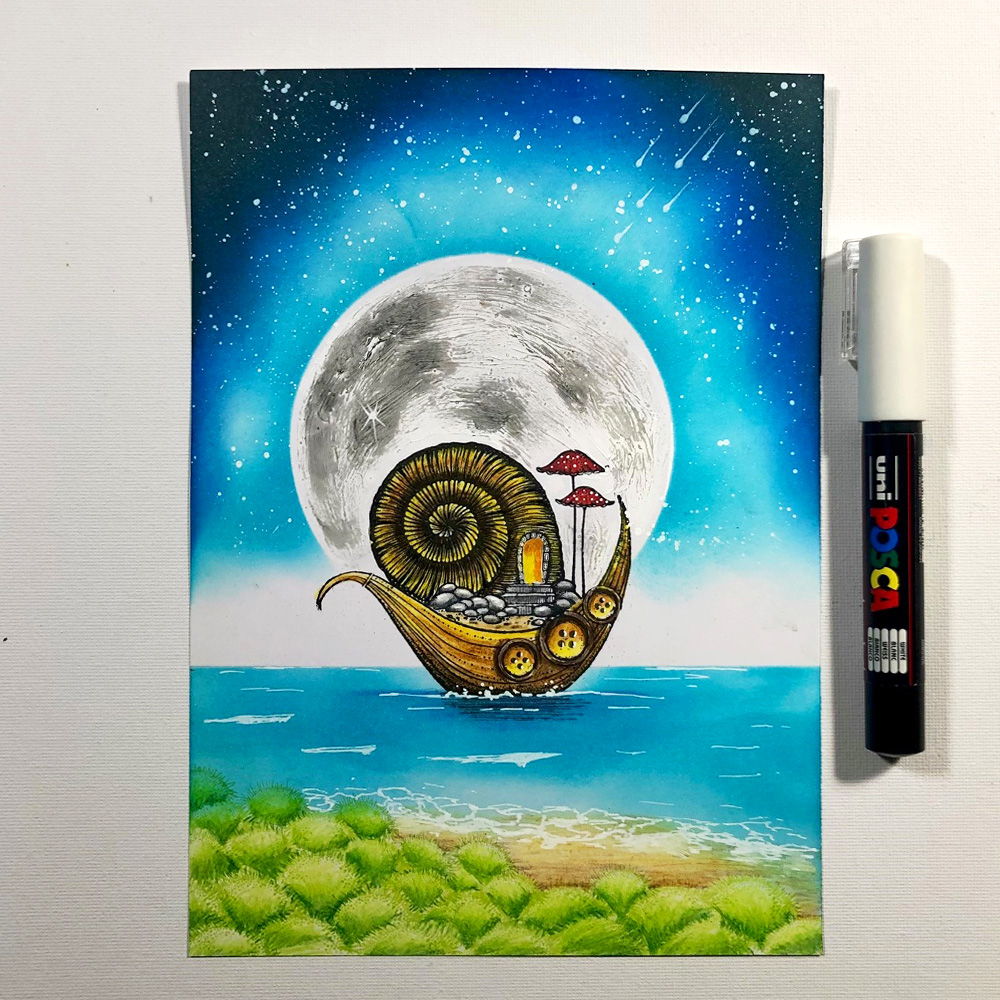
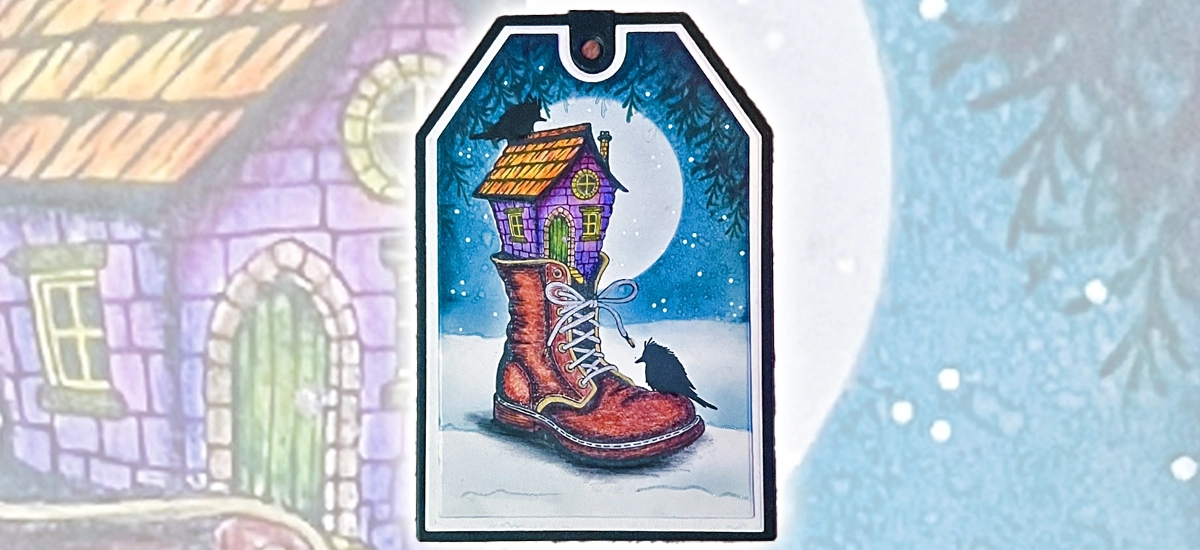
Use the watercolour pencils to colour the boat, snail shell and mushrooms. I have used the same coloured pencils as I did for the beach, but please feel free to colour the snail shell and boat any colour you like! 😉Use a white Posca pen to make dots on the mushrooms and a sparkle on the moon. You can also add Posca pen to create the waves at sea and on the beach.
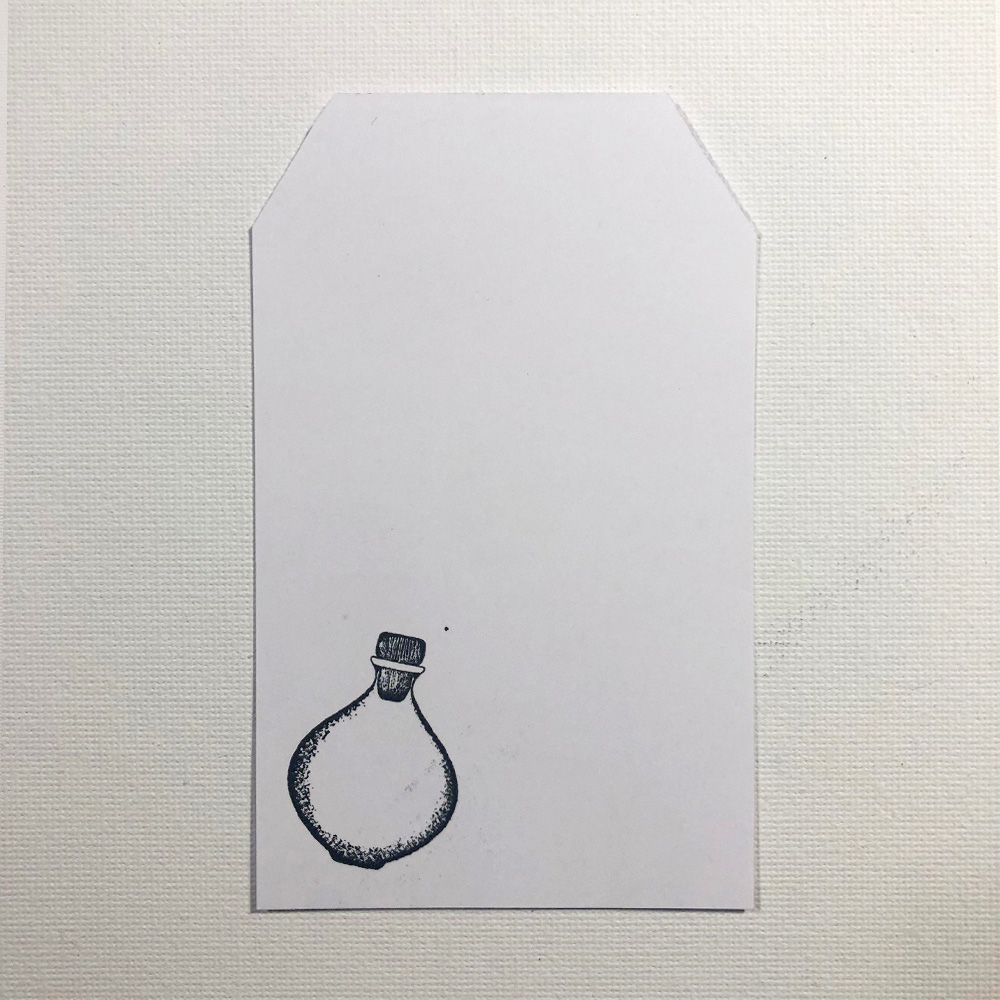
Stamp one of the four bottles stamps from Spellcasting Remedies stamp set onto a white piece of multifarious card.
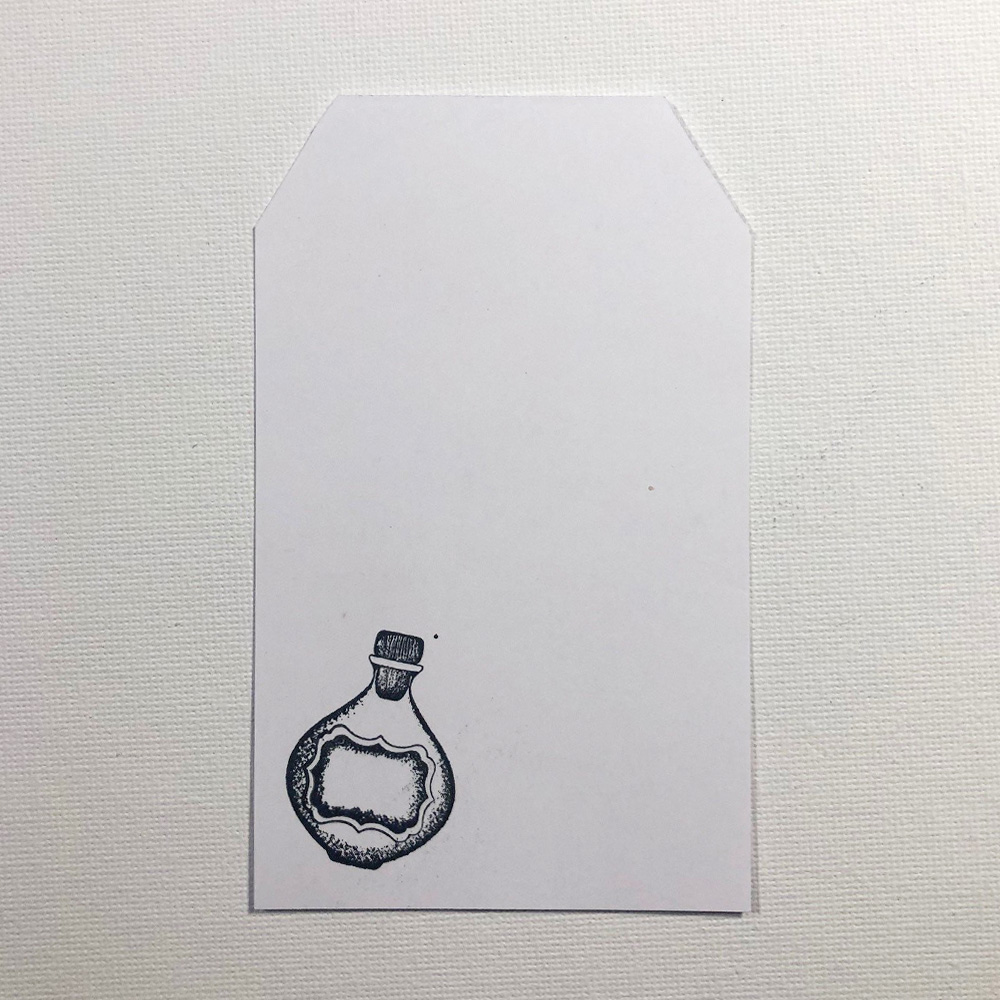
Now stamp one of the two labels stamps onto the bottle and cut out. Colour the bottle with watercolour pencils. I have used a blue and purple with a yellow label.
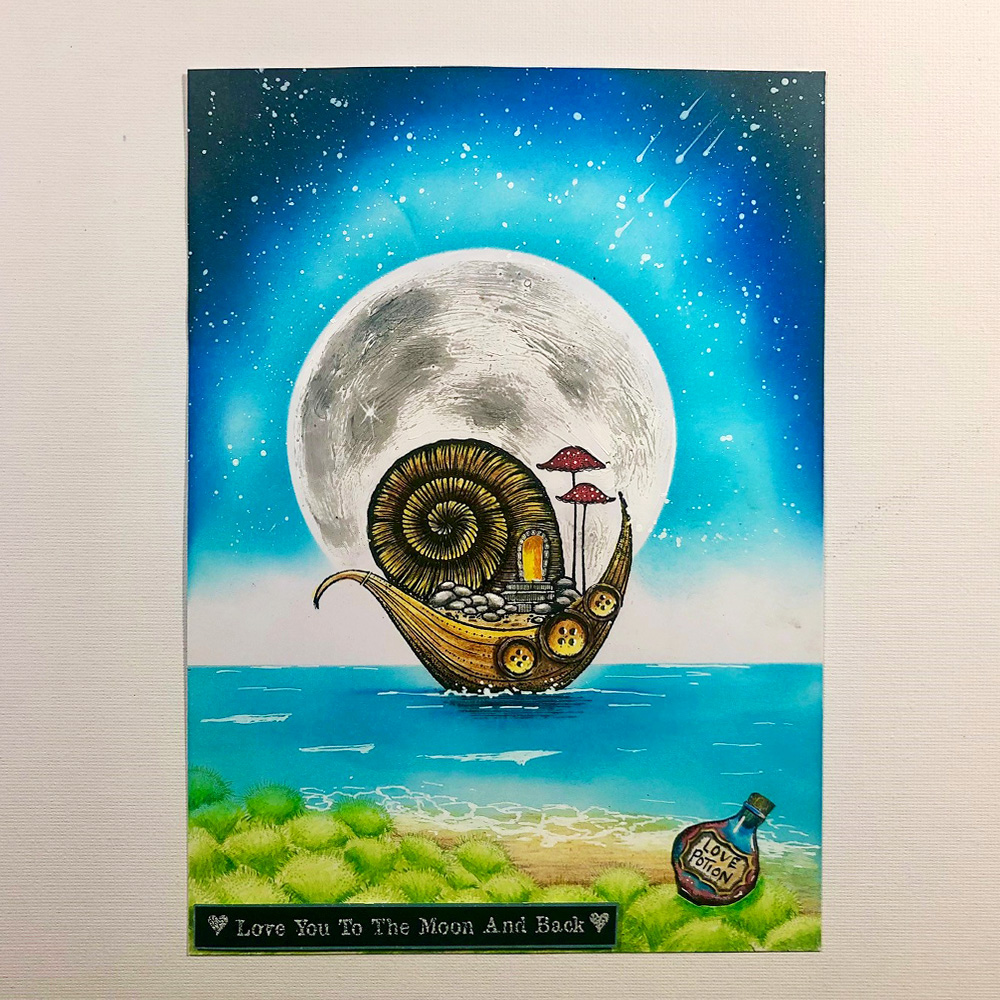
For this card I chose the text stamp “Love You To The Moon And Back”. Emboss the text on a piece of black paper and stick it on a piece of blue paper. Finally stick a piece of double sided tape underneath and stick it on the card.
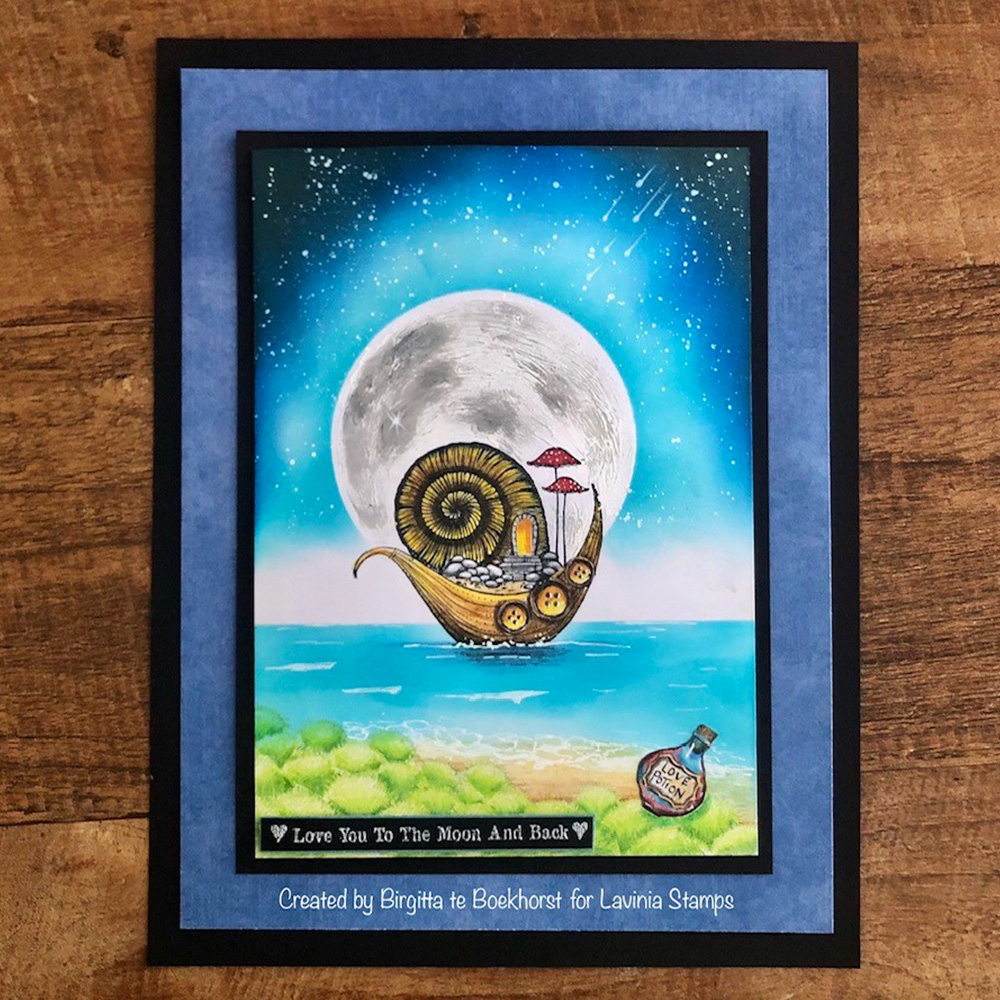
I do hope you enjoyed following this tutorial and have fun with the New Lavinia Stamps. Happy Crafting!
Birgitta te Boekhorst ………🐌💨❤️


