The Owl and the Rabbit by Rosemary Rogers
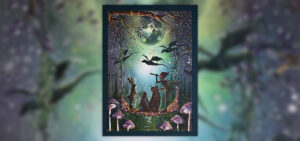
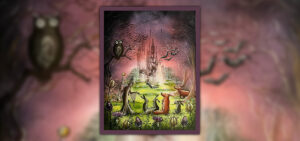
Hello everyone, I’m Rosemary Rogers from the Lavinia Stamps Design Team, and I’m delighted to bring you another step-by-step tutorial, this time using Echo the Owl and a Woodland Hare.
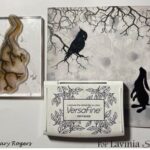
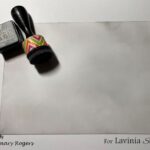
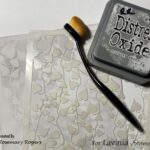
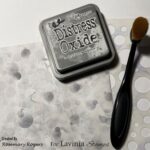
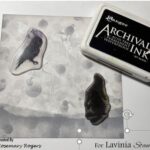
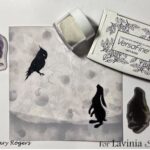
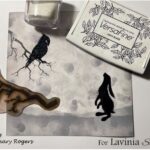
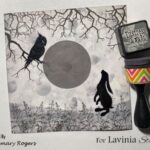
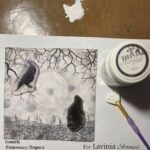
The Steps in creating the card
(click on the first image to view as a slideshow)
- Using a 15 by 21 cm piece of multifarious card, gently blend hickory Smoke distress ink onto the card, using a blending tool
- Using hickory smoke oxide and makeup brush, gently rub over stencil with a makeup brush.
- Cut card down to 15cm square. Then using White orbs stencil gently rub over stencil randomly, making some areas darker than others, with a makeup brush.
- Take a piece of torn paper, a make up brush and hickory smoke oxide, brush down towards the base to give you a ground area.
- Place stamps onto your background, to see where you think they should go. Place onto a stamping platform, then stamp with jet black archival ink.
- Leaving card and stamps on platform, reink with versafine black onyx ink, then emboss with clear embossing powder. (removed stamps for picture.)
- Stamp tree branch with versafine ink, then emboss with clear embossing powder, use a fine paintbrush to brush embossing powder from owl.
- Using an acrylic block, stamp tree branch with versafine ink, using first and second generation stamping at top of card
- Place a 6cm circle mask, over the centre of the 0f the card then brush around edge with hickory smoke distress ink, to give the effect of a moon. Highlight tree branches, owl, rabbit and field grass with a stardust pen.
- Place stamps over the images, using thinned down white acrylic paint and a fan brush gently flick white paint onto card, remove stamps and put a little paint onto owl and rabbit. Then sprinkle the new fairy-tales Eco-glitter onto card while paint is still wet. Mount onto black and white mats then mount onto 8” card.
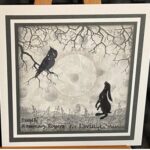
The New Ego-glitter glitters are beautiful, look lovely on projects.
Take care, stay safe.
Rosemary