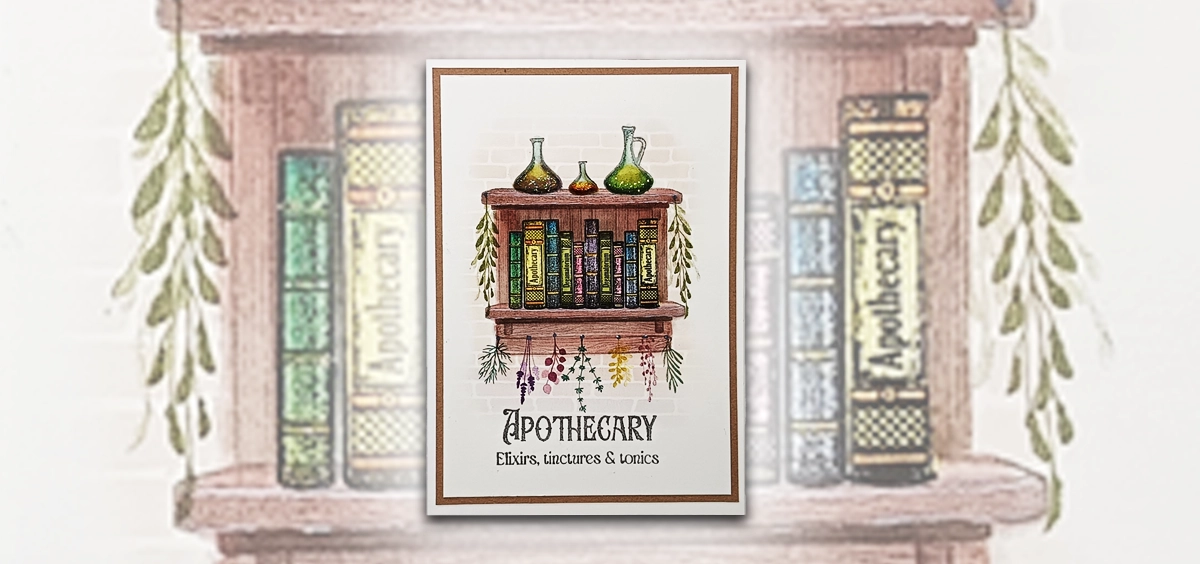
Step by Step by Mona Hauge
Hello everyone
Mona here with another Step-By-Step Tutorial. This one is called The Magical Archway and I hope you like it.🧚♀️
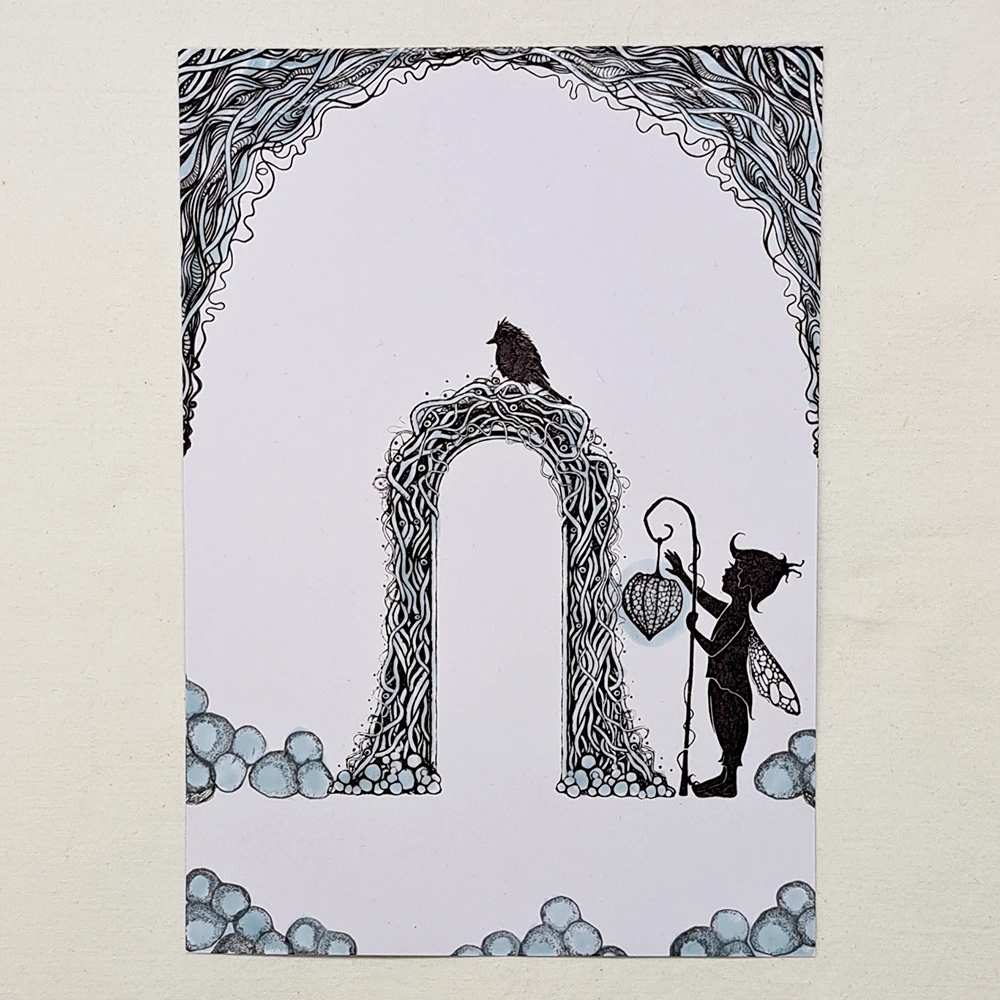
Step 1.
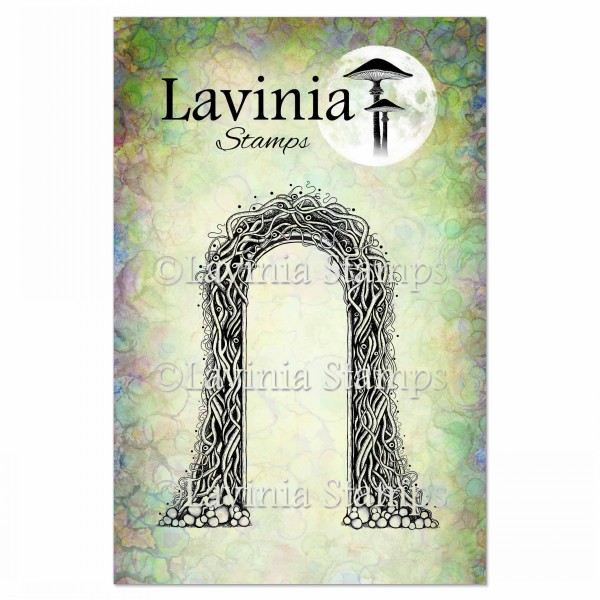
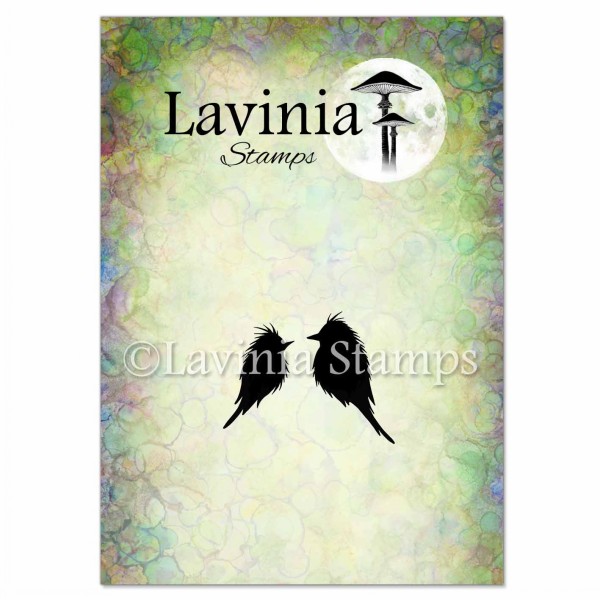
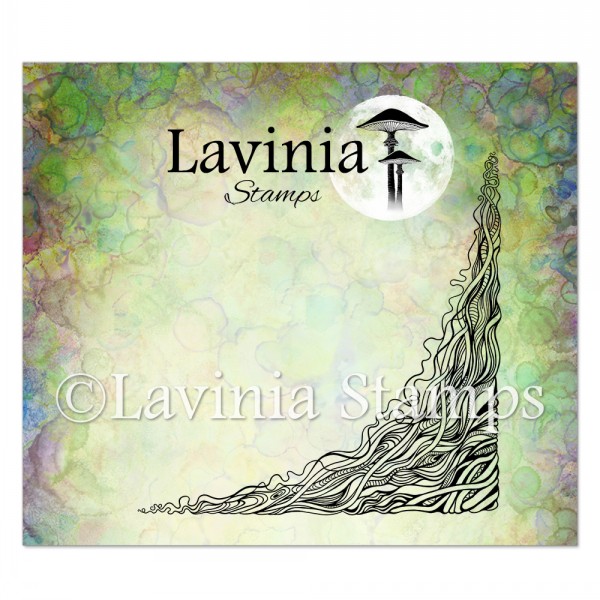
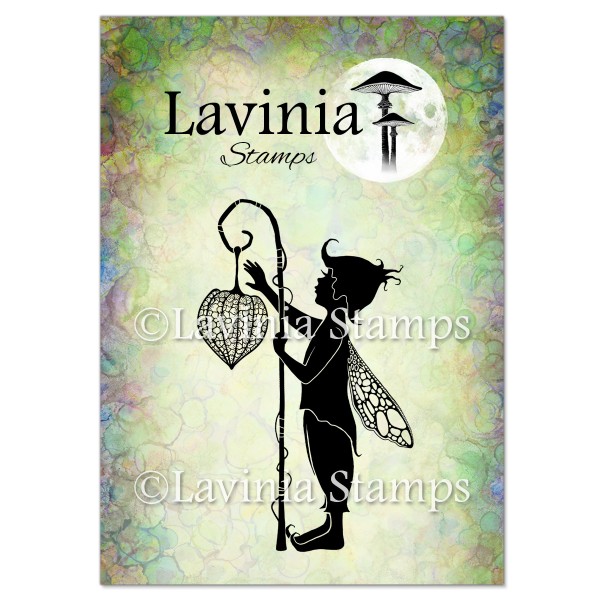
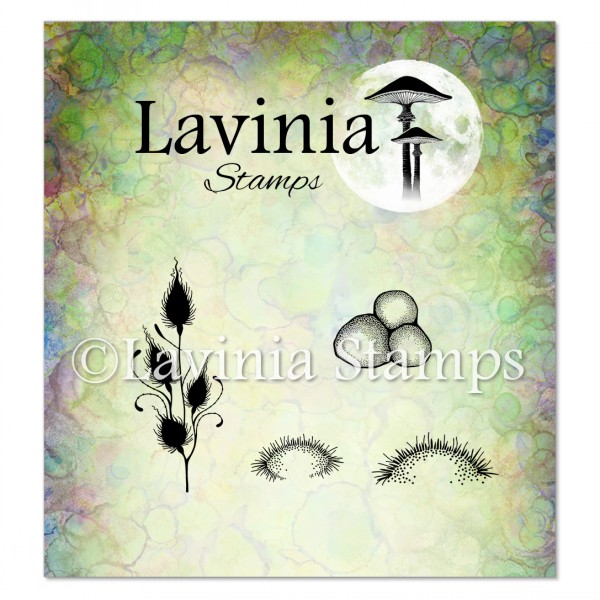
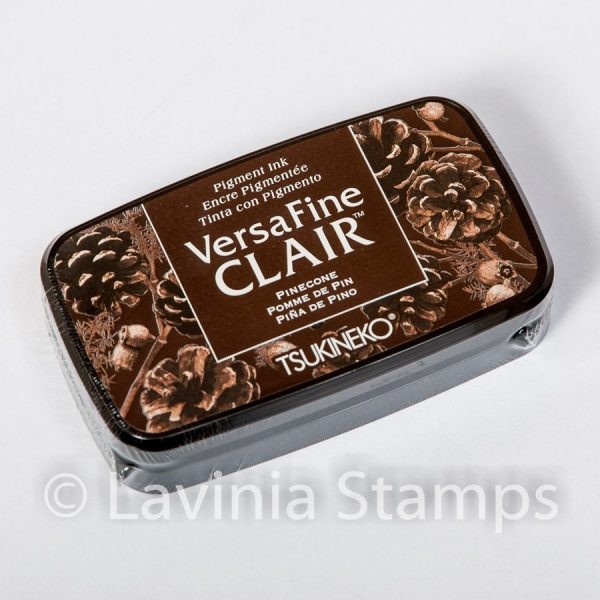
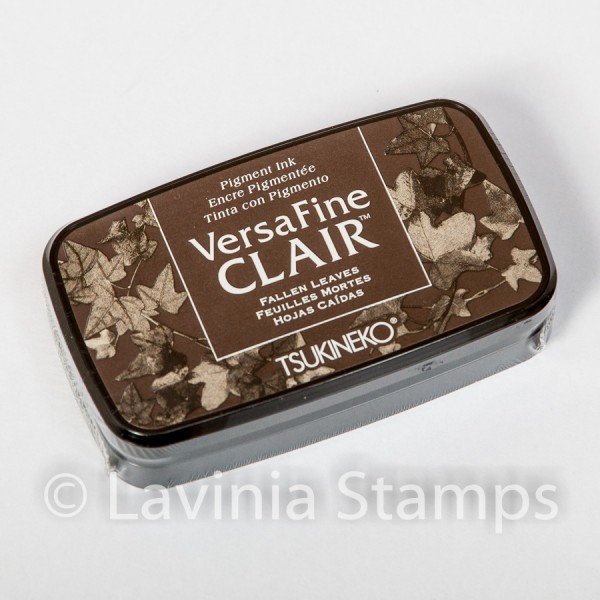
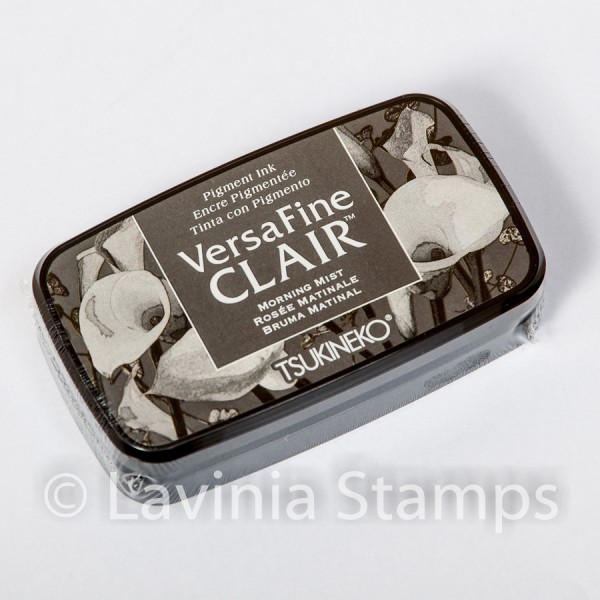
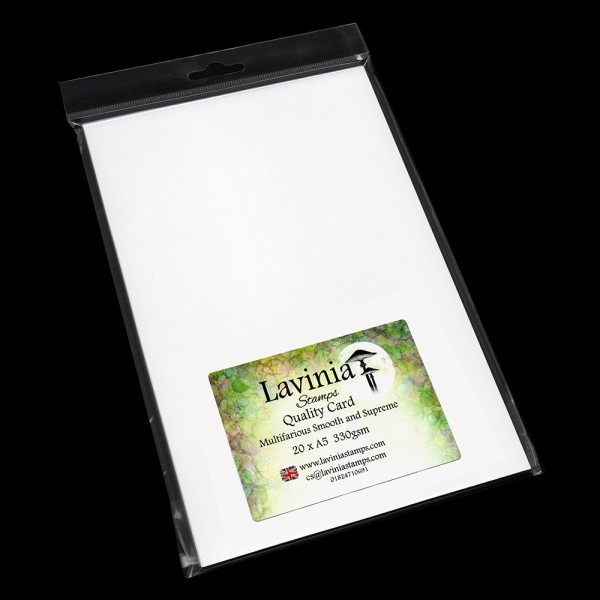
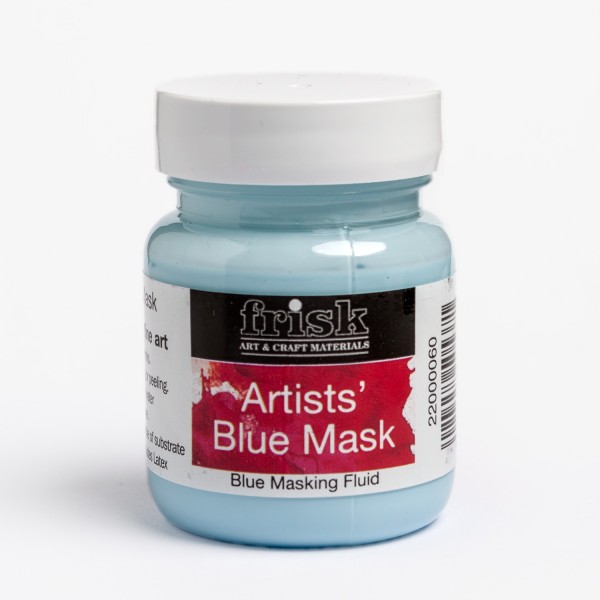
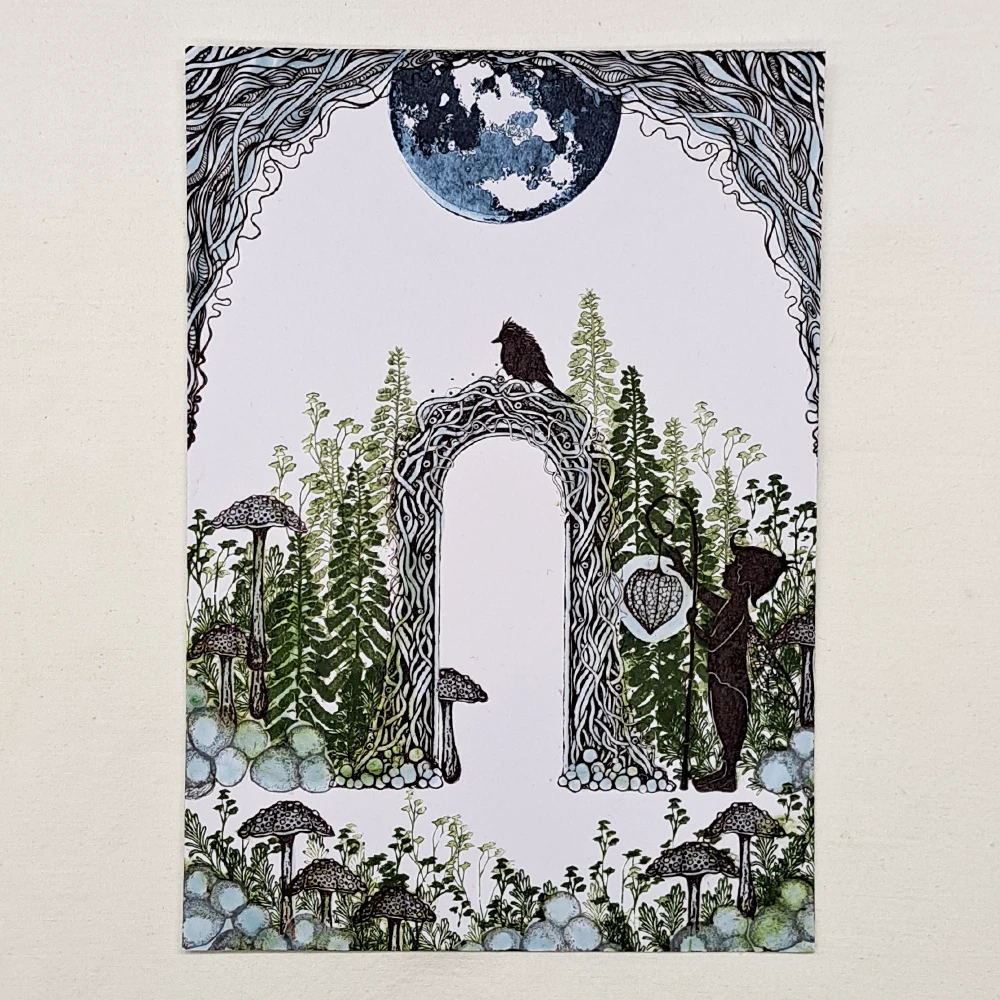
Using some Multifarious A5 white card stamp the Dragon Root Corner LAV875 in each upper corners in Versafine Clair Pinecone. The new and magical Archway LAV980 we stamp in Versafine Clair Pinecone also. Our sweet Fip LAV697 and the cute Fledglings LAV965 we stamp in Versafine Clair Fallen Leaves. Some stones from the Forest Moss Stamp LAV857 we stamp in Versafine Clair Morning Mist. Cover everything with Liquid Masking fluid.
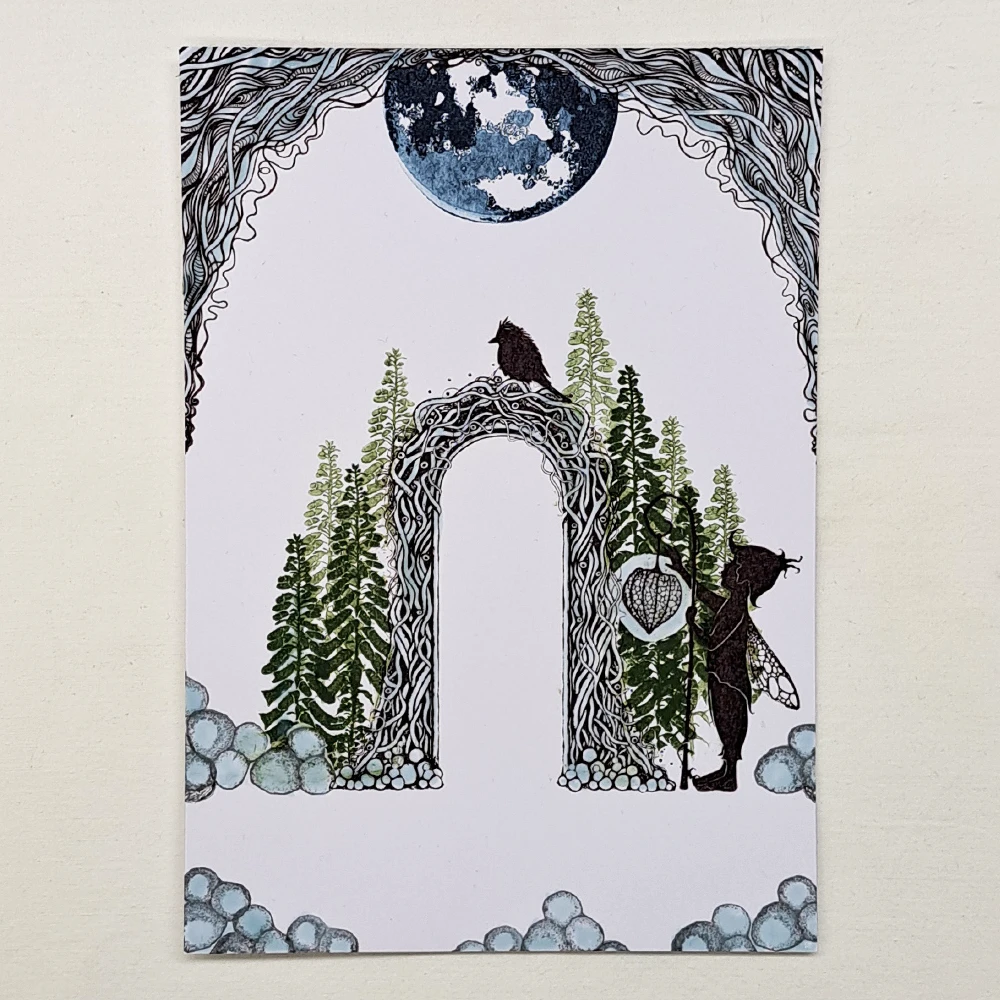
Step 2.
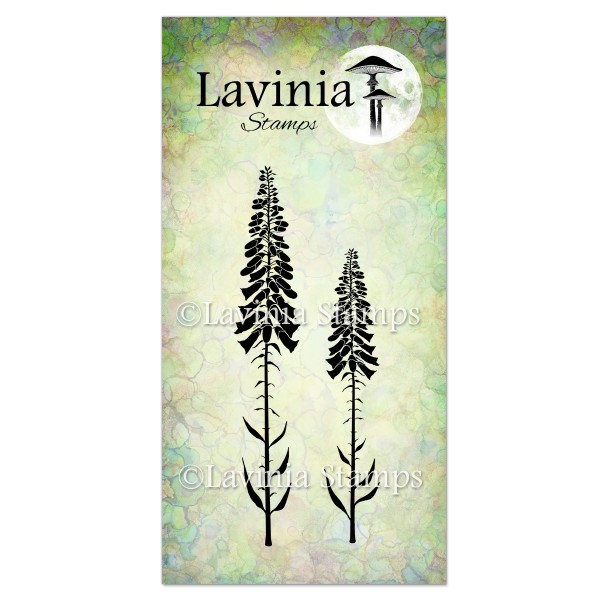
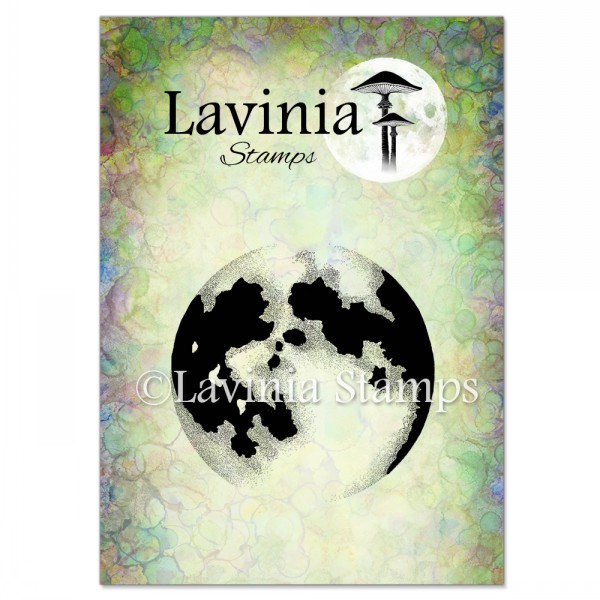
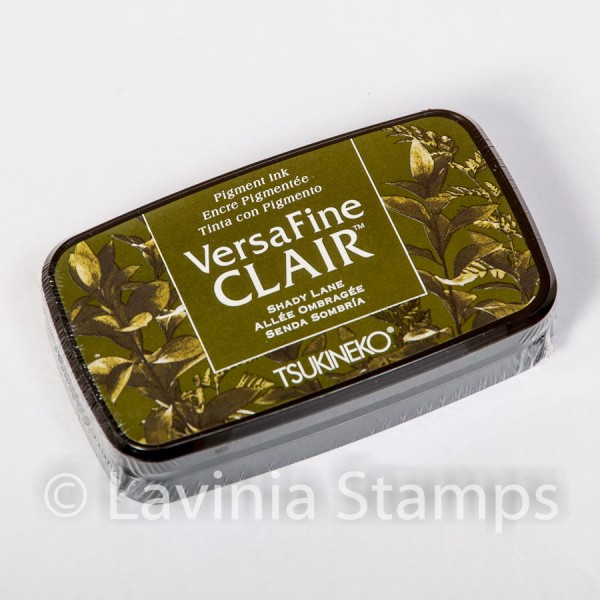
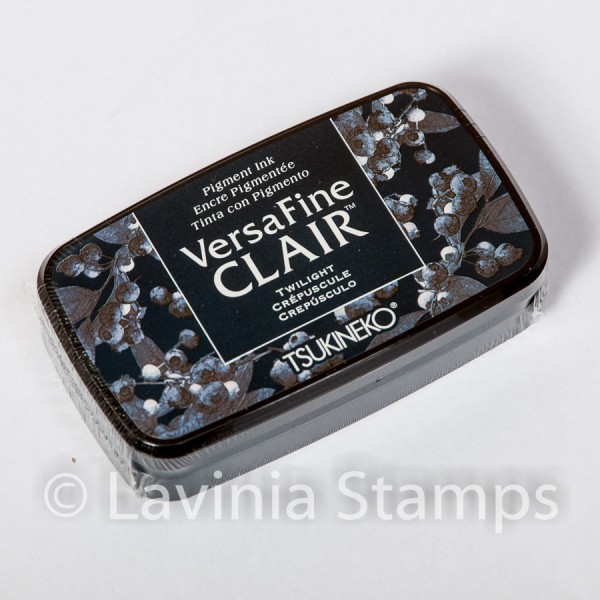
We stamp the beautiful Foxglove LAV475 in Versafine Clair Shady Lane. Stamp both first and second generation stamping like you see in the picture. Cover with Liquid Masking fluid. Stamp the Moon LAV431 in Versafine Clair Twilight. Then do a second generation stamping of the moon on top of itself. No need for Masking.
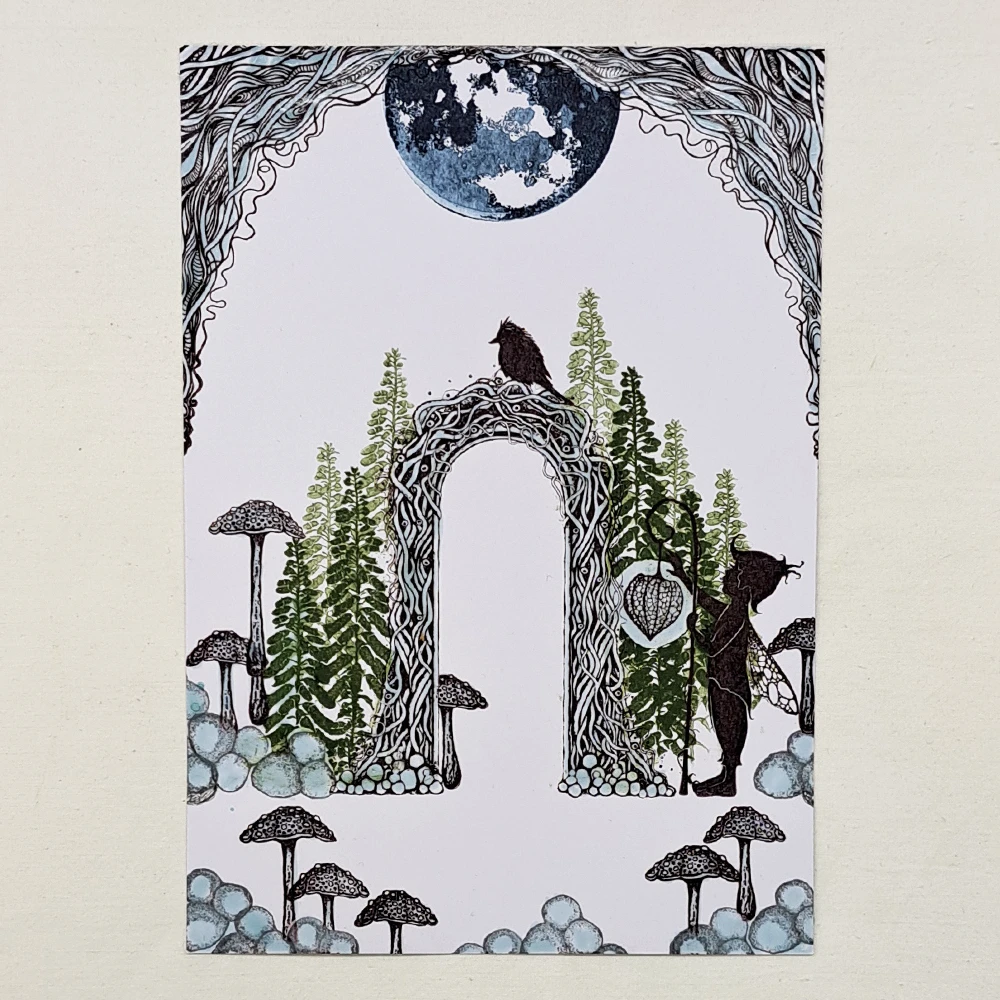
Step 3.
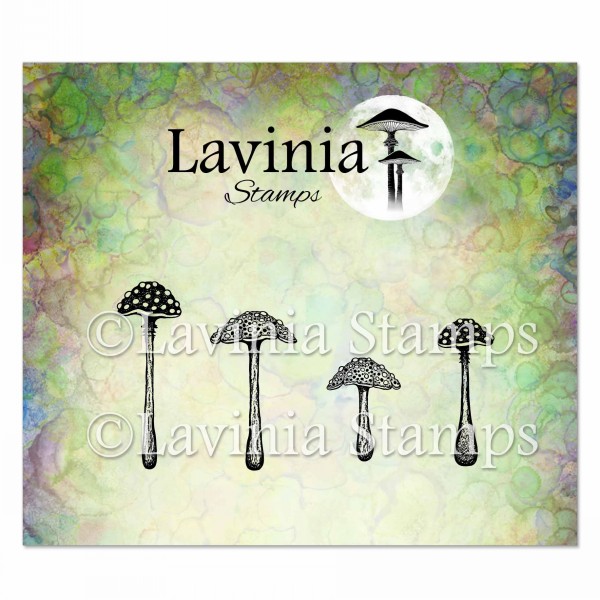
Now we need lots of gorgeous Purple Cap Mushrooms LAV974 stamped in Versafine Clair Morning Mist. Cover all with Liquid Masking fluid.
Step 4.
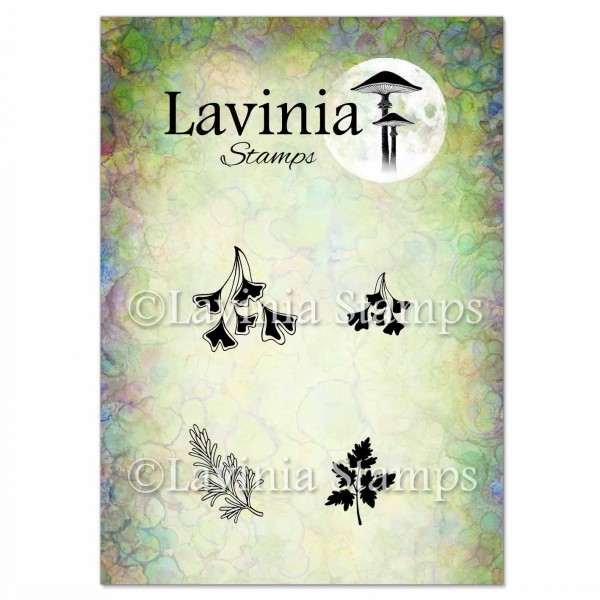
We need a lot of foliage and flowers so the new Wild Foliage LAV980 and the Flora Set LAV698 stamped in Versafine Clair Shady Lane will look fabulous. Do both first and second generation stamping.
Step 5.
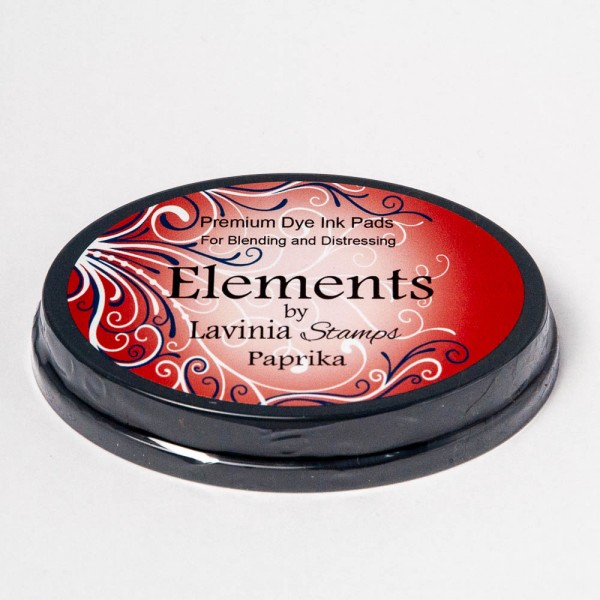
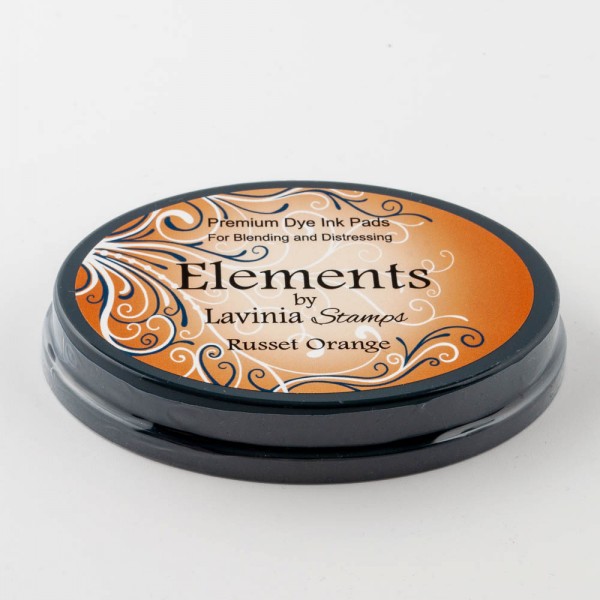
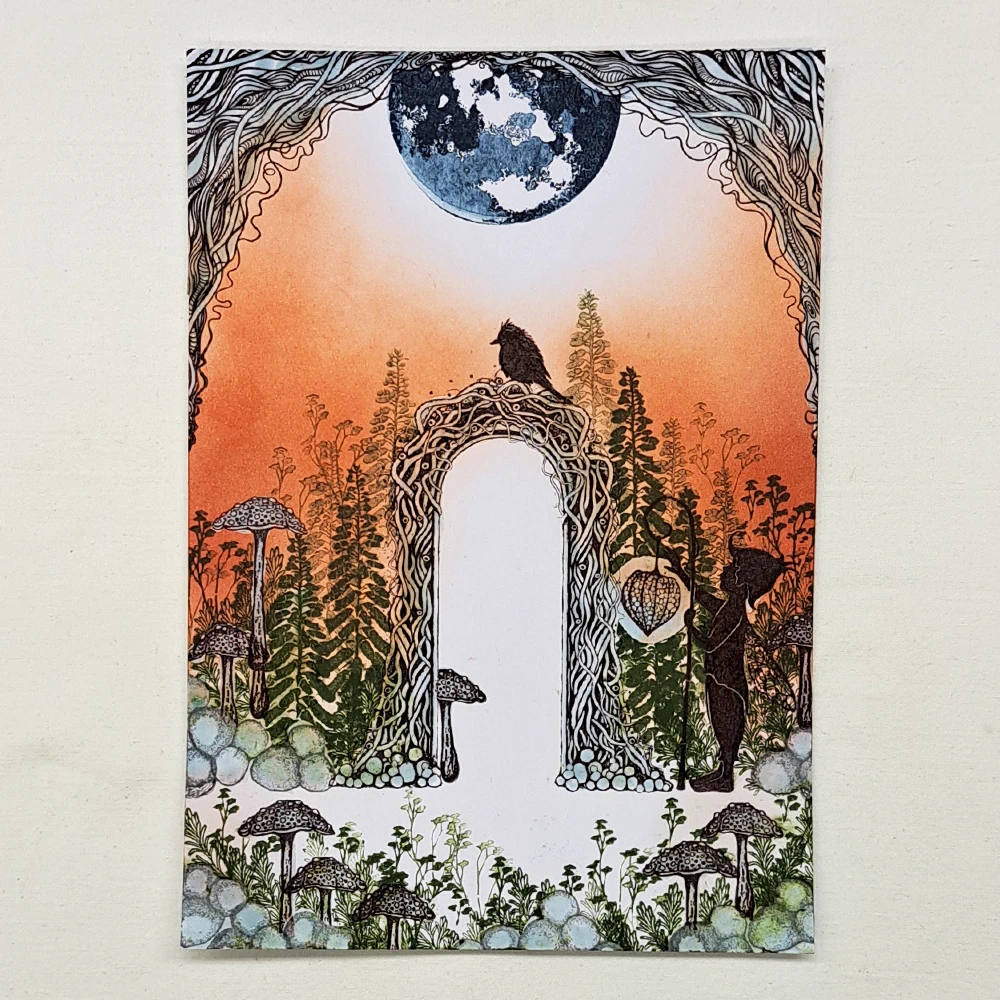
Time for some Elements Ink so we start with blending some Elements ink Paprika and then we blend in some Elements ink Russet Orange. Look at the picture for placement of colour.
Step 6.
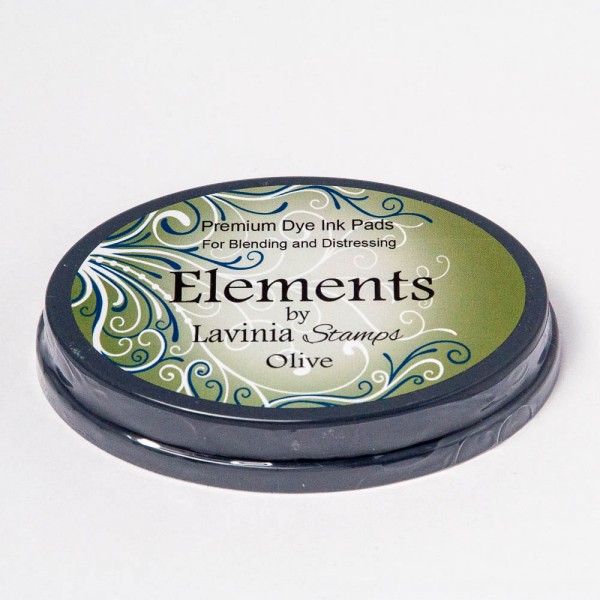
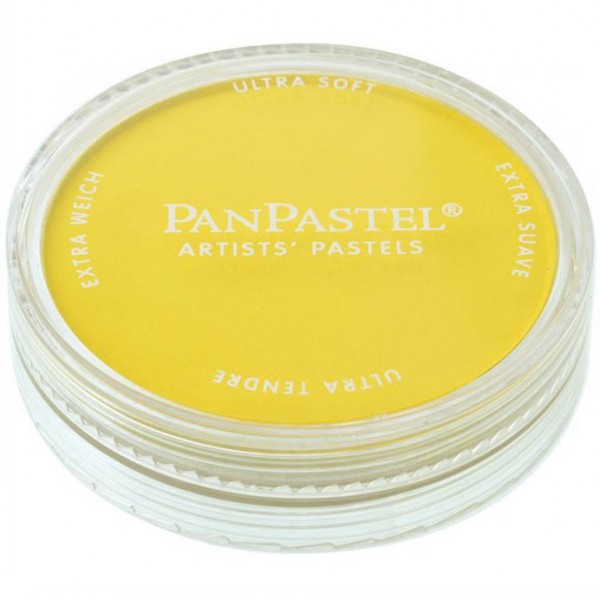
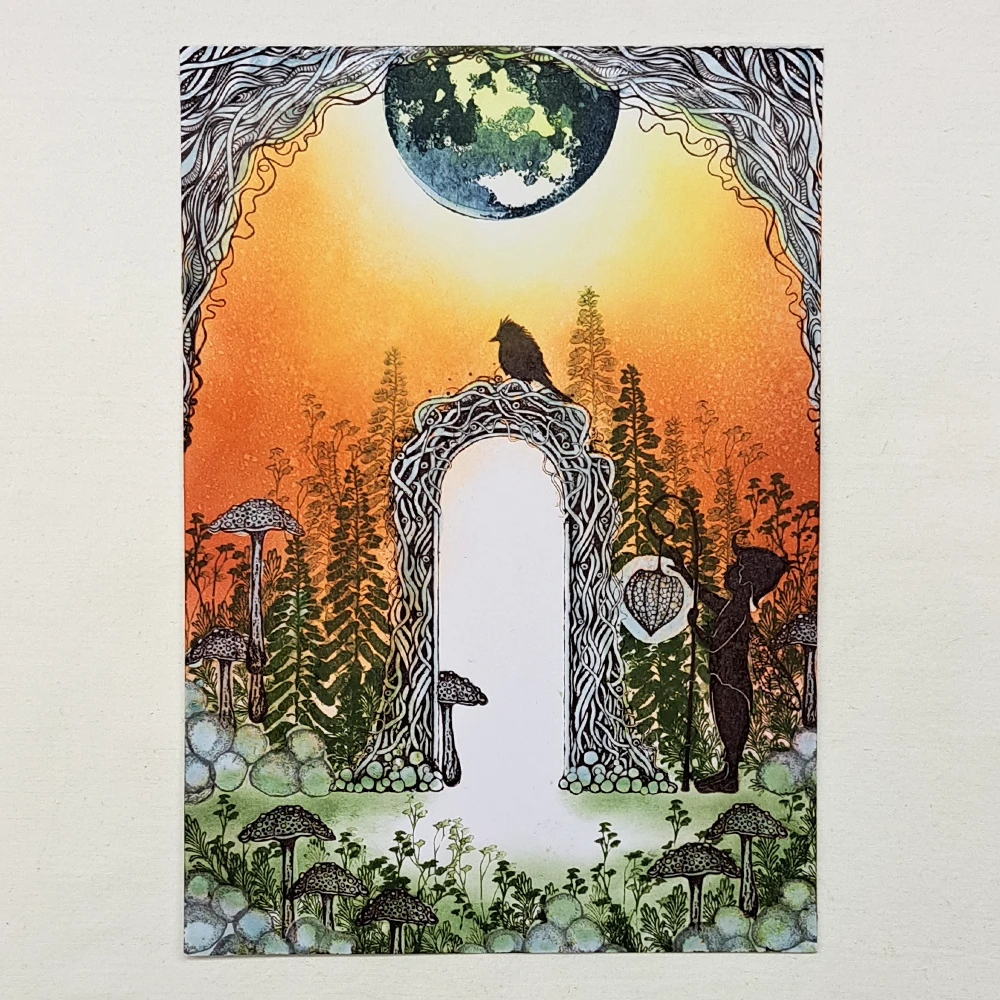
For some glow we will use Panpastel Hansa Yellow. Blend some colour on top of the Elements Ink and fade the colour towards the moon. Add a little Yellow in the moon as well. Add some Elements ink Olive on the ground like you see in the picture.
Step 7.
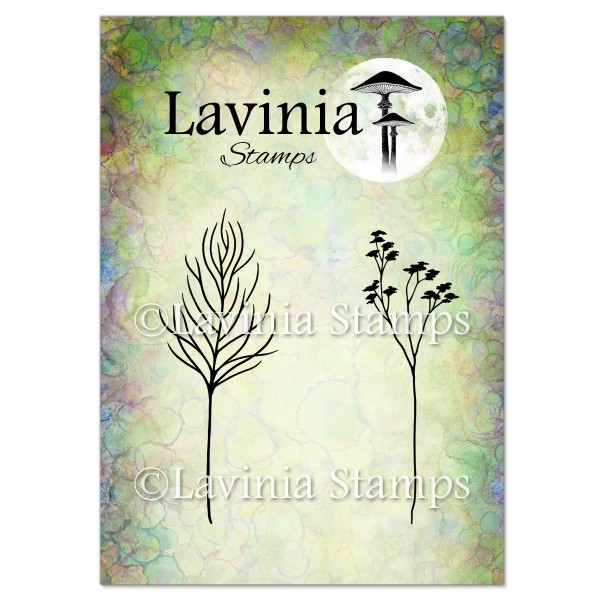
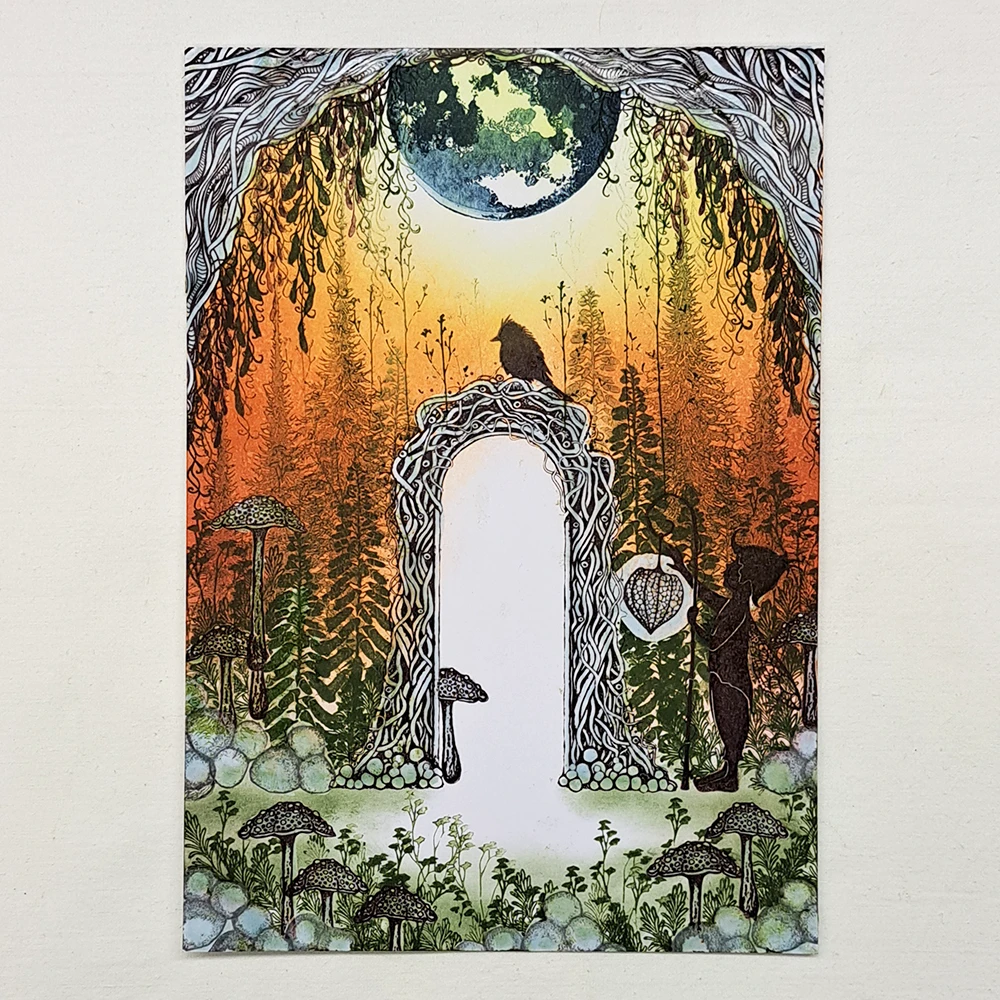
More foliage and some trees are needed so we stamp the great Fairy Fir Tree LAV478 in Versafine Clair Shady Lane second generation stamping. Now we will use the magical new Moon Laurel LAV971 stamped in Versafine Clair Pinecone and the lovely Silkweed Hops LAV975 stamped in Versafine Clair Shady Lane. They will all be hanging down from the Dragon Root Corners. Also, we want some Leaf Spray LAV741 stamped in Versafine Clair Shady Lane both in first and second generation stamping.
Step 8.
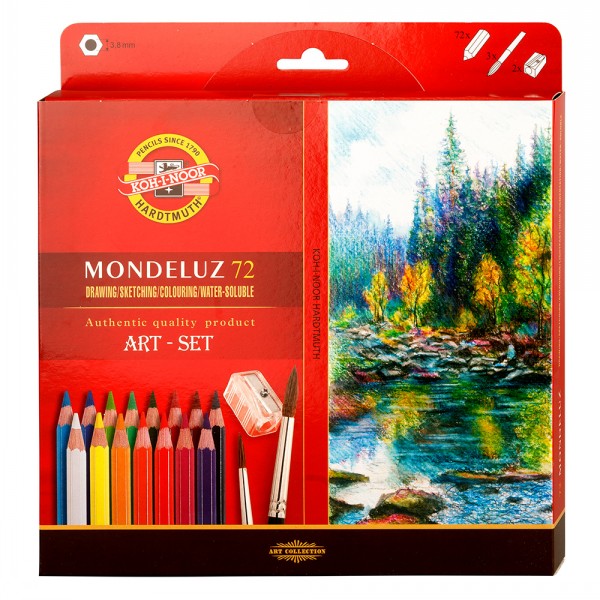
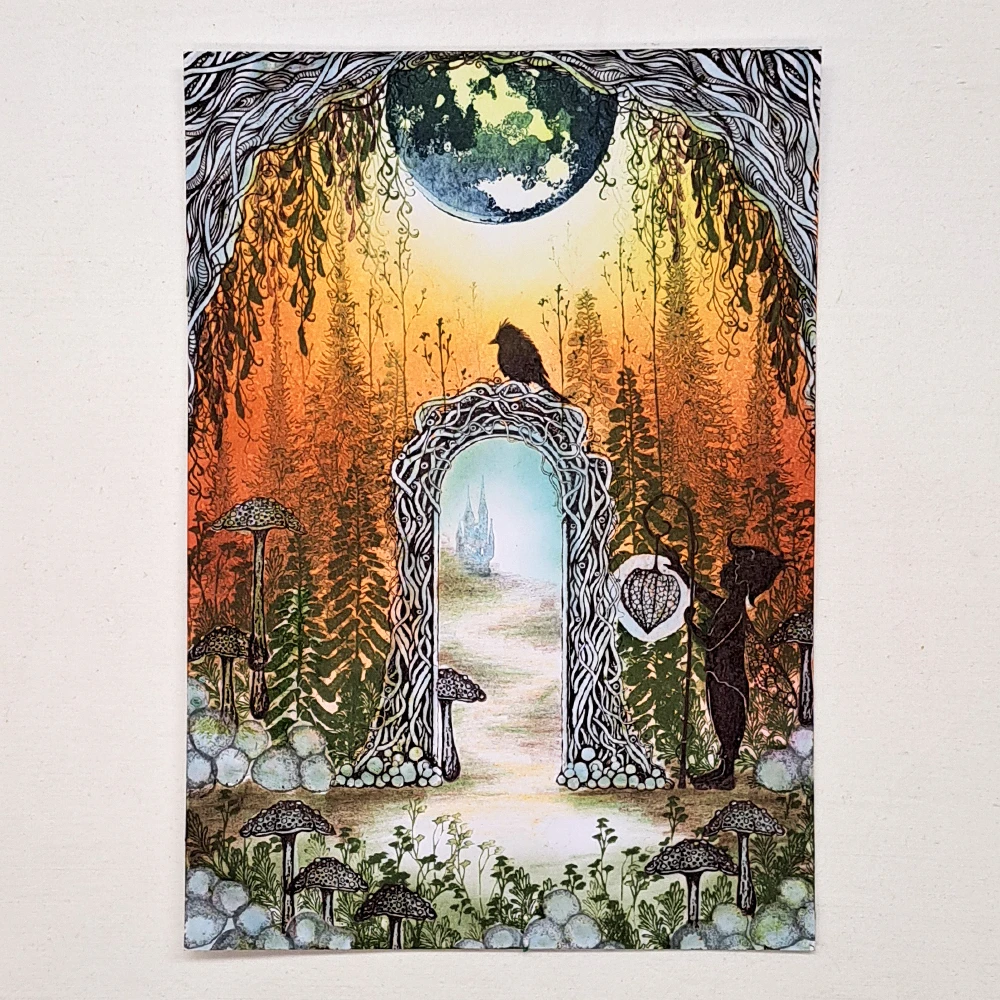
Now we will create the path to the Castle in the far distance. We will use our Mondeluz watercolour pencils to draw the path and little hill and then we stamp the wonderful castle Mini LAV215 in Versafine Clair Morning Mist 3rd generation stamping. Also, we need to colour some more of the ground and some Brown and Ochre are perfect. A little bit of Elements ink Blue Atoll for the sky over the Castle.
Step 9.
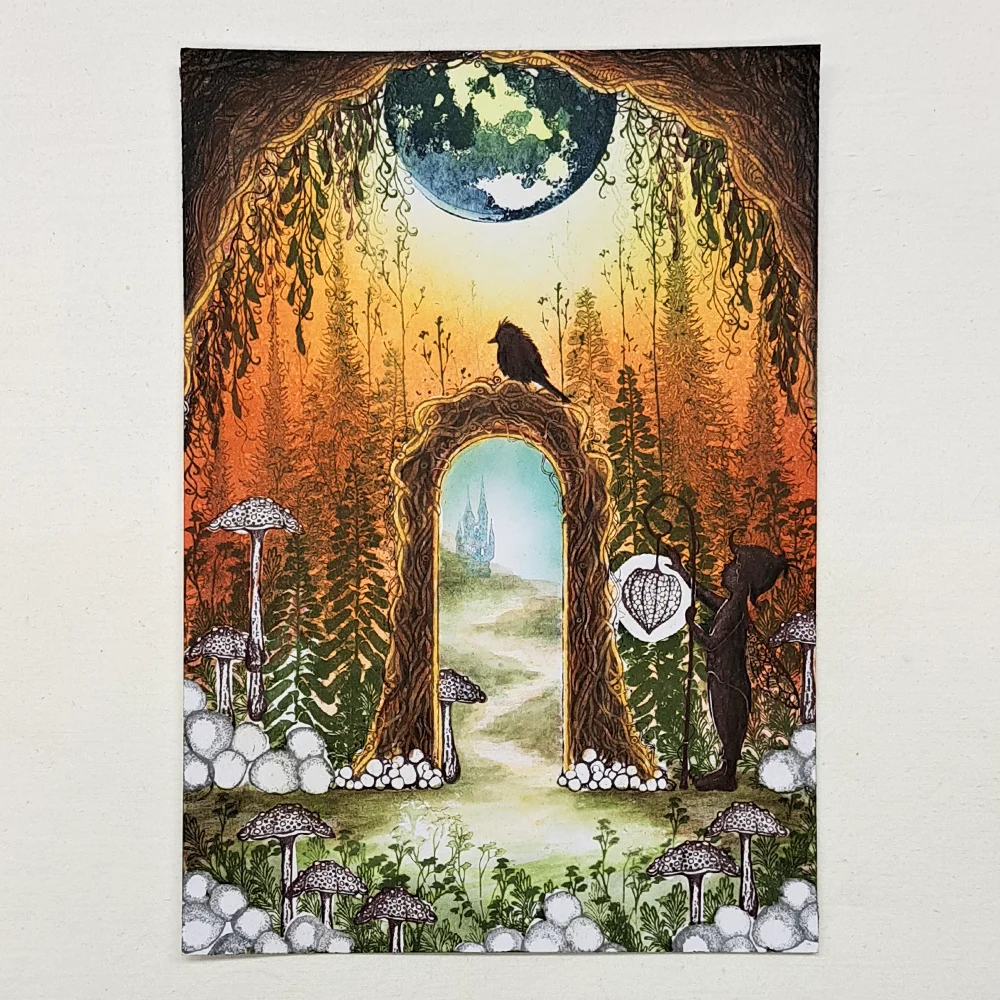
Time to remove all the Masking fluid. The one important thing to do before rubbing it away is to make sure that the card is totally dry all the way through. To make sure that it is completely dry we can use a heat tool. Use the heat tool on the backside of your card. Now we can remove all the Masking fluid.
Step 10.
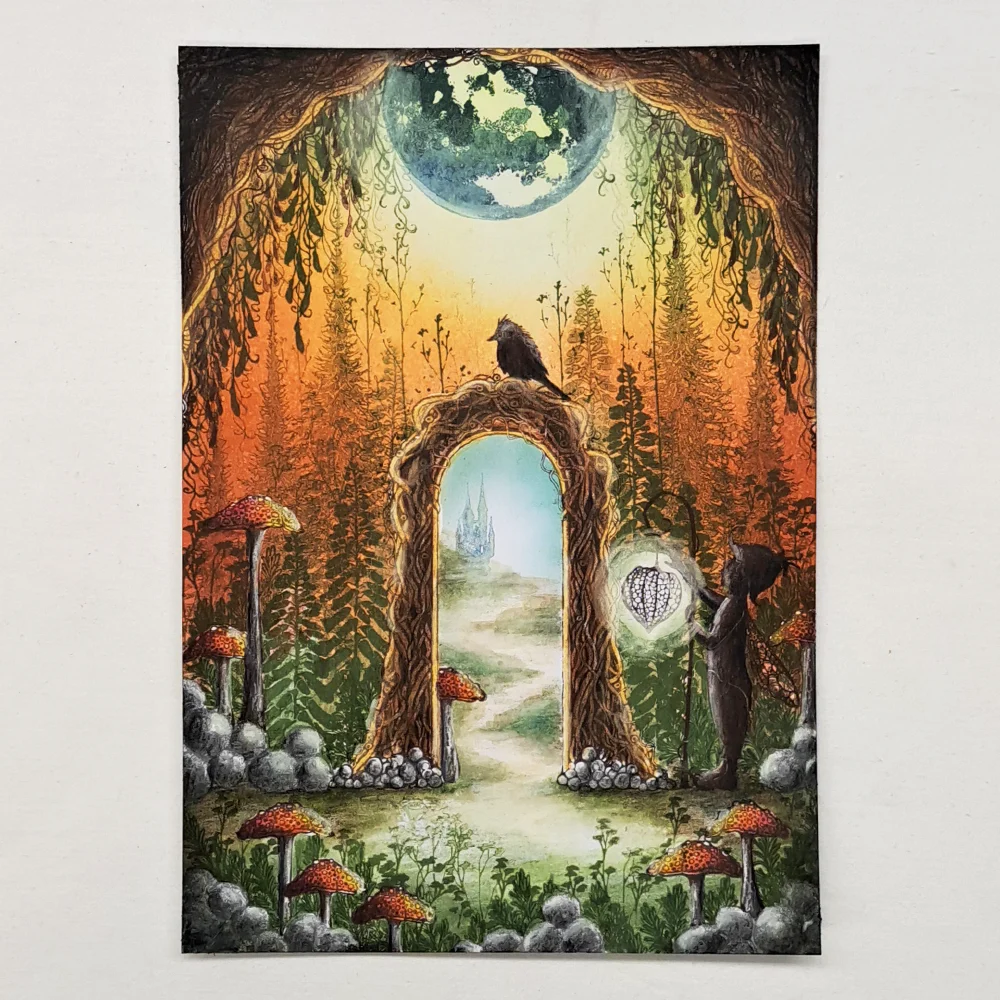
With our fabulous Mondeluz Aquarelle Pencils we will colour the Archway, Dragon Root Corners, Fip, stones and Purple Cap Mushrooms. Always use more than 2 shades of colours on each object. This gives them more depth. A medium colour for the middle part of the object, a darker shade for some shadow and a lighter shade for highlights. Use the white Mondeluz watercolour pencil to draw a circle light around Fip’s Lantern. This will soften the area around the lantern.
Step 11.
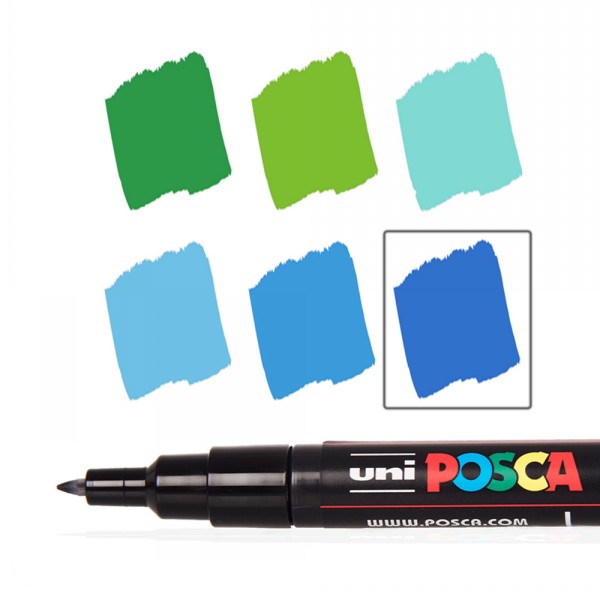
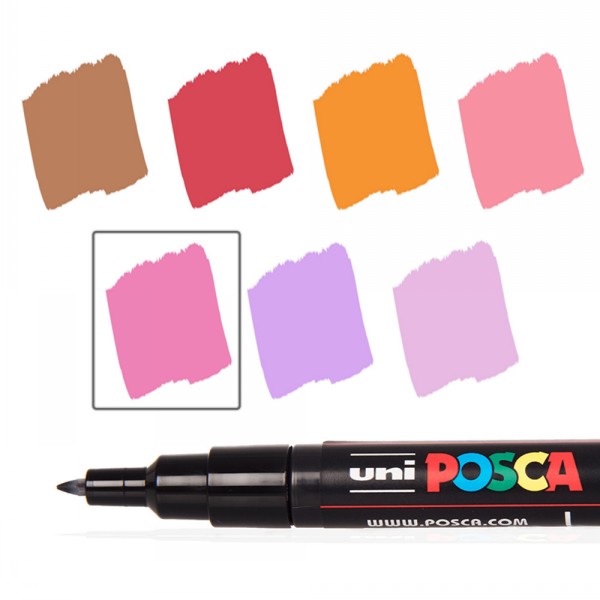
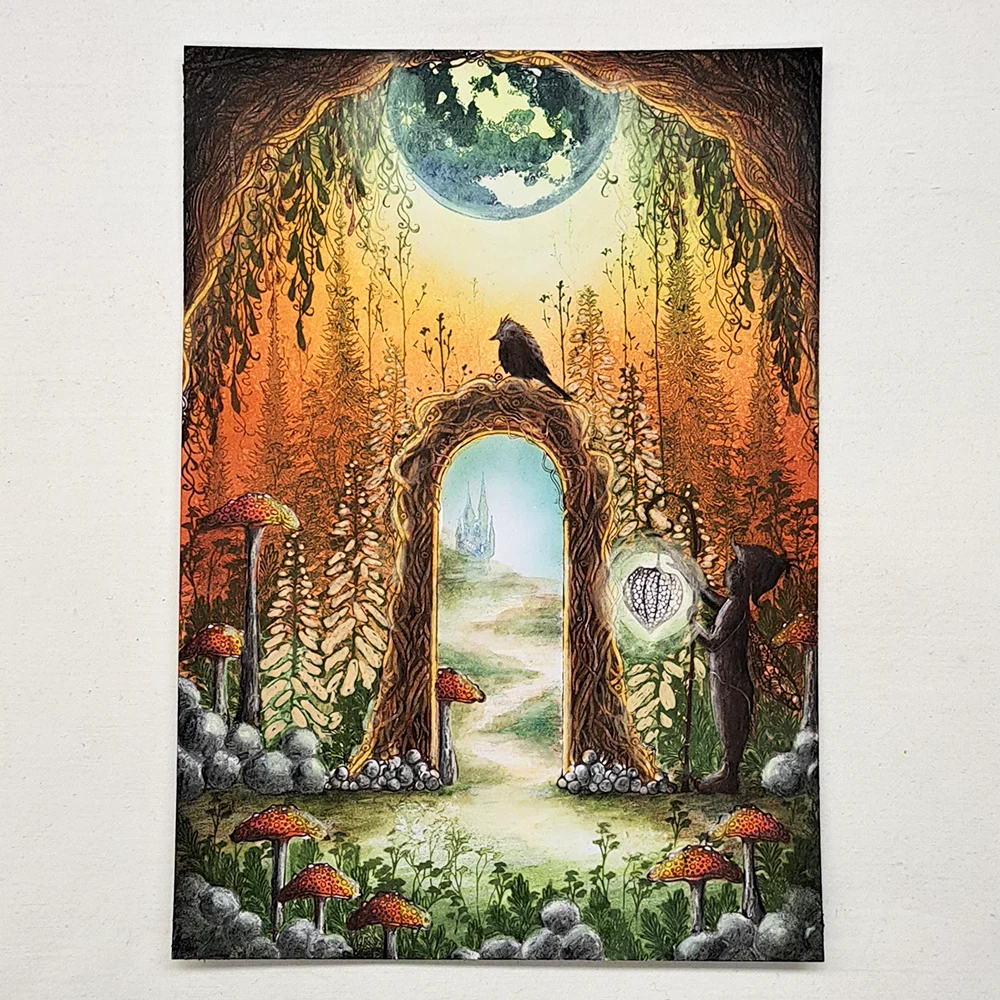
To colour the Foxgloves we will use the Beige Posca Pen.
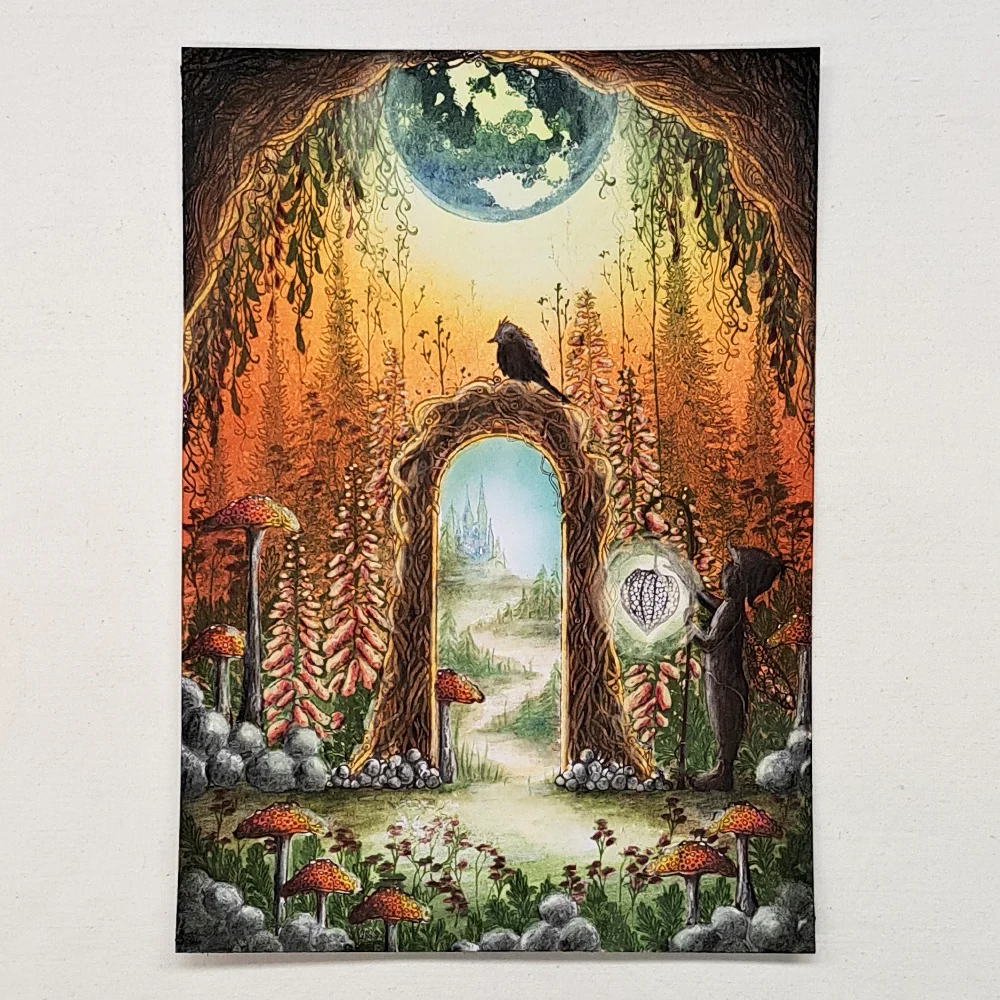
Step 12.
When the Posca Pen has dried we can colour on top with our Mondeluz watercolour pencils. I used a Burgundy for the Shadow colour and an orange for the middle part and now the Beige Posca is what will be the highlight colour. The Burgundy I also used on the Flower Set. I also drew some tiny trees along the pathway to the Castle.
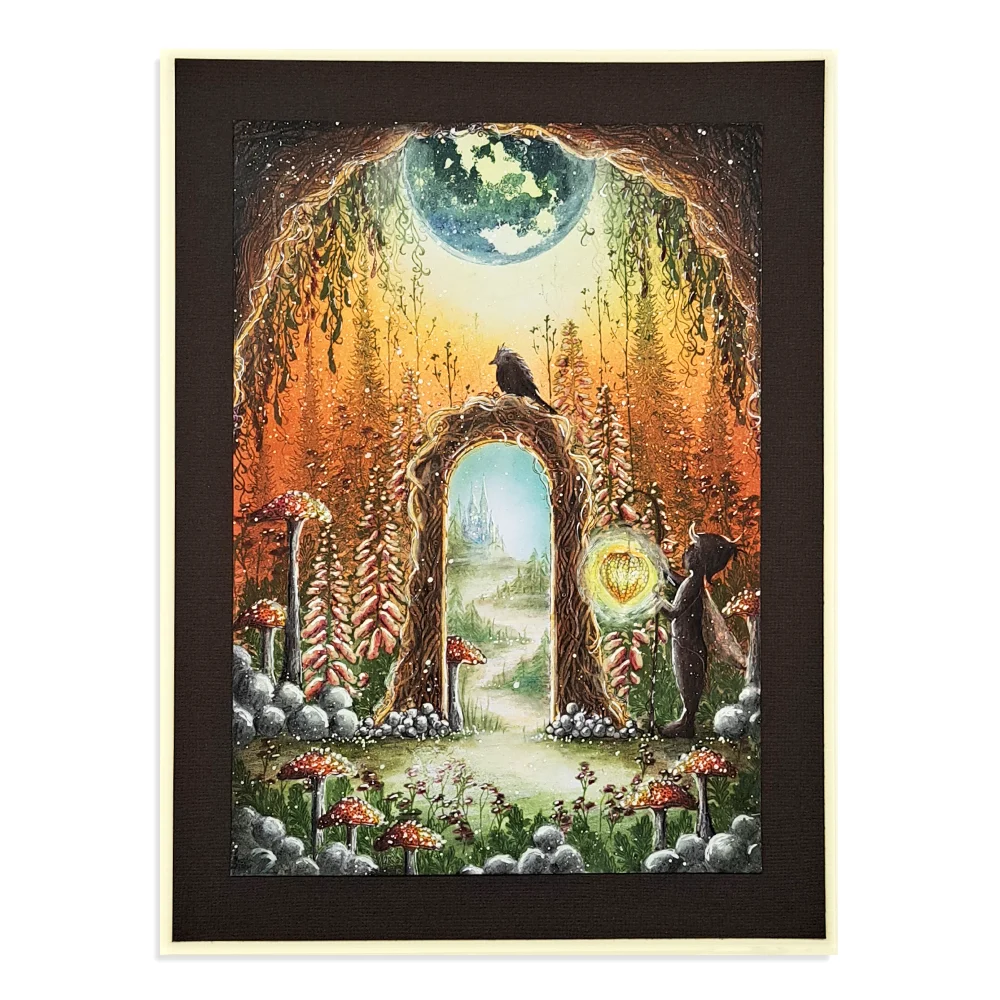
Step 13.
We are now finished with our card and the last details really makes the whole picture come together. Highlights and dots on the Purple Cap Mushrooms we make with a White Uniball pen. Fip’s Lantern we can colour with our Mondeluz watercolour pencils and for our last detail we need to splatter some White Posca Pen all over our picture.
We are now finished and I hope you enjoyed following my Step-By-Step Tutorial. If you have any questions, just send me a message and I will answer as soon as I can.
Big hugs from Mona


