Welcome to Lavinia Stamps!
Log In
|
Wish List
|
Checkout
|
Trade
Search for:
Search Button
Choose a Currency
GBP (£)
USD ($)
EUR (€)
AUD ($)
NZD ($)
CAD ($)
Reset
Home
About
Craft Store
Inspiration
Events
Workshops
Make & Take
Gift Vouchers
Contact
The Dreamatorium
Stamps
Colour
Embellish
Card & Paper
Crafting
Tools & Accessories
Downloads
Categories
Fairies
Creatures
Flora
Mystical
Objects & Landscapes
Words & Verses
Mini Stamps
Trees
Retired Stamps
Themed Collections
Winter
Halloween
Ocean
New Collection
Entire Collection by Date
Printable Stamps List
Ink Pads
Elements
Distress Oxide
Ranger Archival
Versafine Clair
Versamark
Small Ink Pads
Inks & Dyes
Brusho
Dinkles
Mica Spray
Alcohol Ink
PanPastel
Relief Inks
Paints
Acrylic Spray
Metallic Paint
Acrylic Paint
Watercolour
Fabric Paint
Relief Paint
Stencils & Masks
Stencils
Masks
Sticker Stencils
Glitter & Shimmer
Glitter
Shimmer
Mica Minerals
Stickles
Liquid Pearls
Emboss
WOW! Powder
Foils & Gilding
Polishes
Velvet Powder
Decorate
Pens
Pencils
Stickers & Tapes
Mediums
Pre Printed
Dreamscape Papers
SceneScapes
Lavinia Calendar
Blank
Multifarious Card
Watercolour Card
Coloured Card
Blank Cards & Envelopes
Specialist Paper
Art Stationery
Pads & Books
Special Print Media
Blanks & Bases
ArtBord
MDF Bases
Greyboard
Polystyrene
Craft Accessories
Haberdashery
Bits n Bobs
Kits
Bauble Kits
Lamp Kits
Jewellery Kits
Fairy Dream Catchers
Needlecraft Kits
Enchanted Mushroom Kits
Tools
Applicators
Gadgets
Acrylic Boards
Brushes
Gel Press
Die Cutting
Accessories
Storage Containers
Palettes
Craft Mat
Aprons
Stick & Fix
Resists & Finishes
Glue & Adhesive
Digital Art
Cutting Files
Get Inspired
Video Tutorials
Step by Step Tutorials
Quick Crafts
Creative Challenge
Meet the Creative Team
Our Recent Video Tutorials
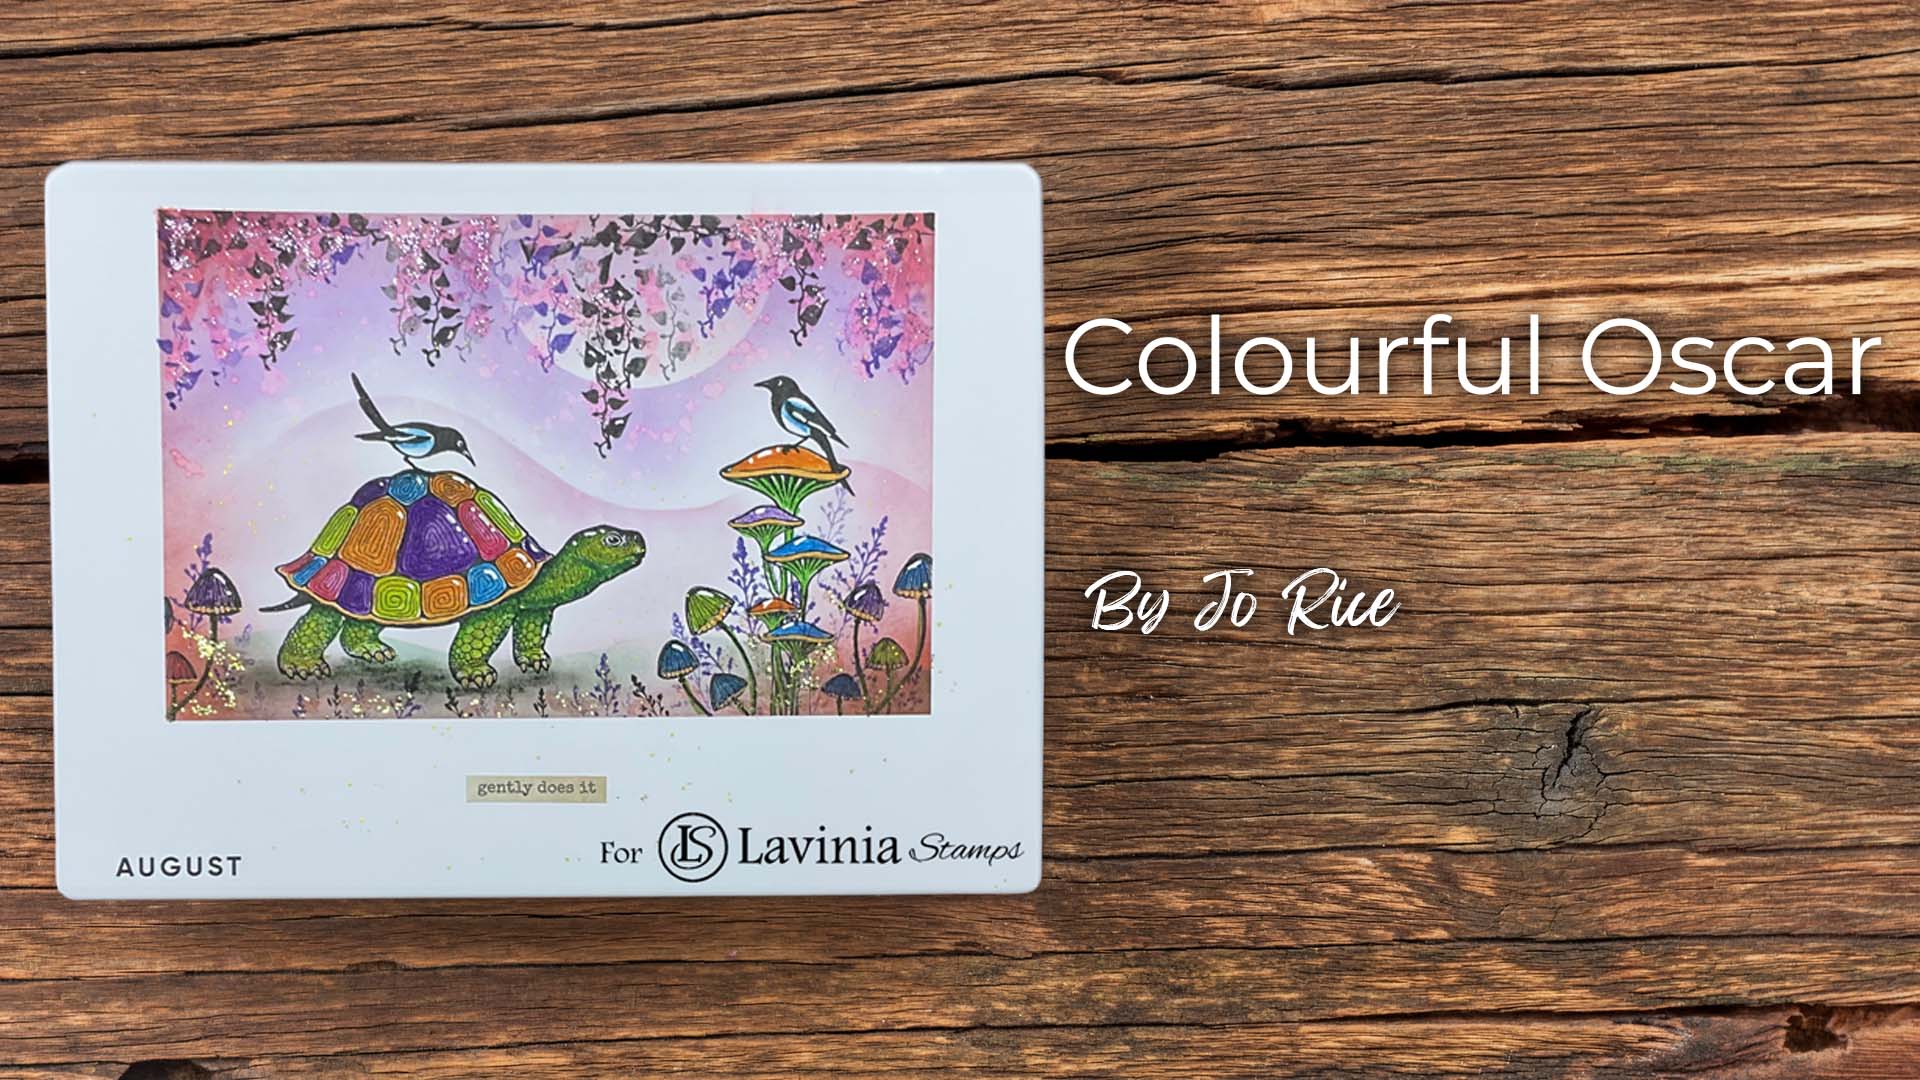
Colourful Oscar by Jo Rice
Watch Tutorial
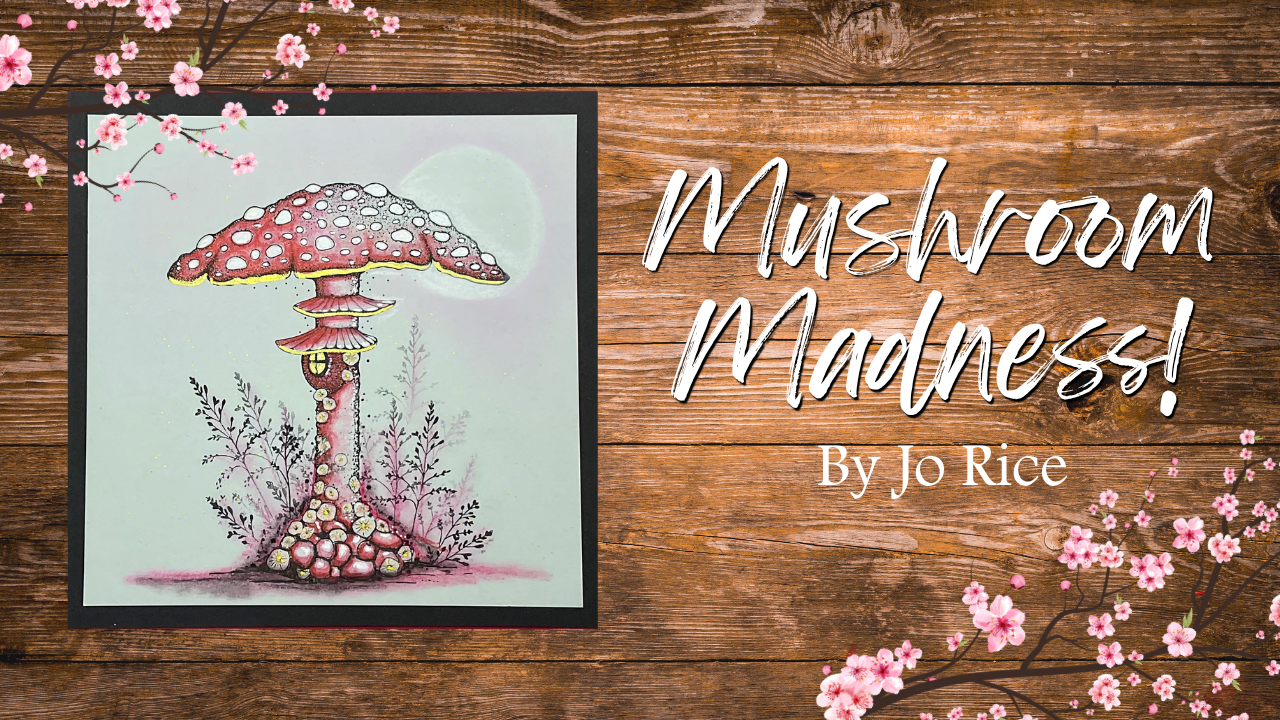
Mushroom Madness by Jo Rice
Watch Tutorial
Menu
Home
About
Craft Store
Stamps
Colour
Embellish
Card & Paper
Crafting
Tools & Accessories
Downloads
Inspiration
Video Tutorials
Step-by-Step Tutorials
Quick Crafts
Creative Challenge
Meet the Lavinia Creatives
Events
Workshops
Make & Take
Contact us
The Dreamatorium
My account
Basket
Close Menu
Choose a Currency
GBP (£)
USD ($)
EUR (€)
AUD ($)
NZD ($)
CAD ($)
Reset
Search for:
Search Button
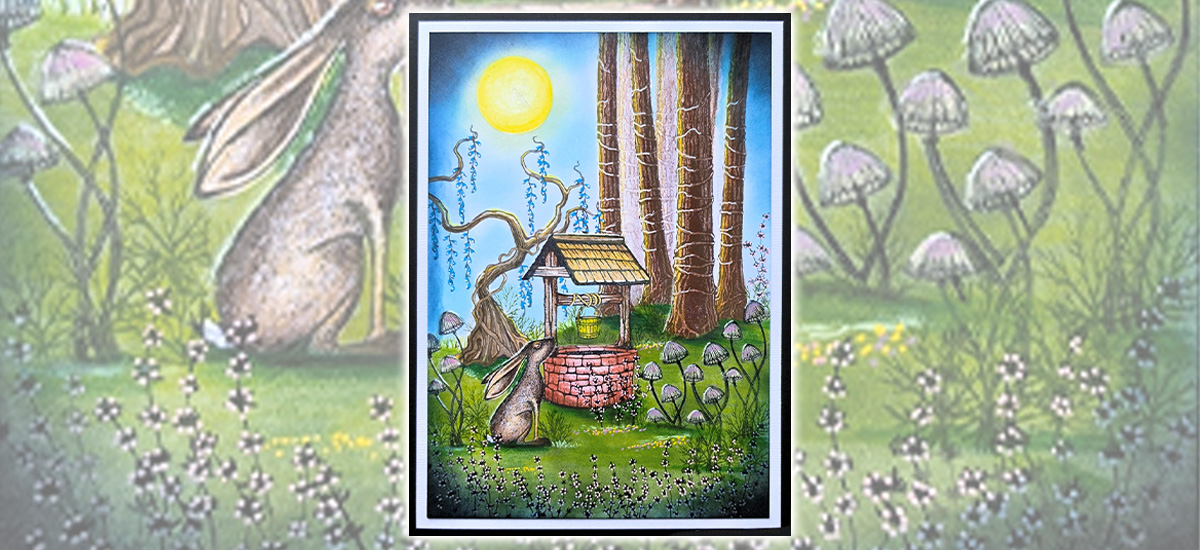
Ashfoot at the Starwell - by Janet Blaauw
Shine Bright - by Katarina Eliasson
Man in the Moon by Katarina Eliasson
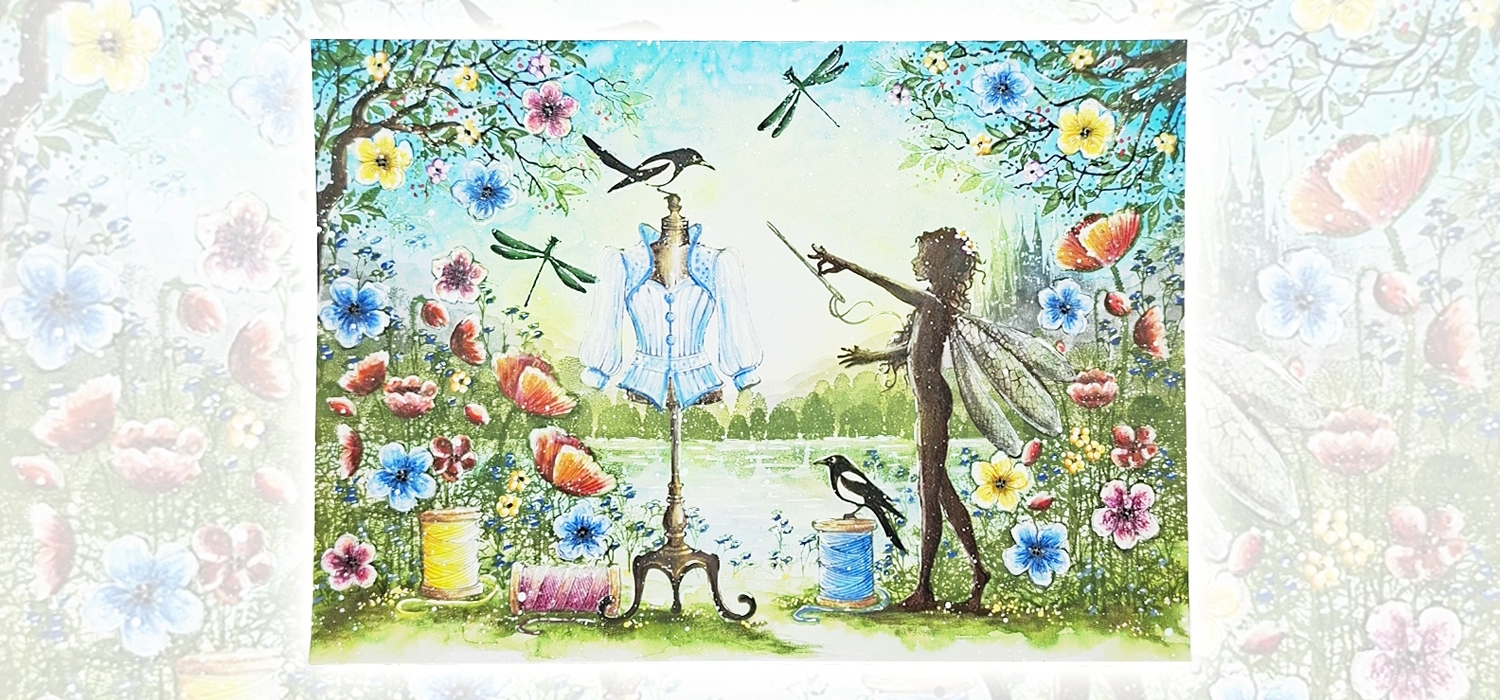
Sewing Magic - by Mona Hauge
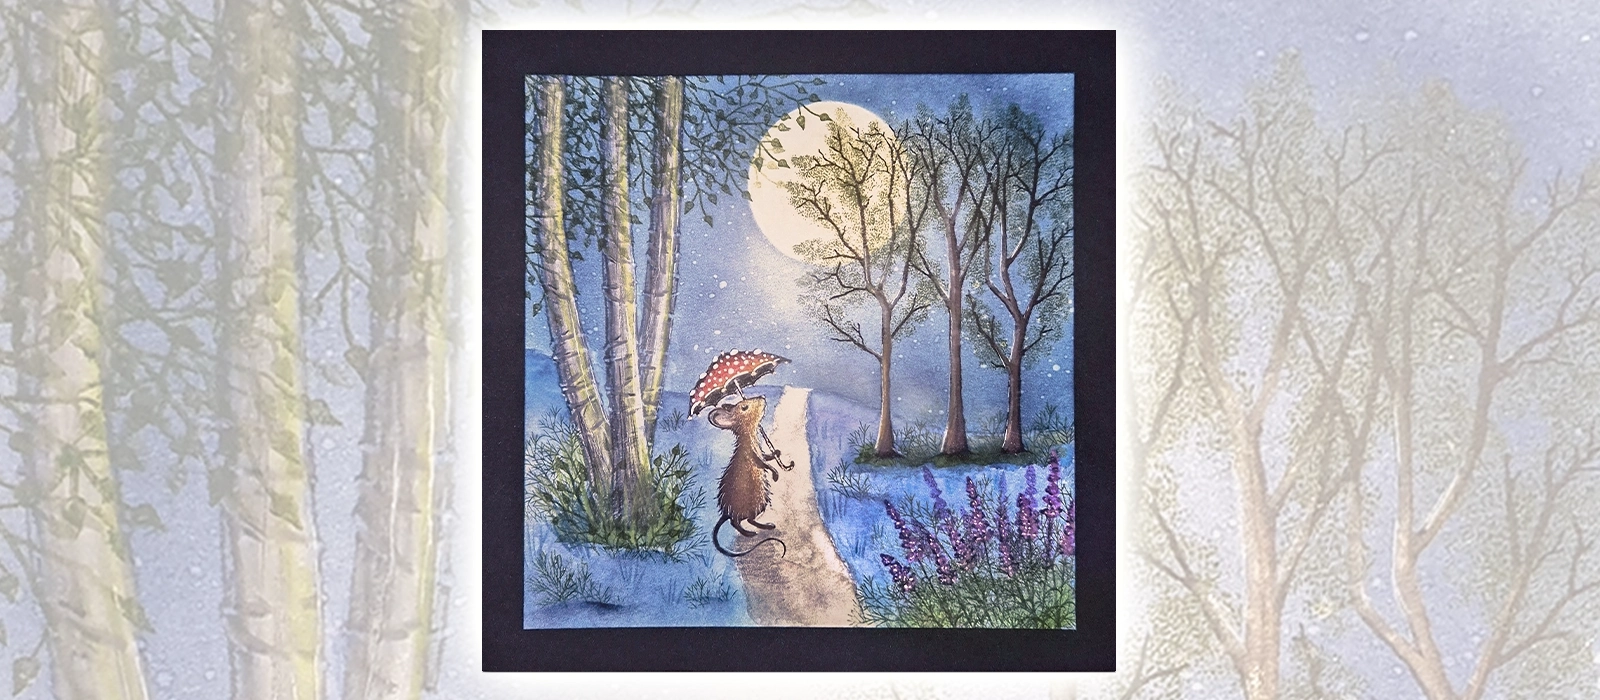
Thistlewhisk takes a Moonlit Stroll - by Sarah Summerton
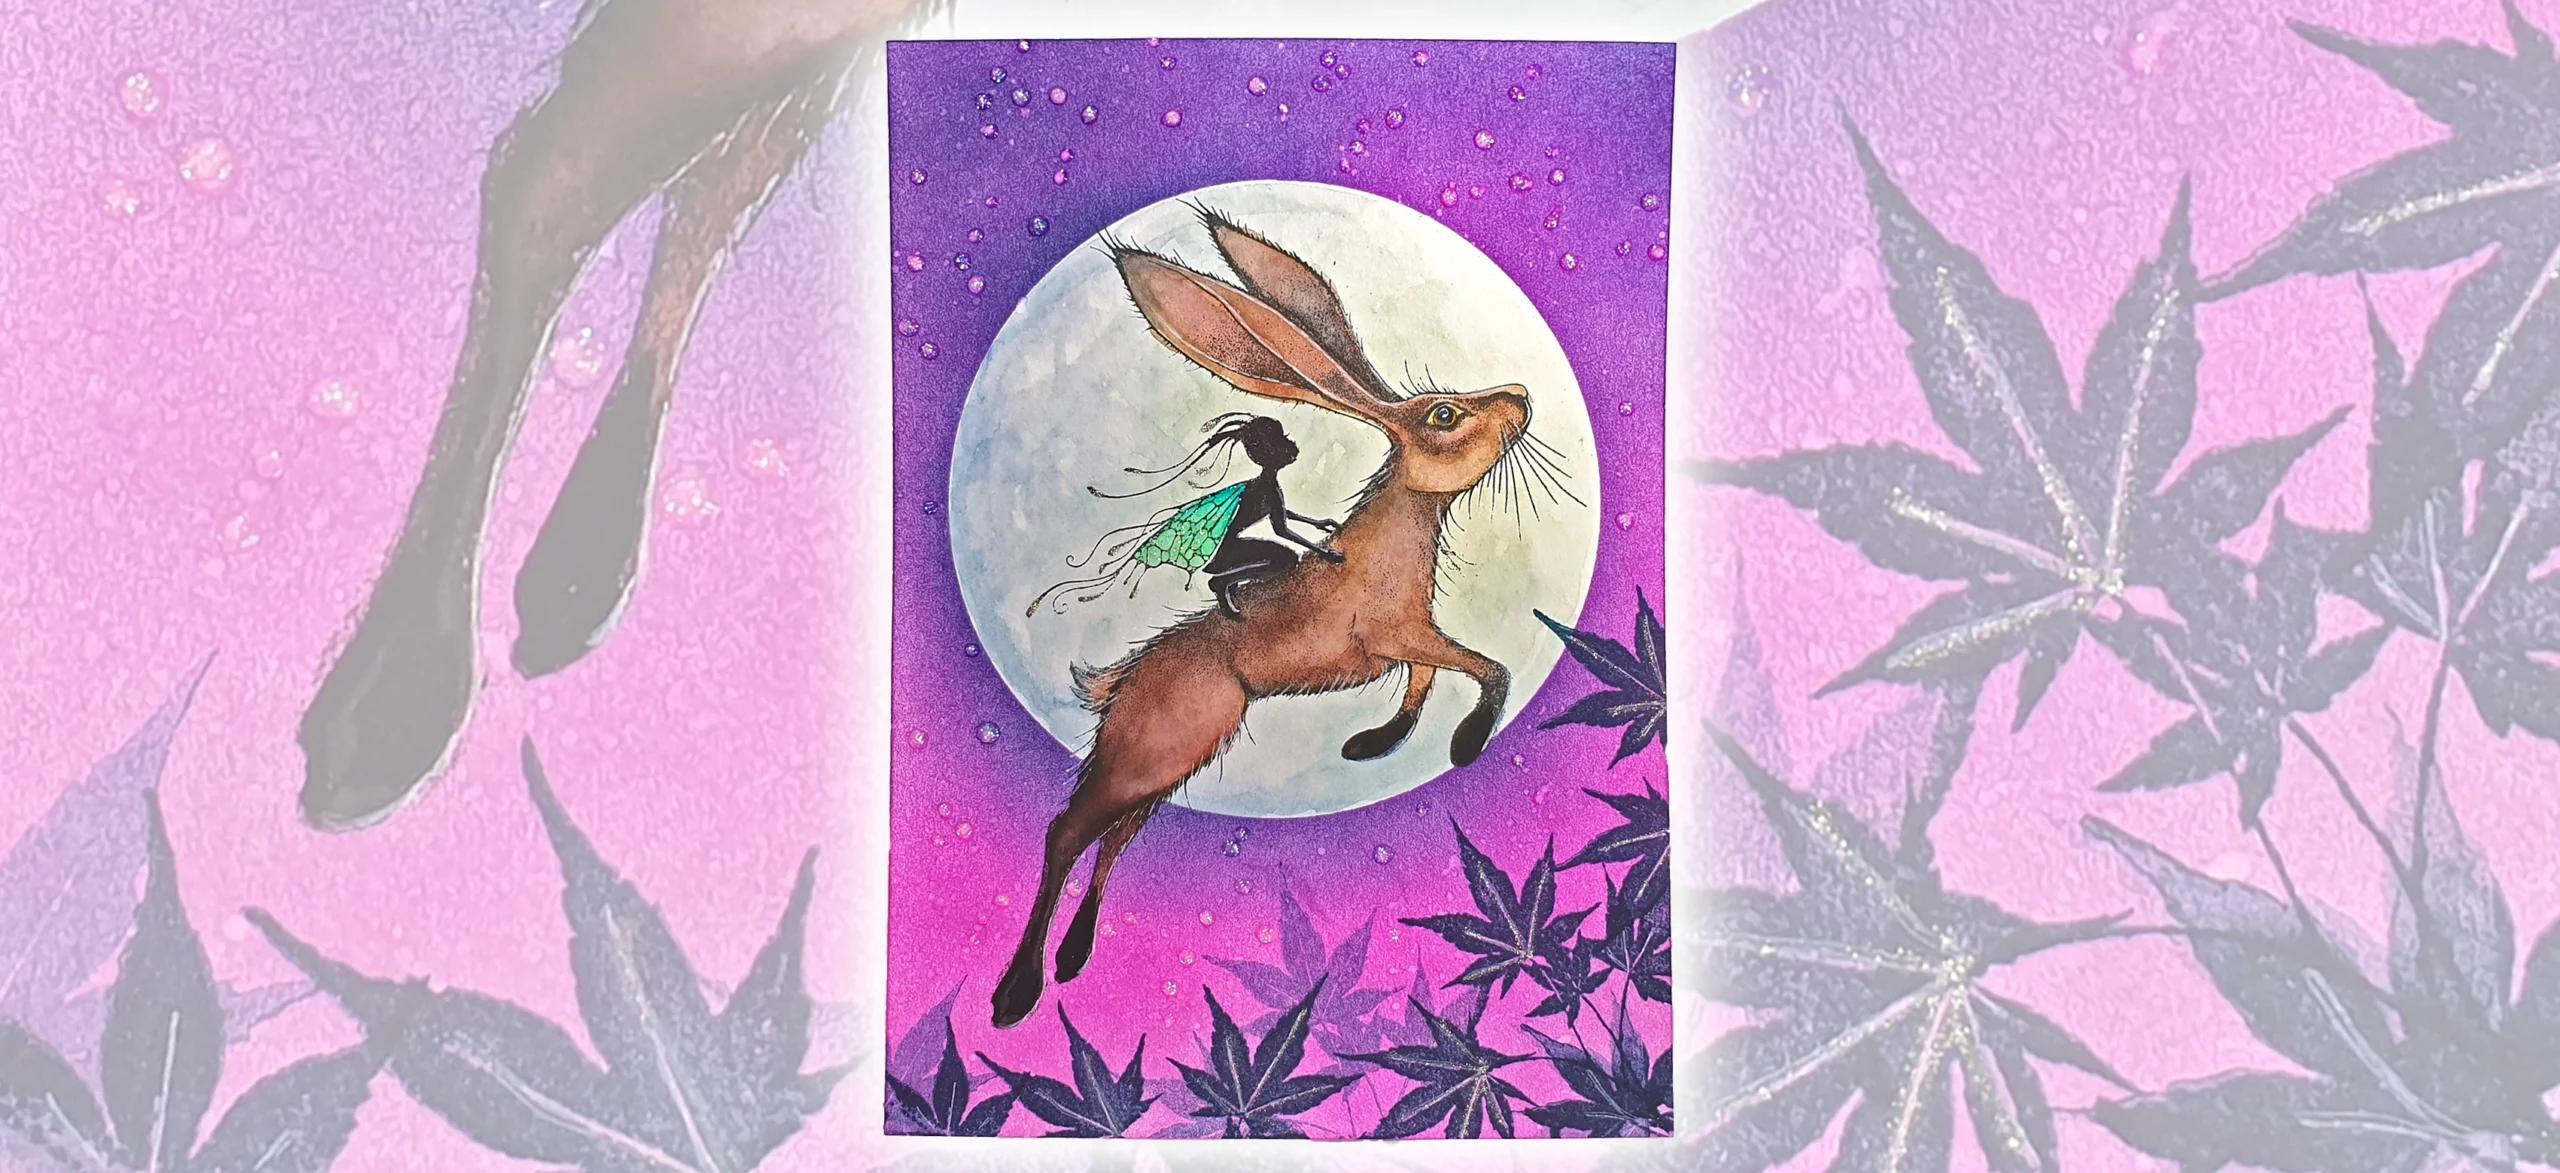
Fly me to the Moon by Sarah Summerton
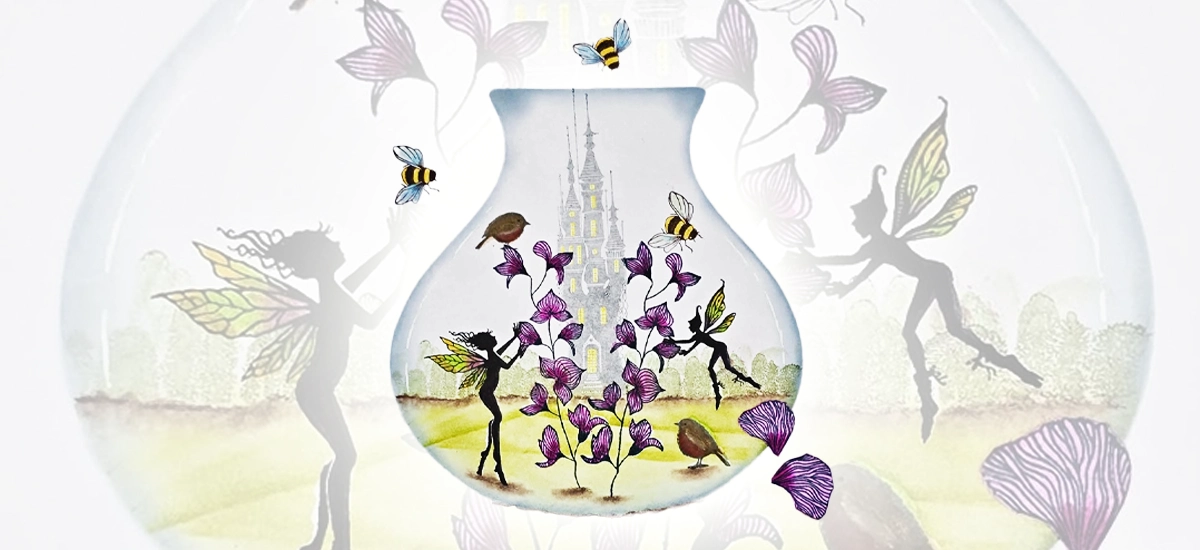
Fairy Garden in a Vase - by Marion Major
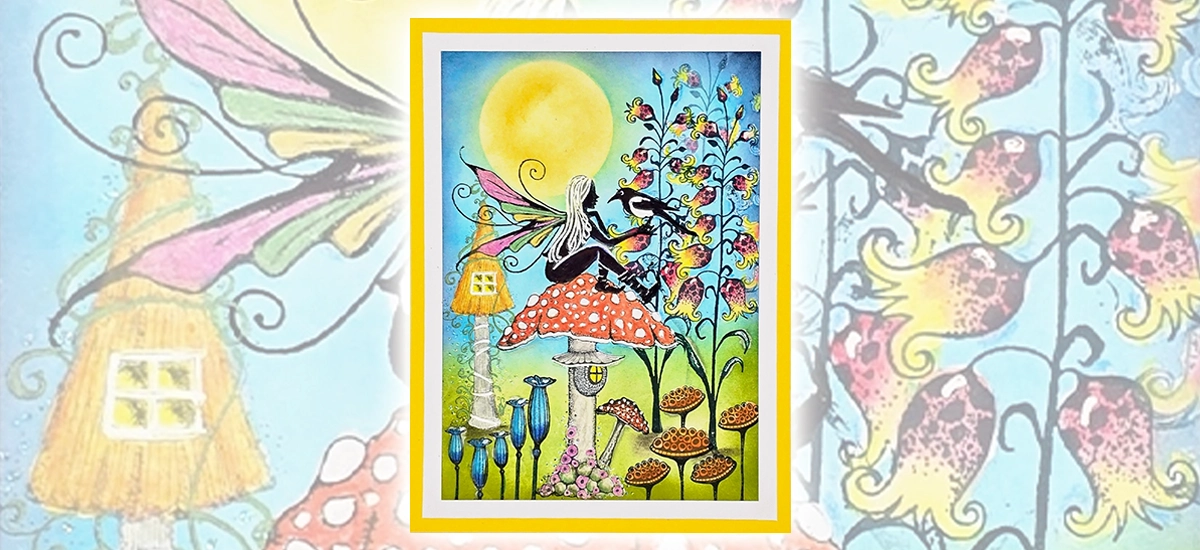
Fairy Flower Love - by Marion Major
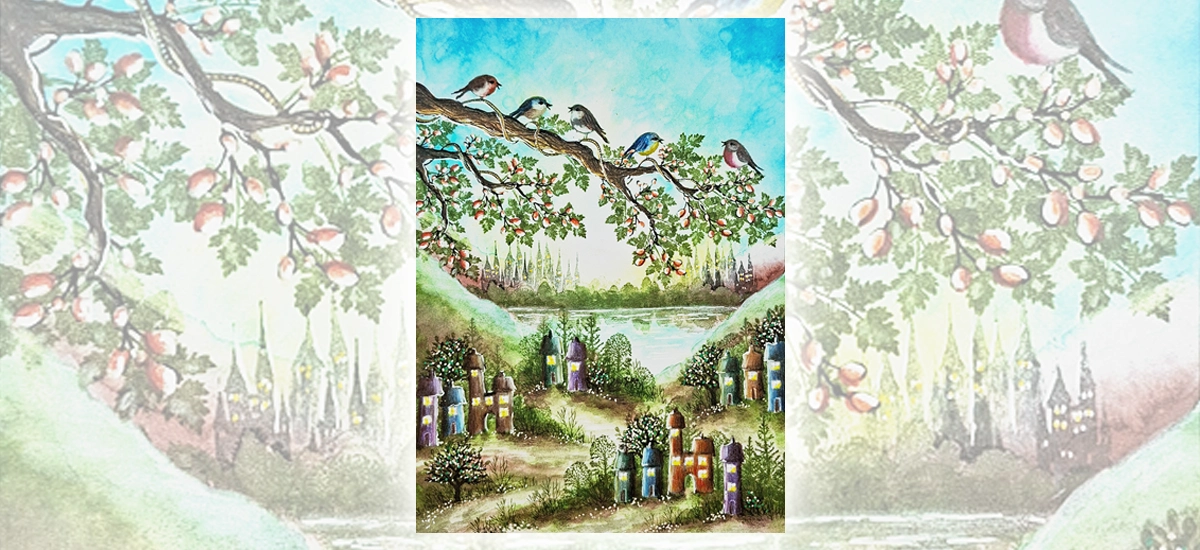
Birdsong - by Mona Hauge
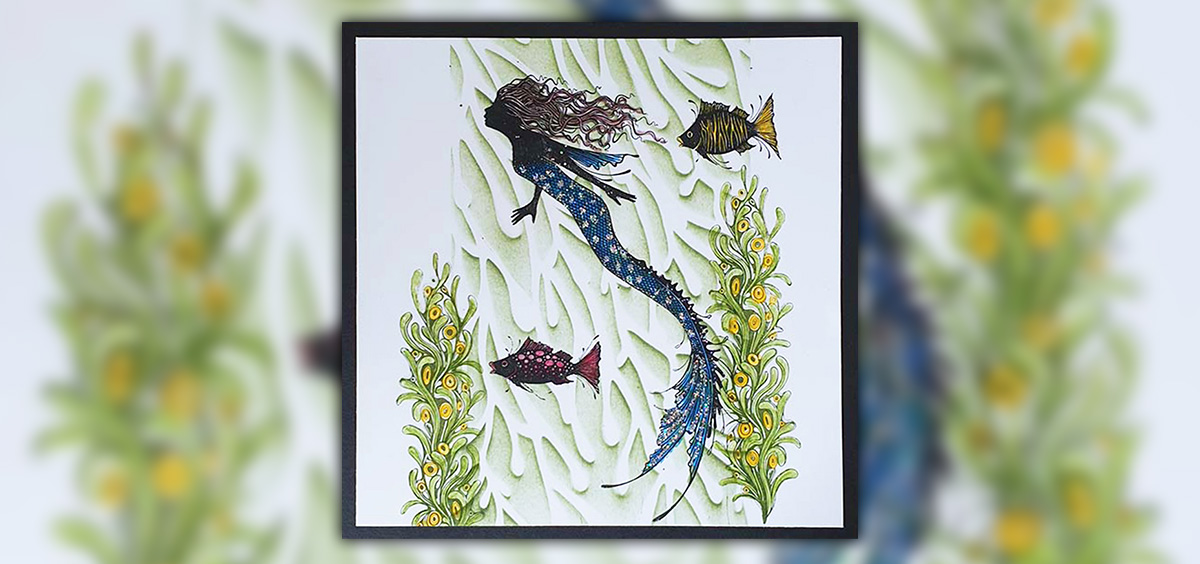
Zelith Under The Sea - by Julia Wyatt
1
2
3
4
…
14
15
16
17
Next »
Join our mailing list
Get all the latest news and offers
Subscribe and receive information and offers from Lavinia Stamps. Find out more here
Newsletter Form (#6)
First Name
Last Name
Email
Subscribe
Join Our Groups
Lavinia For You
Reach Out With Lavinia
map-marker
facebook-square
phone
facebook
pinterest
caret-down
envelope
youtube-play
instagram
cross
menu
chevron-down