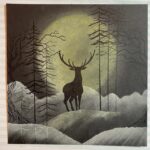
Hello, I’m Leanne Harris, and as this month’s guest designer I’d like to share with you this step by step tutorial. Creating a misty scene is actually quite a simple process and any stamping errors can easily be disguised with your mist.
So, here we go…

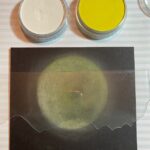
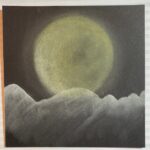
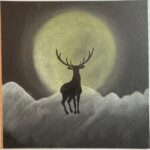
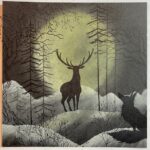
Step by Step


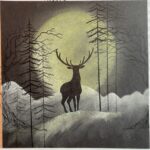


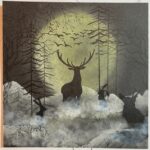

I hope that you enjoyed this tutorial, and maybe have a go yourself.
Stay safe and well.
Leanne