Step by Step
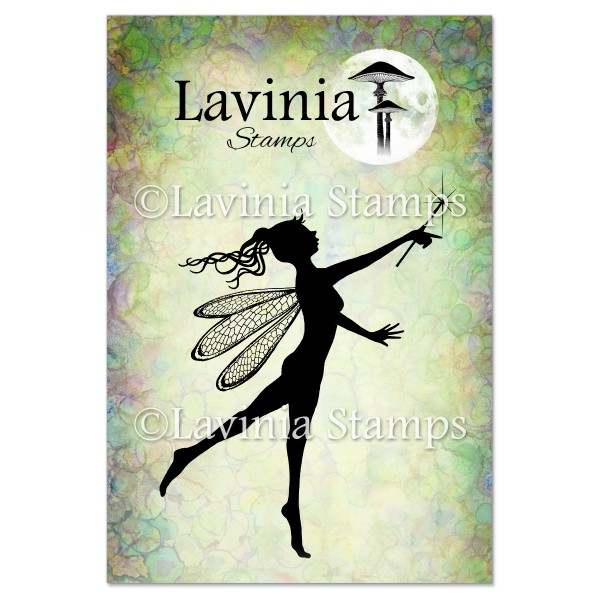
Today I share with you this picture tutorial called “Snow Magic” Our beautiful Fayllin is doing some magic with a Snow globe. I have always been fascinated with Snow globes and the little worlds that are inside them. So, I tried to create a secret moment when a Fairy sprinkles a little Fairy dust on a quiet Snow globe and brings it to life.
Hope you like it.
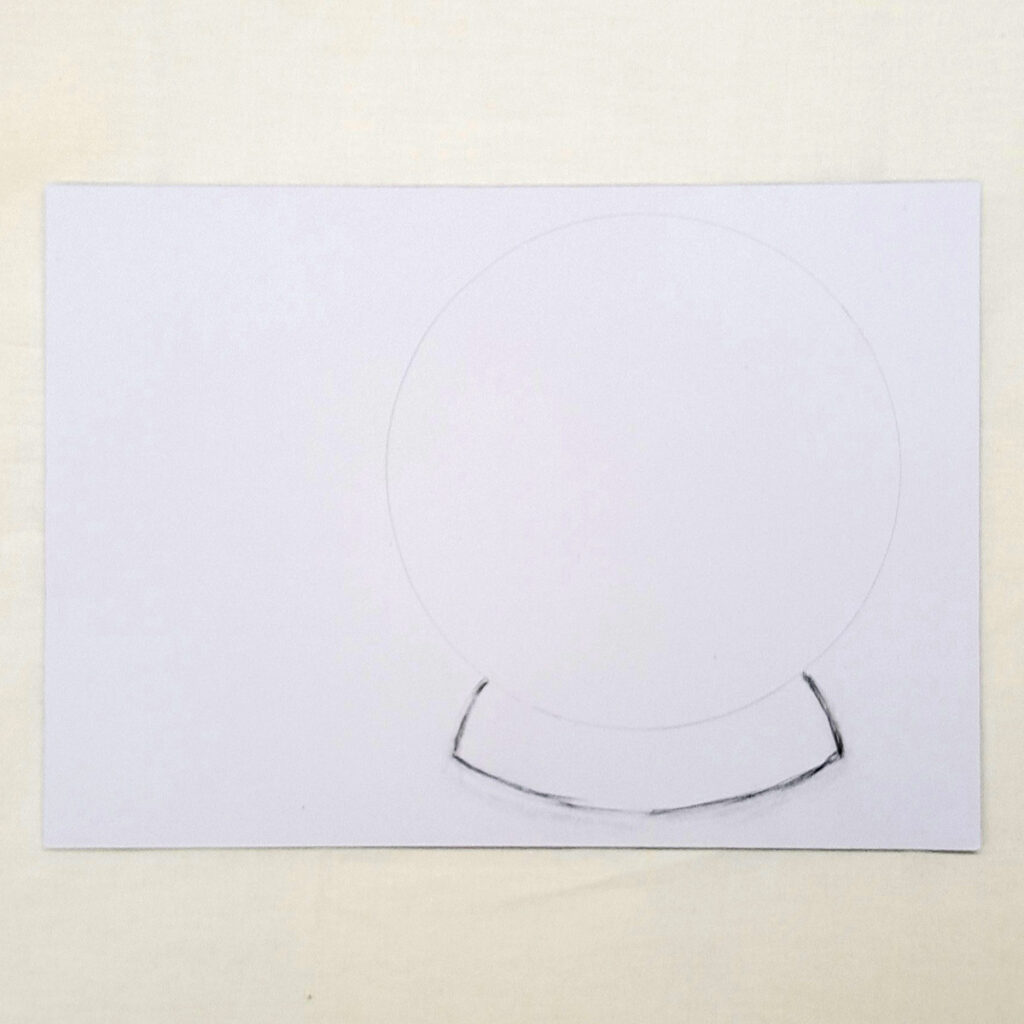
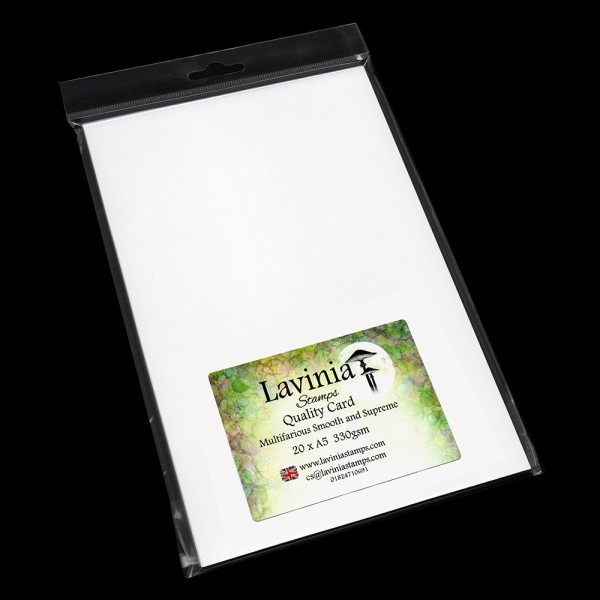
Using A5 Multifarious card. Make a circle with a pencil very softly. Draw a curved plinth like in the picture.
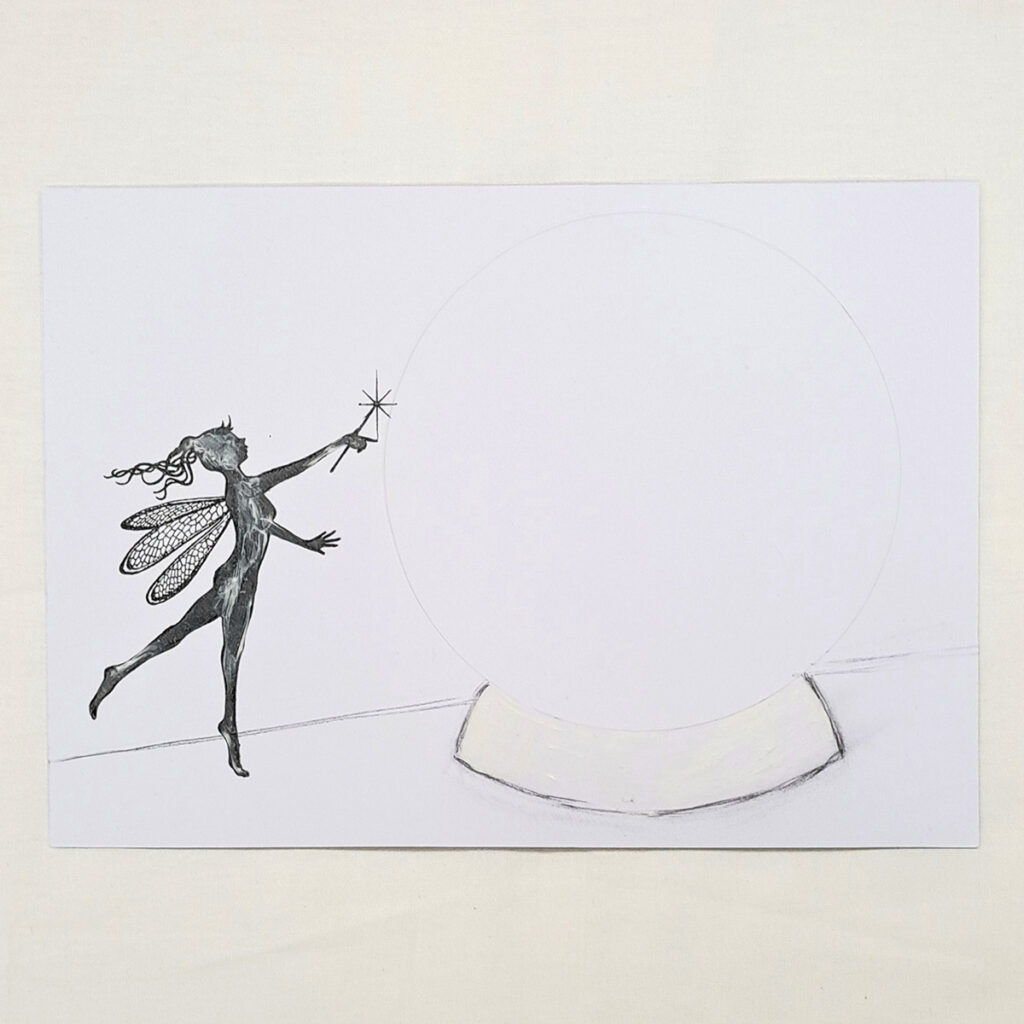
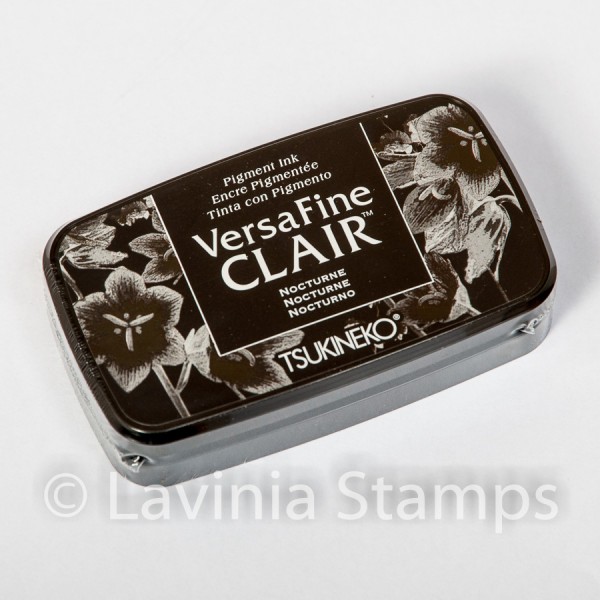
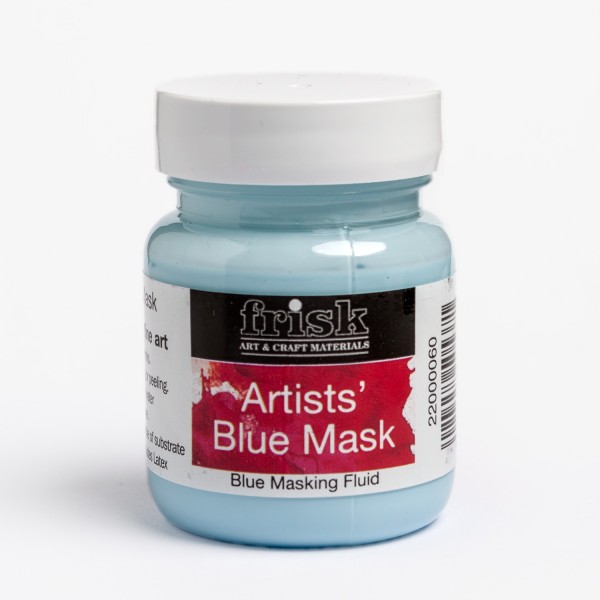
Stamp the beautiful Fayllin in Versafine Clair Nocturne and then put liquid masking fluid on her. Put liquid masking fluid on the plinth also. Draw a line behind her and the Snow globe like in the picture to give the Snow globe something to sit on.
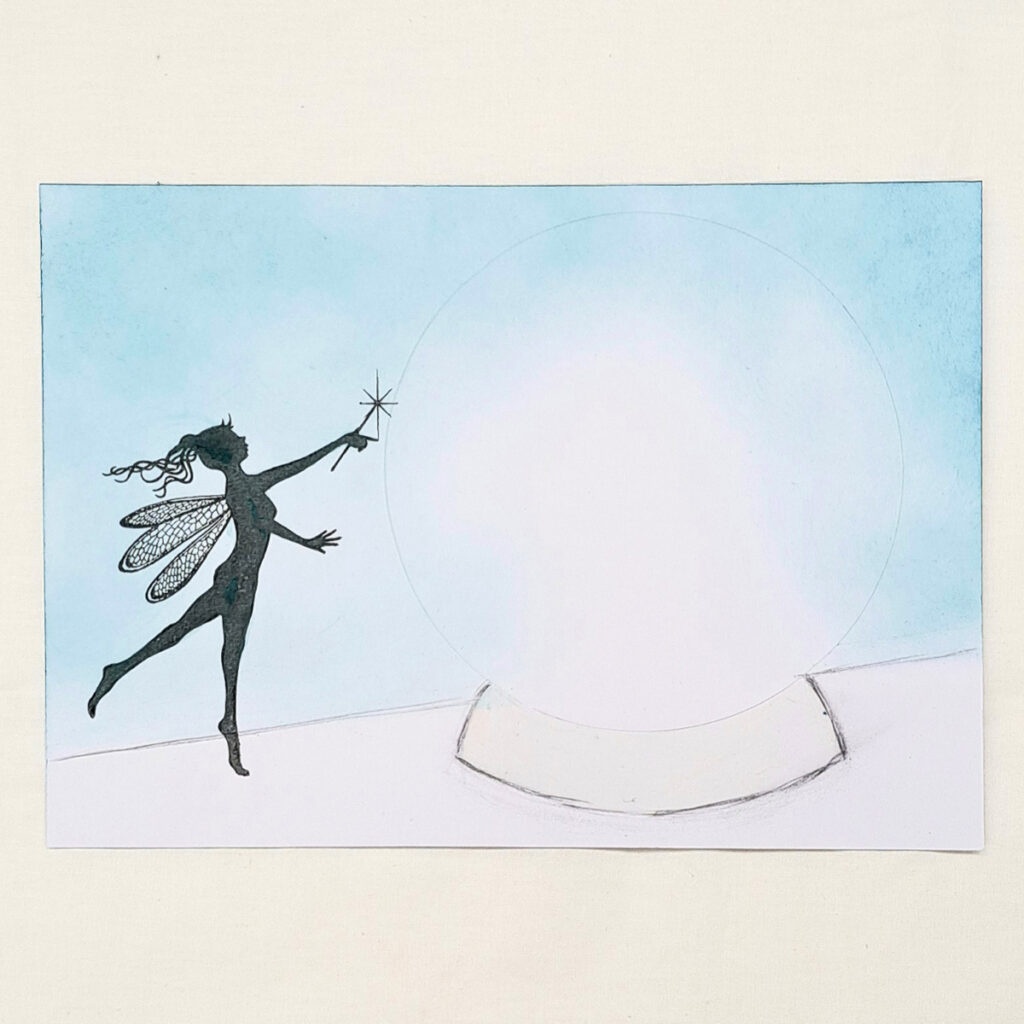
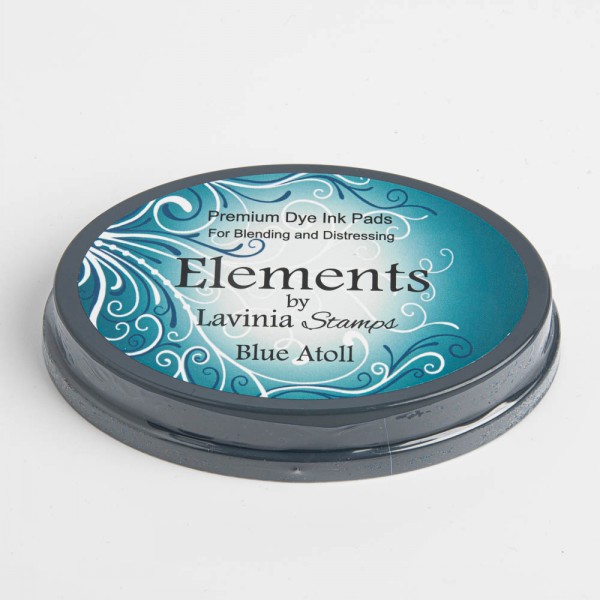
Use Elements Blue Atoll. Keep the centre of the Snow globe without colour. Use a printer paper to mask of the part that is going to be the table.
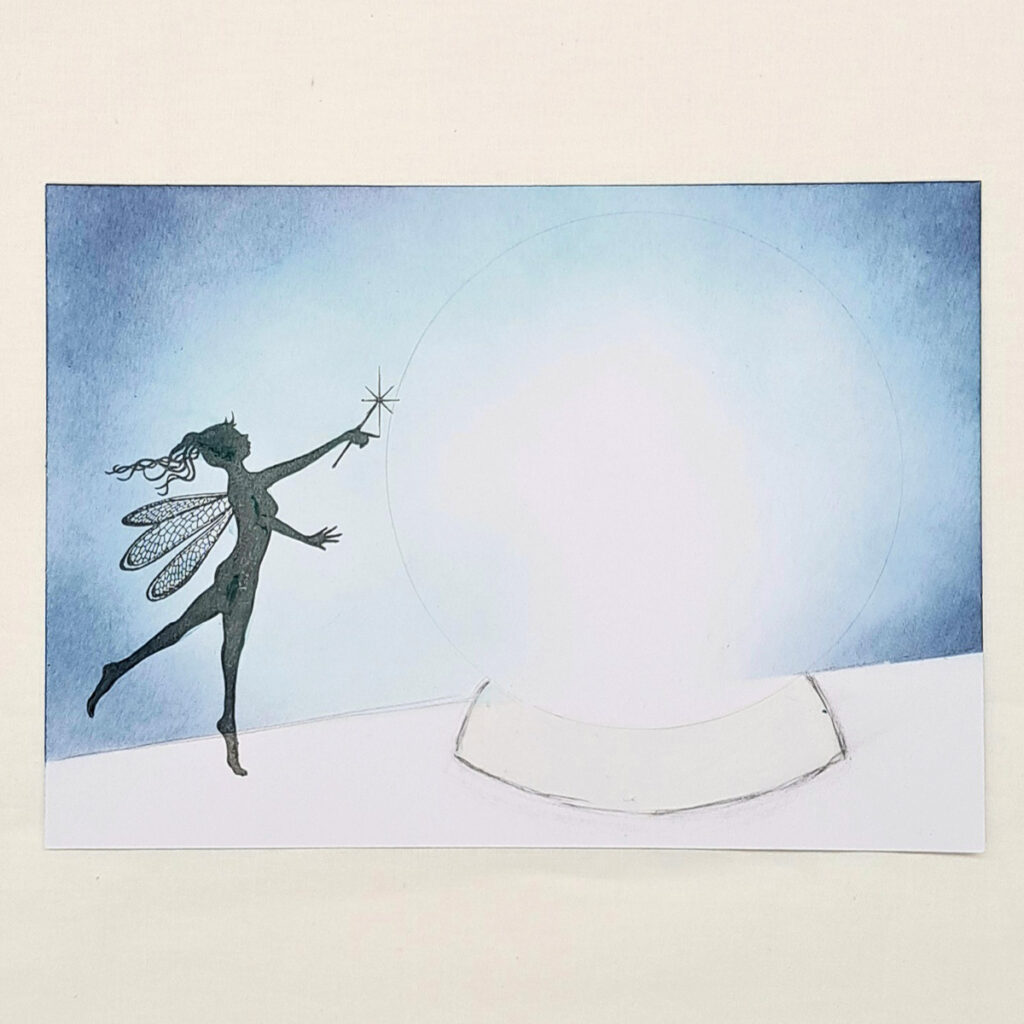
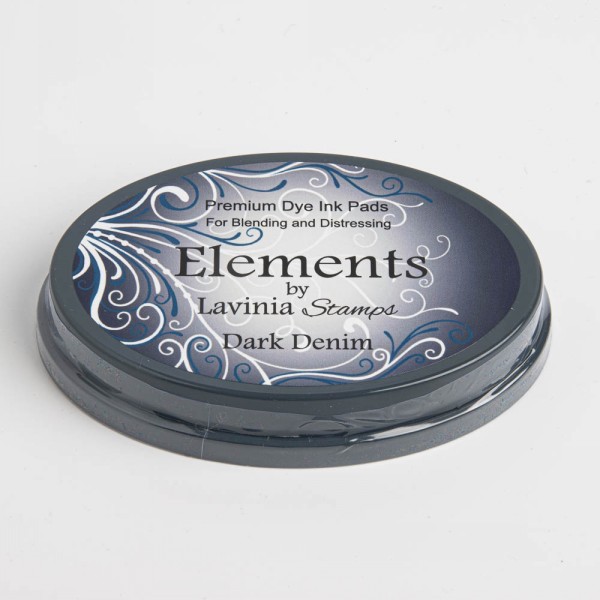
Now blend in some Elements Dark Denim from the outside edges. Like in the picture.
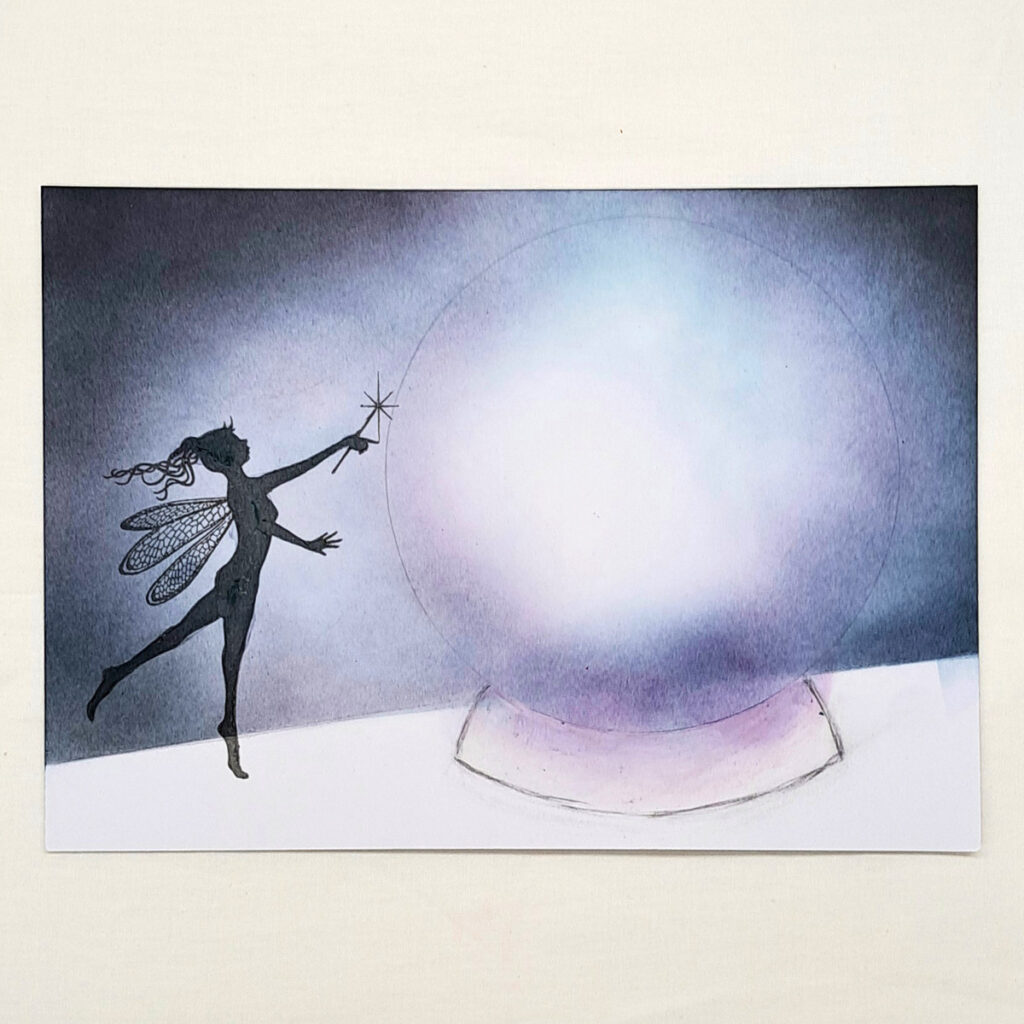
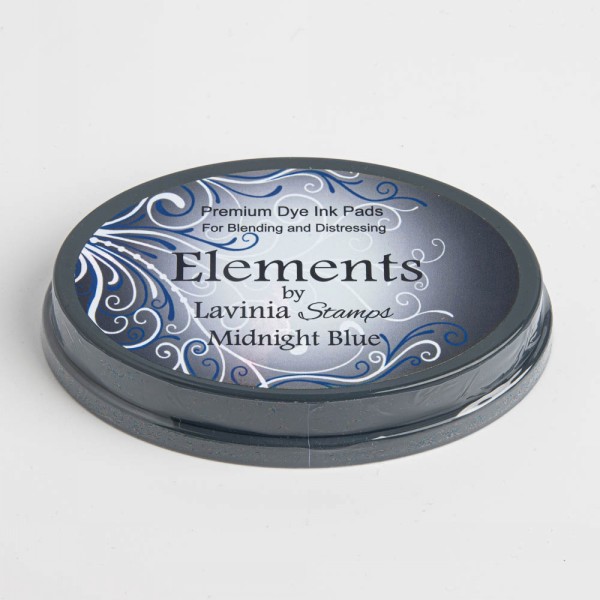
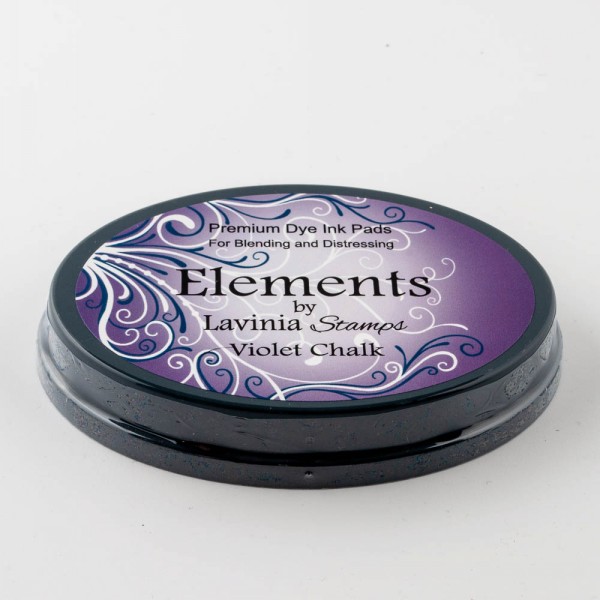
We want more colour, so we need Elements Midnight Blue and Elements Violet Chalk. Make it very dark in the corners and do just a hint of the purple.
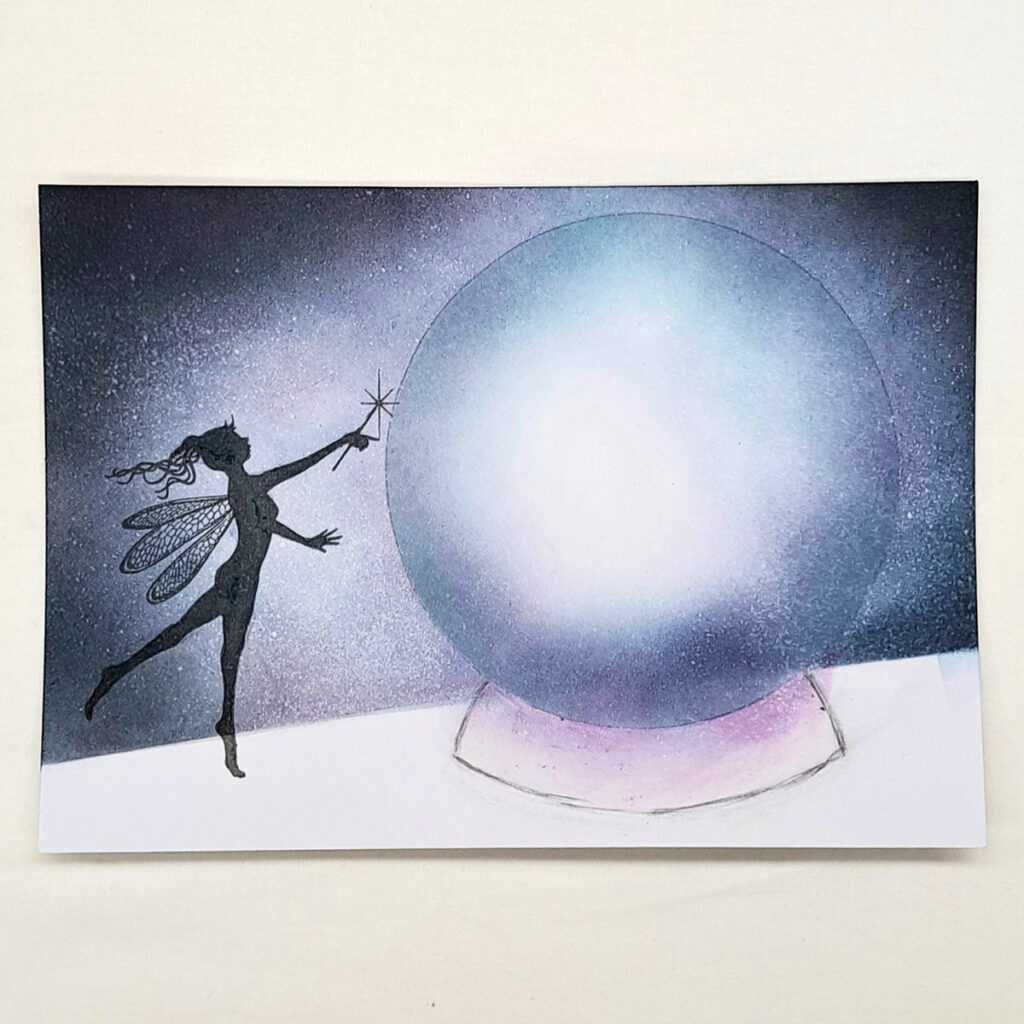
Spray a fine mist of water on the picture and let the magic happen.
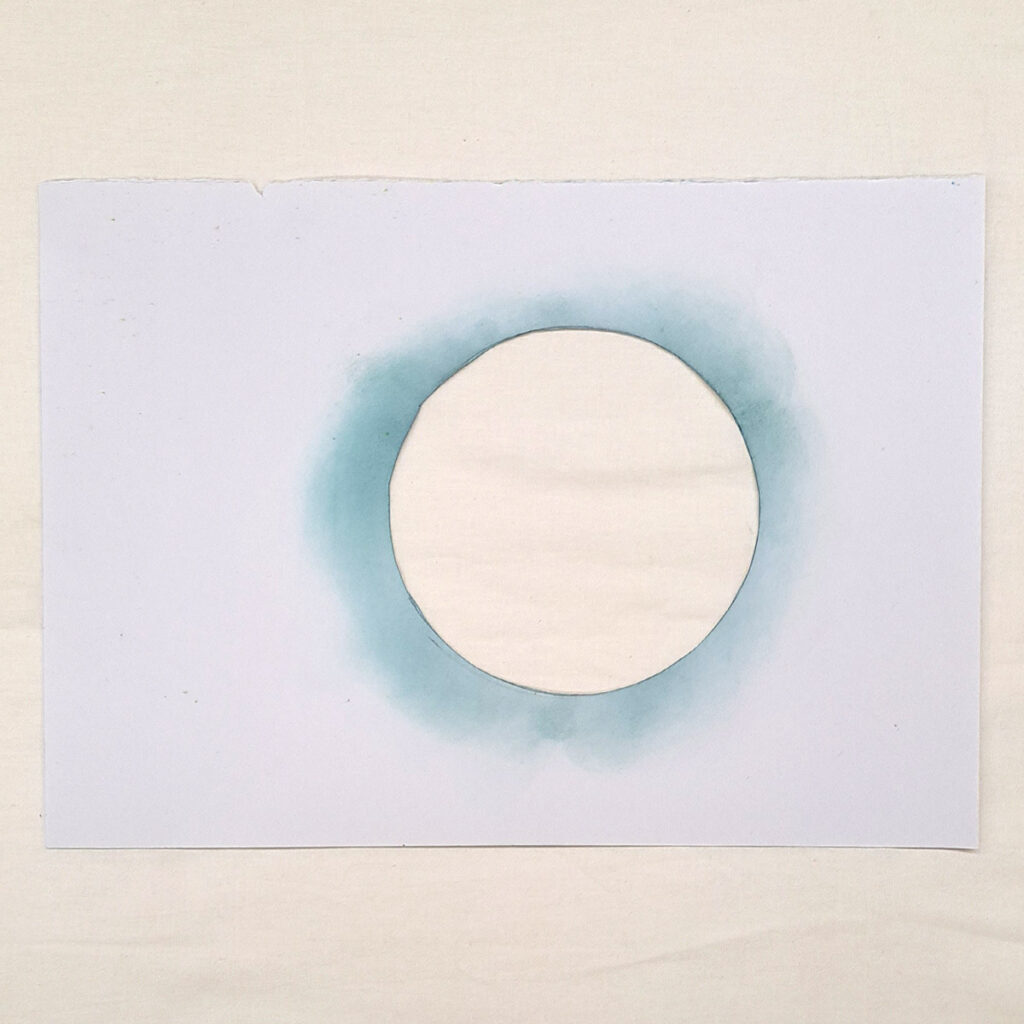
Now cut a circle the same size as the snow globe out of a printer paper like in the picture.
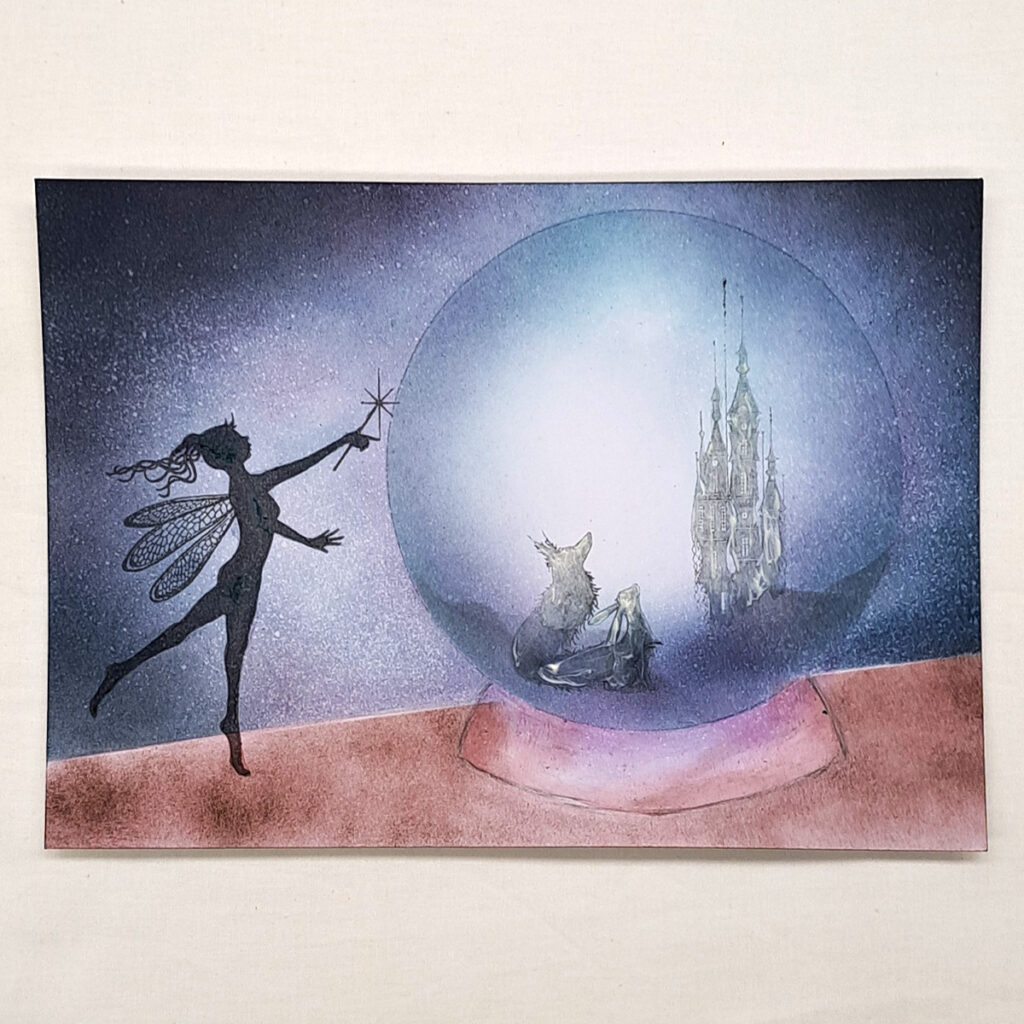
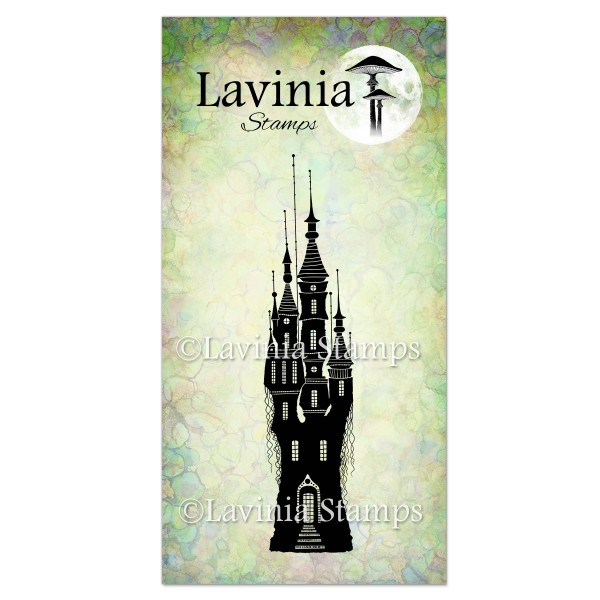
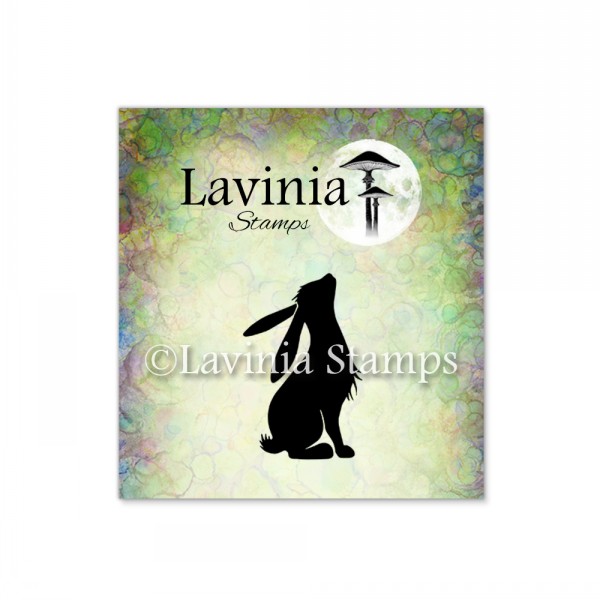
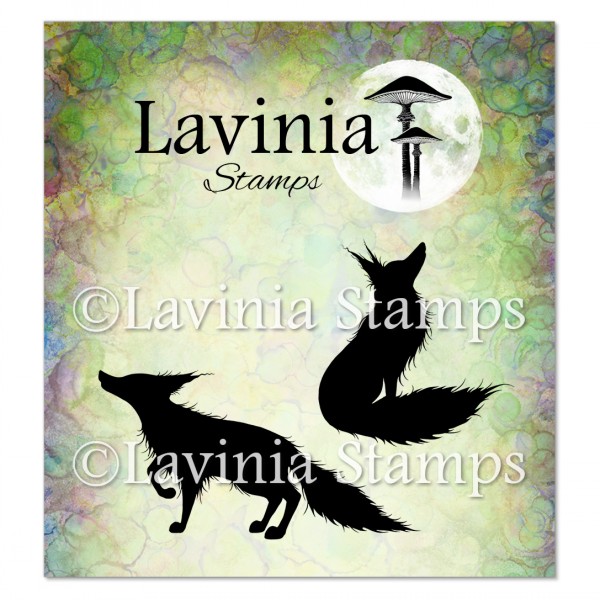
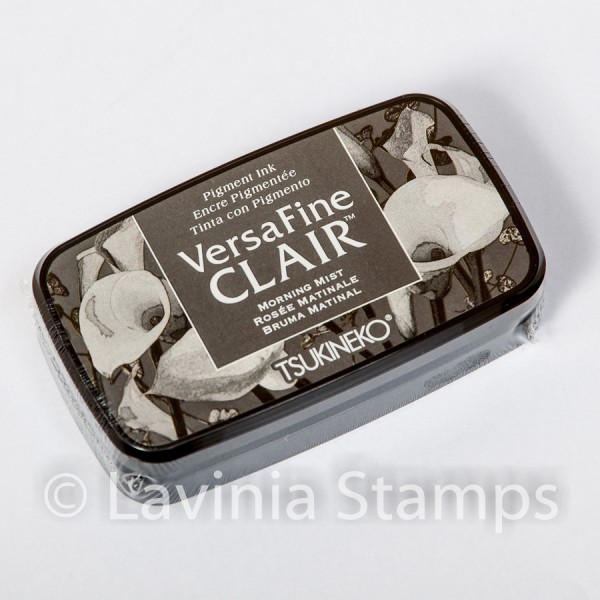
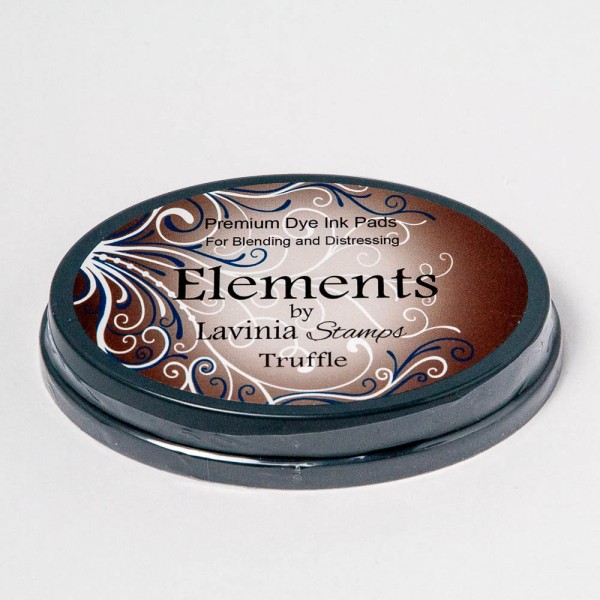
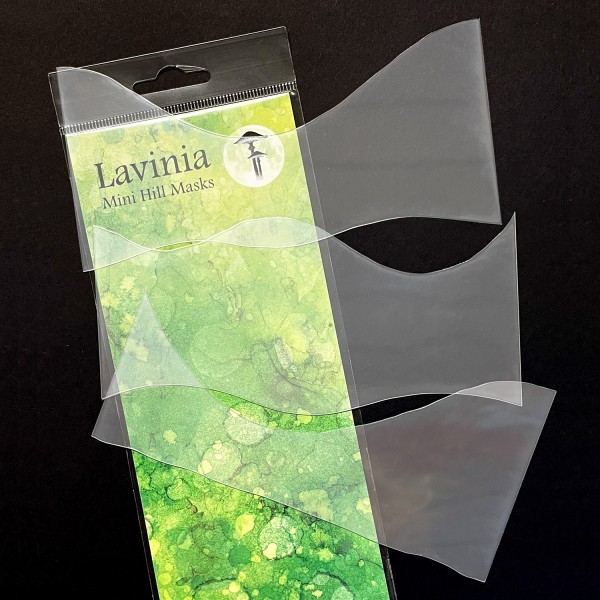
Place the printer paper with the hole on top of the picture so that it covers everything but the globe. Then brush on some Elements Dark Denim. Use a mini hill mask and create some little hills inside the Snow globe using Elements Midnight Blue. Be careful to not use too much colour. Stamp the Far World Castle, Mini Pipin and Fox set 1 in Versafine Clair Morning Mist, do second generation stamping for all three. Cover them all in liquid masking fluid. Remove the printer paper. Blend some Elements Ink Truffle onto the table.
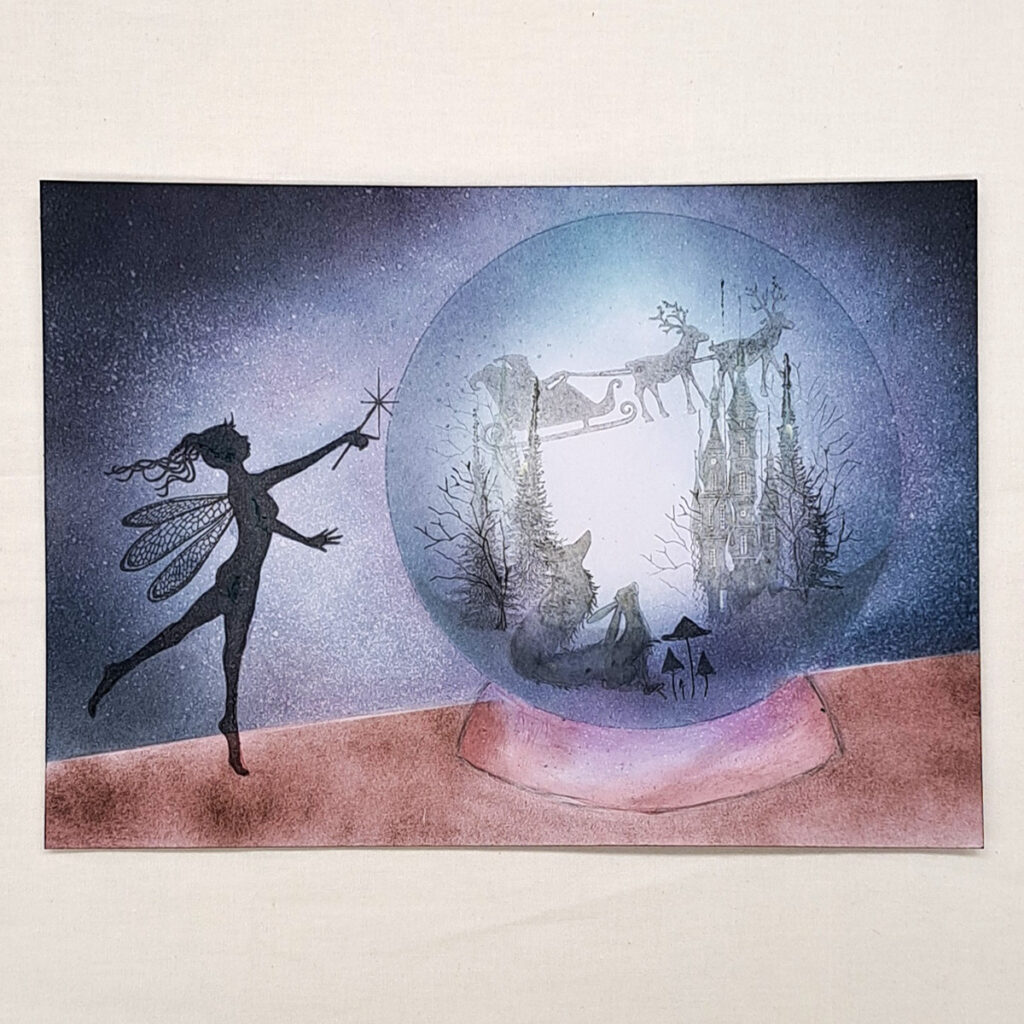
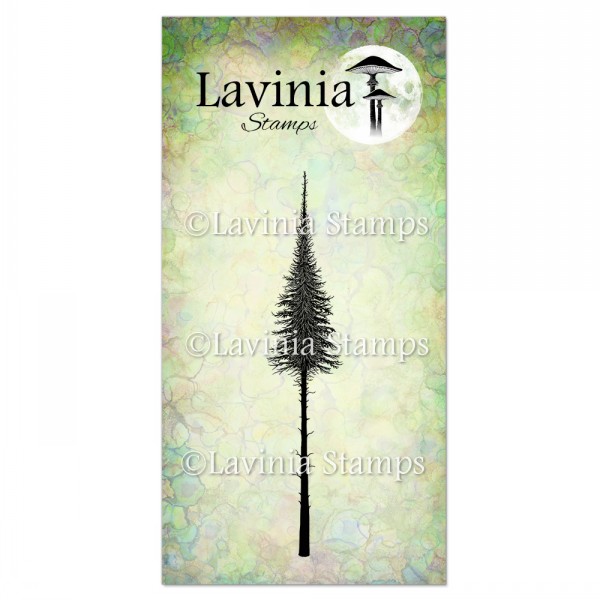
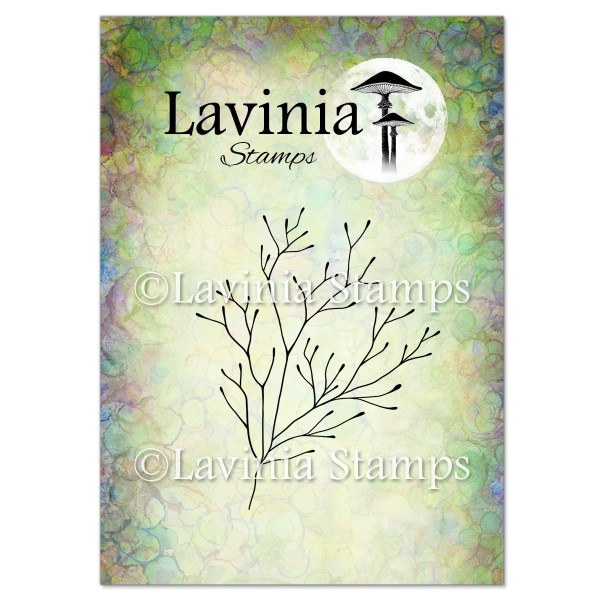
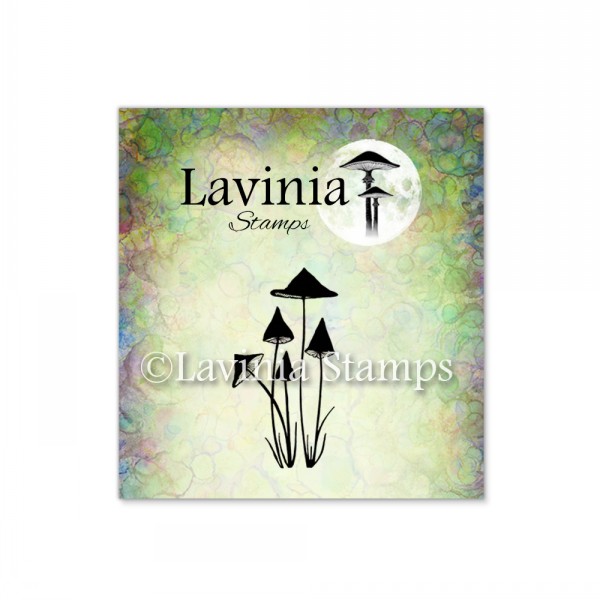
Stamp Fairy Fir tree small, small Branch stamp, Mini Slender Mushrooms and Christmas Night in Versafine Clair Morning Mist. Do all in second generation stamping.
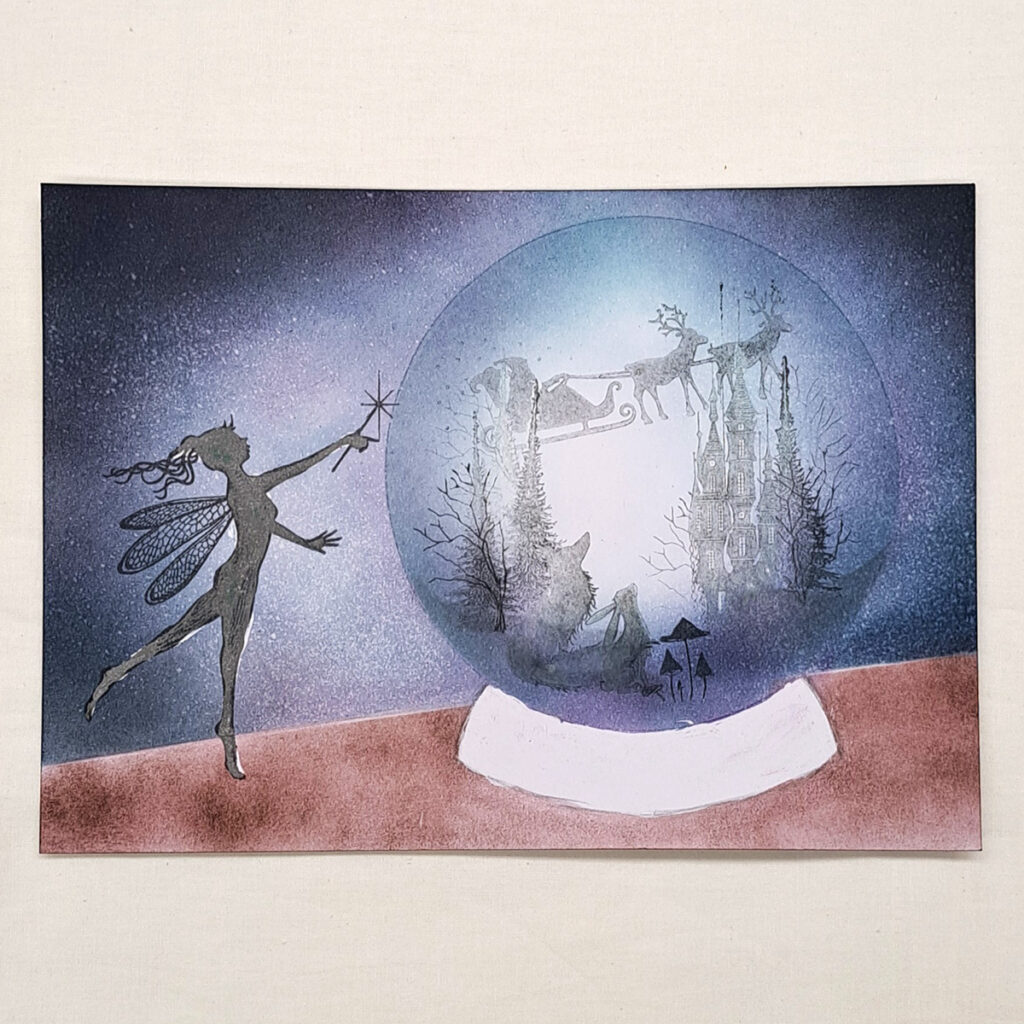
Remove all masking.
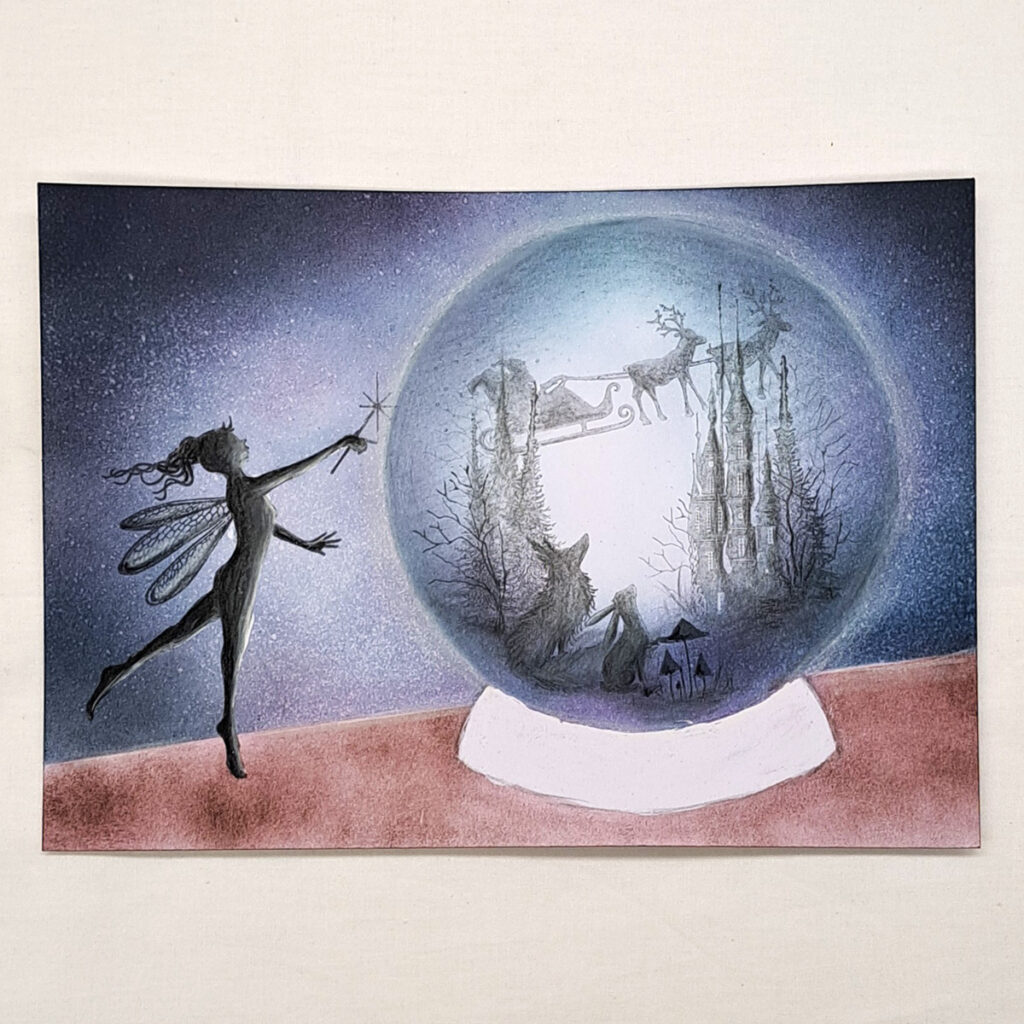
Often when we remove the liquid masking fluid it takes of some of the colour from the stamped image. But I love to colour this in. This way I can put some light and shadow on the different stamped images. Use a black colour pencil to darken the back of Fayllin and a light grey colour pencil to colour in on her front. Use a dark grey colour pencil to do some soft shadow on the Far World Castle and the other elements inside the Snow globe. Look at the picture for colour placement.
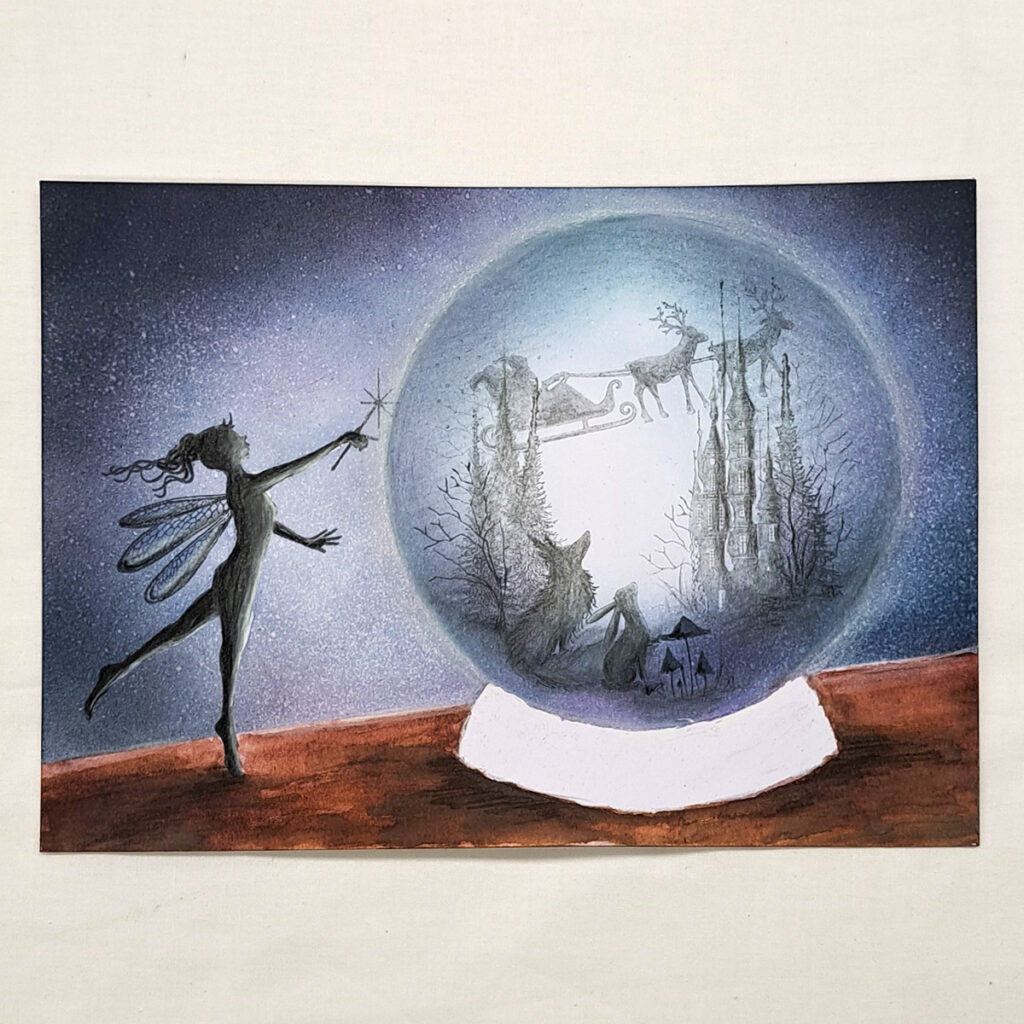
To colour the table, I used my Zig Clean Colour Real brush Pens and some Distress Oxide Ground Espresso. Use a white pastel pencil to draw a glow around the globe.
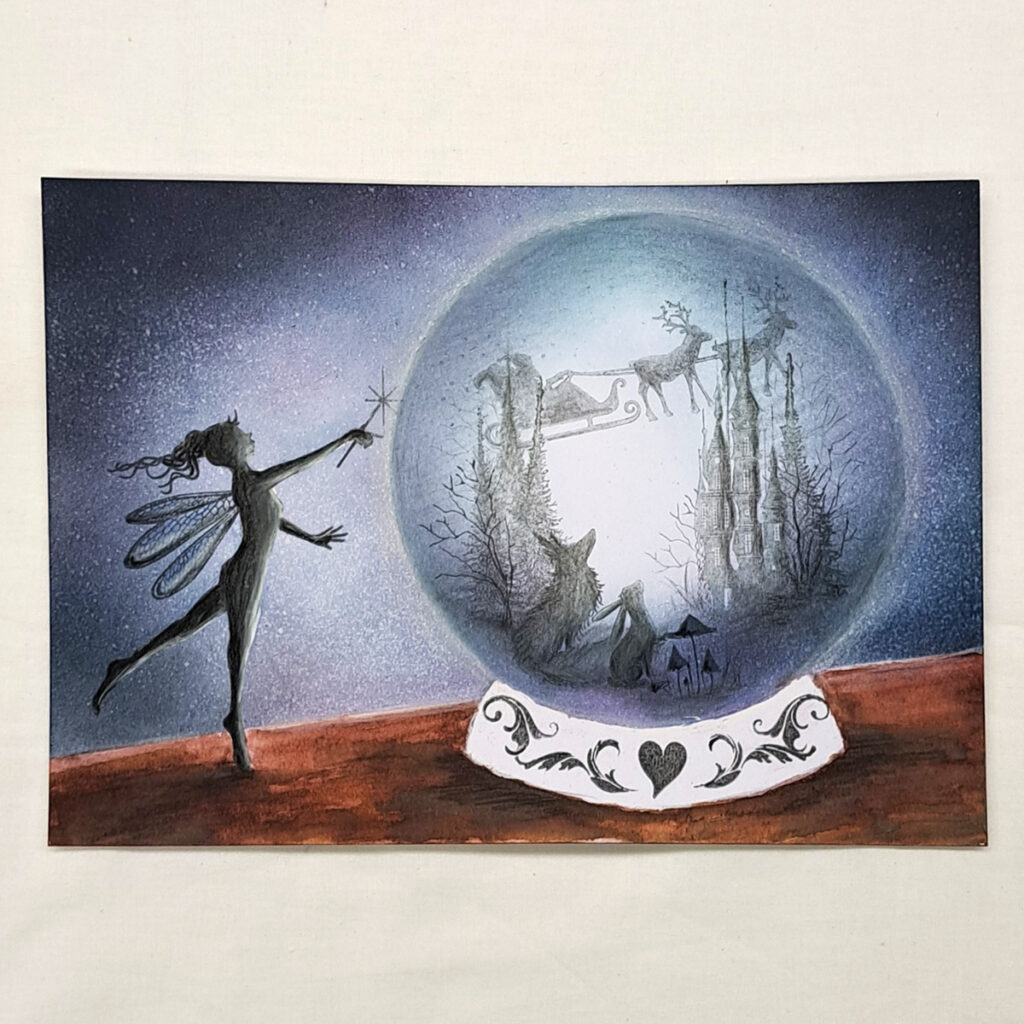
Stamp the Motifs on the plinth in Versafine Clair Morning Mist.
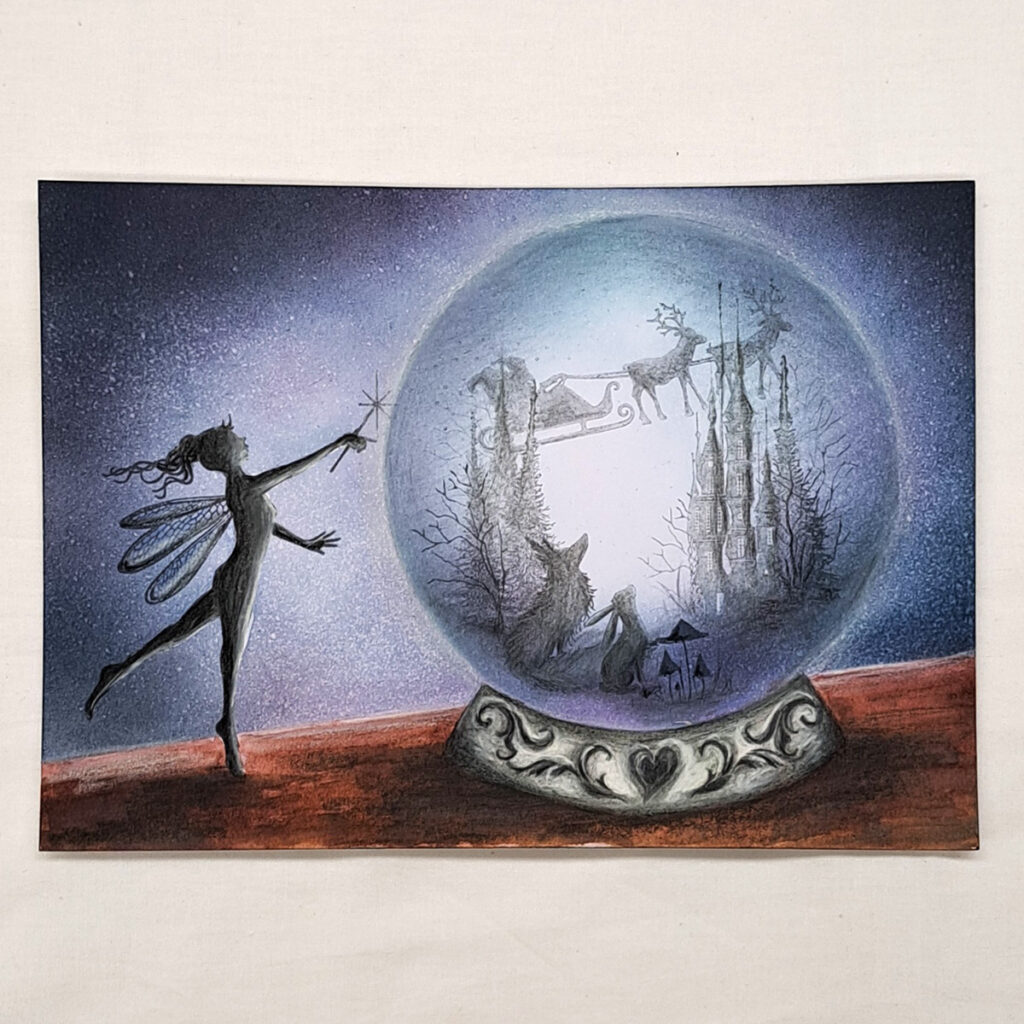
Colour the plinth with a dark grey, medium grey and a light grey. Look at the picture for colour placement.
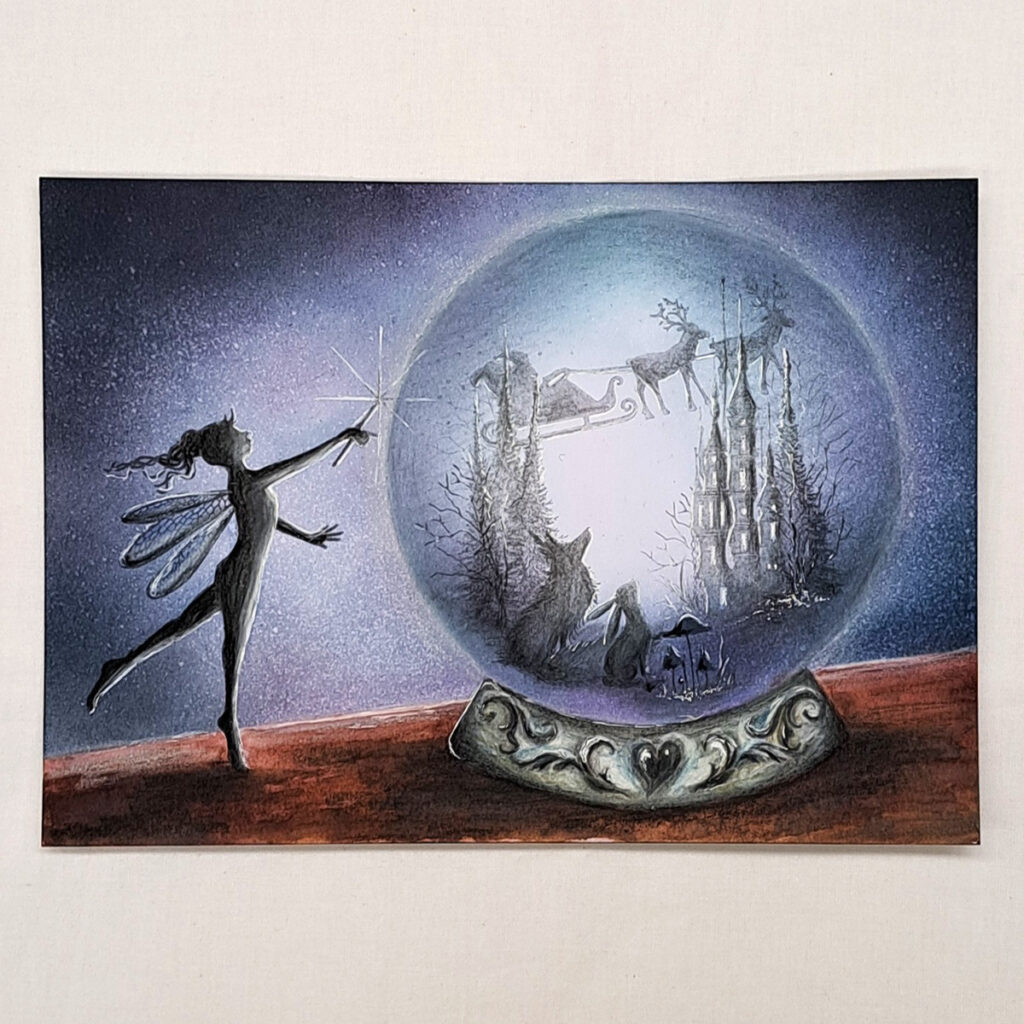
Draw highlights on everything. Let us imagine that the light comes from inside the Snow globe. If you are unsure of where to draw the highlights just look closely at the picture. Remember to turn the lights on in all the windows on the Castle. It looks so much better with lights on.
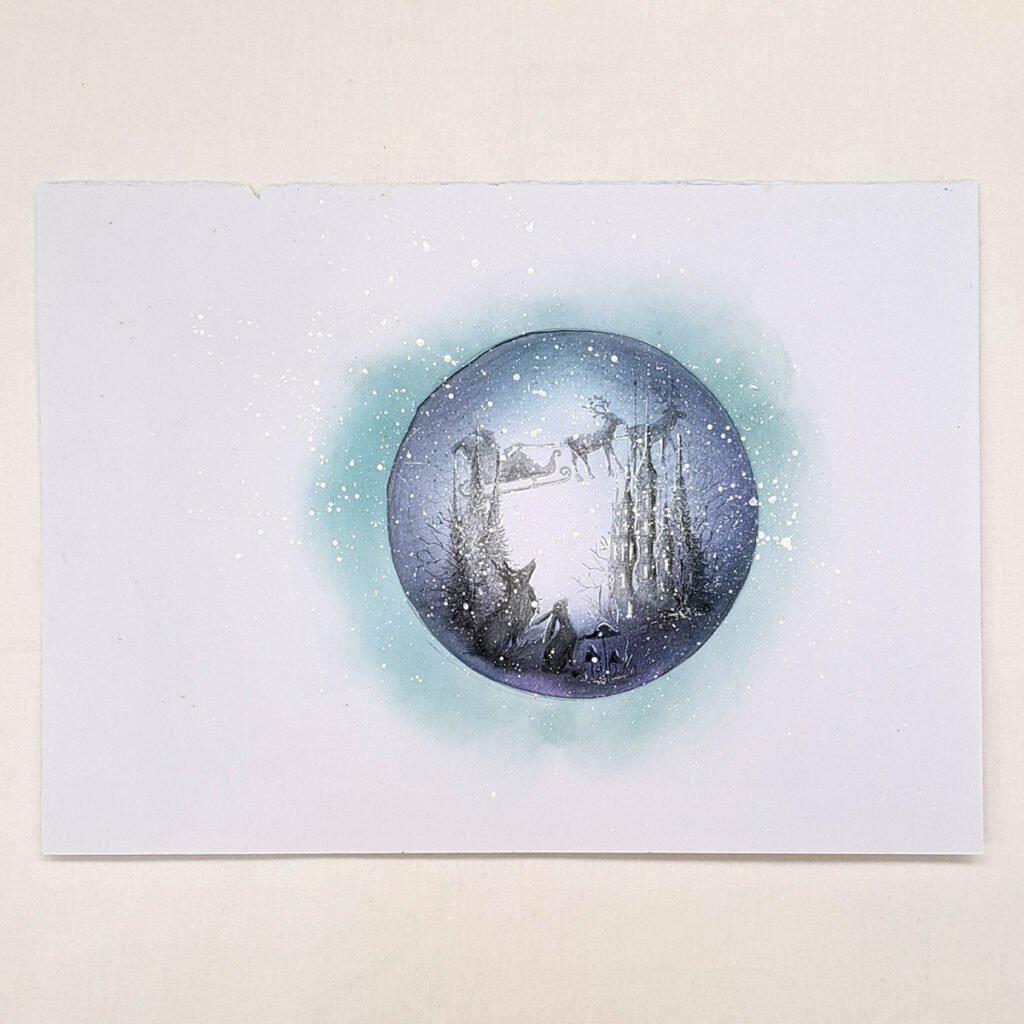
Now we want to use our printer paper with the hole in it. We want snow only inside our Snow globe. Do a lot of Posca splatters with a White Posca Pen.
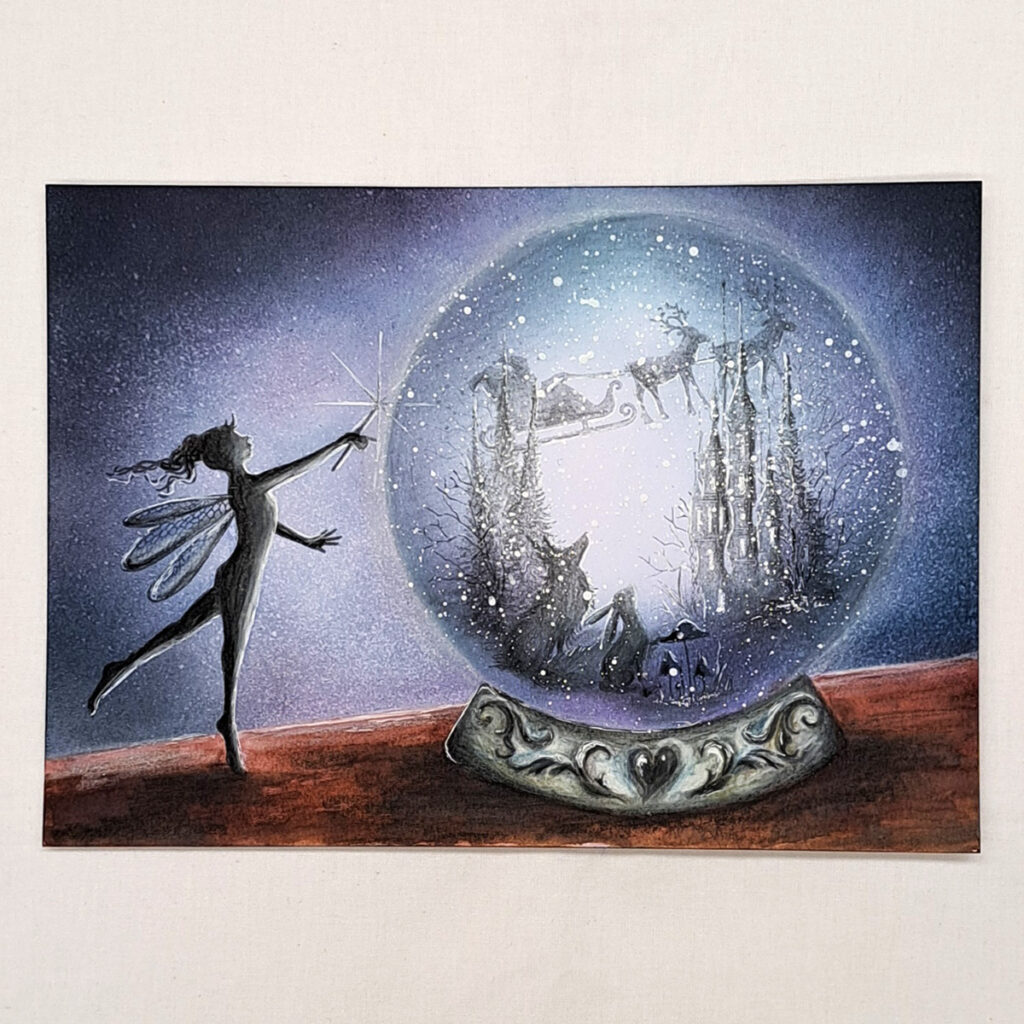
Lift of the printer paper to check that you have enough snow, if not do more.
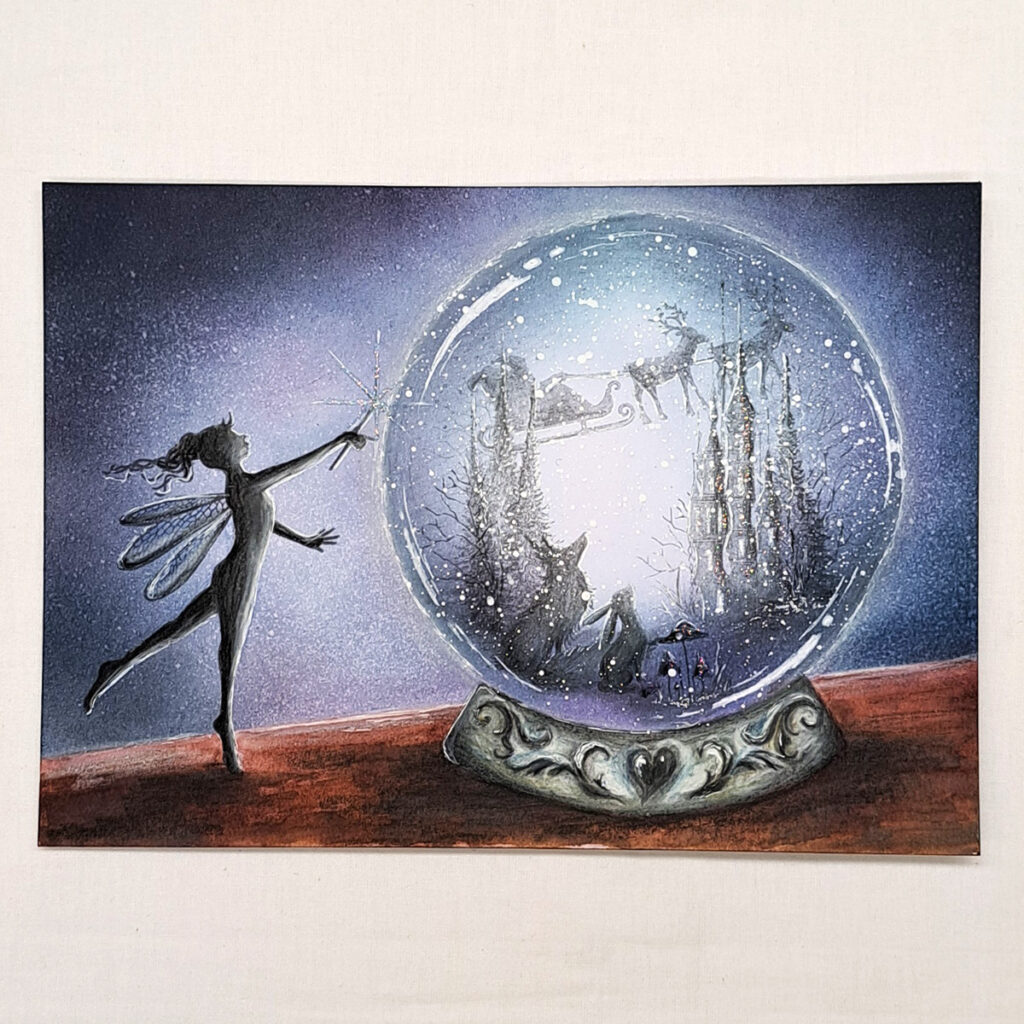
Now we need to make the globe look a little shiny on the glass. Use a white Posca pen or any other white pen to draw on some reflections. Look at the picture for placement. Also do a very soft line around on the edge of the globe.
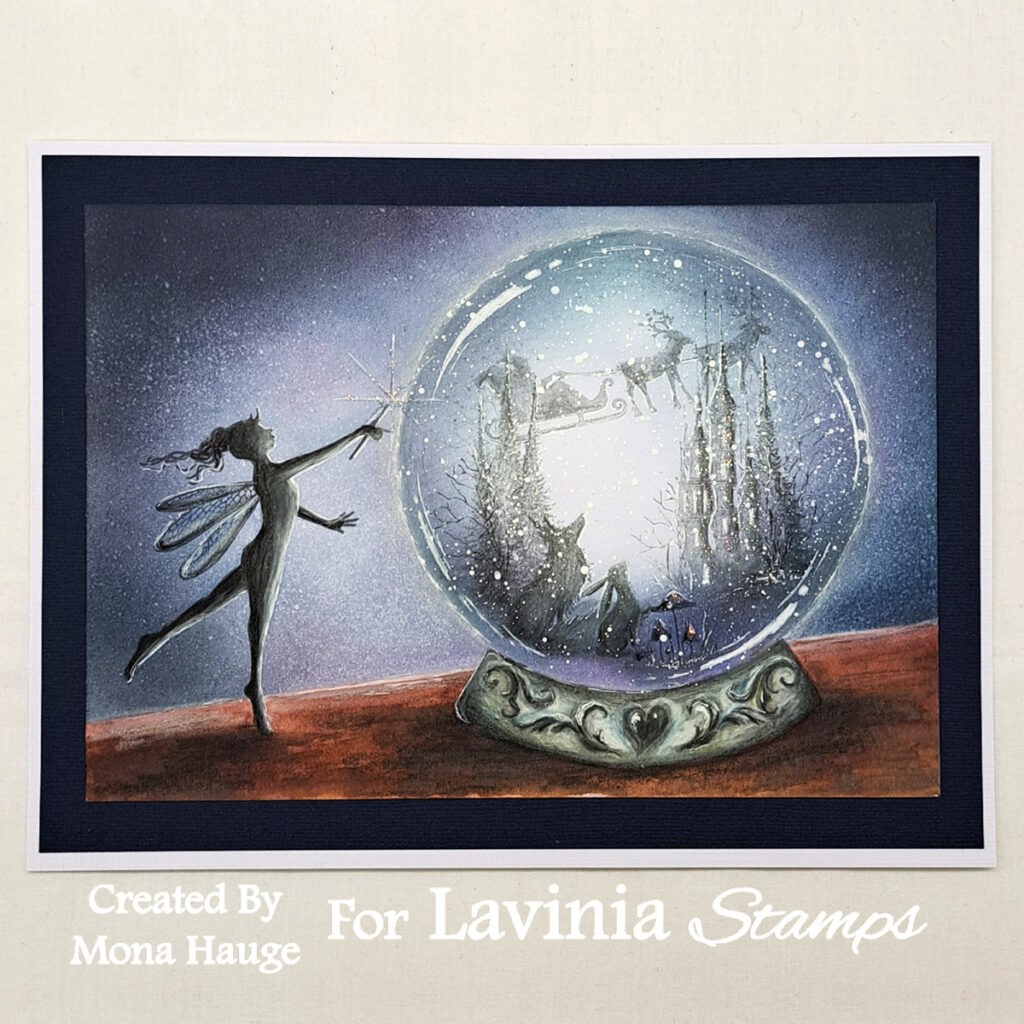
Now we have our finished picture. Snow magic is what happens when we are all asleep. Then the fairies bring their fairy dust and make it snow inside the Snow globes.
Hope you enjoyed following this tutorial. If you have any questions just send me a message and I will answer as soon as I can.
Thank you for watching. Big hugs from Mona, Happy Crafting.


