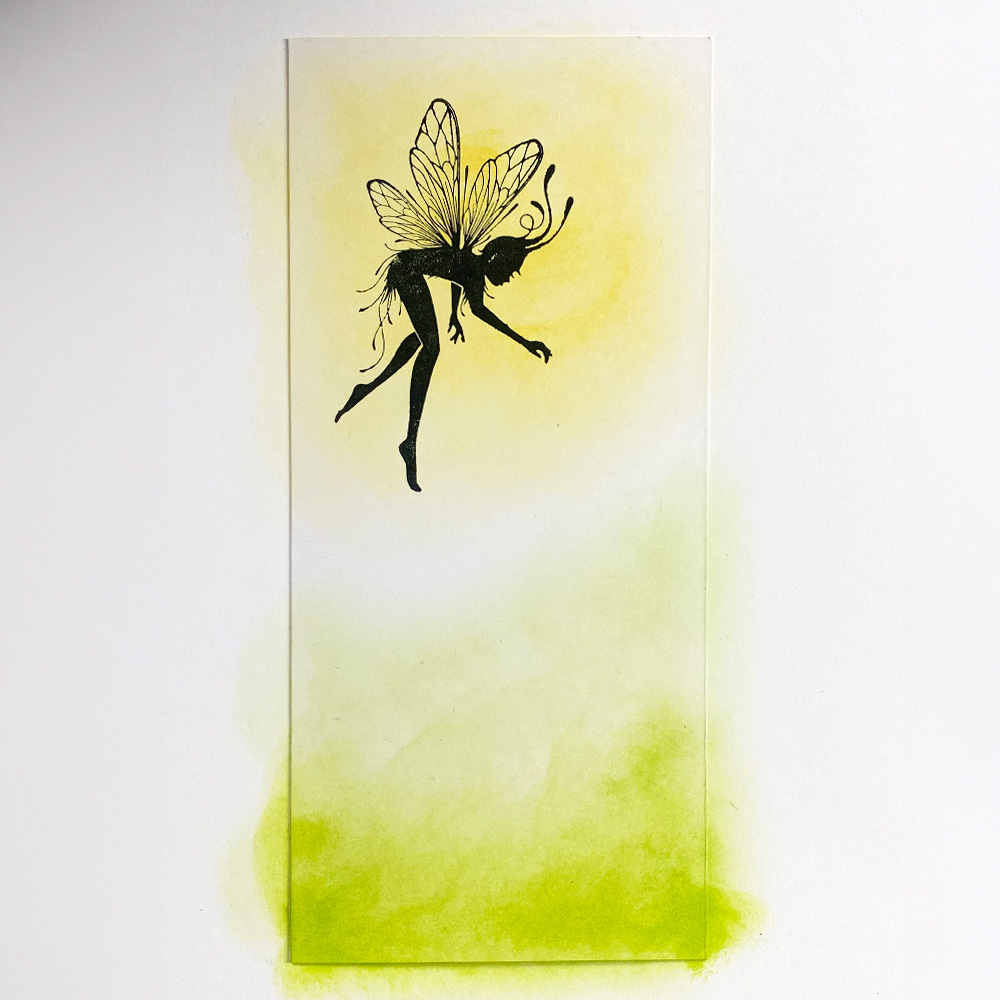
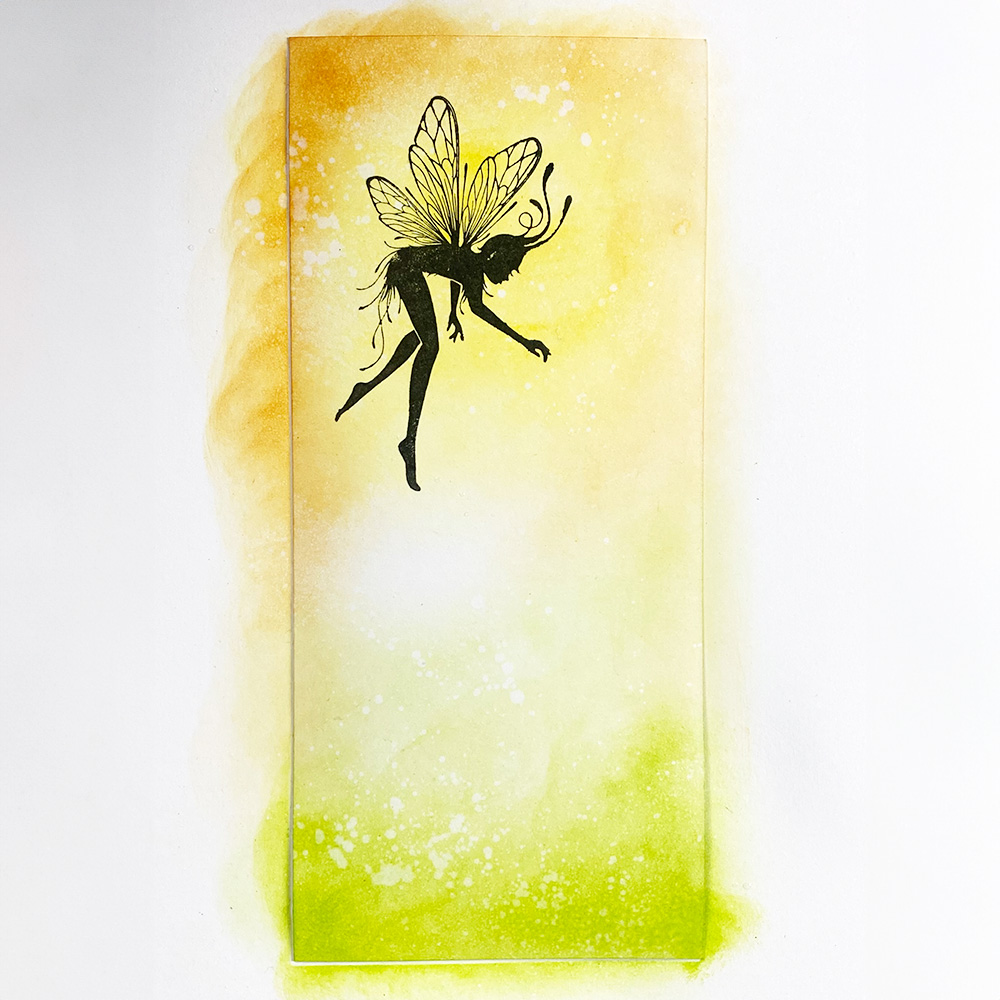

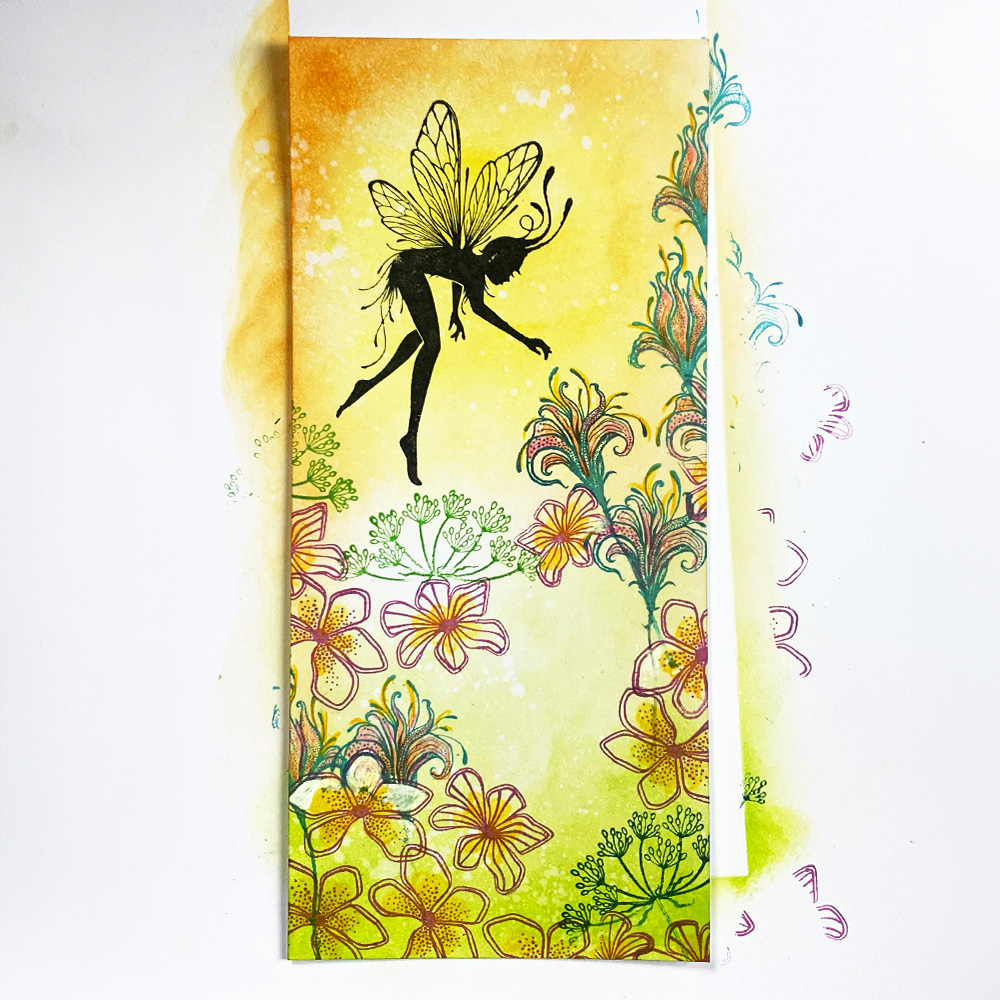
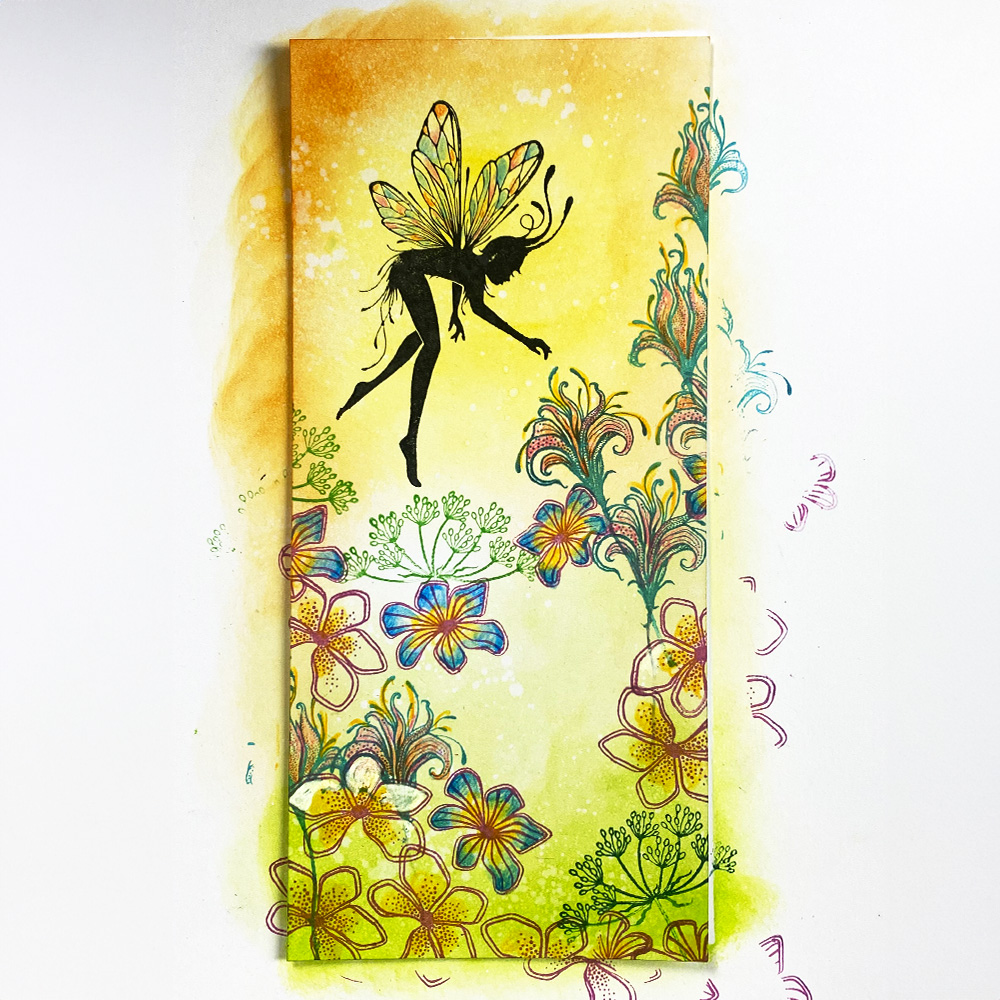
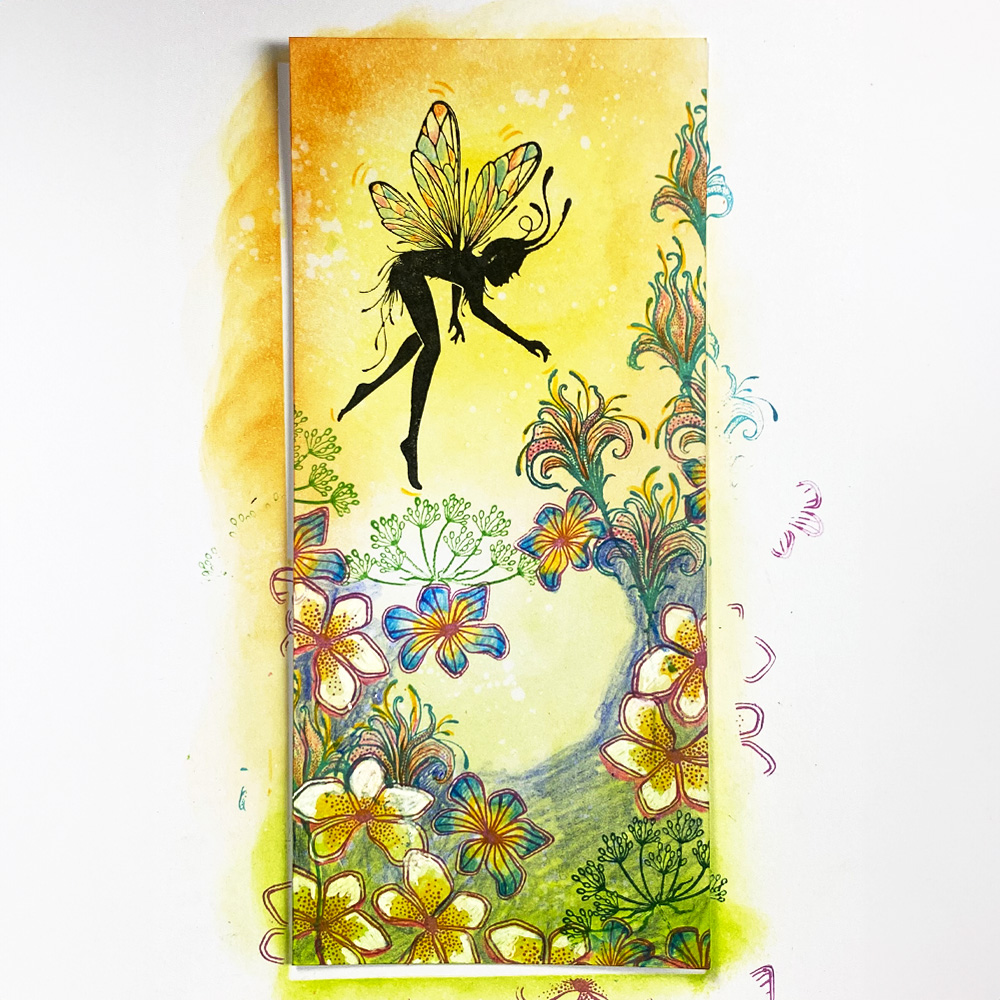
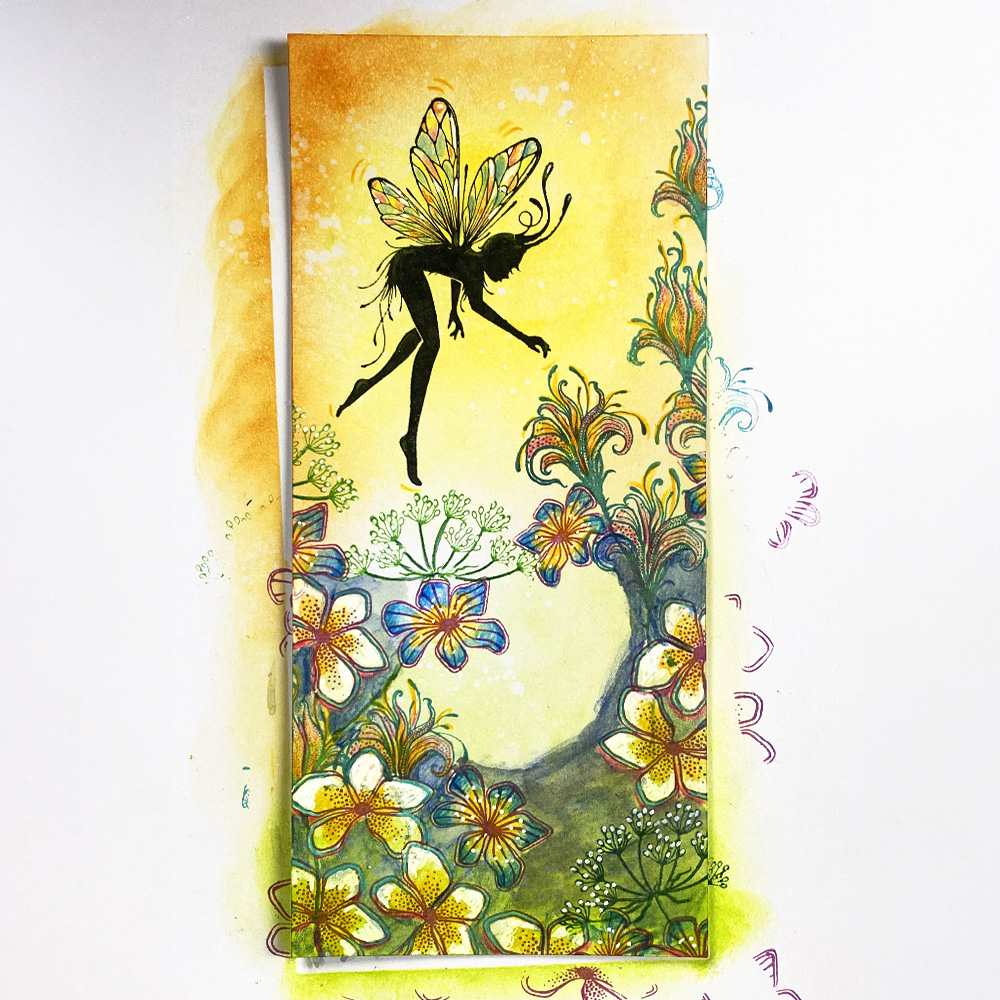

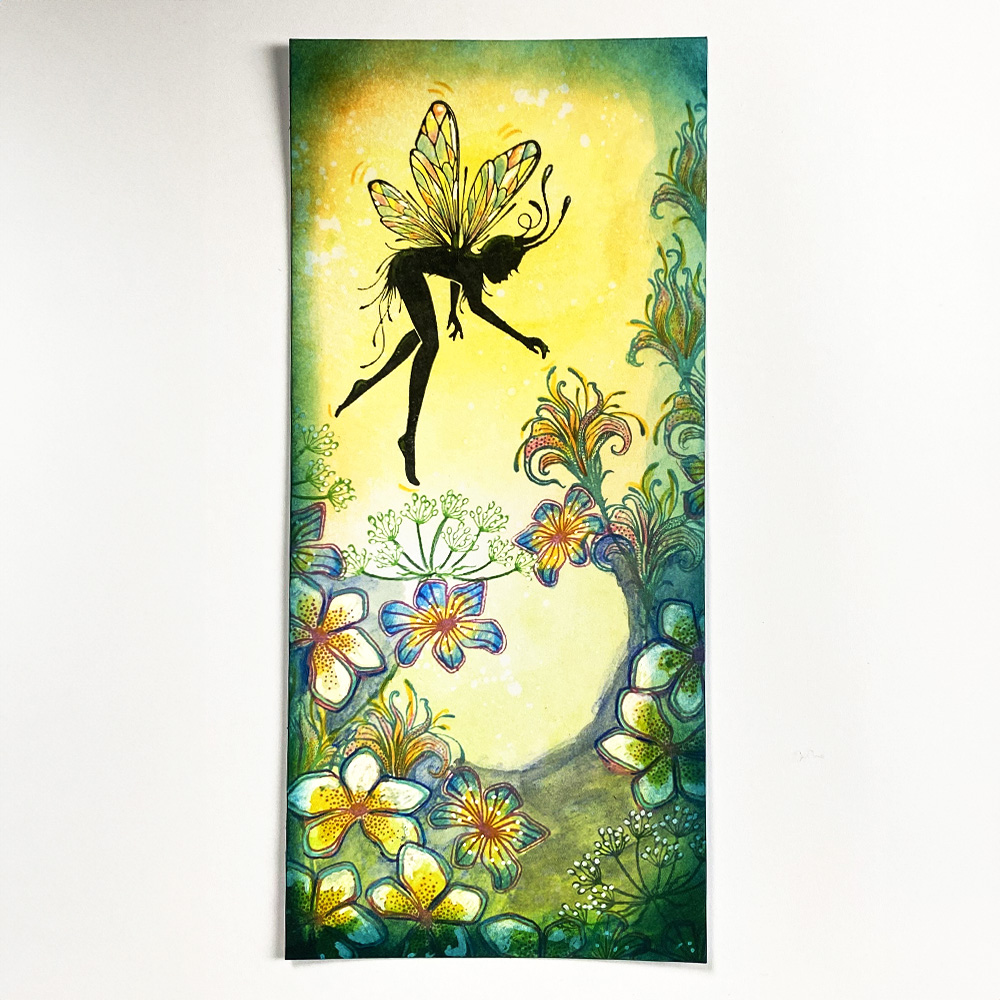
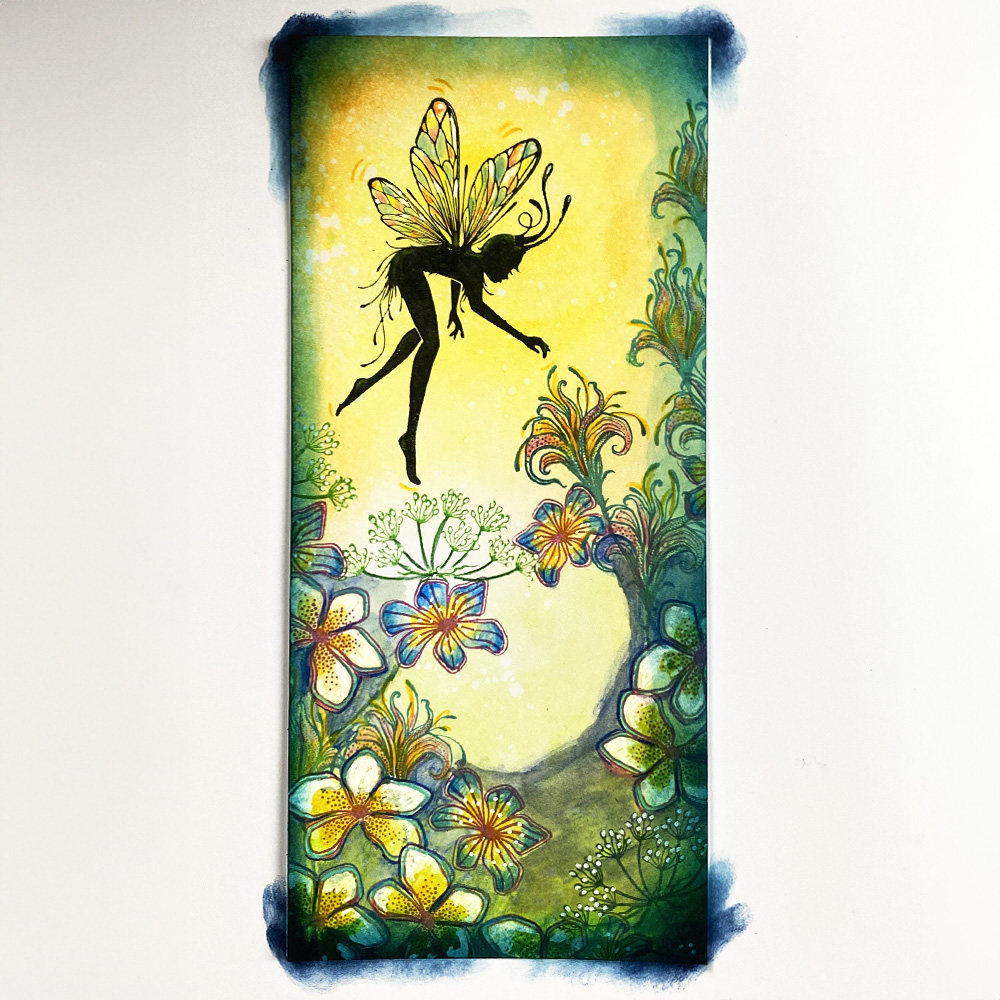
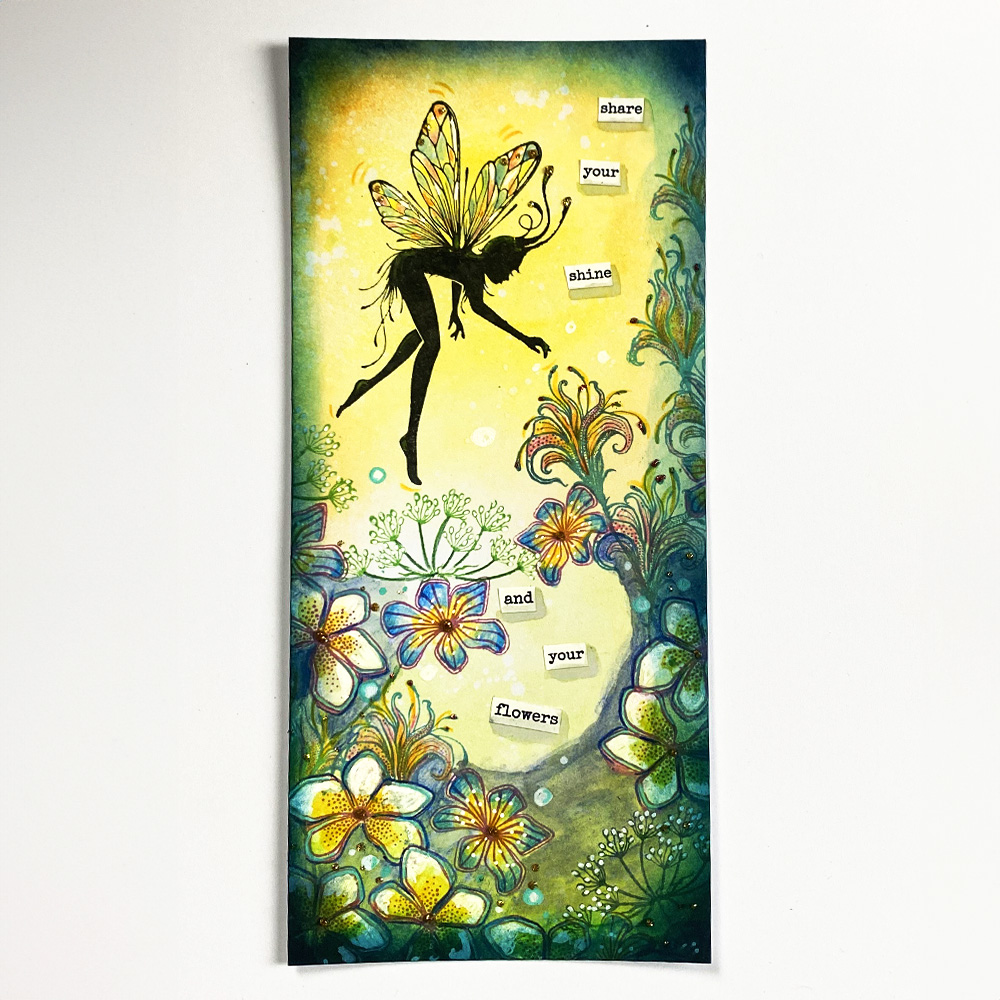
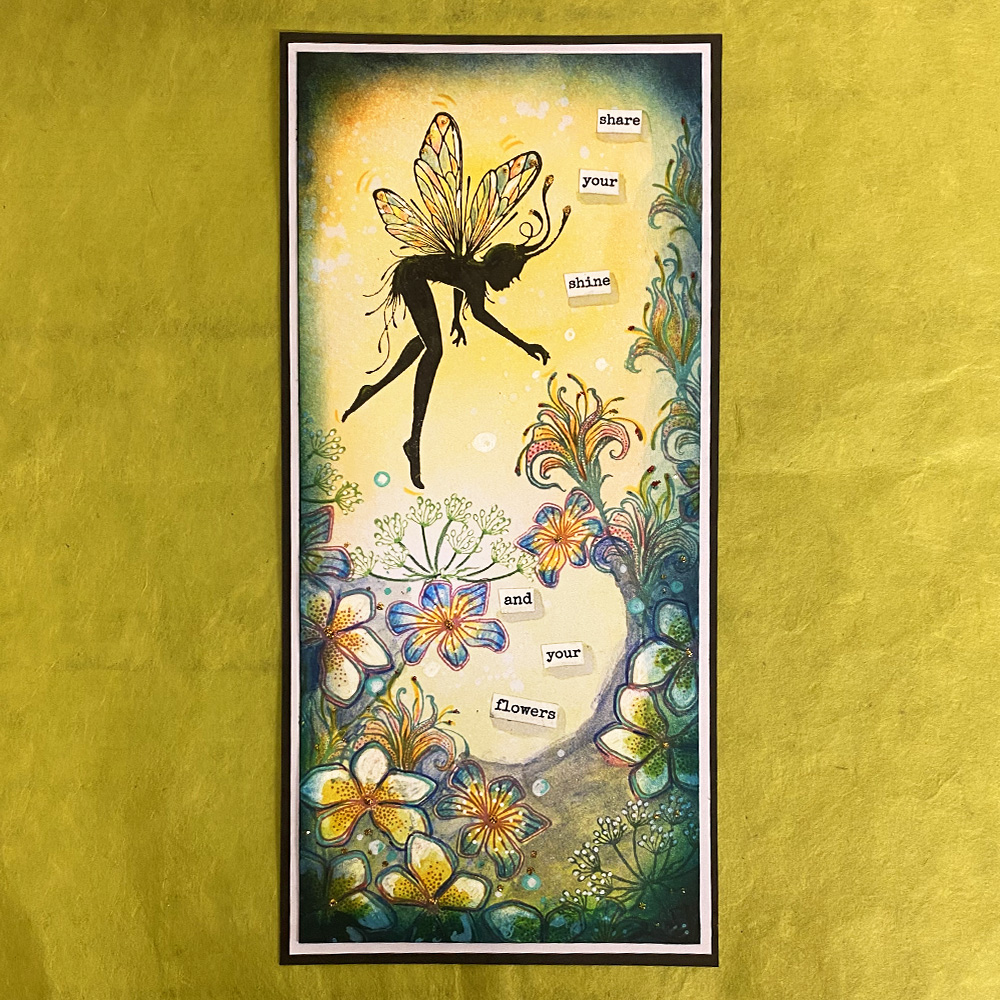


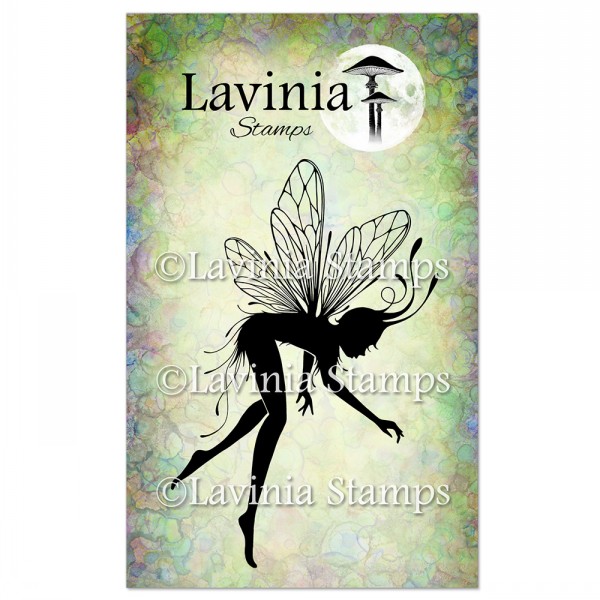
 Twila Stamp
£9.40
Add to cart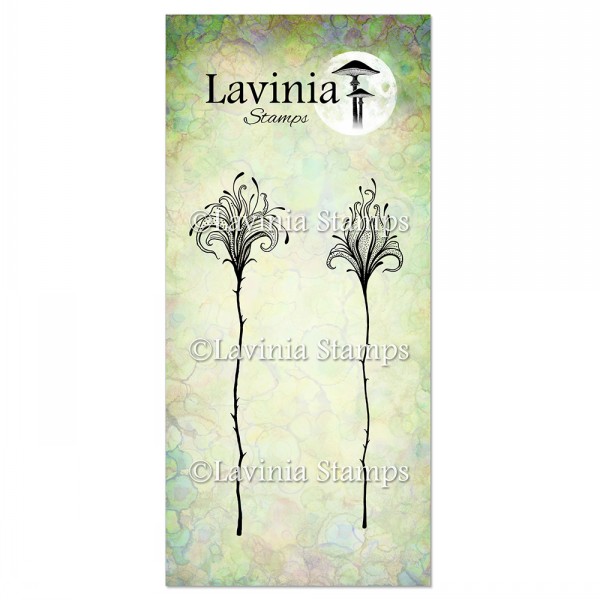 Flower Divine Set Stamp
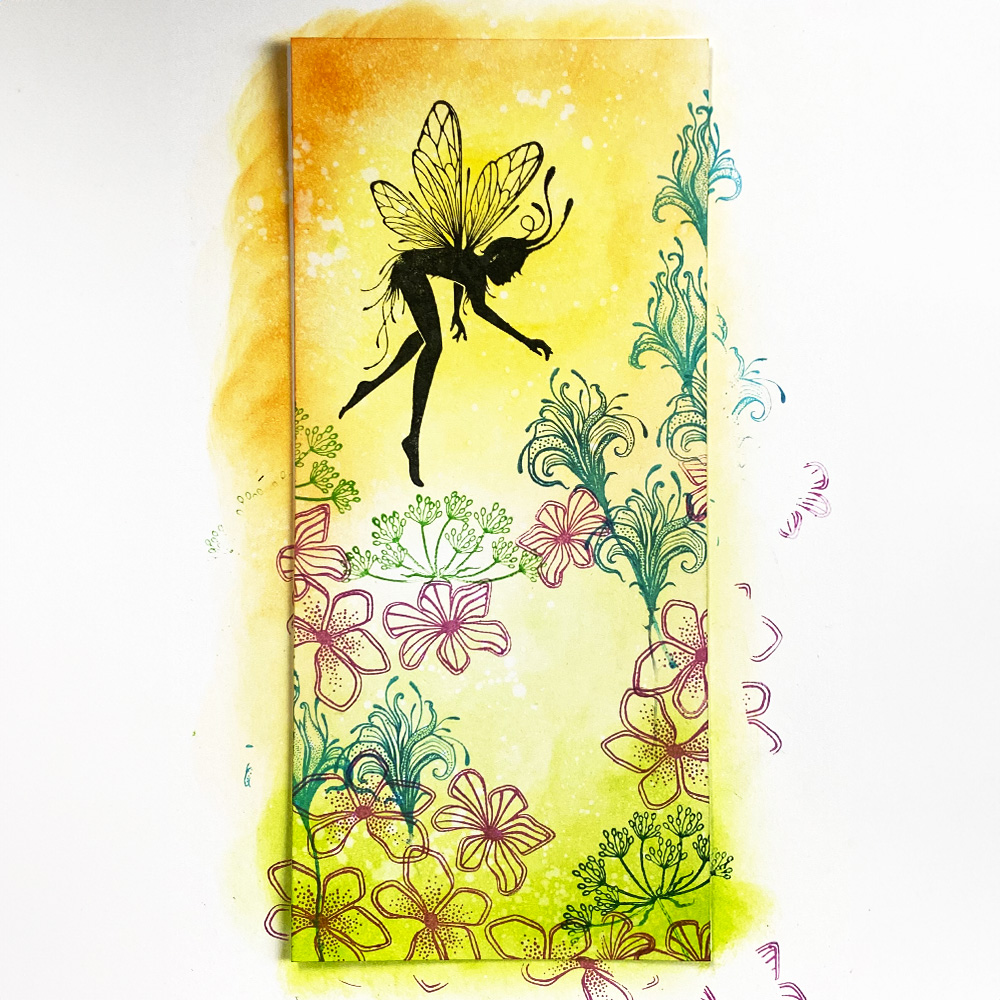
£10.20
Add to cart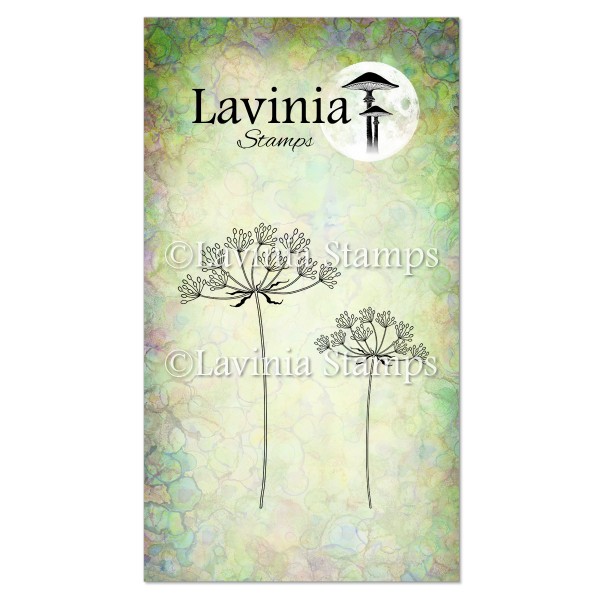 Wild Summer Flower Stamp
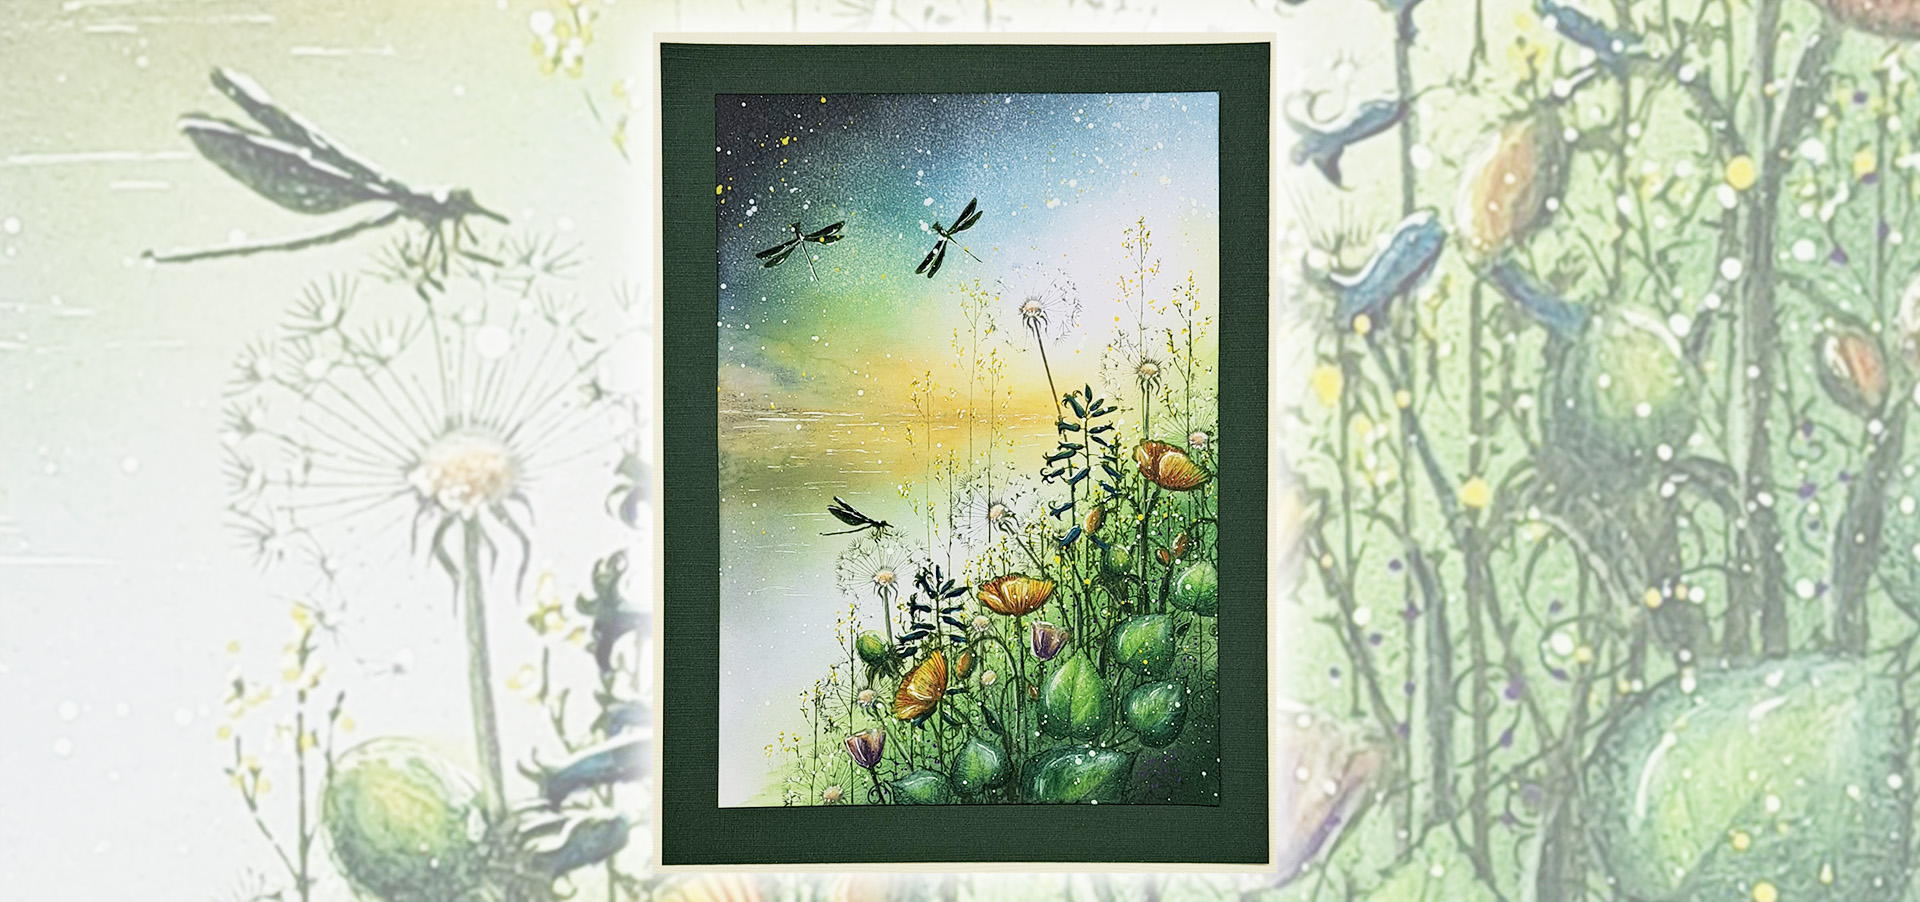
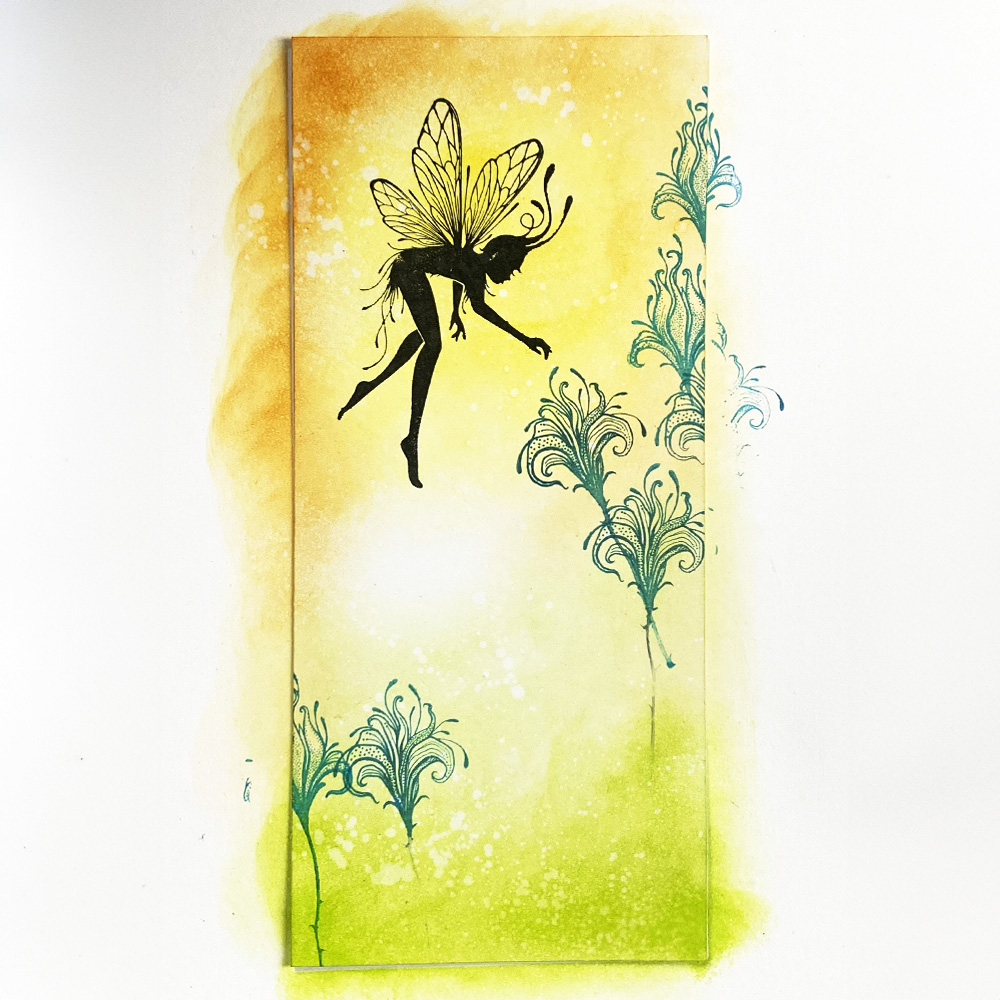
£8.00
Add to cart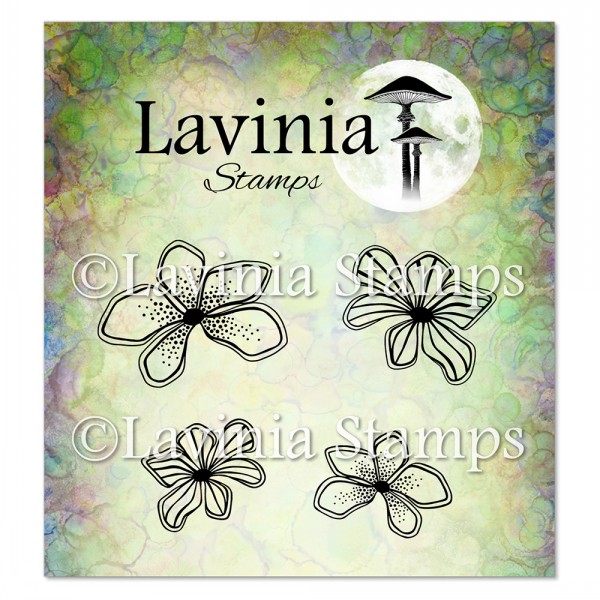 Moss Flowers Stamp
£7.10
Add to cart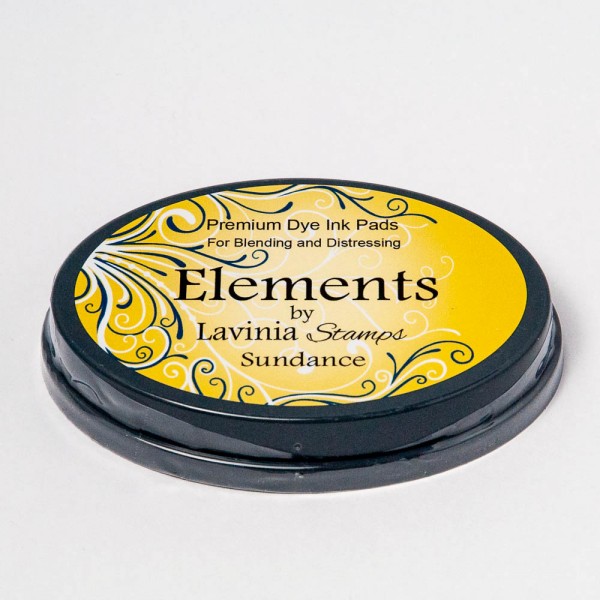 Elements Premium Dye Ink – Sundance
£5.85
Add to cart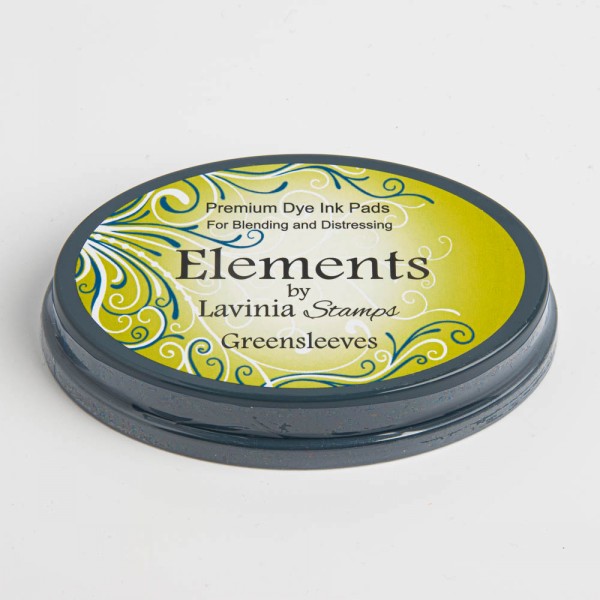 Elements Premium Dye Ink – Greensleeves
£5.85
Add to cart Versafine Clair Ink Pad – Nocturne
£5.80
Add to cart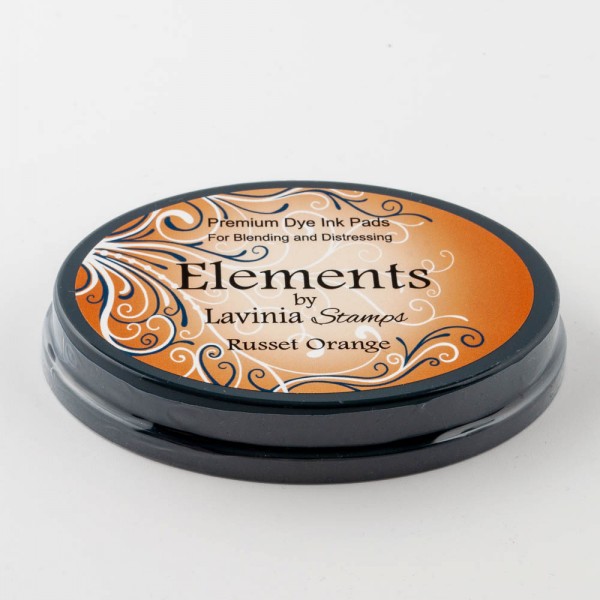 Elements Premium Dye Ink – Russet Orange
£5.85
Add to cart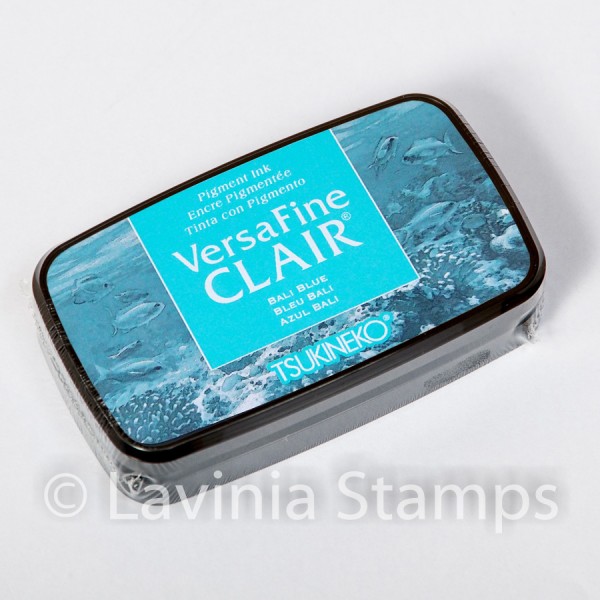 Versafine Clair Ink Pad – Bali Blue
£5.80
Add to cart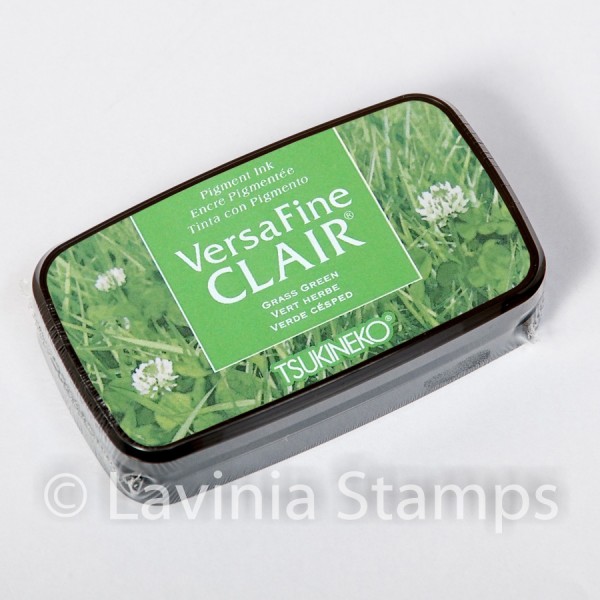 Versafine Clair Ink Pad – Grass Green
£5.80
Add to cart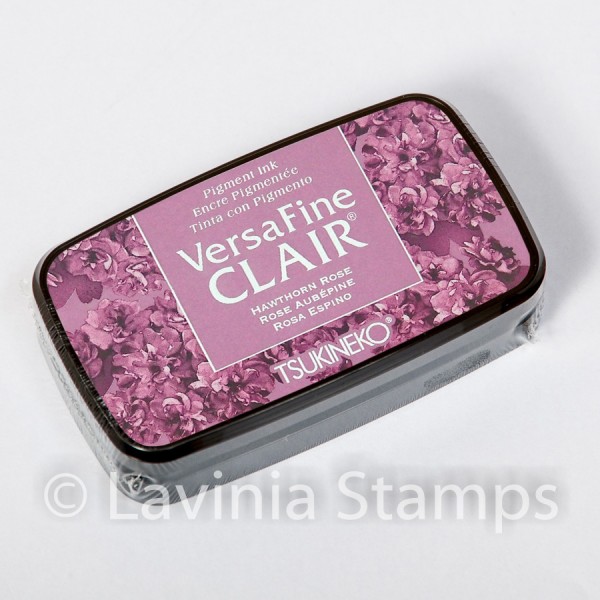 Versafine Clair Ink Pad – Hawthorn Rose
£5.80
Add to cart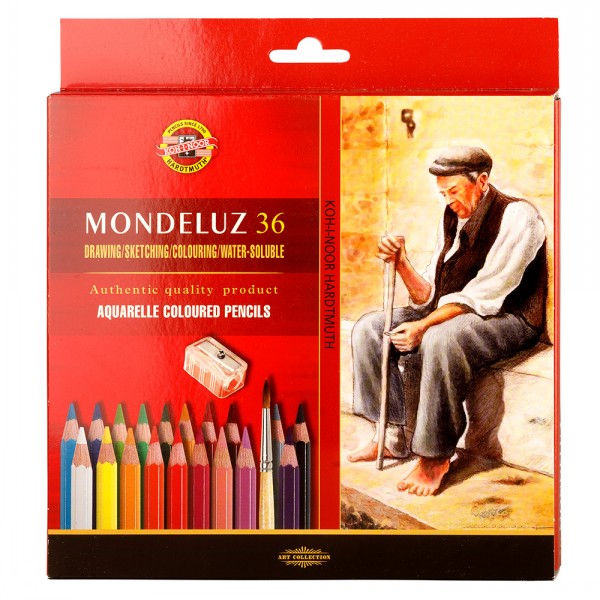 Mondeluz Watercolour Pencils 36 Set
£34.95
Add to cart Elements Premium Dye Ink – Dark Denim
£5.85
Add to cart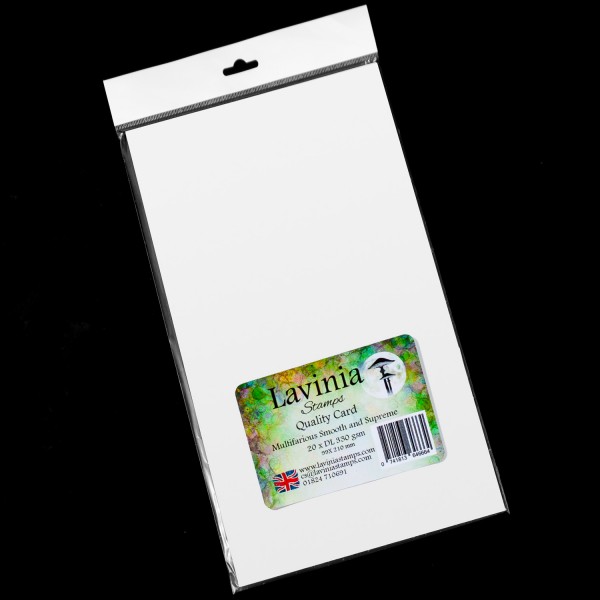 Multifarious Card – DL White
£4.70
Add to cart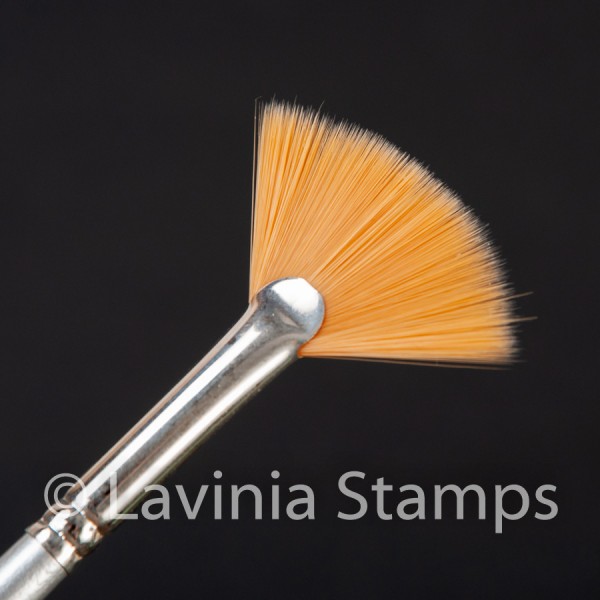 Synthetic Fan Brush
£3.80
Add to cart Posca Fine Tip Pens Summer Collection
£3.15
Select options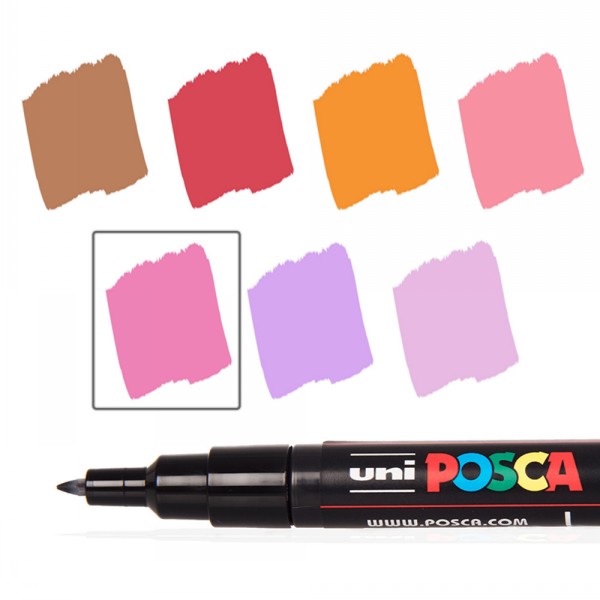 Posca Fine Tip Pens Autumn Collection
£3.15
Select options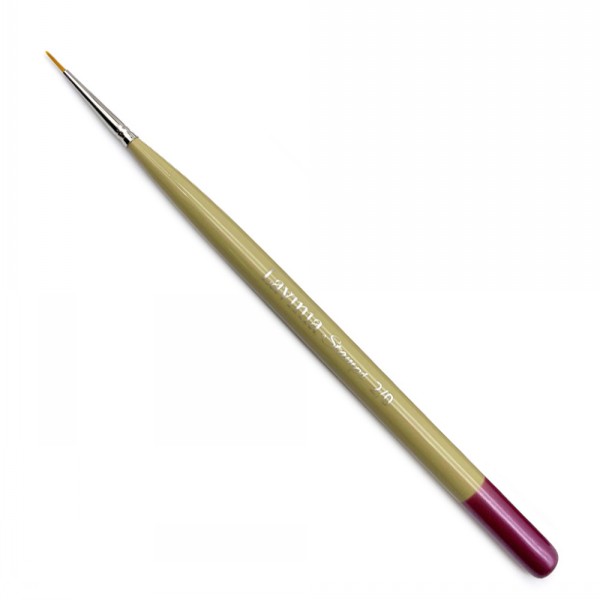 Lavinia Detailing Brush 0.5cm 2/0
£4.85
Add to cart Lavinia Stencil Brush (Series 9)
£5.25
Add to cart Sentiment Stickers 6
£5.80
Add to cart