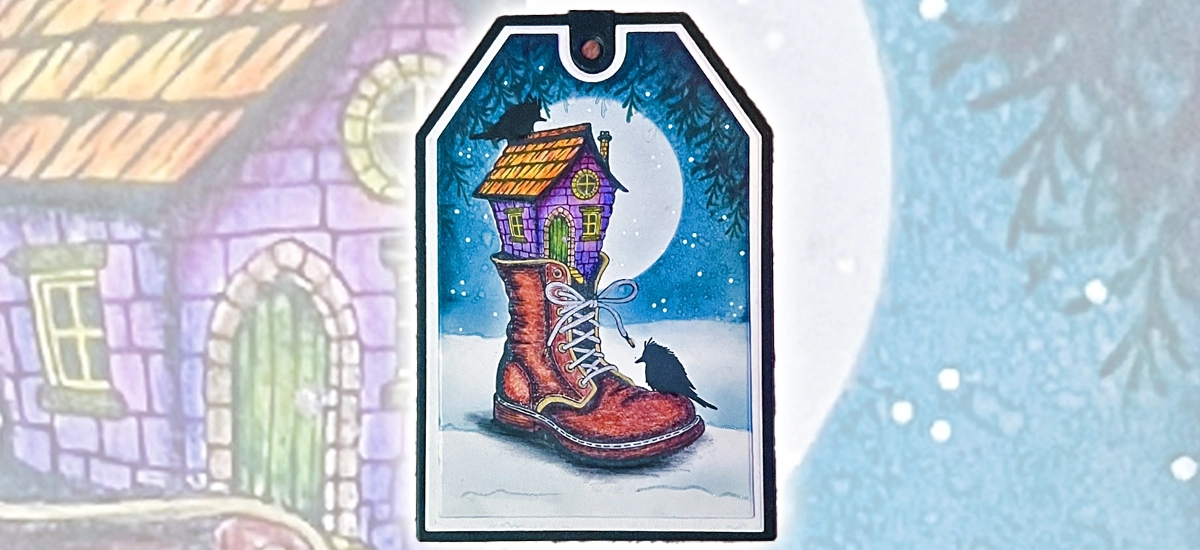
Step by Step by Mona Hauge.
Hi everyone
It’s Mona here, I hope you all are keeping well. Here is my Step-by-Step tutorial called Secret Herb Garden. I hope you like it.
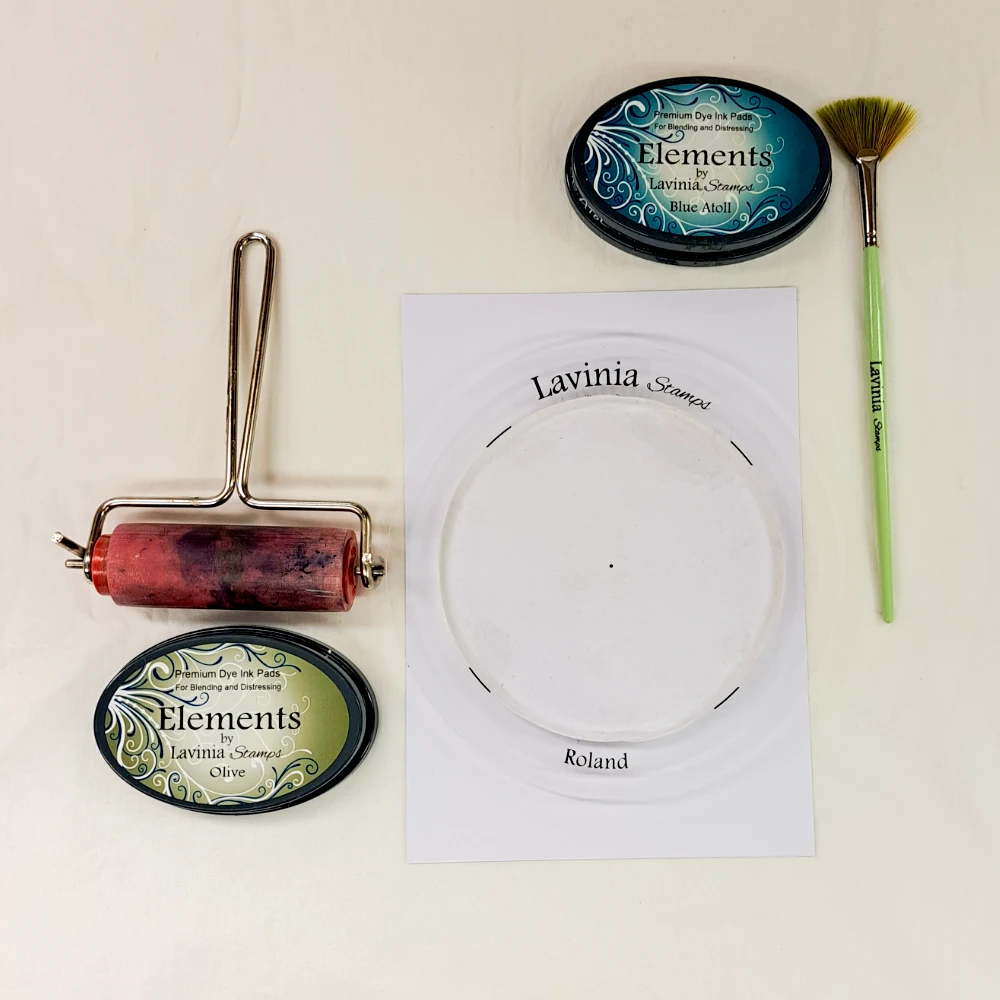
Step 1
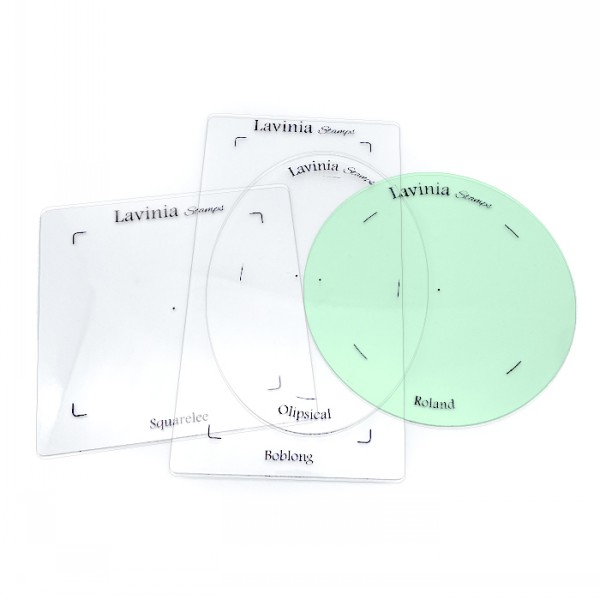
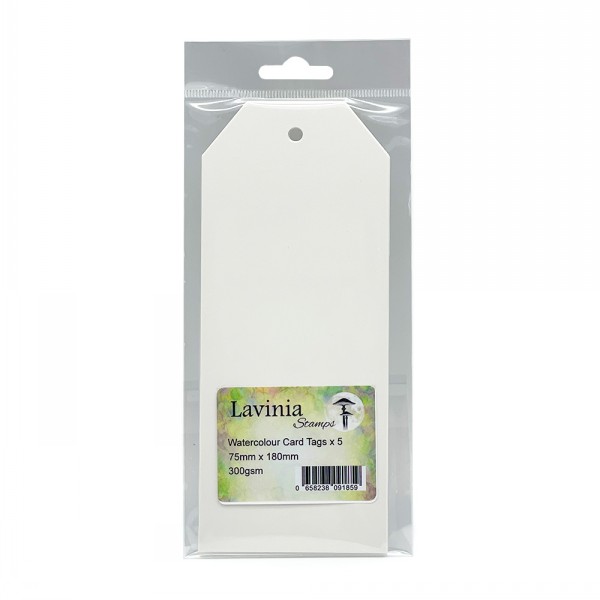
For this we will need some Watercolour card, Roland (the Lavinia Gel Press), the Roland size acrylic board, a Brayer, a fan brush, Elements Inks Olive and Blue Atoll.
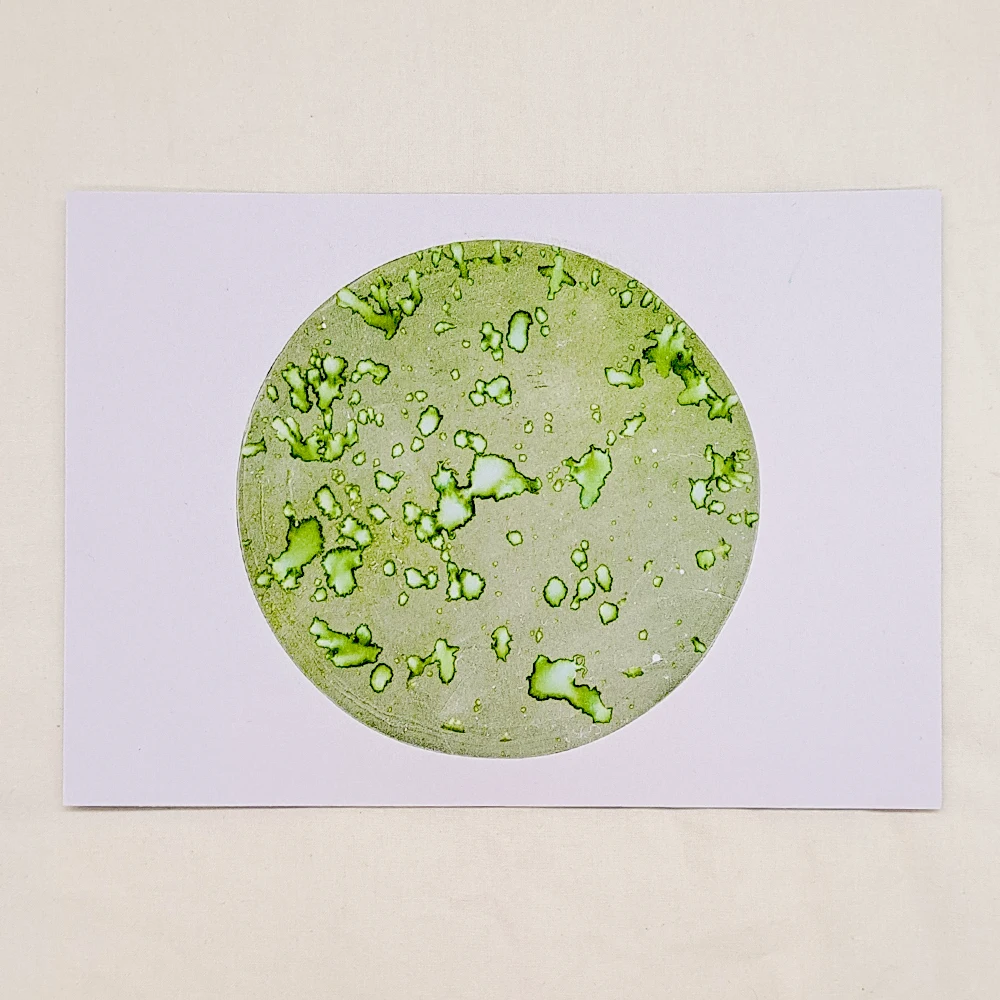
Step 2
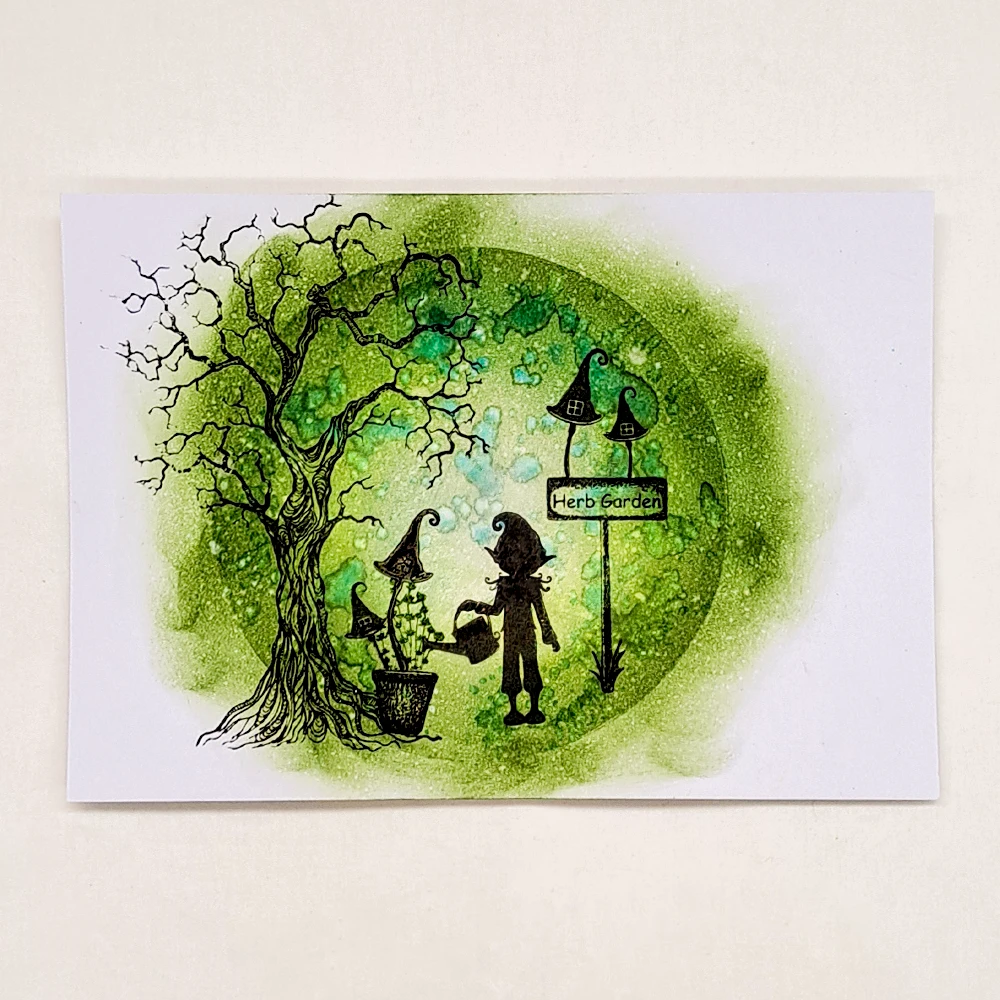
Roll some Elements Ink Olive colour onto your Gel Press. Then add some Elements Ink Blue Atoll onto your silicone mat and spray some water on it. Now you can pick up some colour with your fan brush and splatter it onto your Gel Press. Stamp your Gel Press on to your card and it should look something like this.

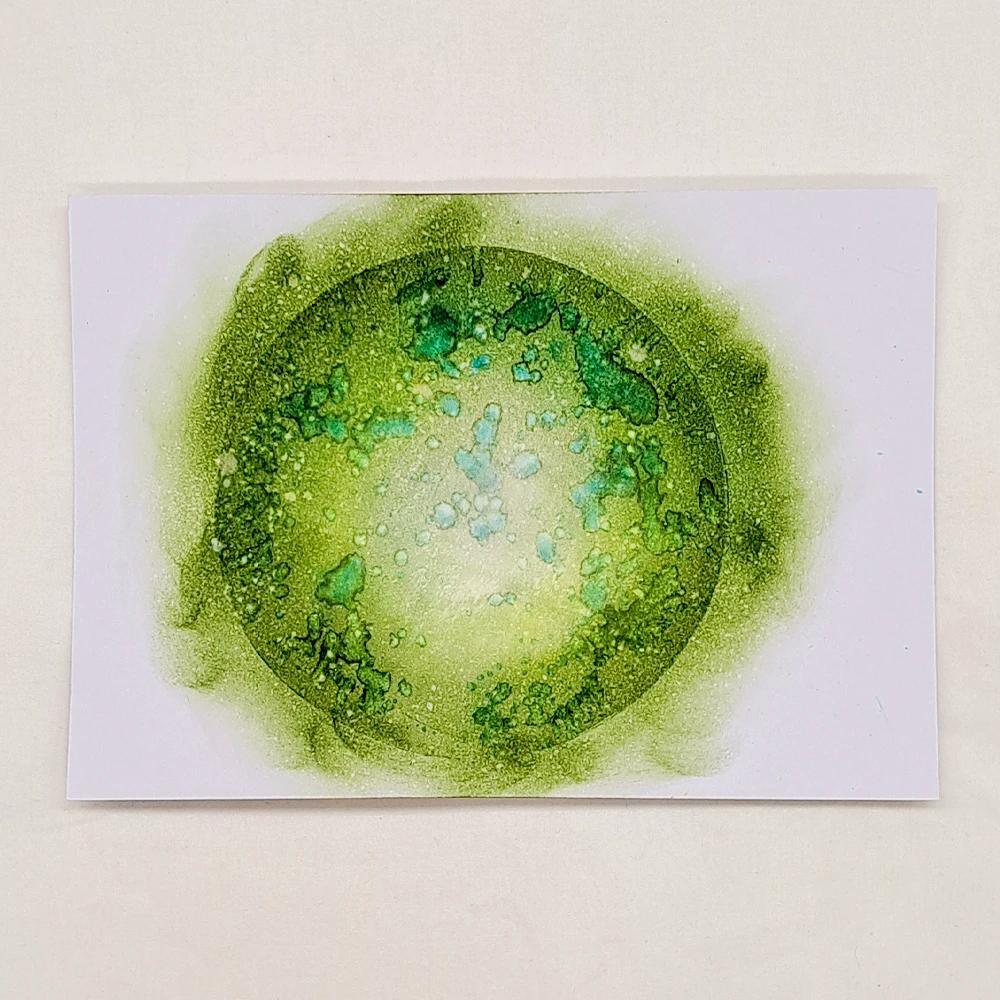
Step 3
Use a different paint brush to apply some of the Elements Ink Blue Atoll colour from your silicone mat into the small “bubbles” like you see in the picture. Apply more Elements Inks Olive colour with a Stencil brush around the edge over our circle. Now spray a little water on everything and let the magic happen. Dry with a heat gun.
Step 4
Now we take our Mondeluz Aquarelle white pencil and make the centre of our card lighter.
Step 5
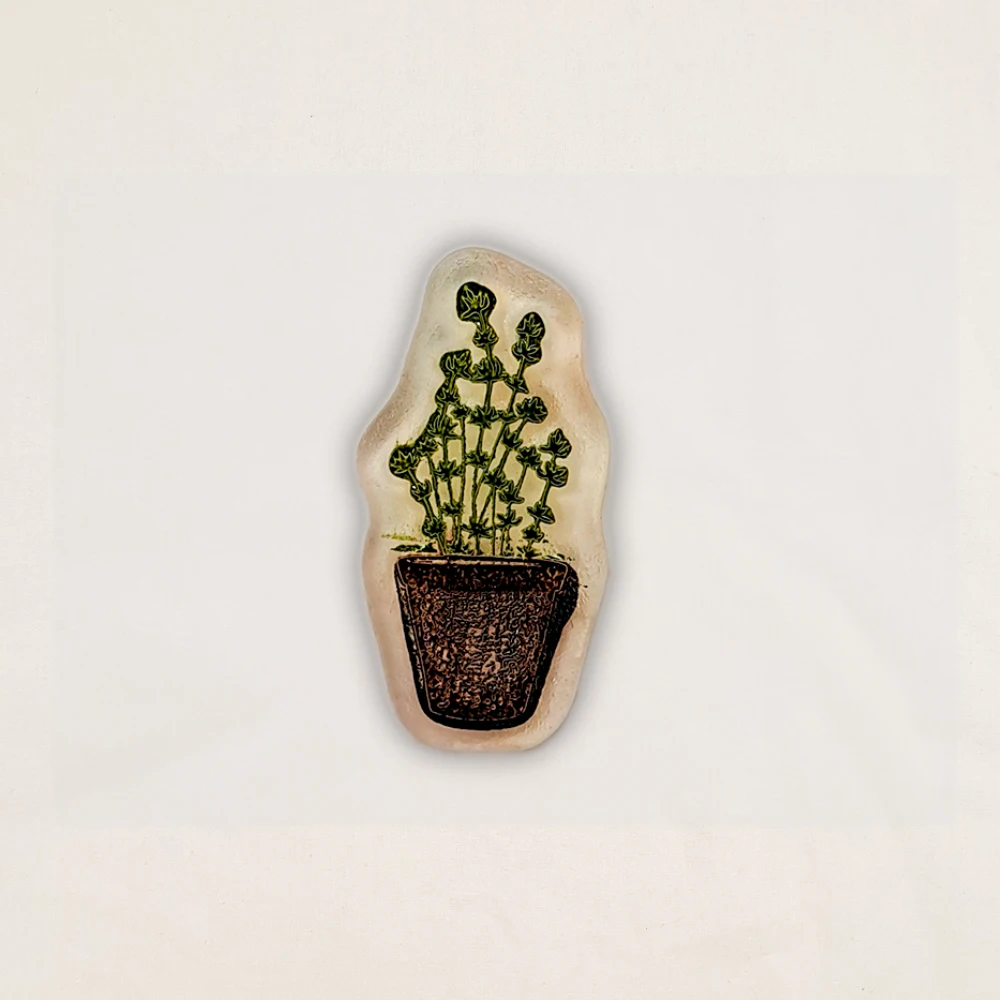
We are going to stamp most of our stamps in one solid colour but our beautiful new Herbs in a pot we can apply one colour on the pot and another colour on the herbs, so that you will get green herbs in a brown pot. This makes it easier to colour later.
Step 6
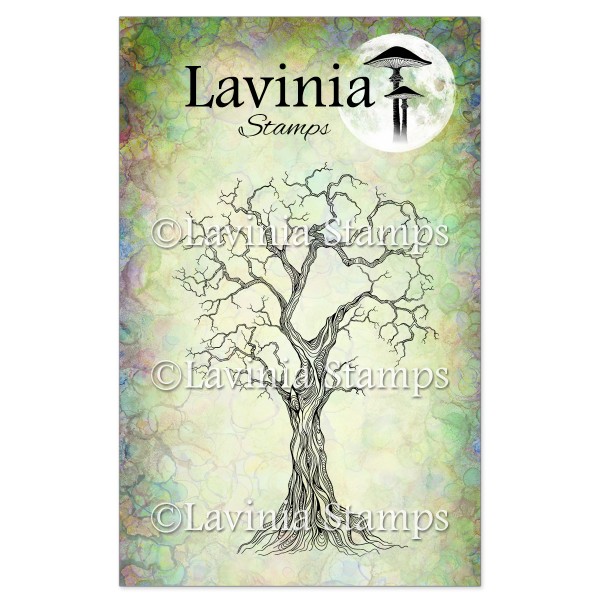
Let’s start stamping. For this we will use the fabulous Herbalum Bob LAV944, the fun small Shrooms LAV950, the beautiful Herb Garden Sign LAV941 , The Tree of Wisdom LAV609 and like we saw in the previous picture, only the pot of the gorgeous Rosemary and Thyme Pots LAV948 all in Versafine Clair Fallen Leaves. The Thyme is stamped in Versafine Clair Shady Lane.
Step 7
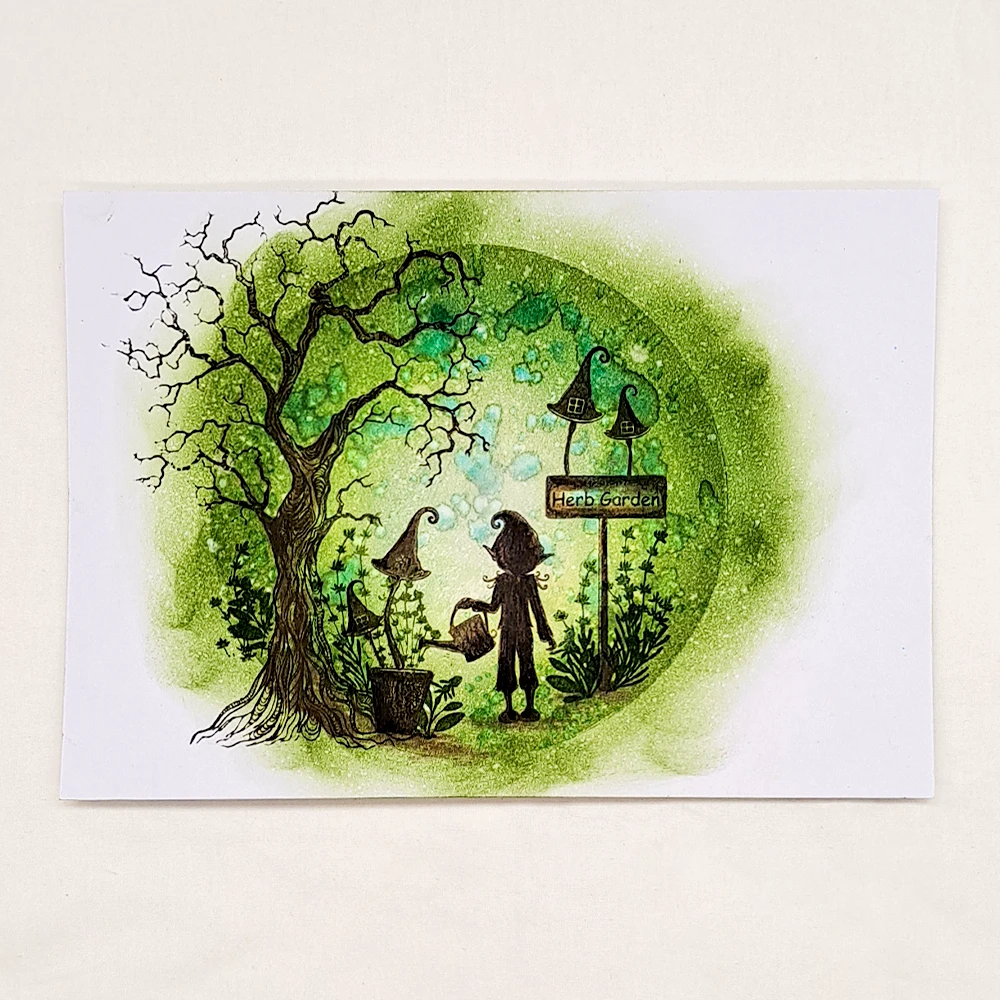
Let’s stamp some more herbs. Thyme LAV952, Rosemary LAV947 and some Sage LAV949 stamped in Versafine Clair Shady Lane. Use a dark brown to colour to start colouring our stamped images. I prefer to use Mondeluz Aquarelle pencils for colouring because they are so soft and vibrant in colour and the colours blend beautifully together even without water.
Step 8
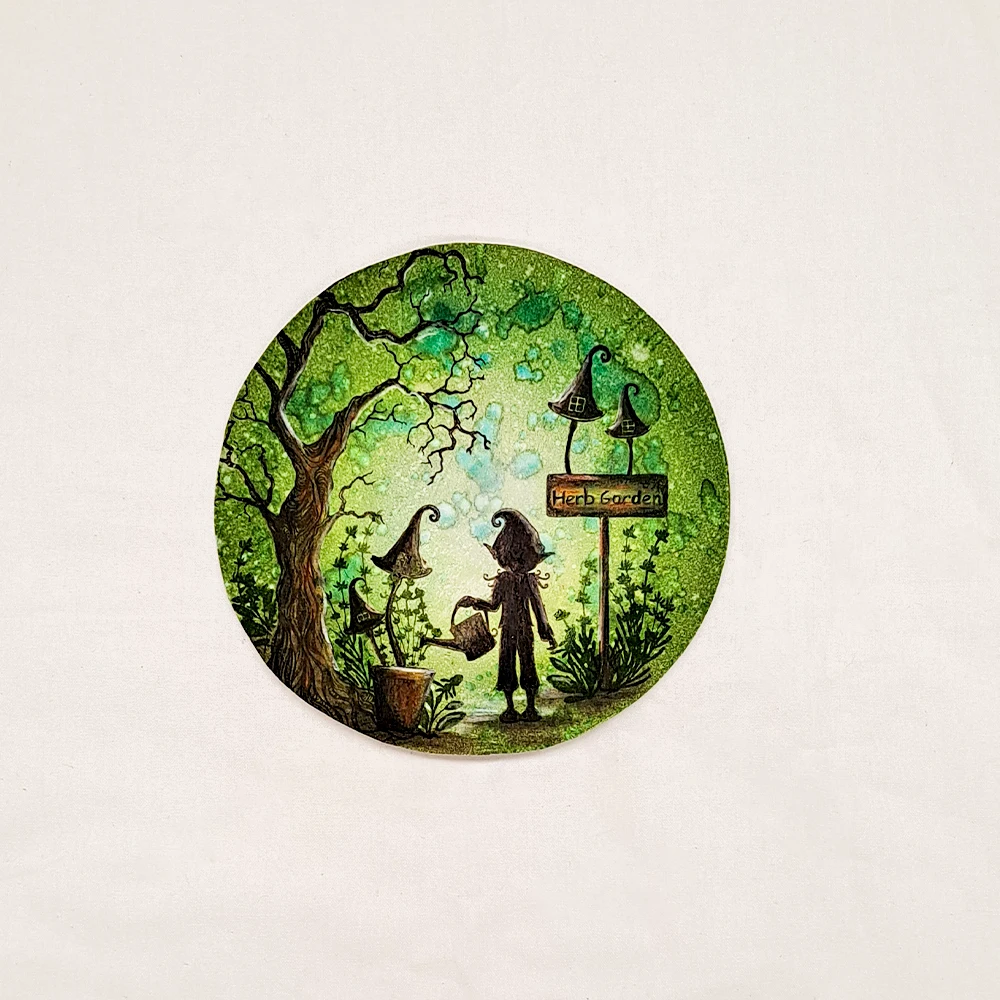
Cut out the circle. Use a light brown, a reddish brown and an ochre colour pencil to finish the colouring in. Use the white pencil to highlight some of the tree, Shrooms and Herbalum Bob.

Step 9
We need some leaves on our tree and I love using the Mini Lucky Clover LAV889 for this as they appear to be growing in the treetops. Use a white Uniball pen to “turn on the lights ” in all the Shroom’s windows, then put just a tiny dot of yellow in the windows too to give it some warmth. I used my yellow Posca pen. Everything needs some highlights, just look at the picture for placement and then… we are done! I hope you enjoyed following my Step-by-Step tutorial. If you have any questions, just send me a message and I will answer as soon as I can. Big hugs from Mona.