Step by Step by Leesa Magical Maker
Hi Lavinians 🧚♀️
It’s Leesa here. I’m sharing with you a step by step called Purple Kiss today. I hope you like it!
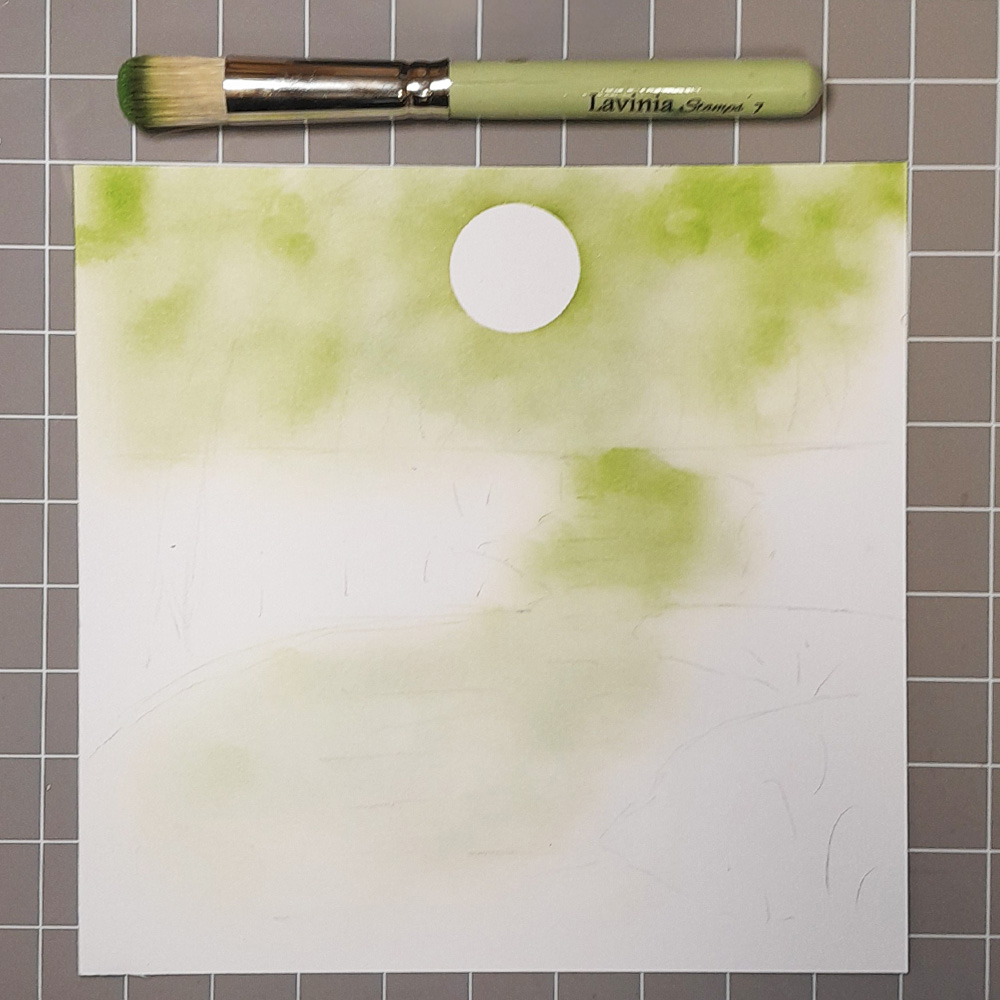
Picture 1
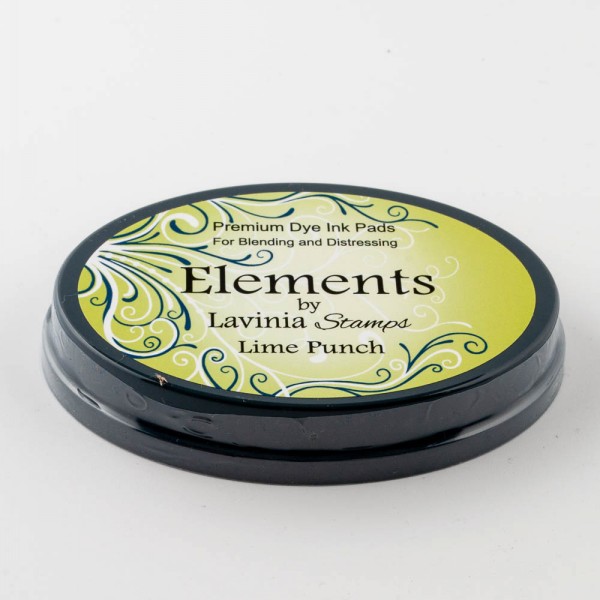
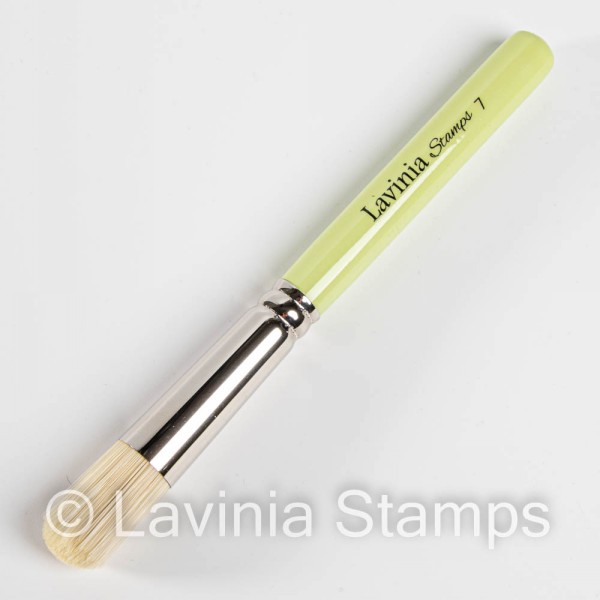
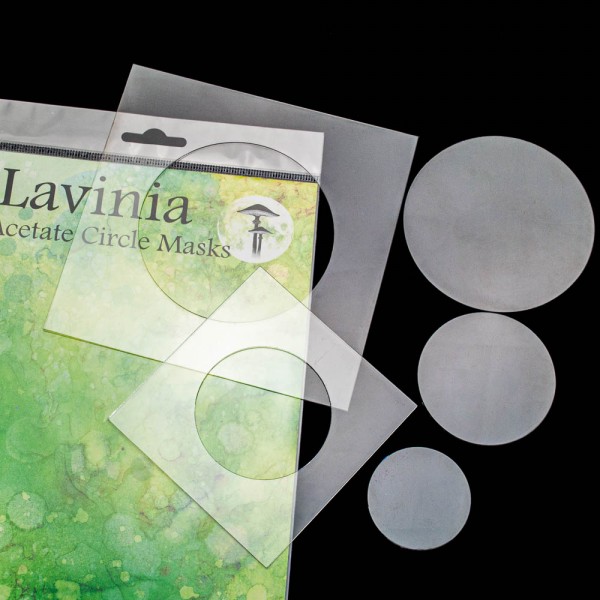
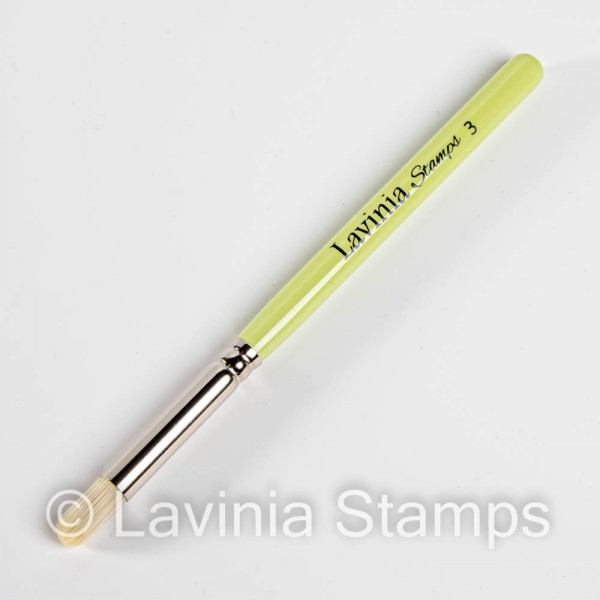
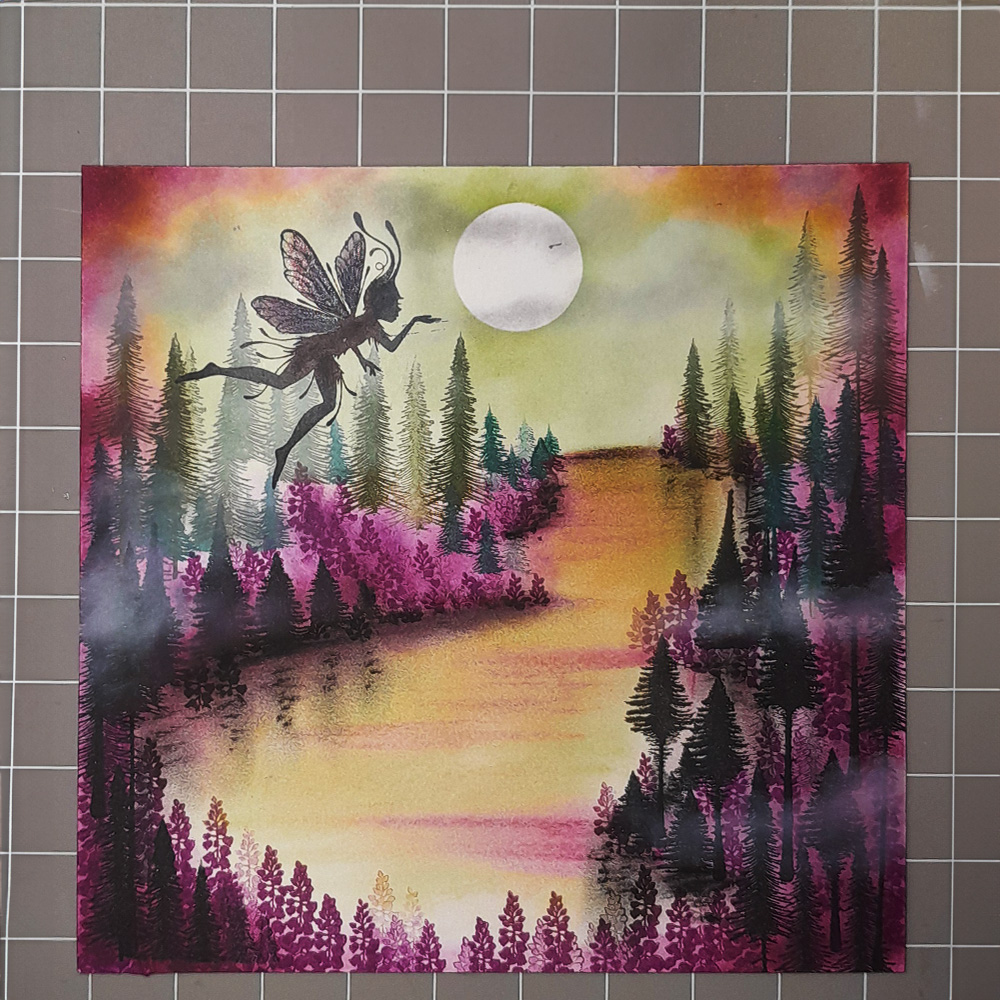
On 7 x 7 Multifarious card sketch in pencil the basic shape of the design. See photograph for placement. Using a Series 7 stencil brush with Elements ink Lime Punch mark out the skyline & the water area. Using the small circle acetate mask to create the moon area, add more ink to give a cloud effect.

Picture 2
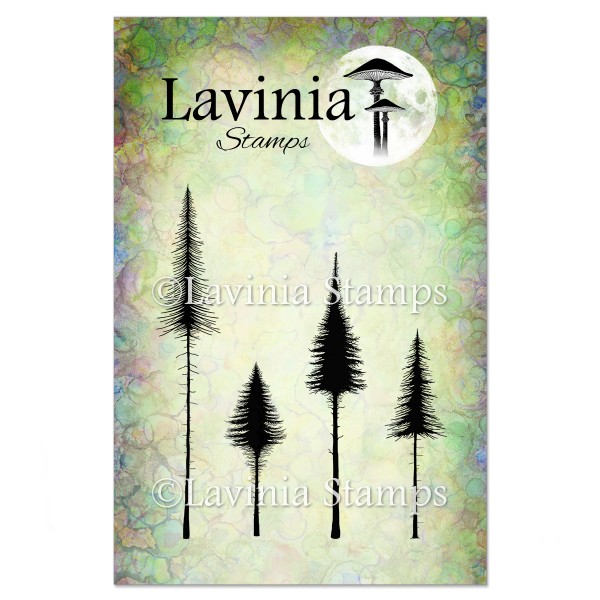
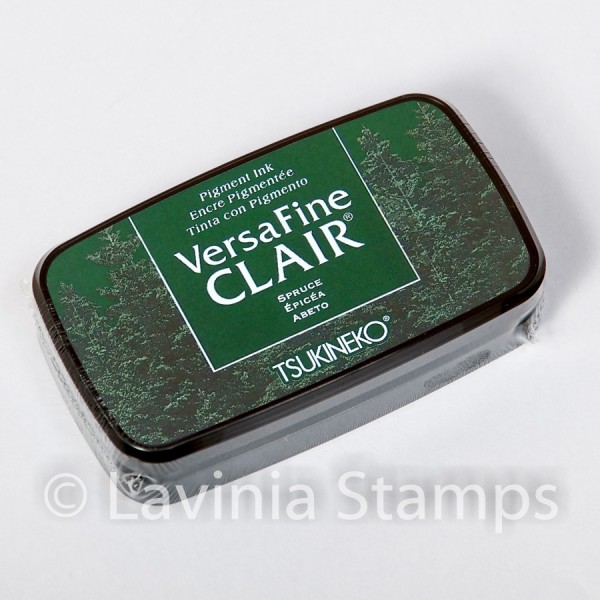
To create the tree area stamp Small Pine Trees LAV836 in Versafine Clair inks Nocturne, Shady Lane & Spruce. These three colours create the illusion of depth on the mountainside. Use a scrap piece of paper to hide the tree trunk in some places so that the trees differ in height.
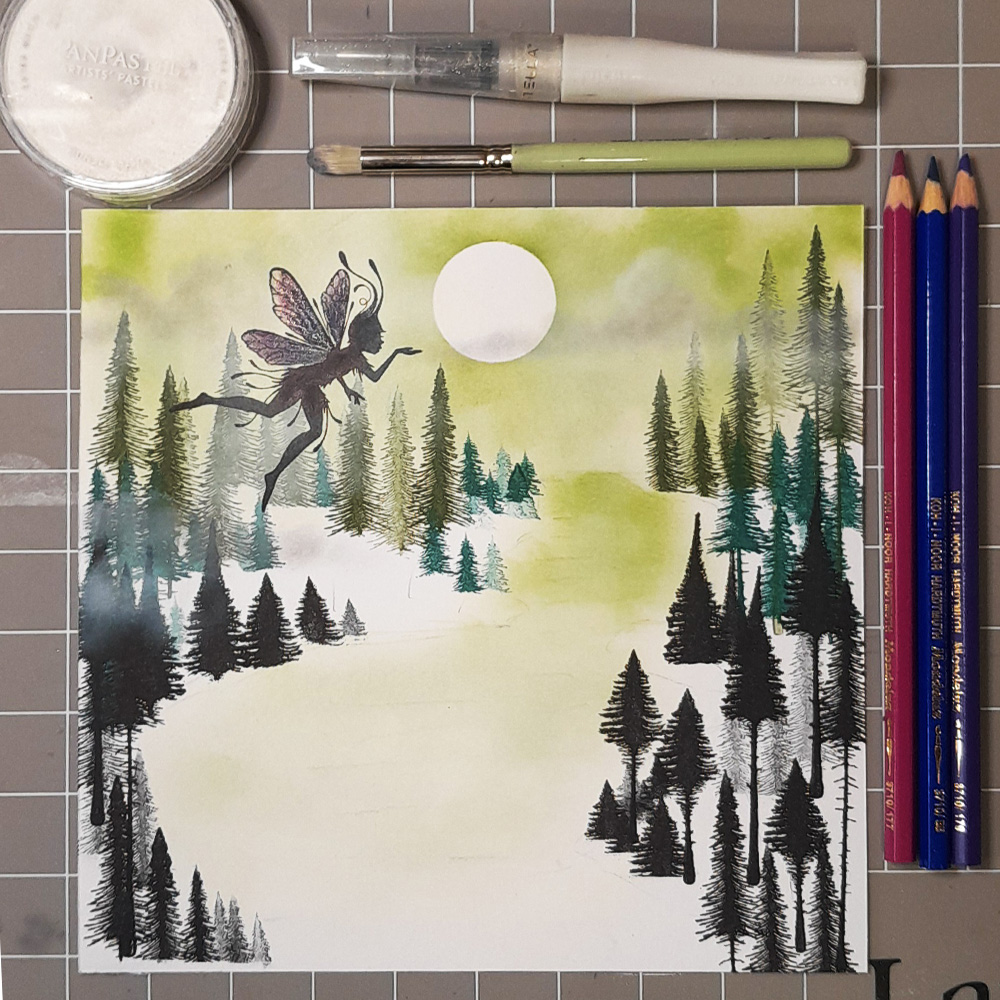
Picture 3
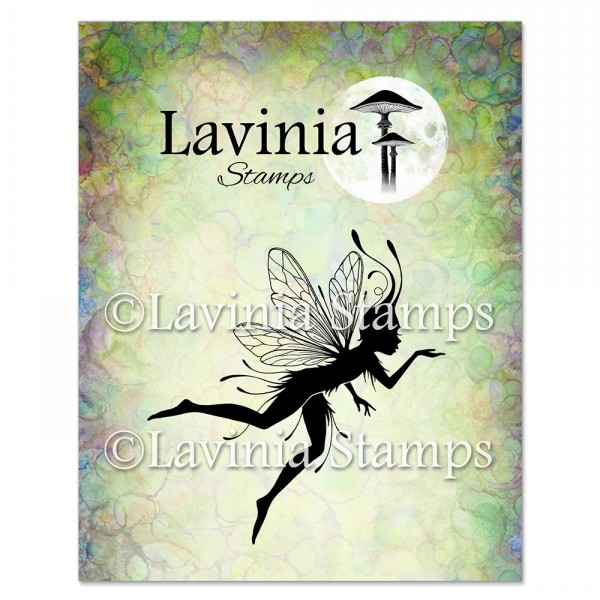
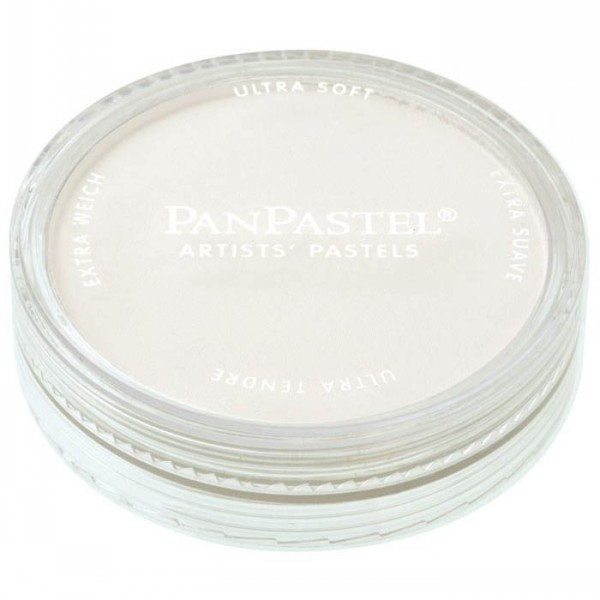
Stamp Lumus (small) LAV 896 with Versafine Clair Nocturne ink, add Wink of Stella clear to blend the Mondeluz watercolour pencils pink, blue & purple on the wings. Using Pan Pastels Titanium White and Stencil Brush series 3 create a mist effect in tree area.
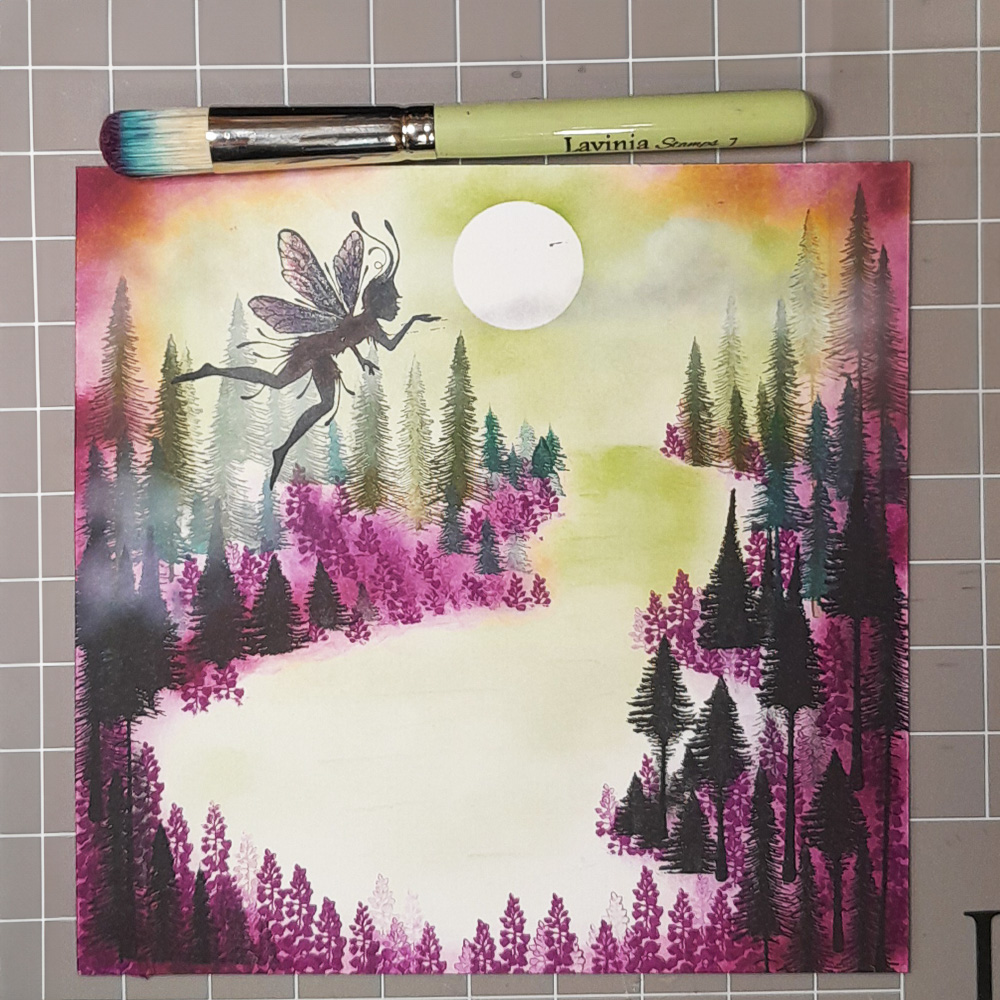
Picture 4
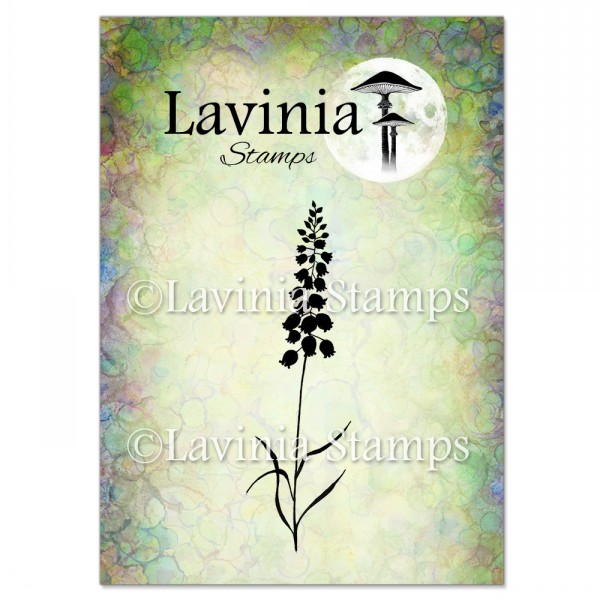
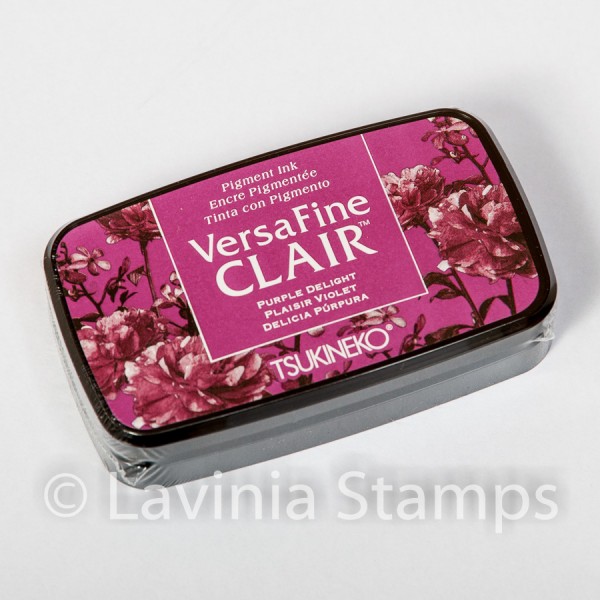
Build up the background with a flower effect by stamping Bluebells LAV 002, in Versafine Clair Purple Delight. Using a scrap piece of paper add small parts of the flower with 1st & 2nd generation stamps. Blend some Elements ink Mulberry with a series 7 stencil brush to darken the outer part of the card. See photograph for placement.
Picture 5
Now add some soft pastels to give the shadows in the water of the reflections from the skyline.
Picture 6
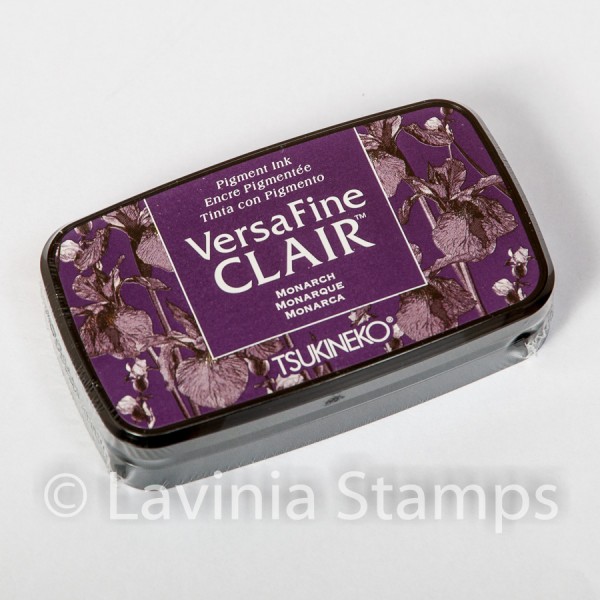
Next add some Versafine Clair Monarch ink to create slightly darker edges using a Stencil Brush Series 7 and blend it all together.
Picture 7
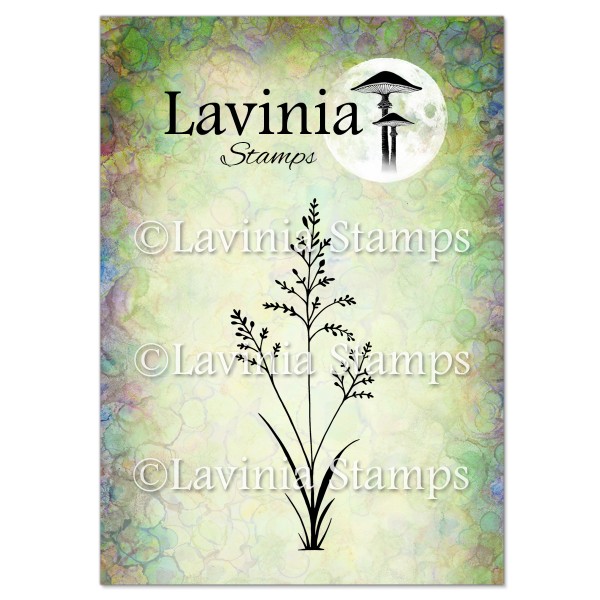
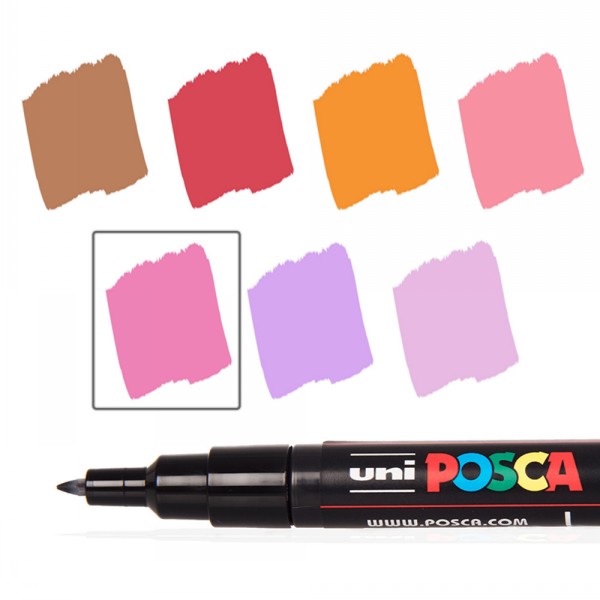
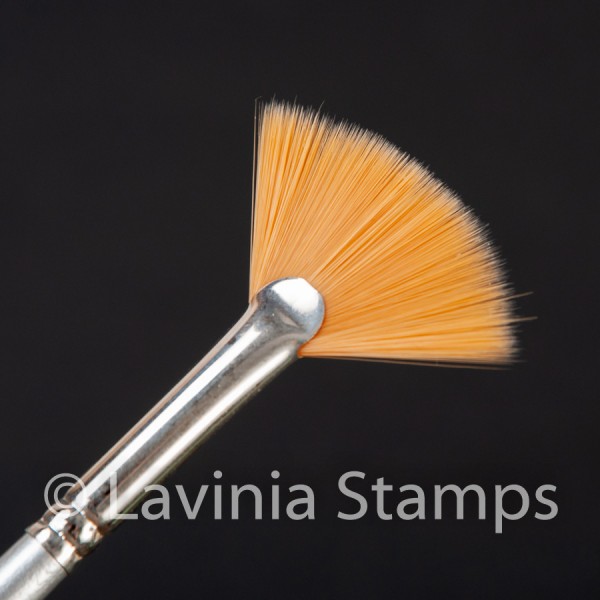
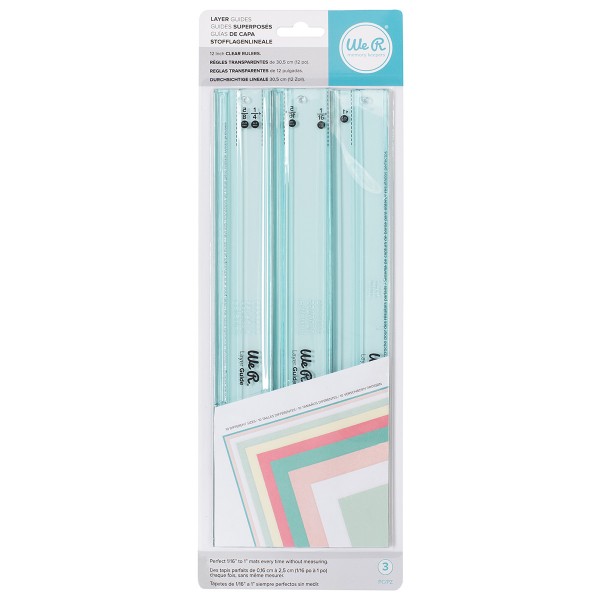
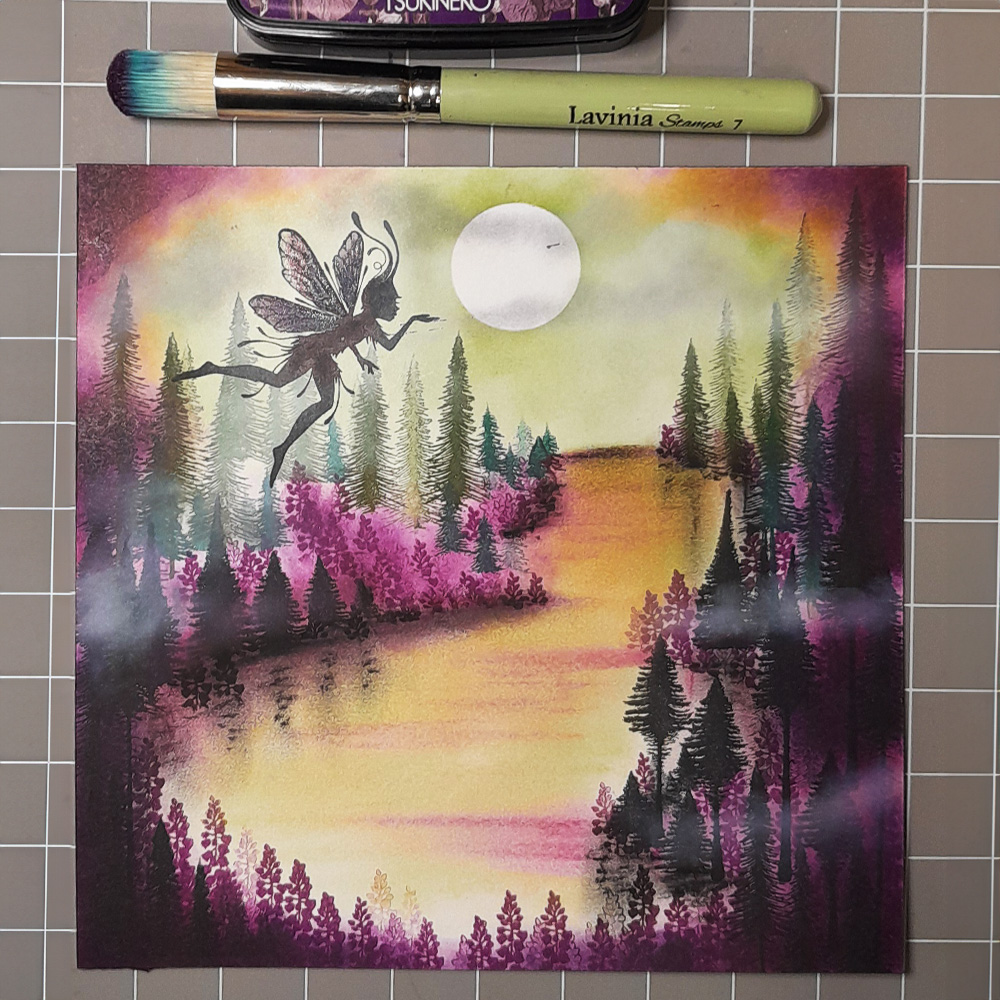
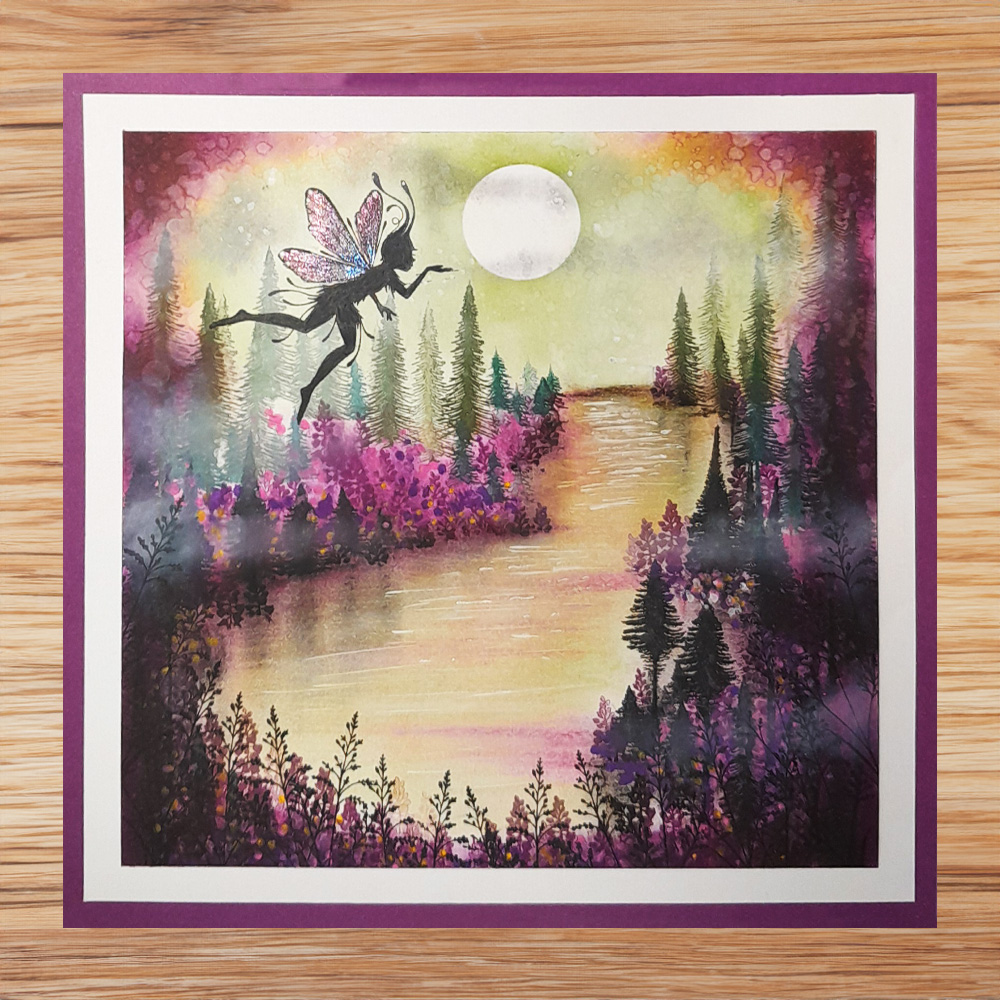
Using Coral and Orange Posca pens dab them here & there to give the look of distant flowers. Smudge them with a finger while the paint is still wet. Next use a White Posca pen to show some highlights in water from the moon. Stamp Orchard Grass LAV 672 in Versafine Clair Nocturne at the bottom just to show movement. Then using a fan brush add water splashes on the card, this will faux bleach it and add beautiful texture. Next touch up the misting with Pan Pastels Titanium White. Finally matt & layer using the We R Memory Keeper Ruler Guides with white & purple card to compliment the picture.
Can’t wait to see your creations!
Hugs Leesa xx