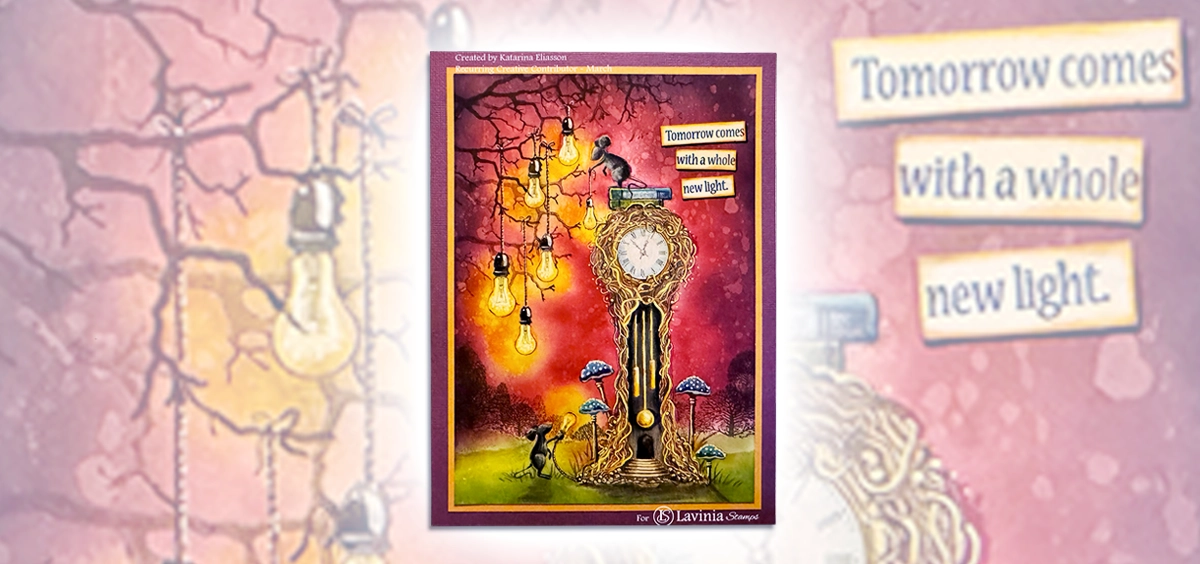
Step by Step by Katarina Eliasson.
Hello everyone!
Katarina here. I Hope you enjoy my tutorial called ”Pumpkins and mice”.
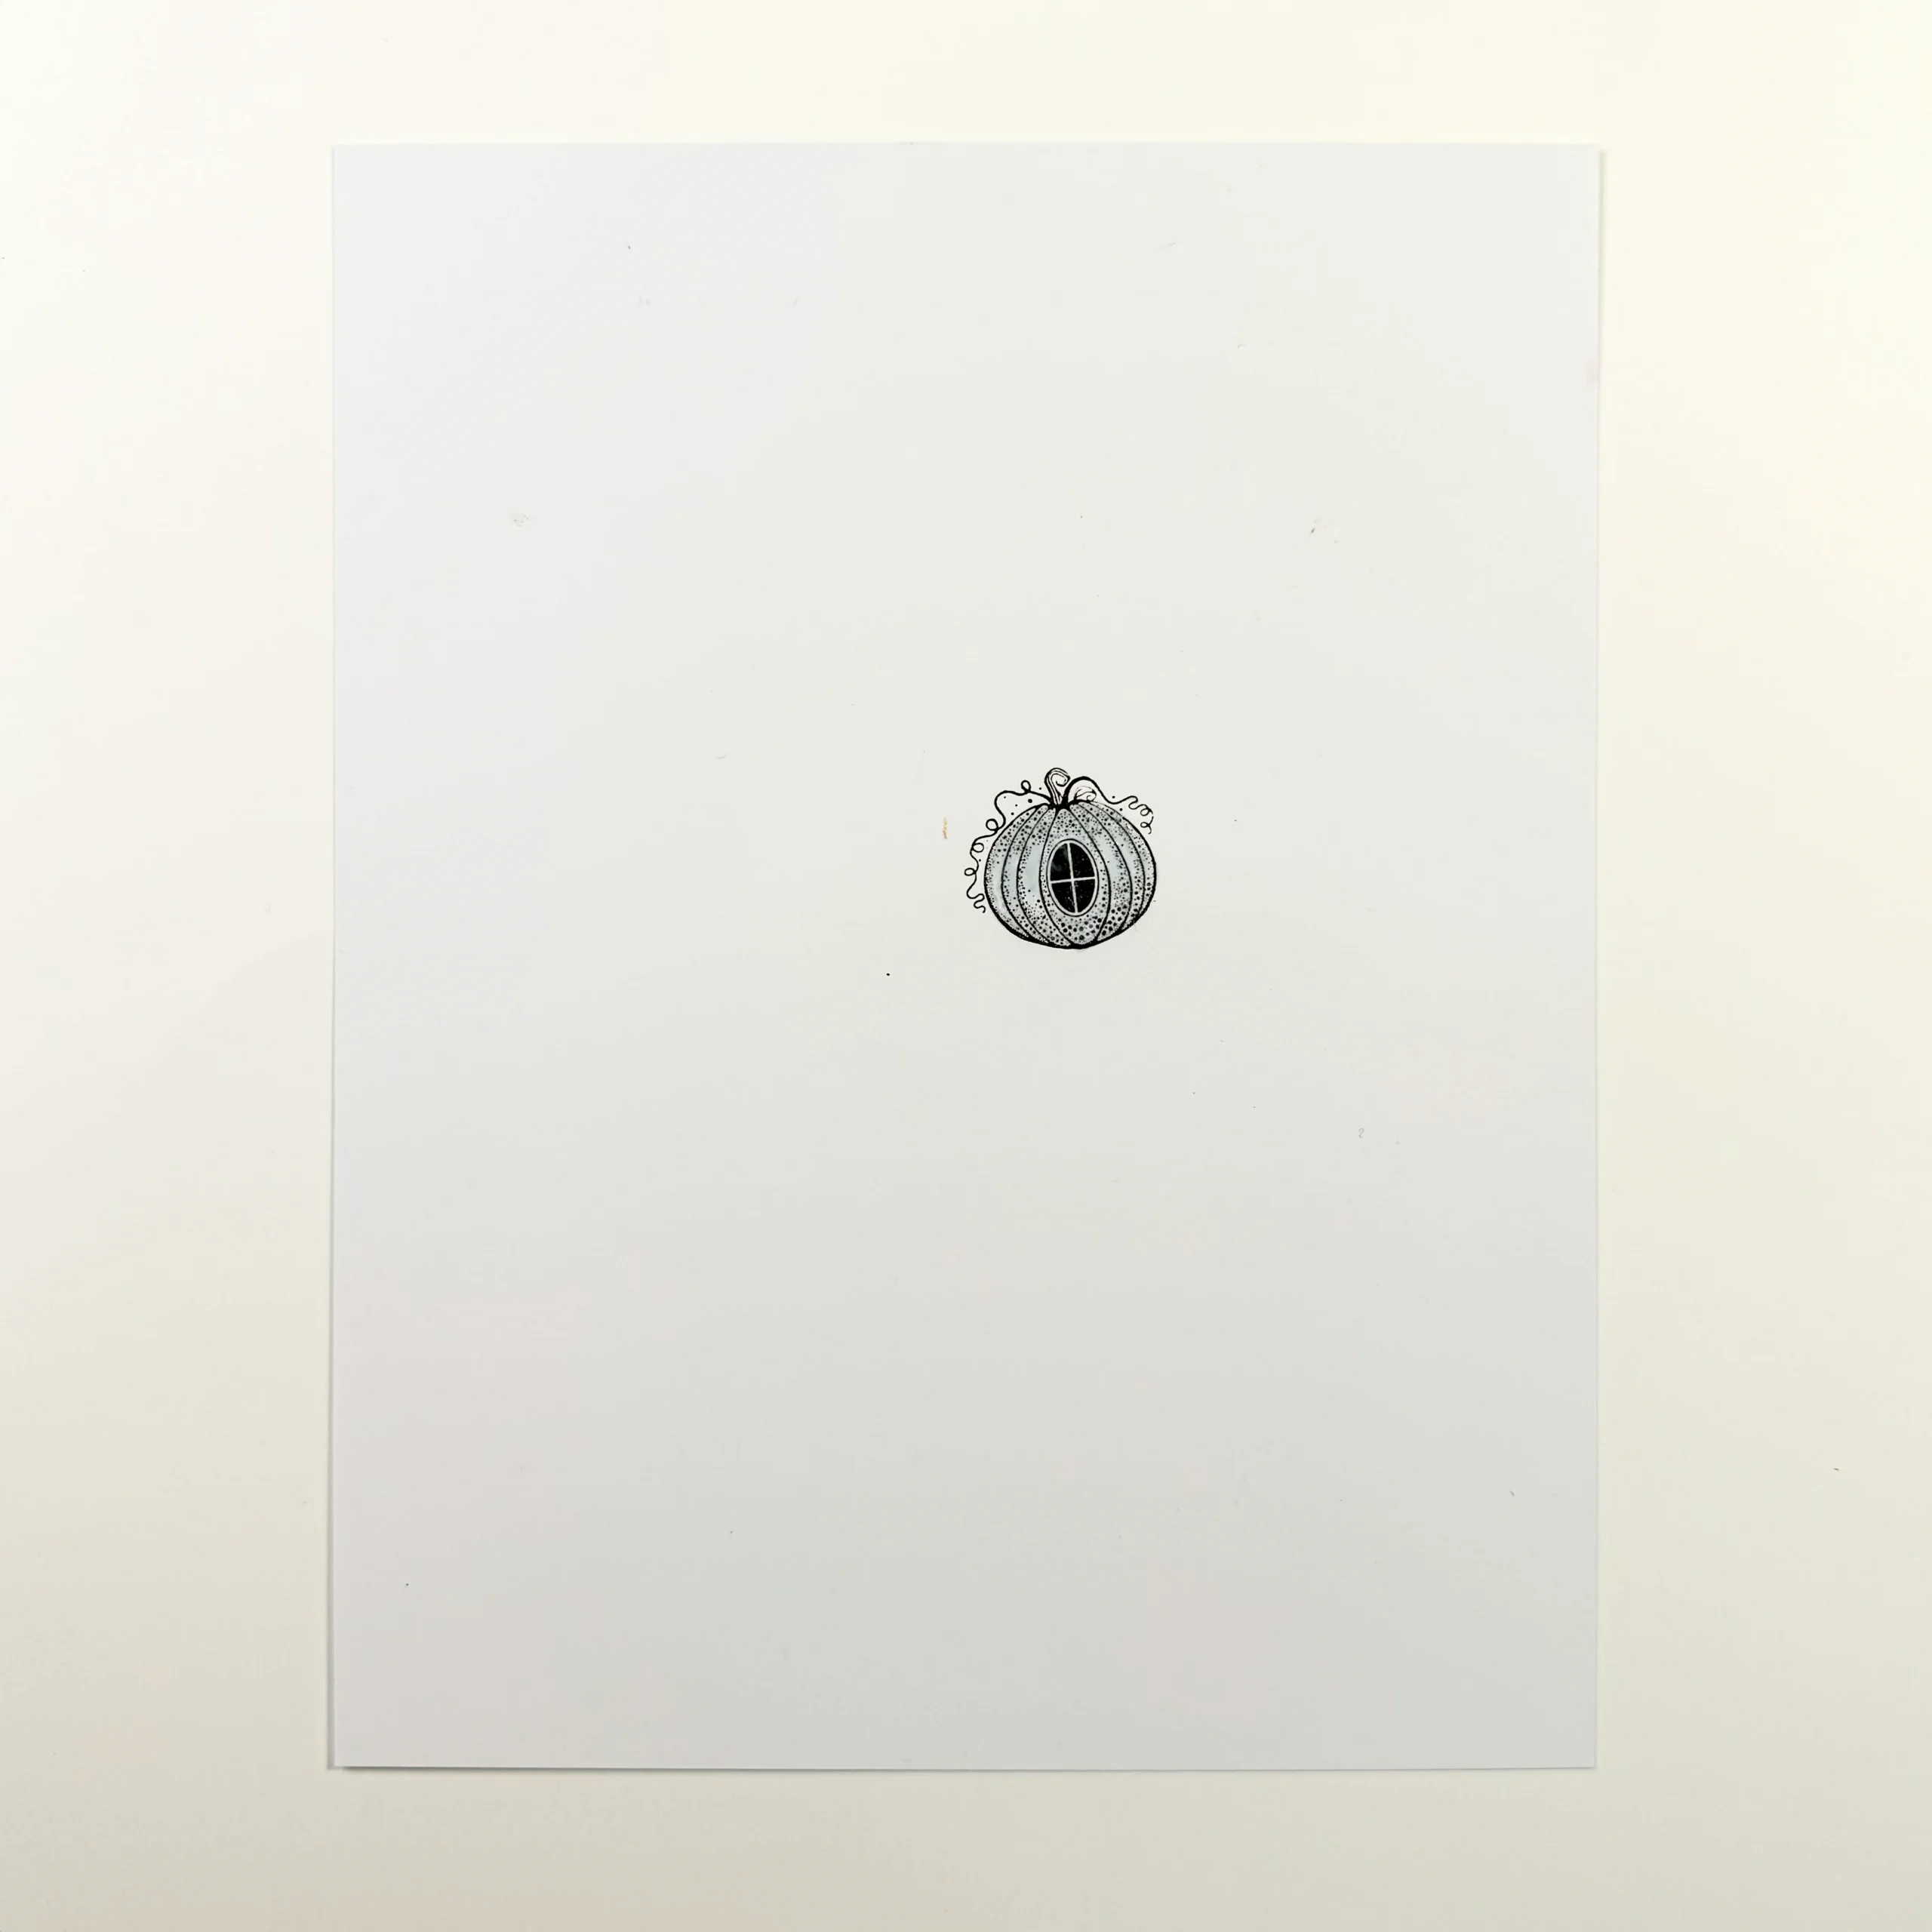
Picture 1.
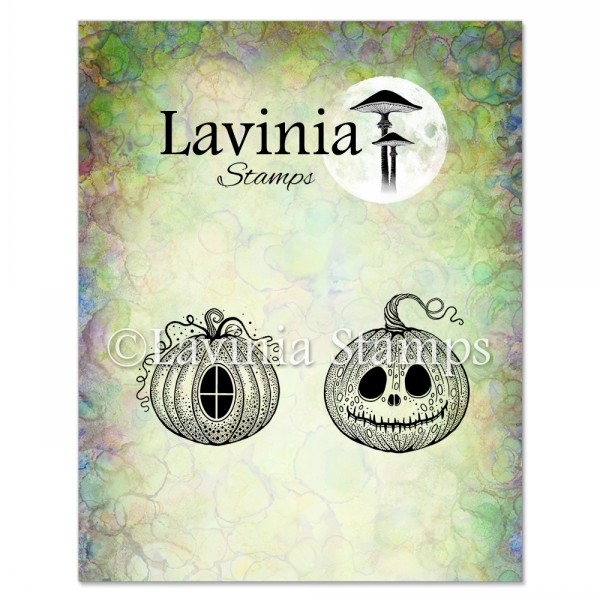
Start with a 16 cm x 21 cm Multifarious white card. Use the Ickle Pumpkins set LAV828. Stamp one of the pumpkins with Versafine Clair Fallen Leaves. See picture for placement. Dry with heating tool. Make sure the ink is absolutely dry and cover with Masking Fluid. We will stamp all the pumpkins in Versafine Clair Fallen Leaves.
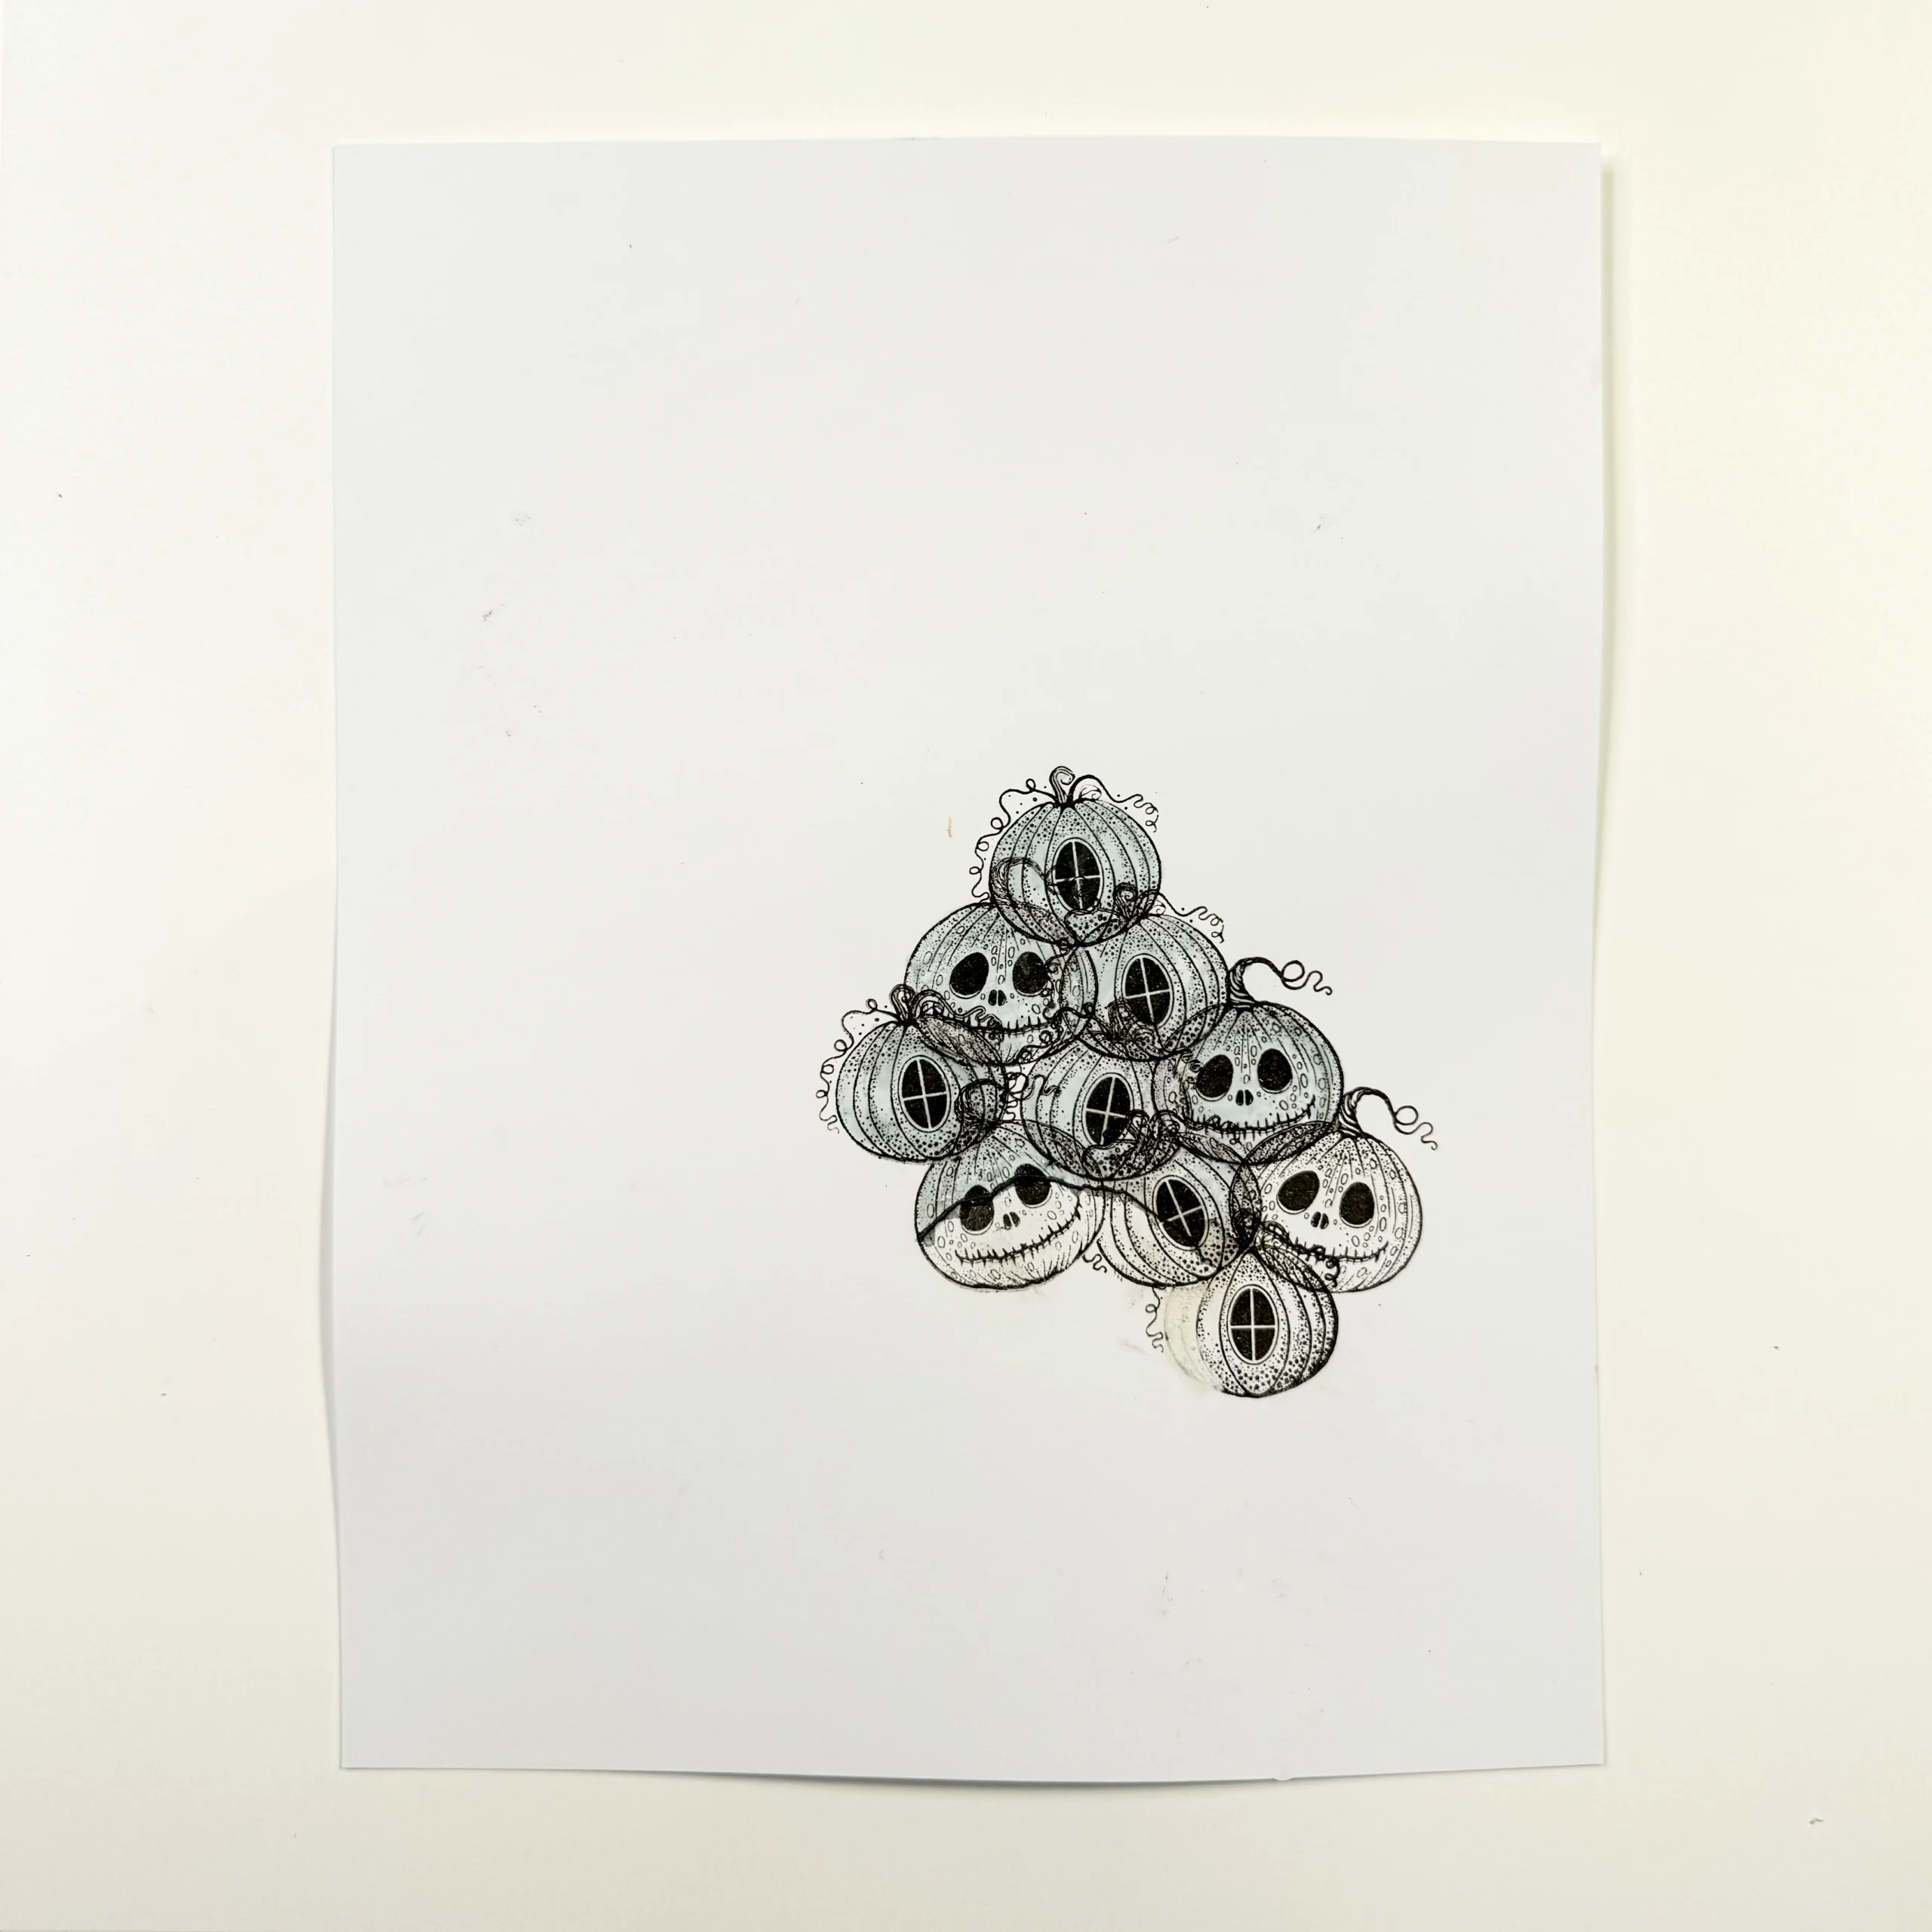
Picture 2.
Stamp the pumpkins from top to bottom. First stamp a pumpkin and cover it with Masking Fluid. Continue stamping one pumpkin after another and use the Masking Fluid on each one. Don’t cover the bottom ones completely because we are going to stamp two large pumpkins that should be in front. Look at the picture for placement.
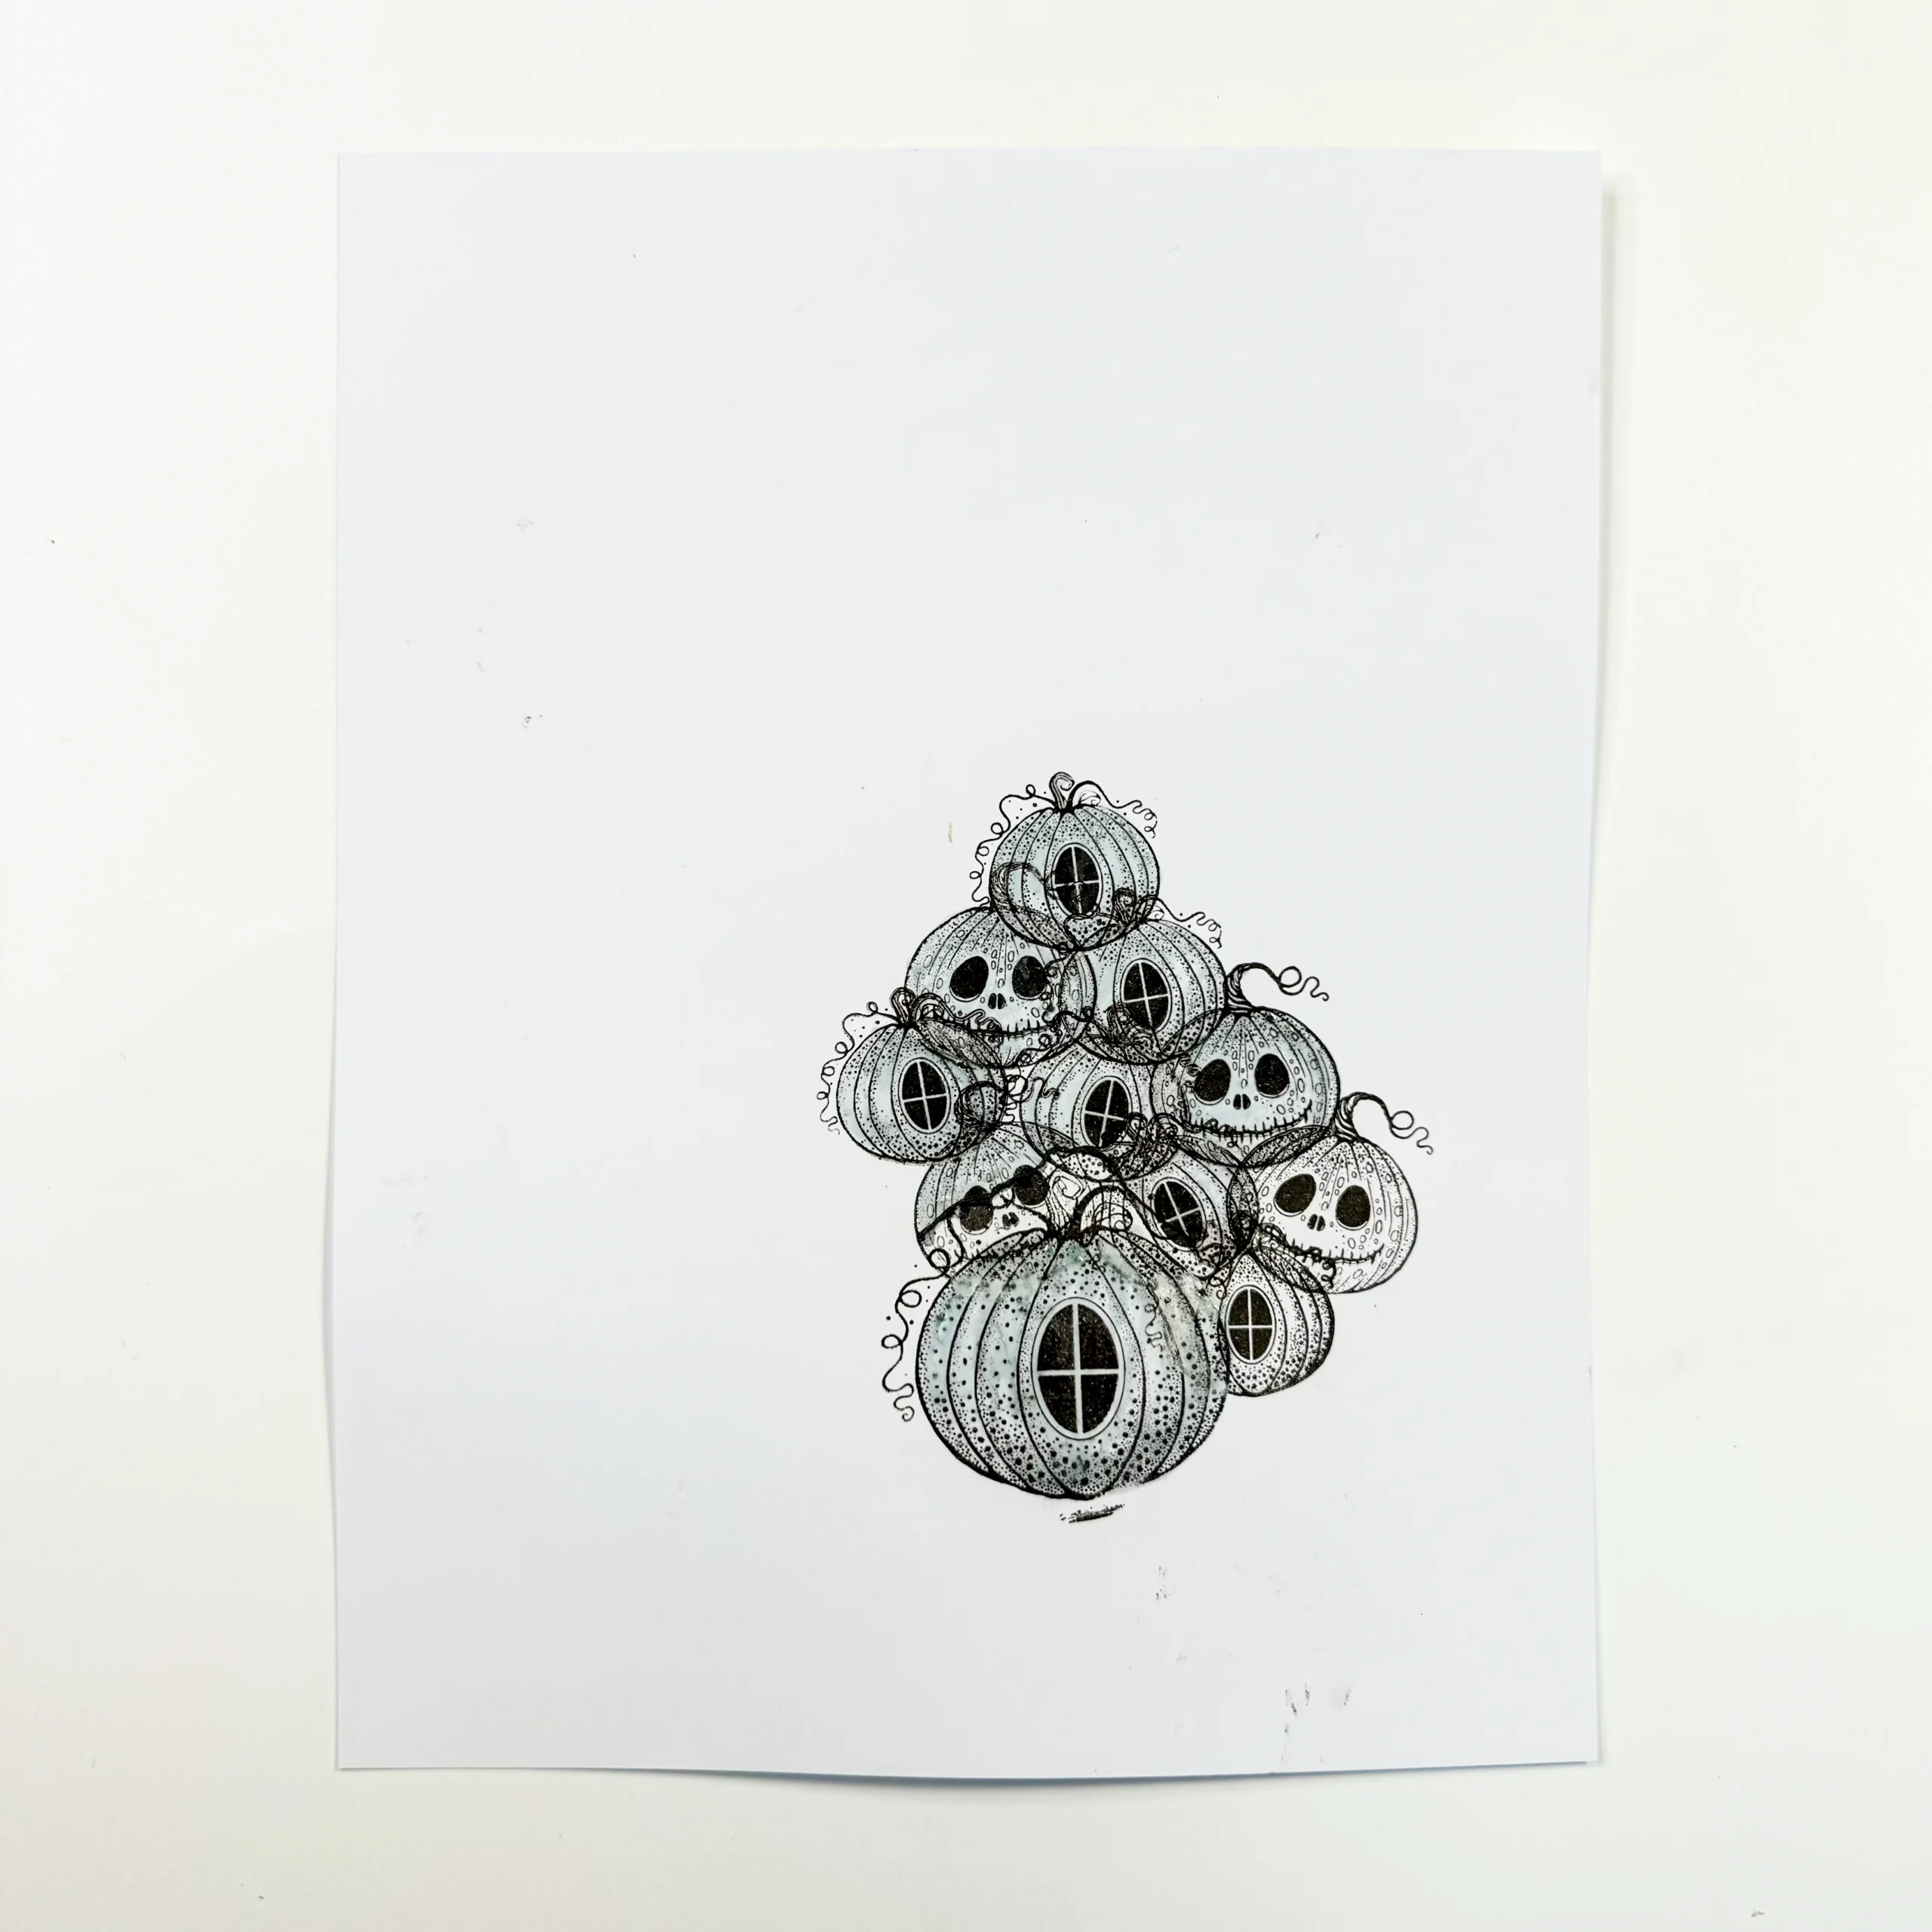
Picture 3.
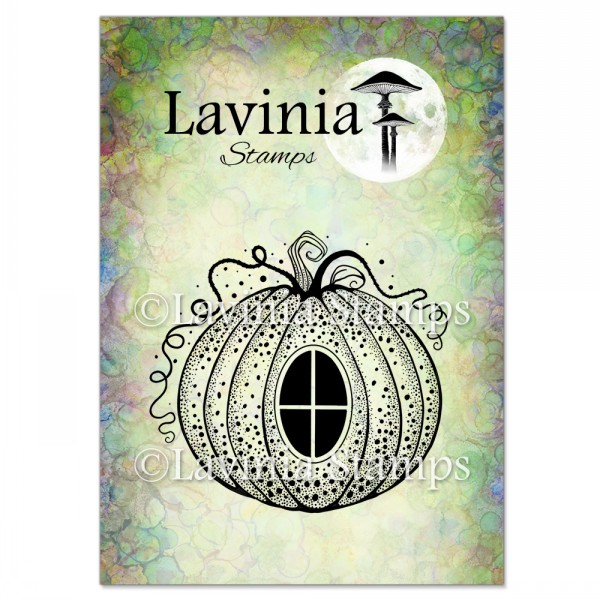
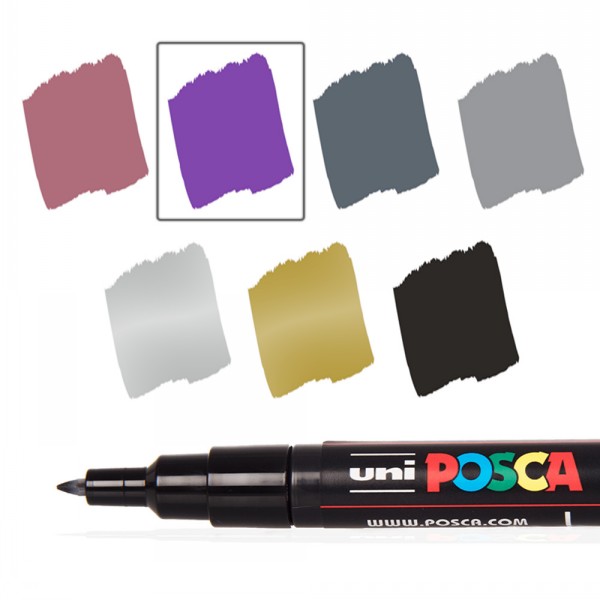
Stamp the Pumpkin Pad Stamp LAV824 as seen in the picture. Make sure there is no masking where you are going to stamp. Otherwise, rub off as needed. Use white Posca pen to paint over what is visible in the large pumpkin from those behind and cover with Masking Fluid. I found it difficult to calculate where to place the large pumpkin so I did this instead.
Picture 4.
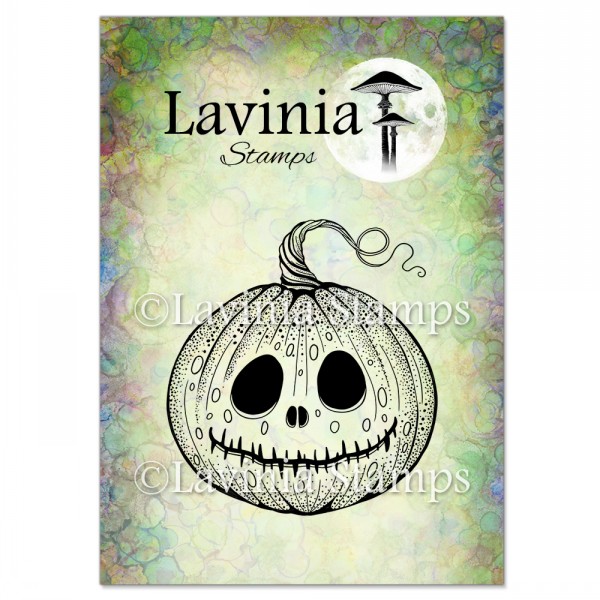
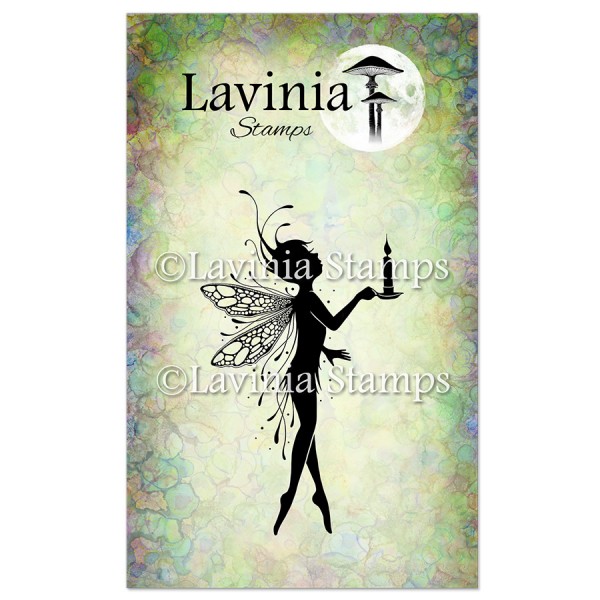
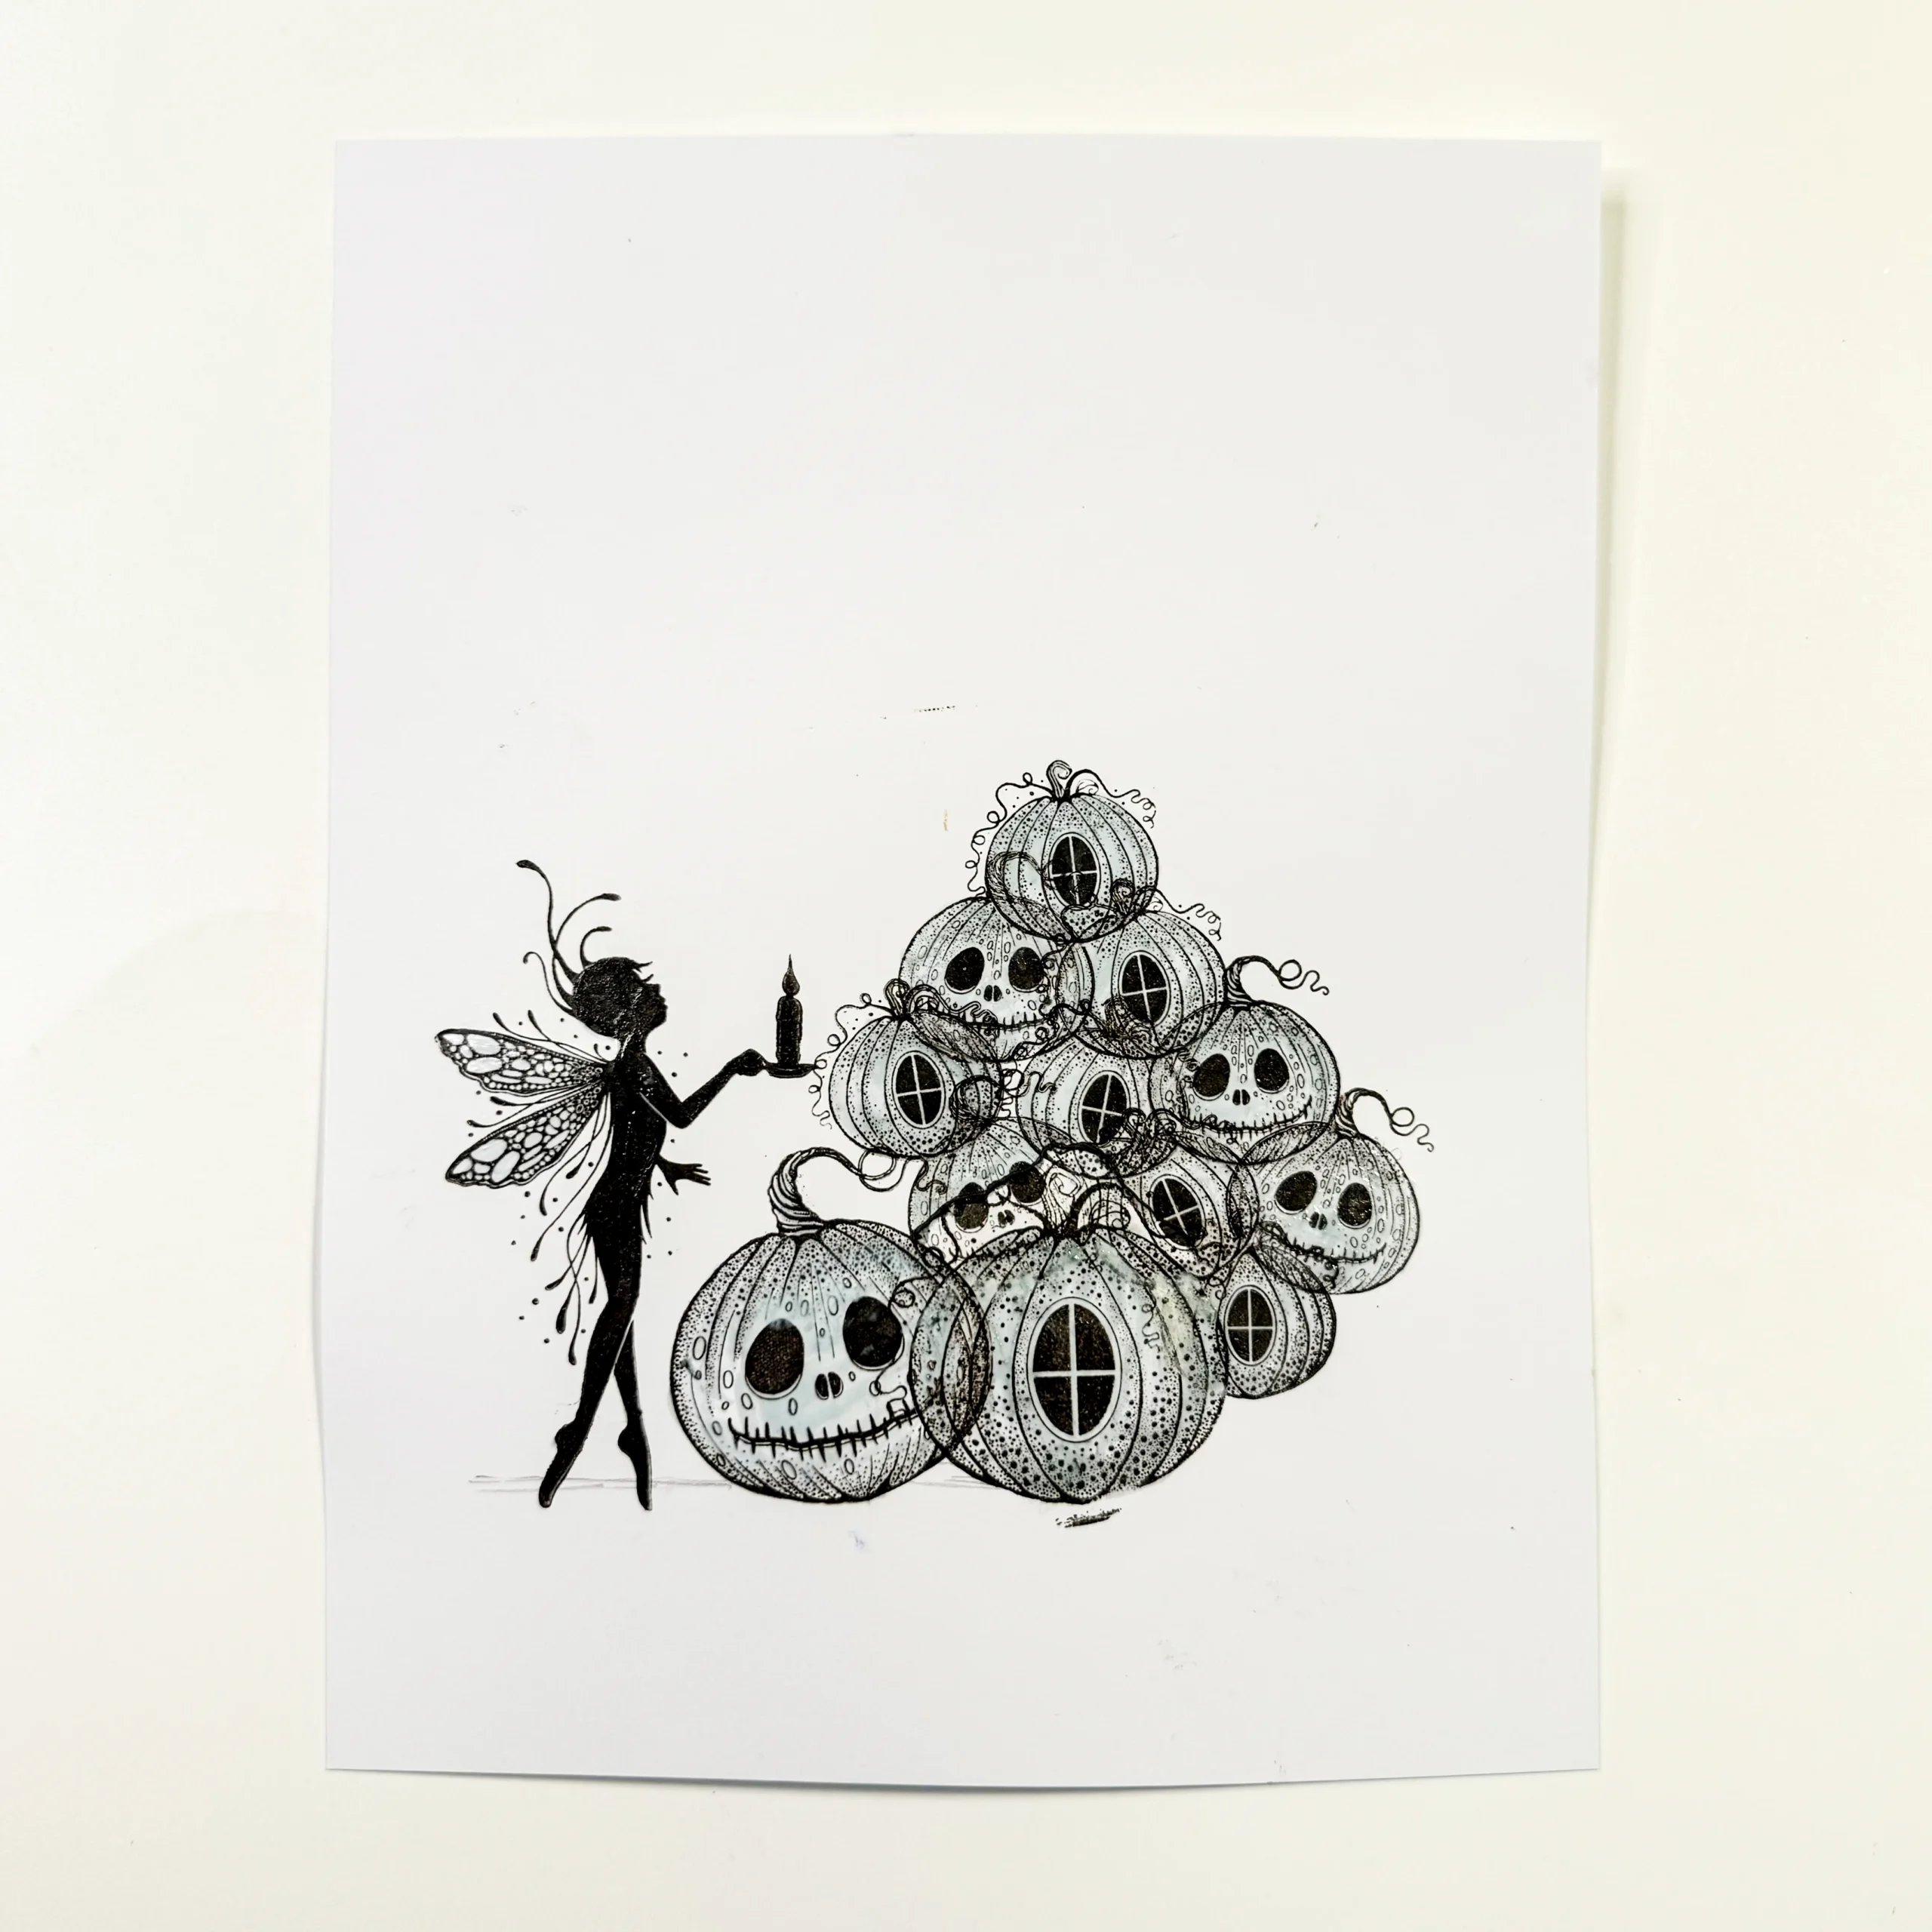
Last pumpkin to stamp, Playful Pumpkin Stamp LAV821. Also stamp the new fairy Briana LAV923 and cover both the pumpkin and the fairy with Masking Fluid.
Picture 5.
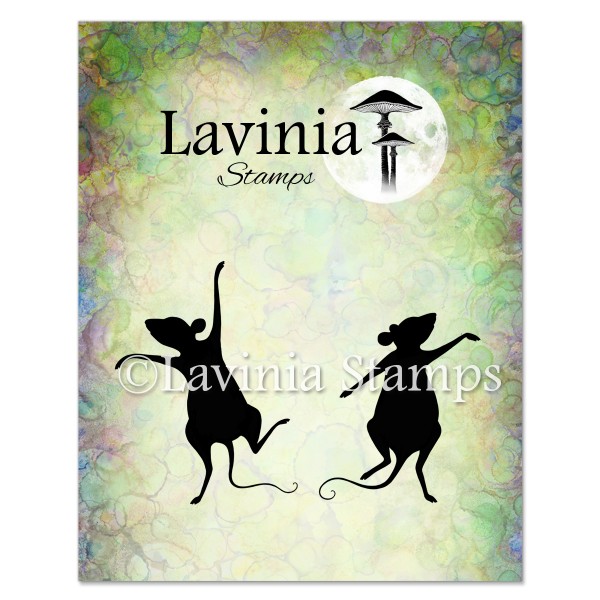
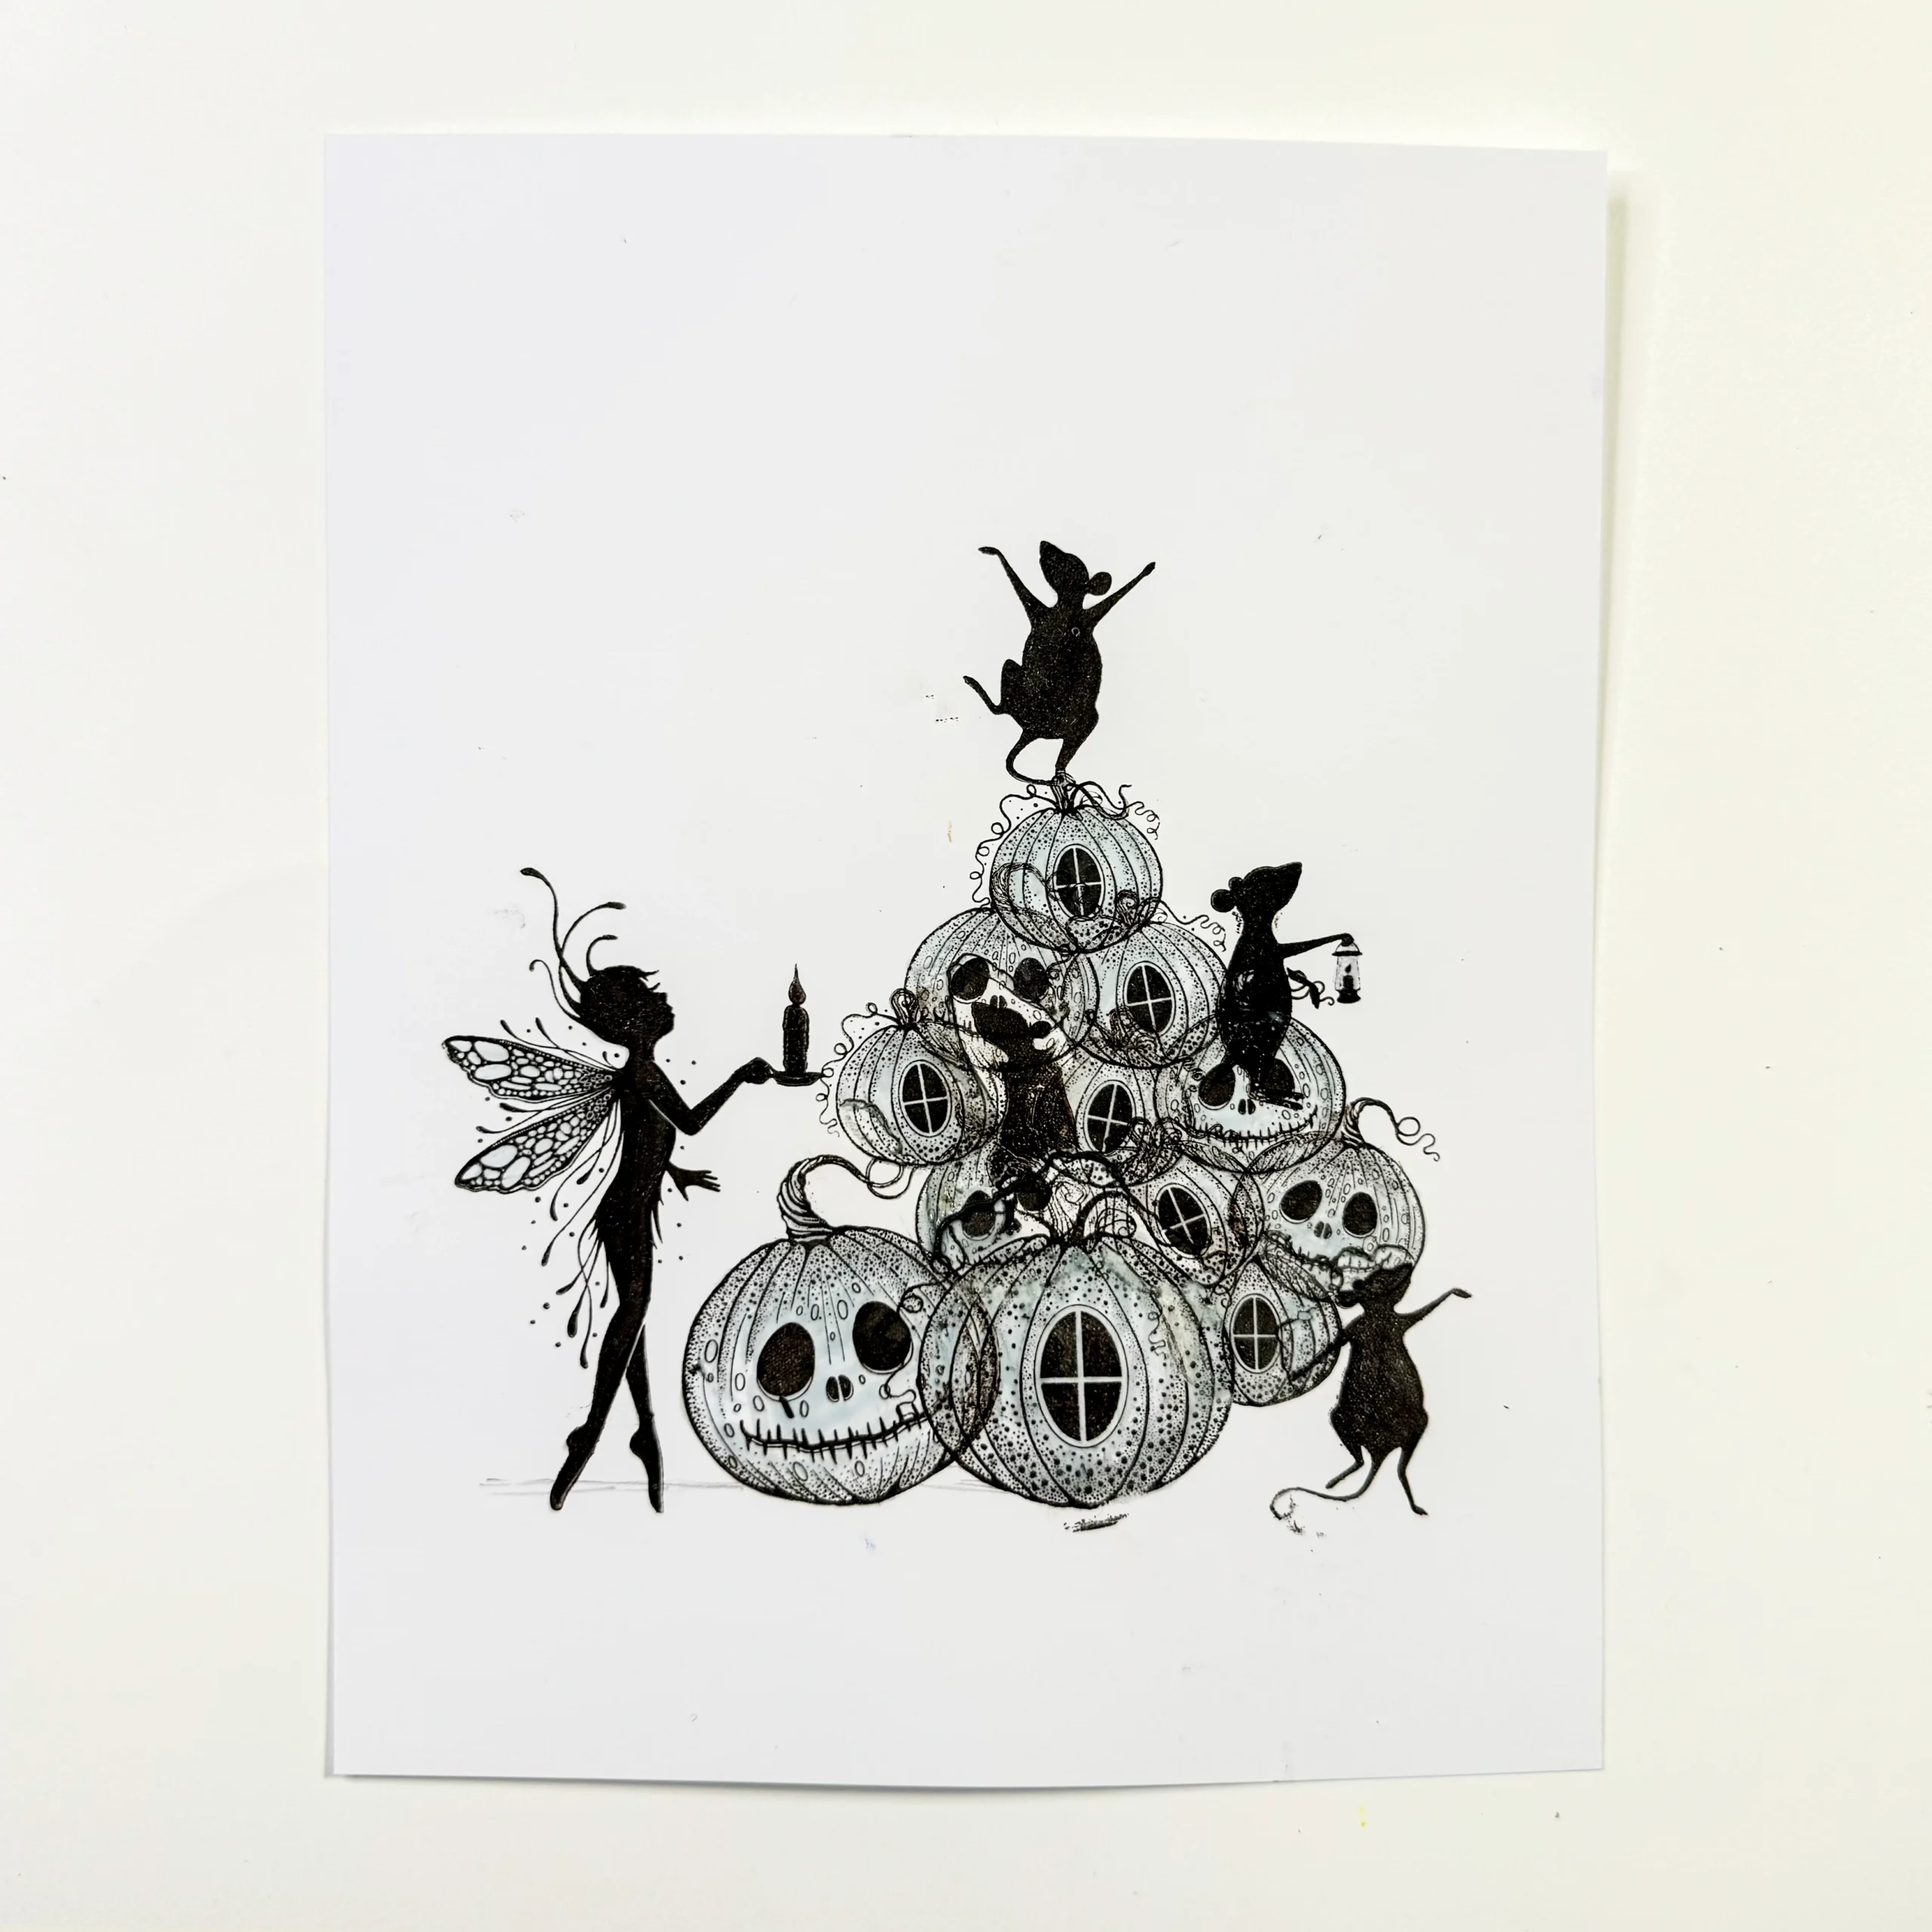
Time to stamp the mice in the pile of pumpkins in Versafine Clair Fallen Leaves. I’ve used Basil and Bibi LAV732 and Tilly and Tango LAV726. Look at picture for placement. Rub off some masking where you stamp if needed. Cover the mice with Masking Fluid.
Picture 6.
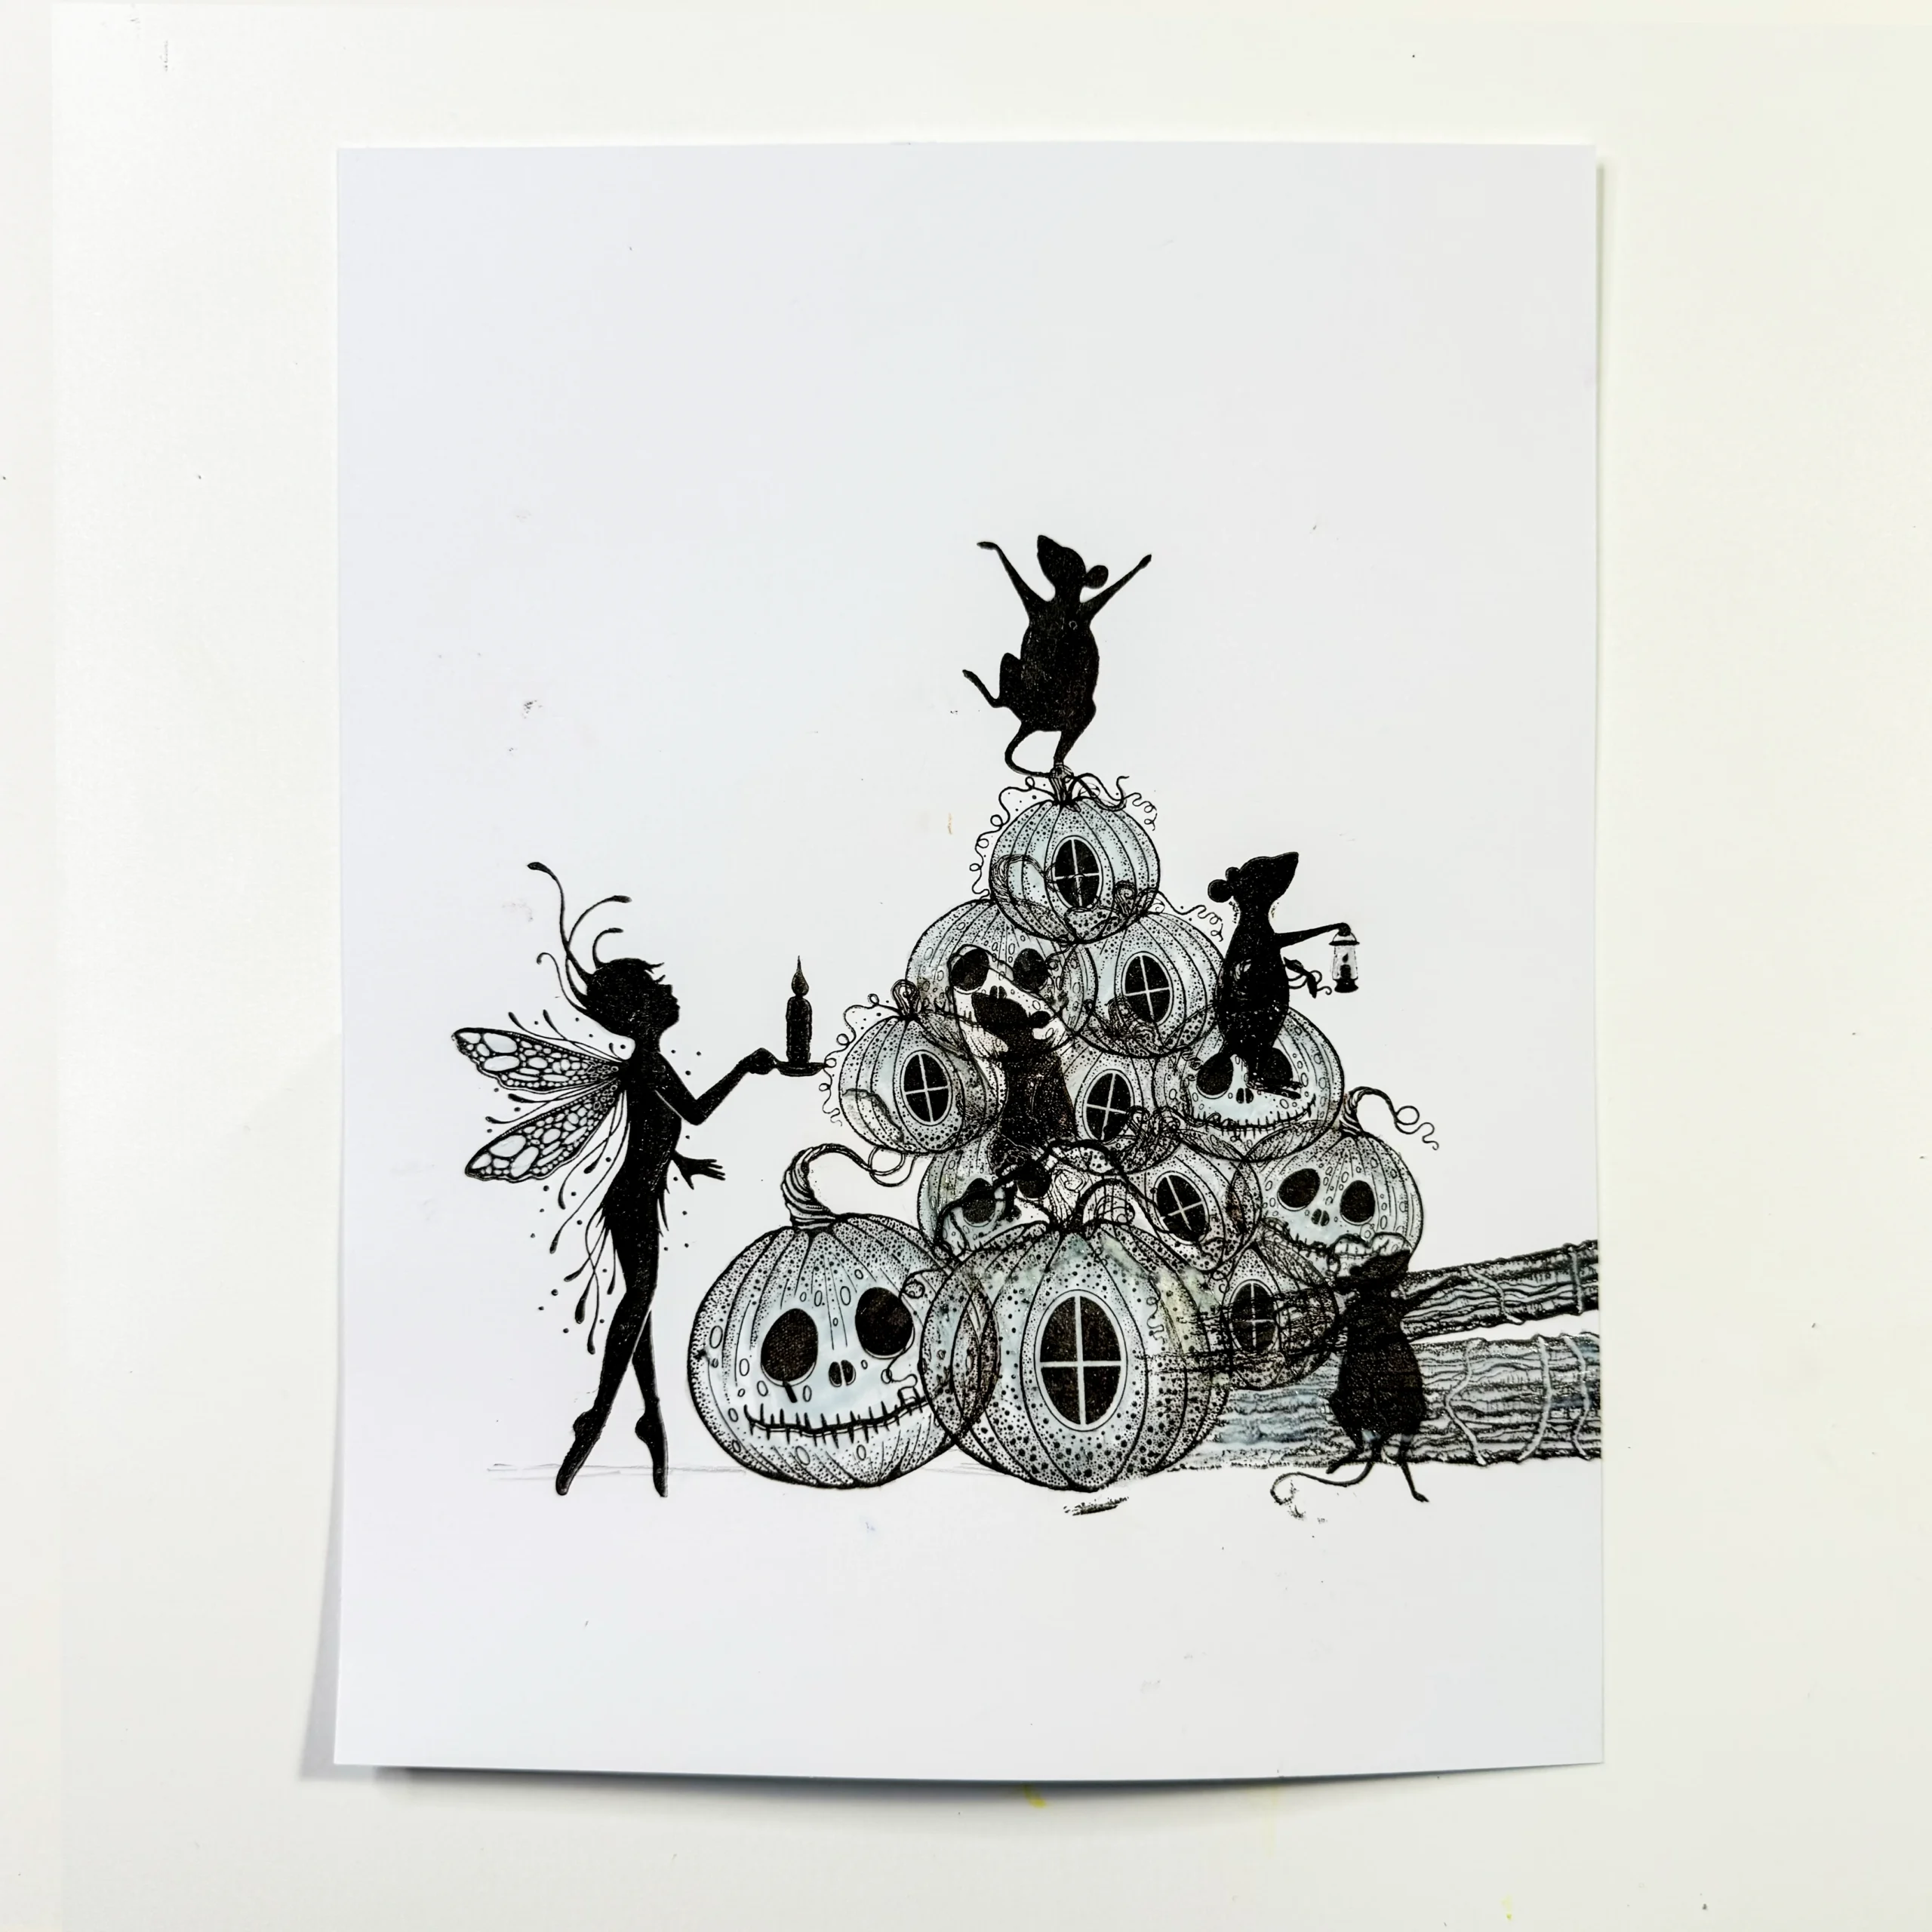
Use Elements Ink Pinecone and stamp the nearest log first with Tree Den LAV642 and cover with Masking Fluid. Now stamp the back log with Tree Stem LAV643 and mask that too.
Picture 7.
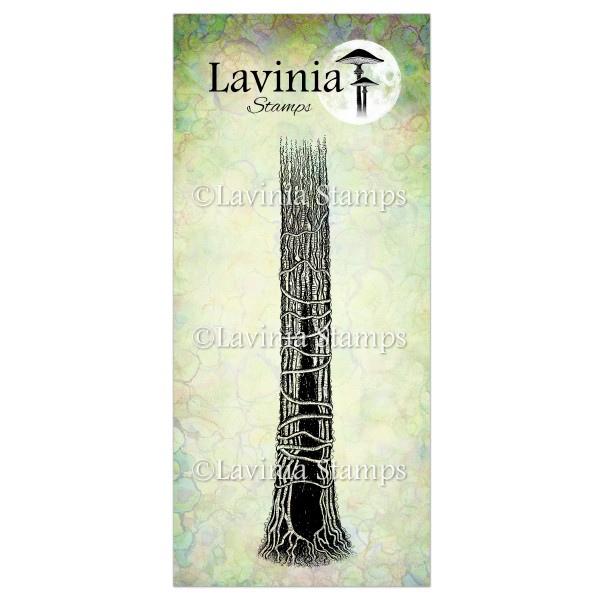
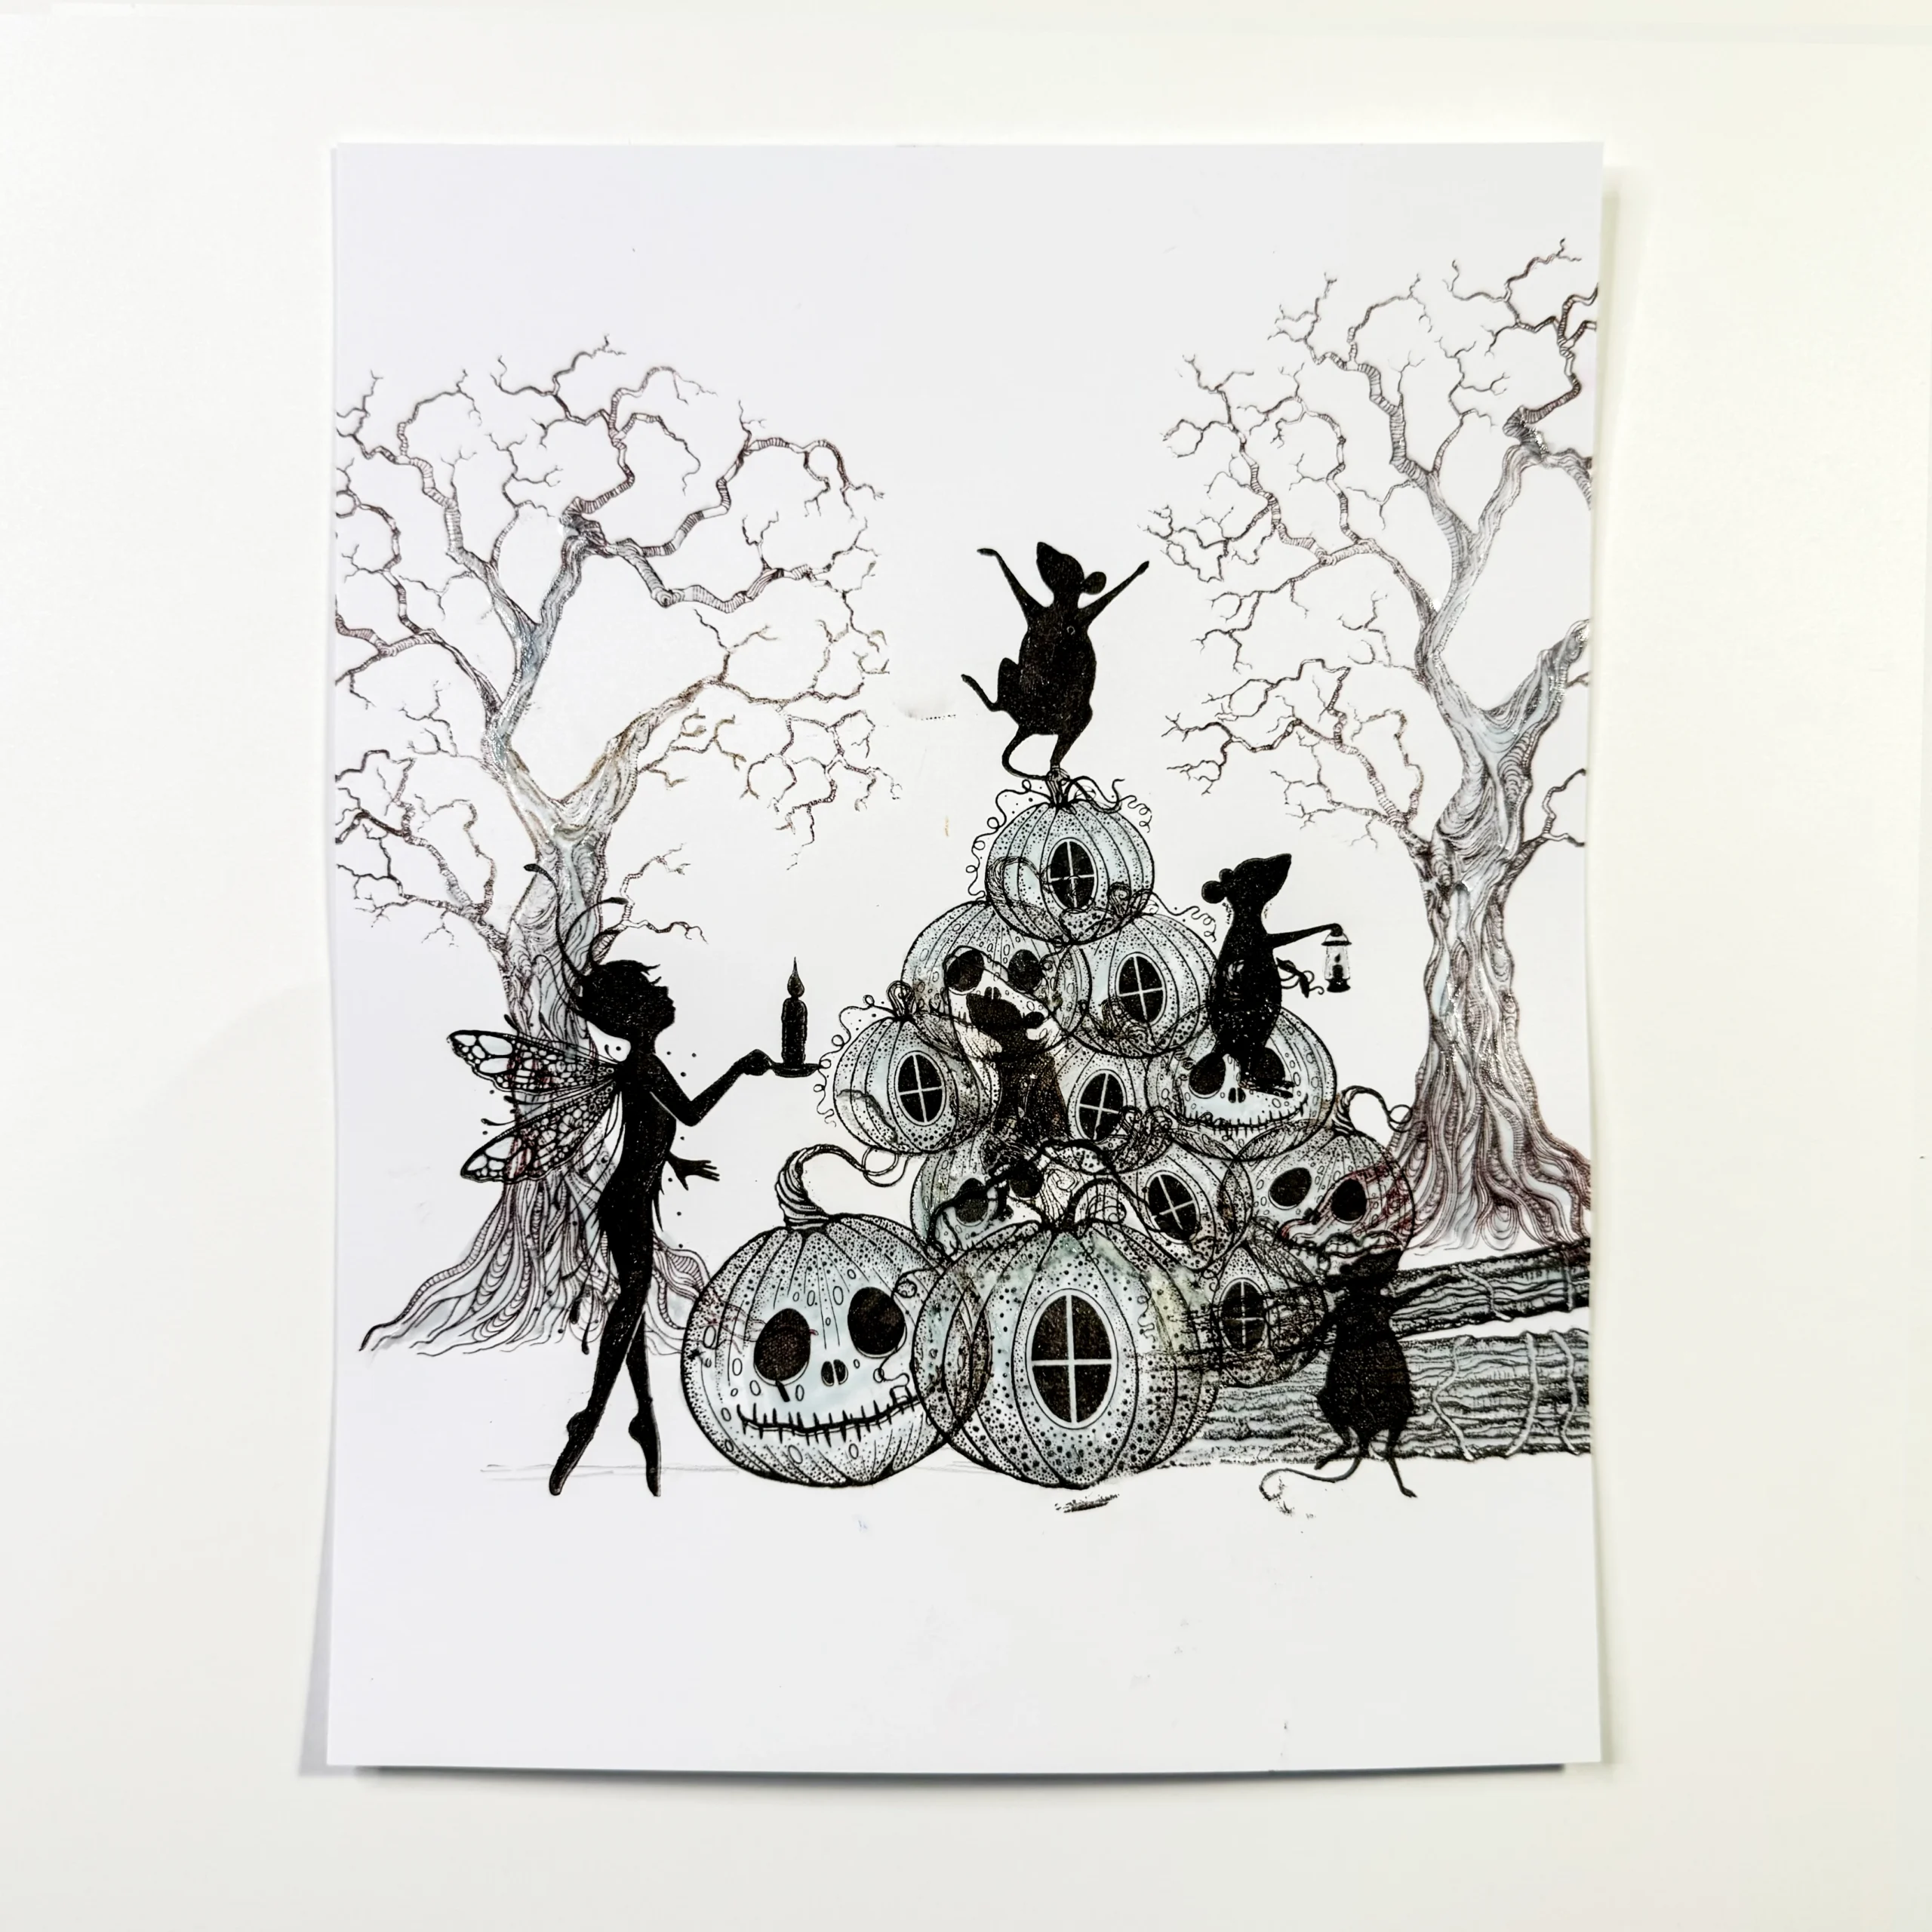
Stamp the trees, Tree of Wisdom LAV609, in Versafine Clair Pinecone and cover the stems with Masking Fluid.
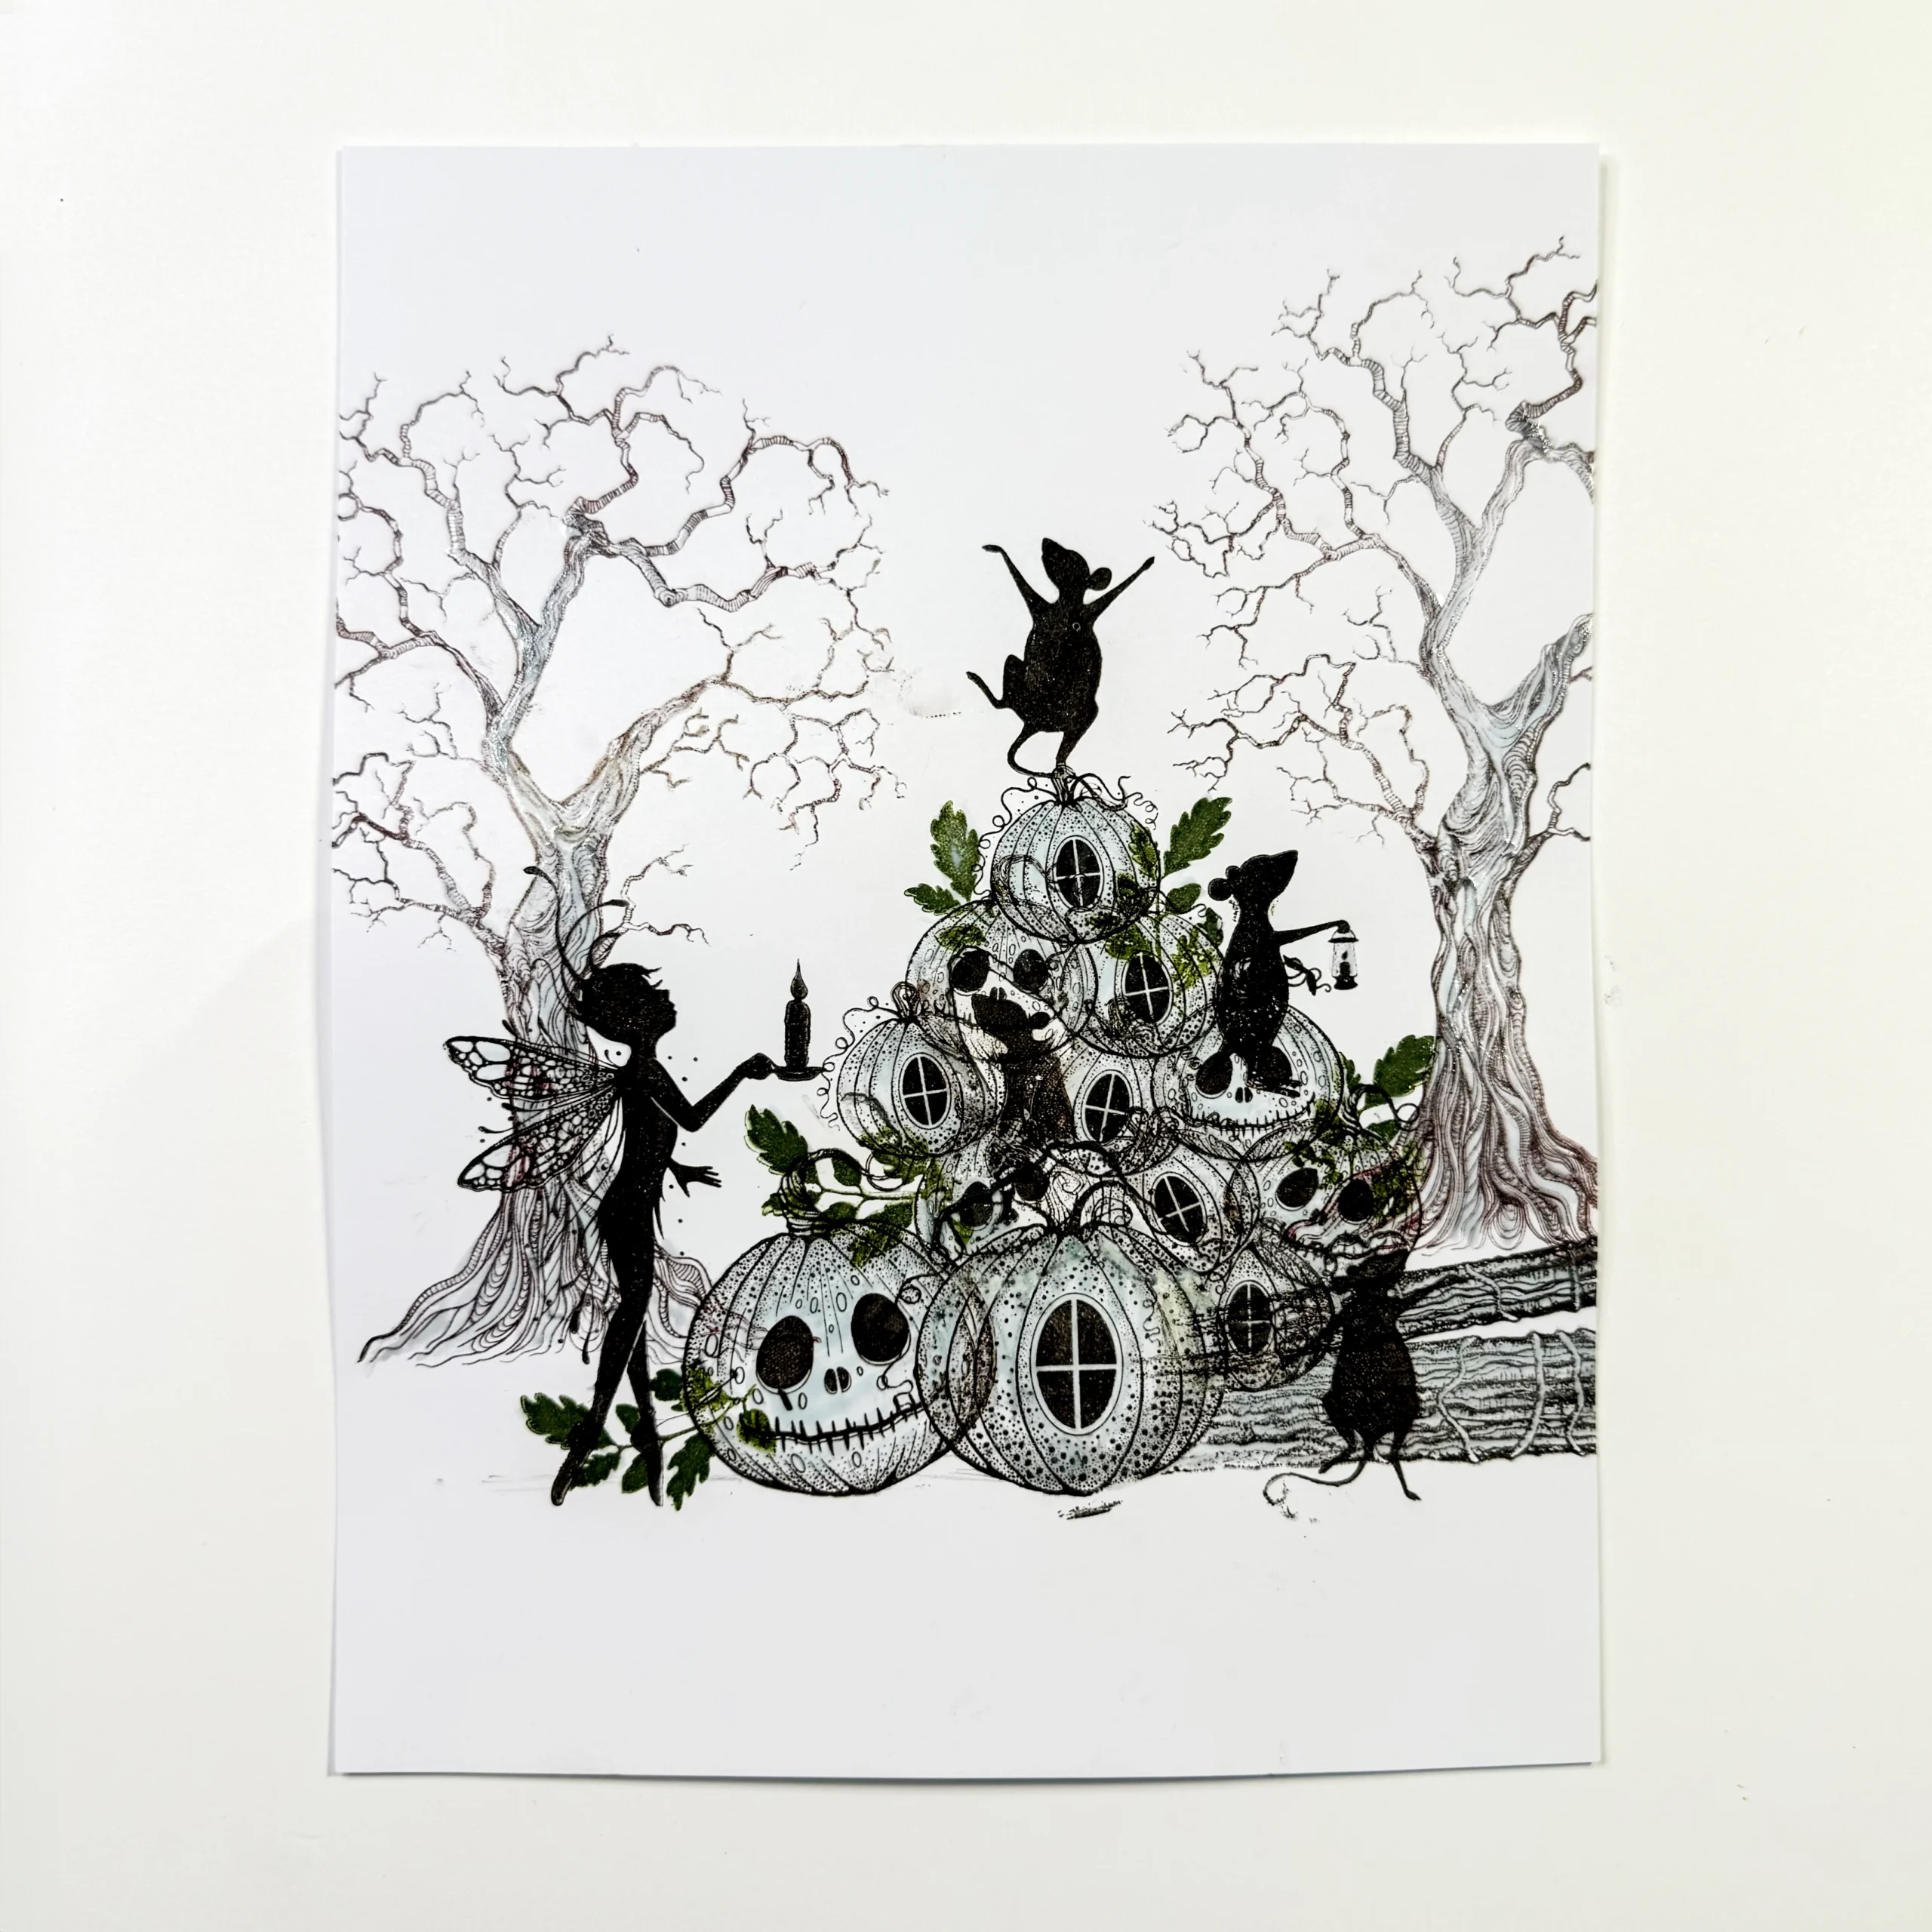
Picture 8.
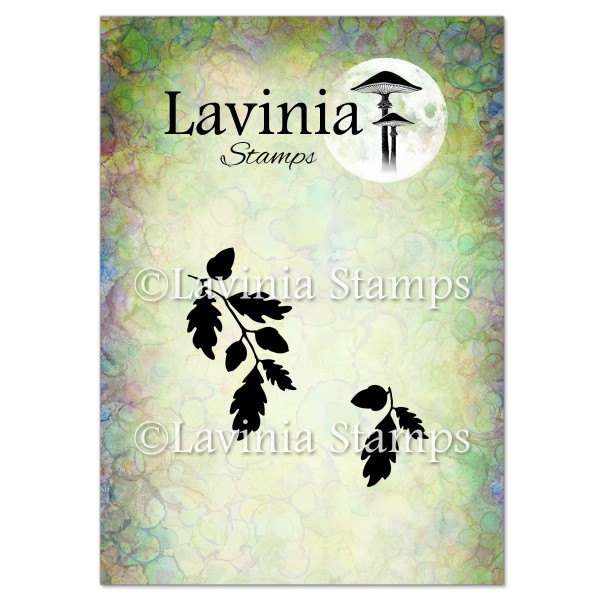
Stamp the leaves with Oak Leaf Flourish LAV760 in Versafine Clair Shady Lane.
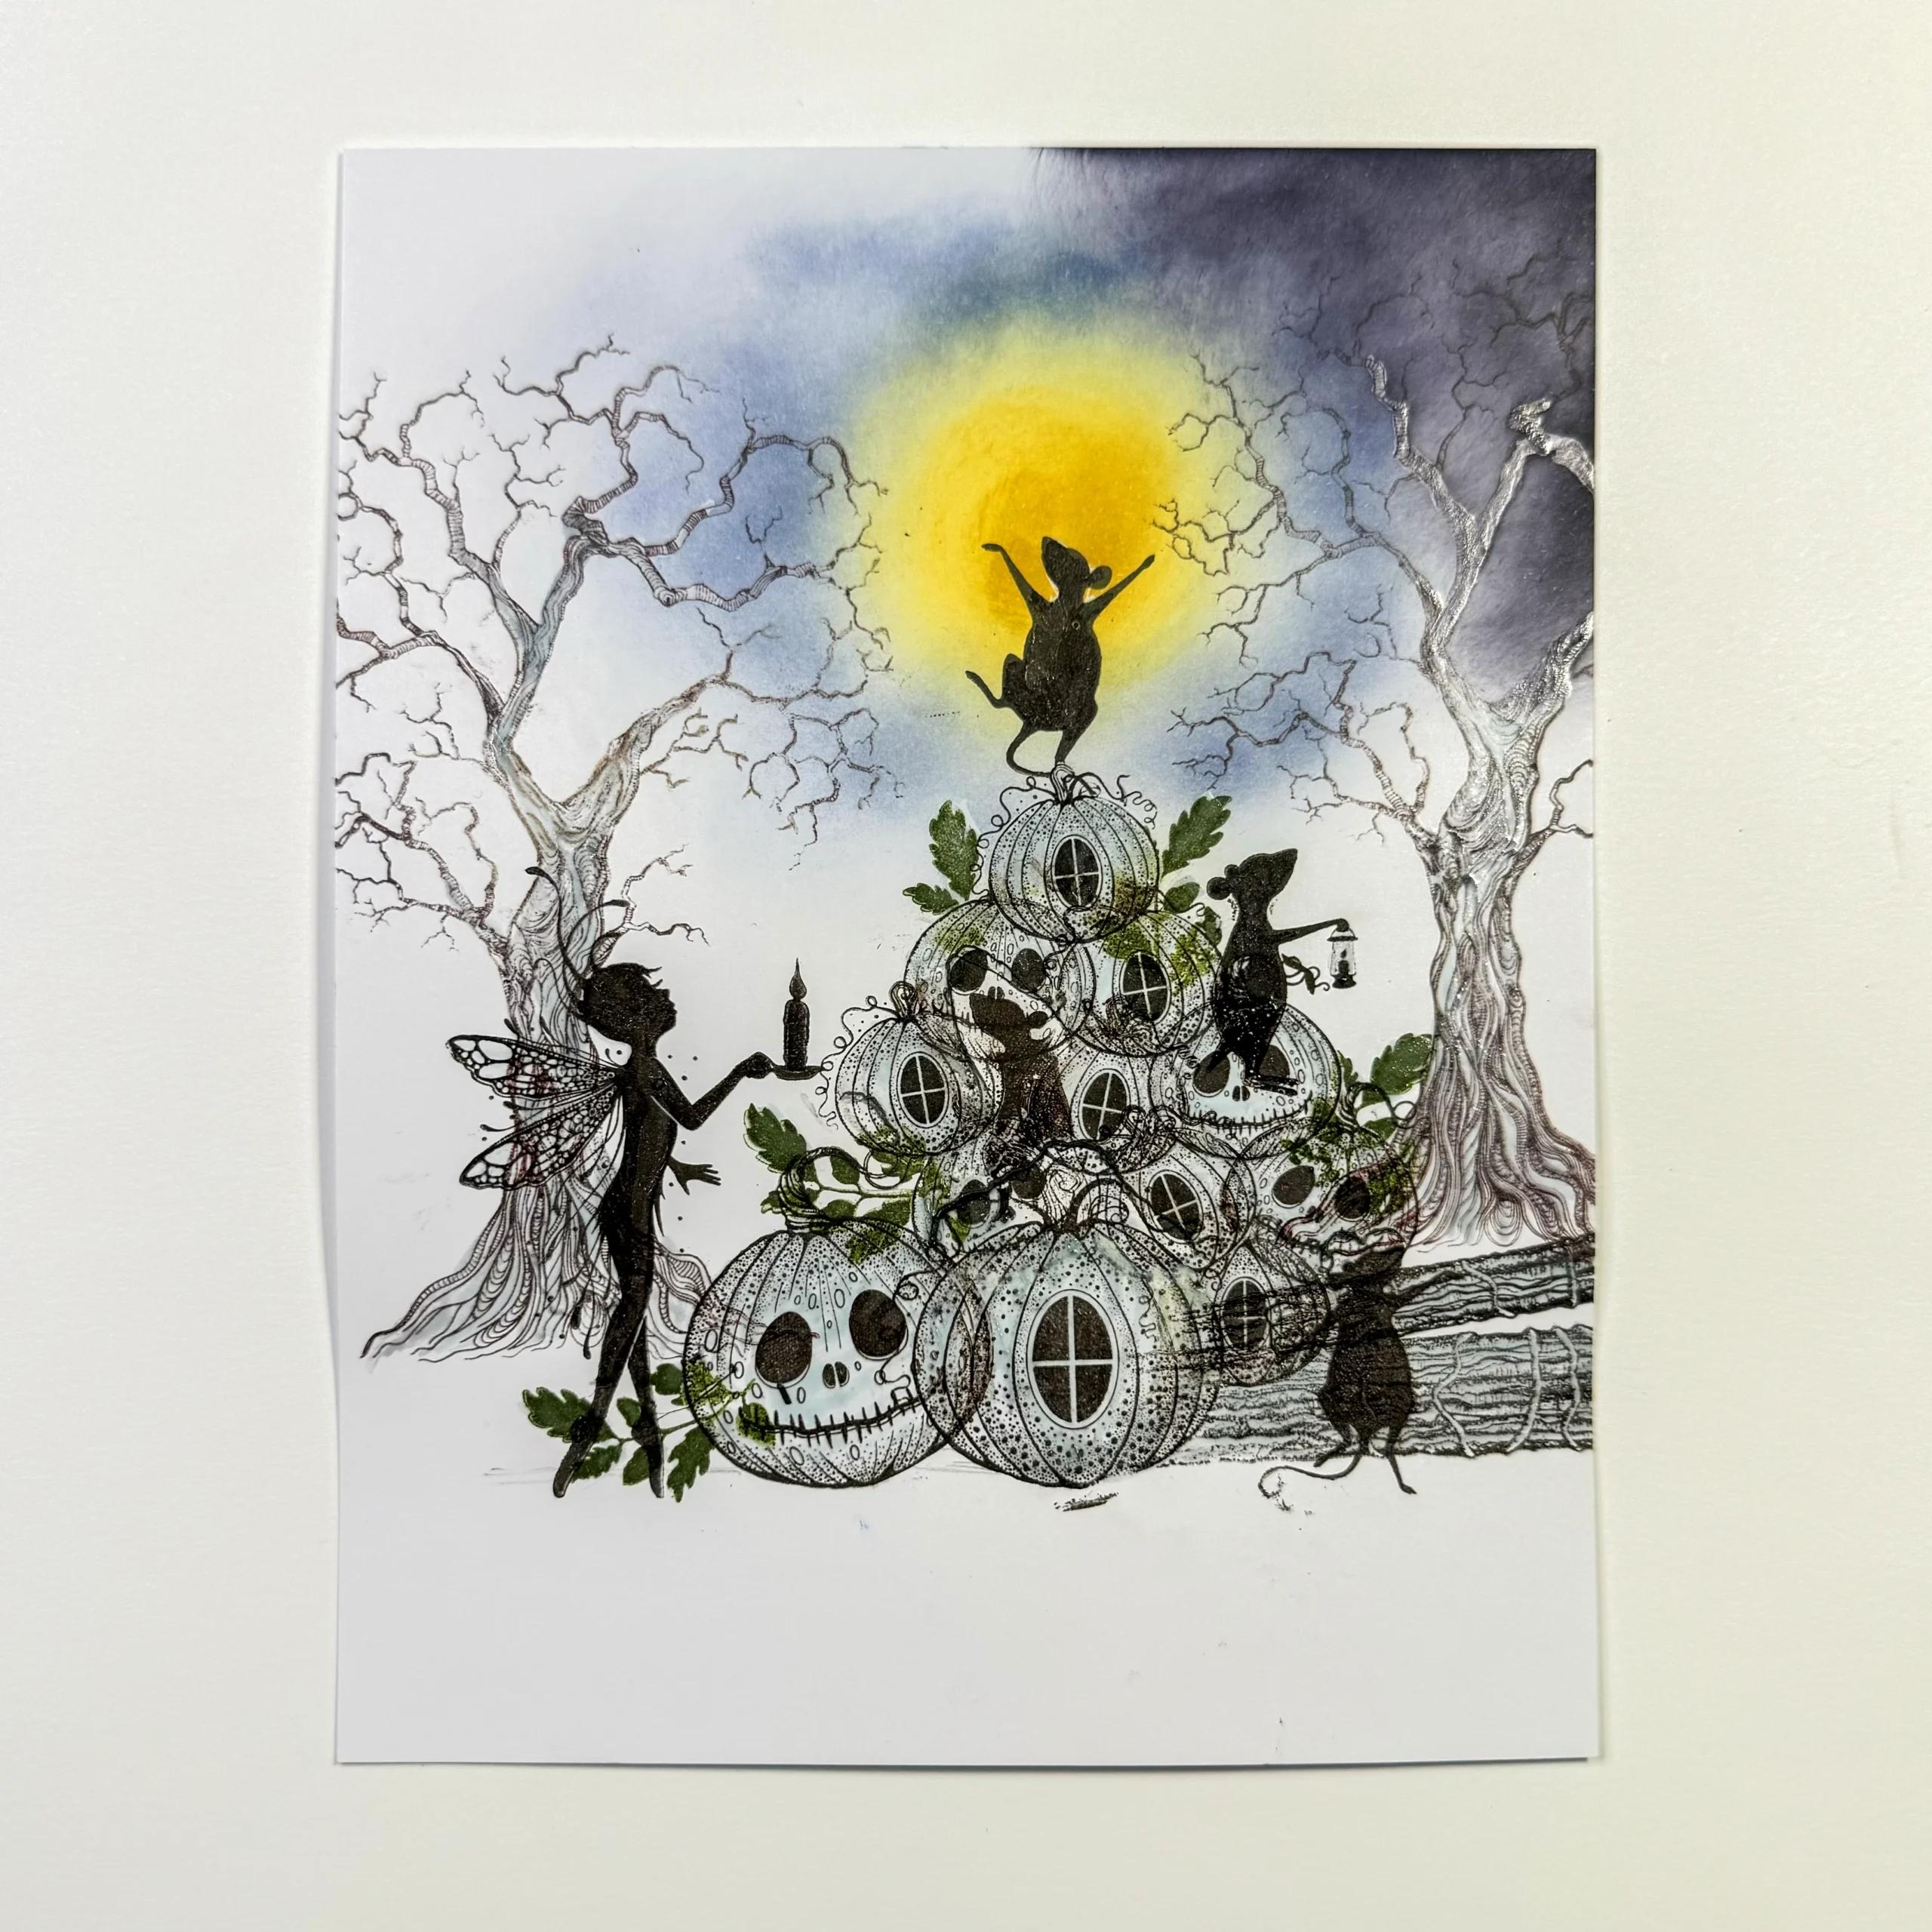
Picture 9.
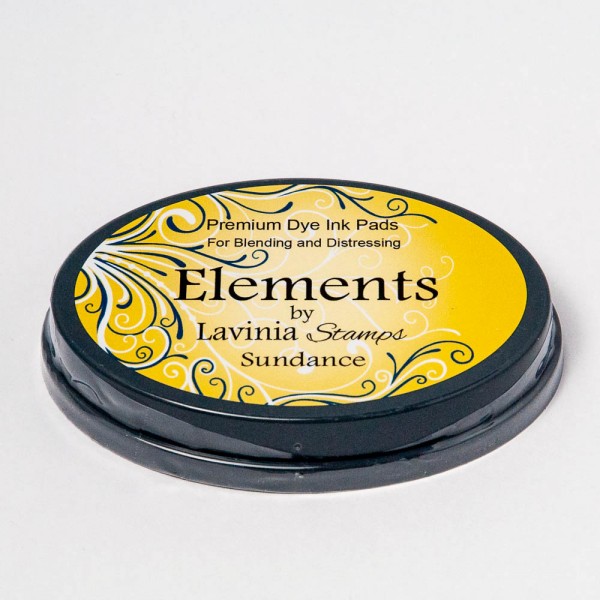
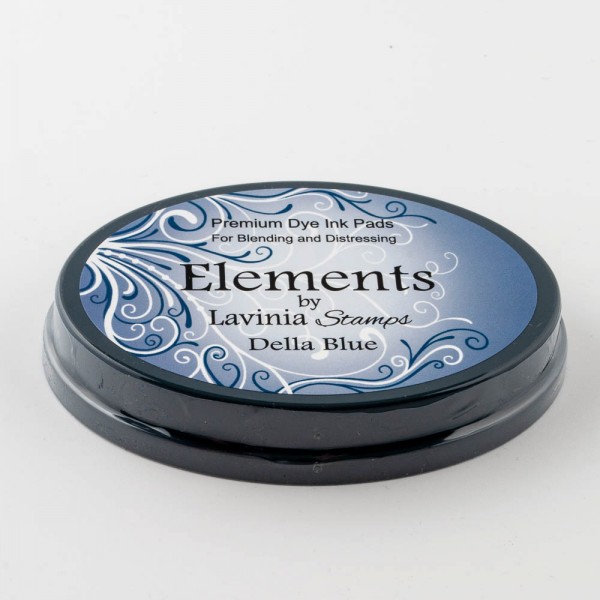
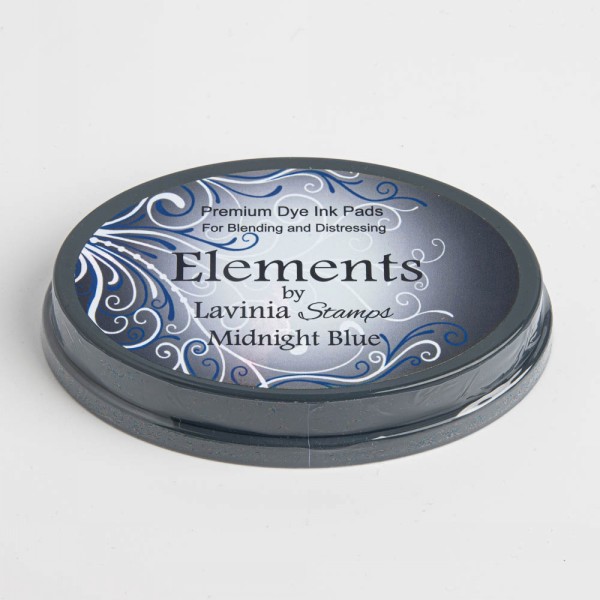
Now it’s time to make the background. Use a size 9 Blending Brush and start with the Elements Ink Sundance in the middle. Switch to Elements Ink Della Blue and work outwards and then Elements Ink Midnight Blue at the far end.
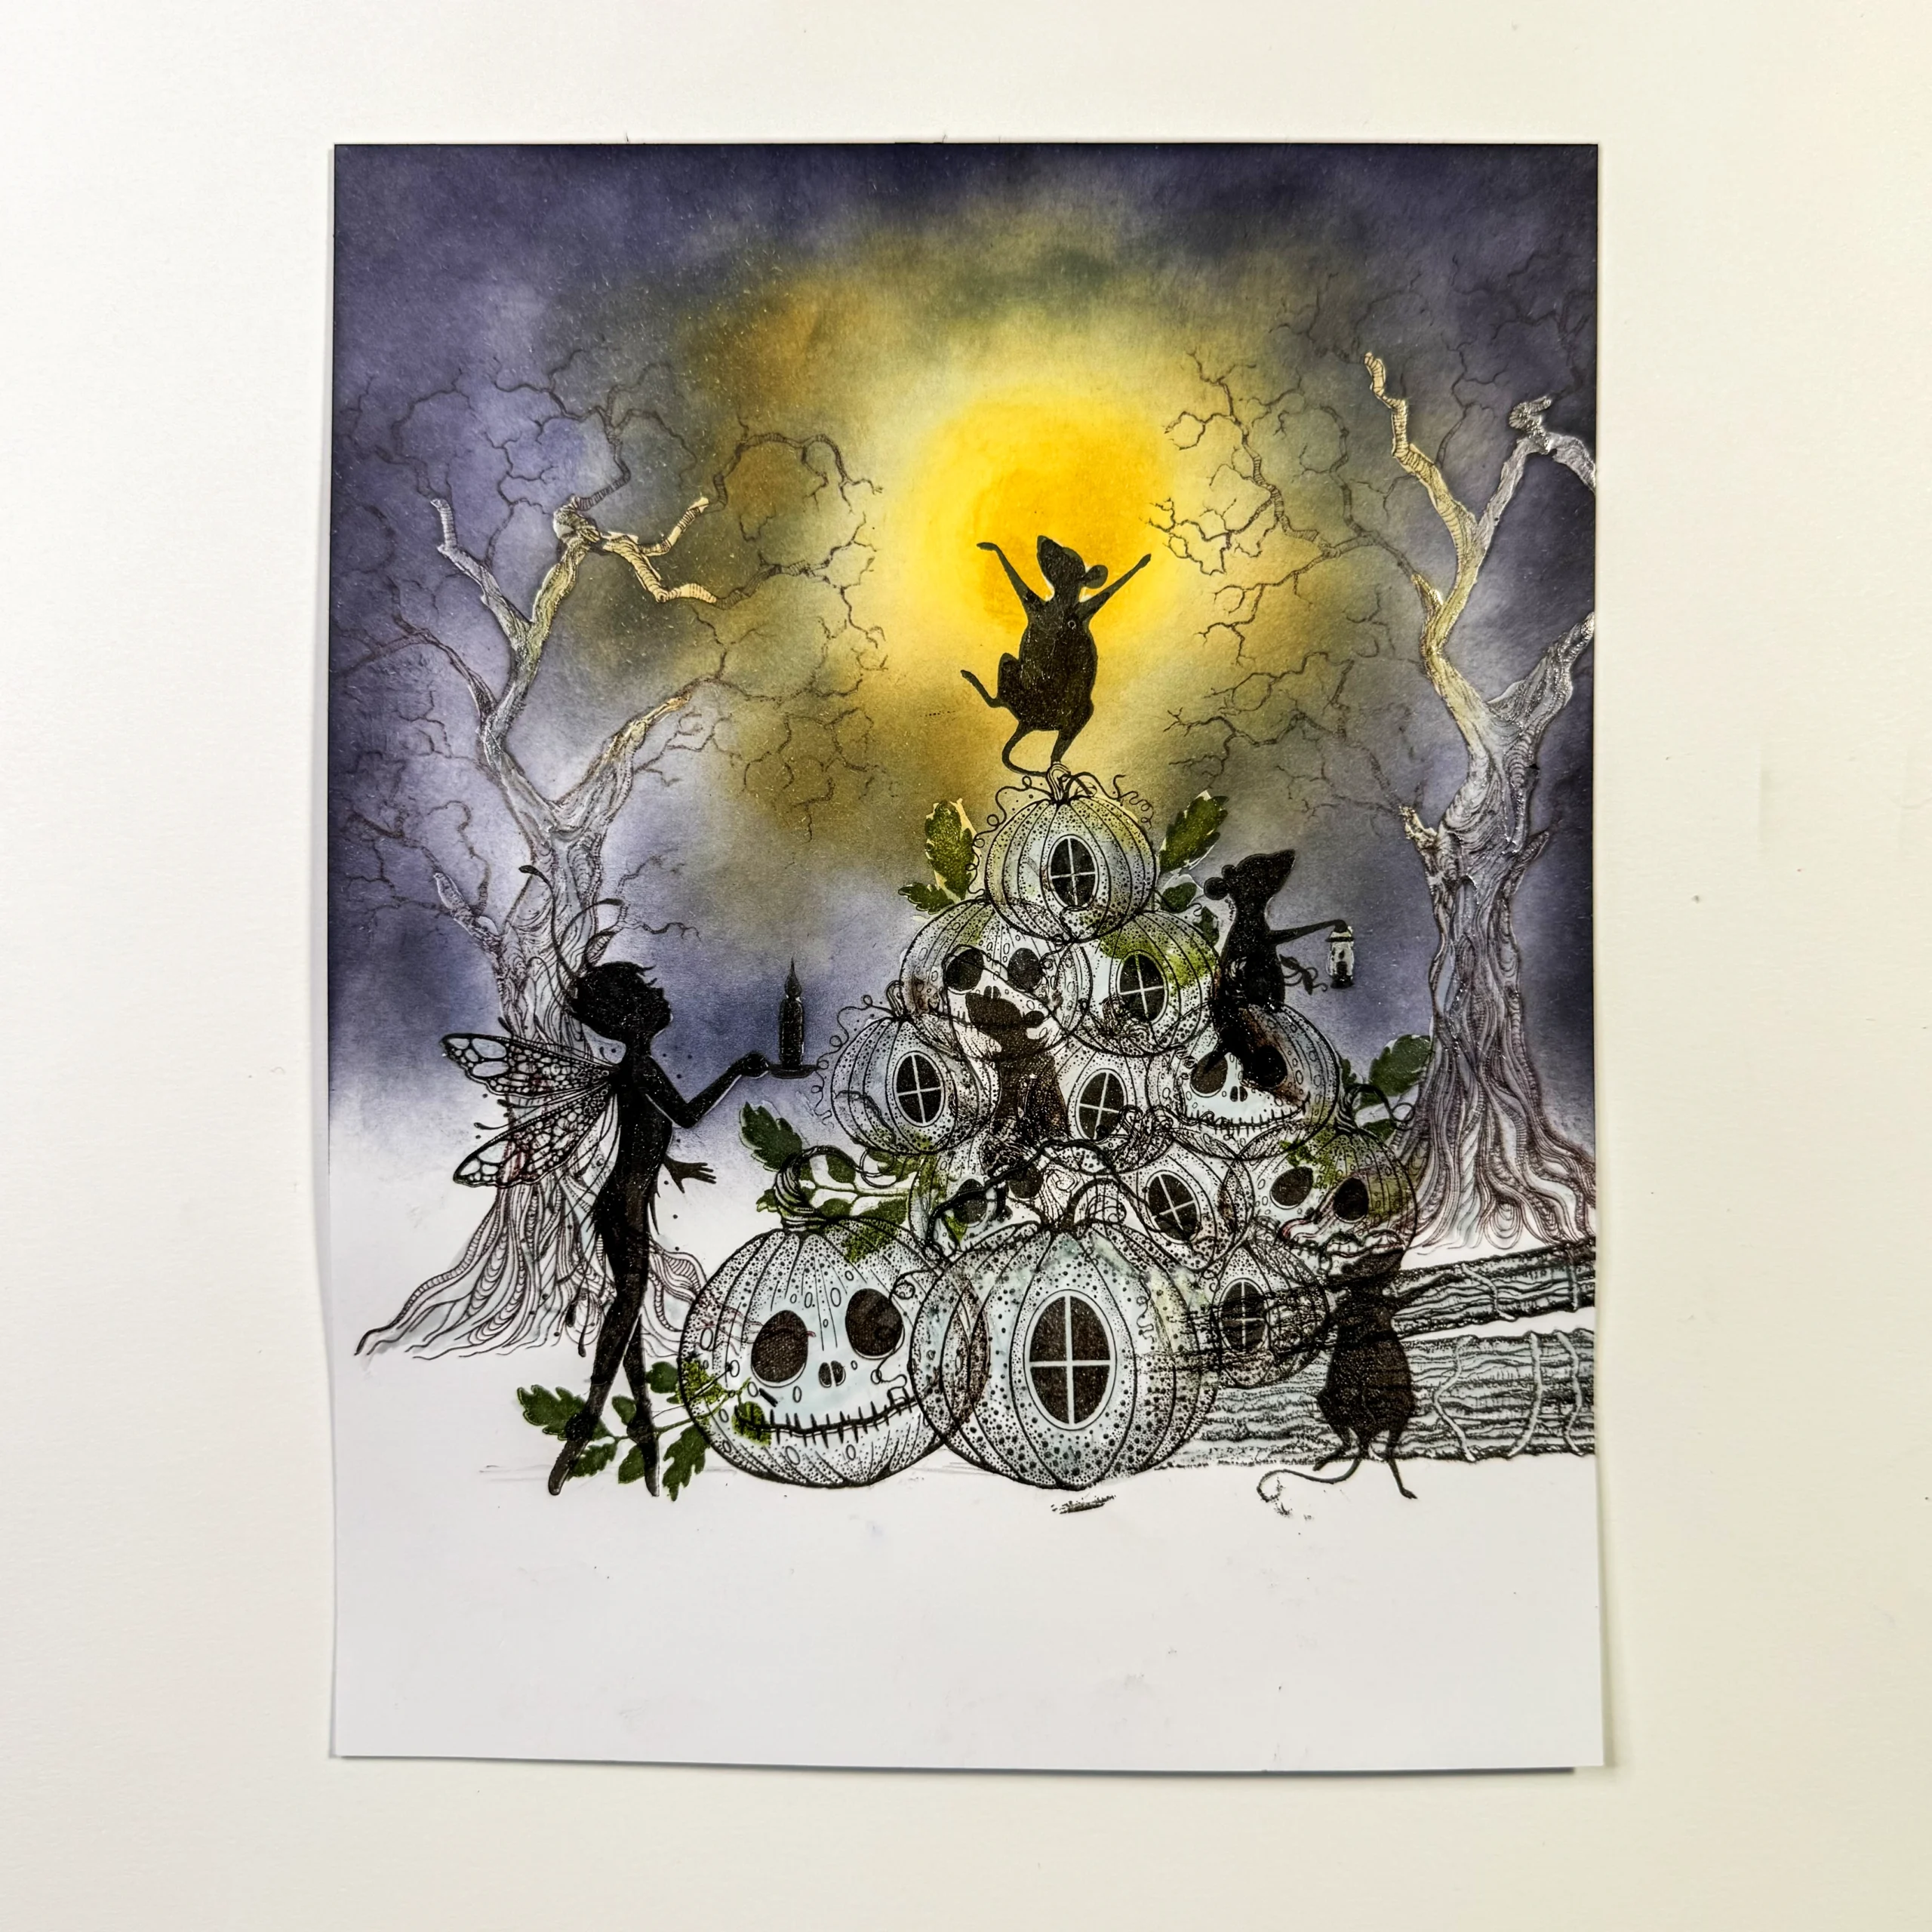
Picture 10.
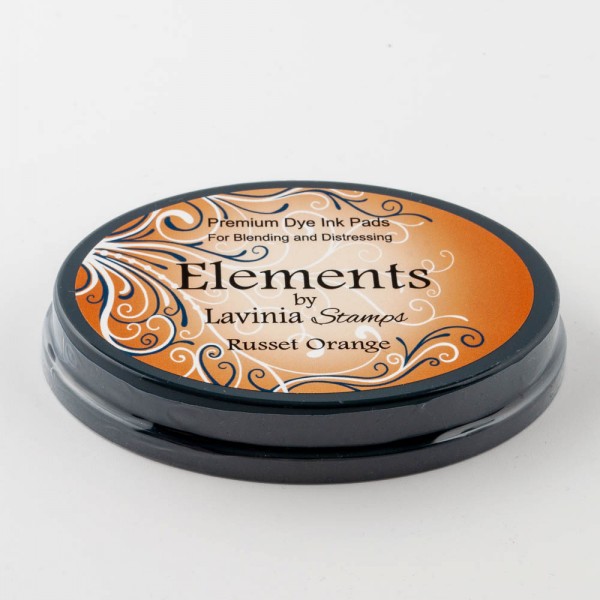
Use Elements Ink Russet Orange and blend around the yellow and a bit over the blue. Add more colour if you want a darker background.
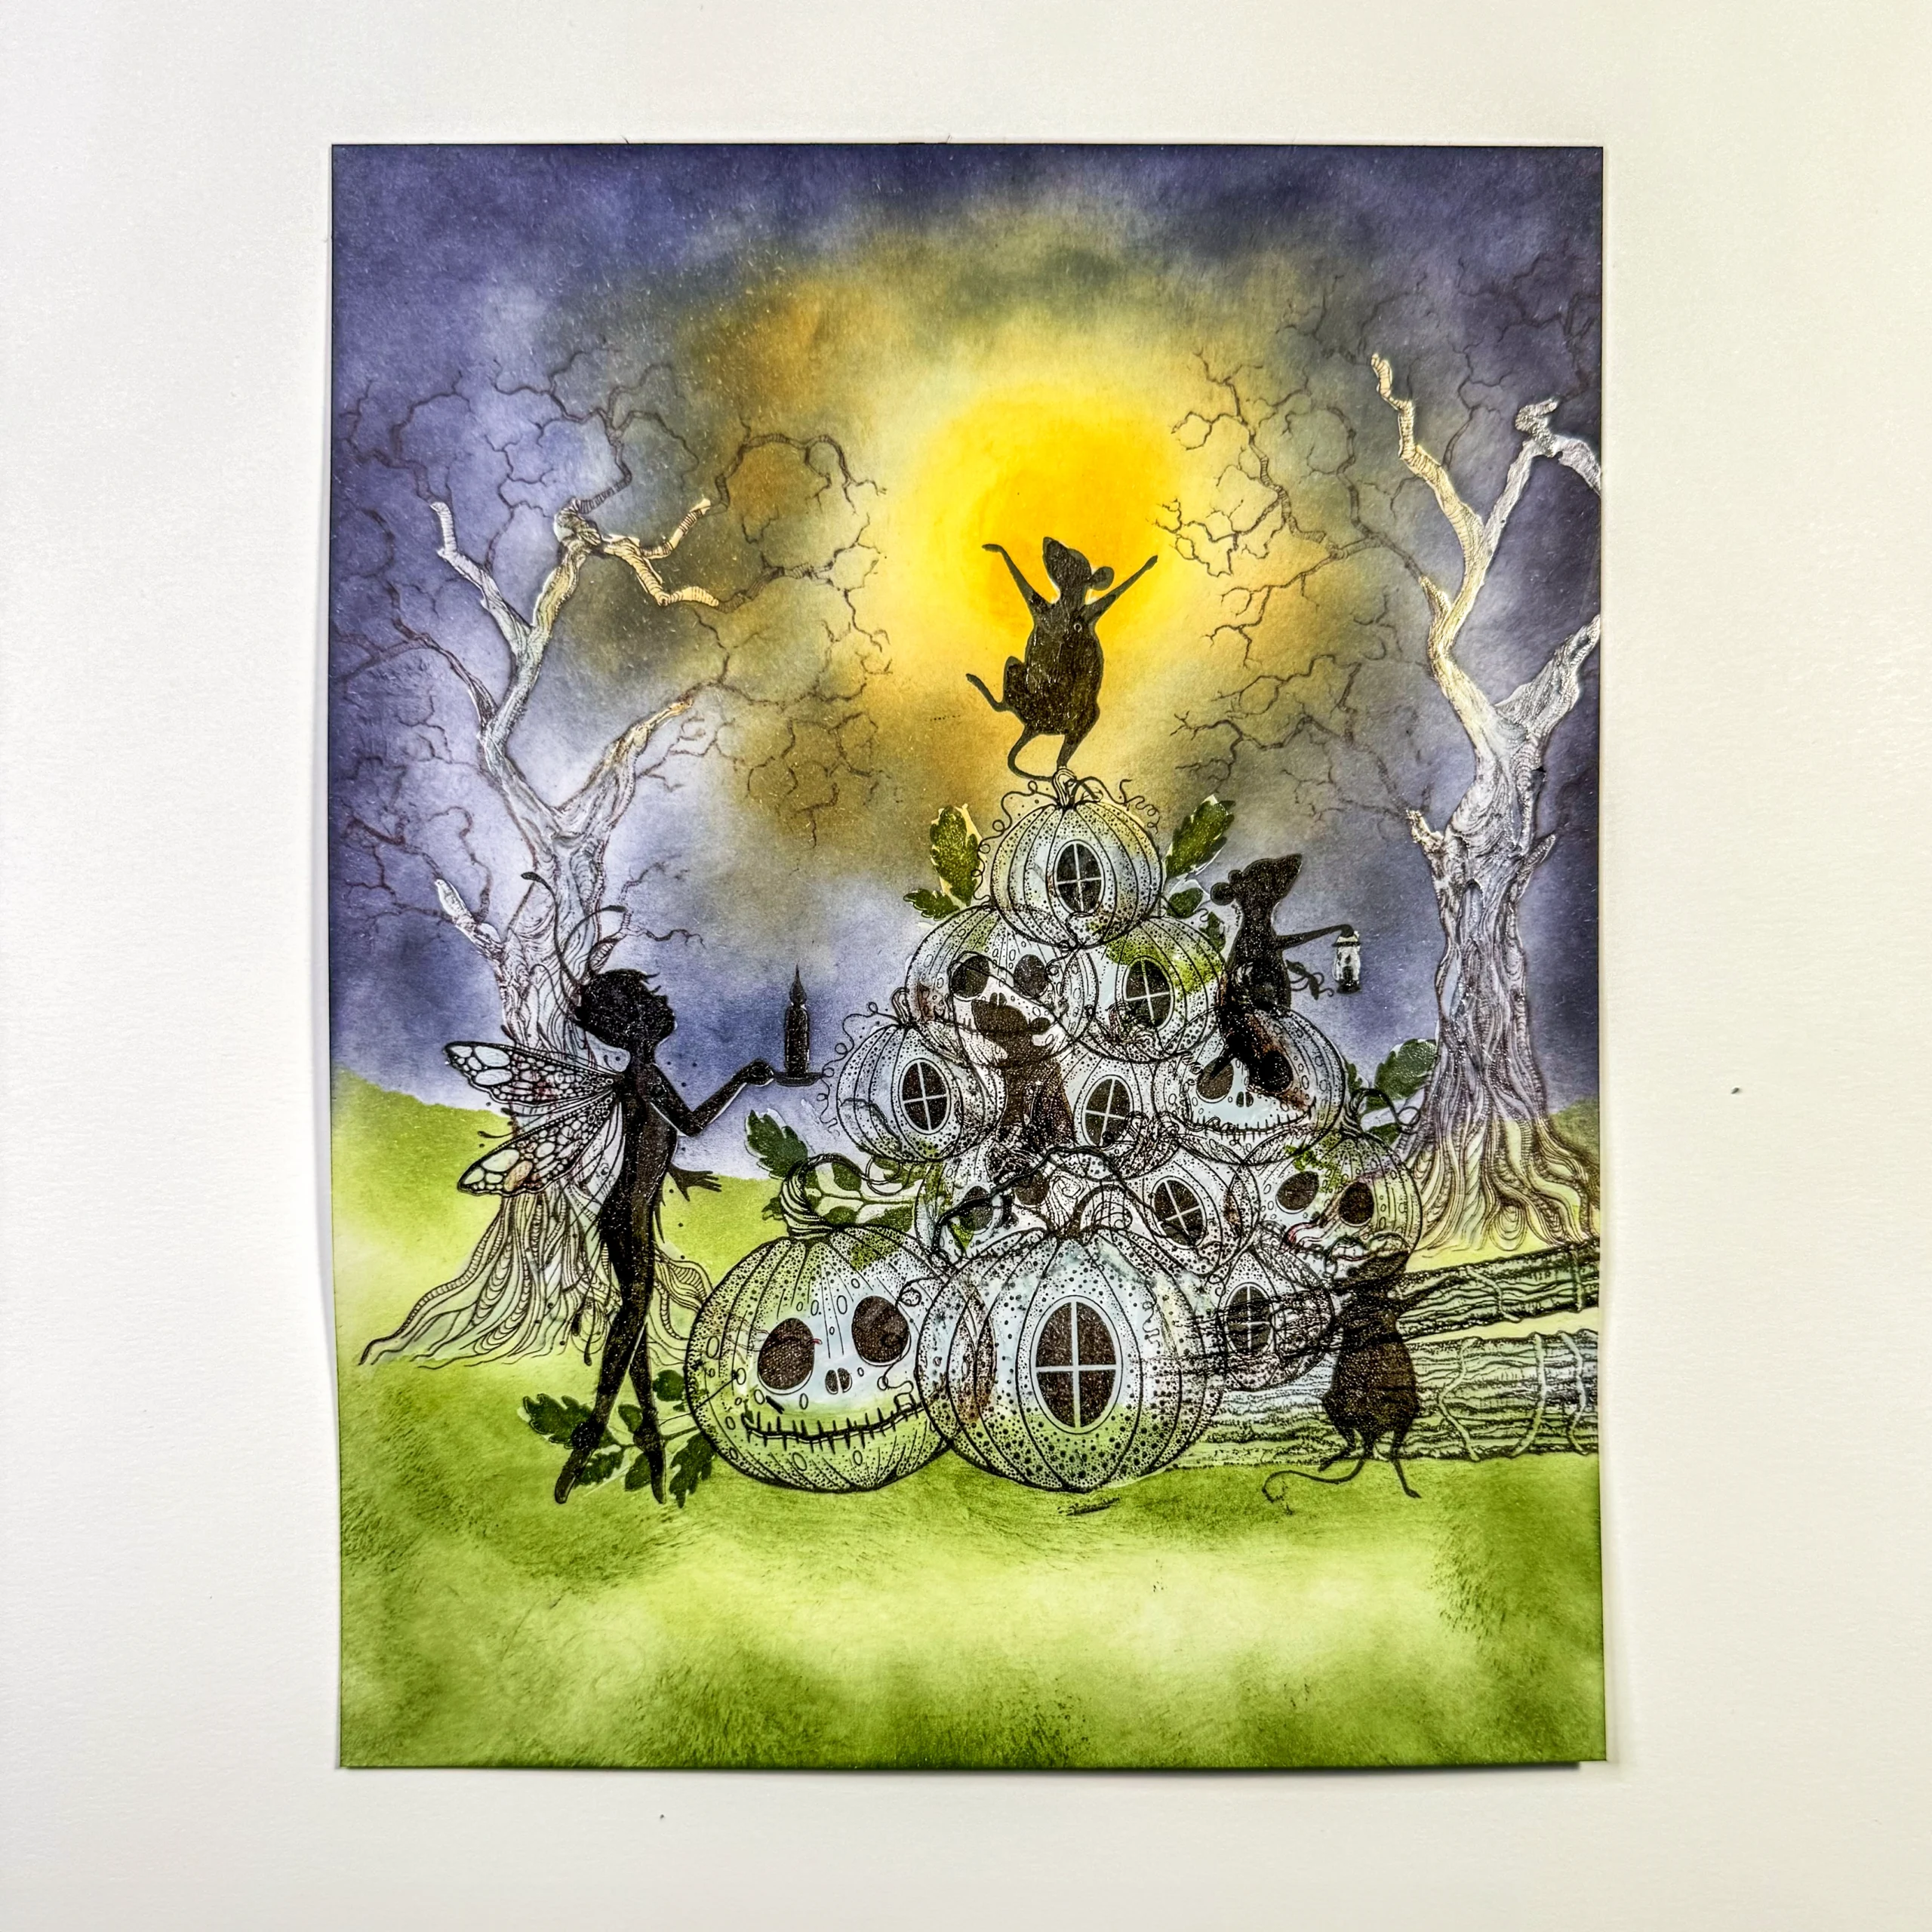
Picture 11.
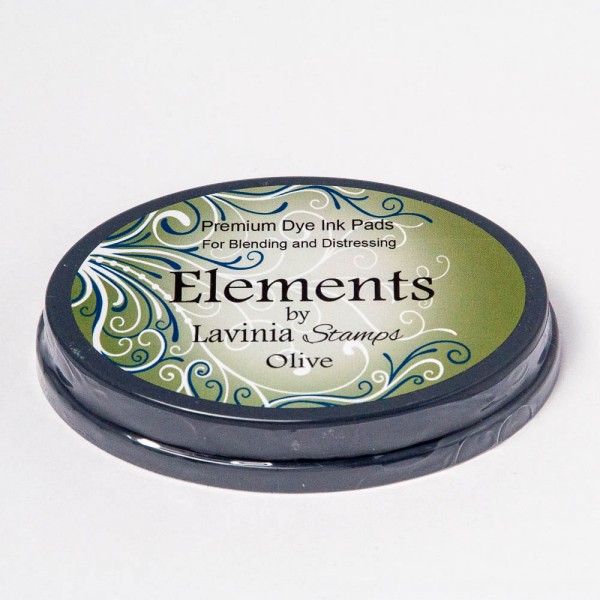
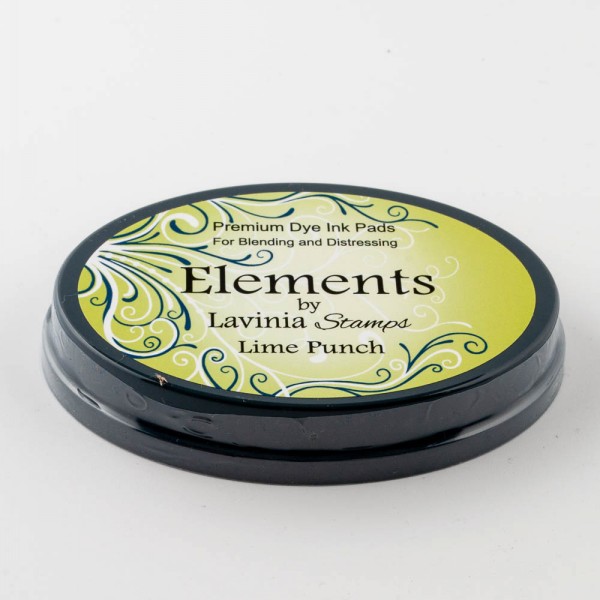
Take a piece of torn paper or use one of the Hill Masks to create the grass. Use the Elements Ink Lime Punch. Darken certain areas with Elements Ink Olive.
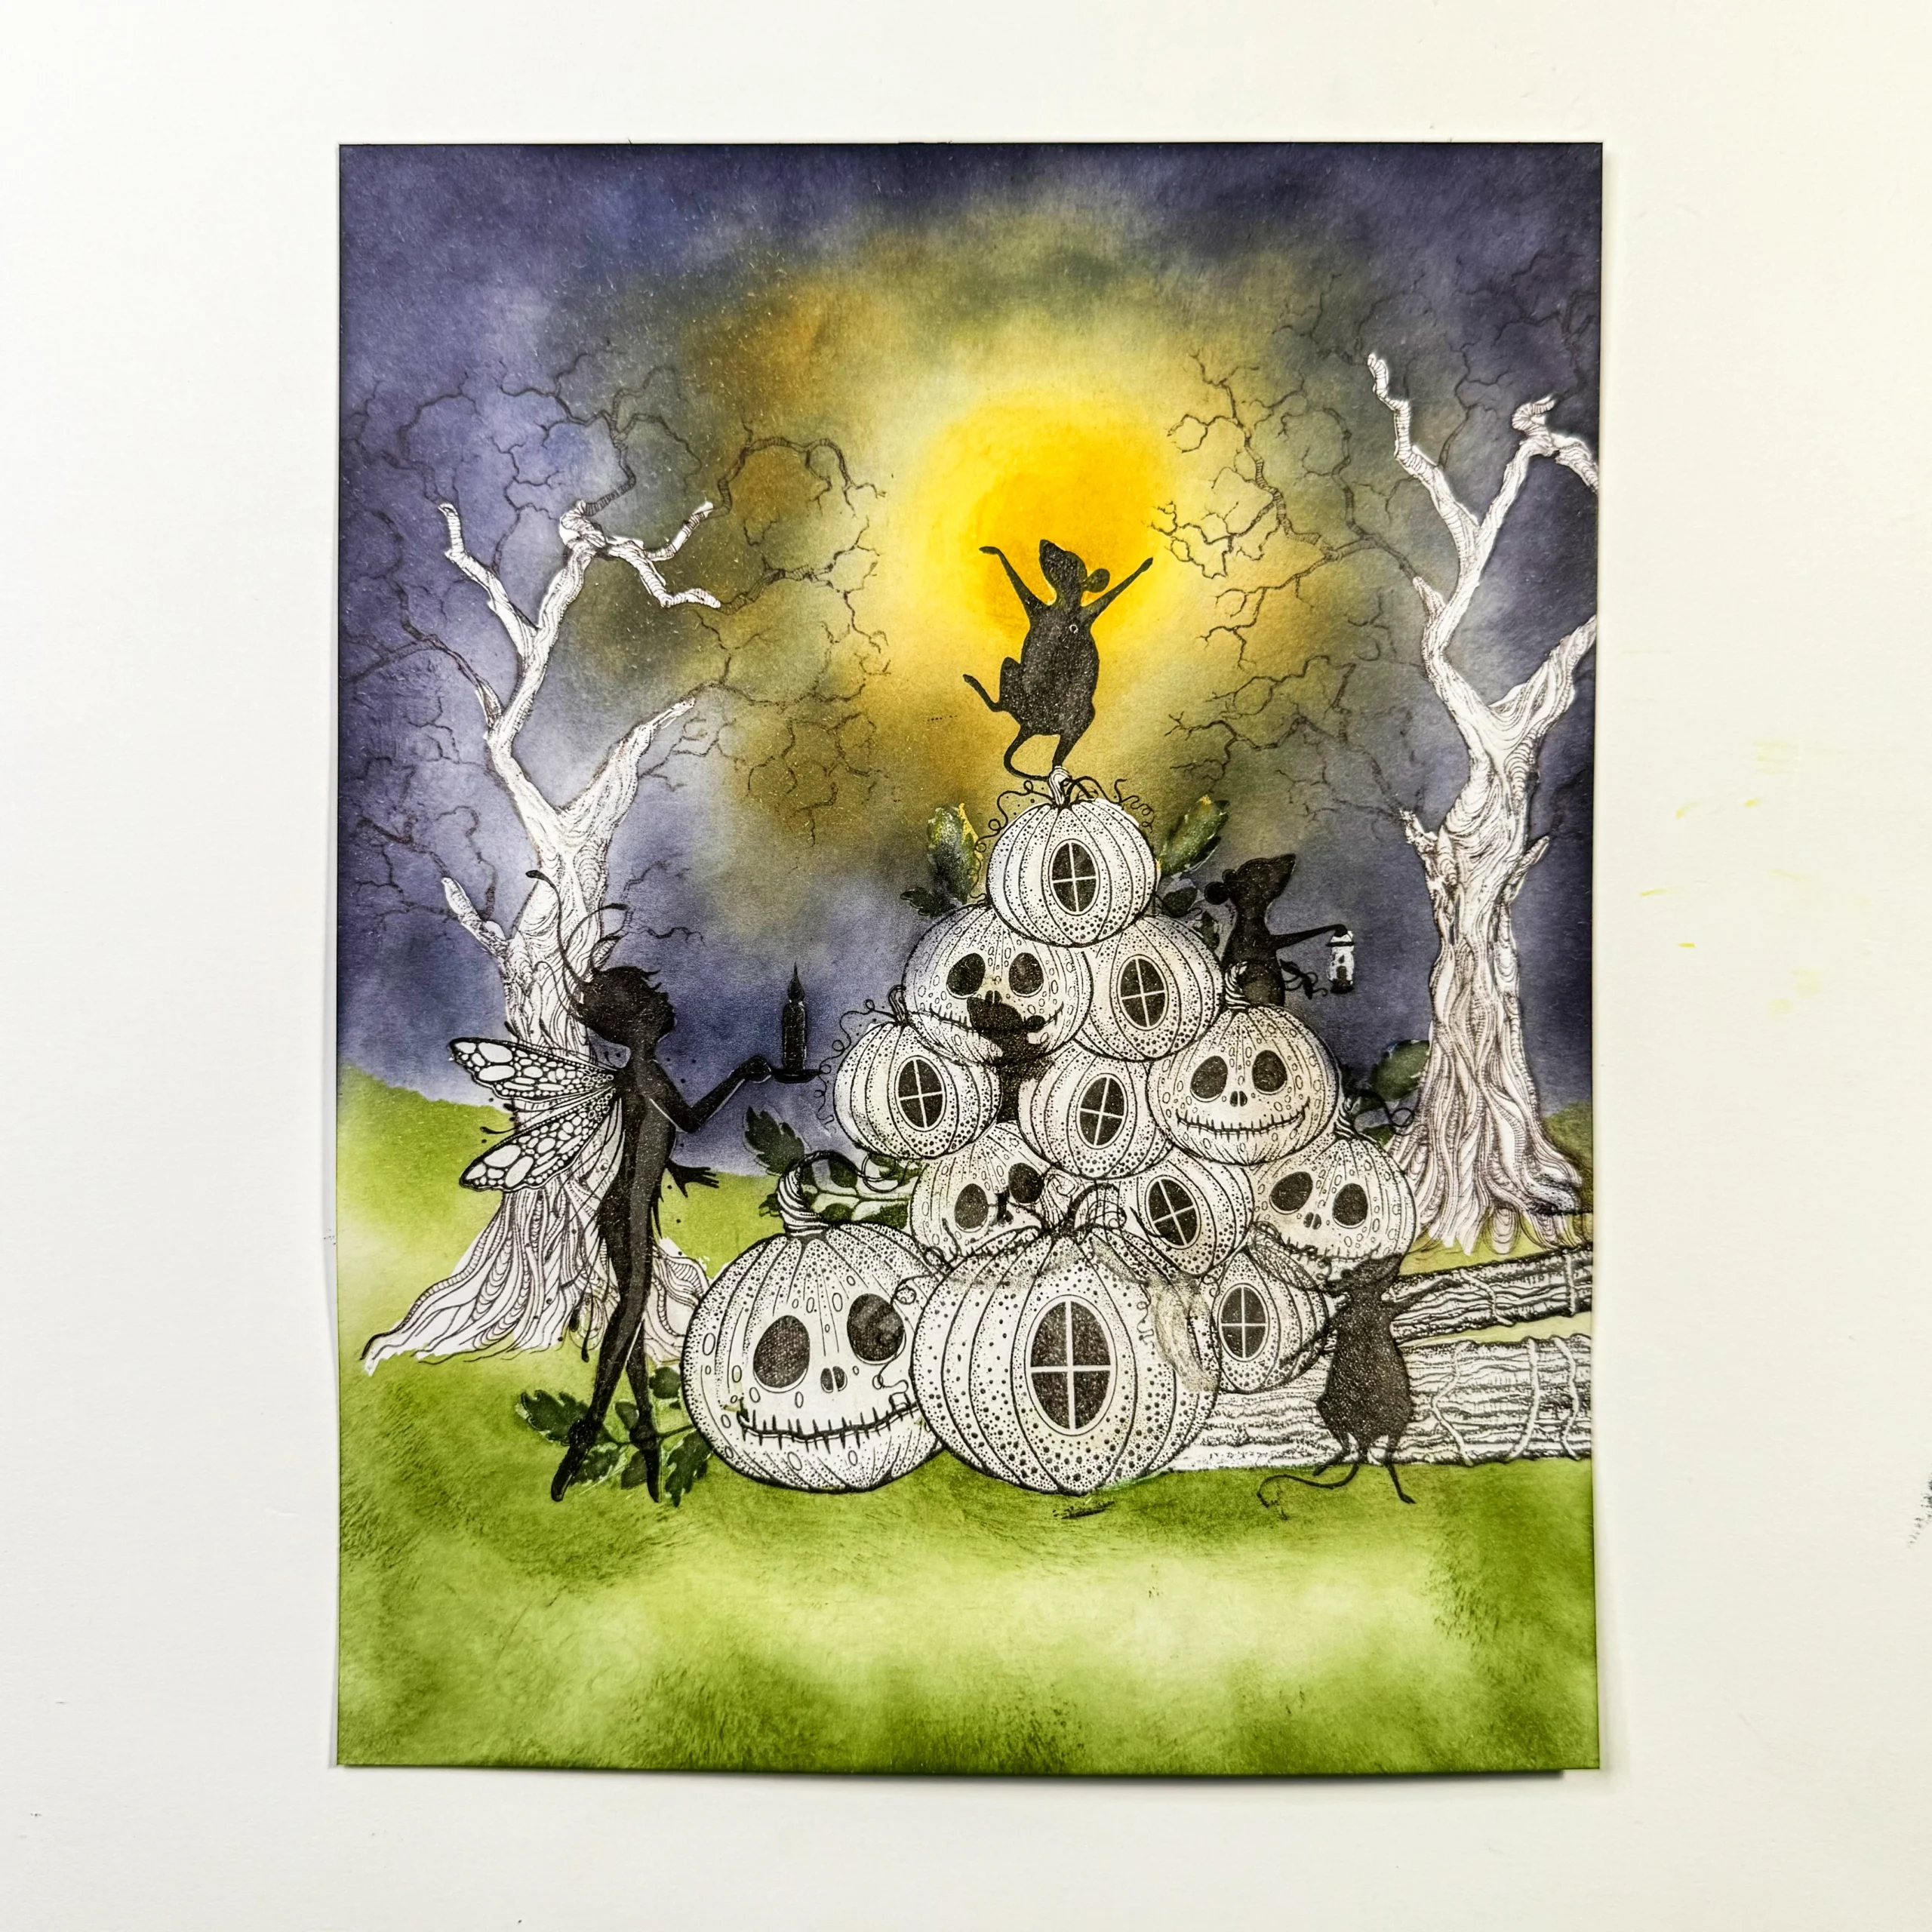
Picture 12.
Remove all of the Masking Fluid.
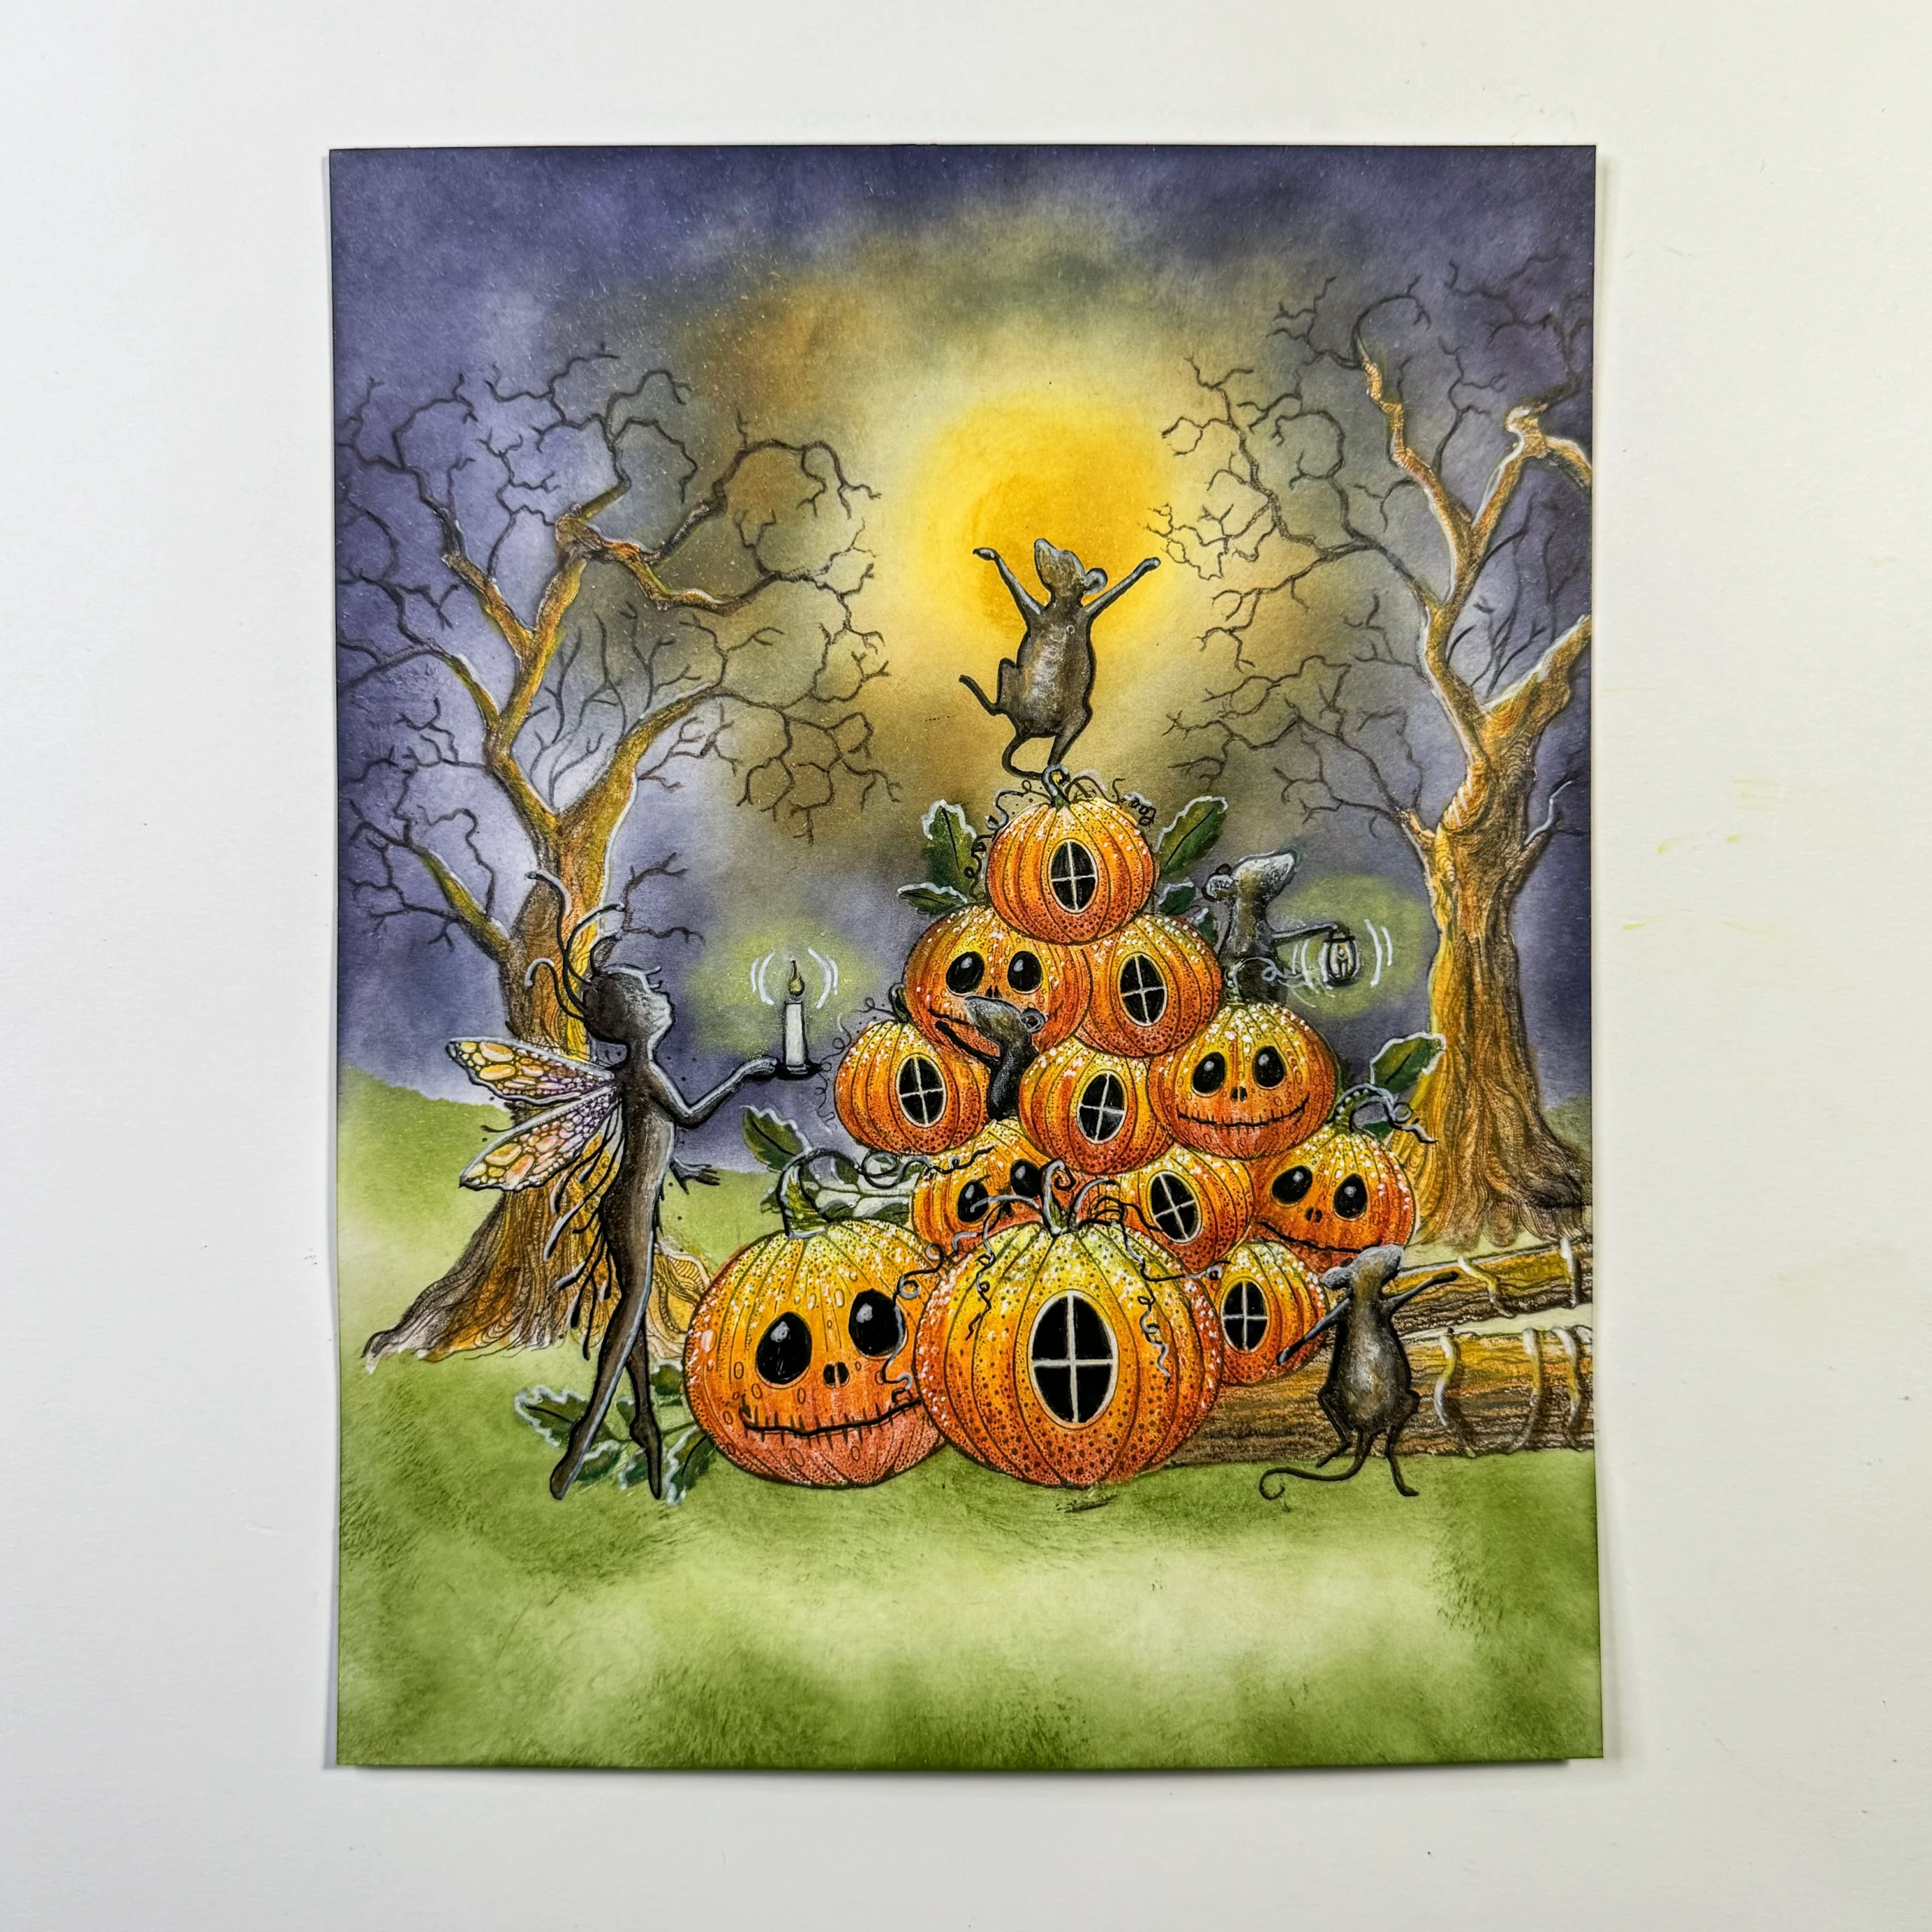
Picture 13.
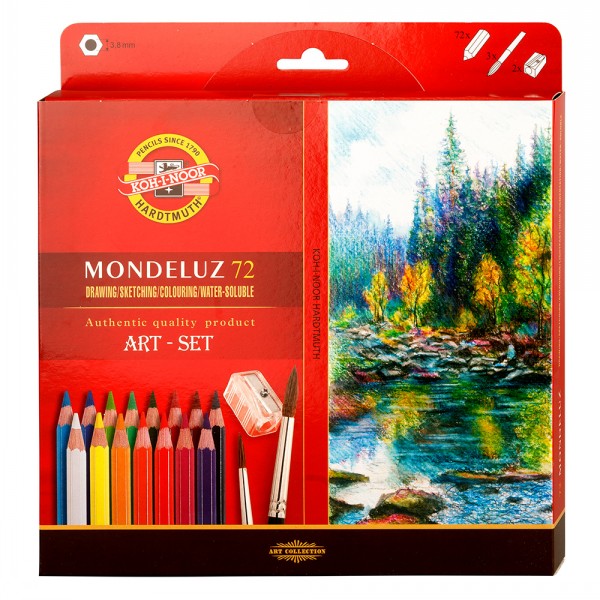
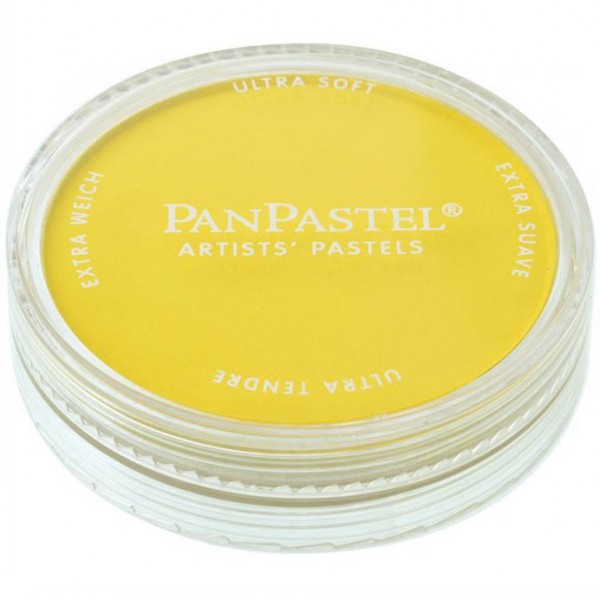
Time to colour everything. I use the lovely Mondeluz Watercolour pencils. The pumpkins I colour in yellow, light orange, orange and brown orange. The trees and logs in yellow, ochre, medium brown, dark brown and black. The leaves in green and yellow. The pumpkins eyes and windows I add some black Fineliner pencil. Colour the fairy and the mice in black, brown and ochre. For the highlights use a white Posca pen. Use the Yellow Pan pastel to ”light up” around the candle and lantern. Fill in the branches of the trees with dark brown watercolour pencil if necessary. I drew some extra branches in the middle of the trees as well.
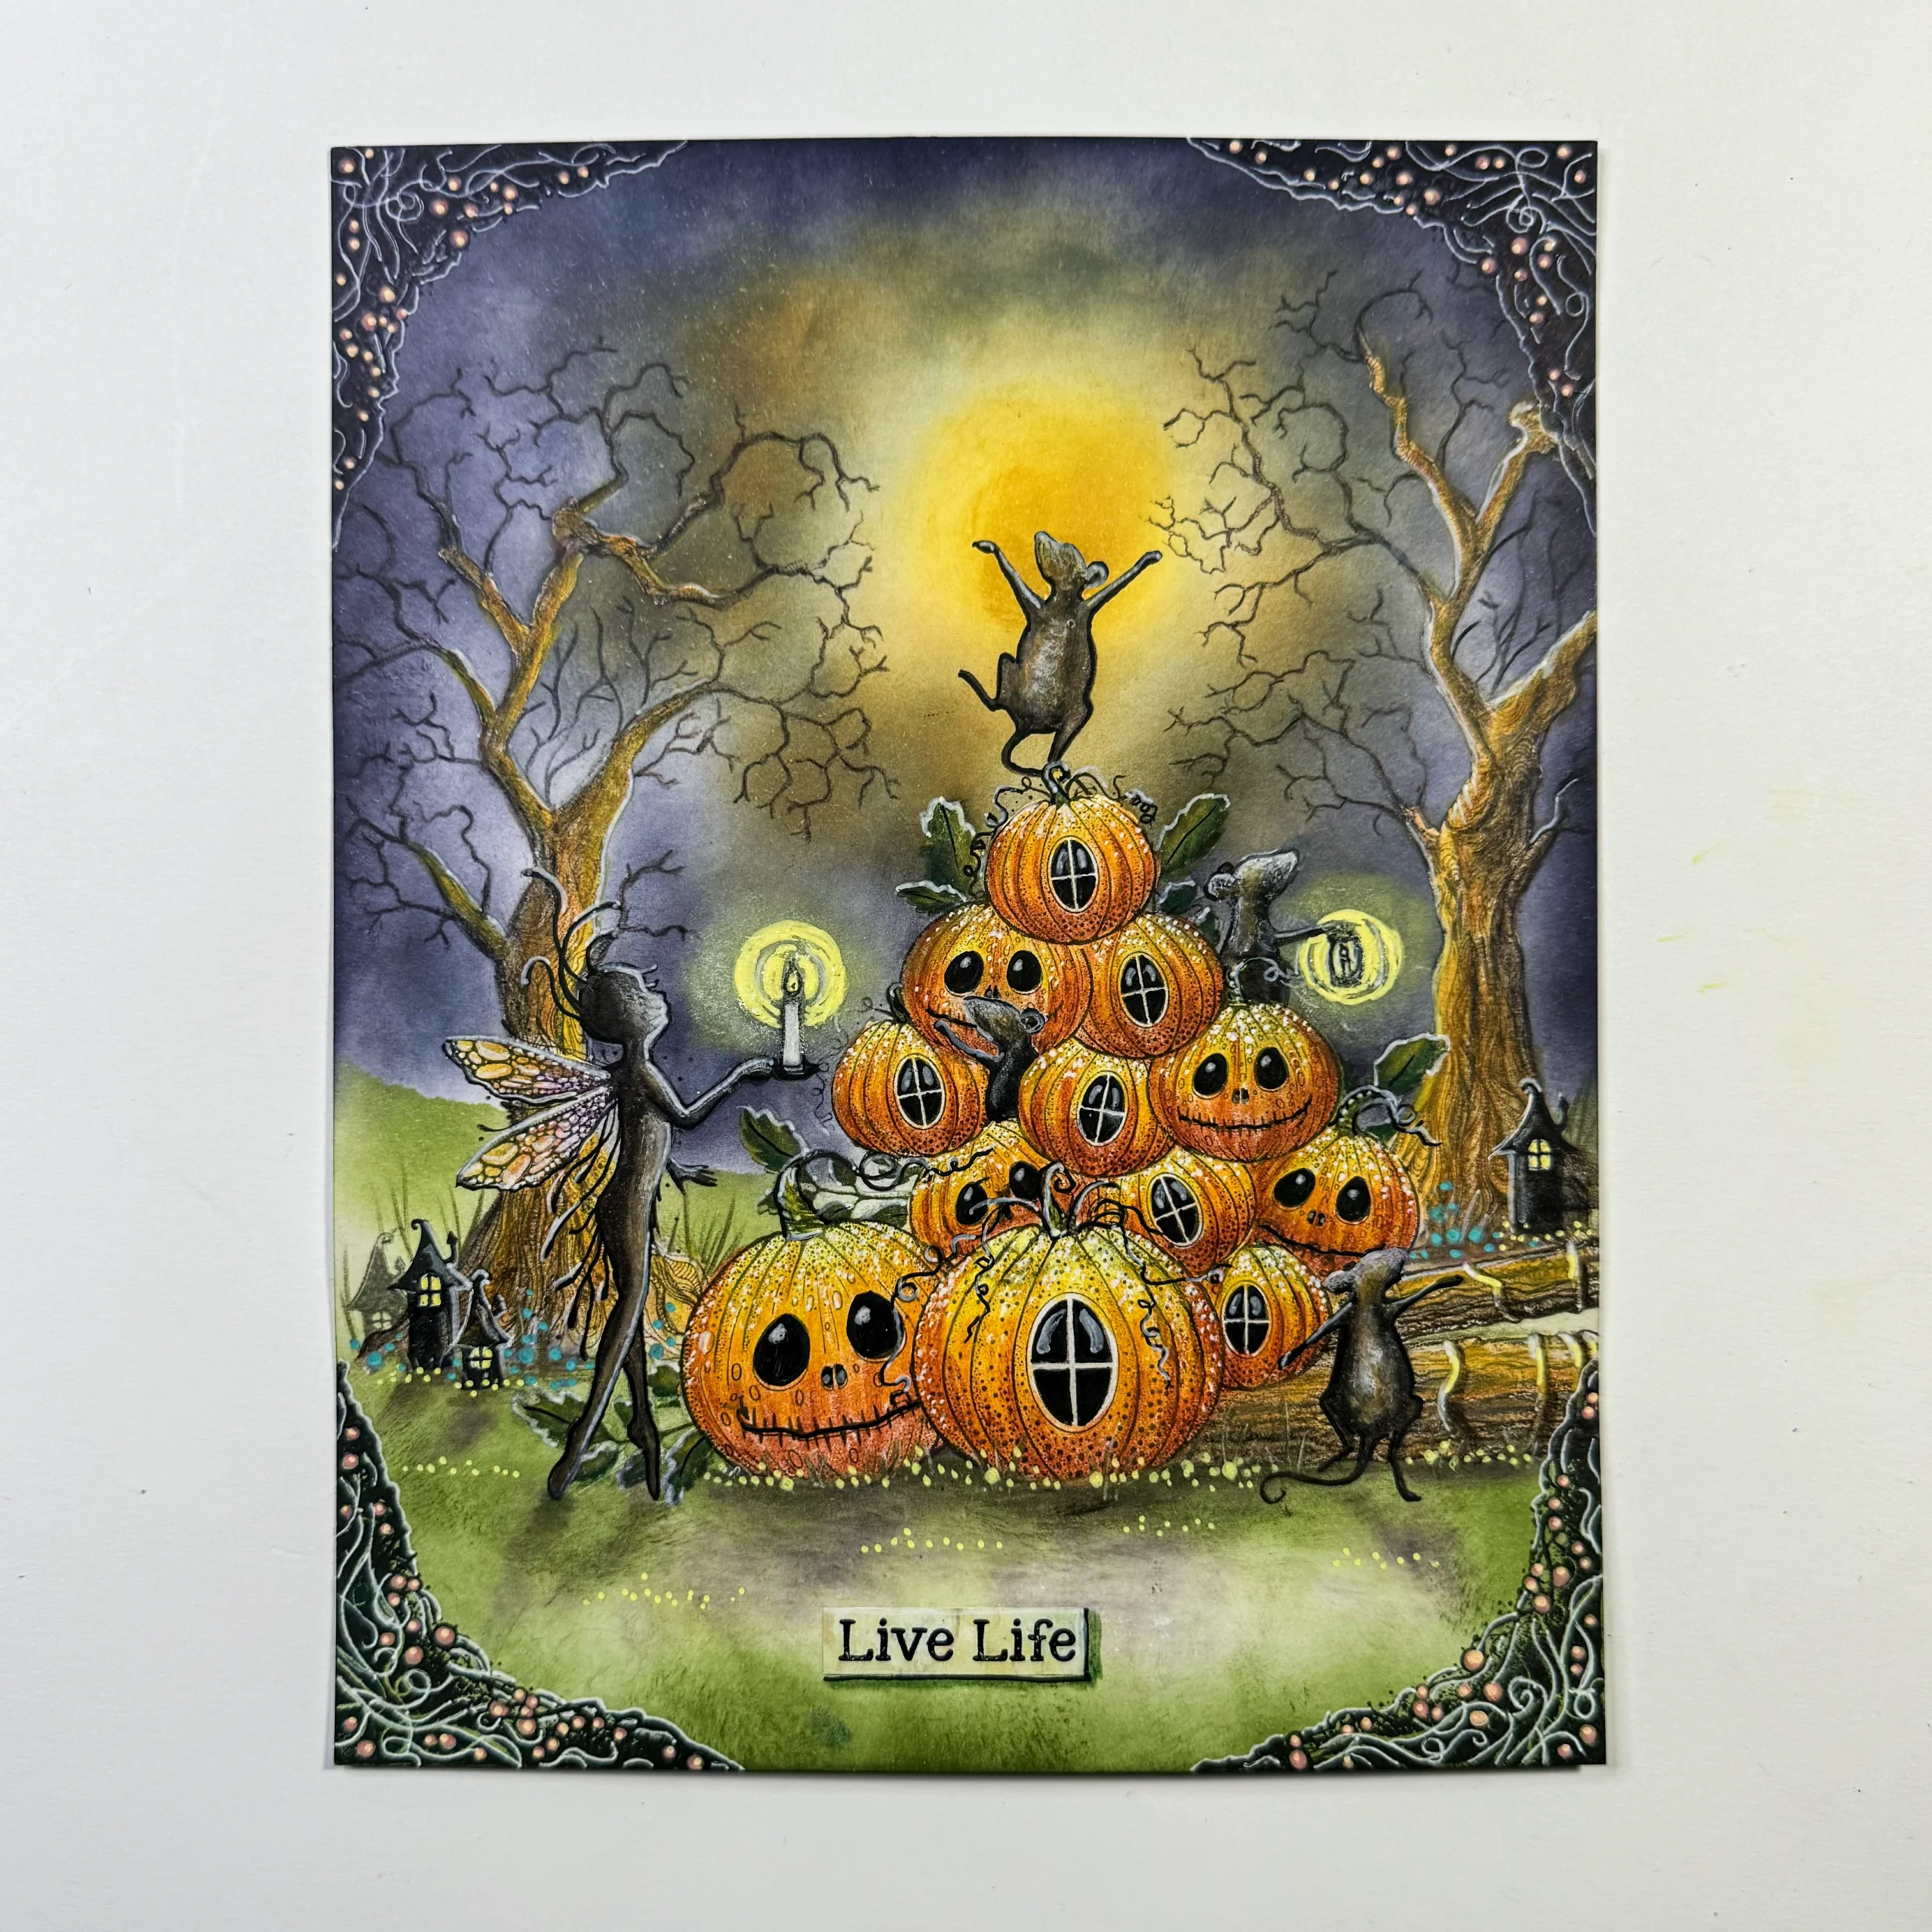
Picture 14.
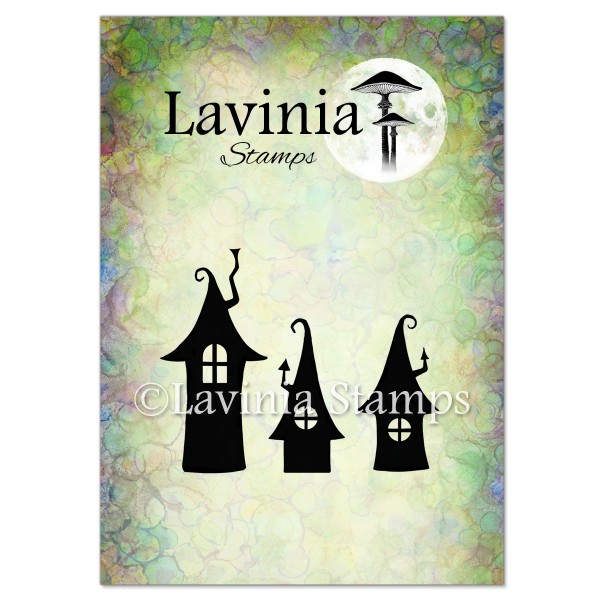
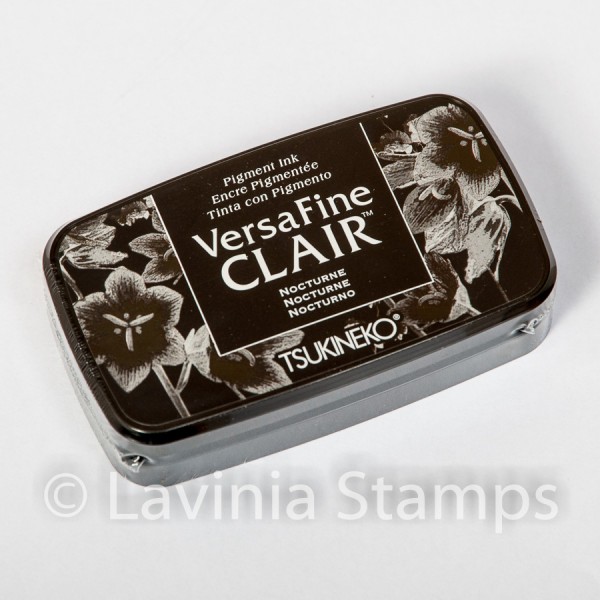
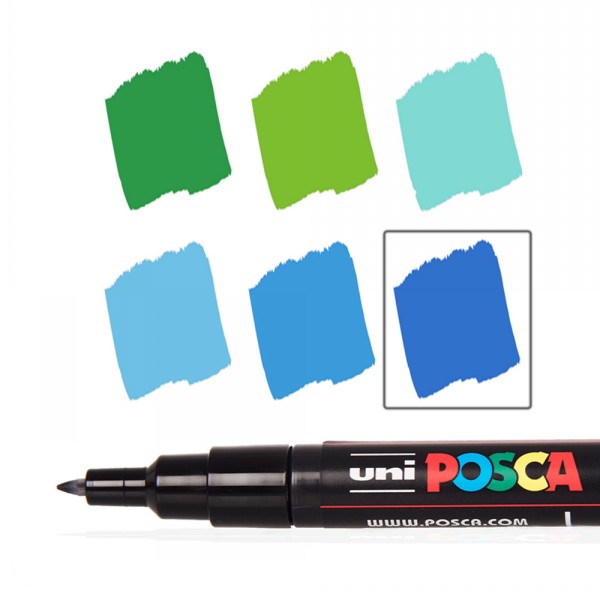
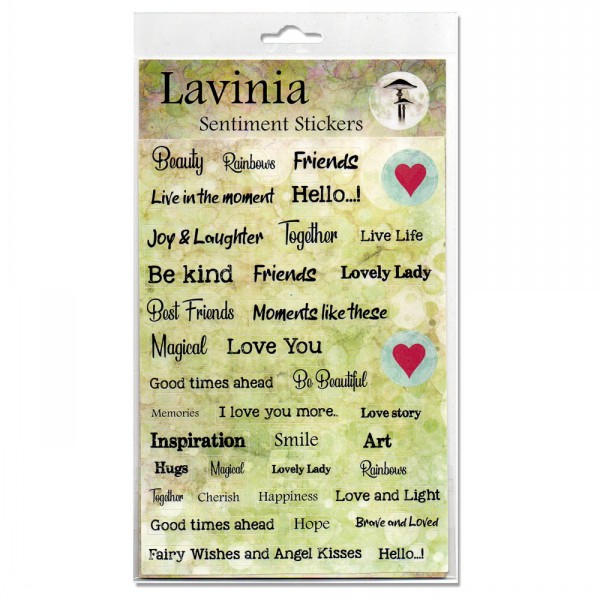
Stamp the Small Pixy Houses LAV734 in Versafine Clair Nocturne and colour the little windows with yellow Posca. Also paint yellow Posca around the light and the lantern. The small flowers are made as dots with Posca pen yellow and aqua green. Stamp the small River Root Corners LAV884 in the corners with Versafine Clair Nocturne. Use Posca pen coral pink and light orange and also white Gelly Roll for highlights on them. Make some shadows on the grass with Violet Pan Pastel and lines like grass with green watercolour pencil. Add the words Live Life from Sentiment Journalling Stickers.
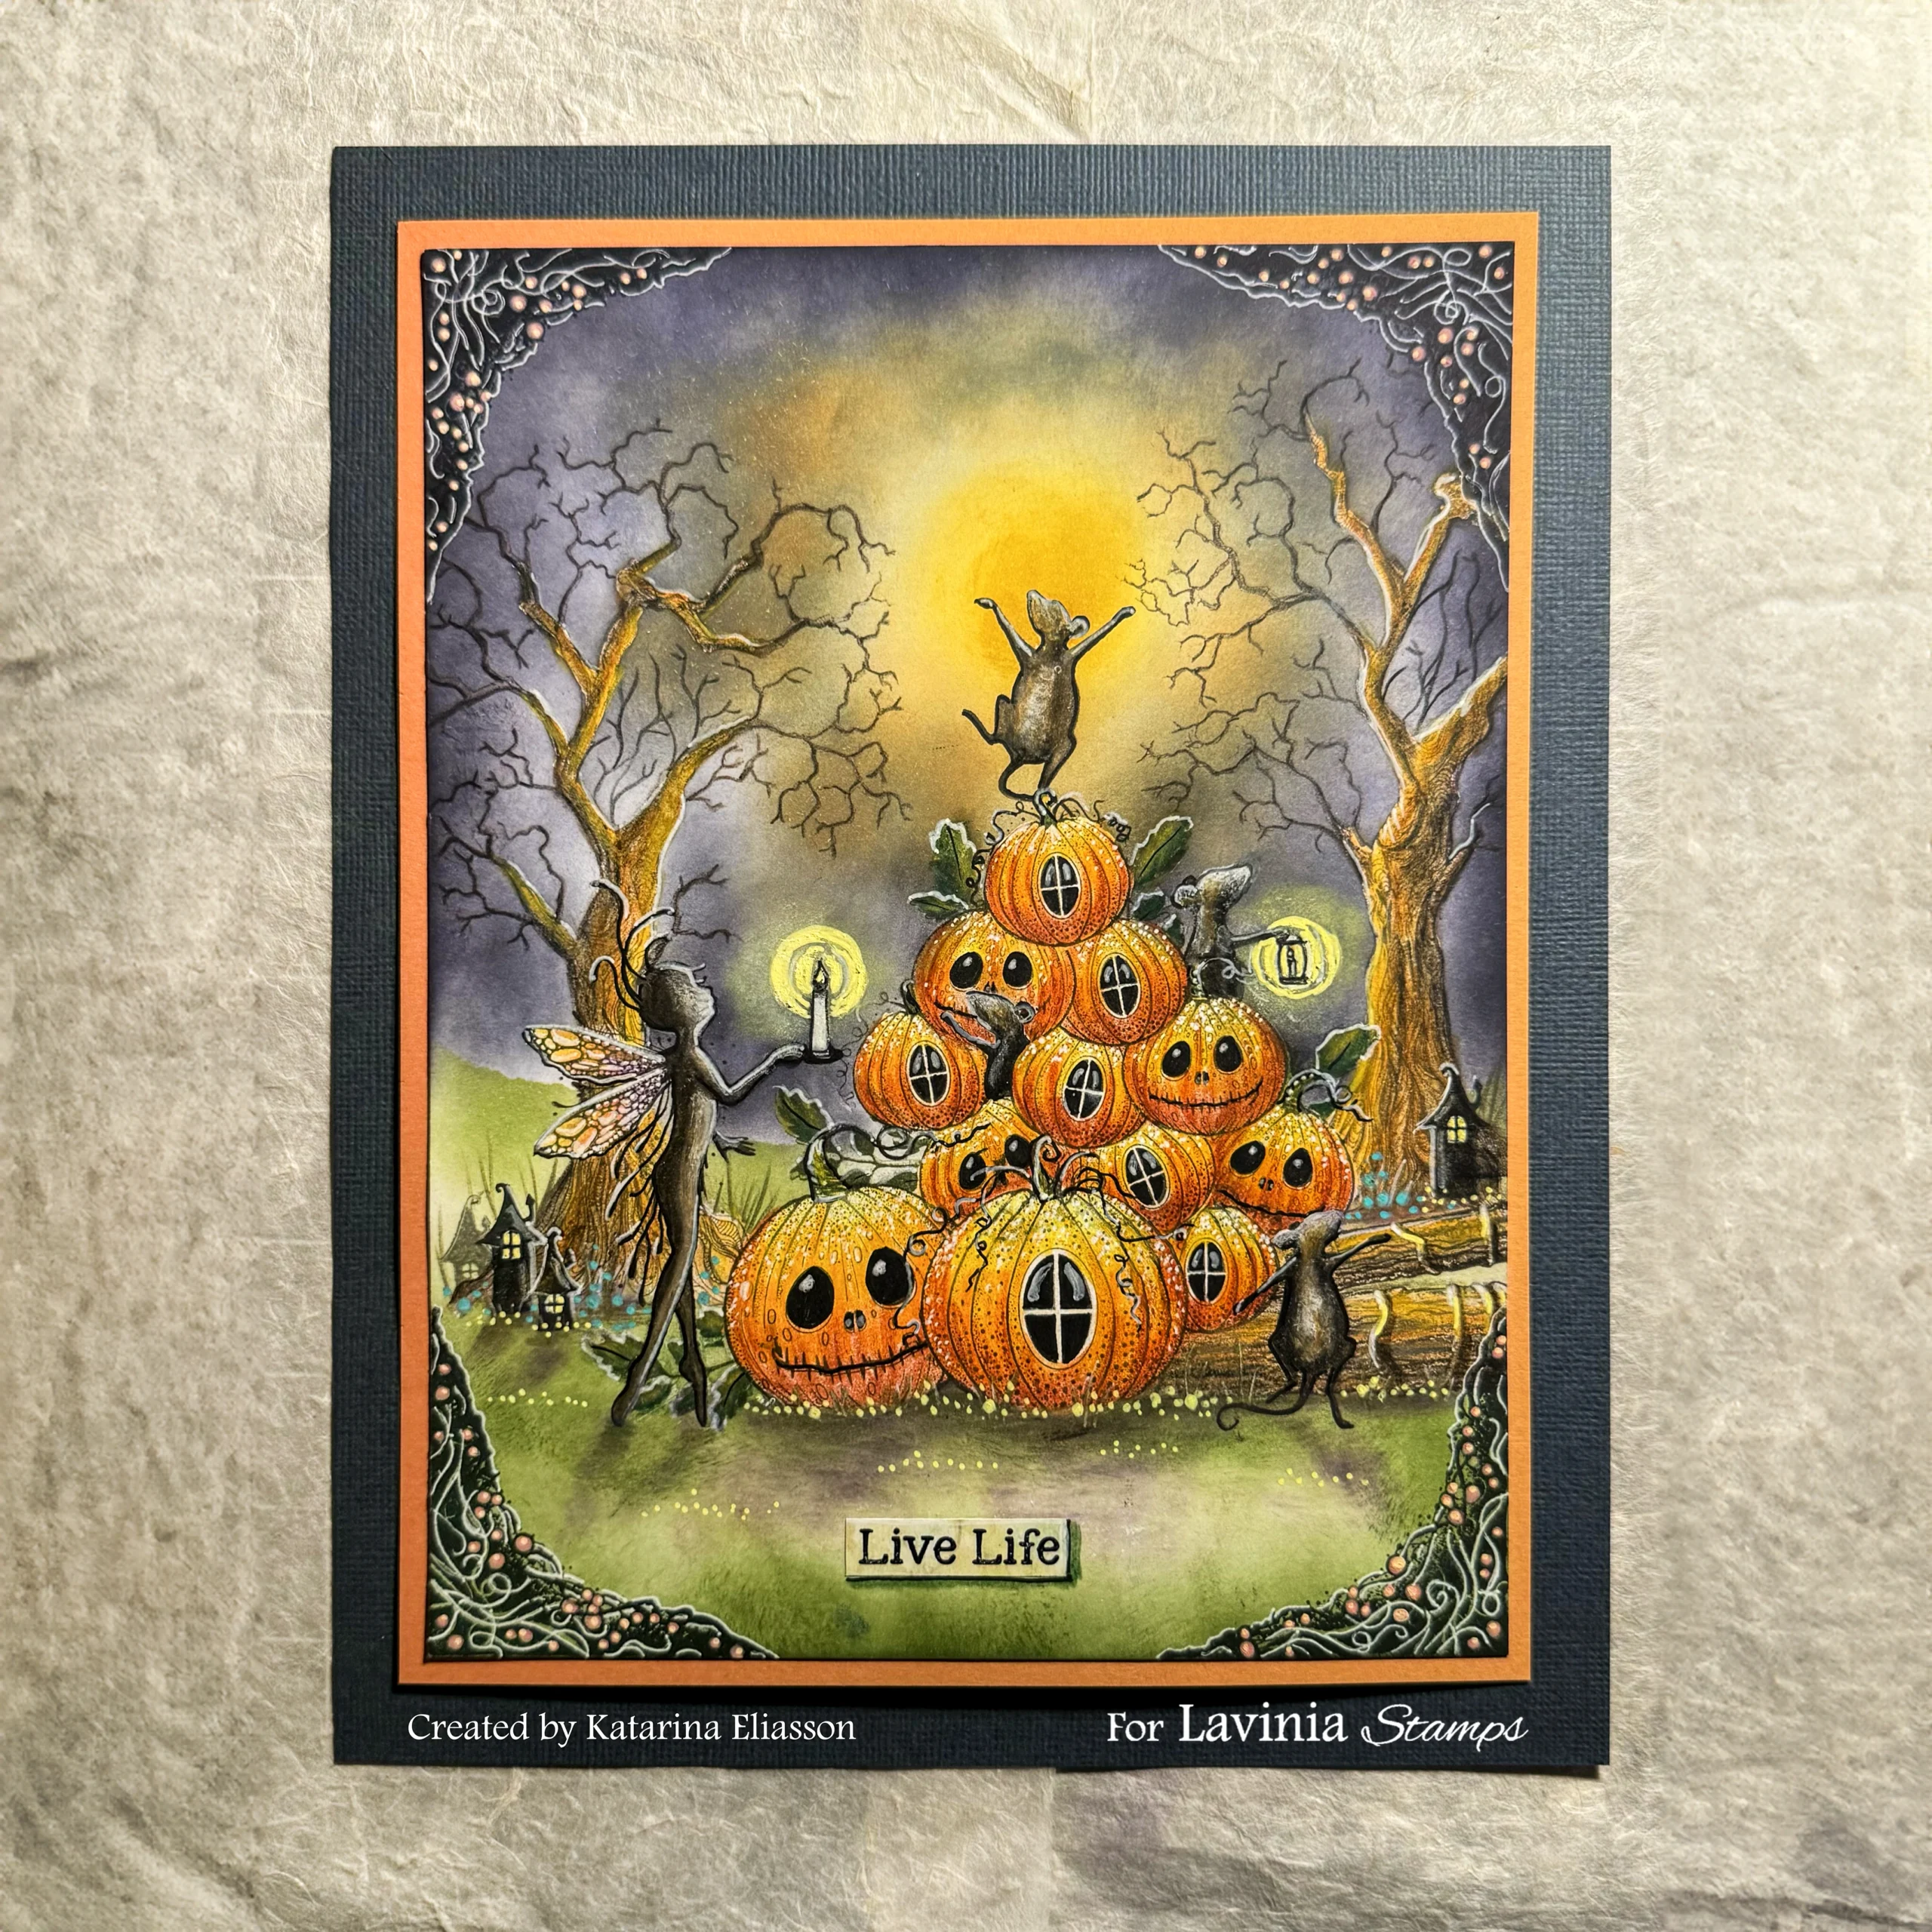
Picture 15.
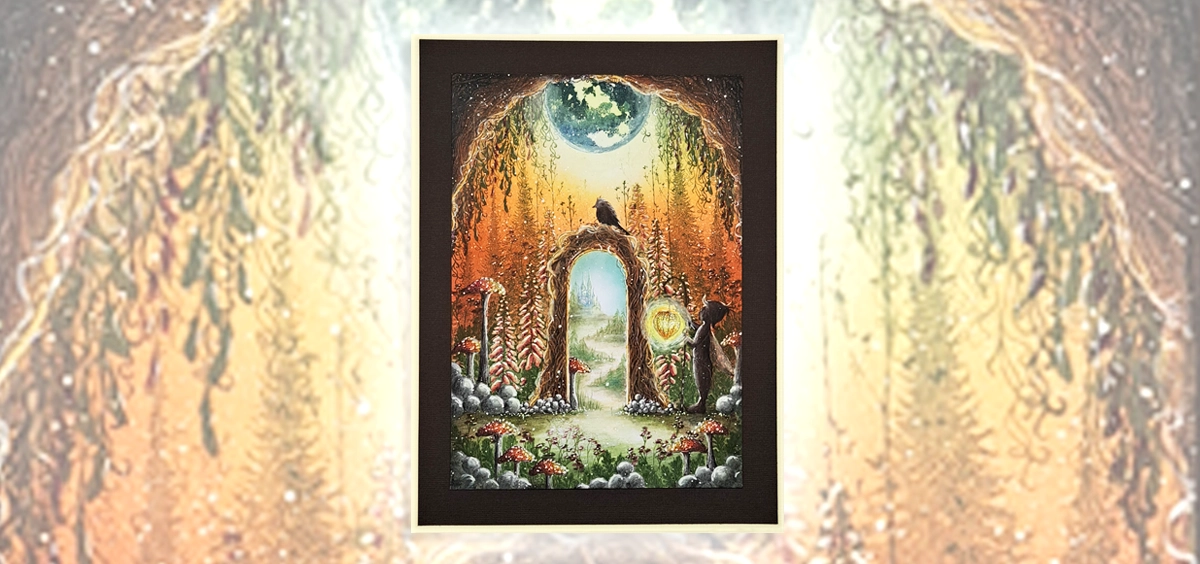
Mount the card on orange and dark blue Cardstock. The card is finally finished.
I do hope you’ve enjoyed this Picture tutorial and will have a go at making this card.
Happy crafting!
Big hugs from me to you!


