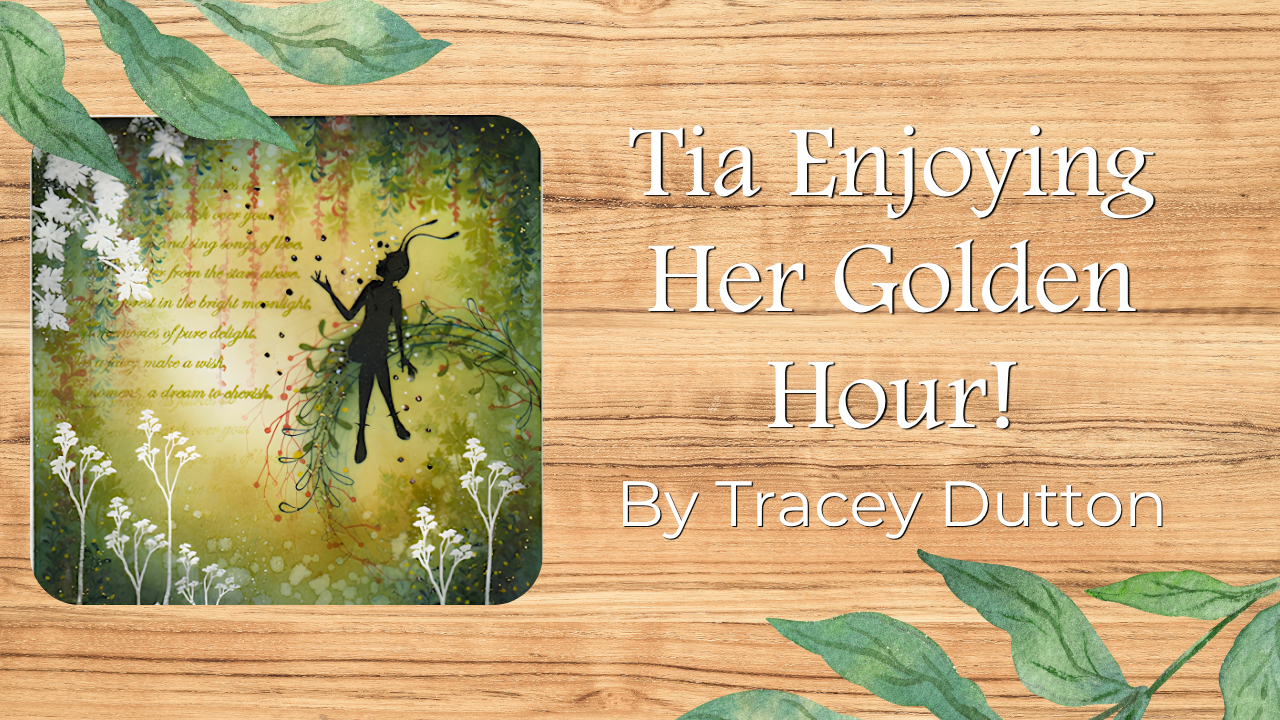
Tia enjoying her golden hour by Tracey DuttonJuly 22, 2026
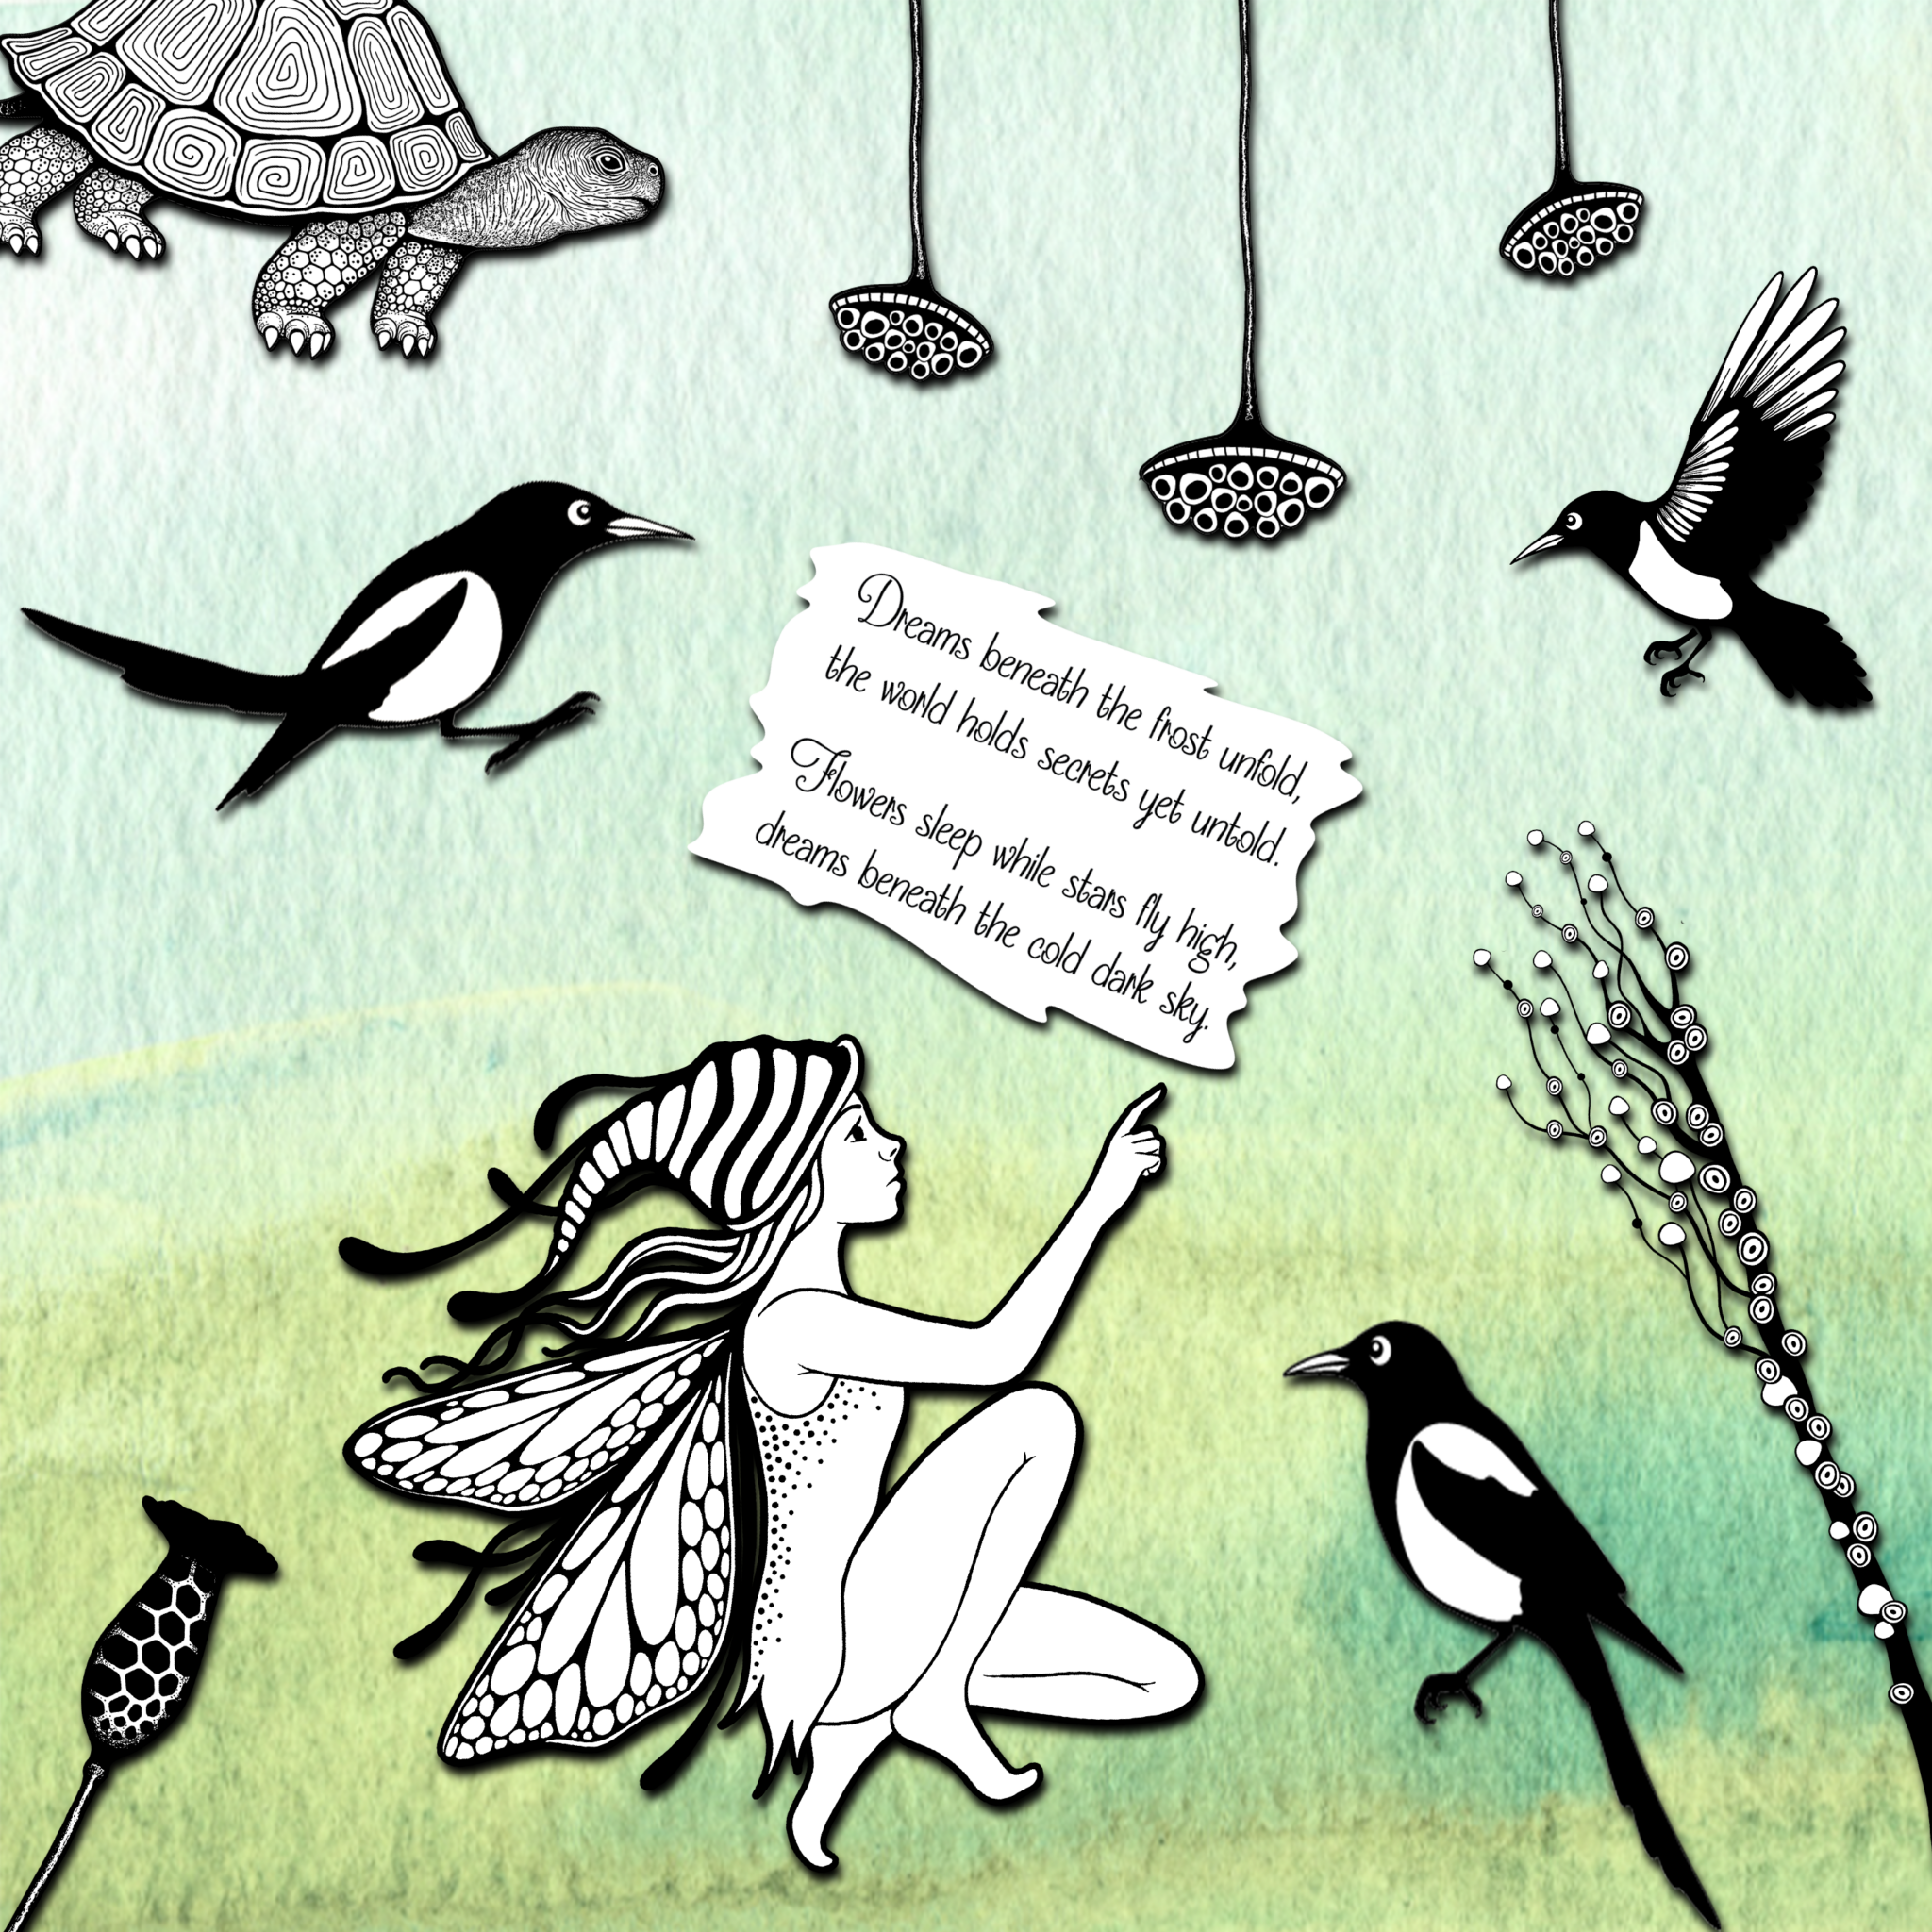
In today’s demonstration, Tracey brings an enchanting woodland scene to life, creating a peaceful leafy haven for the delightful fairy, Tia. The background begins with Elements Ink, softly blended directly onto the card using a stencil brush. A glowing yellow centre creates the illusion of warm sunlight filtering through the trees, while rich green tones […]
Read More