Step by Step by Leesa Magical Maker
Hi Lavinians 🧚♀️ Guest DT Leesa here. Hope you enjoy today’s tutorial.
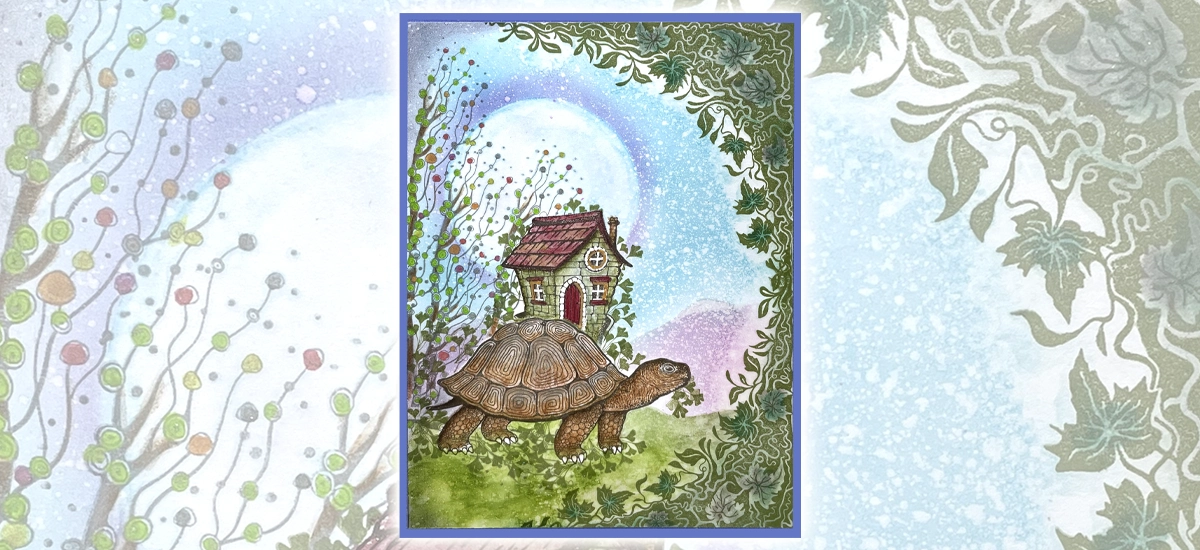
Today’s step-by-step is called Mr & Mrs Bumble, 2 beeeutiful bees in love.
Here is how I created this card, and I’m looking forward to seeing what you create.
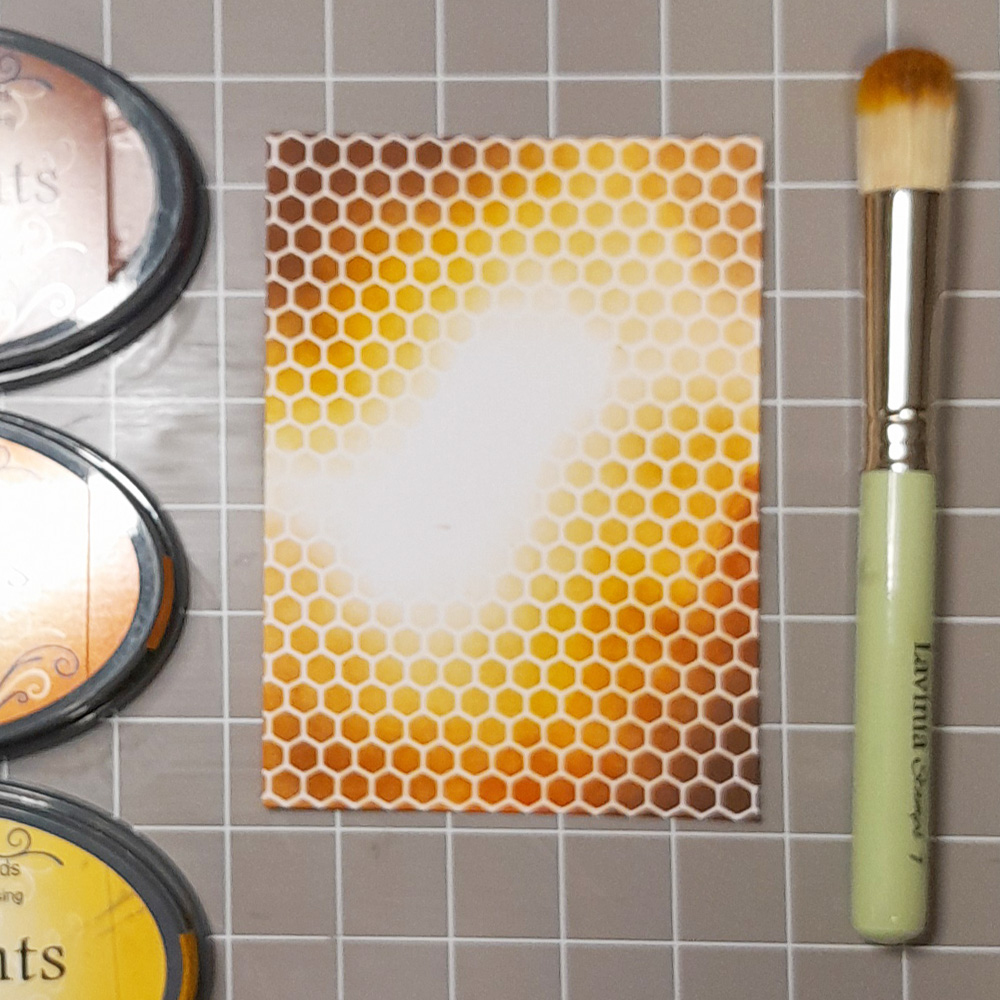
Picture 1
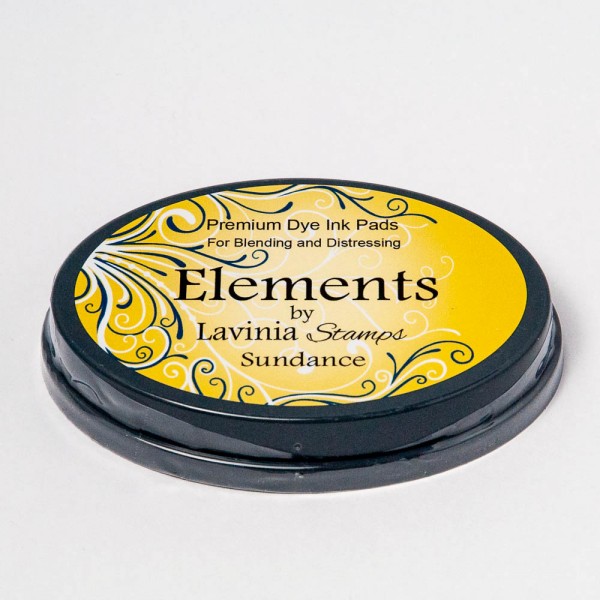
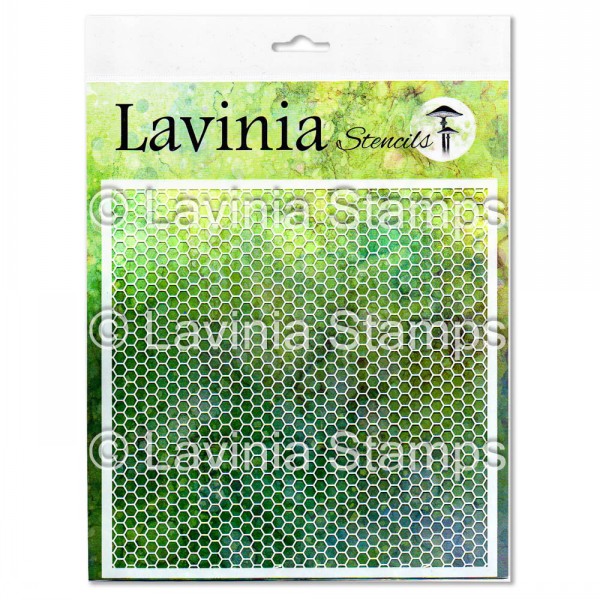
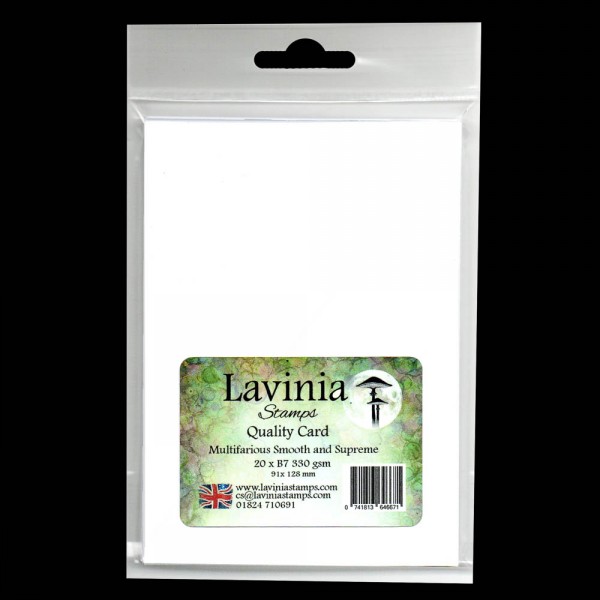
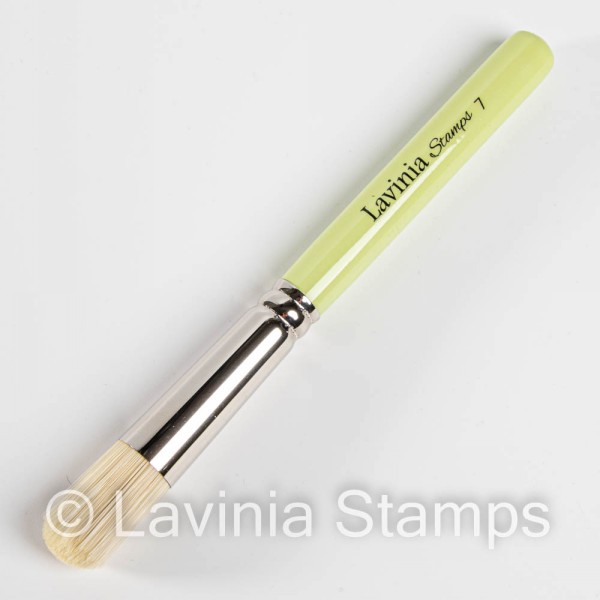
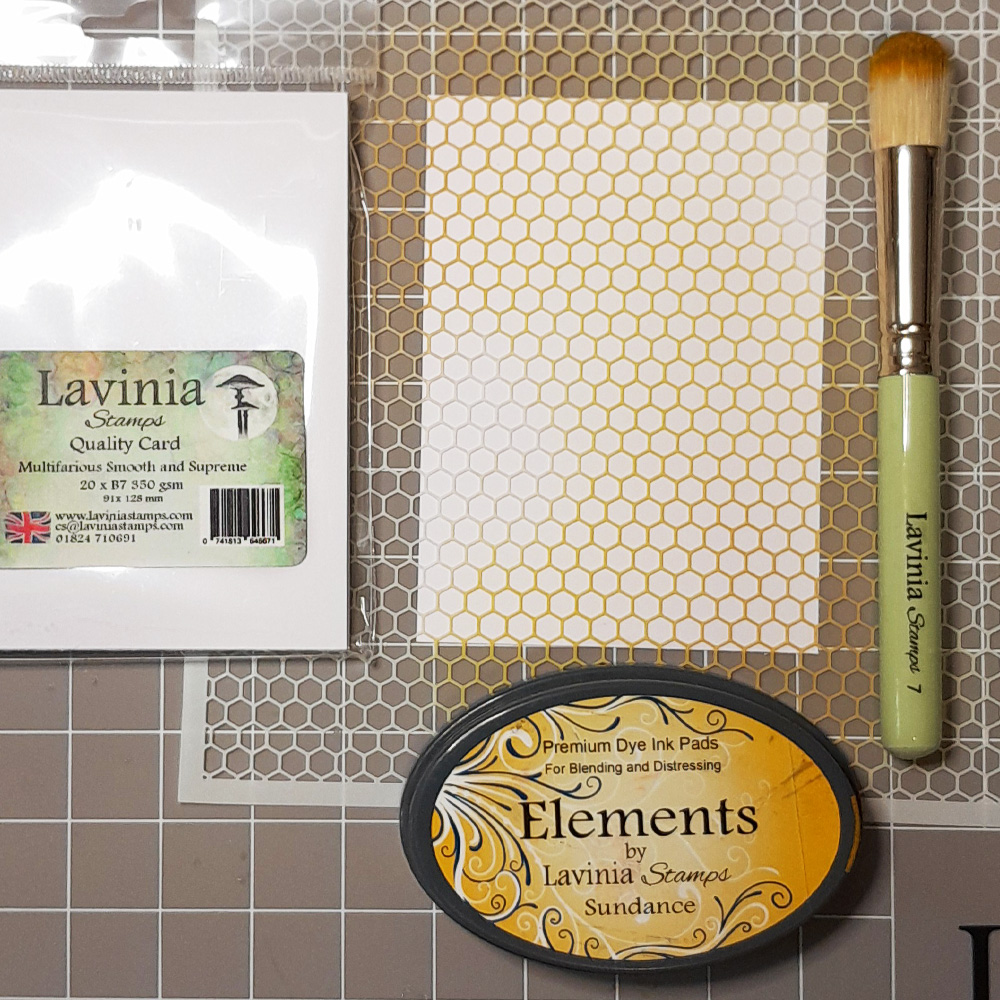
Place the honeycomb stencil on a piece of B7 Multifarious card and use Stencil Brush 7 to apply Elements Sundance to the background.
Picture 2
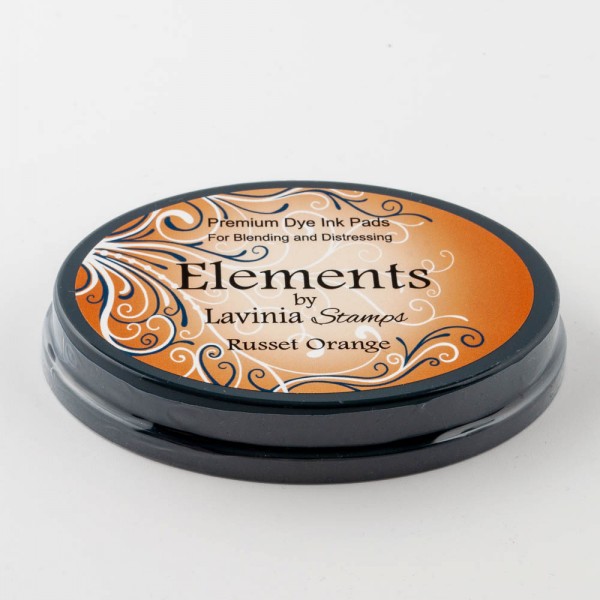
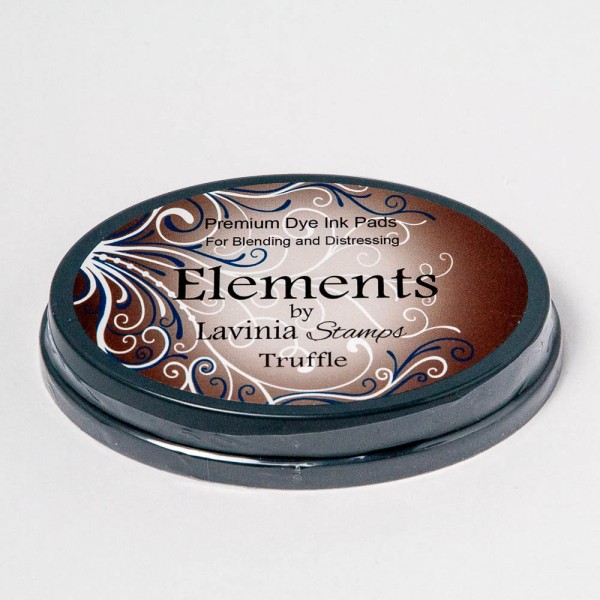
Keeping the Honeycomb stencil in place apply Elements Russet
orange and Truffle to create a gradient of light to dark from the centre of the
card. See the picture for placement.
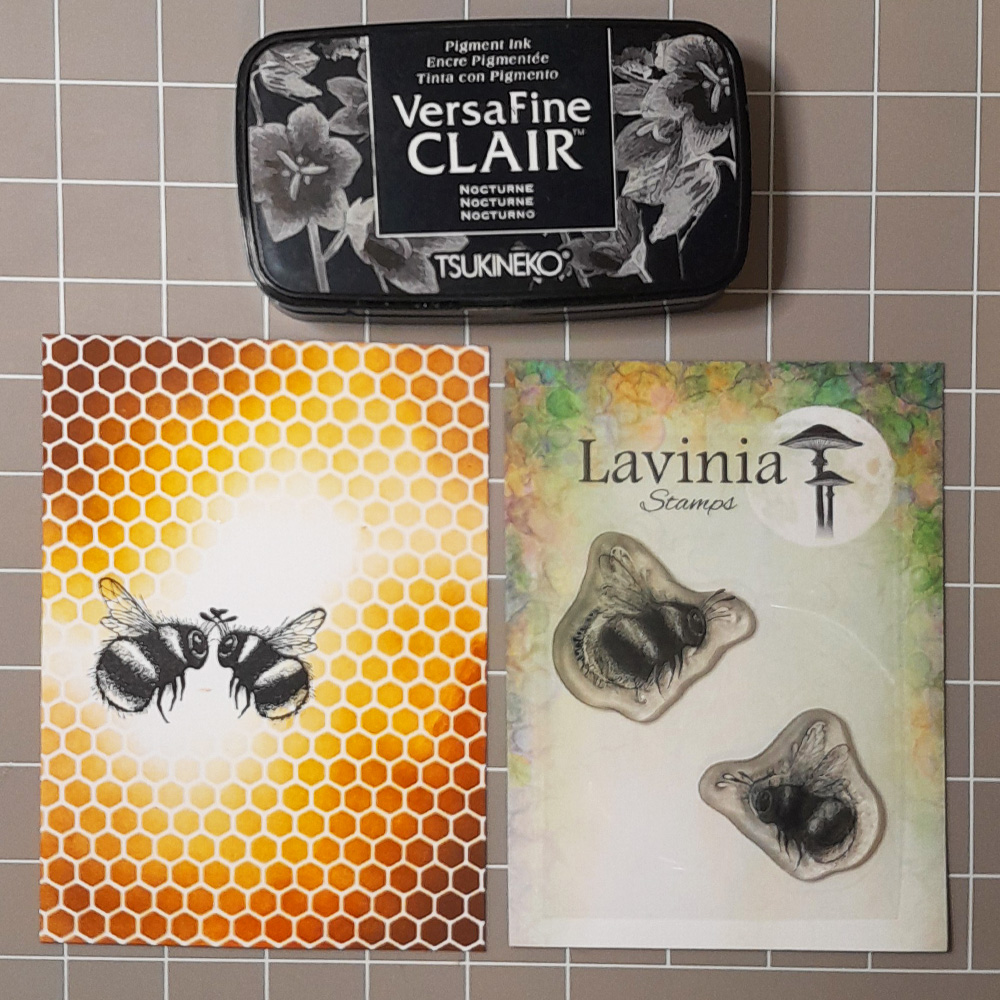
Picture 3
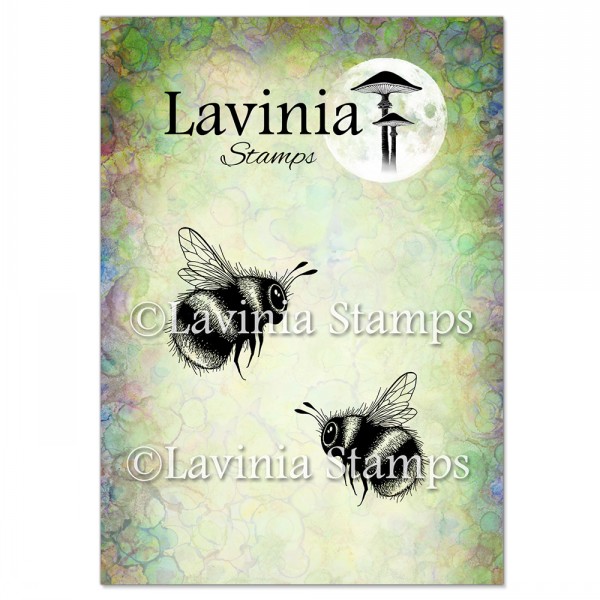
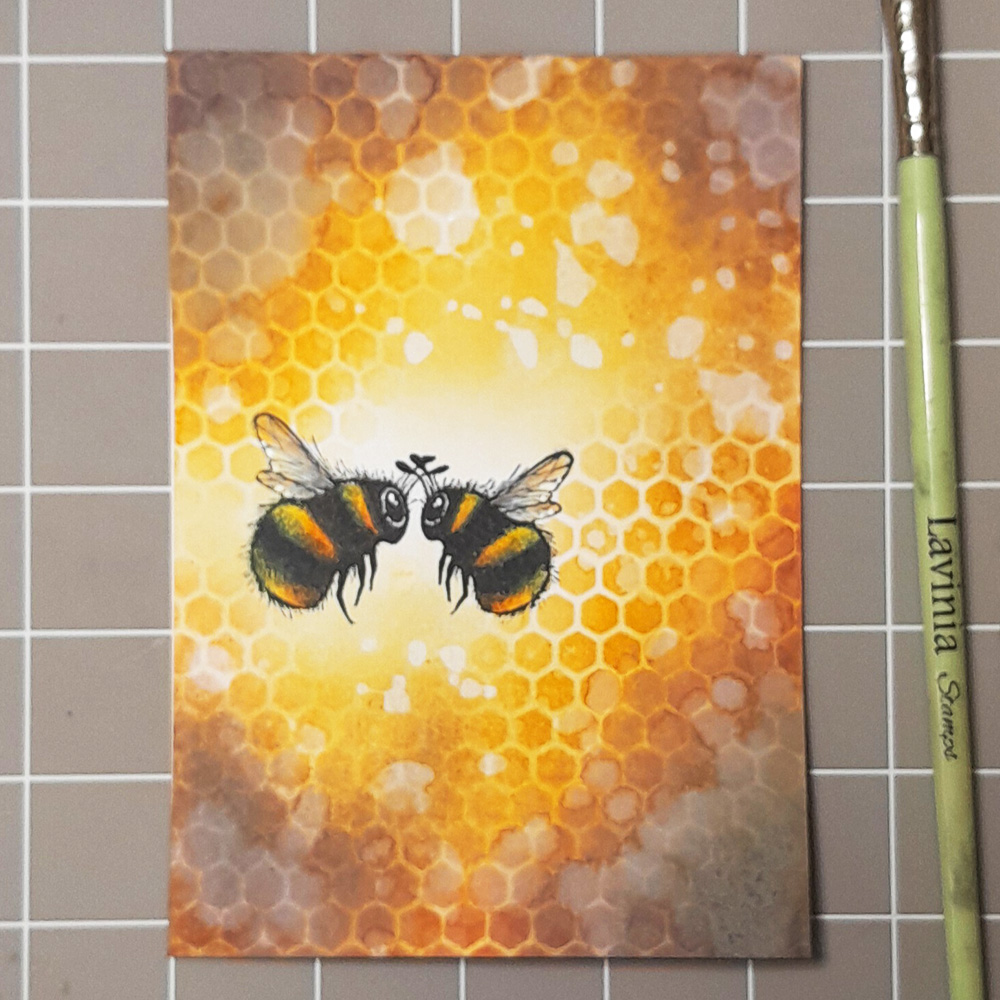
Here’s where the fun starts, so with Versafine Clair Nocturne add Bumble and Hum LAV892 to the lighter area of the card. Their antennae should slightly overlap.
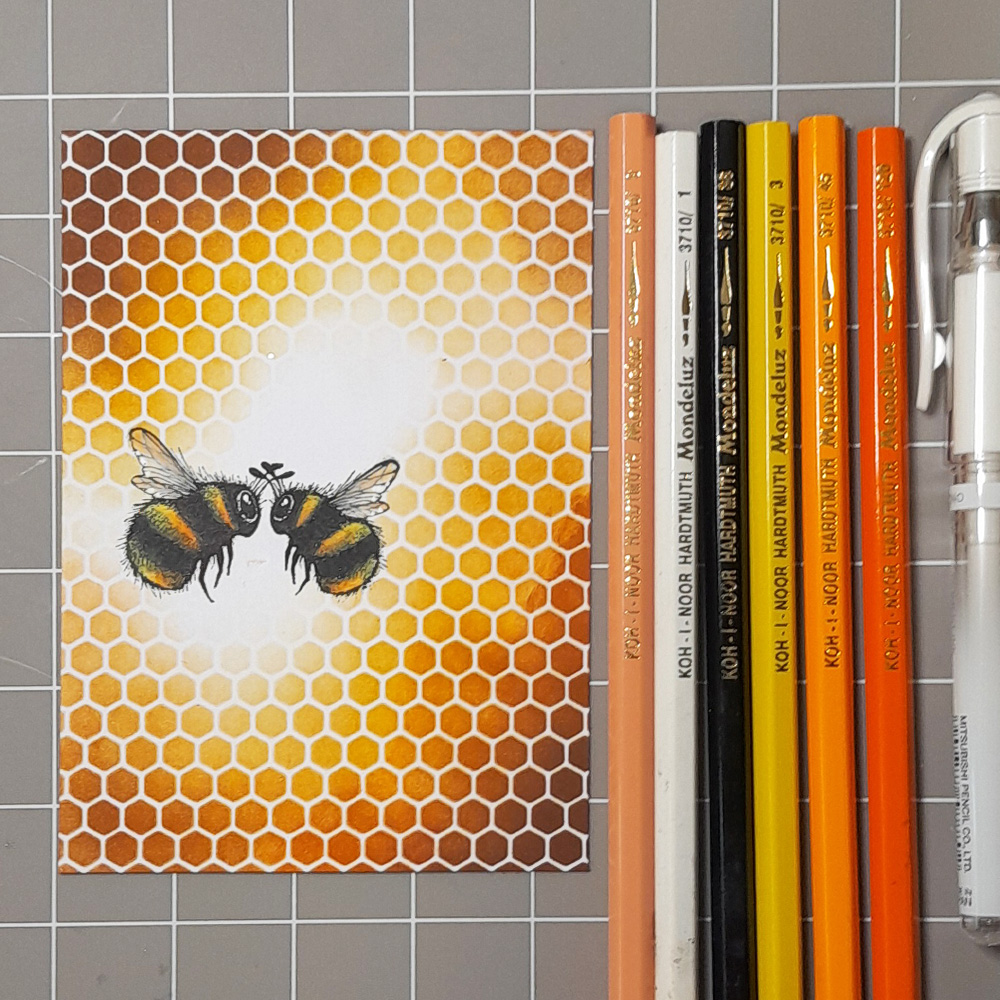
Picture 4
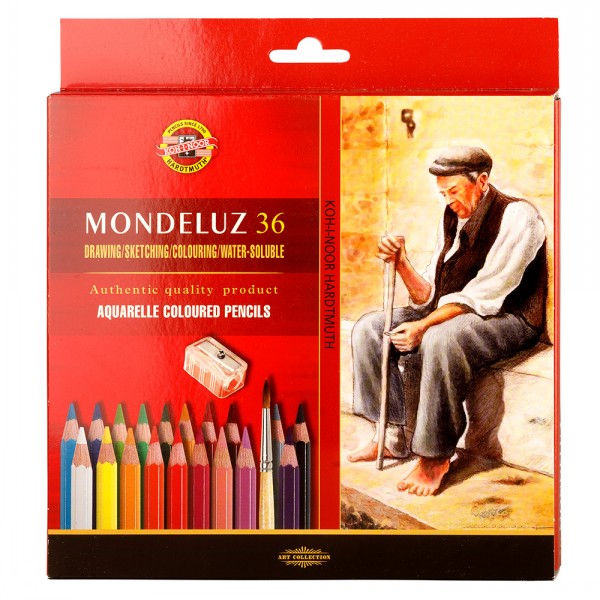
Bumble and Hum need some colour to bring them to life. Use Mondeluz Watercolour pencils in orange at the bottom of their stripes and yellow at the top, with black for the body area. Cream and white for the wings and finally I used the white uni-ball broad gel pen to dot the eye.
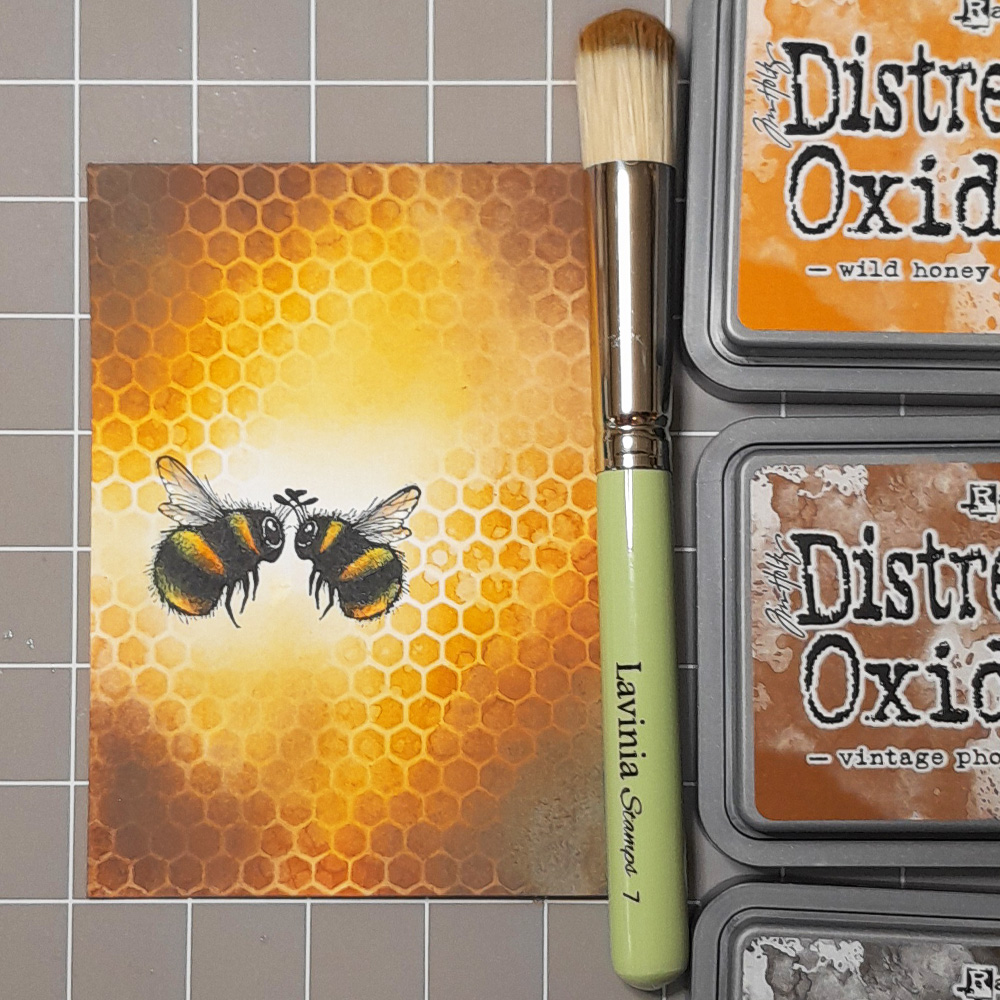
Picture 5
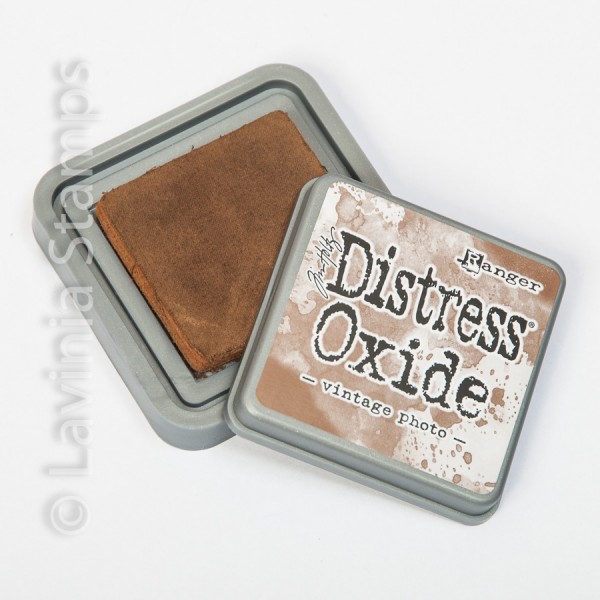
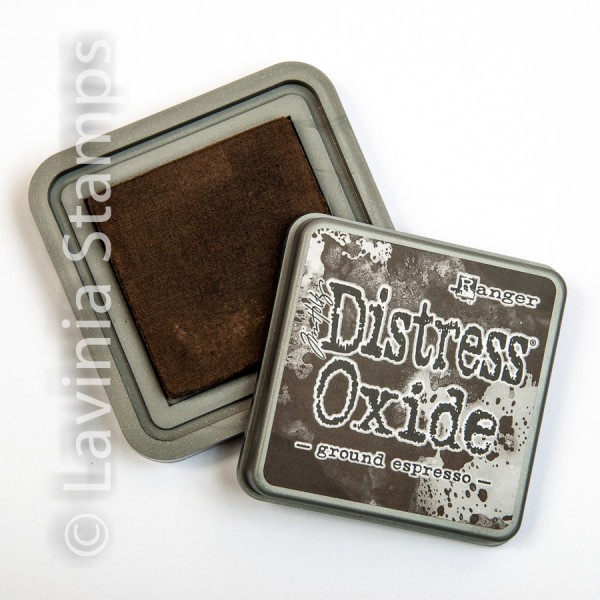
To add more depth apply Distress Oxide Wild honey, Vintage photo and Ground expresso with Stencil Brush 7 to the edges of the card. This has the effect of drawing the eye to the centre of the picture.
Picture 6
Now for the part I love, water splashes 🙂 I used my fan brush to splash fresh water on the card and create this effect. Blot the water off with tissue paper for a lighter effect or leave it to dry for a stronger effect. I did a bit of both to give the background this amazing look, but do what you feel is best for you.
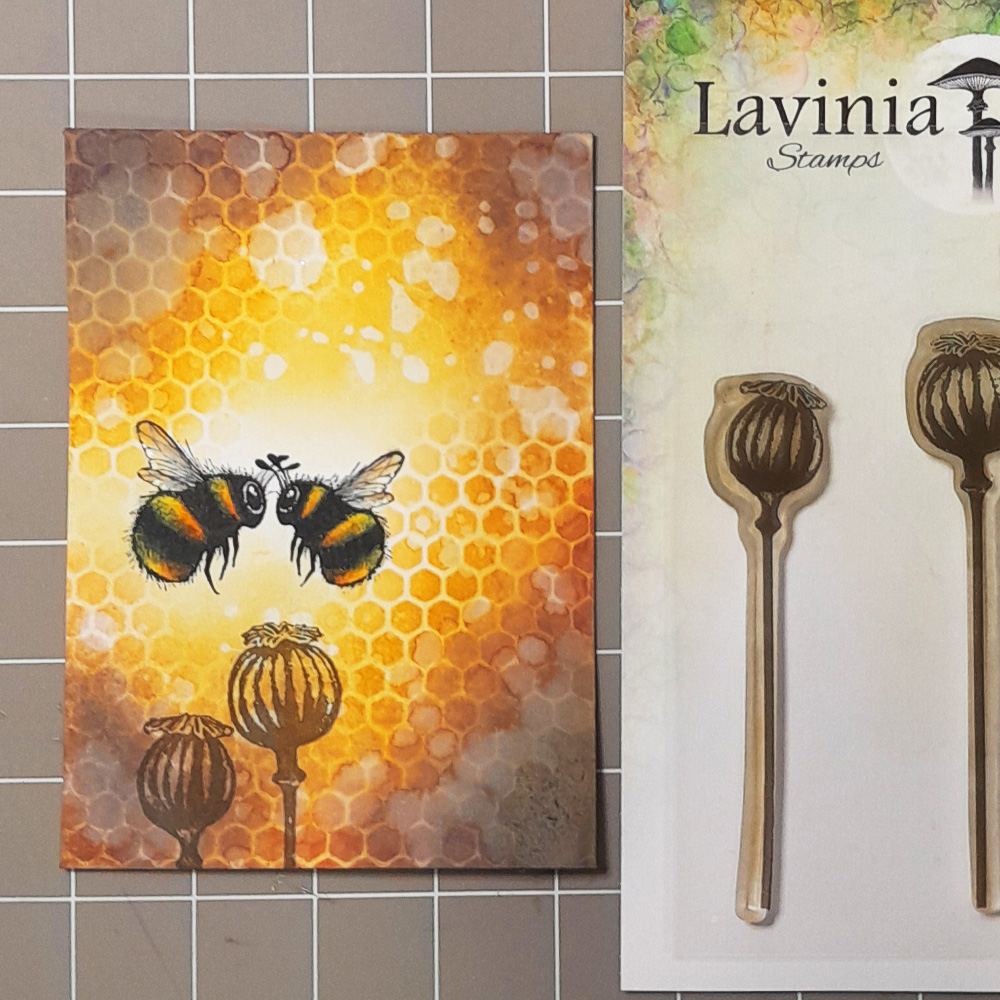
Picture 7
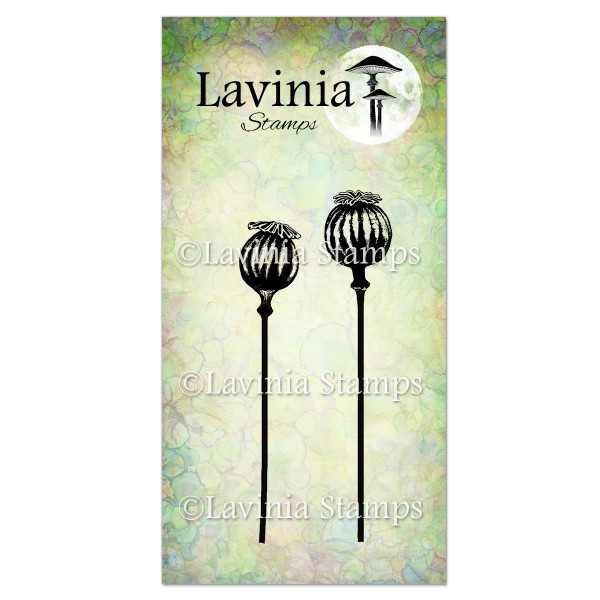
Although I do love the picture as it is, I felt we needed to add a little contrast. Add Poppy Pods LAV116 using Versafine Clair Portobello, this colour is good to create a soft effect.
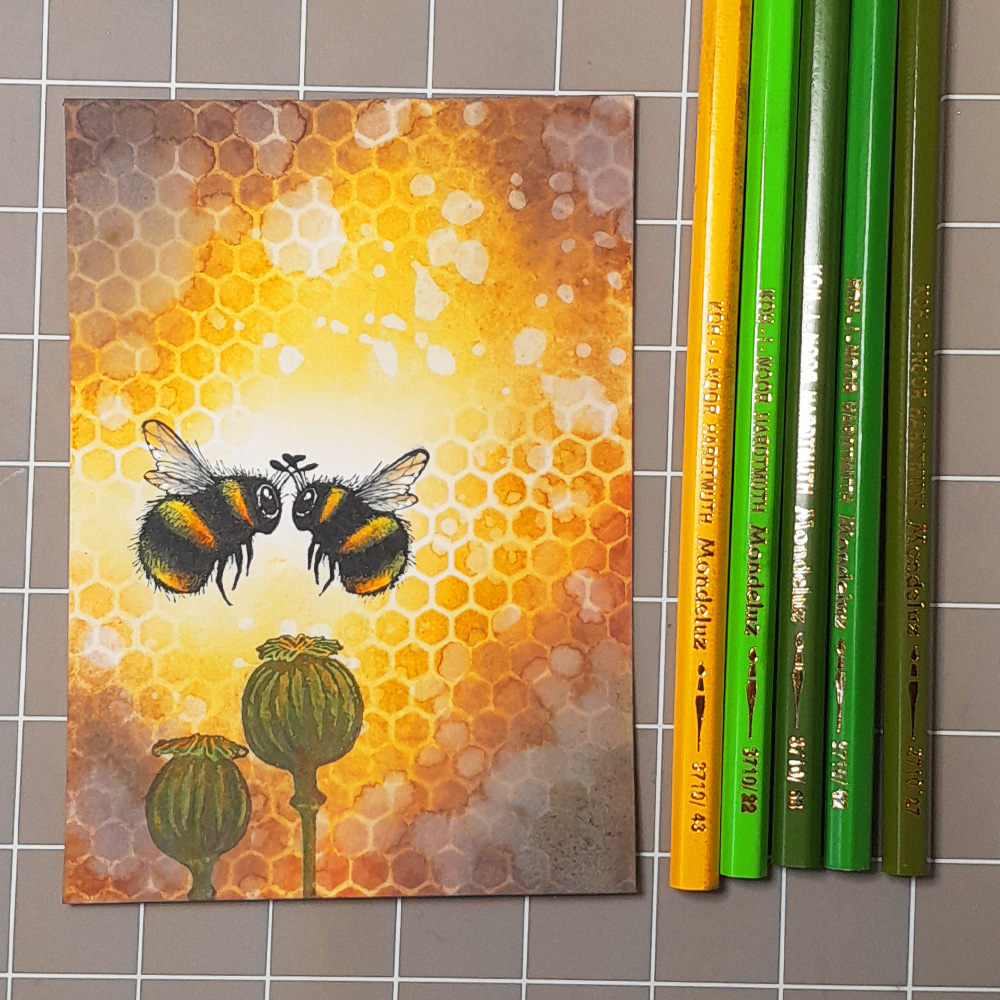
Picture 8
Colour the Poppy Pods using a selection of greens from the Mondeluz Watercolour pencils and finally a yellow to highlight. I must say there fantastic for this as they blend so well. Just take your time and use pressure to get the colour on the paper.
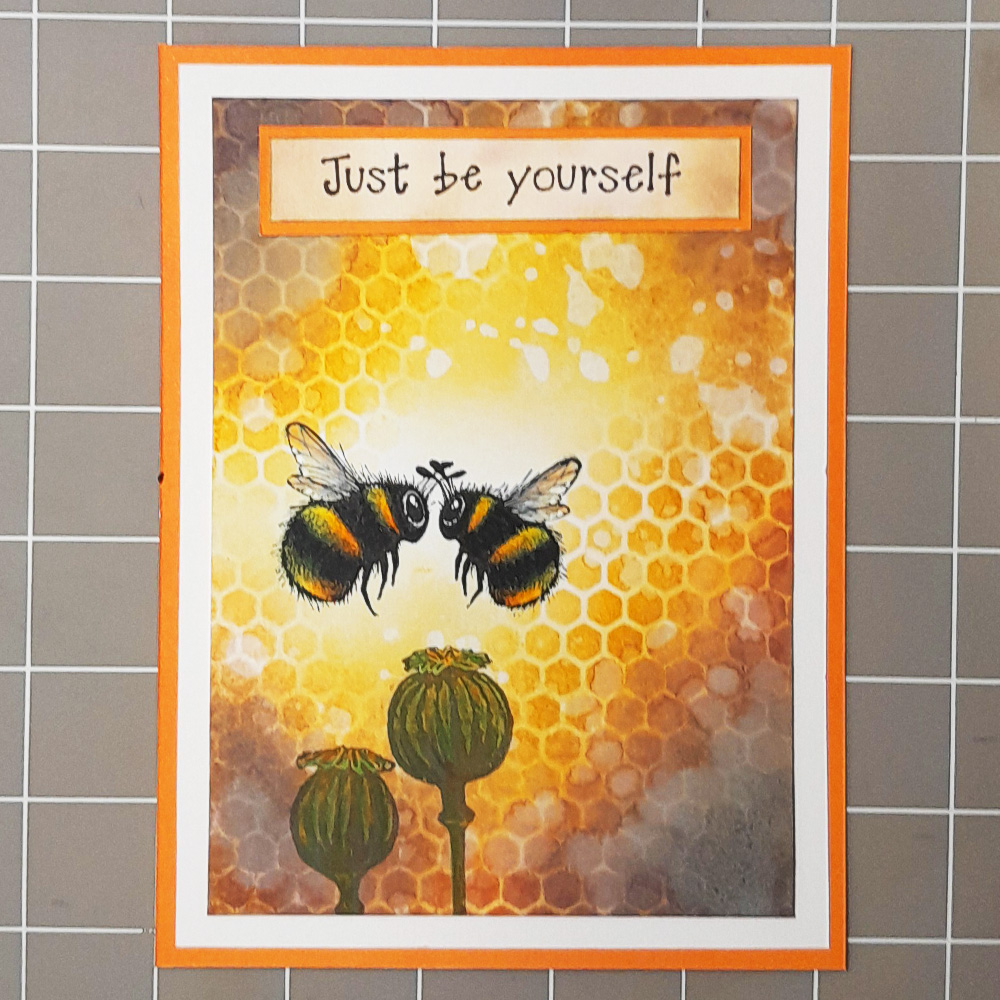
Picture 9
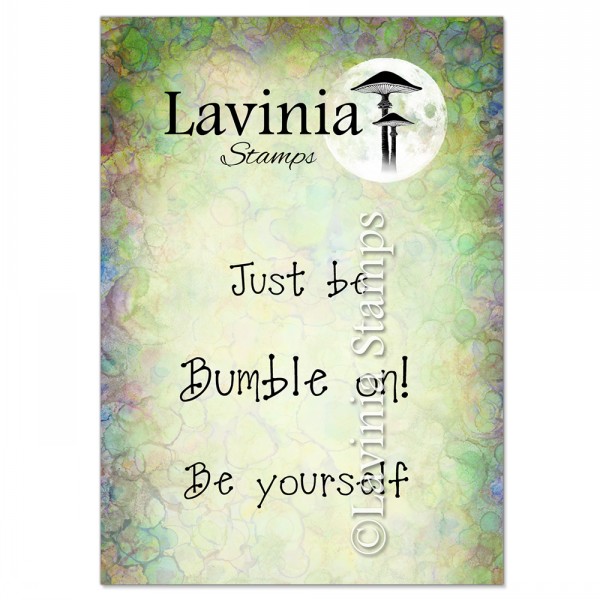
As a finishing touch I combined two sentiments from Bumble Words LAV900, Just be and Be yourself to create the phrase “Just be yourself”. Stamp this onto a small piece of Multifarious card in Versafine Clair Pinecone. Use the leftover brown ink on your stencil brush to take off the white of the card and I think that’s it, yes another card completed.
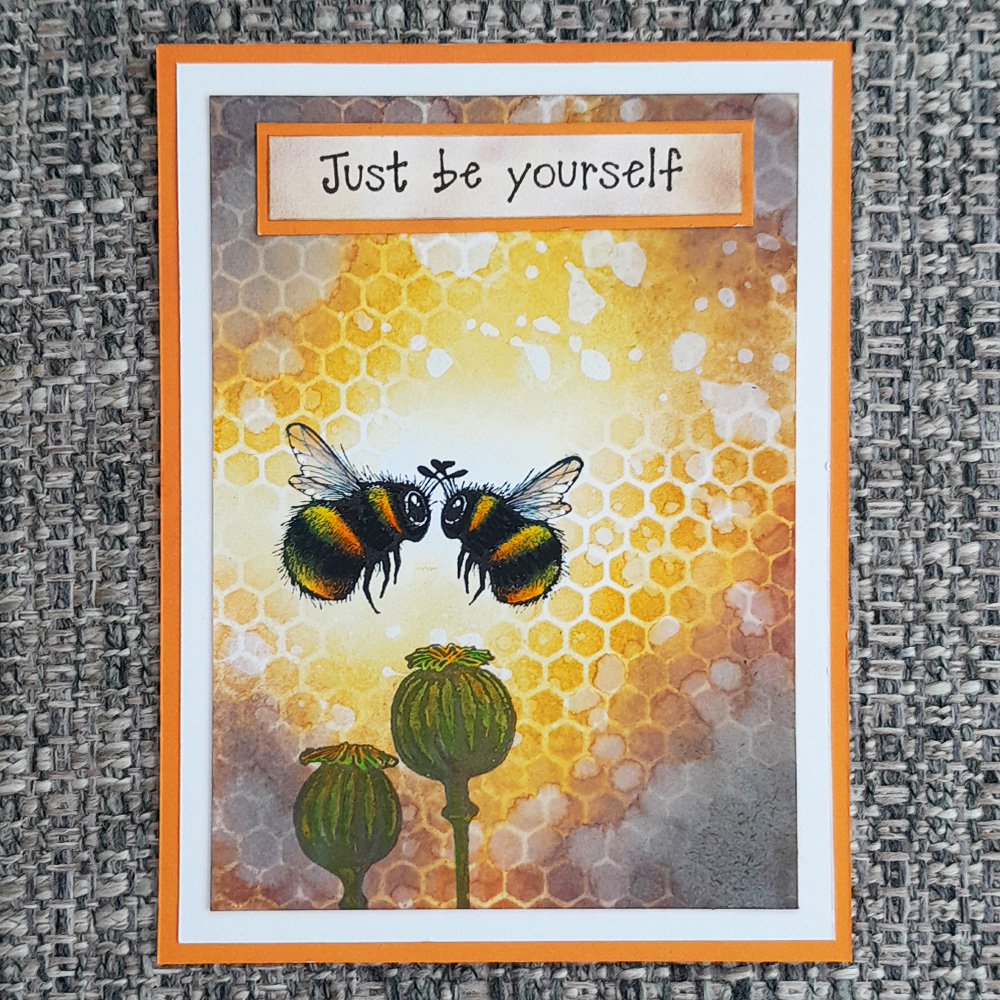
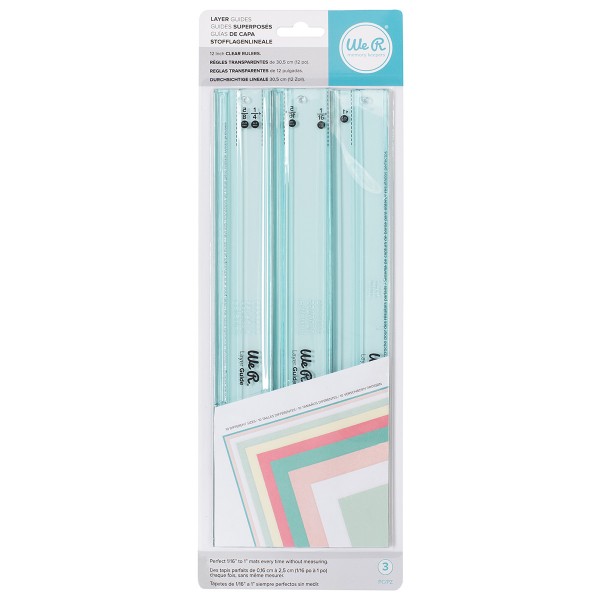
Time to matt and layer. I used my scraps of white and orange paper, but you can use other colours you have available. It makes a huge difference using the We R Memory Keepers Layer Guides to do this, just make sure you have a sharp blade to get a clean finish. Layer up the card as shown in the picture.
All done, can’t wait to see your version of this 🙂
Hugs Leesa xx