Step by Step by Mona Hauge
Hello everyone
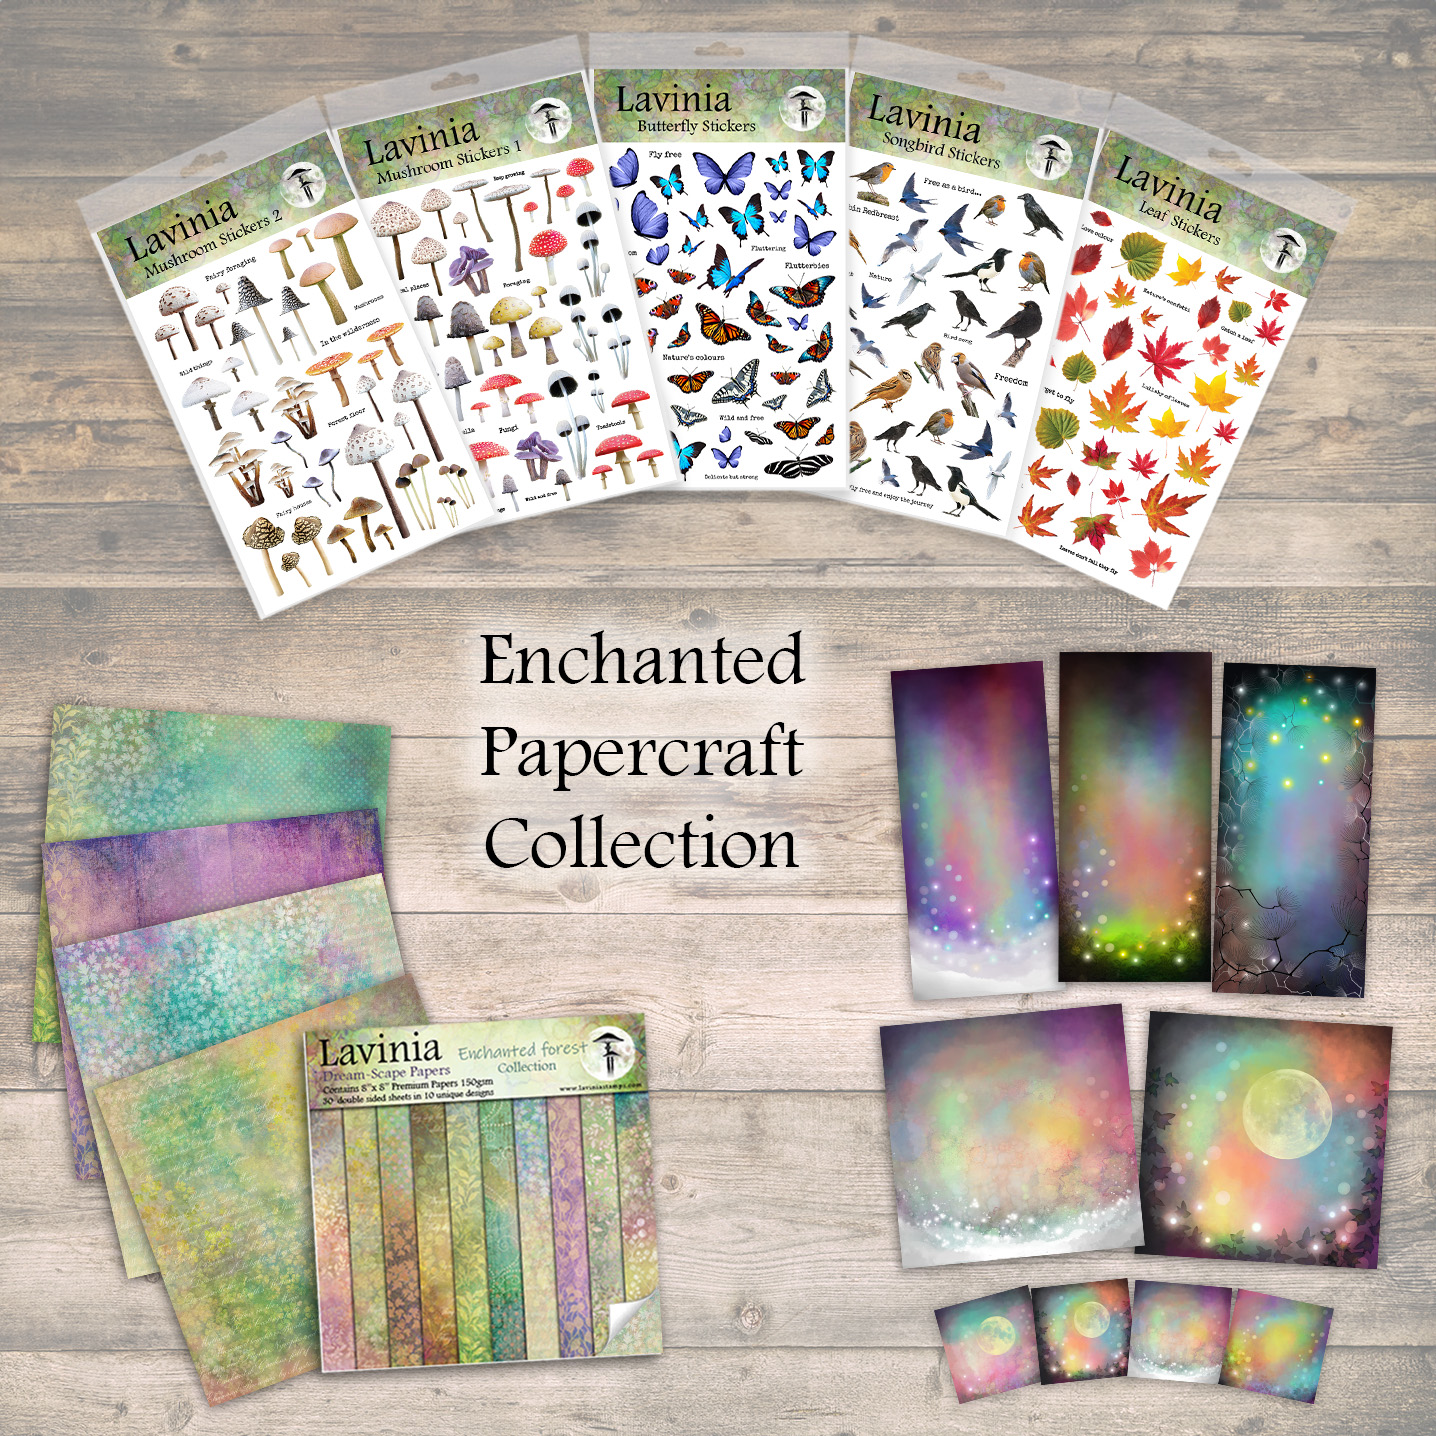
The new Scene-Scapes are so beautiful. I am obsessed with the Enchanted Forest Collection so I decided to do a Step-By-Step Tutorial with one of the gorgeous pages from it.
I call this “Moonlight Rehearsals”. Hope you like it.
Step 1
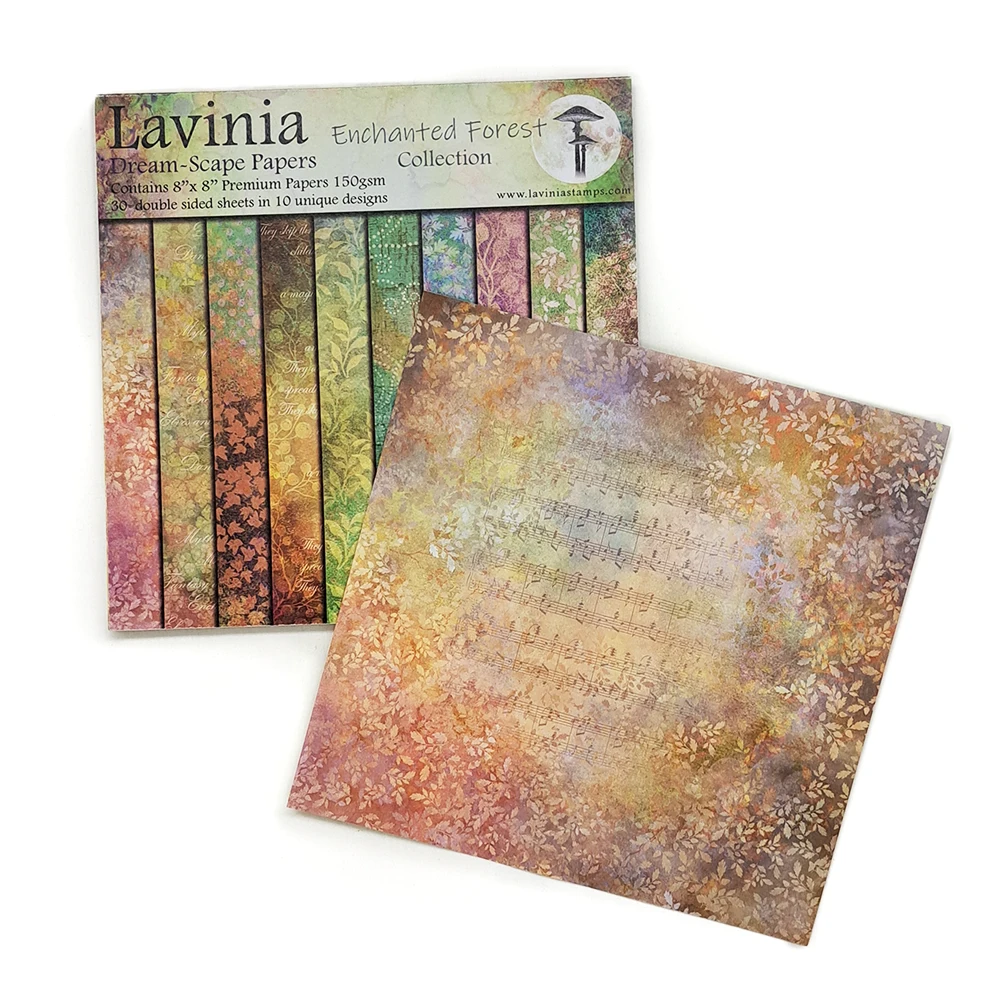
Scene-Scapes Enchanted Forest Collection.
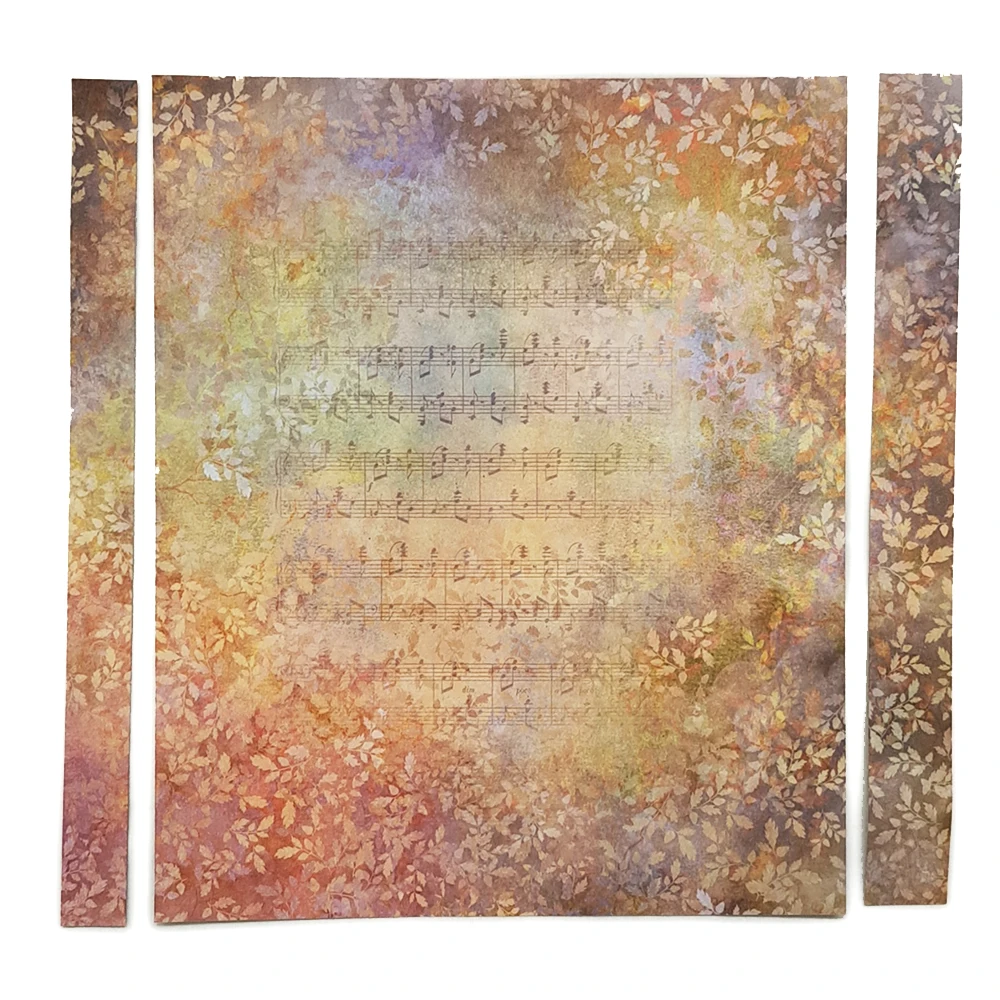
Let’s choose the beautiful page with the notes on it.
Step 2
Trim it a little on both sides cutting 1 cm off on the left side and 2 cm off on the right side.
Step 3
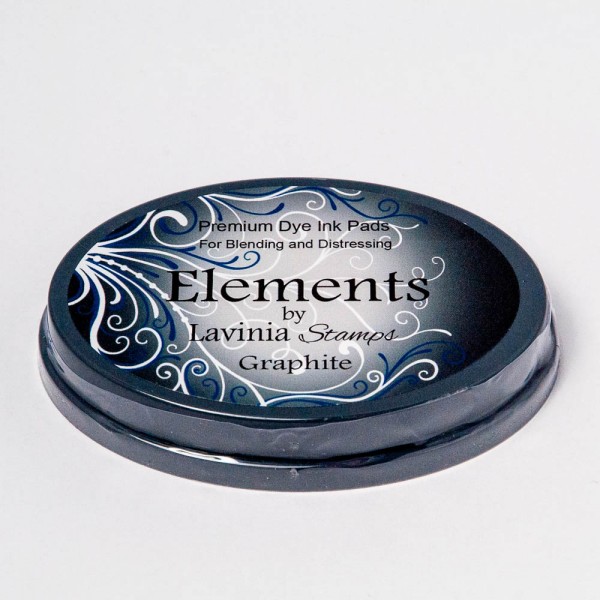
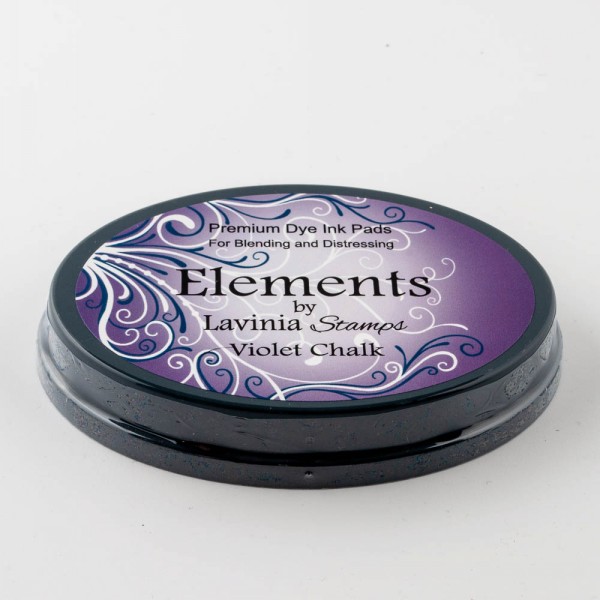
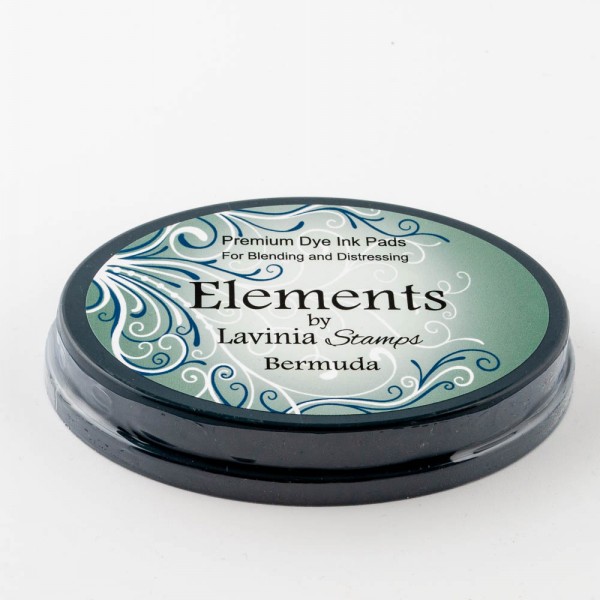
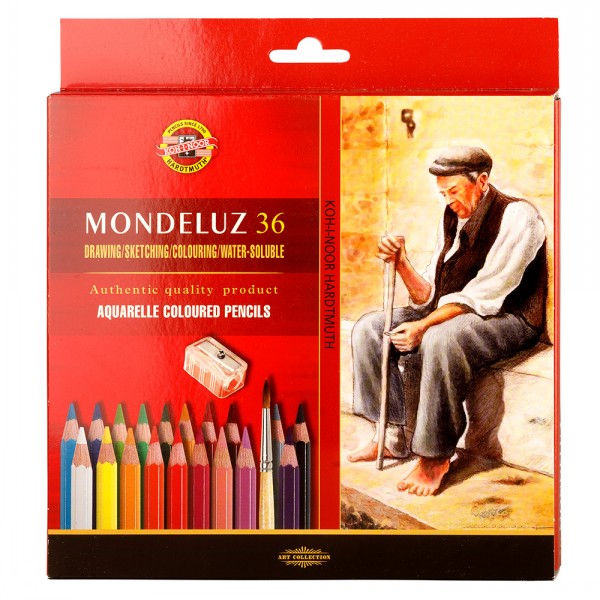
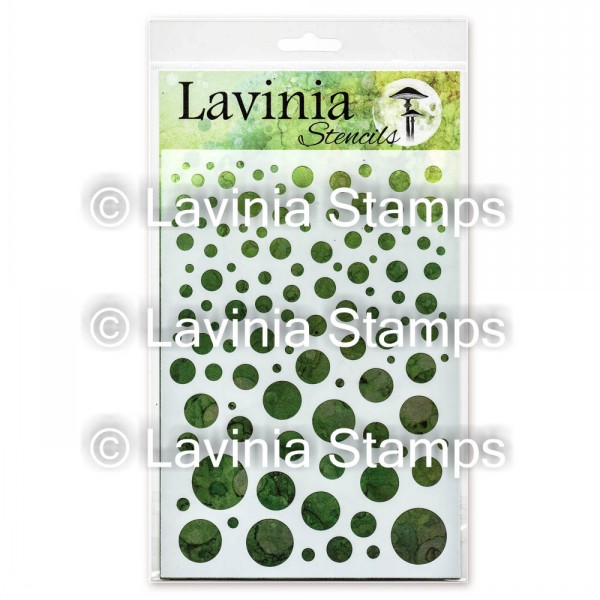
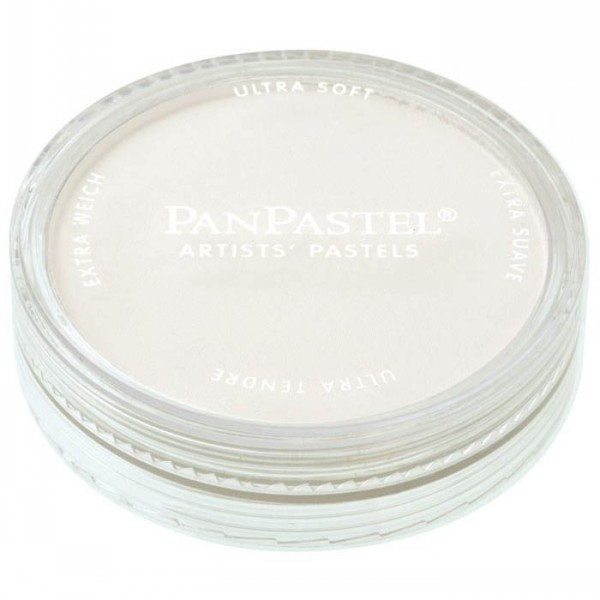
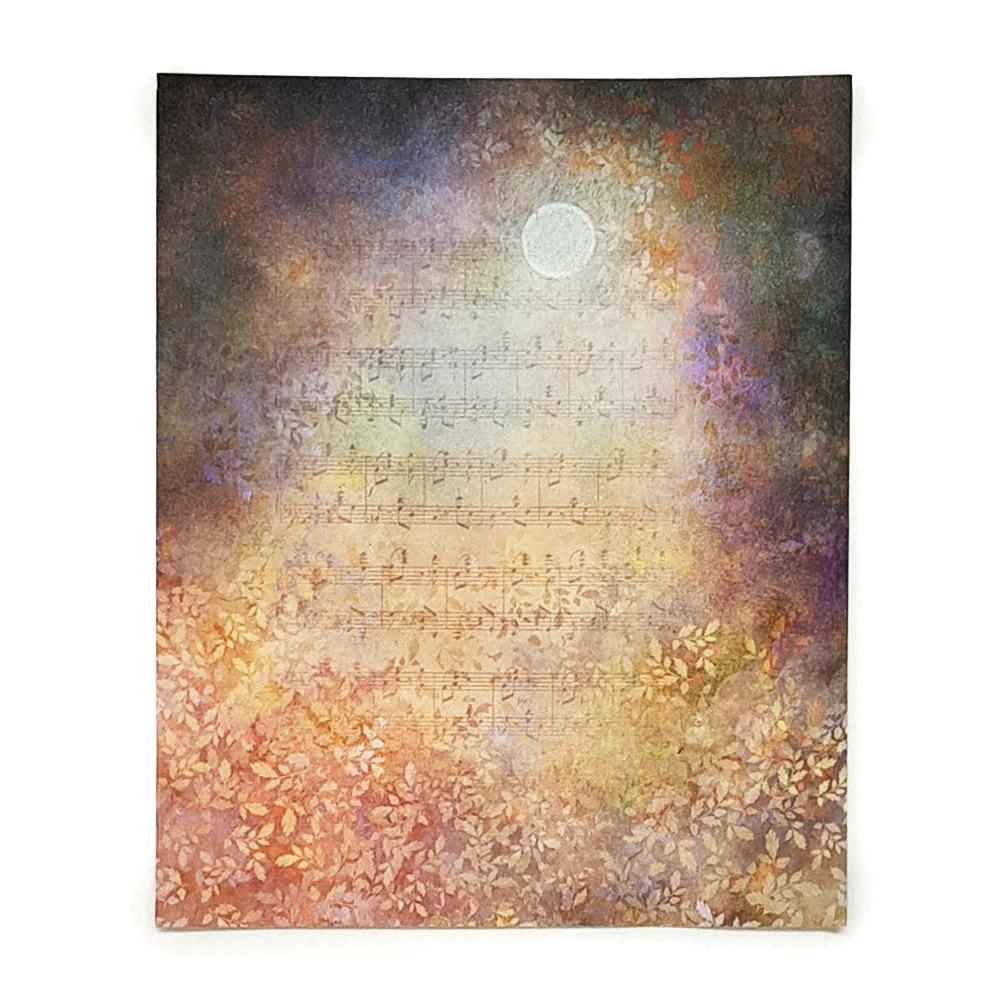
To create the moon, we can use the White Orbs Lavinia Stencil. The white Mondeluz Aquarelle pencil is perfect for this. Then we can use some white PanPastel to create a foggy look around the moon. We also need to make the sky darker. The Elements inks Graphite, Violet Chalk and Bermuda makes a mystical night sky.
Step 4
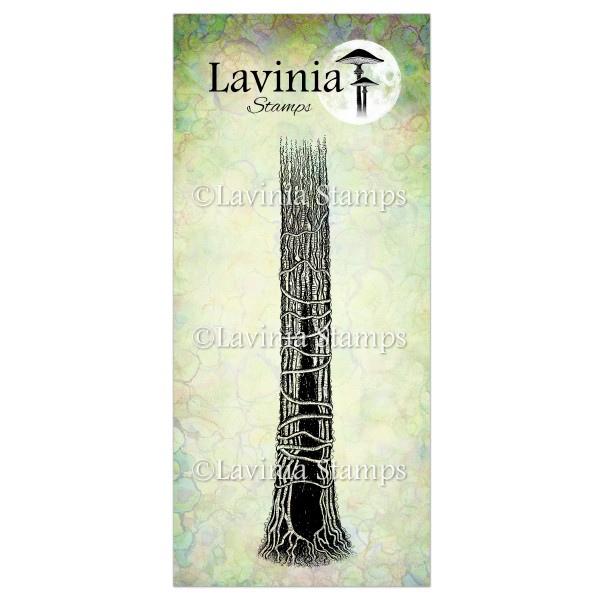
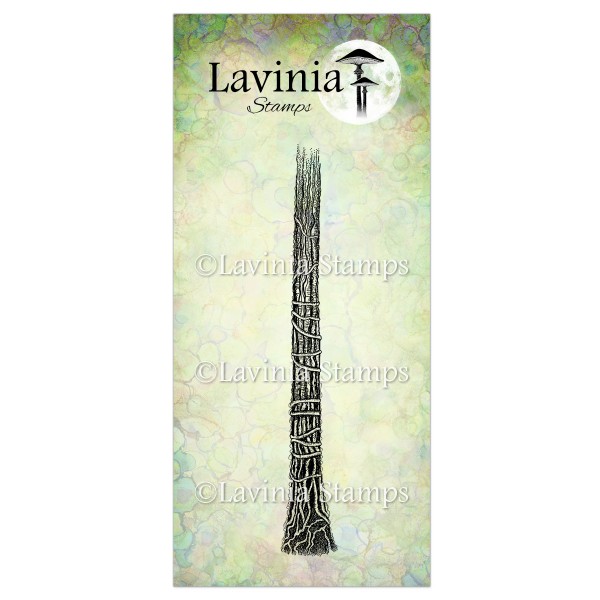
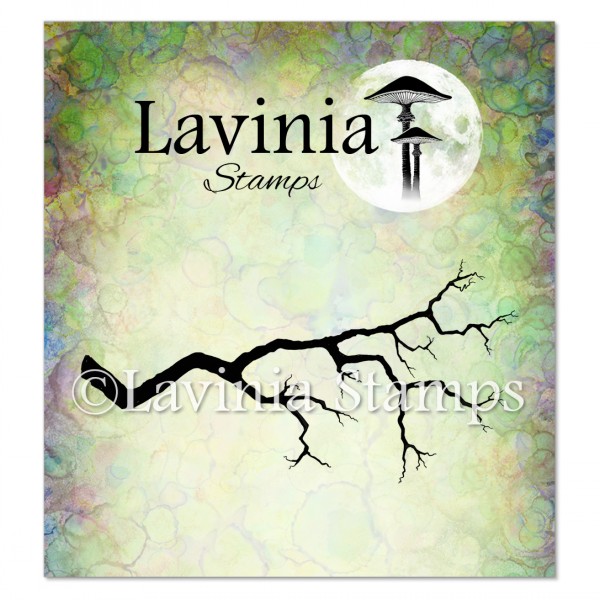
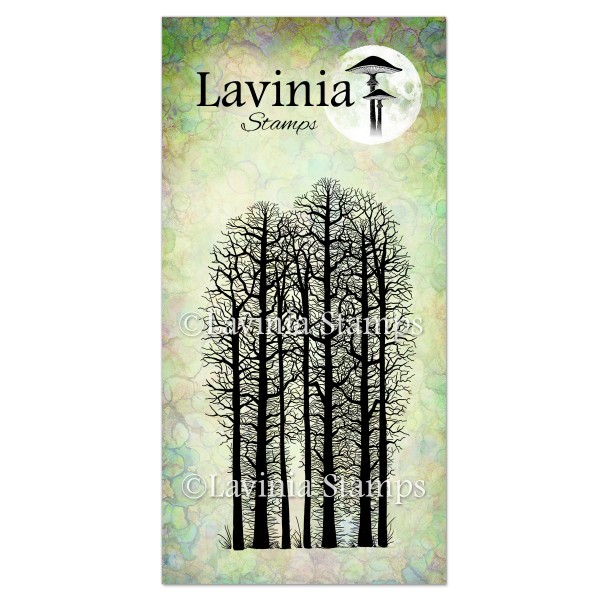
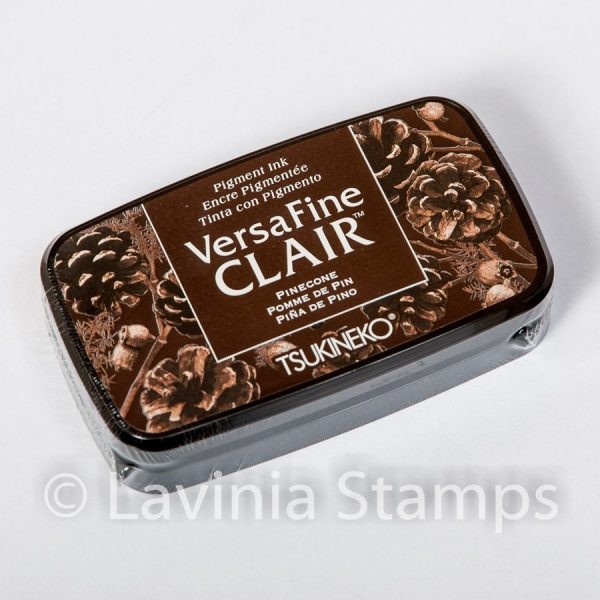
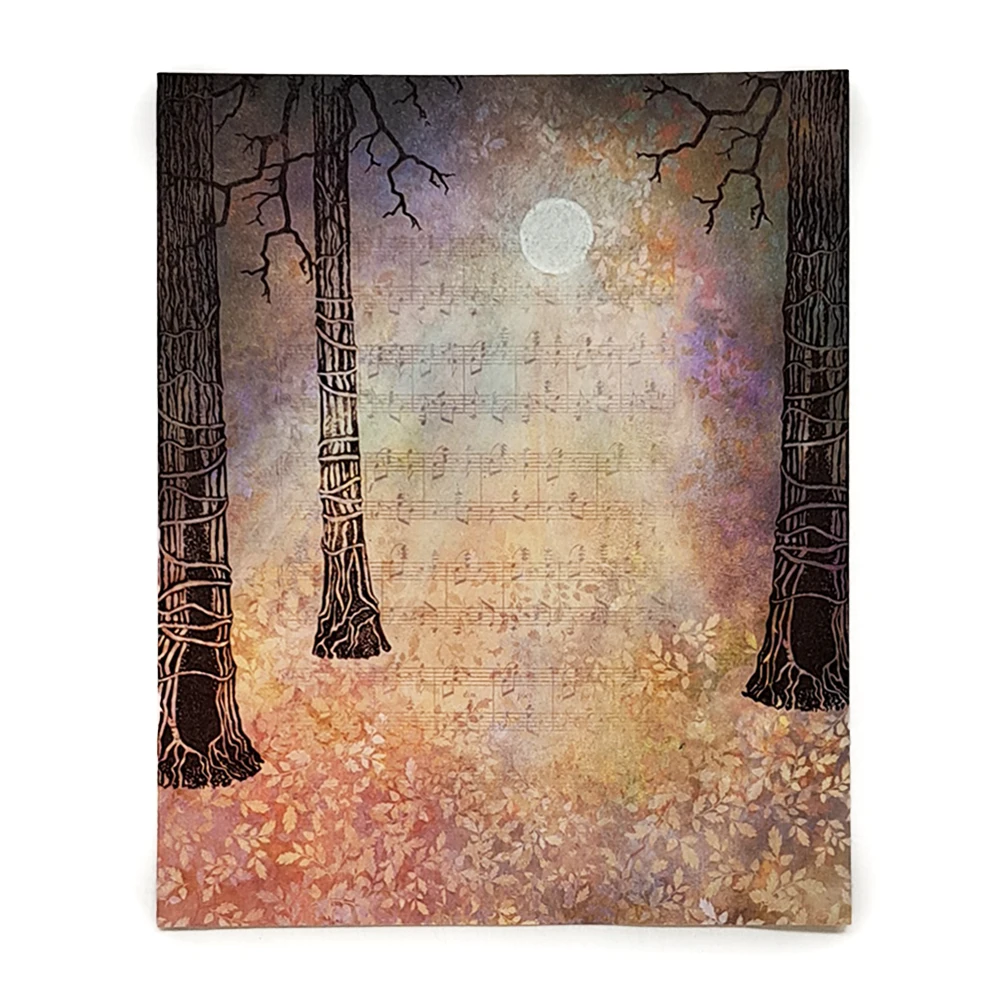
Stamp the Tree Den LAV642, the Tree Stem LAV643 and the Tree Branch LAV506 all in Versafine Clair Pinecone.
Step 5
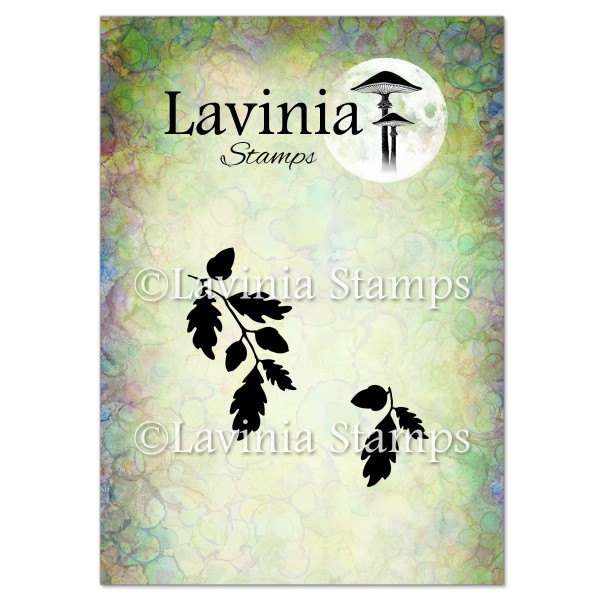
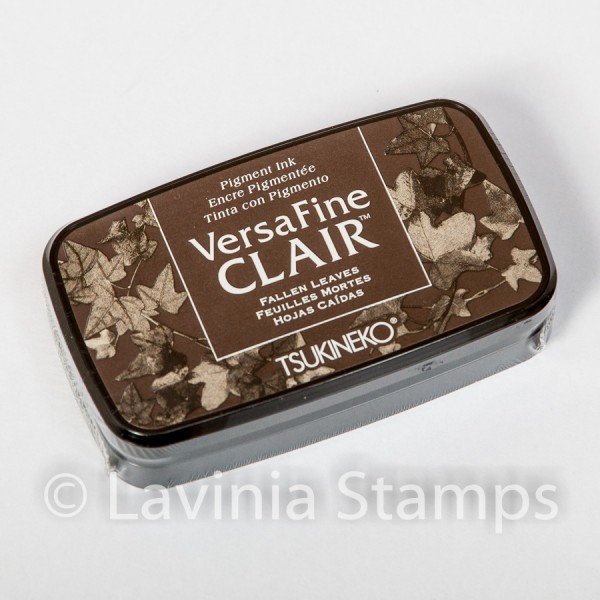
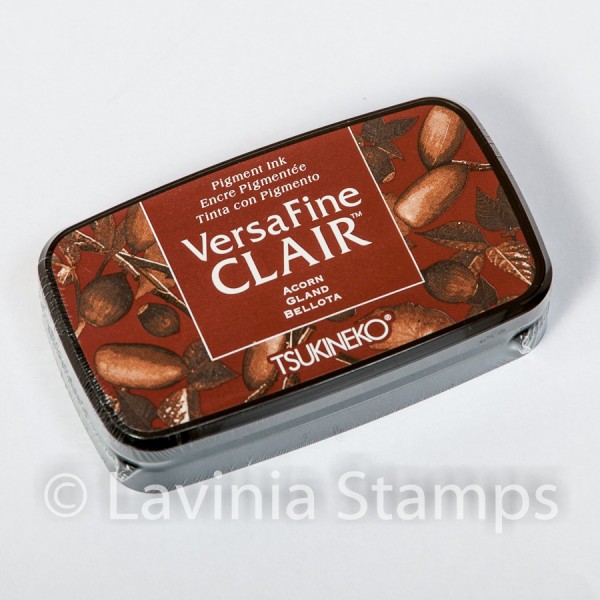
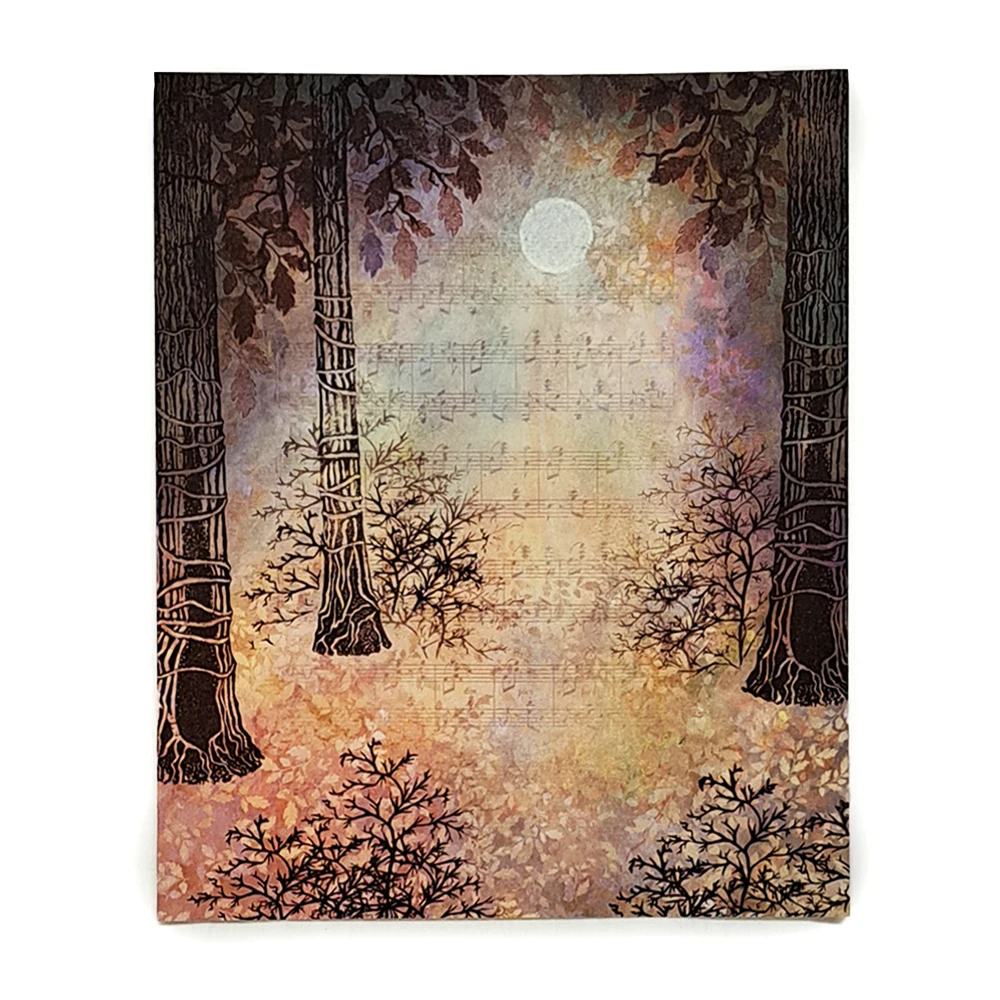
The Fern Leaf stamp LAV124 will make great bushes stamped in Versafine Clair Fallen Leaves. For the foliage on the trees, we will use the Oak Leaf Flourish LAV760 stamped in Versafine Clair Acorn and Pinecone. Stamp both in first and second generation stamping.
Step 6
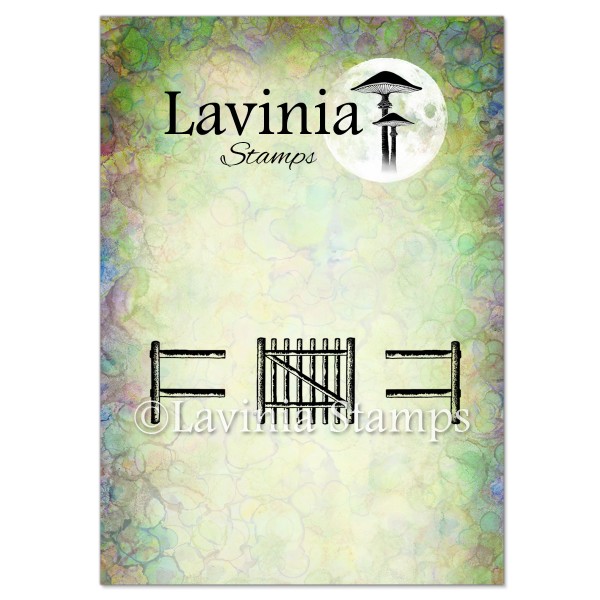
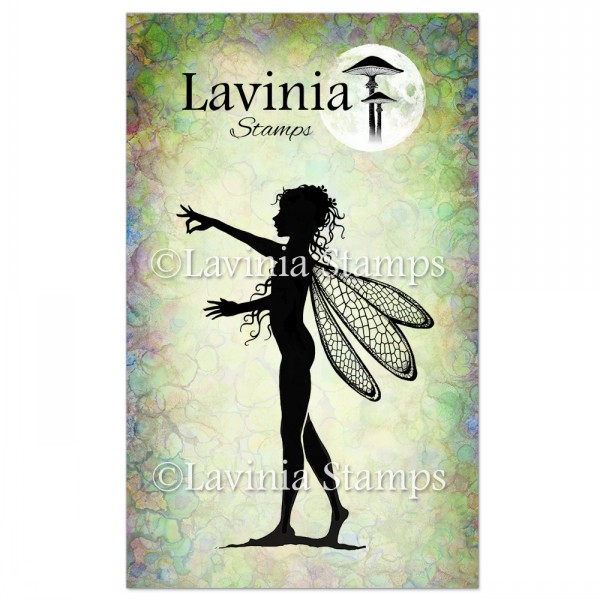
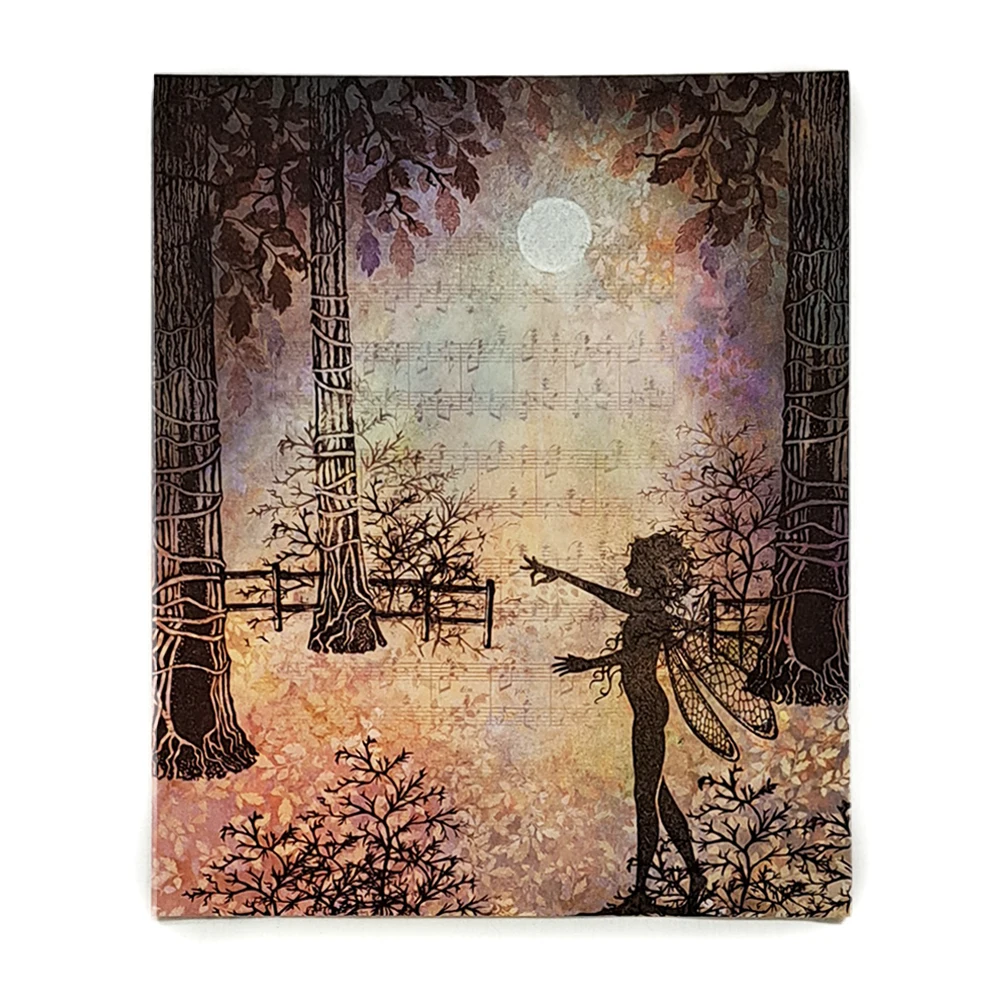
The wonderful Gate And Fence stamp LAV752 stamped in Versafine Clair Fallen Leaves will look great in the Background. The gorgeous Freya LAV356 stamped in Versafine Clair Fallen Leaves is going in the front. Make sure that her hands are not stamped over something in the background because then it will be so hard to see her holding the note.
Step 7
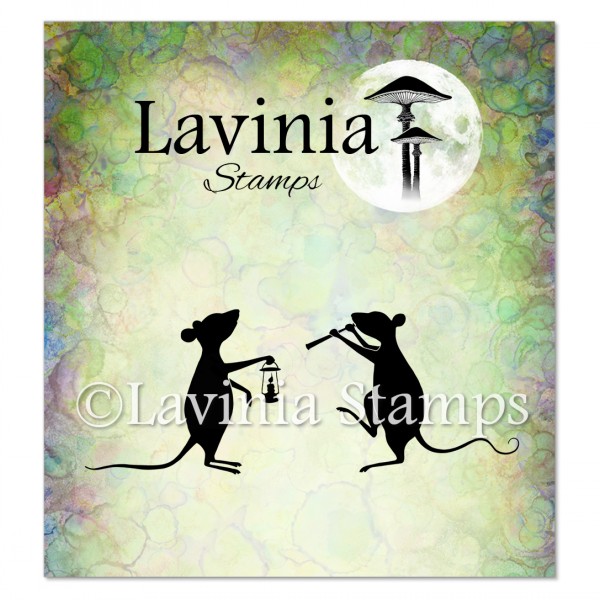
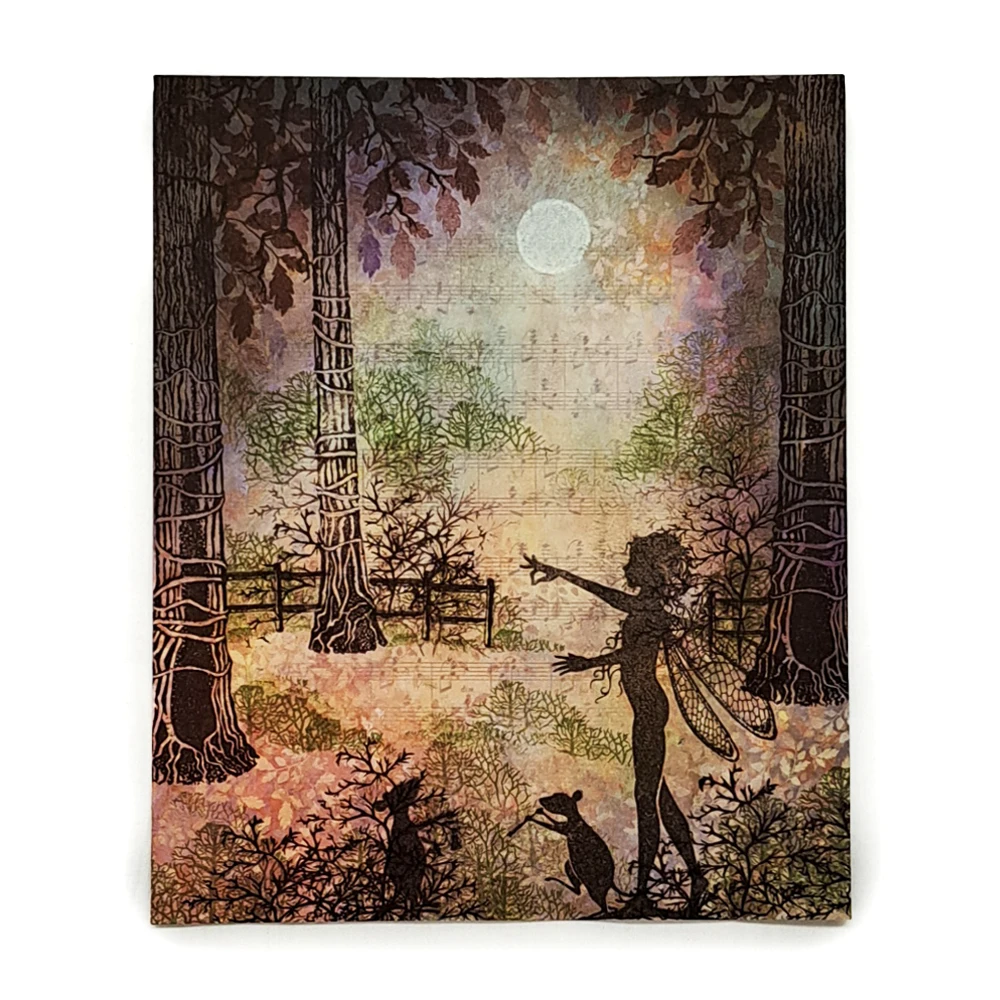
Freya needs some fun friends so Basil and Bibi LAV732 stamped in Versafine Clair Fallen Leaves will look cute. Some more trees are needed for the background, so the Forest Scene LAV524 stamped in Versafine Clair is perfect. We will only stamp the very top of the stamp. We don’t need such tall trees. Do some small bushes on the ground in front as well.
Step 8
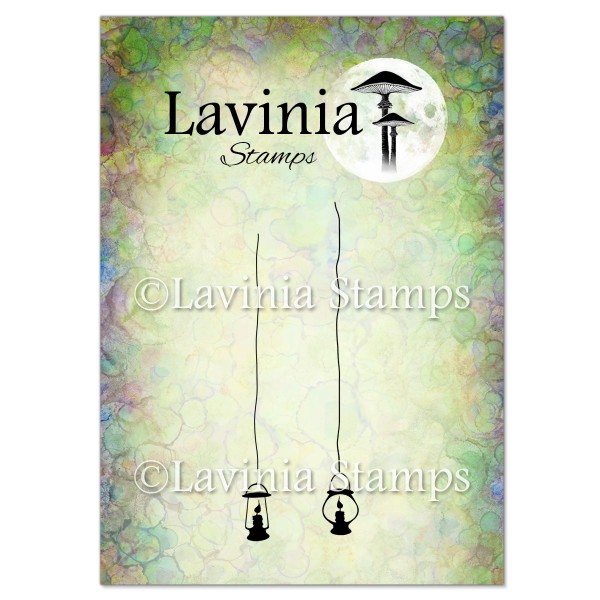
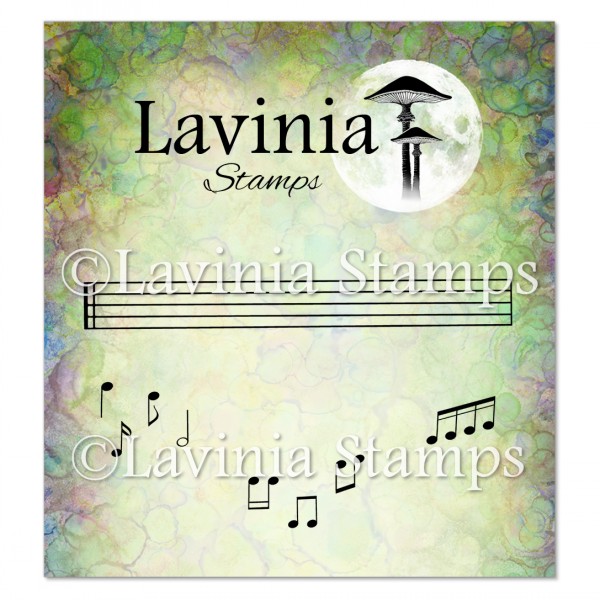
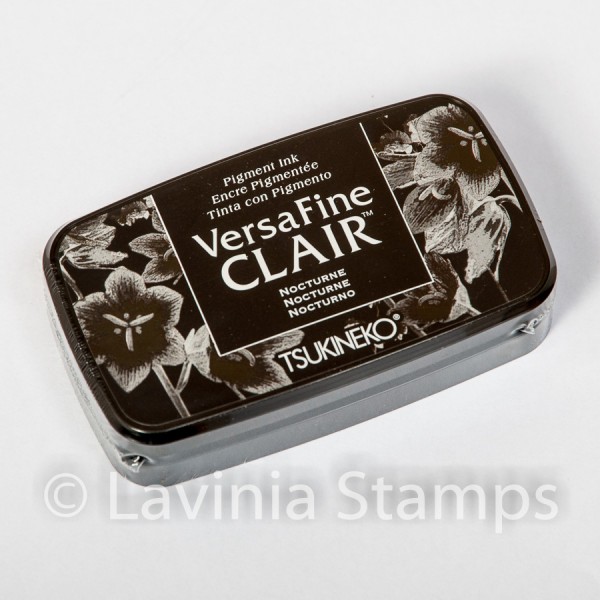
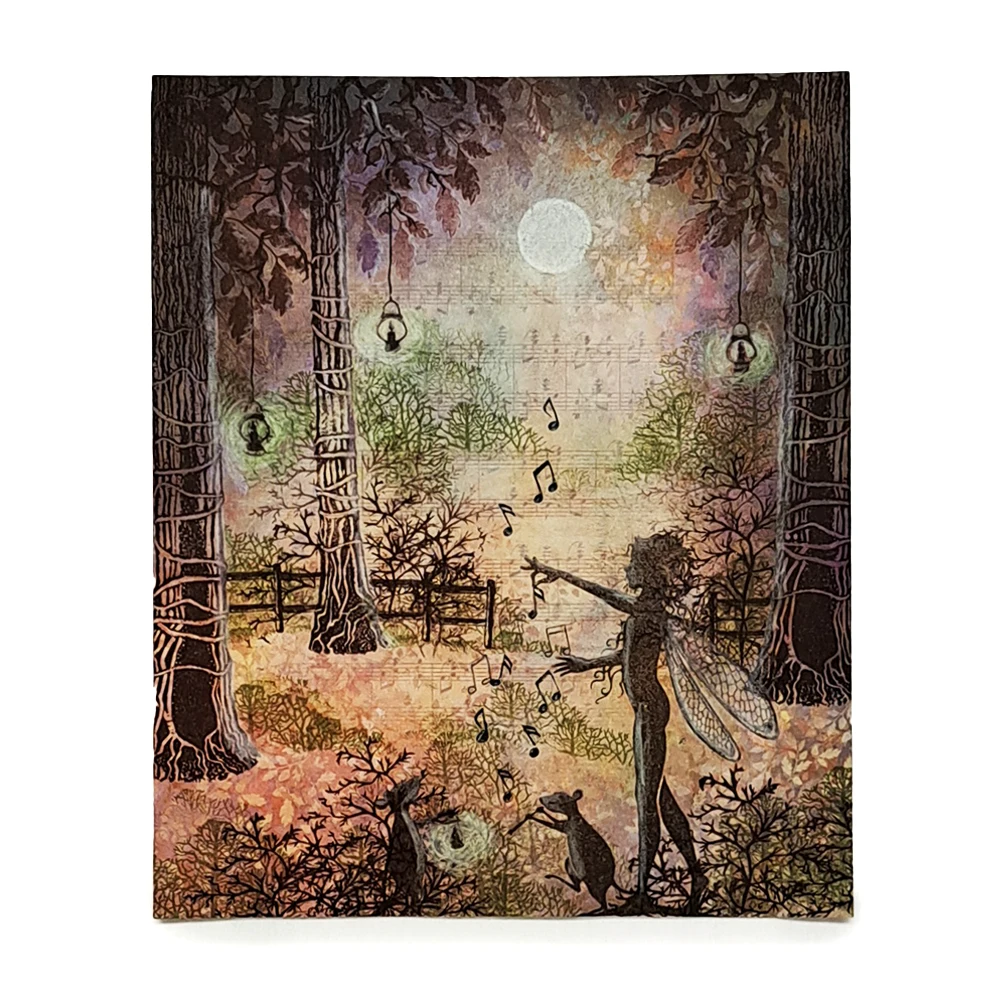
Now let’s add some Small Lanterns LAV728 hanging in the trees, stamped in Versafine Clair Nocturne. Also stamp the Small Notes LAV737 in Versafine Clair Nocturne but do some in first generation stamping and some in second generation stamping. When the ink is dry, we will draw some white light around the lanterns. Use the white Mondeluz Aquarelle pencil for this.
Step 9
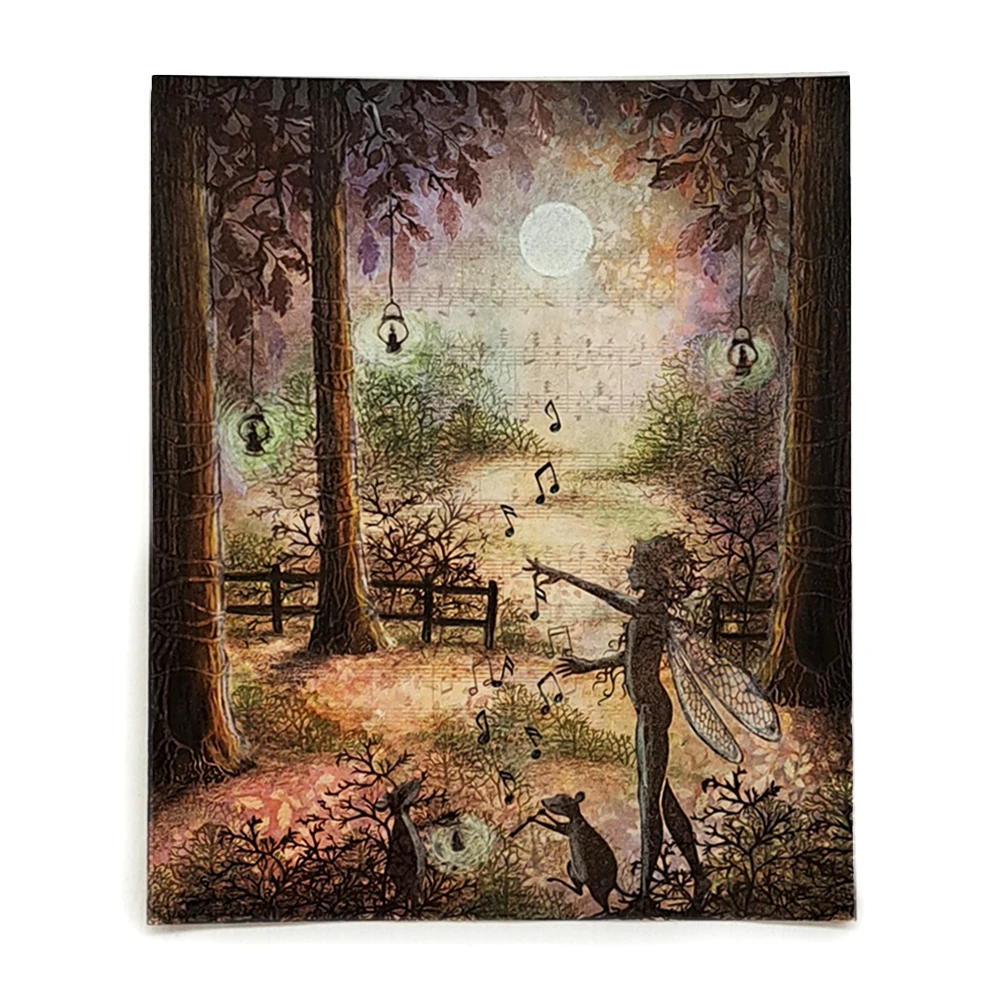
For colouring in our stamps, I always use my wonderful Mondeluz Aquarelle pencils because they are so soft and so vibrant in colour even without blending with water. The trees we colour with dark brown, brown, reddish brown, black, white and ochre!! The reason for all these colours is because this gives the tree both depth and some life. Colour some green and brown in the trees and bushes and on the ground where the trees are, so that they look grounded. Colour in the fence with some dark brown and just give our friends, Freya, Basil and Bibi a white highlight with the white pencil.
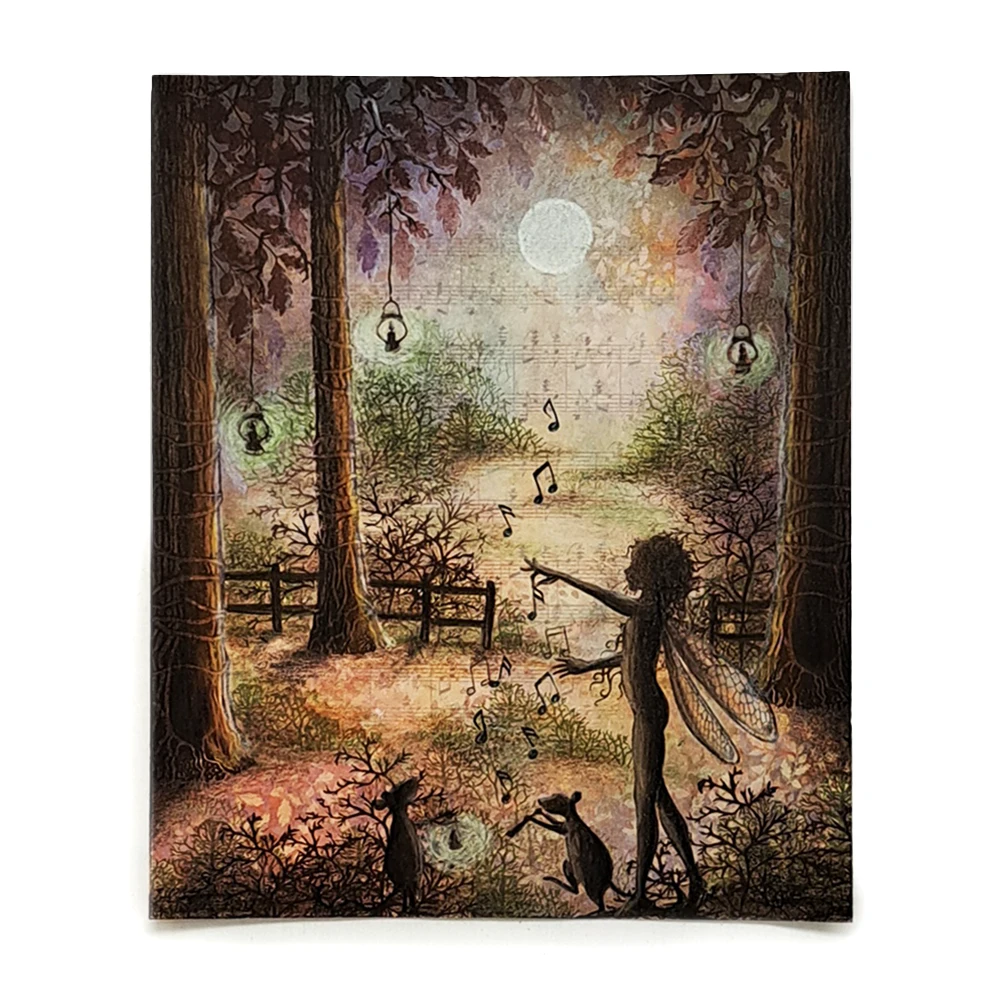
Step 10
Now we colour our friends in with some dark brown, black, beige and white.
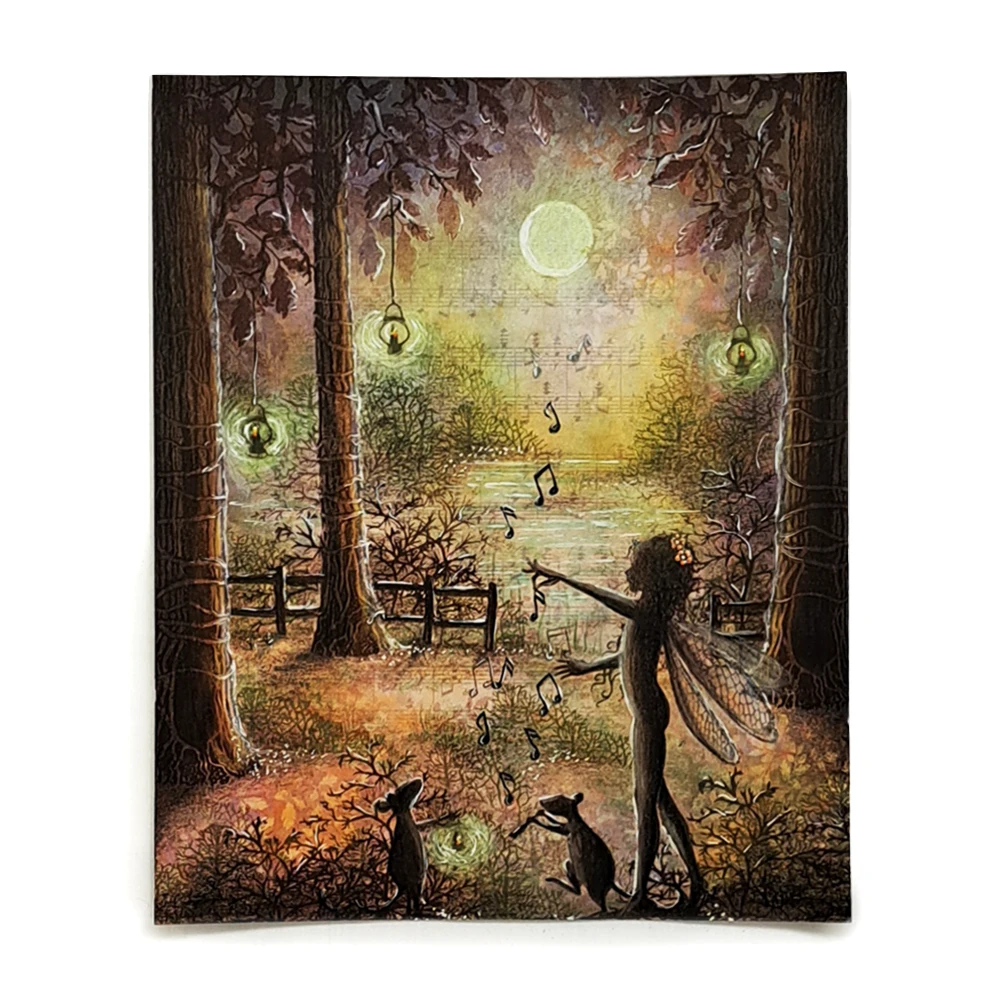
Step 11
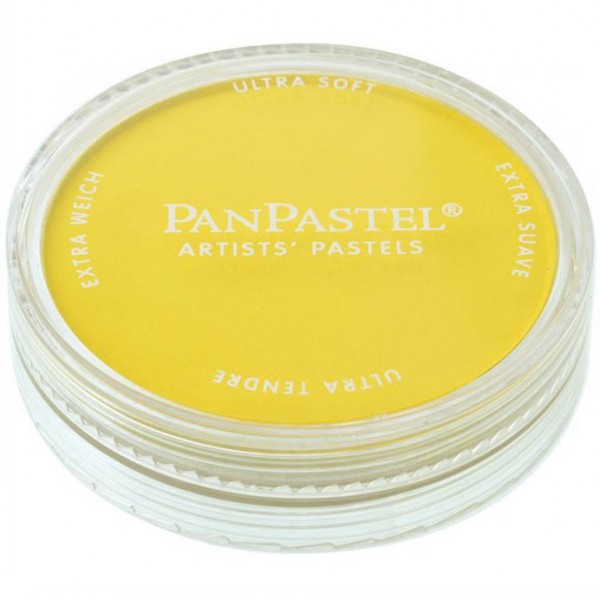
A little PanPastel Hansa Yellow for some light effect in the far distance and just a tiny touch of the PanPastel Hansa Yellow on top of the lantern lights. Some flowers in Freya’s hair and small flames in every lantern done with Posca pens, white, yellow and orange.
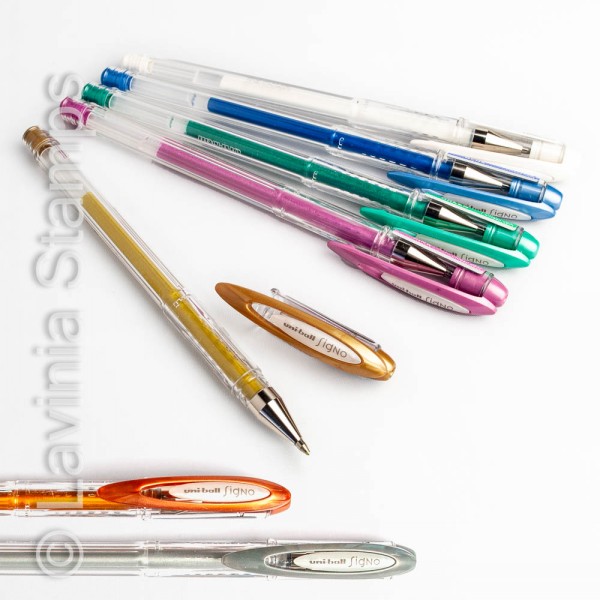
Highlights are done with a White Uniball pen.
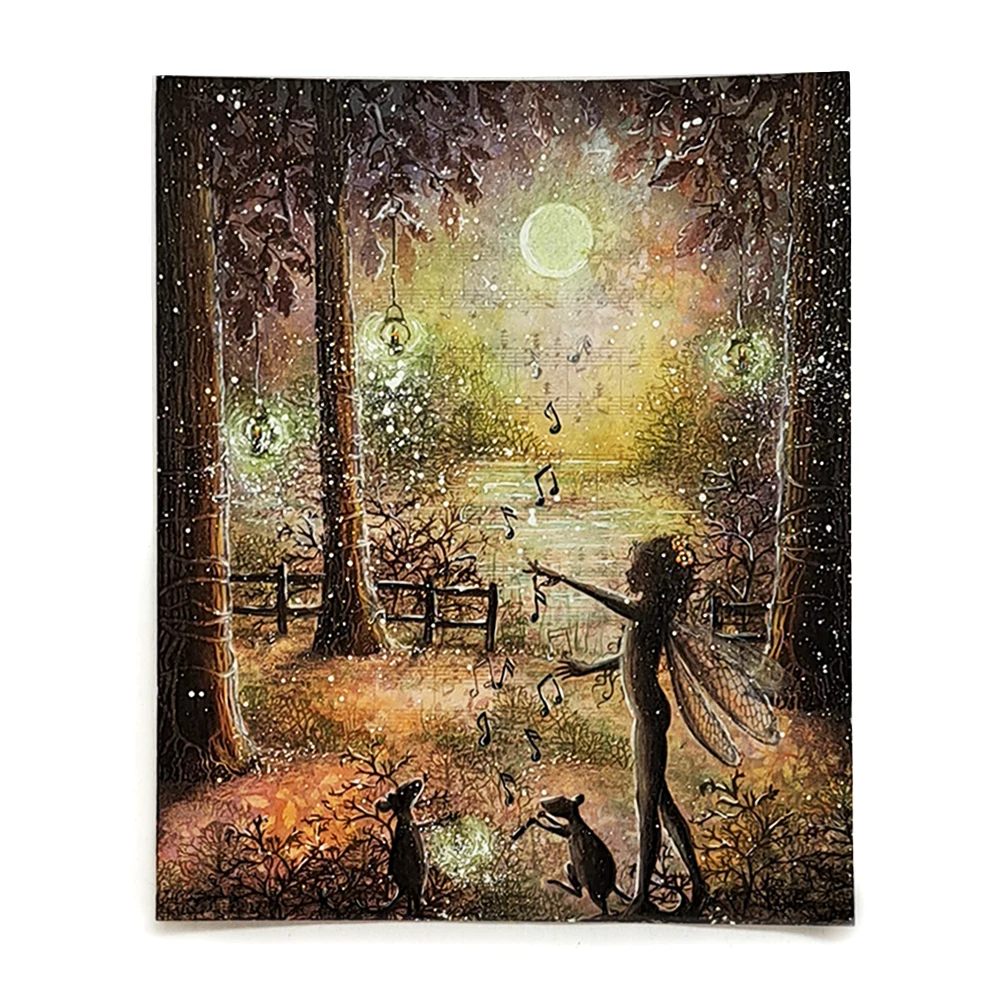
Step 12
As a wonderful finishing touch, we will do a lot of Posca pen splatters. It might be snow; it might be Fireflies or just a super windy day and that makes all kinds off stuff fly around. Perhaps it is all those things happening at once. So now we have our finished picture. Hope you enjoyed following this tutorial. If you have any questions just let me know and I will answer as soon as I can.
Big hugs from Mona


