Moonlight Greeting by Susan Bradney
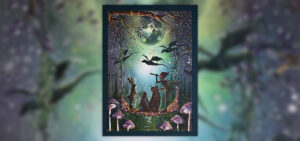
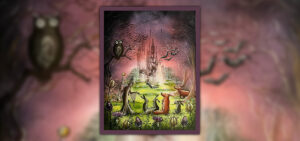
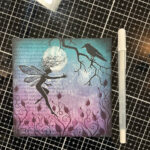
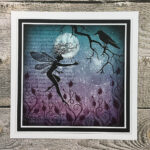
Our guest member of the Lavinia Design Team, Susan Bradney, guides us through the various steps in creating this wonderful mystical card.

The Products I used…
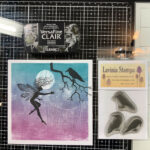
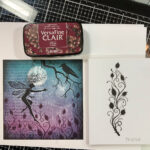
Stamps: Layla, Thistle, Magic surrounds us, tree branch and crow set.
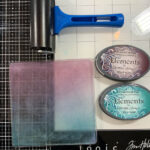
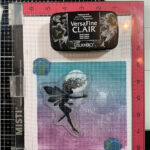
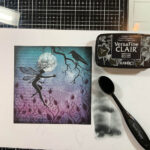
Inks: Mermaid and Mulberry elements. Nocturne, chianti and twilight.
Versafine Clair Inks
Multifarious card
6” x 6” gel plate,
Brayer,
White gel pen,
Card for matting and layering
7” x 7” card blank.
Stamping platform (Not essential)
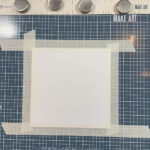
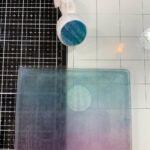
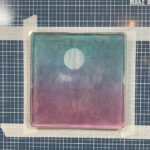
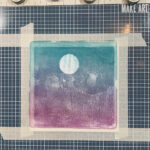
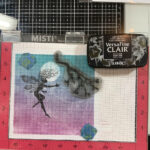
The Steps in creating the card
(click on the first image to view as a slideshow)
- Tape down a sheet of multifarious card. Mine measure 5.5” x 5.5”
- Brayer mermaid and mulberry elements inks onto a 6”x 6” gel press.
- Take an almost dry wet wipe and wrap it tightly around a circle shape. Lightly press this onto the gel plate where you want your moon to be. The gel plate is going to be turned over so bare that in mind when deciding where to put your moon.
- Lay the gel plate over the taped down sheet of card, lightly press to get full contact.
- Remove the gel plate and the tape.
- position Layla on your background in a stamping platform, ink up with versafine clair nocturne and stamp.
- Lay the tree branch stamp and again ink in nocturne.
- Stamp the crow from the crow set so he is sitting on the branch again in nocturne. Trim off the white edges.
- Ink up the thistle in chianti and multi stamp along the bottom,
- Also ink the magic surrounds us verse in twilight and stamp down the left hand side.
- Use a white gel pen to add highlights to all the stamping.
- Using nocturne ink and a blending brush ink around the edges of the panel.
- Mat and layer as desired and adhere to a 7” x 7” card blank.
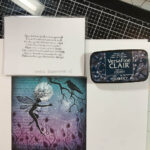
Thank you for looking, stay safe
Susan x