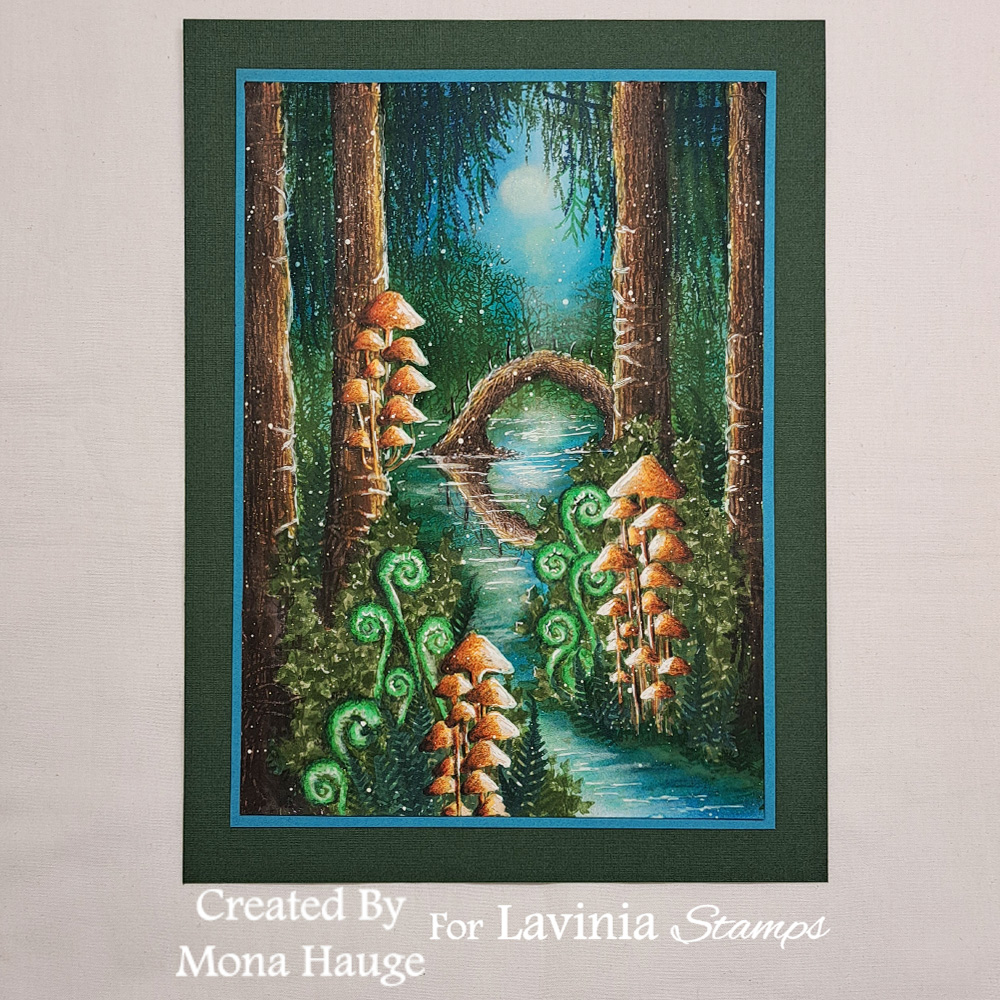
Step by Step by Mona Hauge
It’s Mona here. 🧚♀️A new Picture Tutorial from me called Moonlight. Hope you like it!
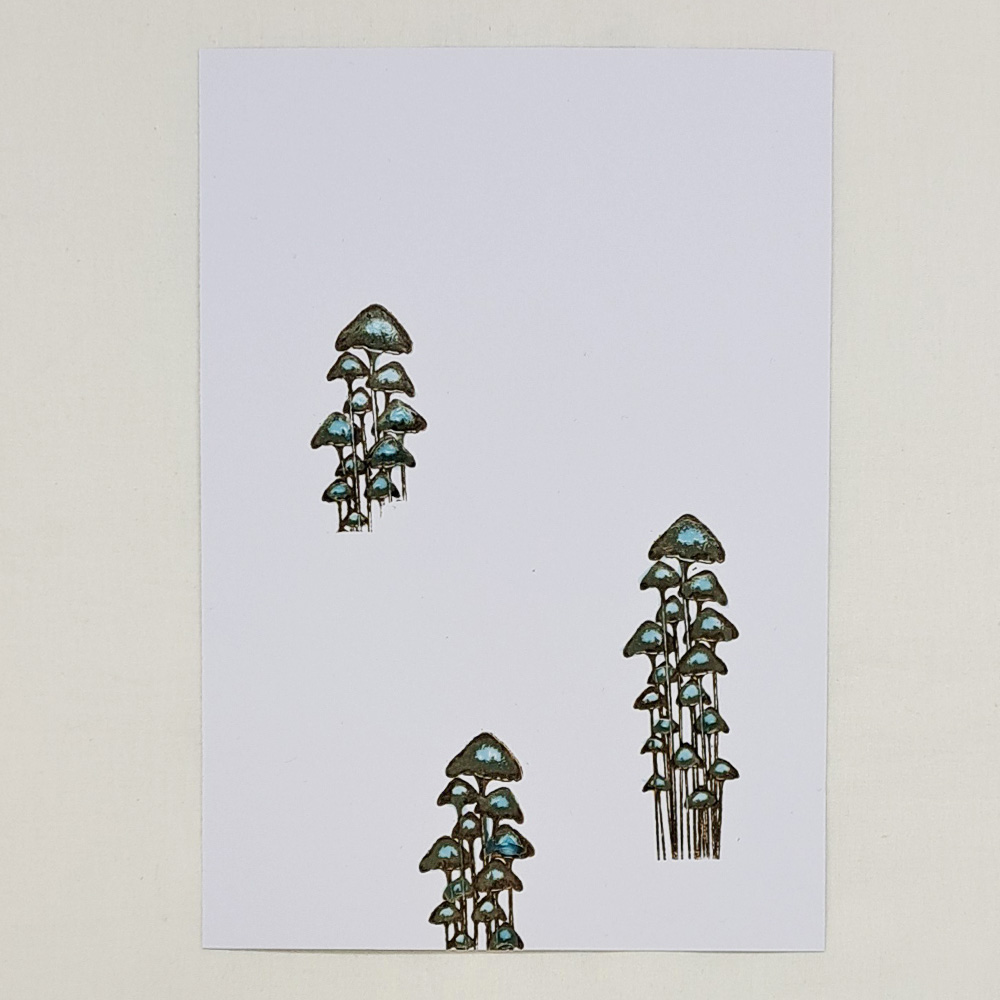
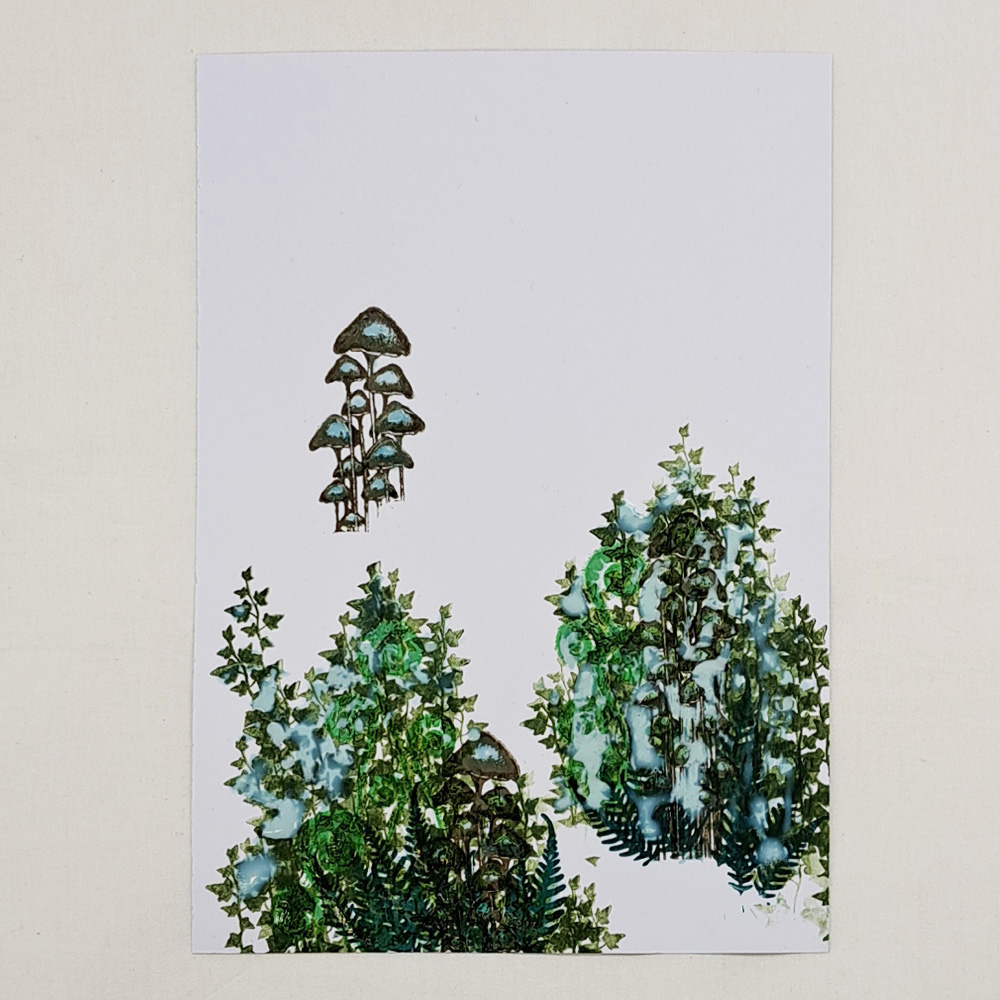
Picture 1
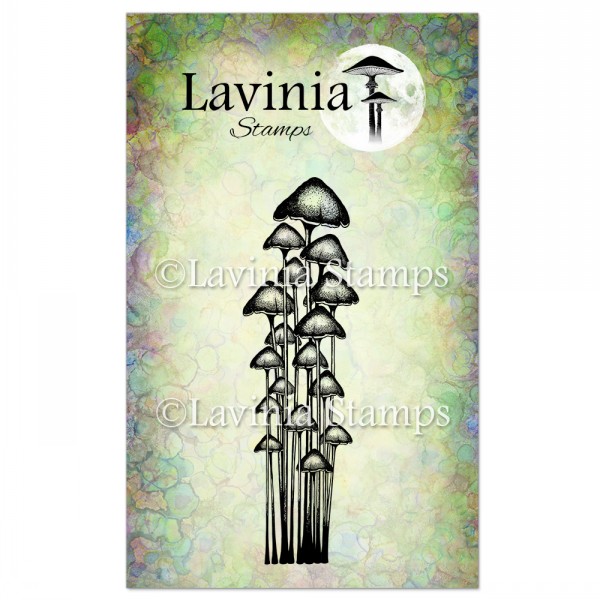
Stamp the gorgeous Moss Cap Cluster LAV883 in Versafine Clair Morning Mist. The short one on the left is going to end up growing on a tree so be sure to stamp without their long stems. Put Liquid Masking fluid on everything.
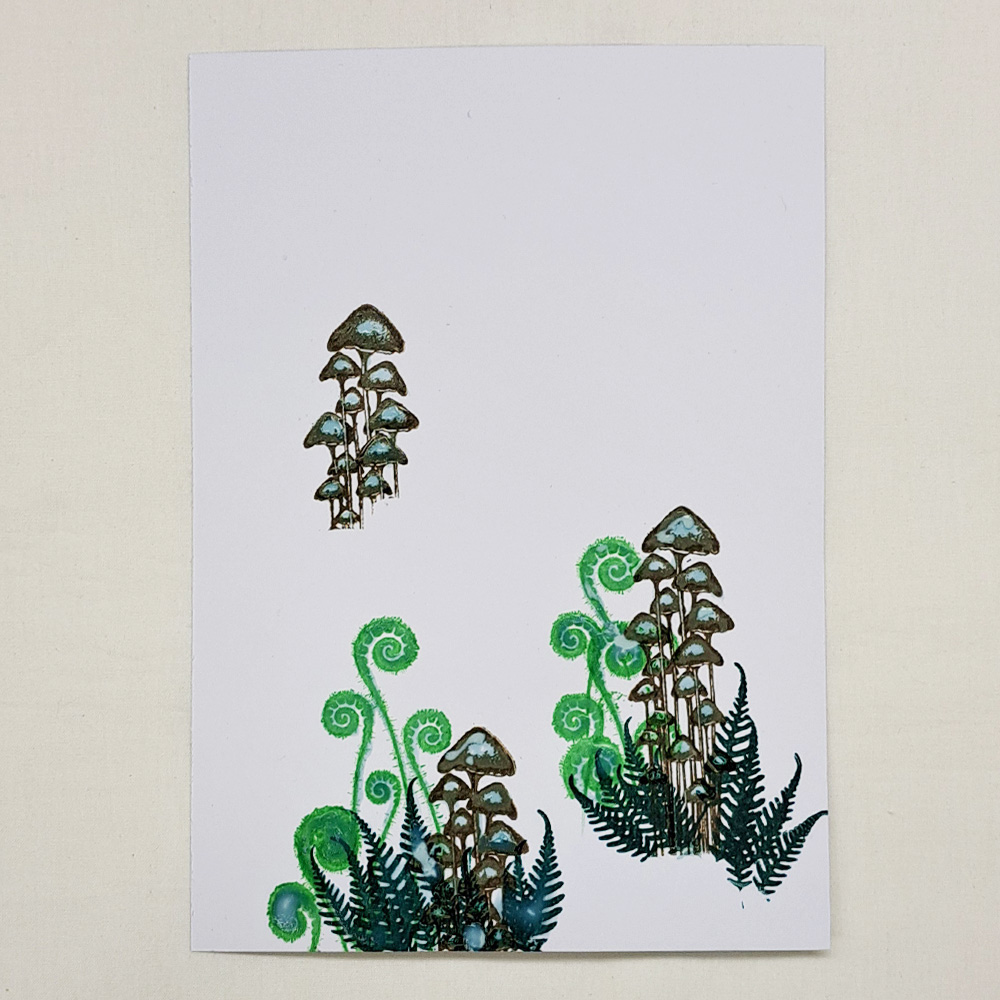
Picture 2
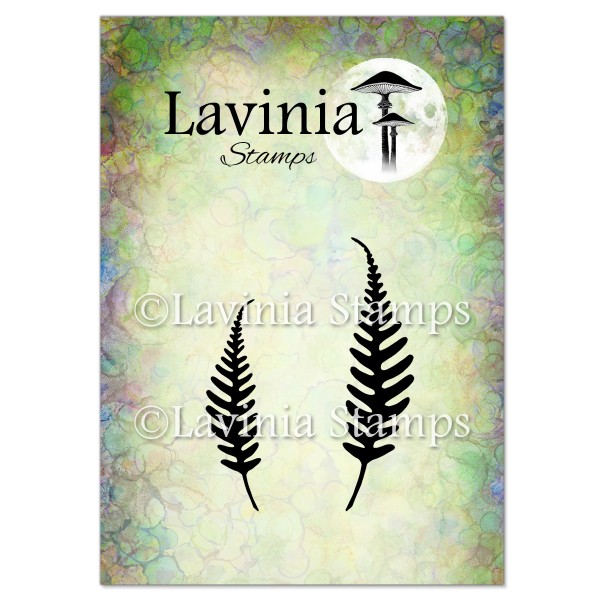
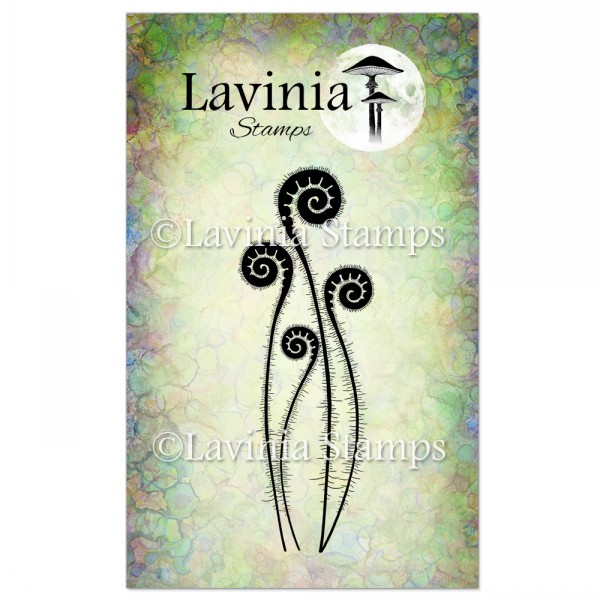
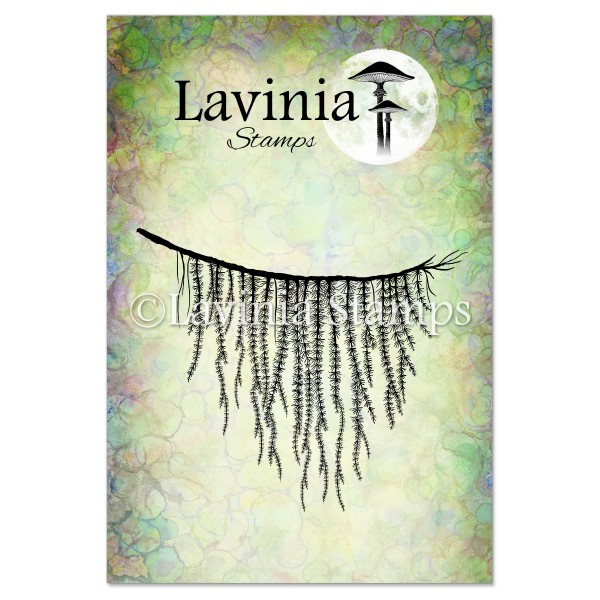
Stamp the Woodland Fern LAV729 in Versafine Clair Rain Forrest and the Fern Heads LAV470 in Versafine Clair Grass Green like you see in the picture. Cover everything in Liquid Masking fluid. Always wait until it is completely dry before stamping over it.
Picture 3
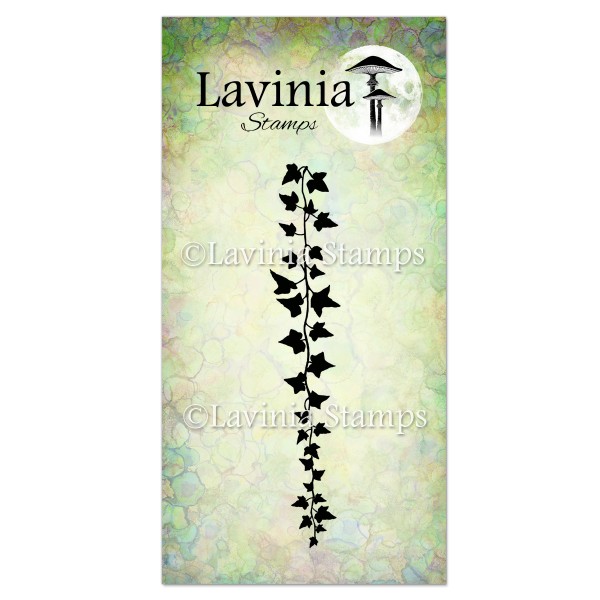
Stamp the Falling Ivy LAV352 in Versafine Clair Shady Lane. Cover again as much as possible with Liquid Masking fluid .
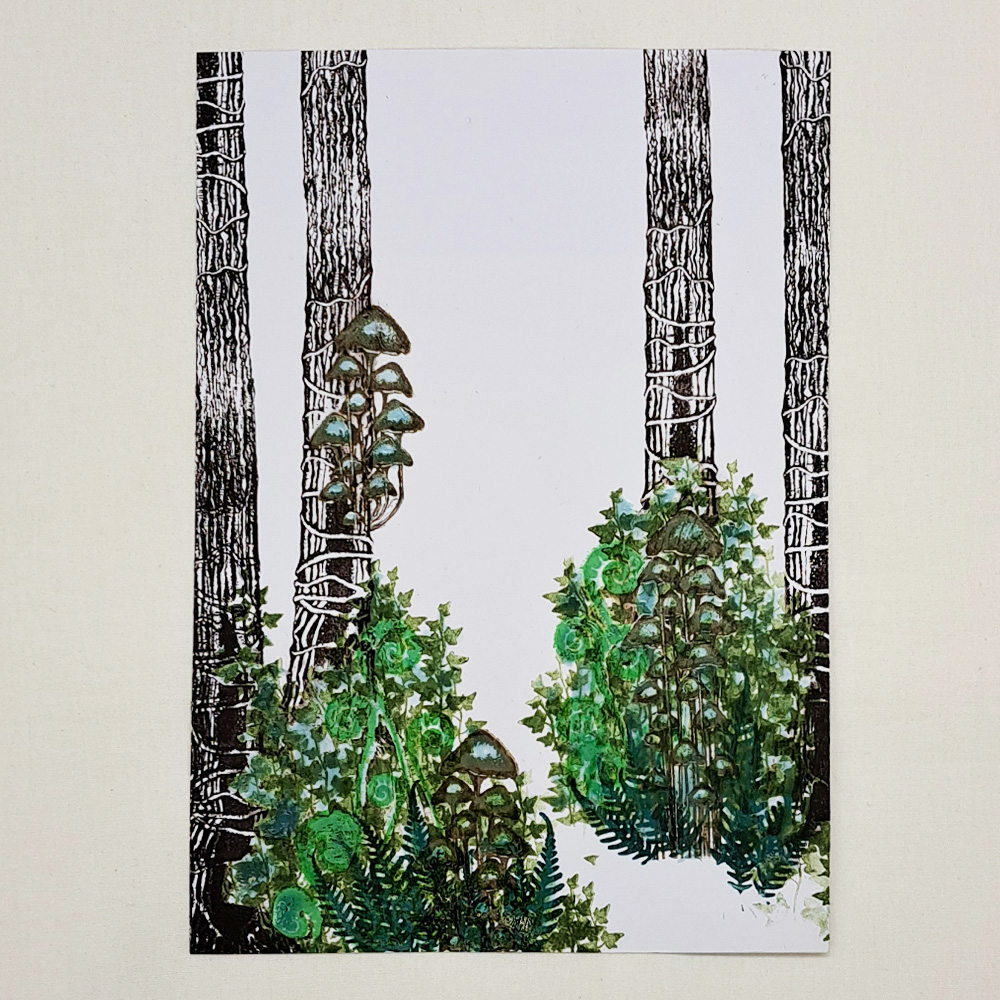
Picture 4
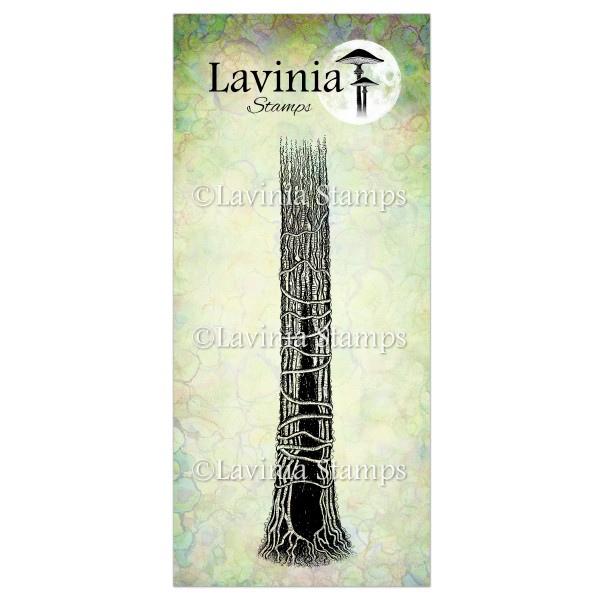
Stamp the Tree Den LAV642 in Versafine Clair Fallen Leaves like you see in the picture . Now the mushrooms looks like they are growing on the tree. Cover all in Liquid Masking fluid.
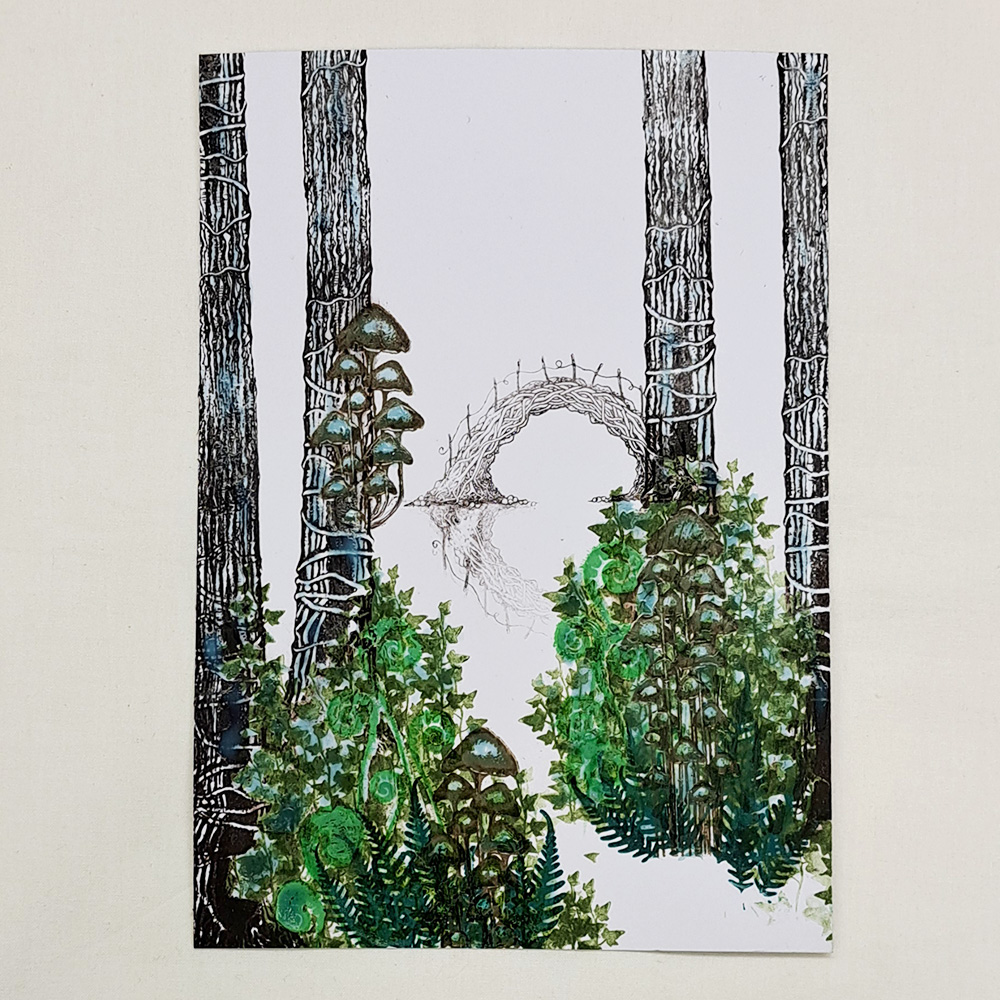
Picture 5
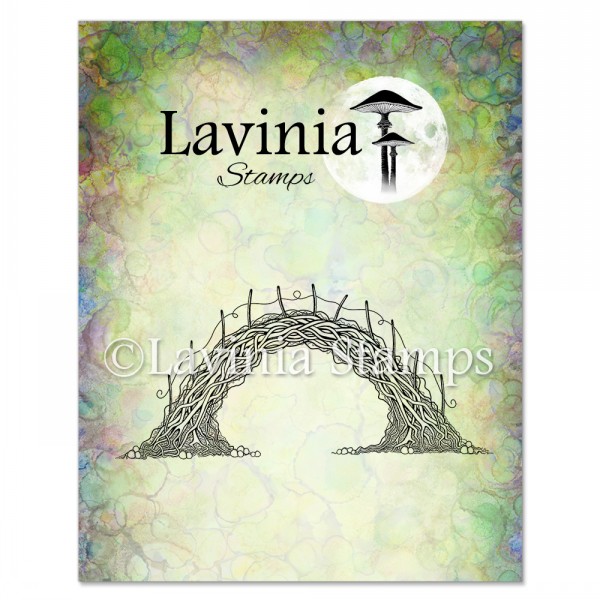
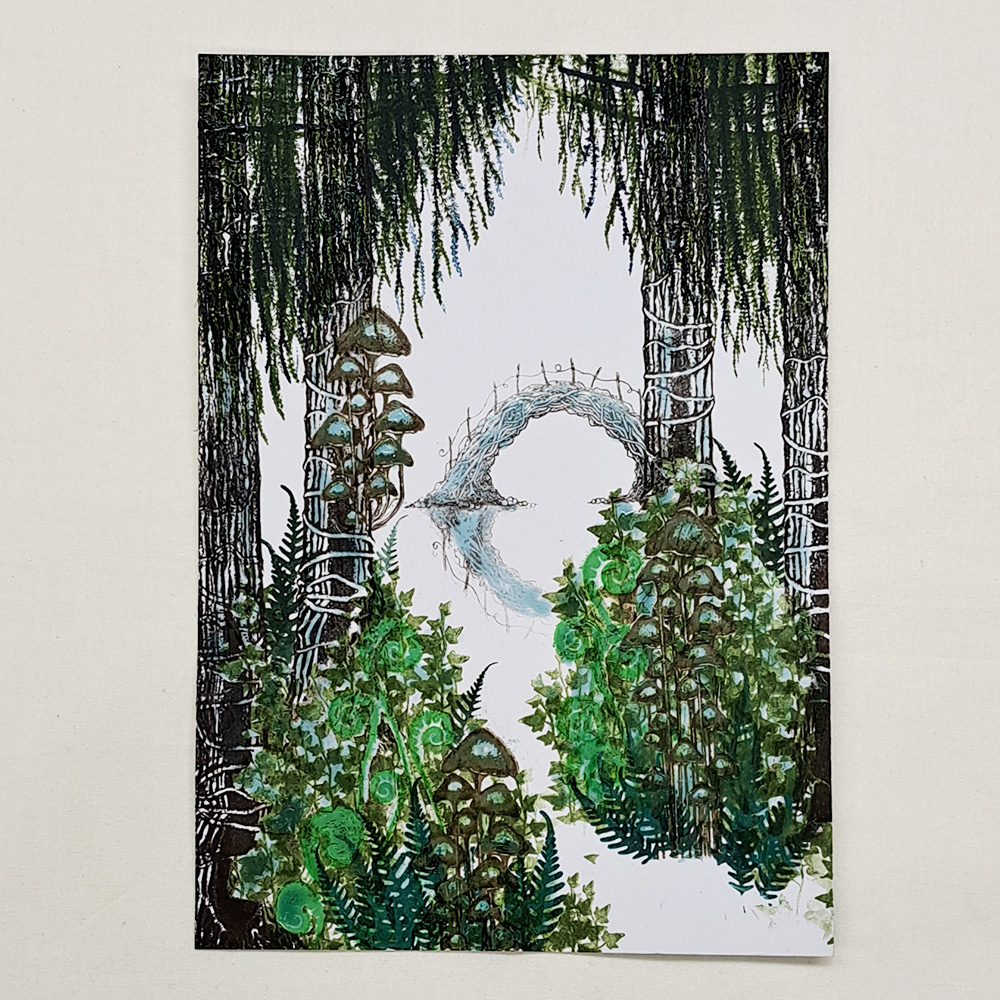
Stamp the Sacred Bridge small LAV866 in Versafine Clair Pinecone. The “top” Bridge is second generation stamping and the reflection is third time generation stamping. This gives the illusion of distance and a reflection.
Picture 6
Cover both Bridges in Liquid Masking fluid.
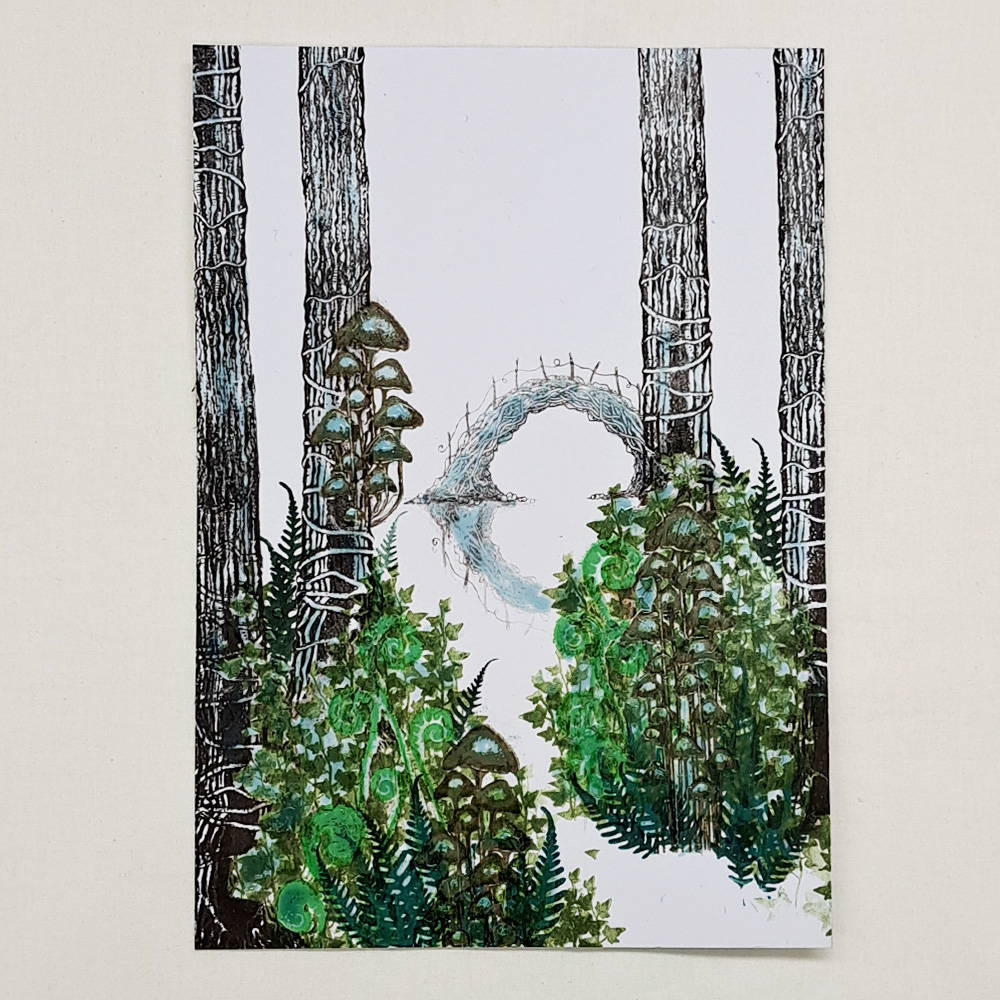
Picture 7
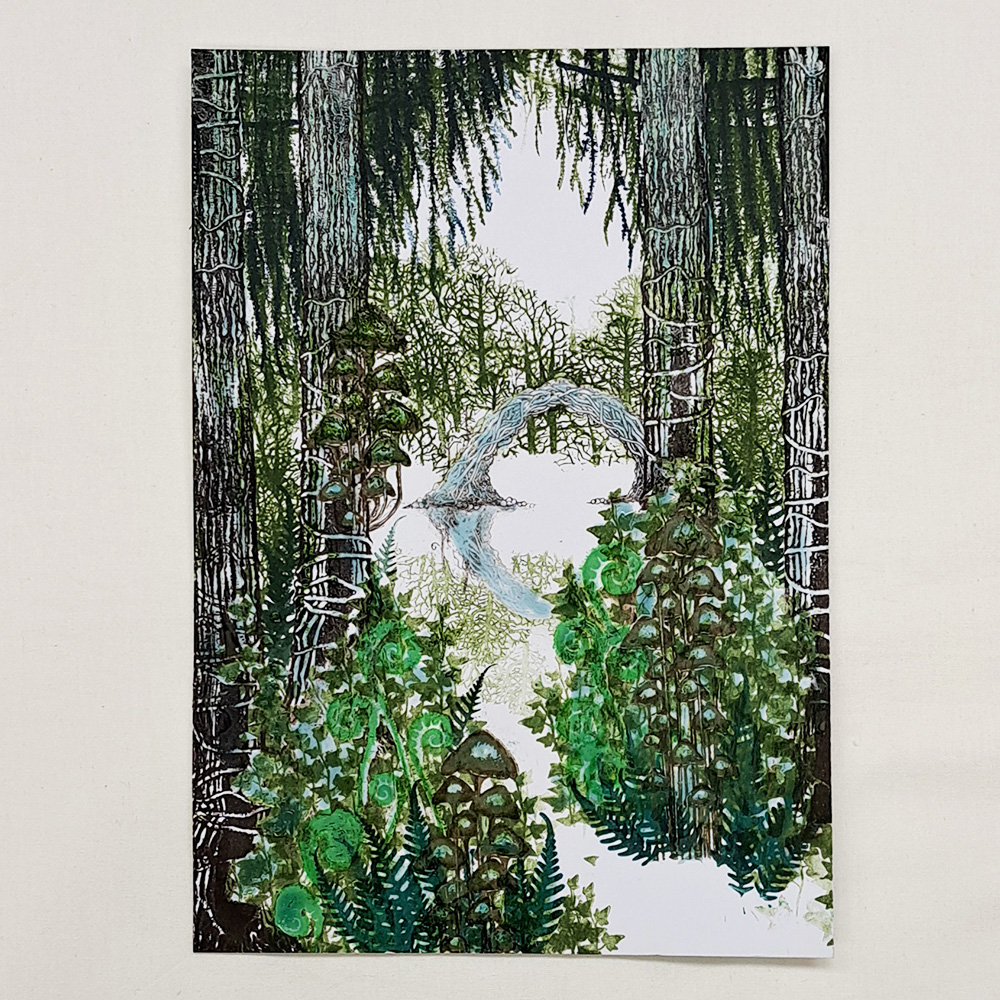
Stamp the Forest Spruce LAV428 in both Versafine clear Shady Lane and Twilight. Do both in first and second generation stamping.
Picture 8
Stamp the Forest Scene LAV524 in Versafine Clair Shady Lane like you see in the picture. Stamp in first , second and third time generation stamping to create depth.
Picture 9
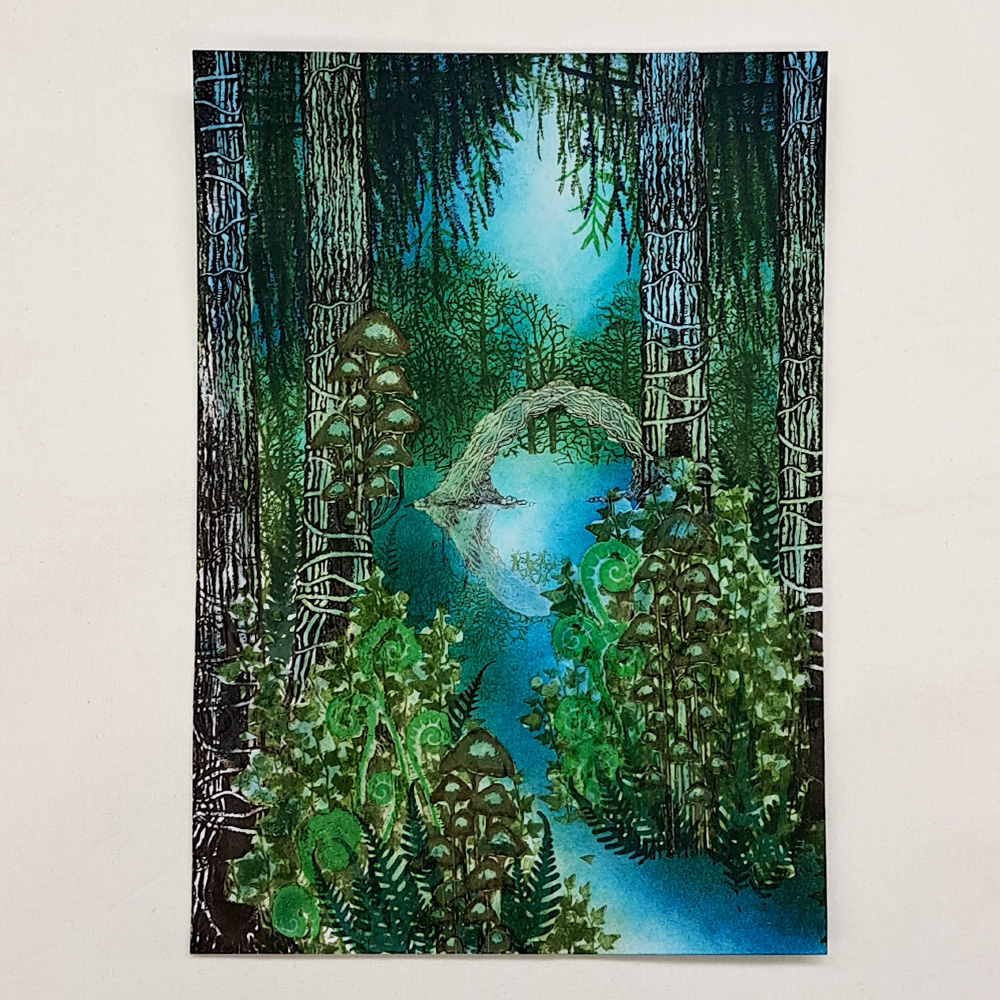
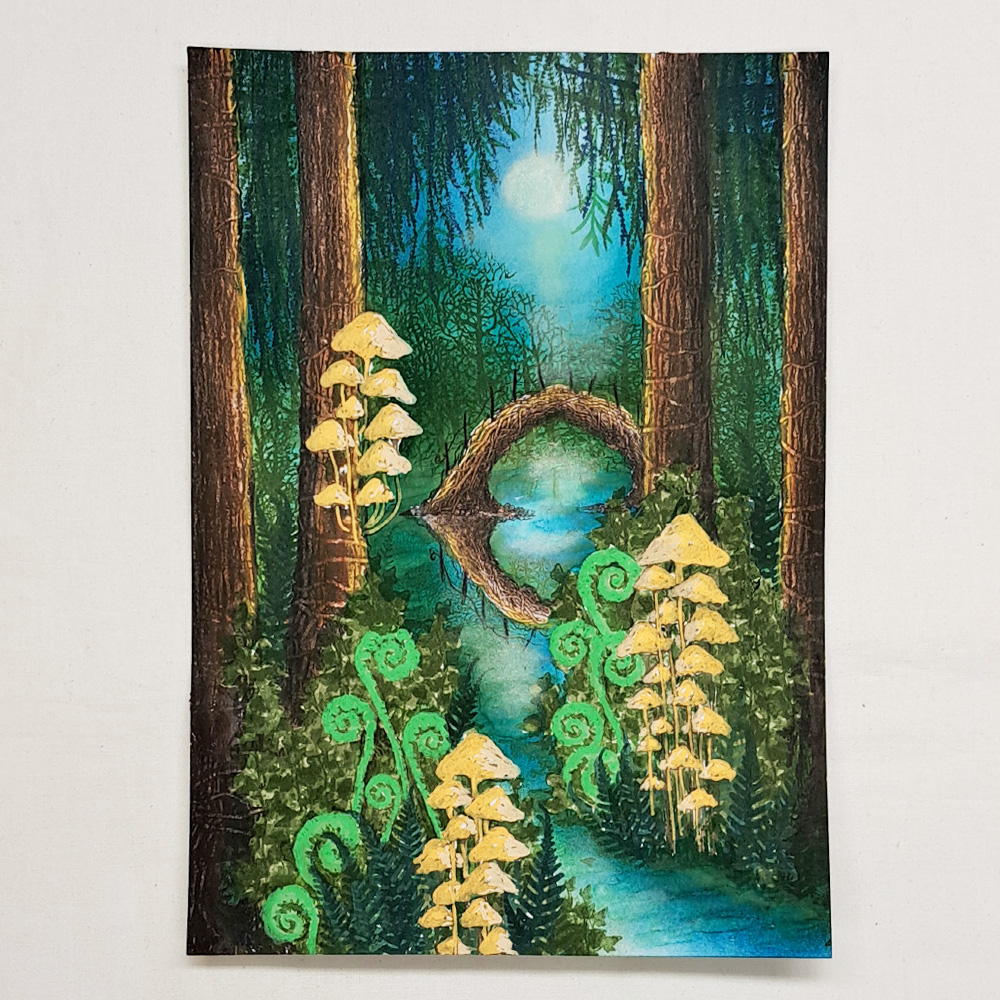
Use Elements ink Blue Atoll, Blue Lagoon for the water and some Olive to fill in the trees and bushes.
Picture 10
Now we are going to remove the Liquid Masking fluid and it is so important that the card is 100% dry. If it isn’t totally dry the paper will rip. Use a heat gun to dry it or wait a good while before rubbing of the Masking fluid. The Liquid Masking fluid will fade the ink colours if we need to we can just use our fabulous Mondeluz watercolour pencils to colour in.
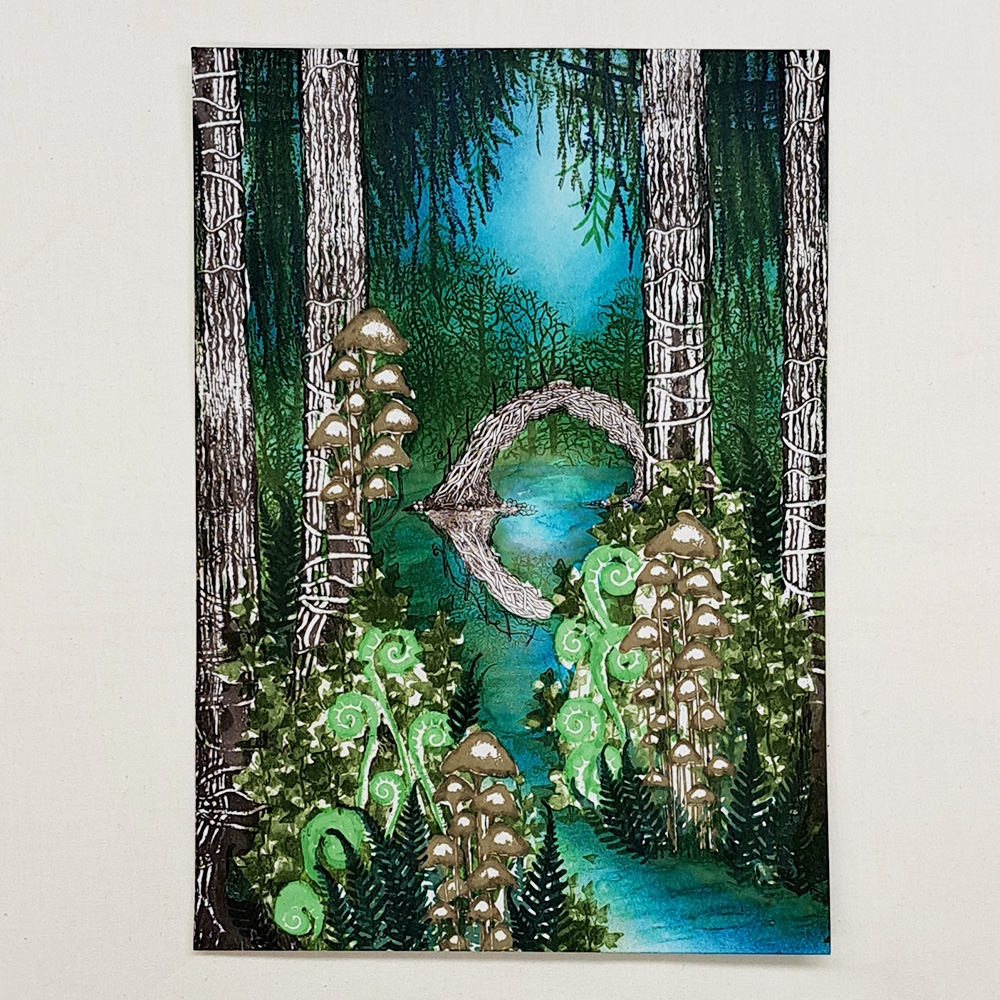
Picture 11
I had to re-stamp my bridges and the Woodland Fern because the details were so faded. (I think my reflection got a bit too strong in colour so try to make it softer!)
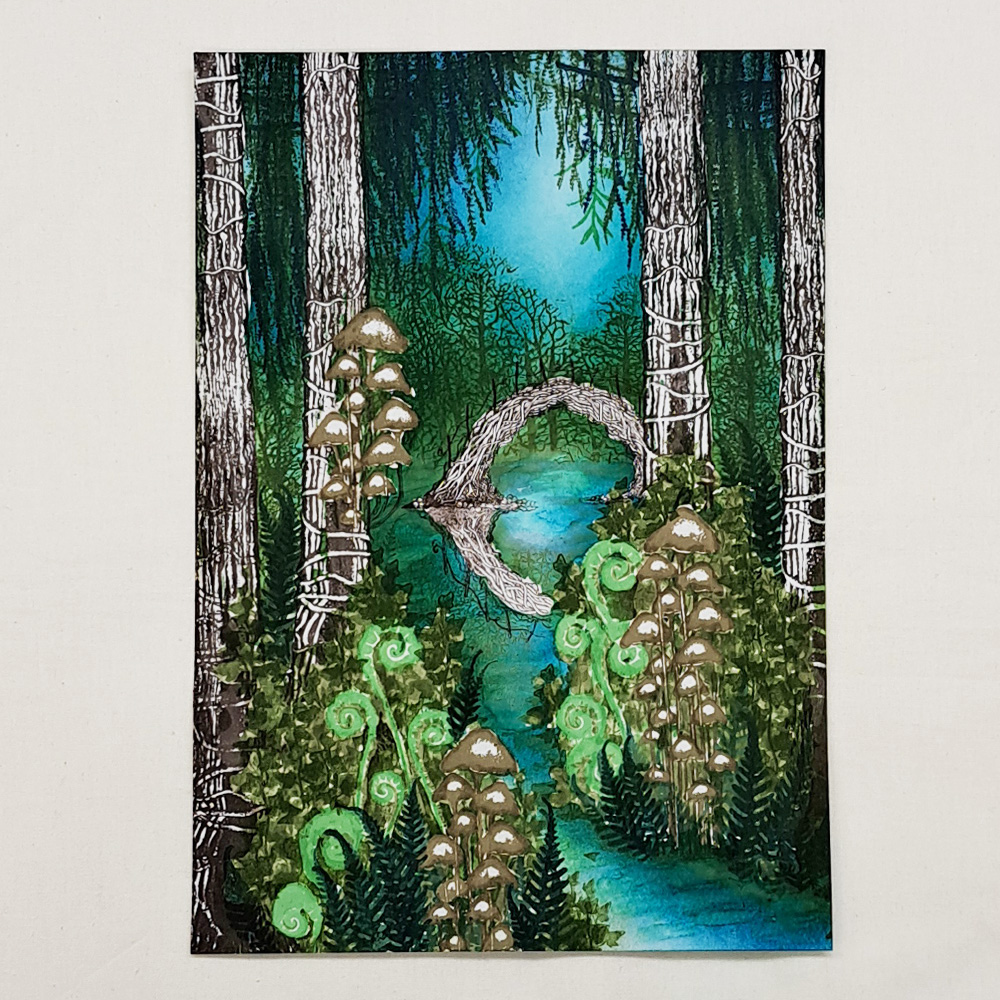
Picture 12
Use a watercolour paintbrush make some more movement in the water. Because the Elements Ink we used to colour the water is water based, we can “move” the colour with water on our brush.
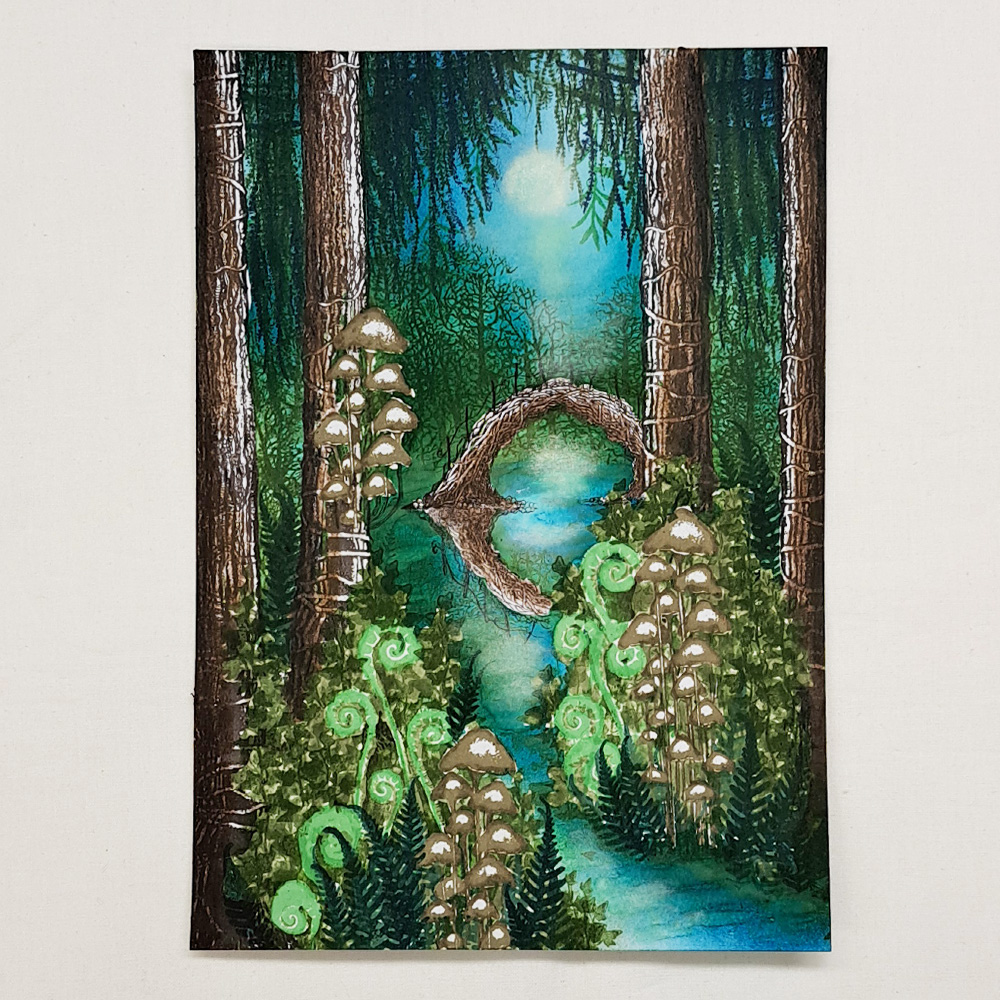
Picture 13
Let’s start colouring the trees and the Bridge. A dark brown and black Mondeluz watercolour pencils to colour the darkest parts of the trees and Bridge. Use a Titanium White Pan Pastel to create the moon and some moonshine in the water. Just use your fingertip to do this.
Picture 14
Use a medium brown and some ochre colour watercolour pencils to finish the trees and Bridge.
Picture 15
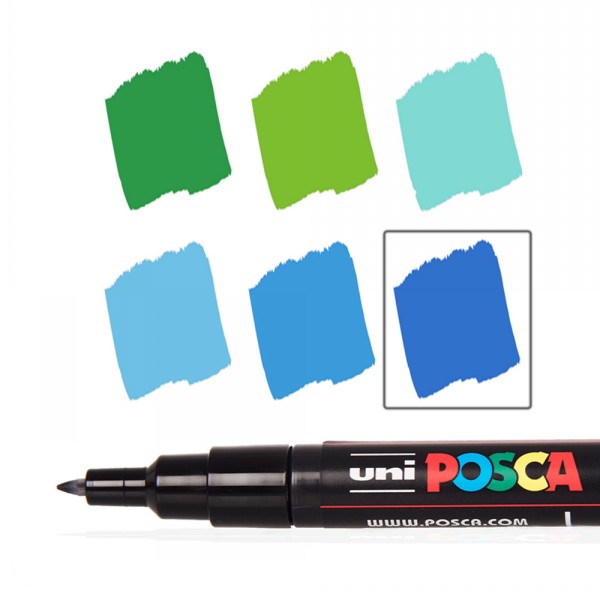
Now we colour the mushrooms with an Apricot Posca pen on the shadow side and a Ivory Posca pen on the side where the light hits. The Fern Heads we colour with an Apple Green Posca pen. As the Posca pens are acrylic paint they have great coverage so we can now repair where the stamps have become a bit blurry around the edges.
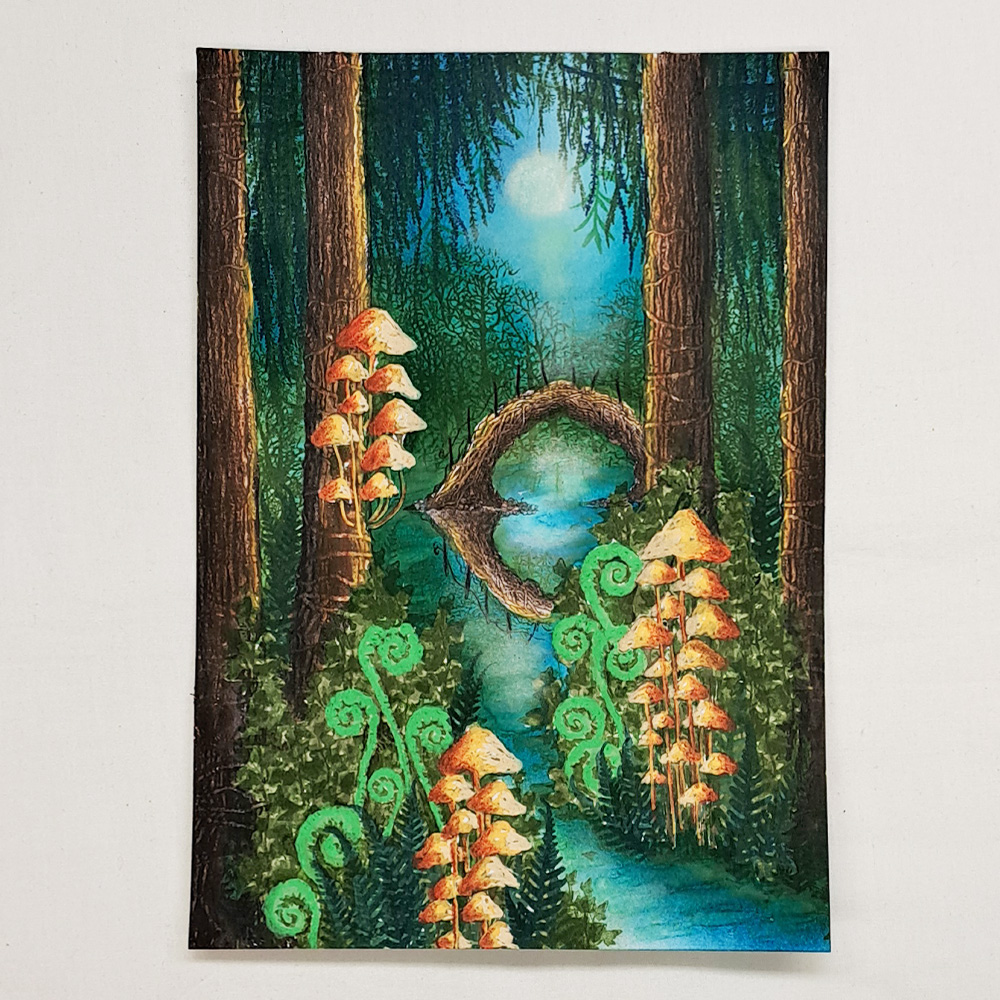
Picture 16
When the Posca pen has completely dried use an orange red pencil to colour in some more shadow on our mushrooms.
Picture 17
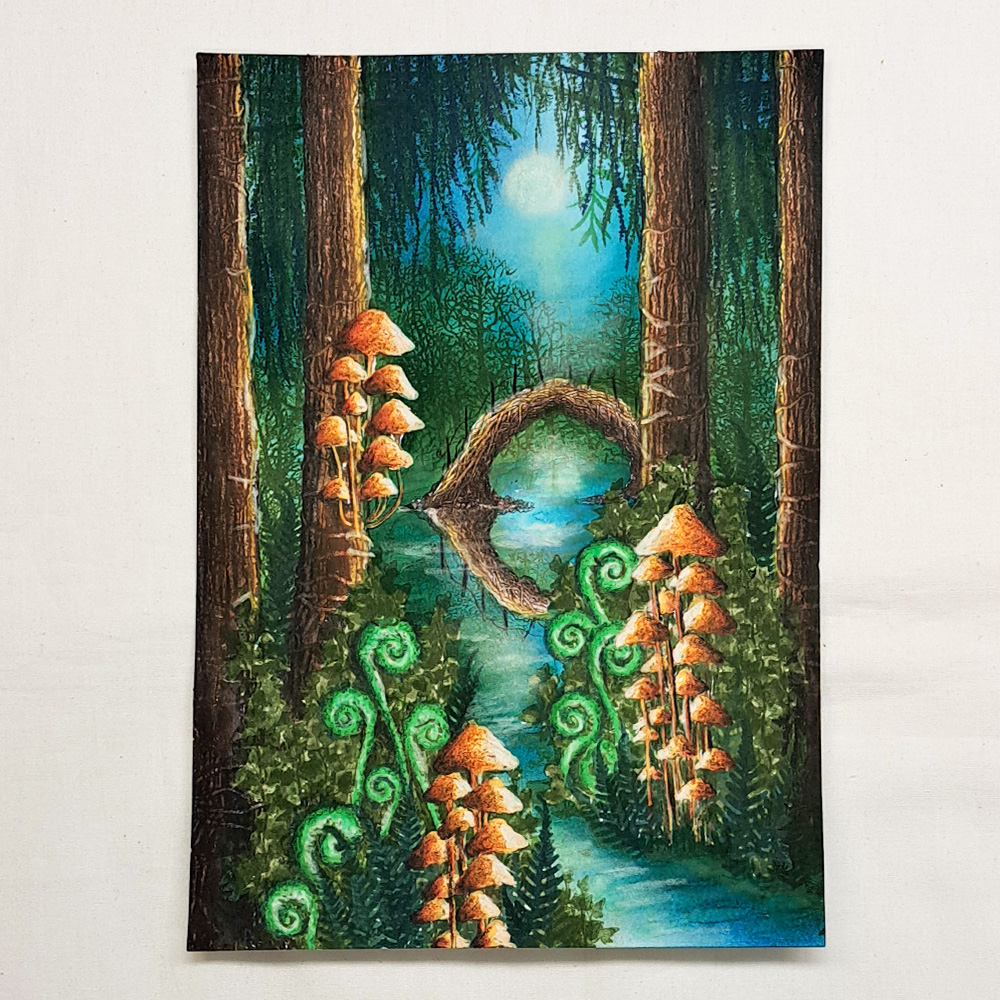
Now we will do the same with the Fern Heads, use a darker green to give them some shade. The mushrooms needs more depth in colour so we use a dark brown and black to create very dark shade on them. And just make sure that all there are no gaps of colour in between all the trees and bushes. If you have very light areas colour with a green watercolour pencil.
Picture 18
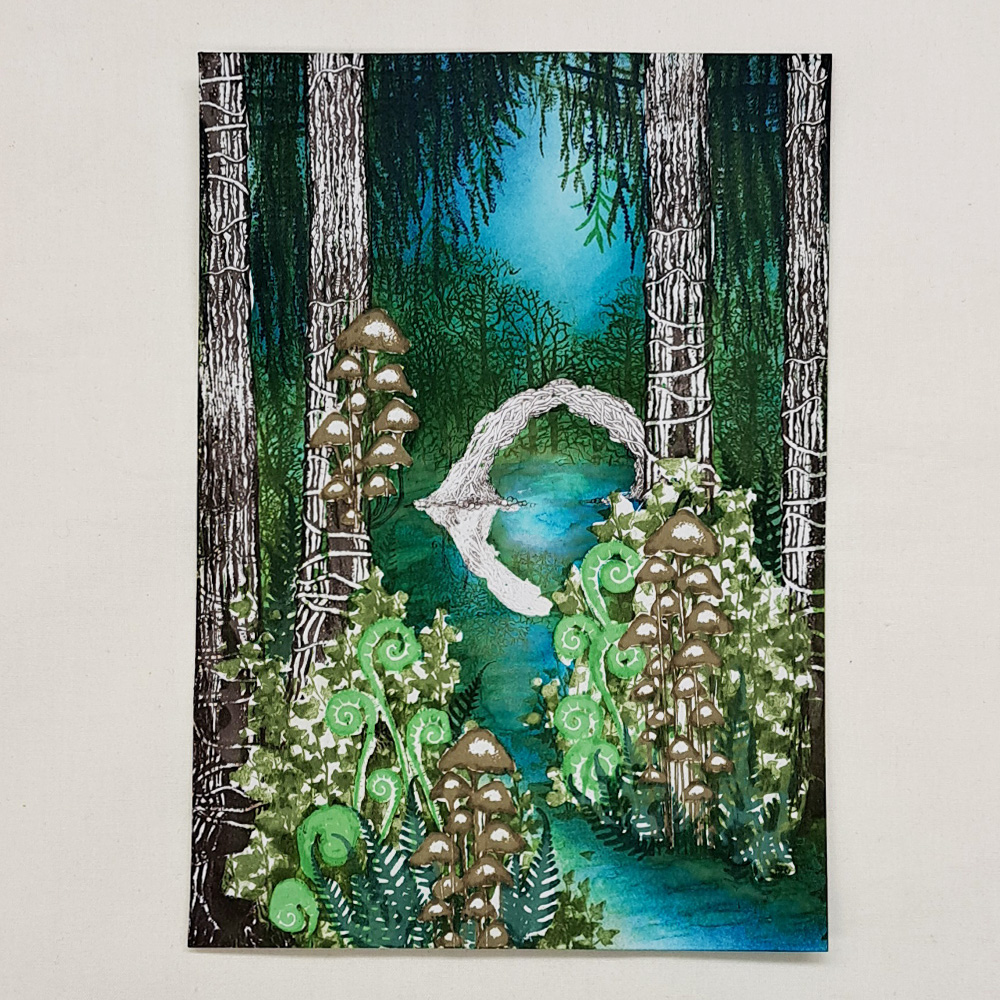
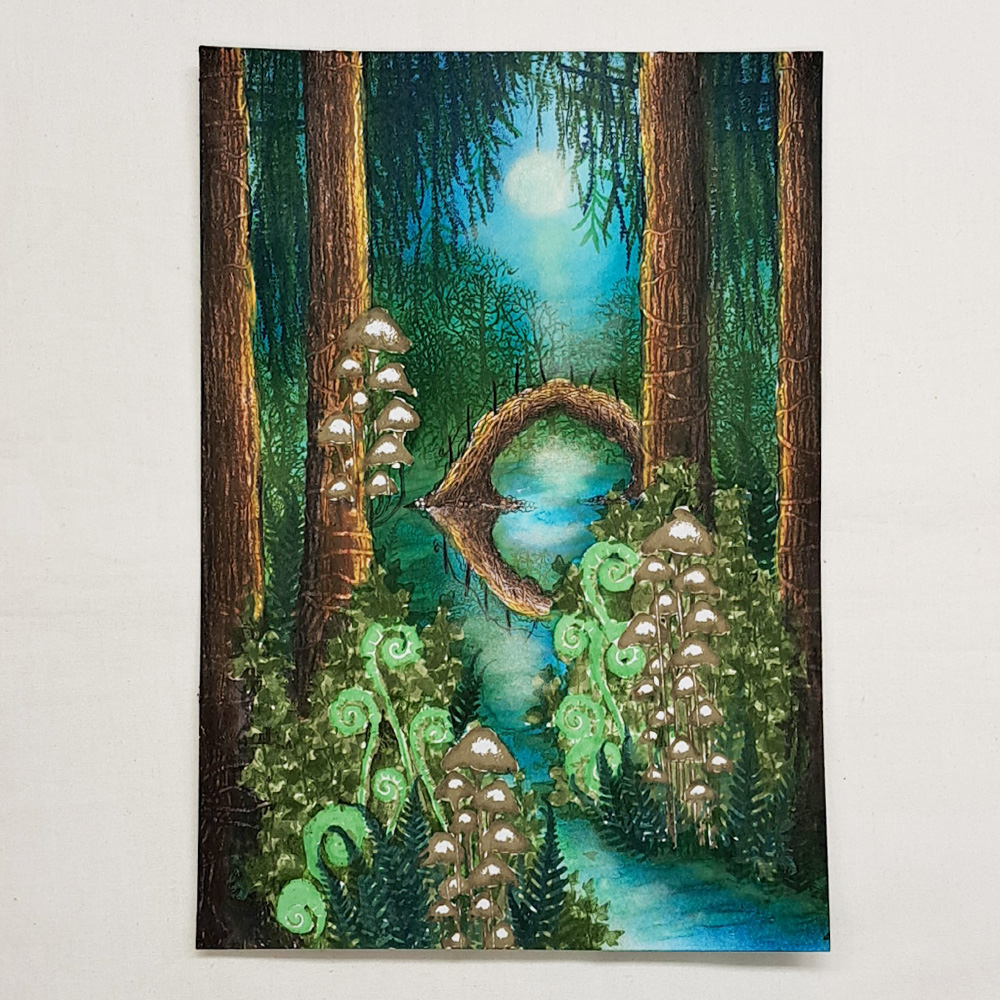
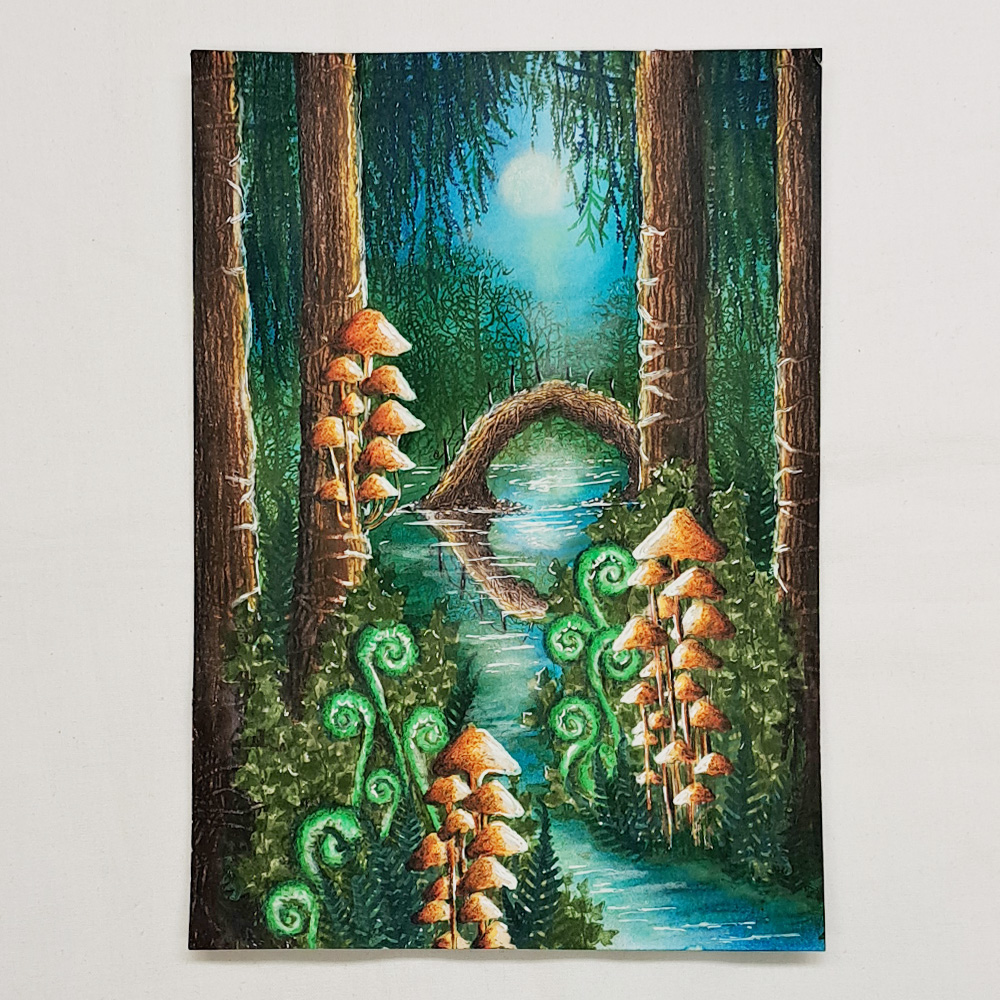
Use a White Posca pen/Uniball or Gellyroll pen to do lines in the water and for highlights on everything.
Picture 19
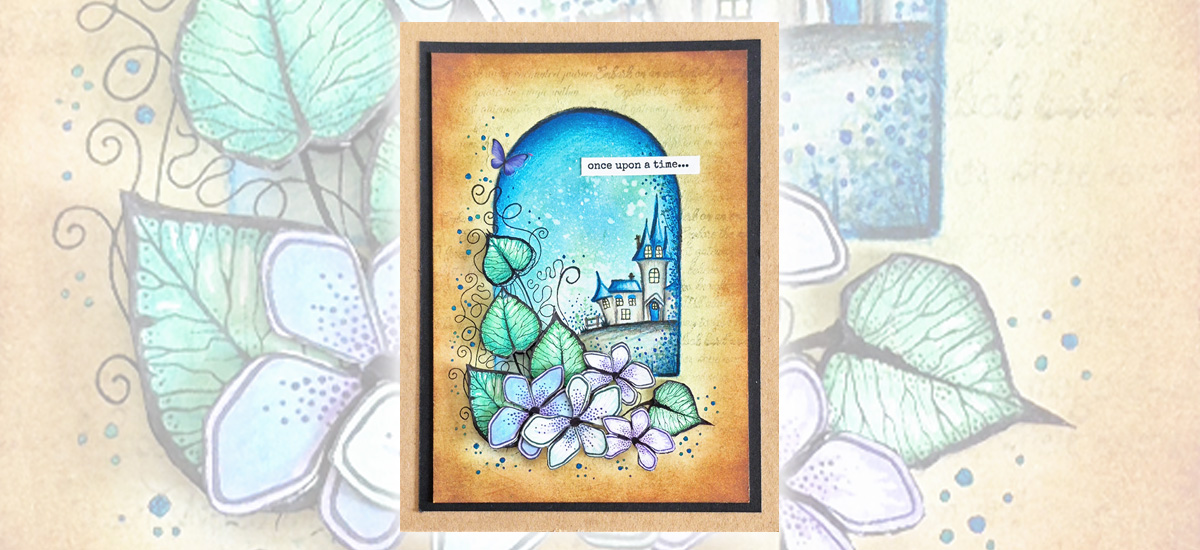
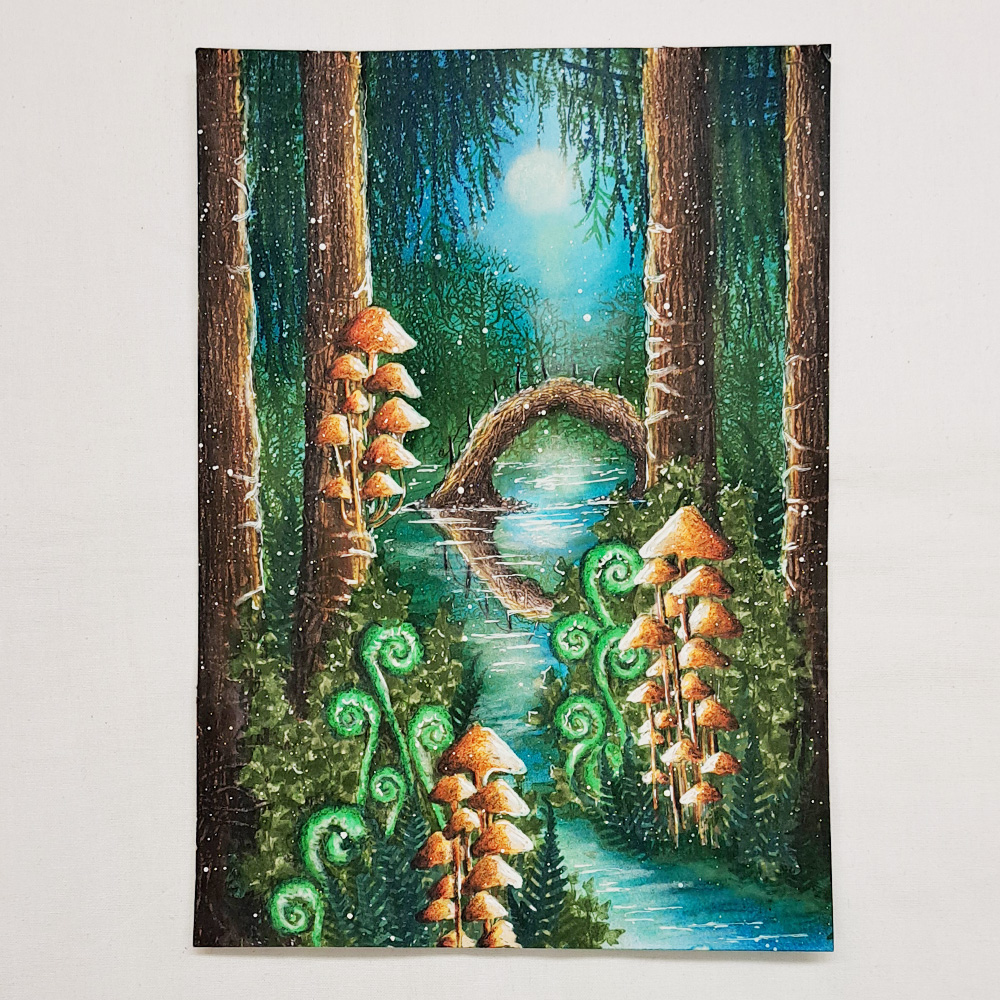
Finish off with some Posca pen splatters and we are done. Hope you enjoyed following this picture tutorial. If you have any questions just ask me and I will answer as soon as I can.
Big hugs from Mona.