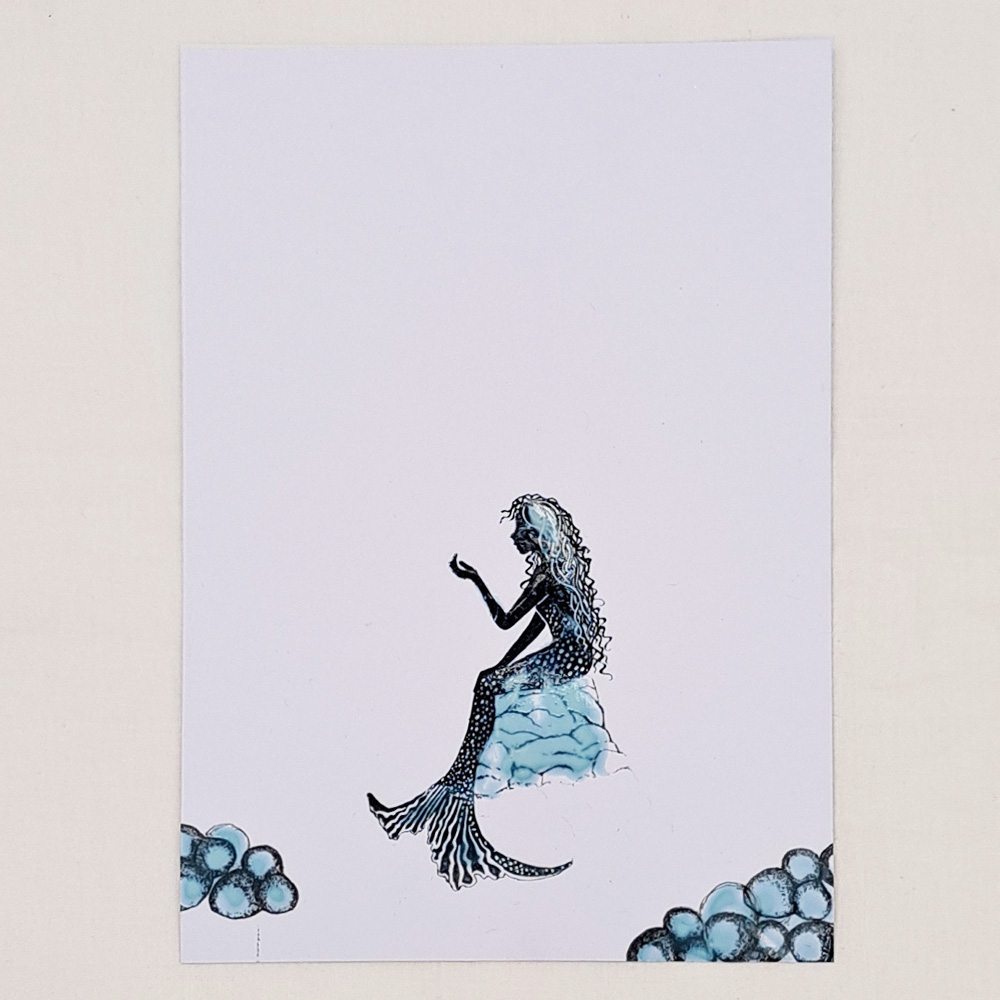


 Guinevere Stamp
£7.80
Add to cart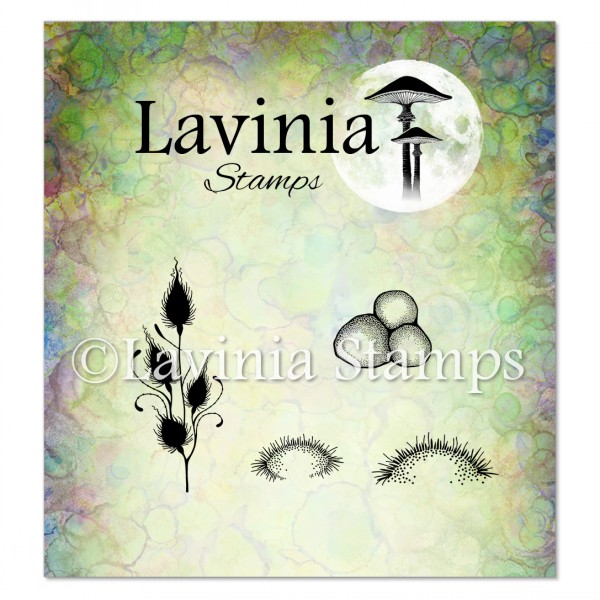 Forest Moss Stamp
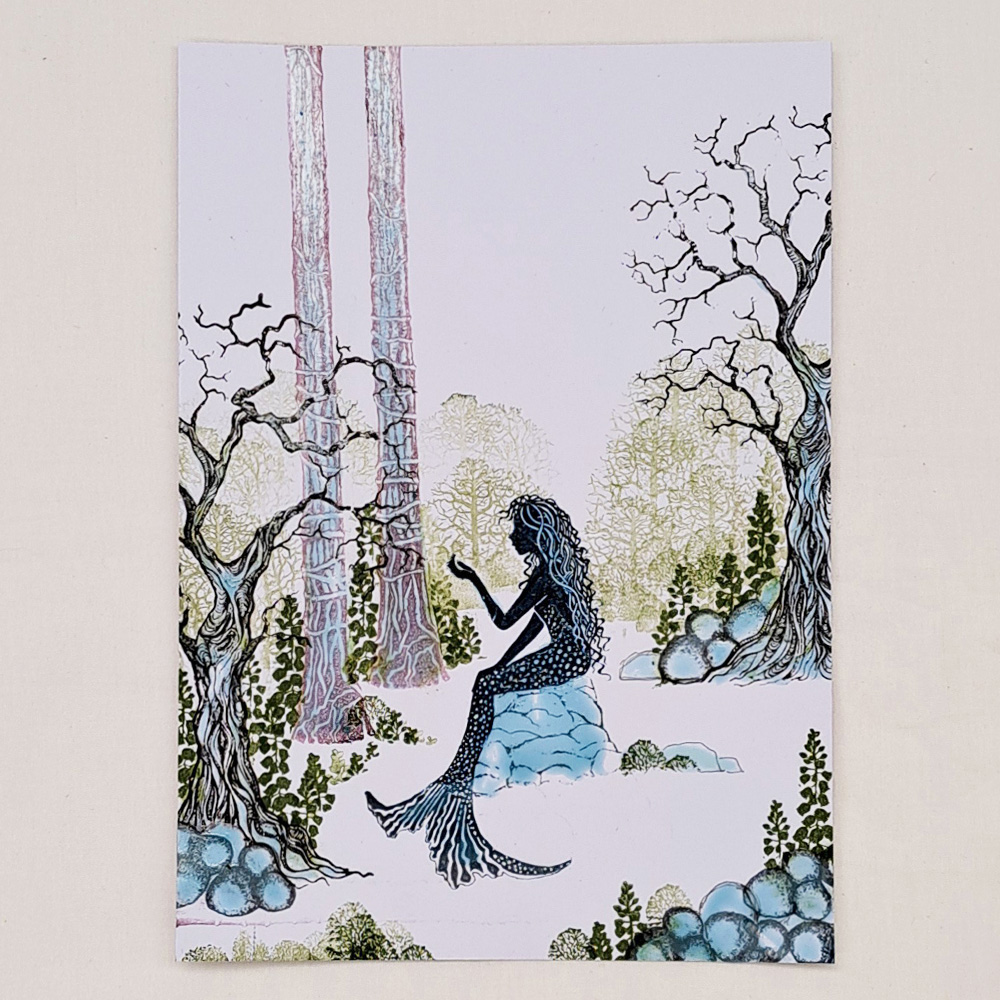
£6.60
Add to cart Tree of Wisdom Stamp
£13.80
Add to cart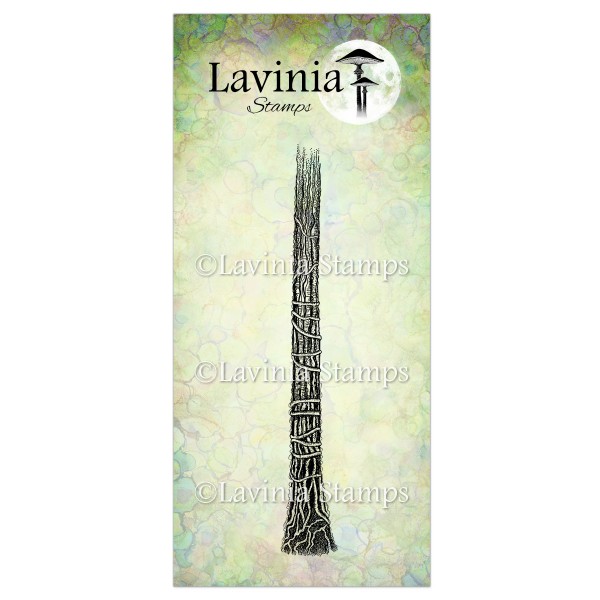 Tree Stem Stamp
£7.60
Add to cart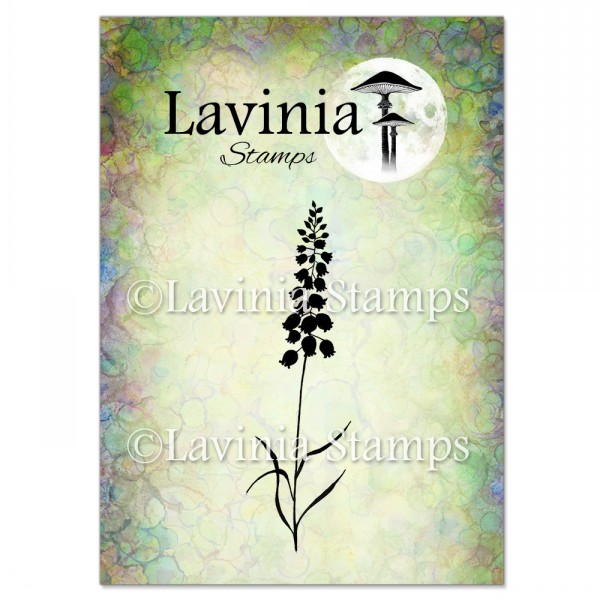 Bluebells Stamp
£5.80
Add to cart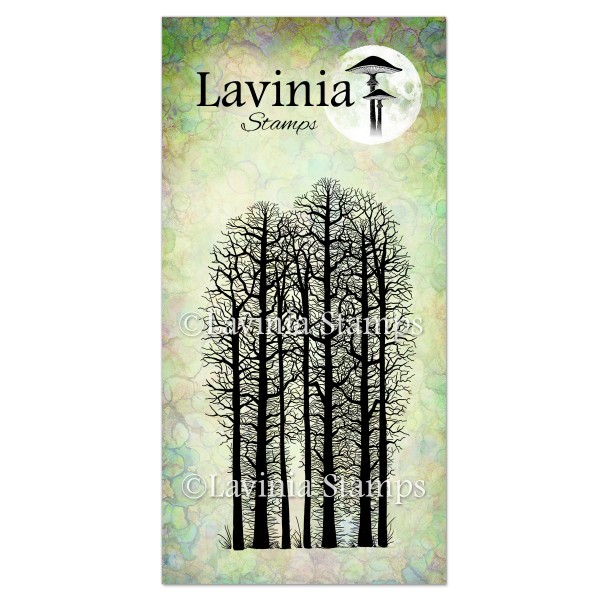 Forest Scene Stamp
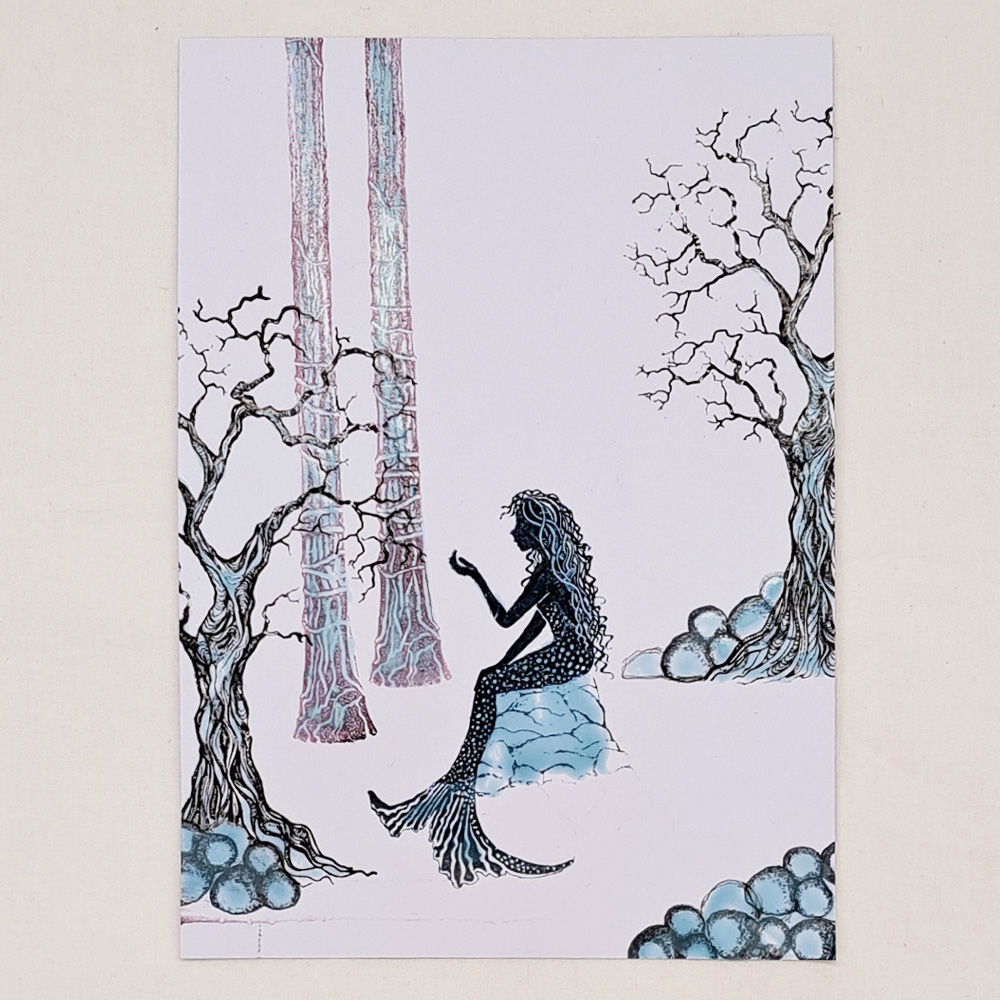
£8.00
Add to cart Tree Scene Stamp
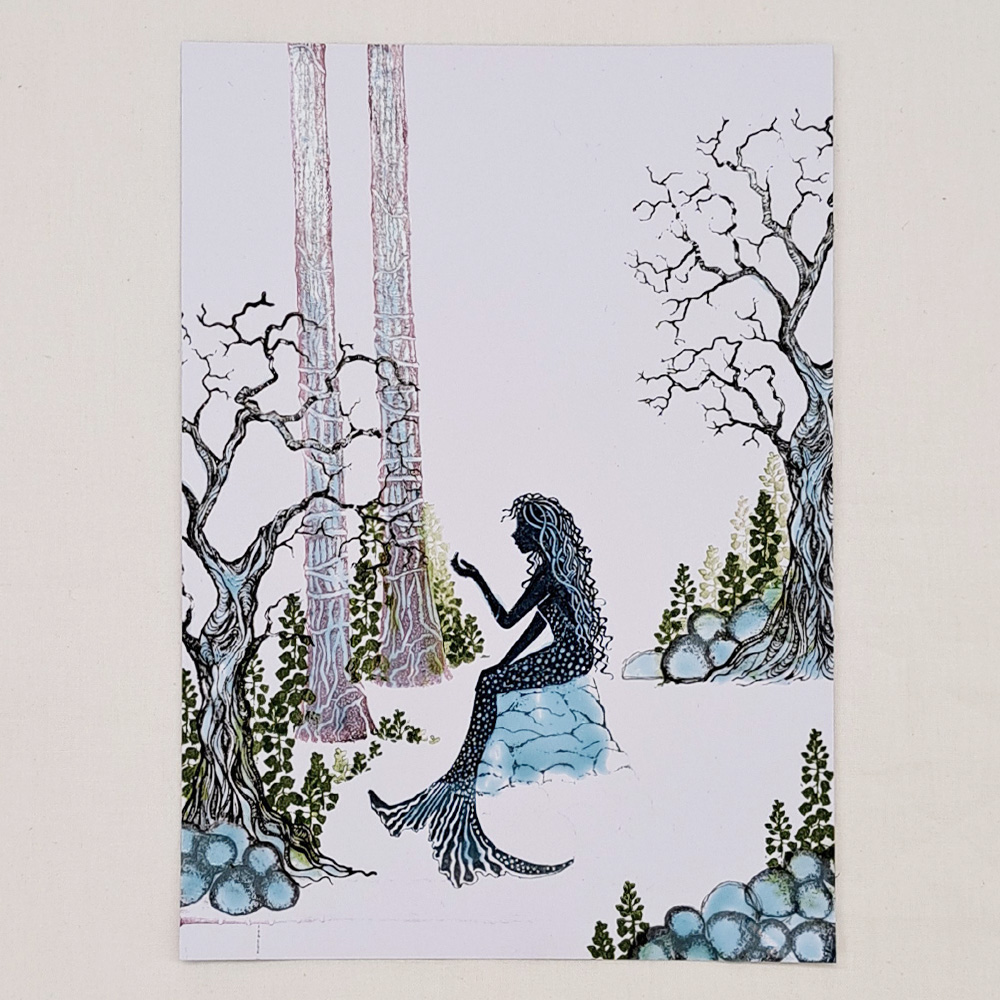
£8.30
Add to cart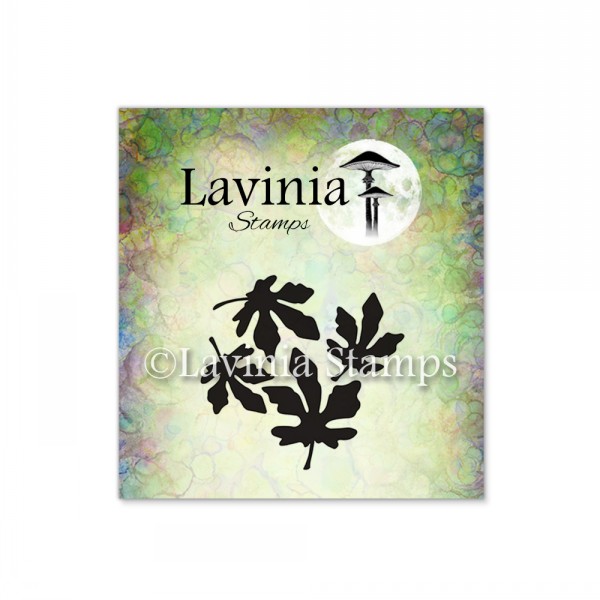 Silver Leaves Mini Stamp
£1.10
Add to cart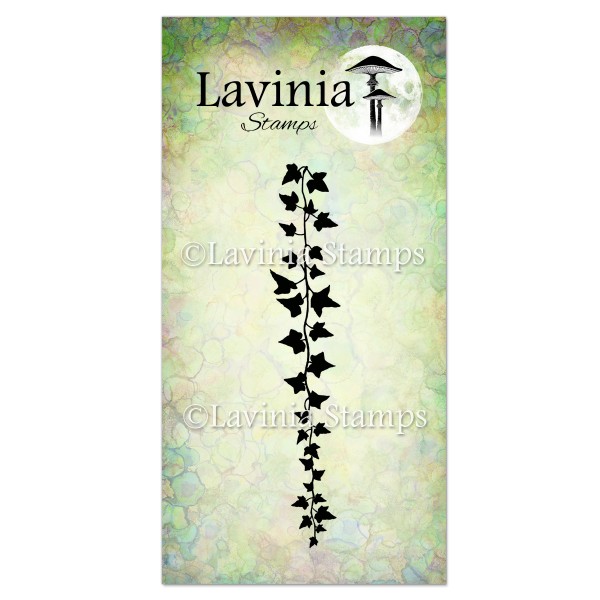 Falling Ivy Stamp
£6.00
Add to cart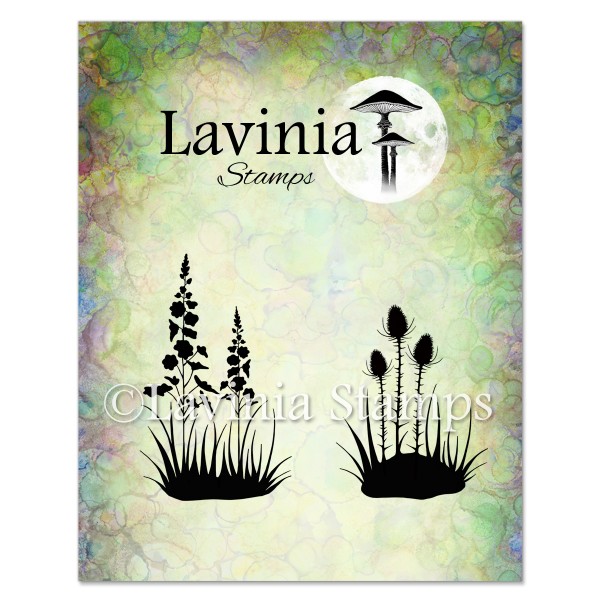 Silhouette Foliage Set Stamp
£7.20
Add to cart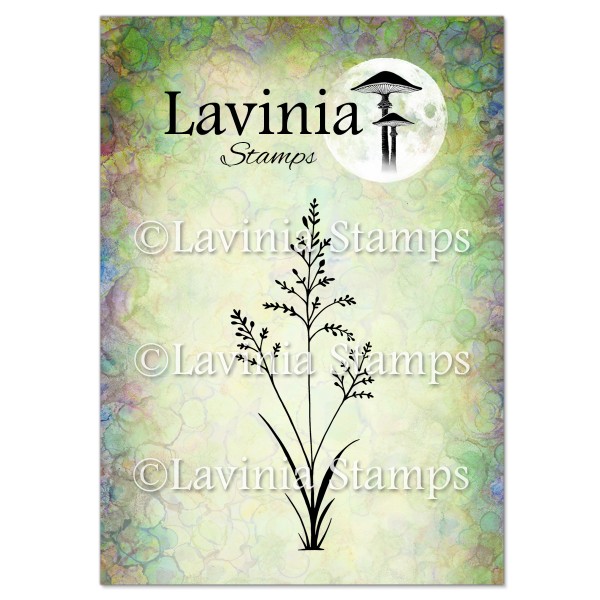 Orchard Grass Stamp
£5.60
Add to cart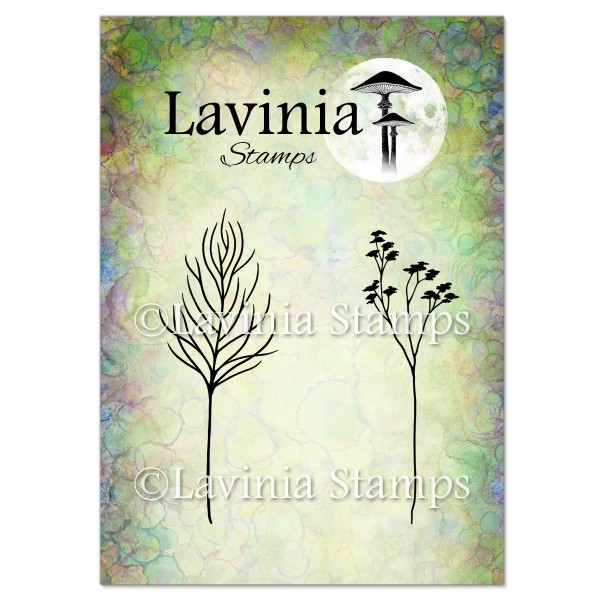 Flora Set Stamp
£7.20
Add to cart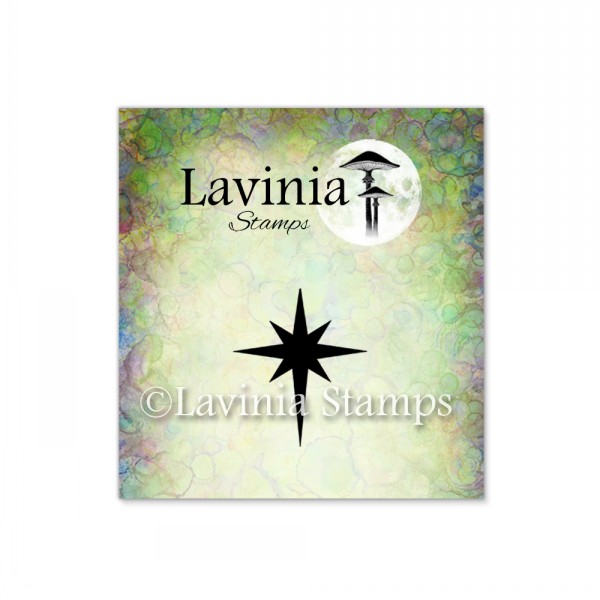 North Star Mini Stamp
£1.10
Add to cart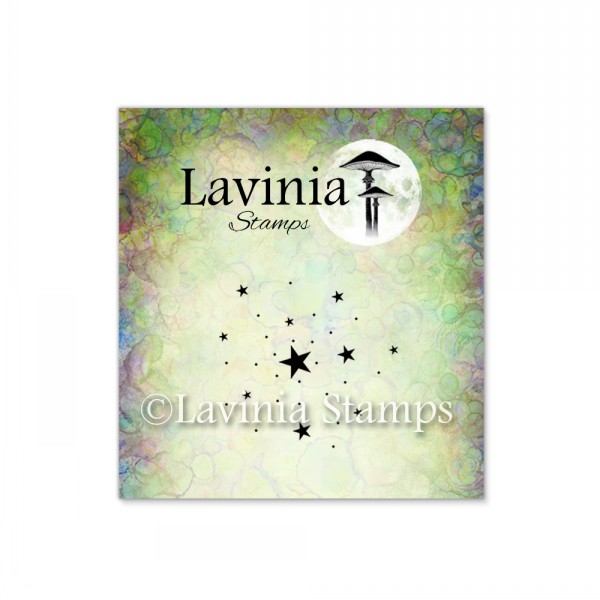 Stars Mini Stamp
£1.10
Add to cart Versafine Clair Ink Pad – Morning Mist
£5.80
Add to cart Versafine Clair Ink Pad – Pinecone
£5.80
Add to cart Versafine Clair Ink Pad – Shady Lane
£5.80
Add to cart Elements Premium Dye Ink – Blue Atoll
£5.85
Add to cart Elements Premium Dye Ink – Dark Denim
£5.85
Add to cart Mondeluz Watercolour Pencils 72 Set
£59.95
Add to cart Versafine Clair Ink Pad – Rain Forest
£5.80
Add to cart Multifarious Card – A5 White
£5.80
Add to cart Masking Fluid
£4.25
Add to cart Ranger Heat Gun – Craft Tool
£32.75
Add to cart Posca Fine Tip Pens Summer Collection
£3.15
Select options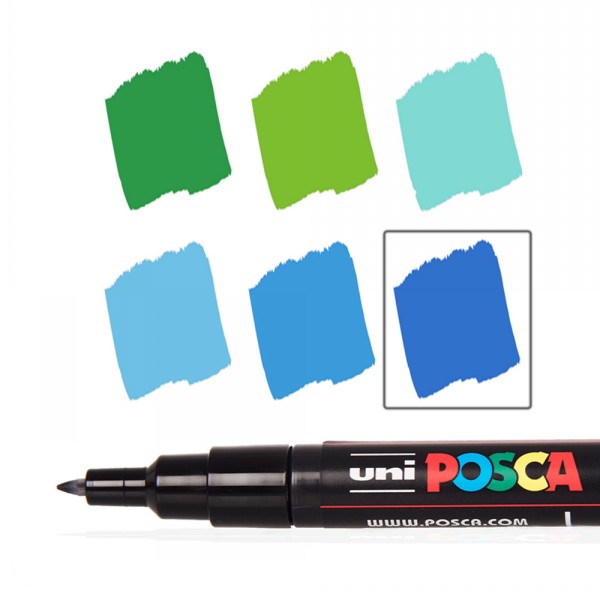 Posca Fine Tip Pens Spring Collection
£3.15
Select options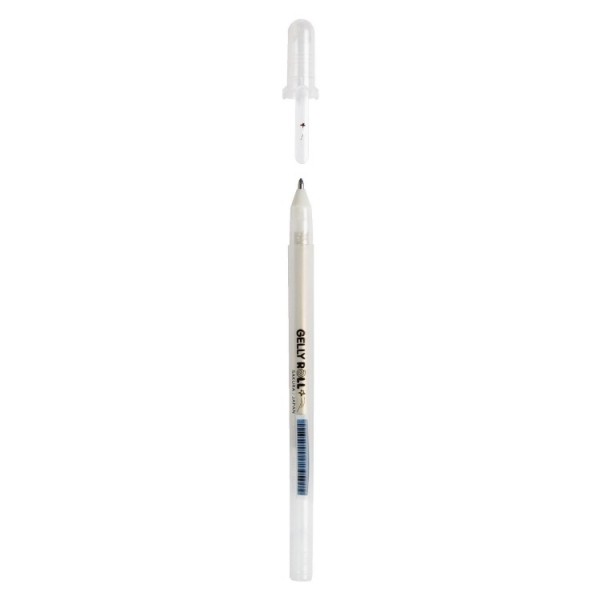 Gelly Roll – Stardust
£2.25
Select options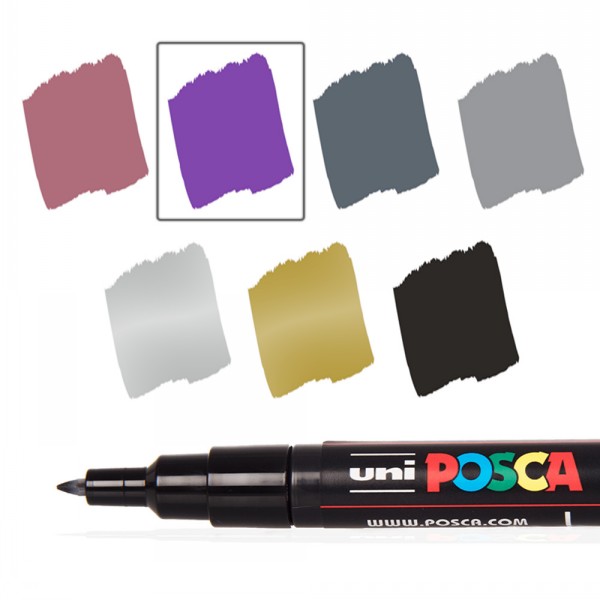 Posca Fine Tip Pens Winter Collection
£3.15
Select options Uni-Ball Gel Pens
£1.90
Select options