Step by Step by Mona Hauge
Hello everyone
It’s Mona here with my new Picture Tutorial called “My Magic Book Shelf”
Hope you like it
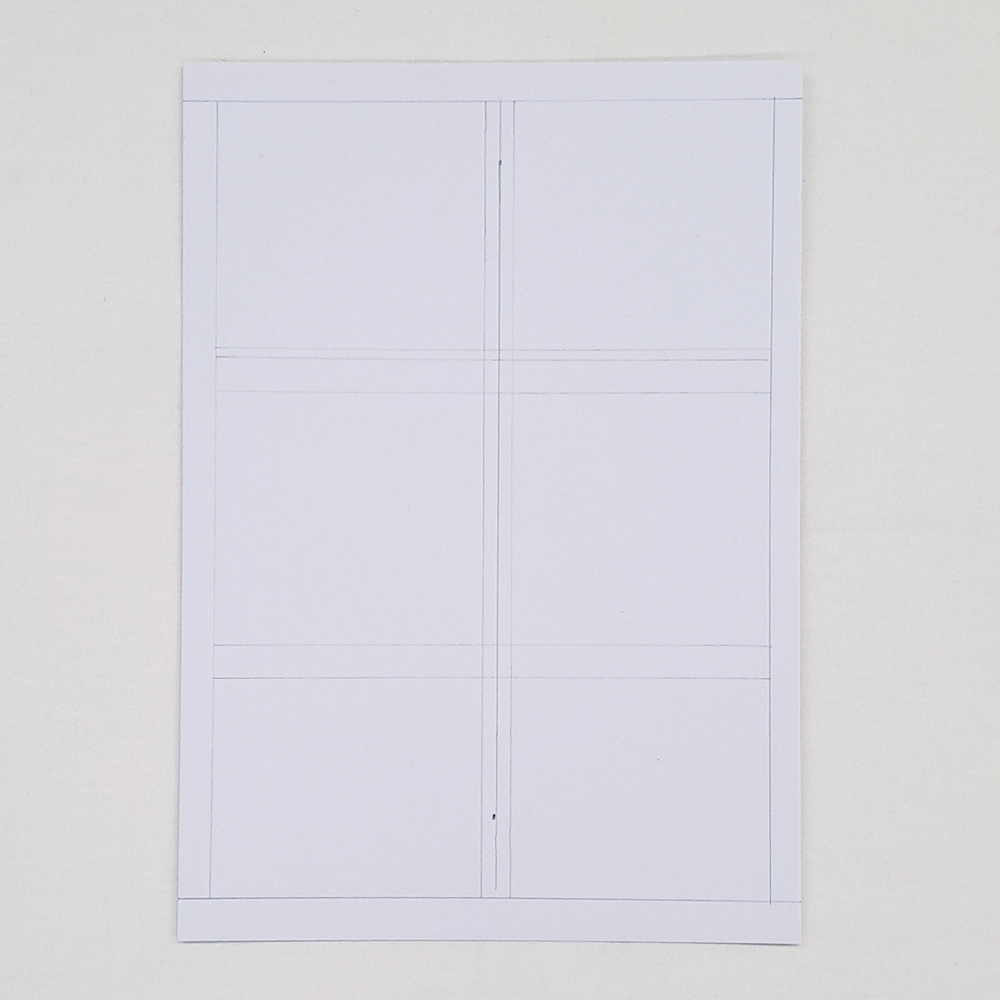
Picture 1
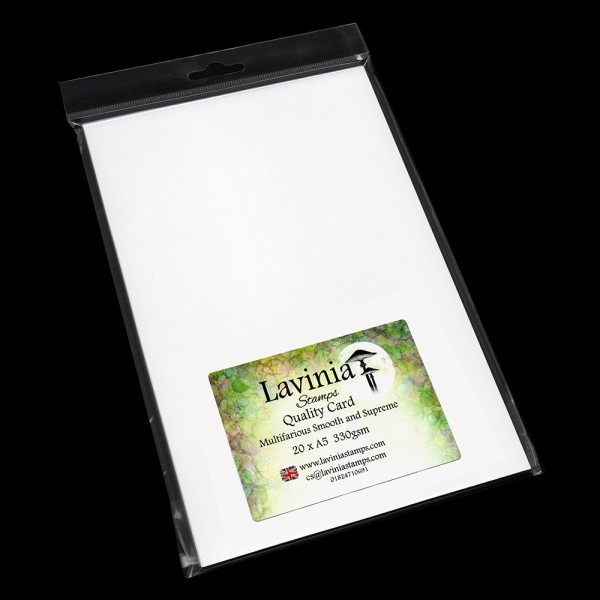
On a piece of white A5 Multifarious card use a regular HB pencil and very softly make the lines for the book shelf. The frame work is about 0.8 cm. The middle shelf is a little bit bigger than the top and bottom shelf.
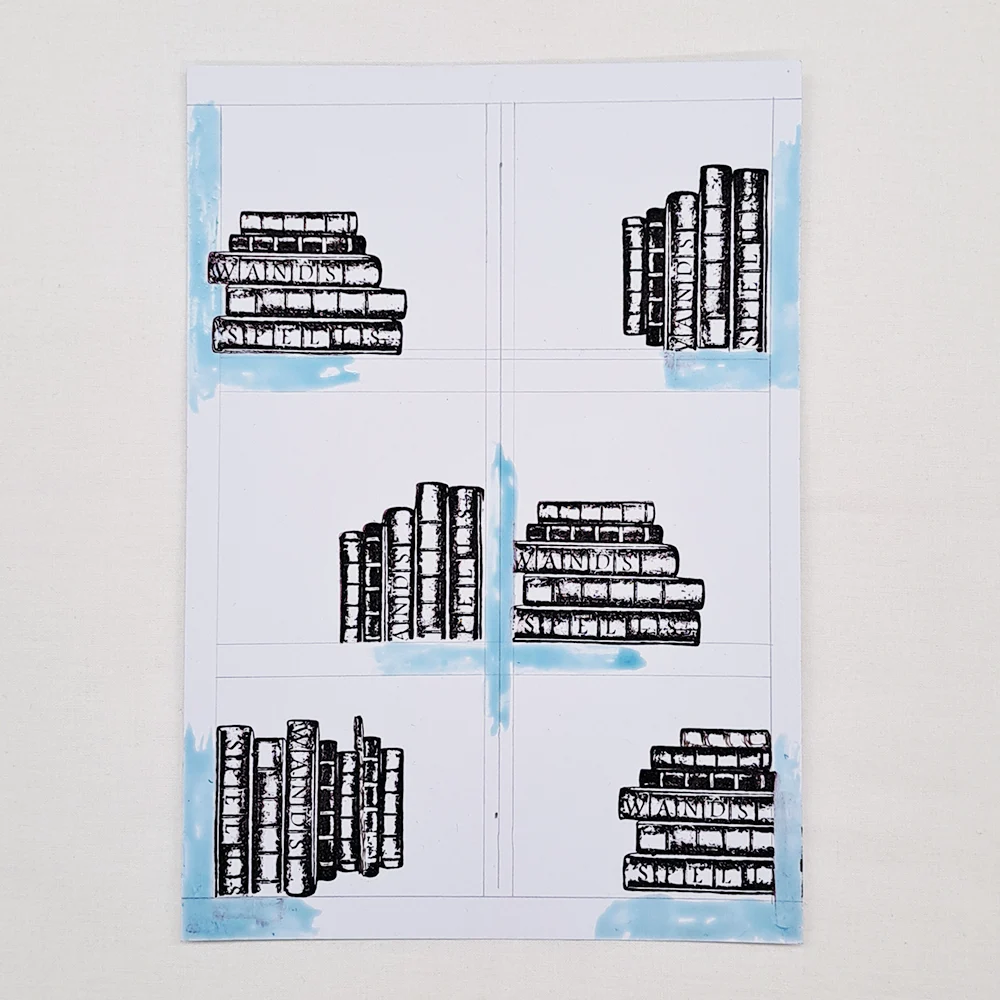
Picture 2
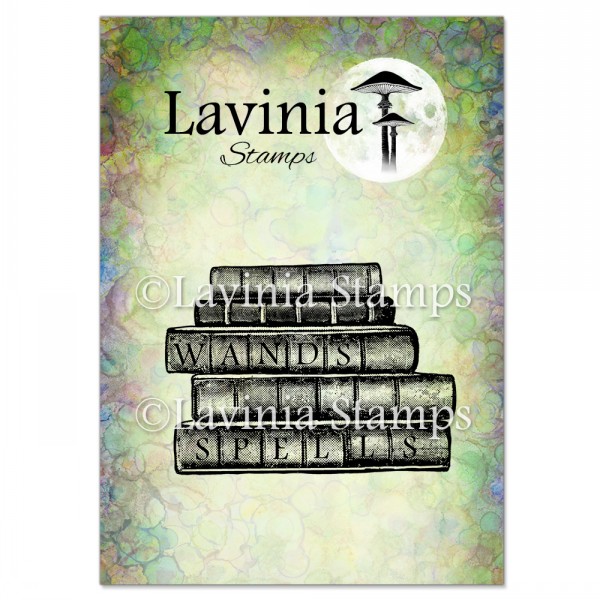
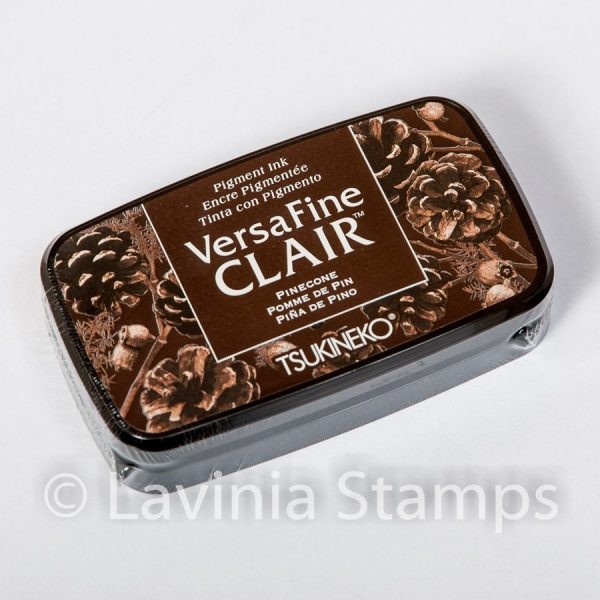
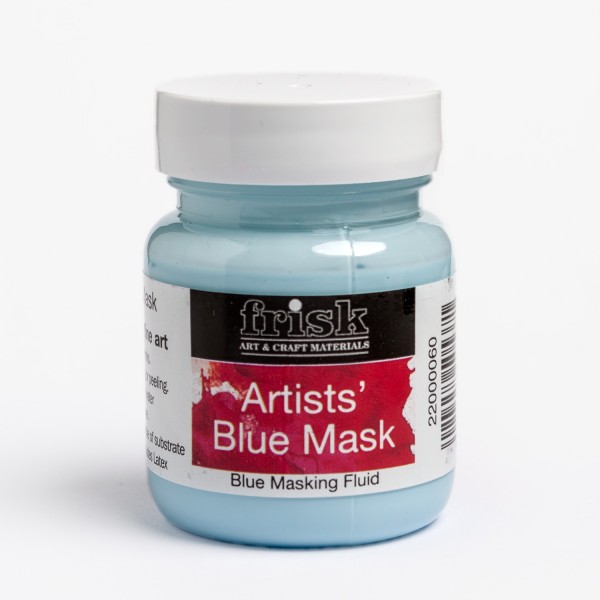
Stamp the Wands and Spells LAV819 in Versafine Clair Pinecone. Look at the picture for placement of the different books. Put on some Liquid Masking Fluid on corners like you see in the picture. We need to leave some space to stamp the hanging plants and then we will apply more Masking Fluid after that.
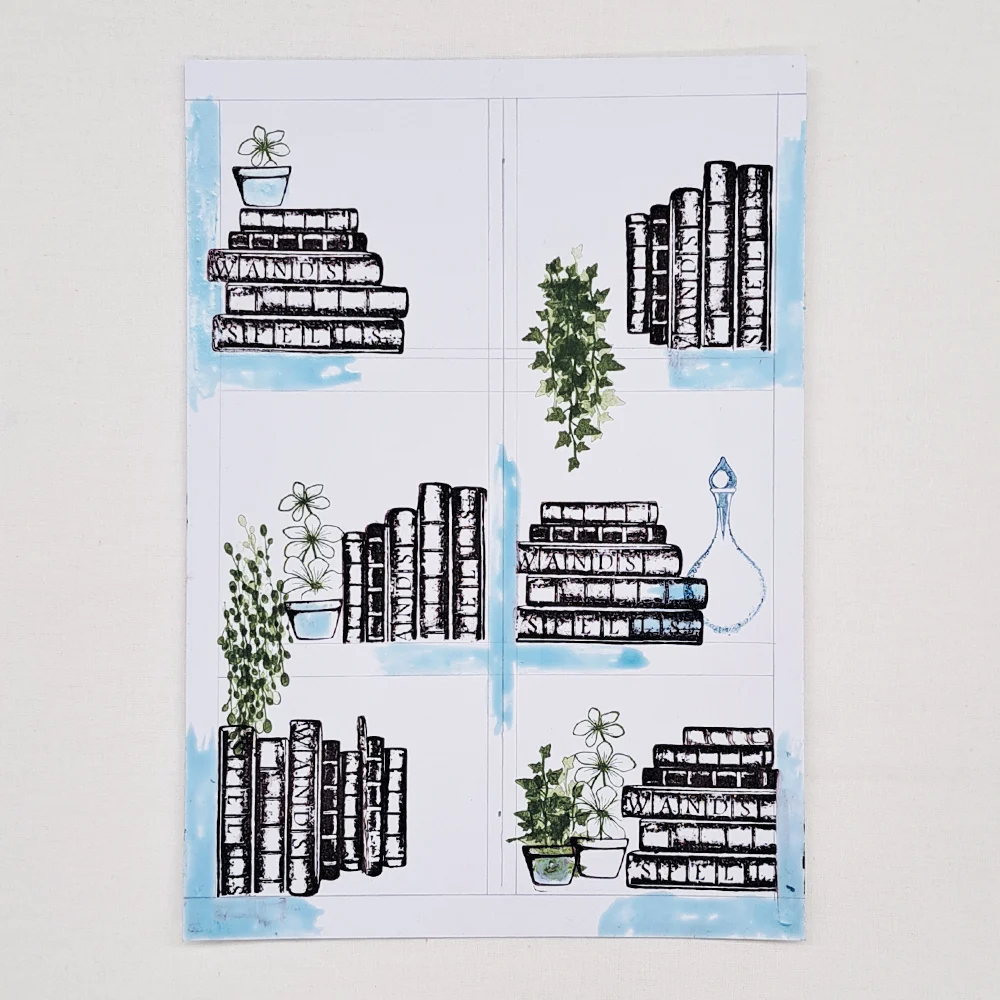
Picture 3
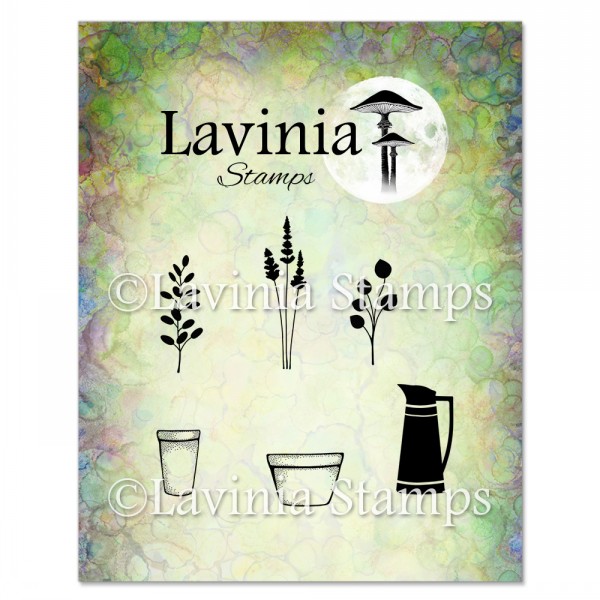
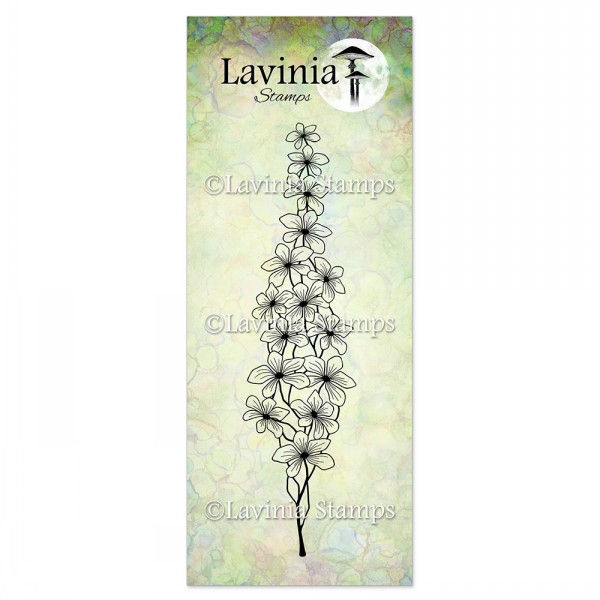
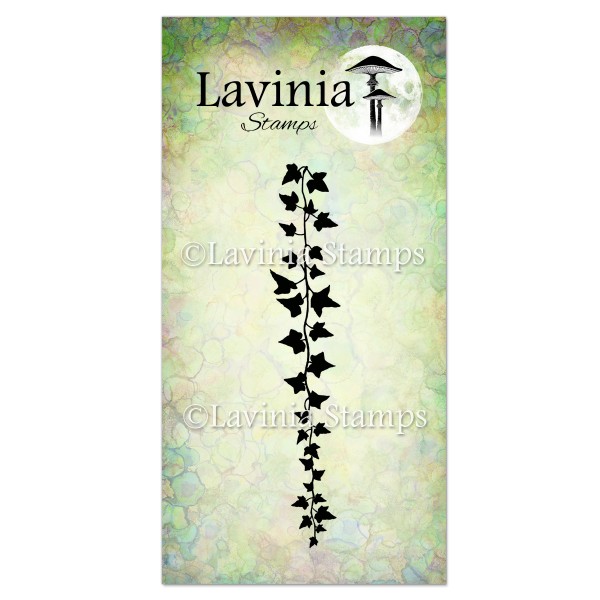
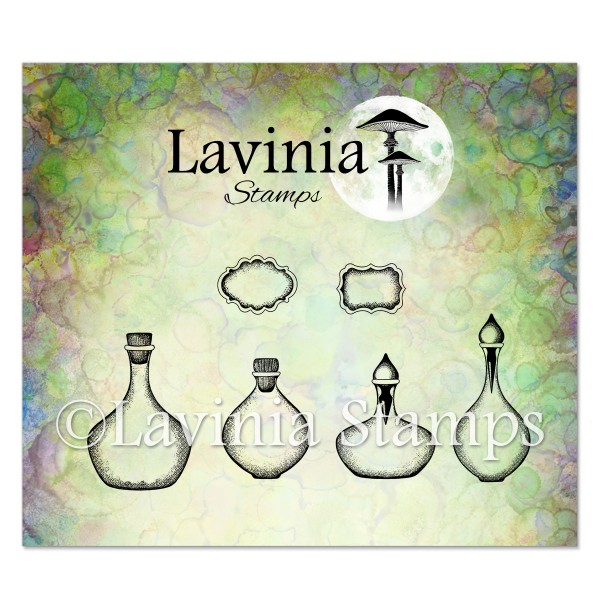
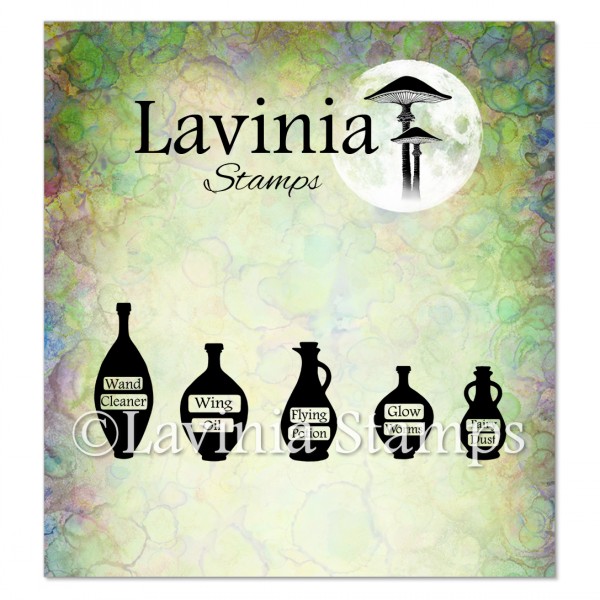
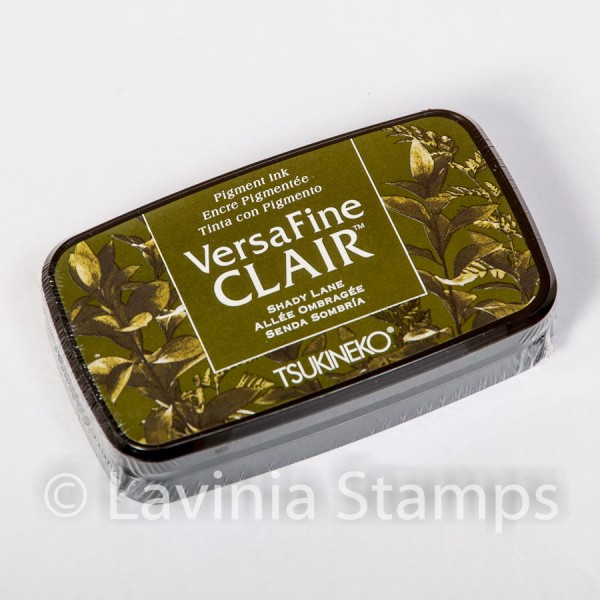
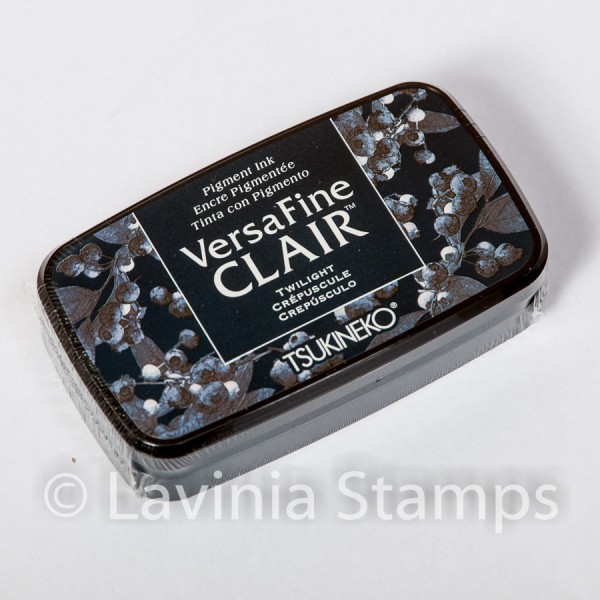
Stamp some Flower Pots LAV826 in Versafine Clair Pinecone and cover them in Liquid Masking Fluid. Then stamp the top of the Shadow bloom LAV904 and Falling Ivy LAV352 in Versafine Clair Shady Lane like you see in the picture. Put some in a pot and stamp some to make it look like a big hanging plant. In this picture I used a different plant on the left, but I changed my mind later and stamped the Falling Ivy on top of it, so you can just do the Falling Ivy right away. There is also a bottle on the right side and in order to place it behind the books we will cover the books in Liquid Masking Fluid. Then stamp the Spellcasting Remedies Small LAV847 in Versafine Clair Twilight second generation stamping. Cover everything in Liquid Masking Fluid, but leave space for Tia.
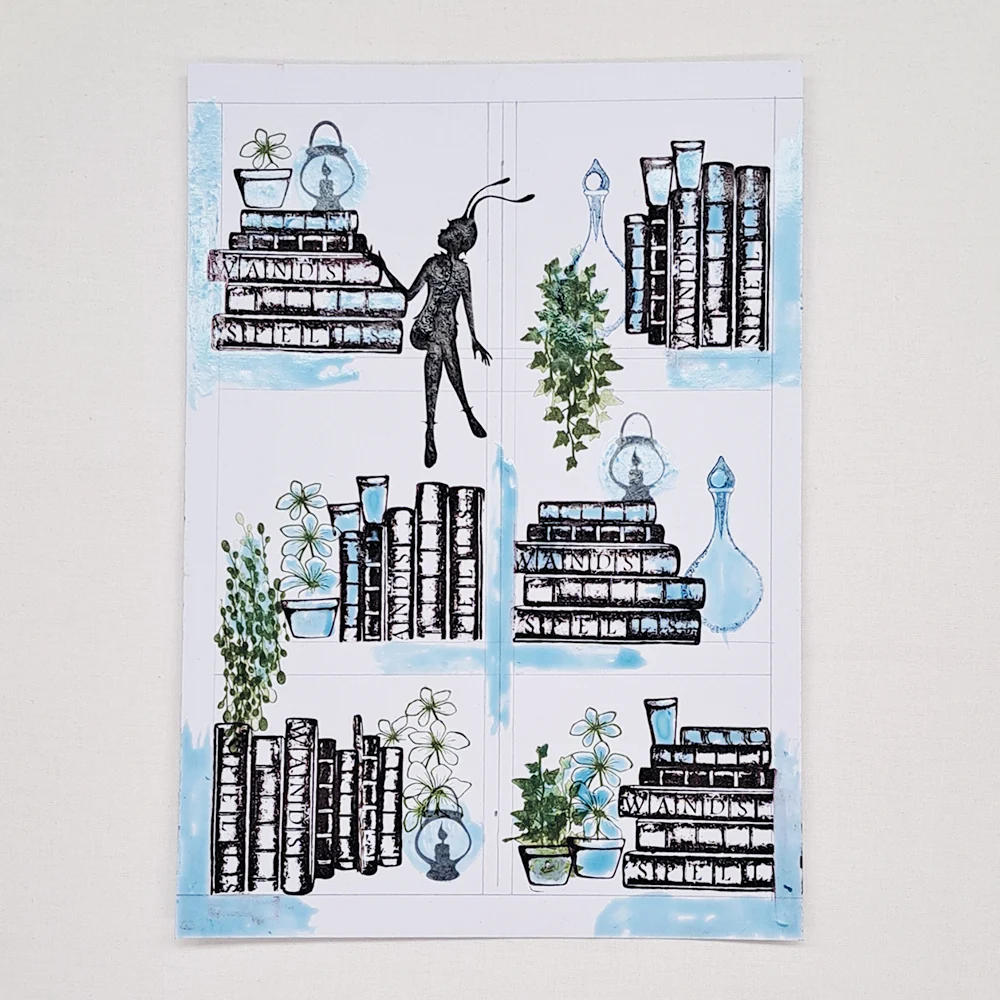
Picture 4
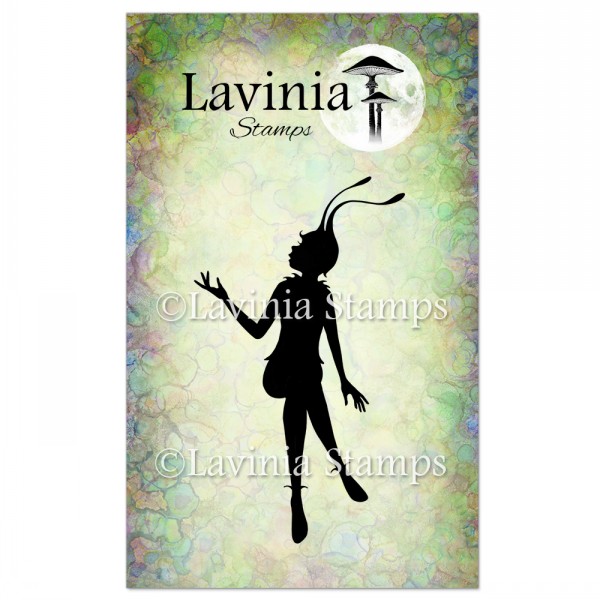
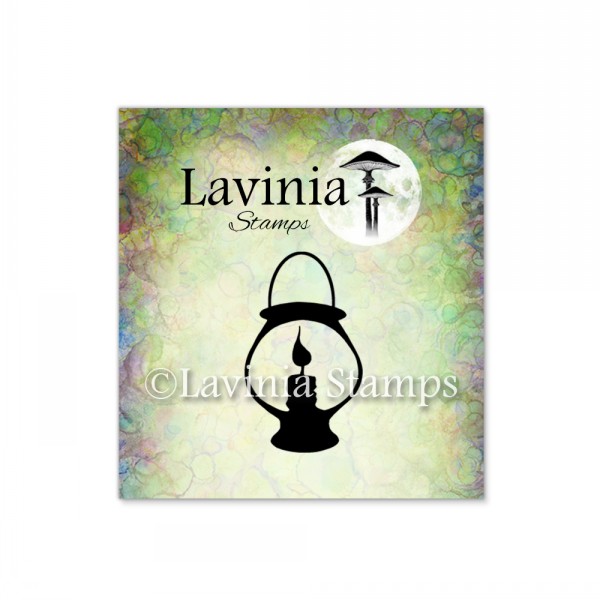
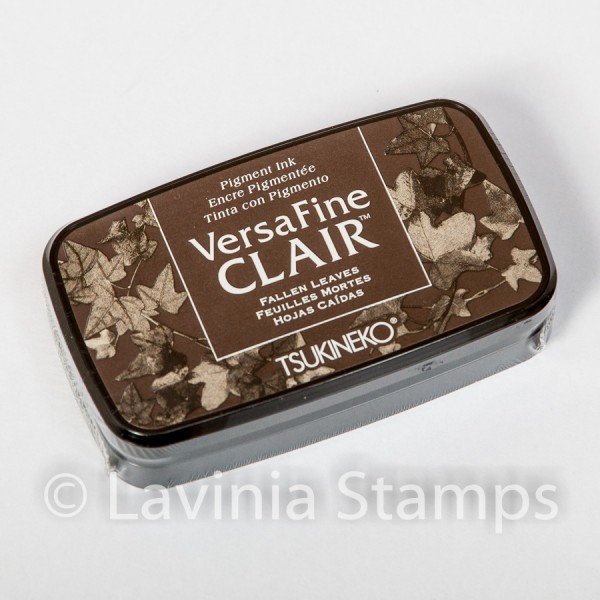
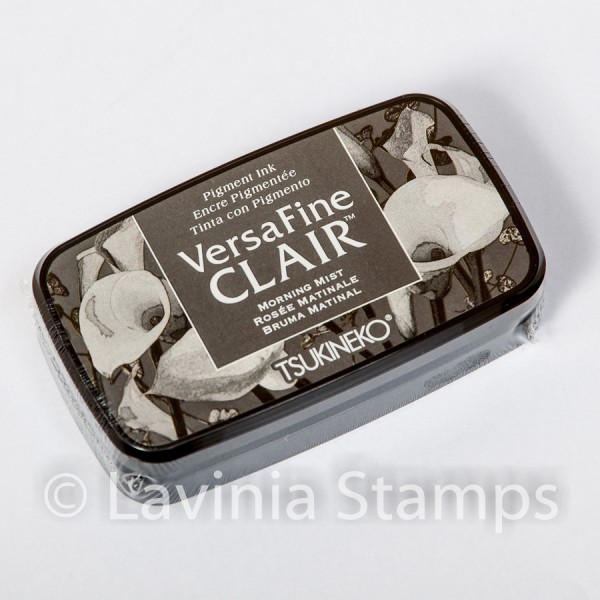
Stamp the lovely Tia LAV699 in Versafine Clair Fallen Leaves. Add some more Flower Pots in Versafine Clair Pinecone and some Mini Lamp LAV655 in Versafine Clair Morning Mist. One more Bottle behind the hanging plant stamped in Versafine Clair Twilight second generation stamping will look good. Add a few more flowers behind the lantern.
Picture 5
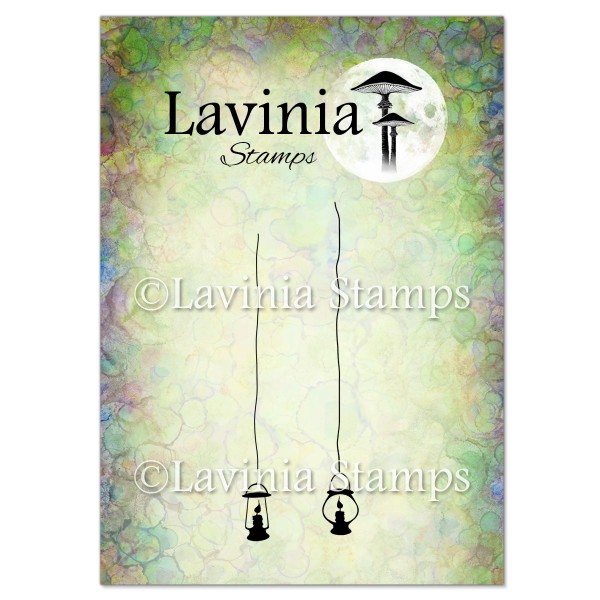
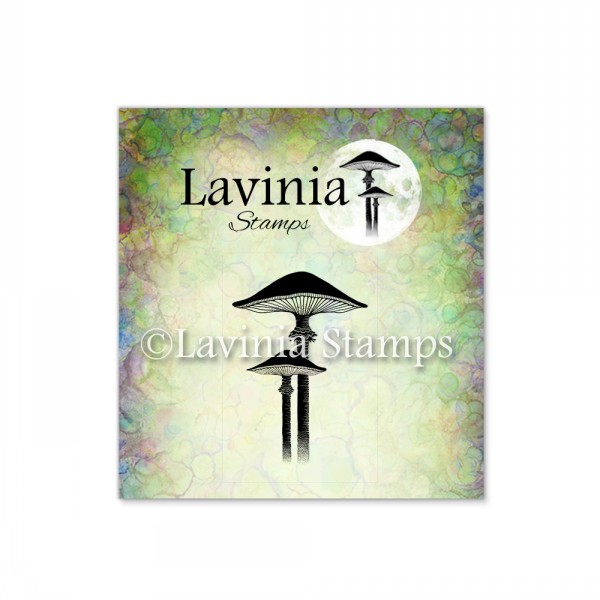
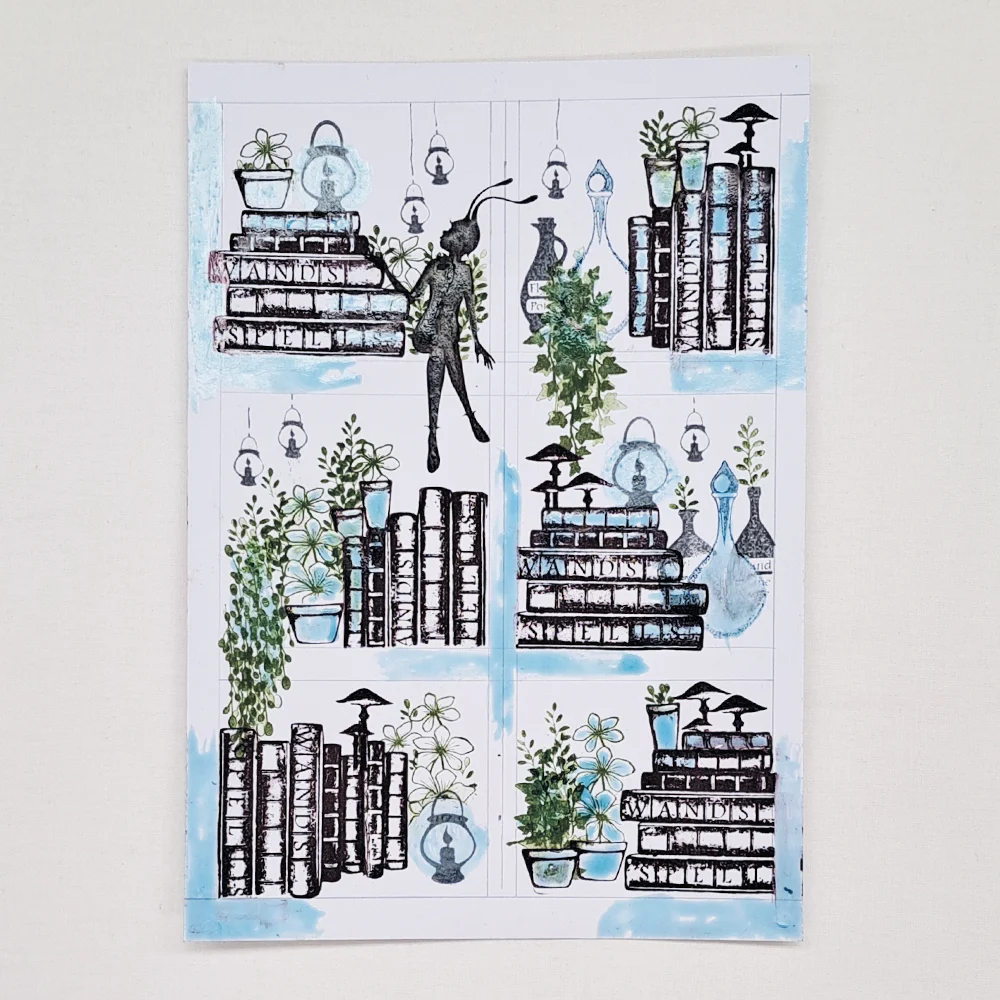
Put some more plants in our flower pots by stamping the Flower Pots stamp LAV826. Stamp in Versafine Clair Shady Lane. We need some Small Lanterns LAV728 in Versafine Clair Morning Mist and a few Potions LAV770 stamped in Versafine Clair Morning Mist. Some Mini Meadow Mushrooms LAV561 stamped in Versafine Clair will look so fun in our Book Shelf. Cover everything in Liquid Masking Fluid.
Picture 6
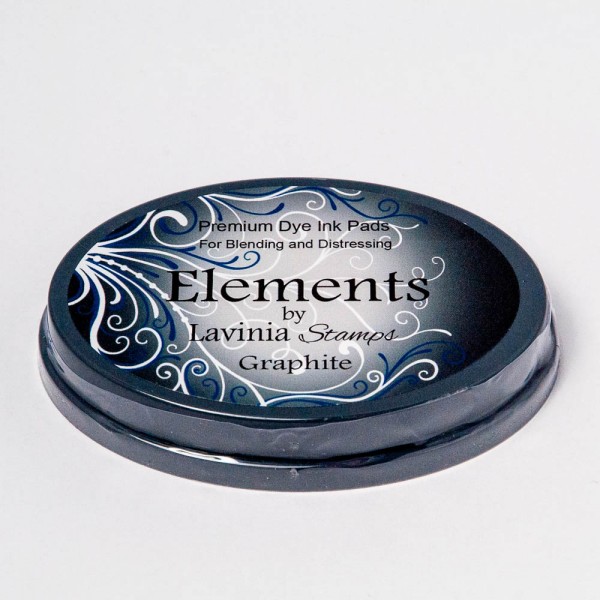
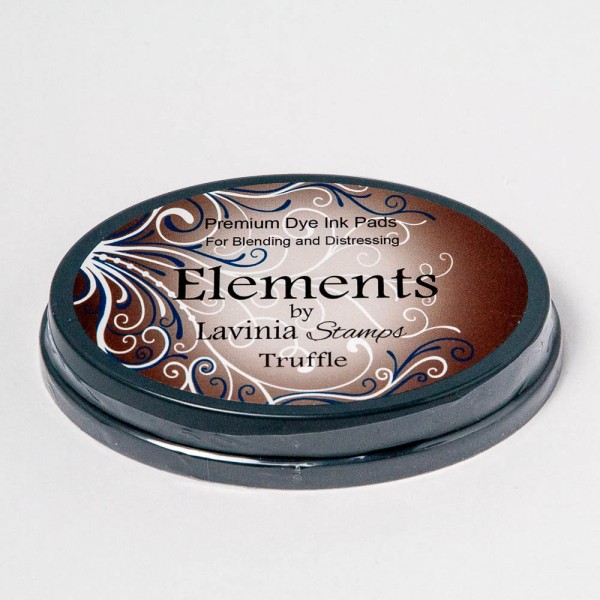
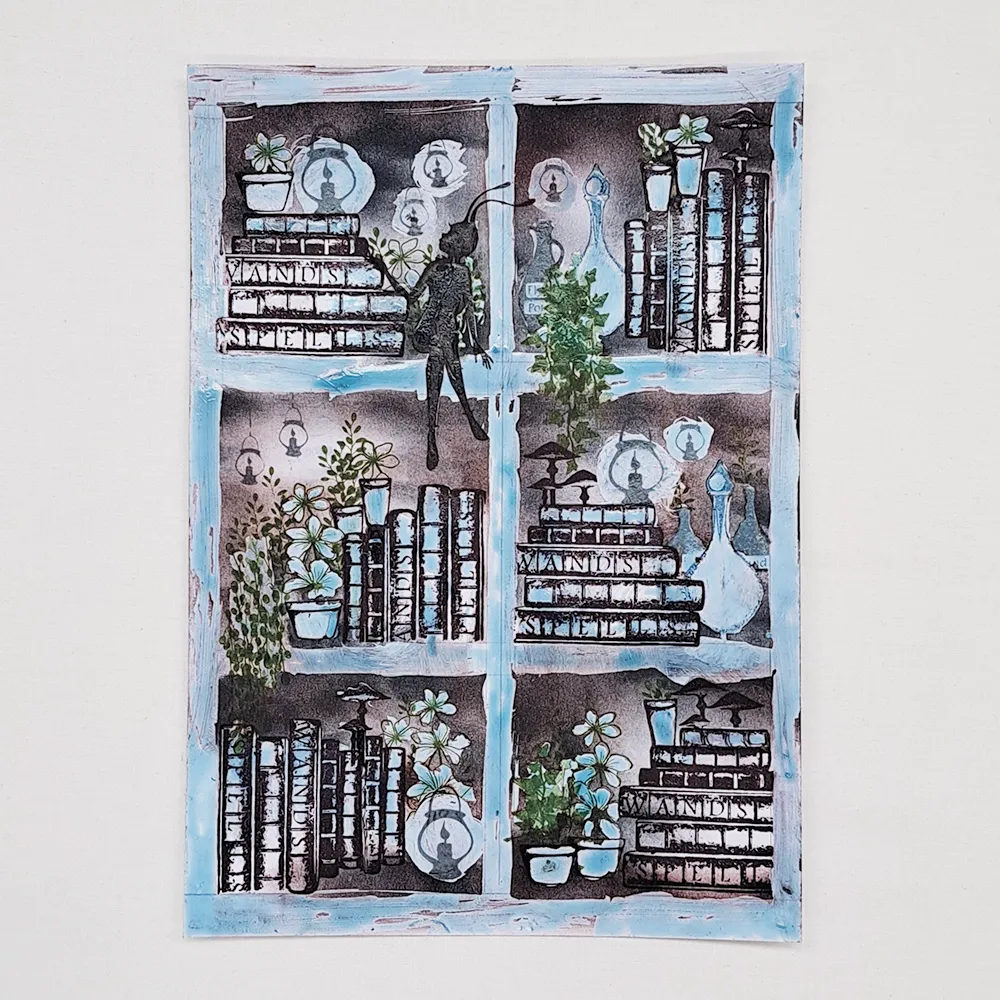
Blend some Elements Graphite and some Elements Truffle to colour the background. Make it darker in the corners and keep it lighter around the lanterns.
Picture 7
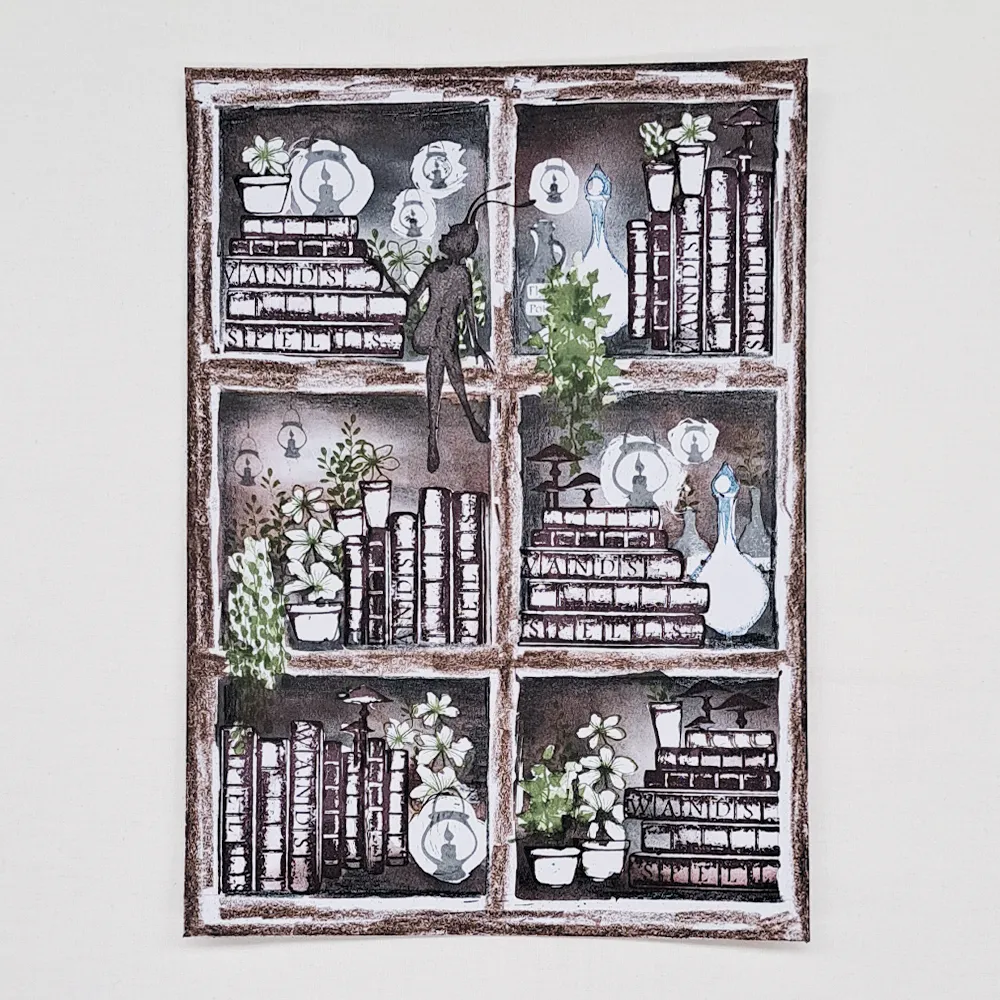
Now we will remove the Liquid Masking Fluid. Make sure the card is completely dry. Use a heat gun is you need to. If there is any moisture in the card it might rip the paper when you rub of the Masking Fluid so be sure it is dry.
Picture 8
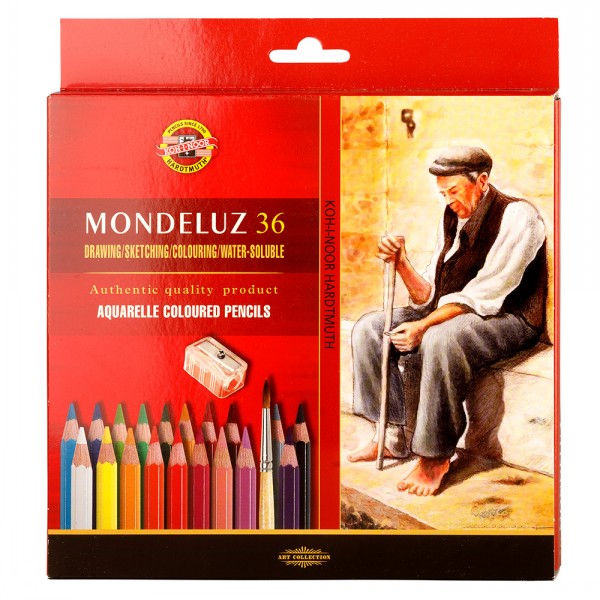
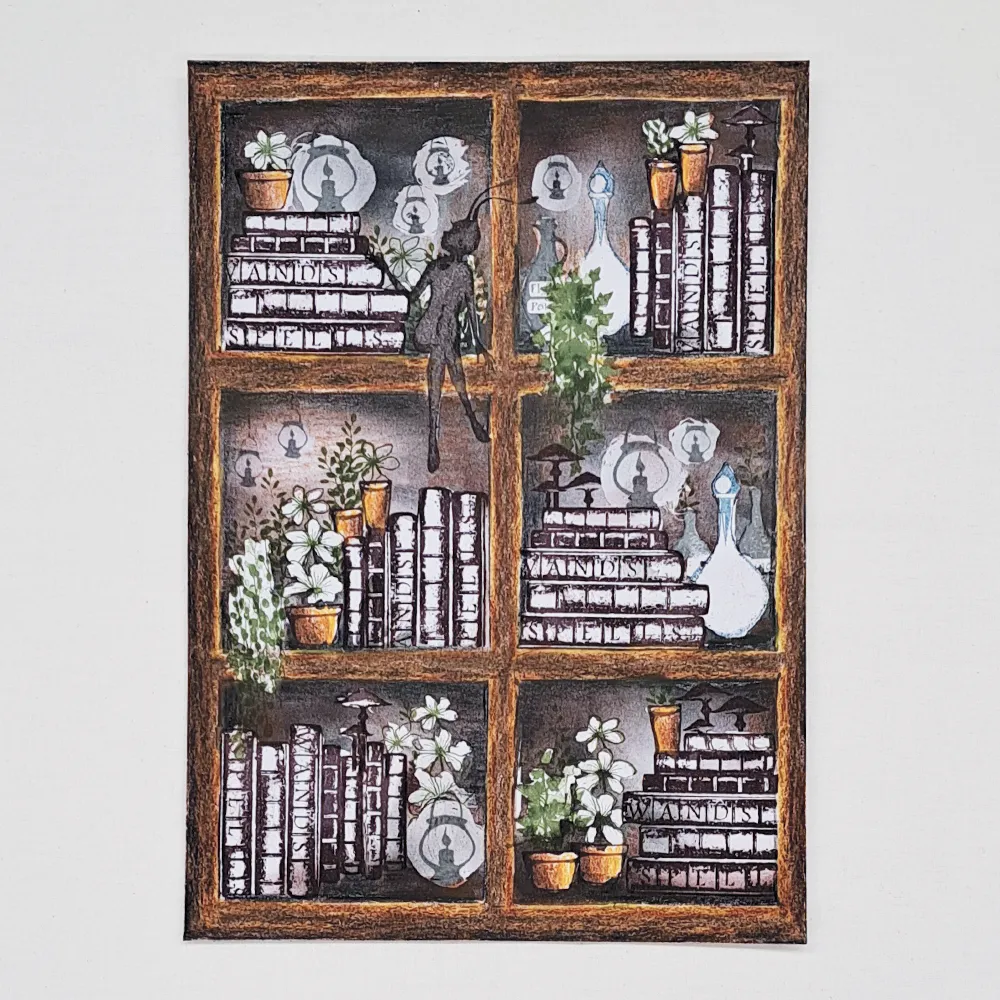
Let us start with colouring The Book Shelf. I always use my wonderful Mondeluz Aquarelle pencils, they blend so beautifully even when you do not blend with water. When colouring an object I like to use several different colours together because it gives depth and life to the image. So we will use dark brown, brown, reddish brown and ochre. Apply the colours a bit uneven so it will look like it is a wooden shelf. Use the same colours for the flower pots but add orange as the main colour.
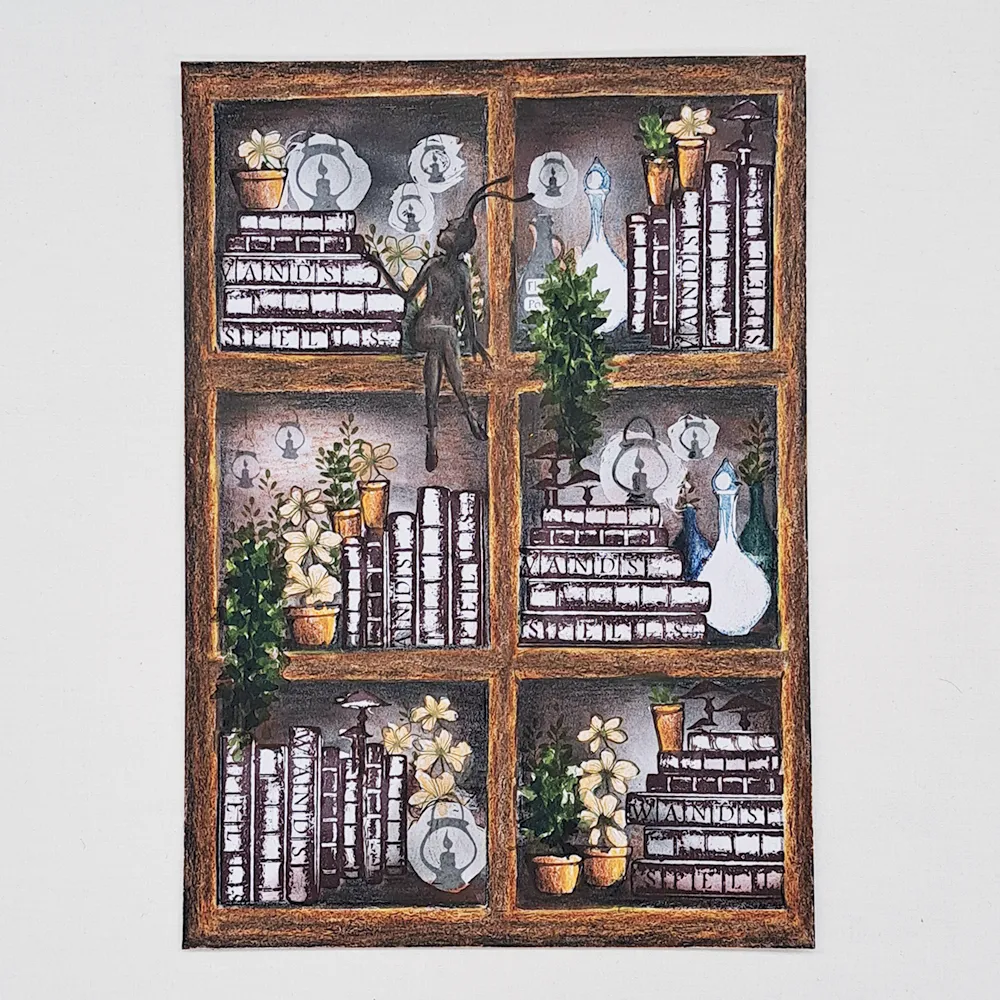
Picture 9
Use some dark Brown to colour in our lovely Tia. we will use some black to create some shadows and some white colour to add some highlight on her. Yes, still only using the Mondeluz Aquarelle pencils. Start with a light colour for the flowers. I chose beige. Colour in some background bottles. Our plants got a bit faded after removing the masking so now we can restamp to refresh them. Stamp with Versafine Clair Shady Lane as the main colour and then add a few leaves stamped in Versafine Clair Twilight.
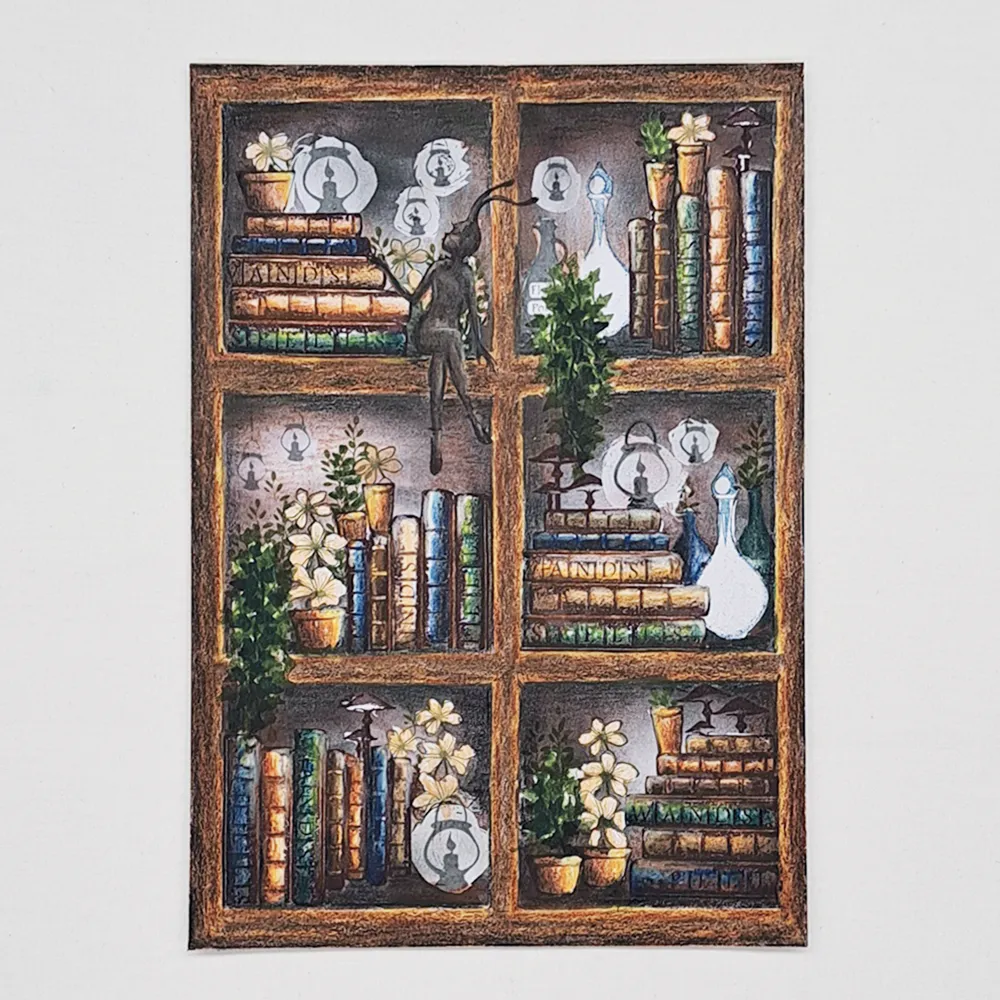
Picture 10
For all the books we will use very similar colours on all the books in the different squares. browns, blues and greens. If you colour a book blue, use a little green and brown to create some shadow on the book. On the green book use a little blue and brown because this will make it look more worn. The brown books can have all the different shades of brown.
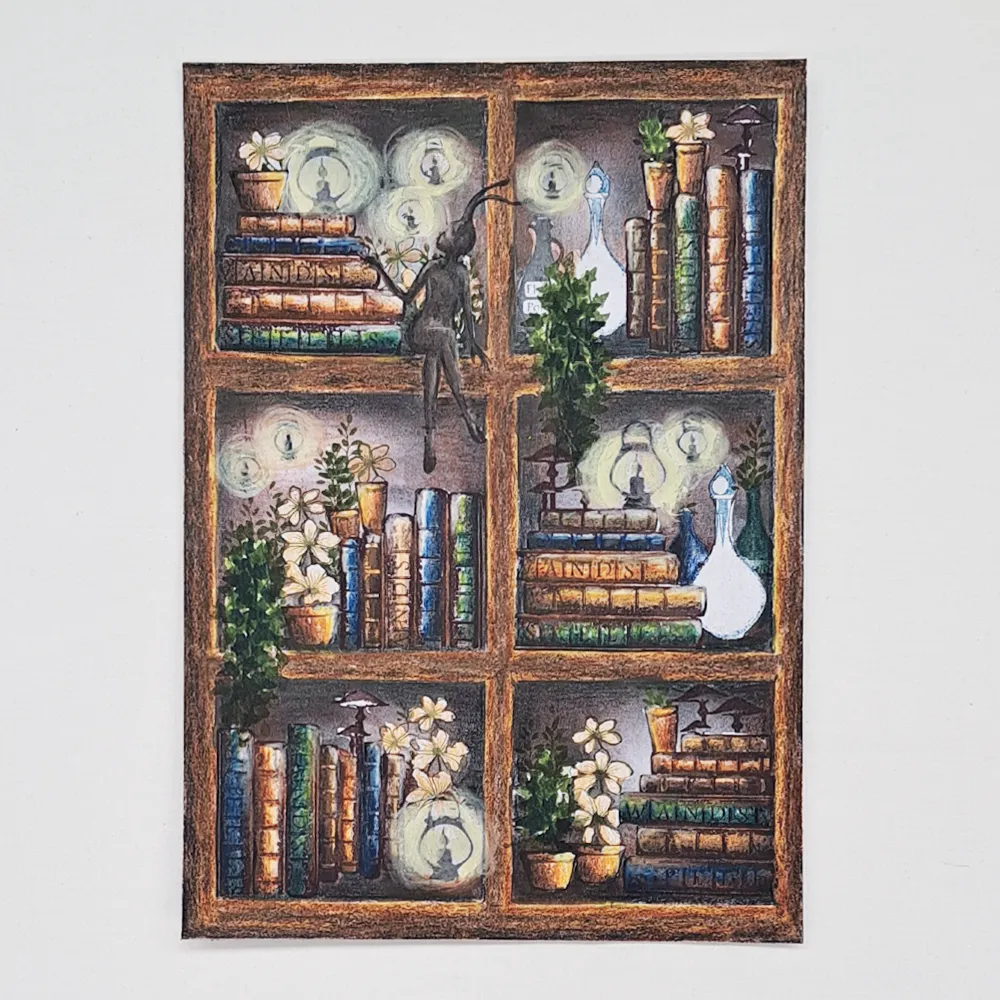
Picture 11
For the light in and around the lanterns we will use the lightest yellow colour in our Mondeluz Aquarelle pencil set. Just make circles around the lanterns.
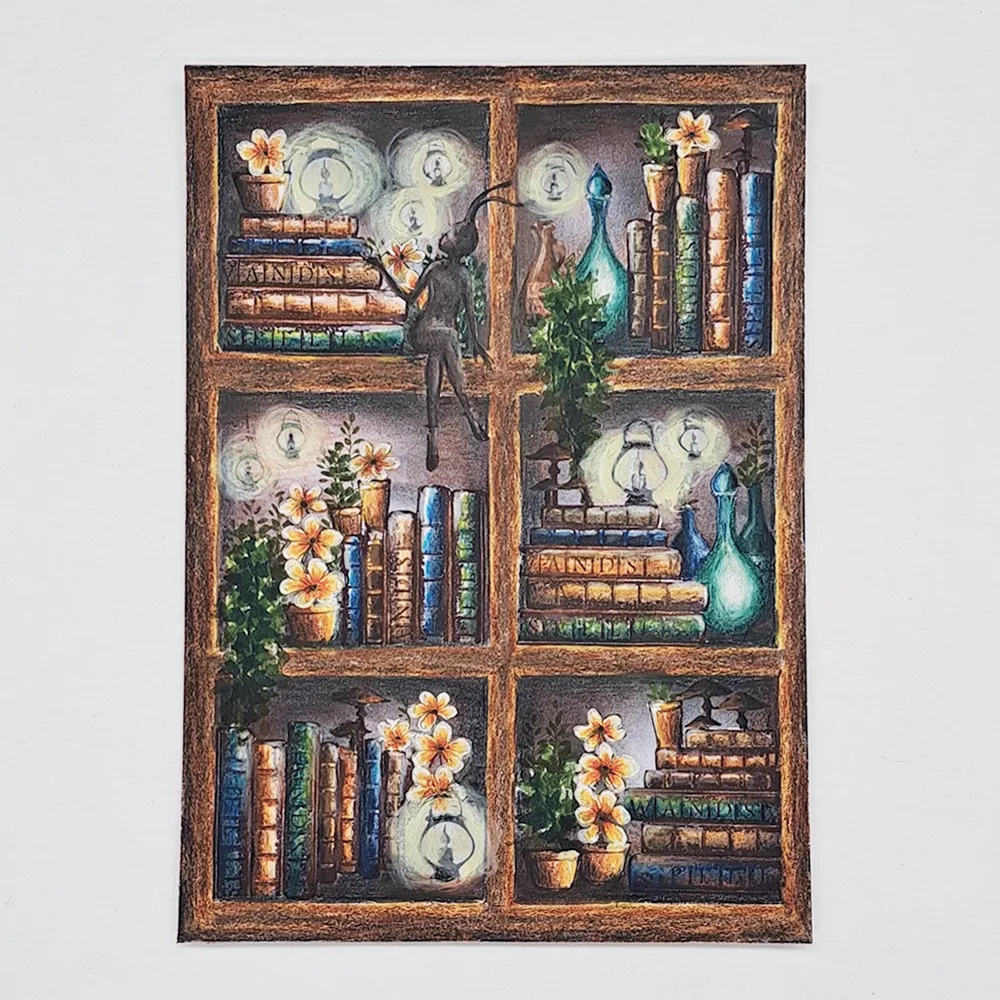
Picture 12
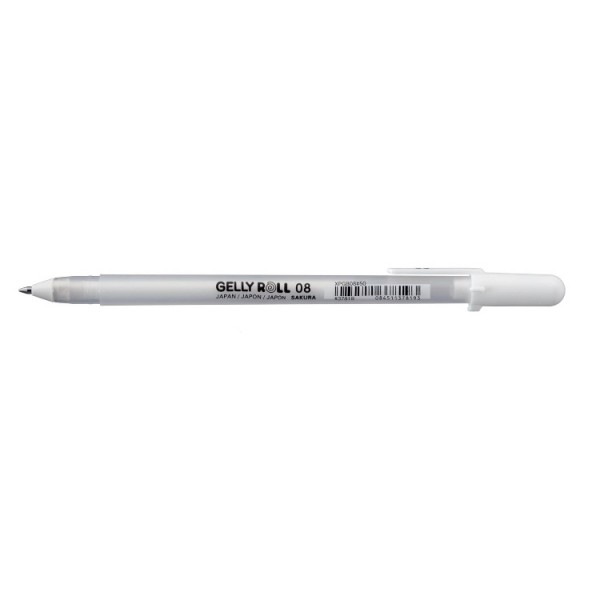
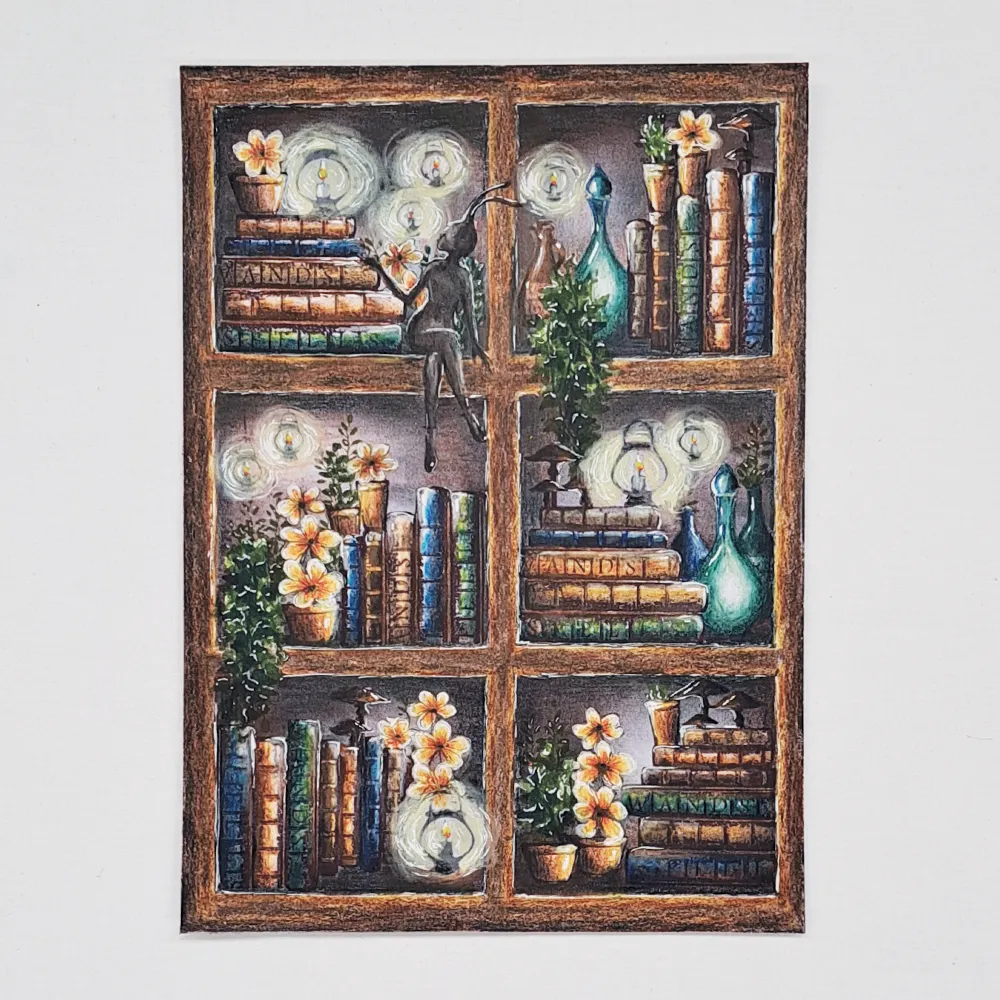
For the flowers we will use an orange and a tomato red colour. Also we will use a White Uniball pen or a White Gelly Roll pen to outline the flower petals because they have become a little bit uneven after removing the masking. Colour the bottles as you see in the picture and for the mushrooms use a brown.
Picture 13
We will use an orange, yellow and a white Posca pen to colour the centre of the flame in our lanterns and we will use a white Uniball pen to draw some circles on top of the yellow circles to create more glow from the lanterns. We are so close to finishing our picture but we need highlights on everything. A white Uniball pen is perfect for this job. Look at the picture for placement.
Picture 14
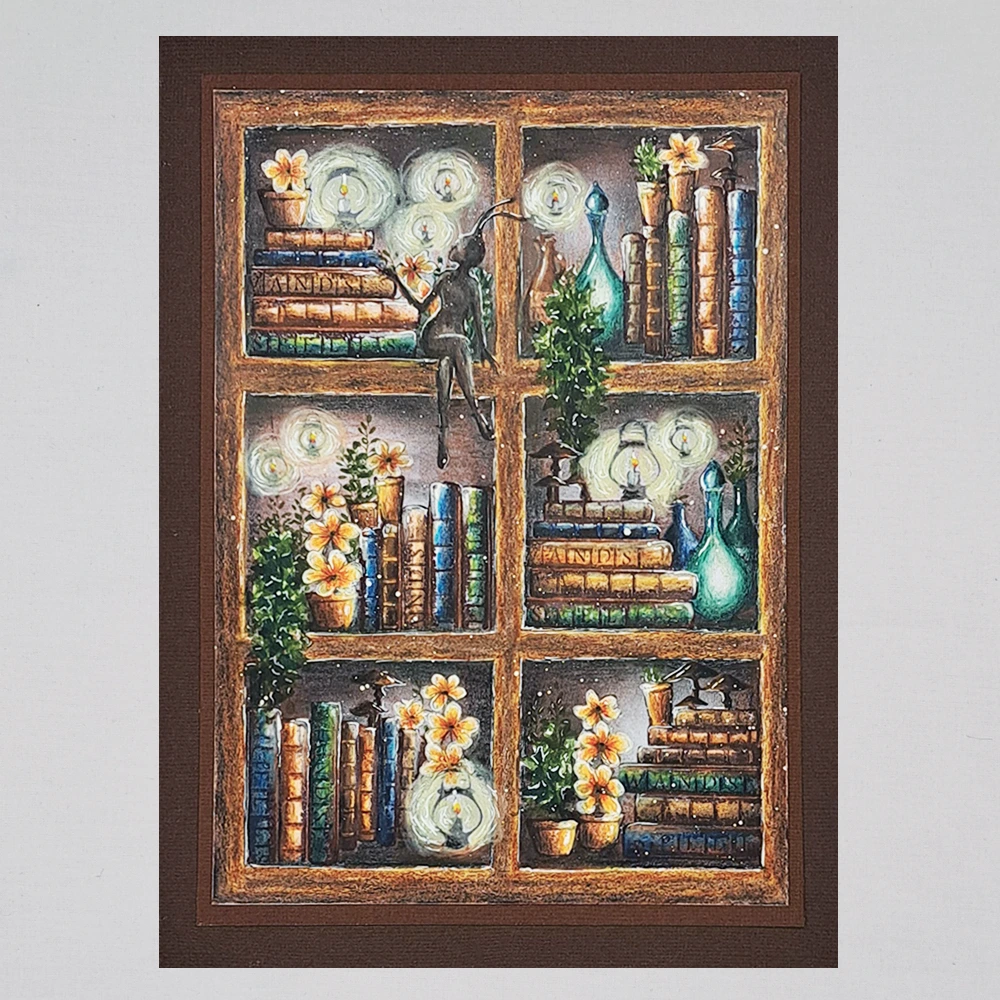
As a final touch we will do some white Posca pen splatter. And now we are done.
Hope you enjoyed following my tutorial. If you have any questions just let me know and I will answer as soon as I can. Big hugs from Mona.


