Step by Step by Leesa Magical Maker
Hello everyone ❤️
This is a picture tutorial to create an easy tag or bookmark. I have called this “Just be”
Hope you enjoy creating 🙂
Picture 1
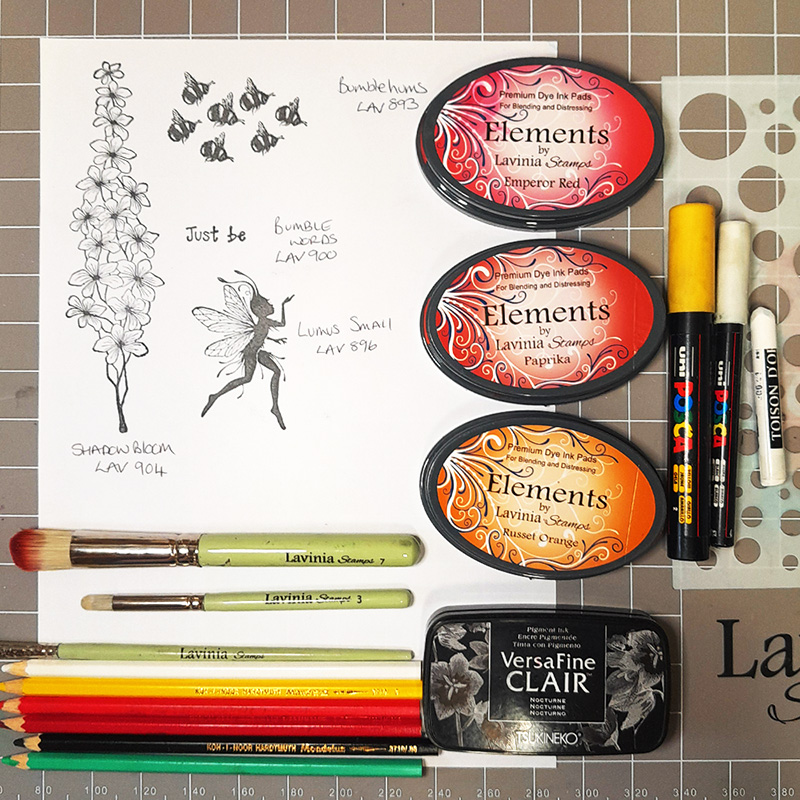
This picture shows you all you will need to create this tag or bookmark.
Picture 2
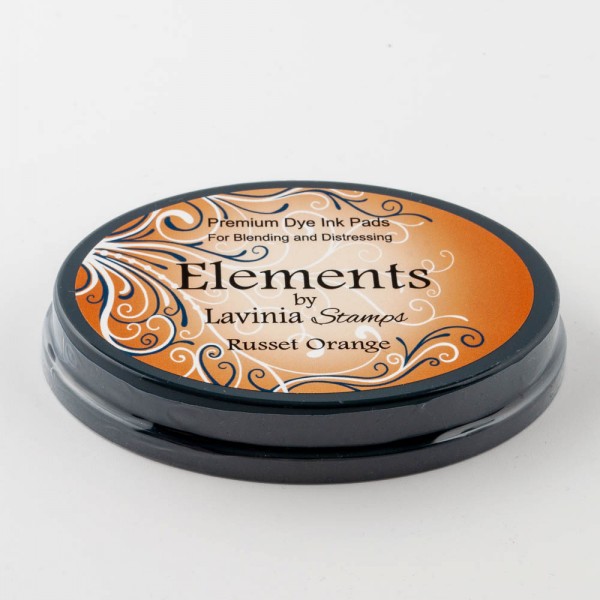
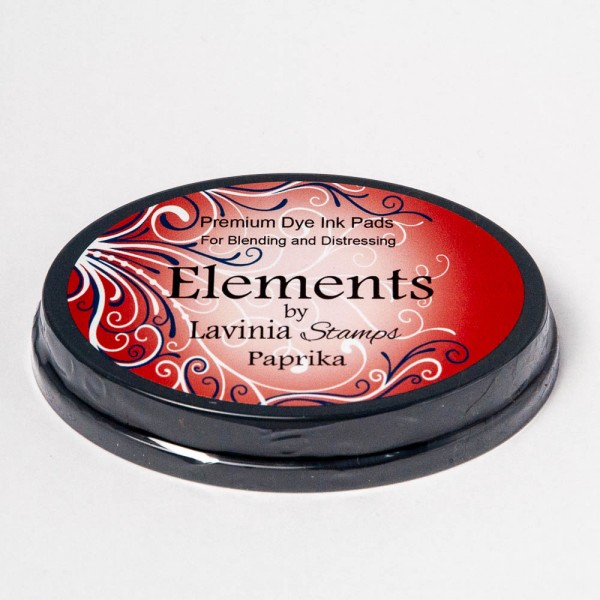
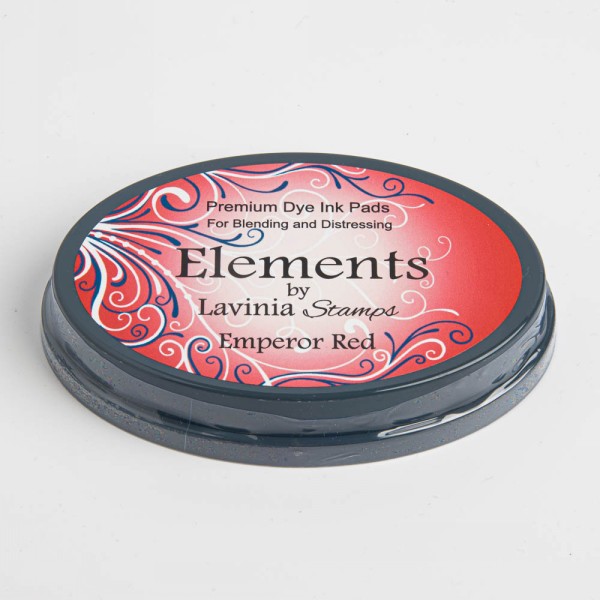
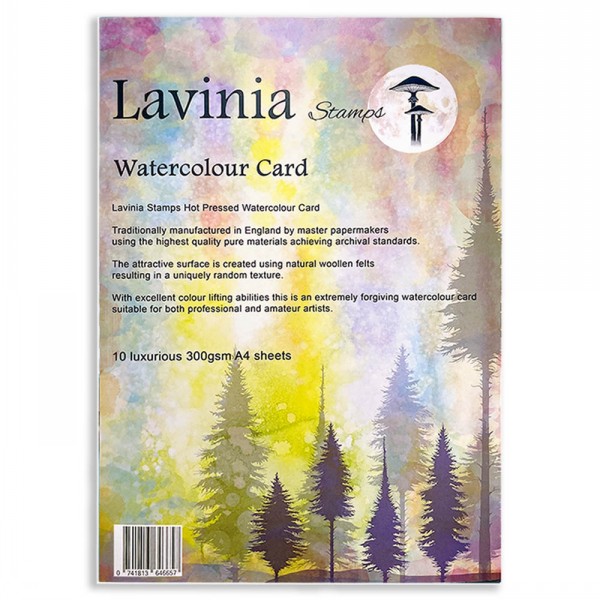
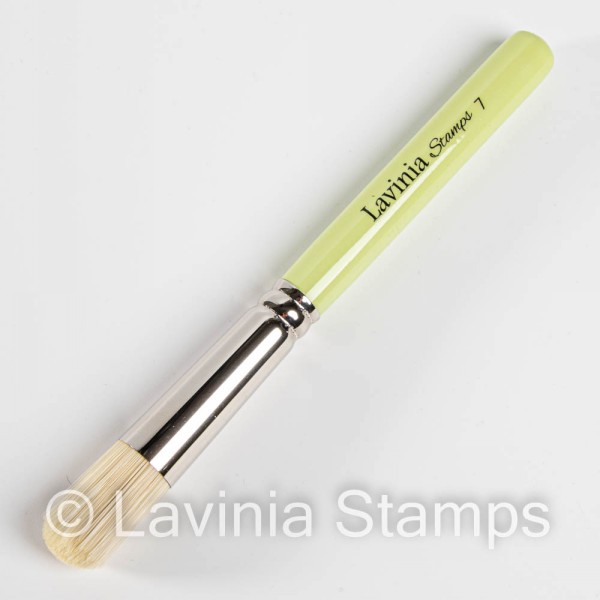
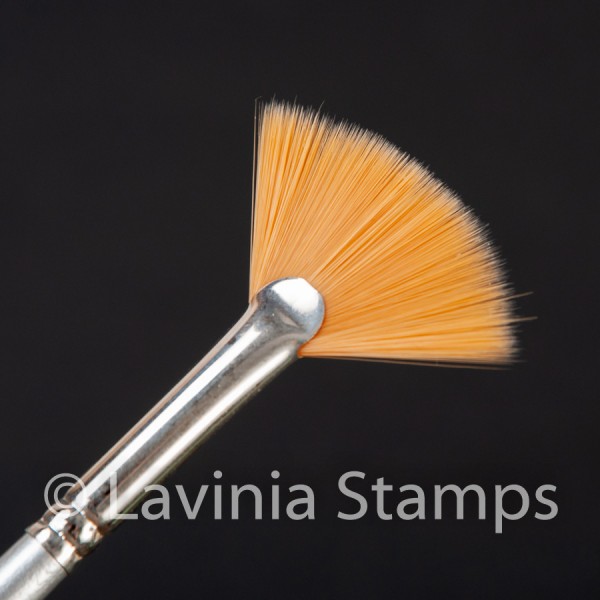
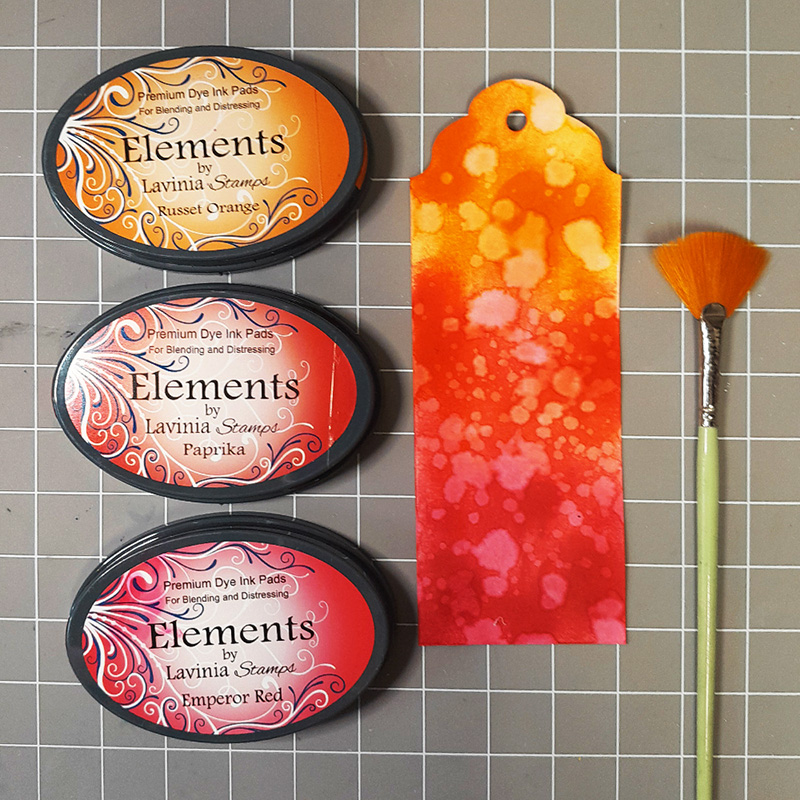
Using a tag made with either multifarious card or Lavina Hot Pressed watercolour card start blending using Stencil Brush 7 Elements Ink Russet Orange, then blend in to Paprika and finally Emperor Red. Once the tag or bookmark is covered, use a fan brush to add water over the card. Just tap as you go. You can allow to dry naturally or blot off with kitchen roll. This will give you the effect you see in the picture. 🙂
Picture 3
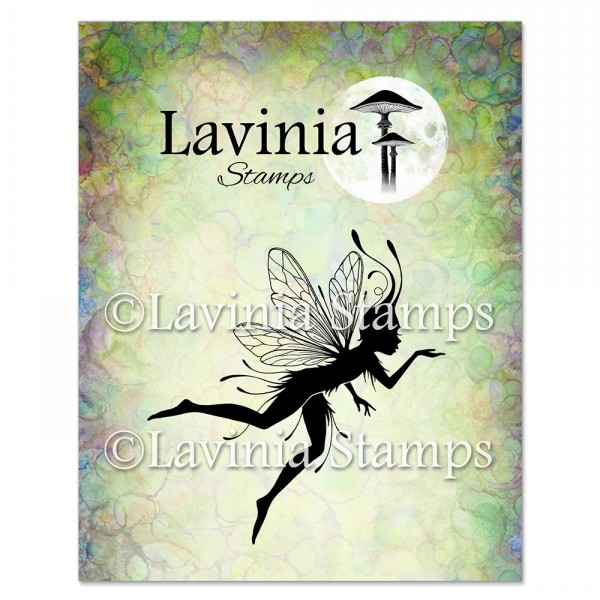
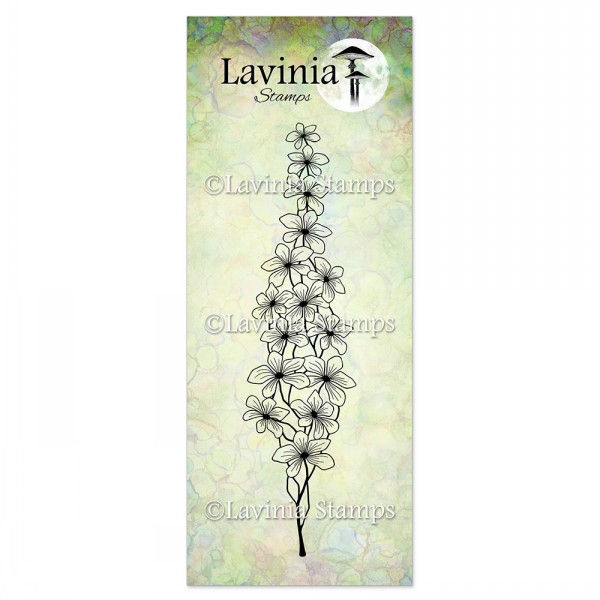
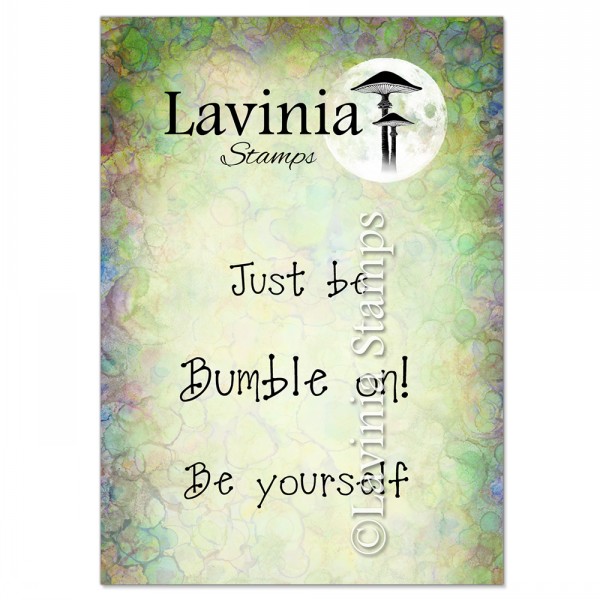
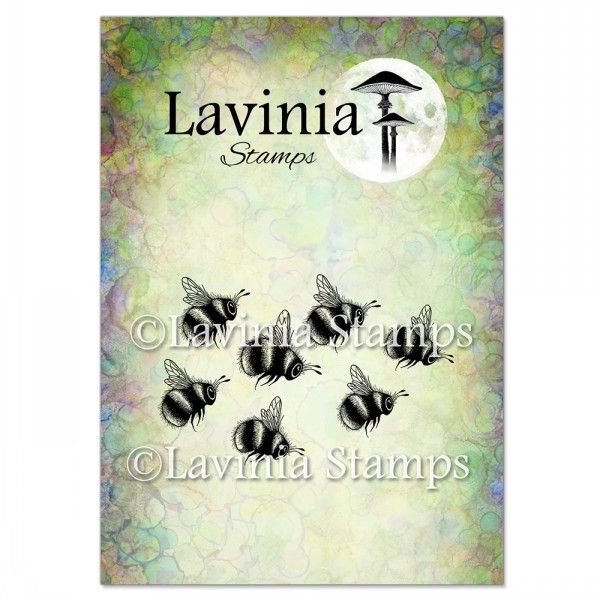
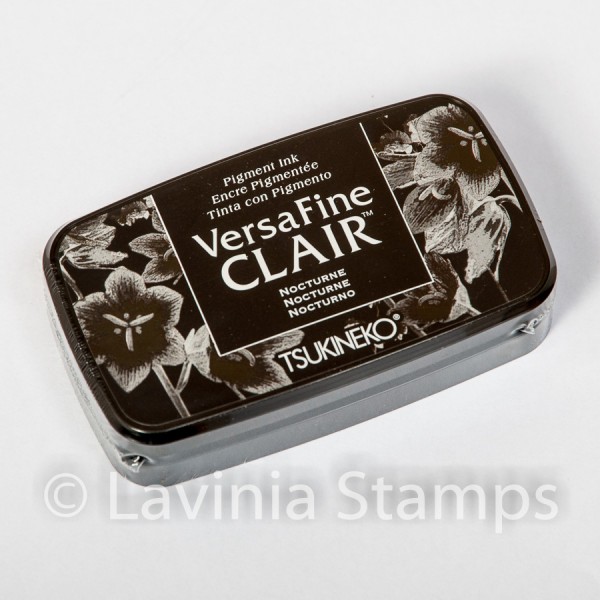
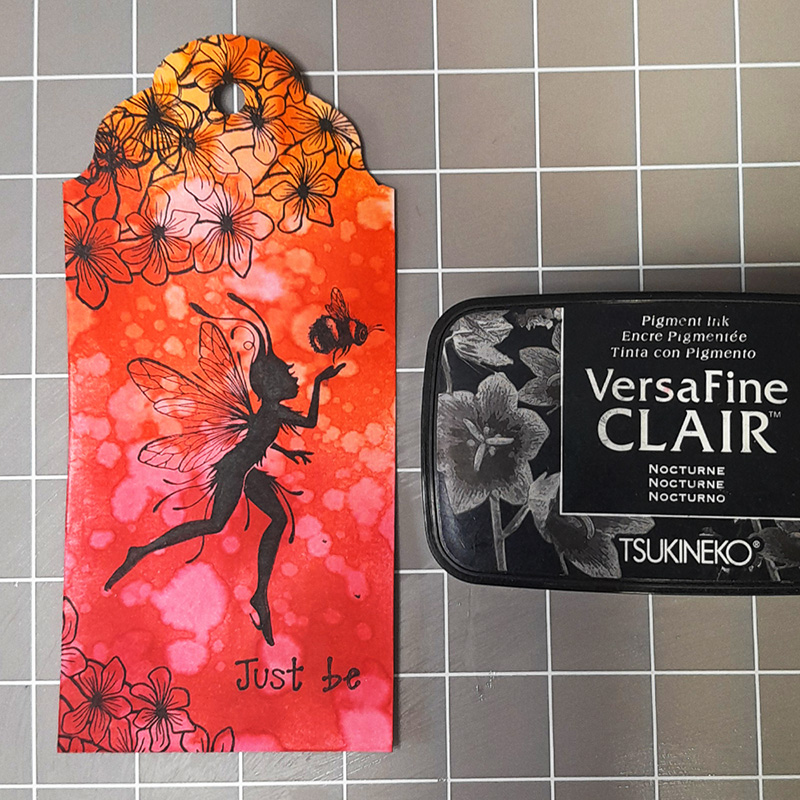
Use Versafine Clair Nocturne to stamp Lumus Small LAV896 in the middle of the tag, Shadow Bloom LAV904 at the top & bottom left corner. Next add the text Just be LAV900. To complete the look I added one of the Bumblehums LAV893 just above Lumus the fairies hand.
Picture 4
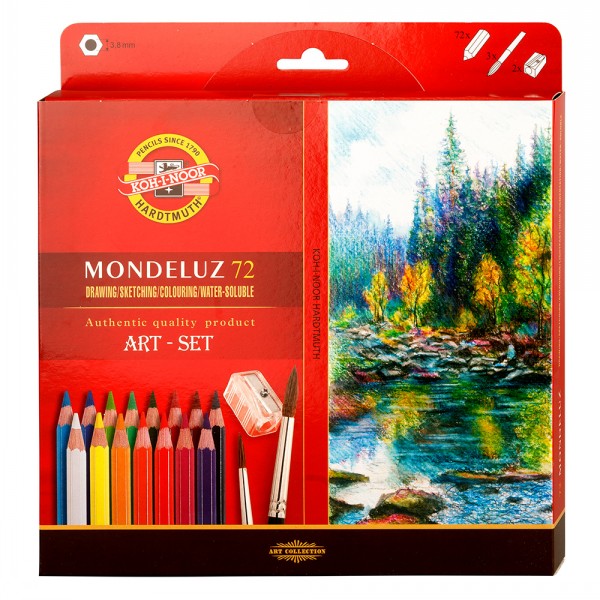
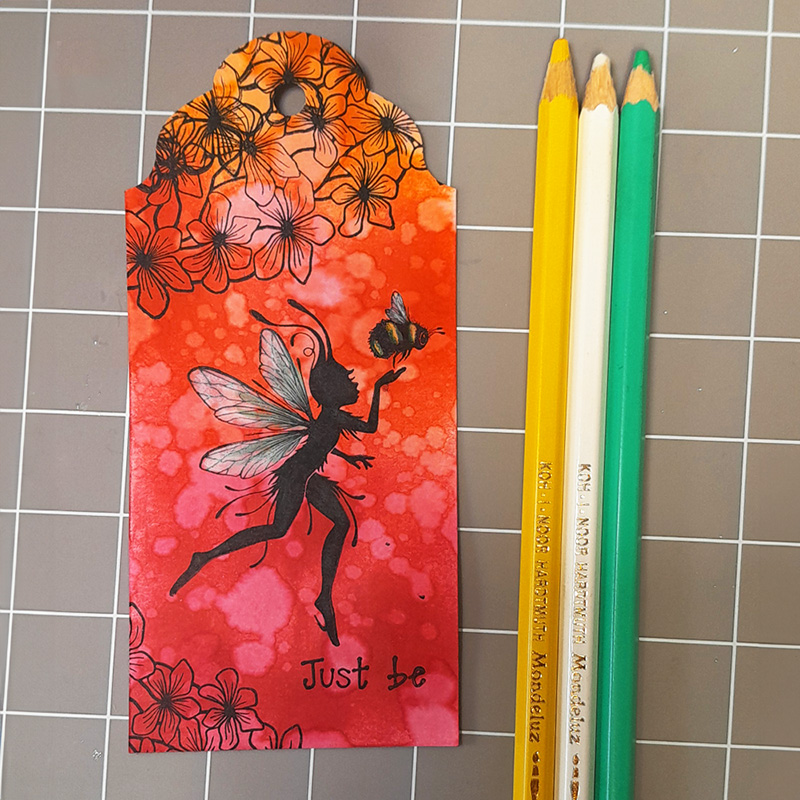
Use Koh-I–noor Mondeluz Watercolour pencils to colour in the wings. I used Pea Green, Yellow and white pencils to colour the wings of the fairy and the bee.
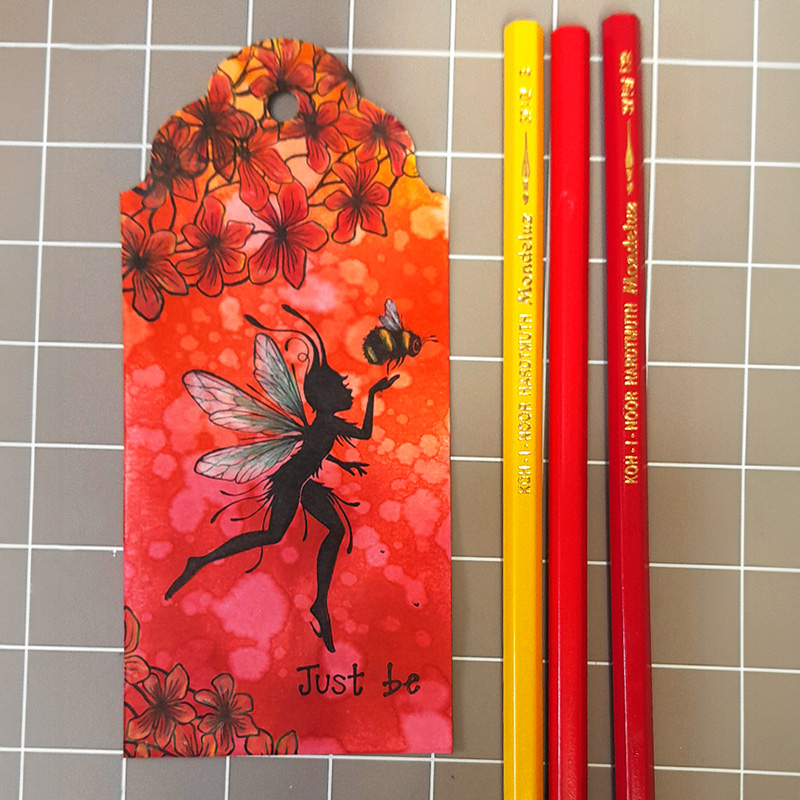
Picture 5
Use Koh-I–noor Mondeluz Watercolour pencils to colour in the flowers. I used two shades of red and a yellow, with the yellow being at the edges of the petals. See the picture for placement.
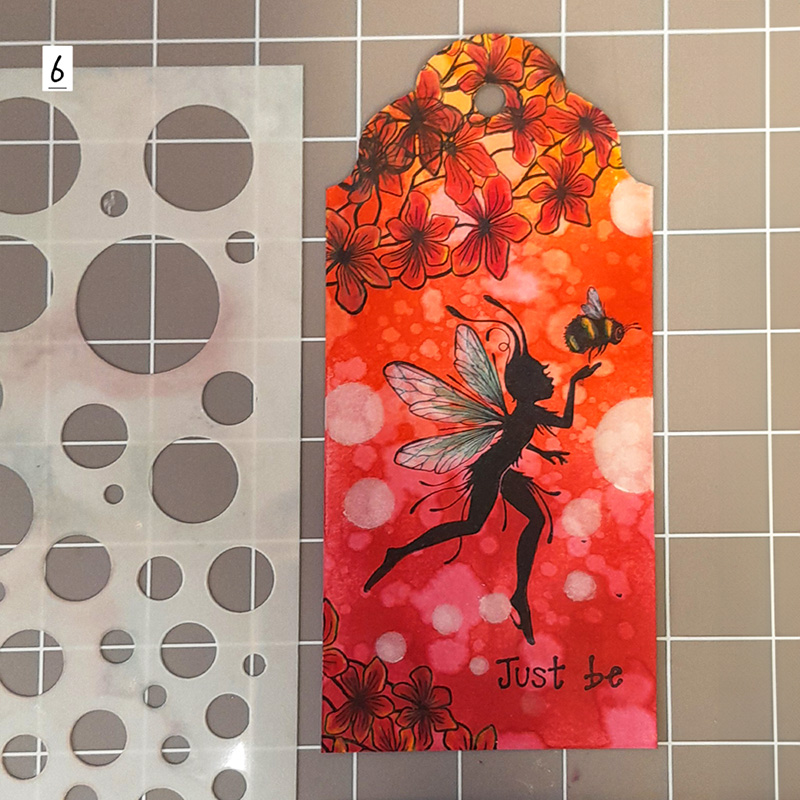
Picture 6
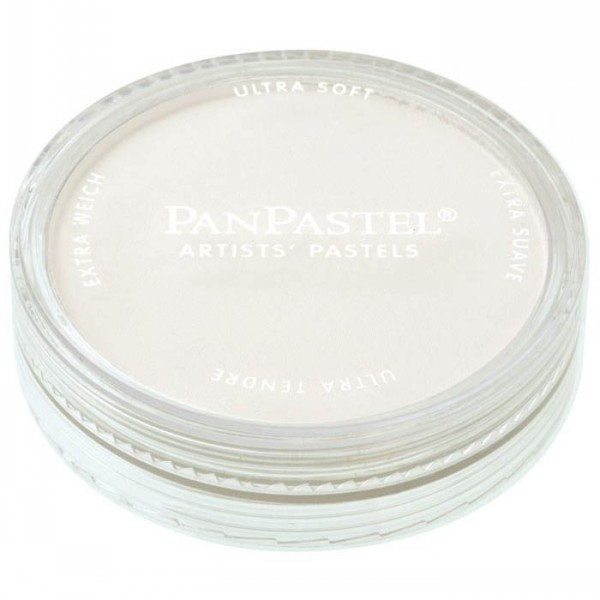
Add a bit more to the background. I used the white orbs stencil with a pastel, you can use Pan Pastels Titanium white and apply carefully with your finger.
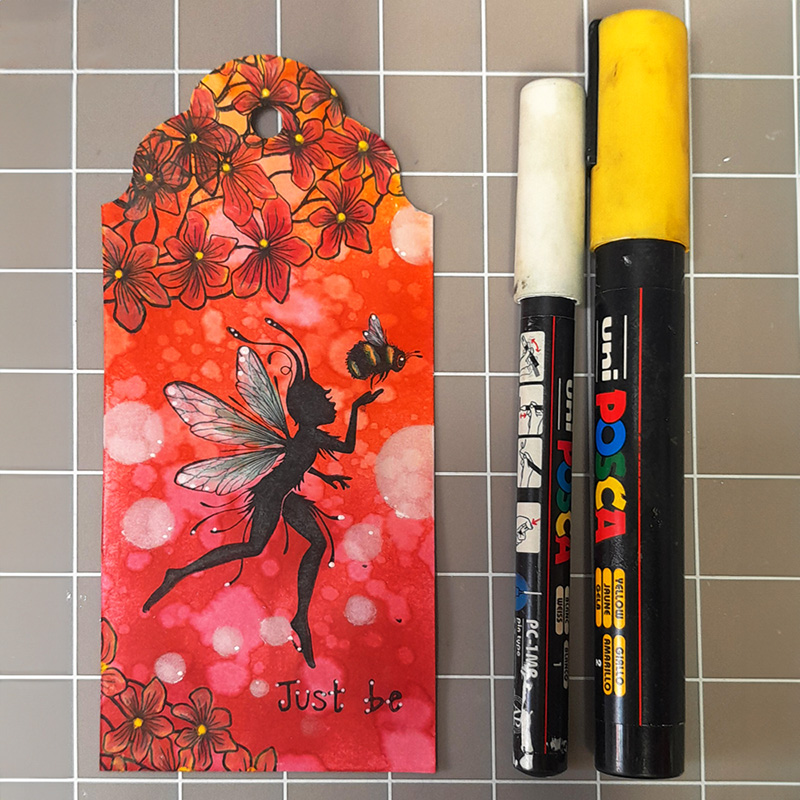
Picture 7
For final touches I used white and yellow Posca pens. Yellow brought out the middle of the flowers and the white was great for the bee’s wing detail, a tiny bit on Lumus’ wings and I managed to dot the text too.
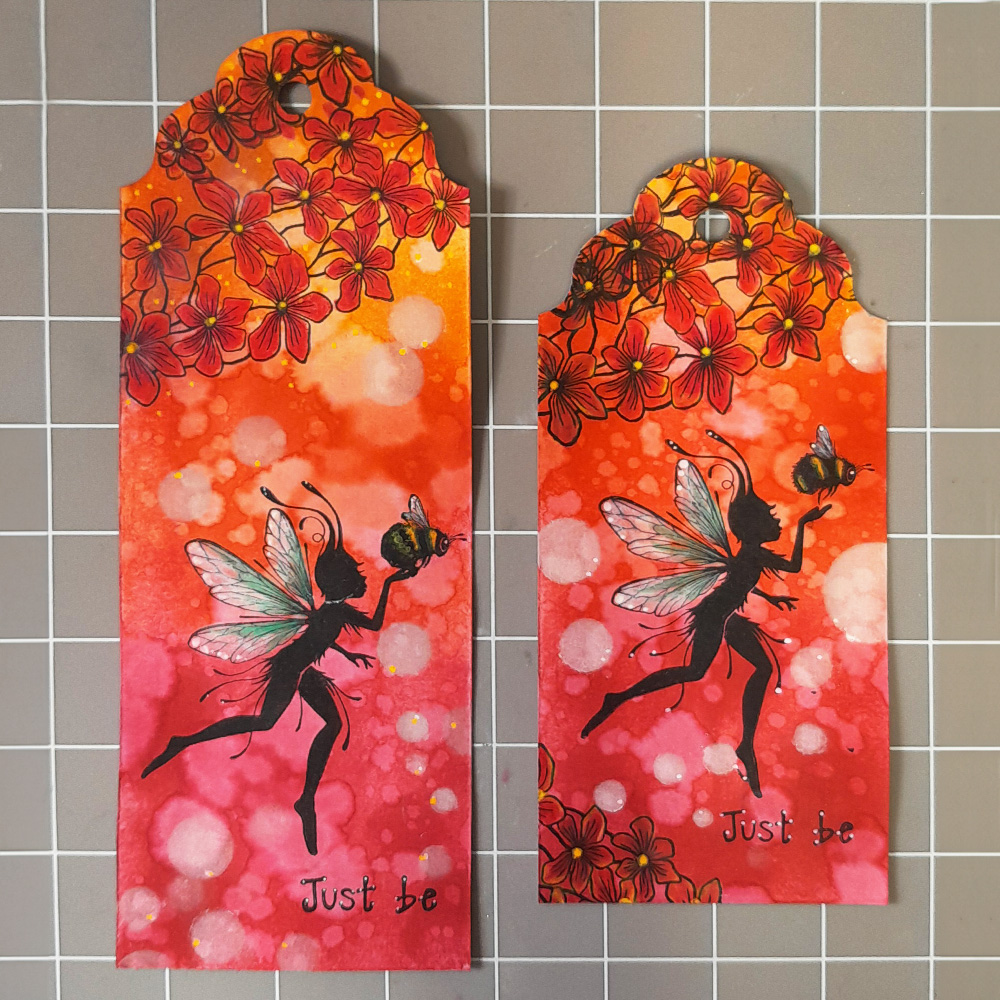
Picture 8
Ta-darrrrrrr! We have finished this tag or bookmark and it could be easily adapted for a card. Thank you for joining me, I hope you enjoy re-creating this. 🙂
Hugs Leesa ❤️


