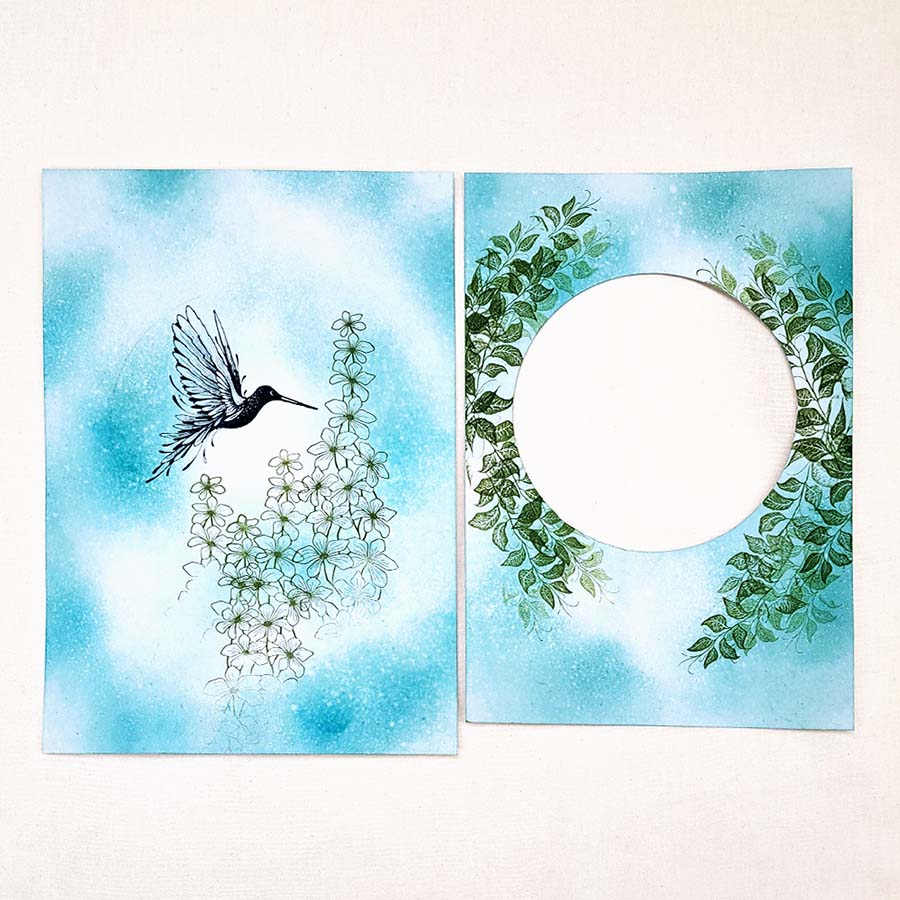
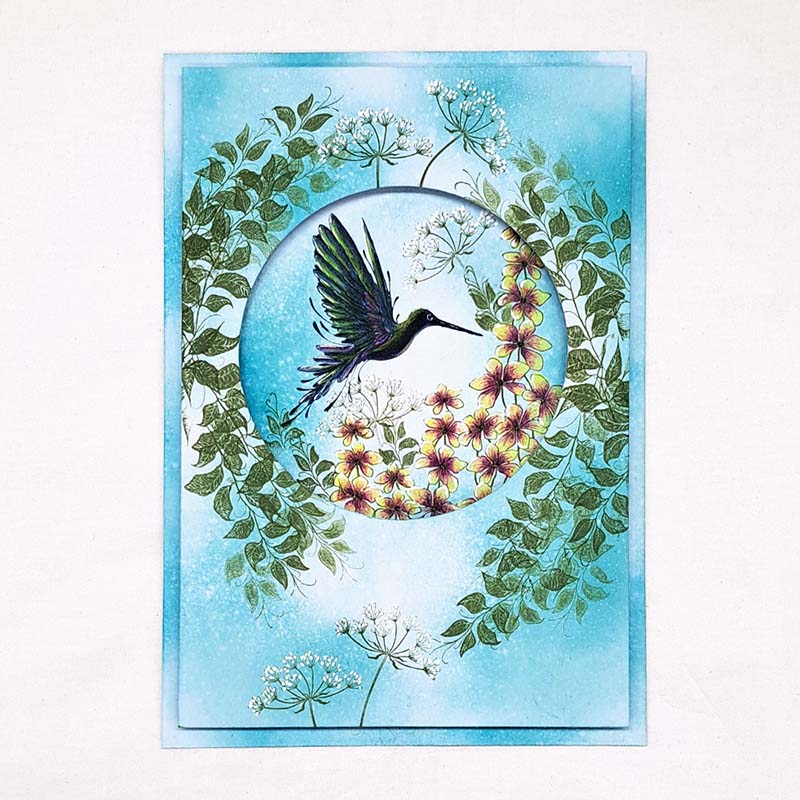


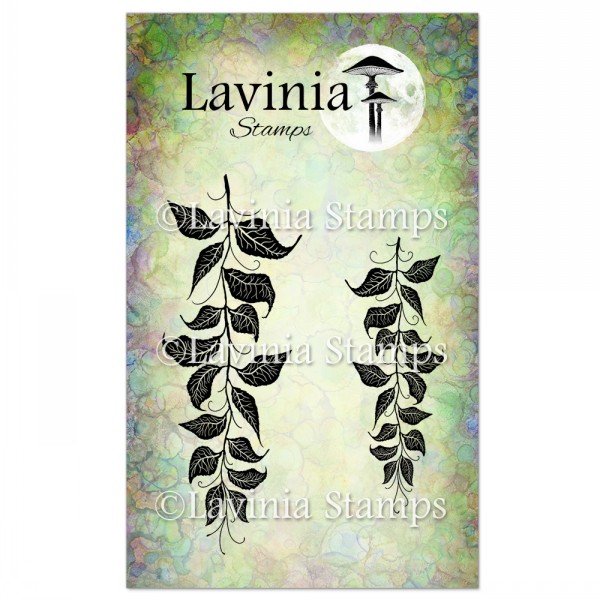
 Berry Leaves Stamp
£8.20
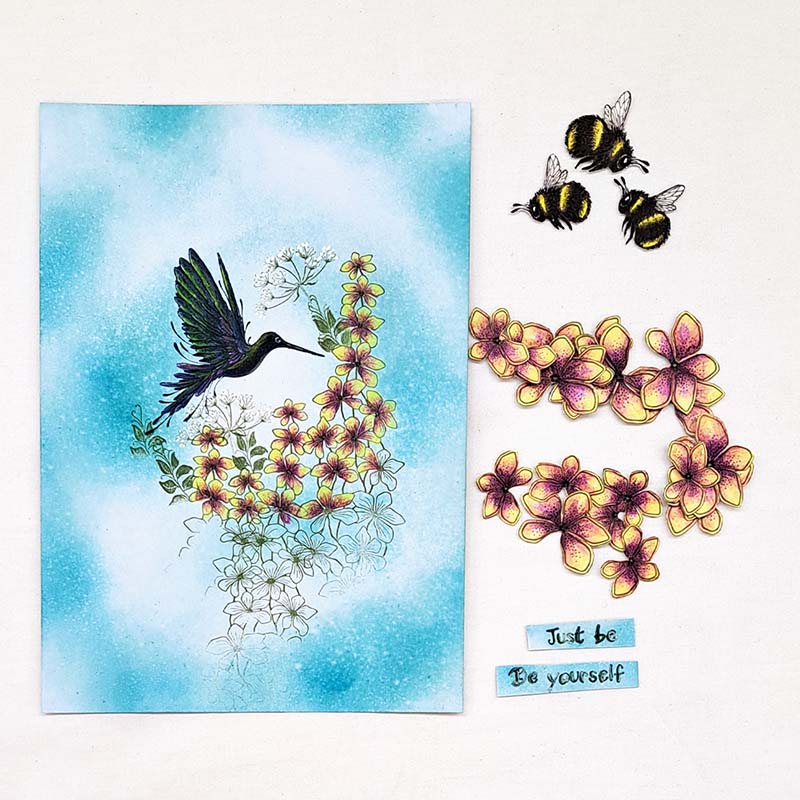
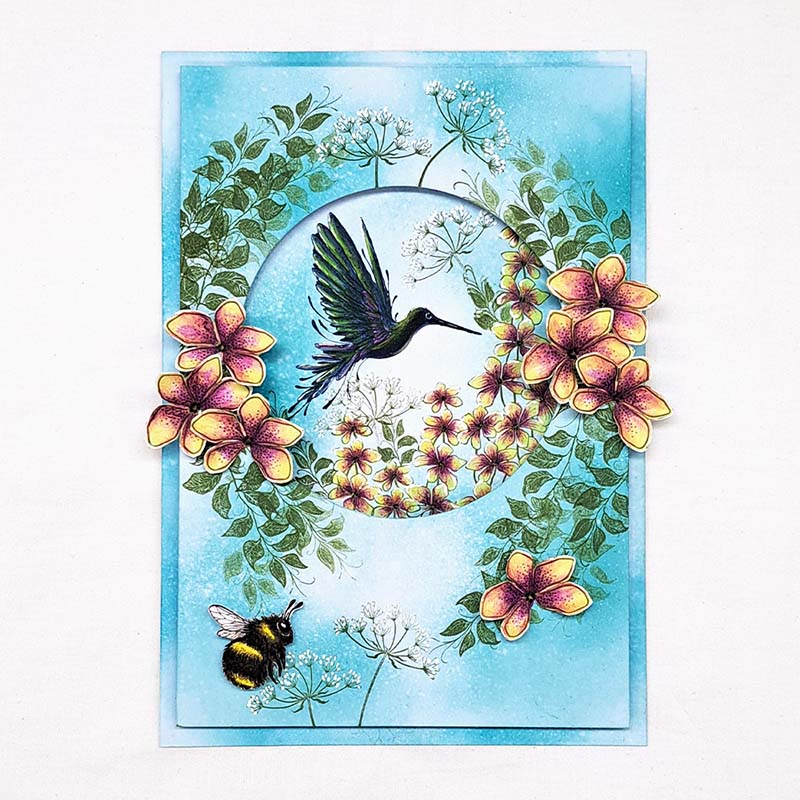
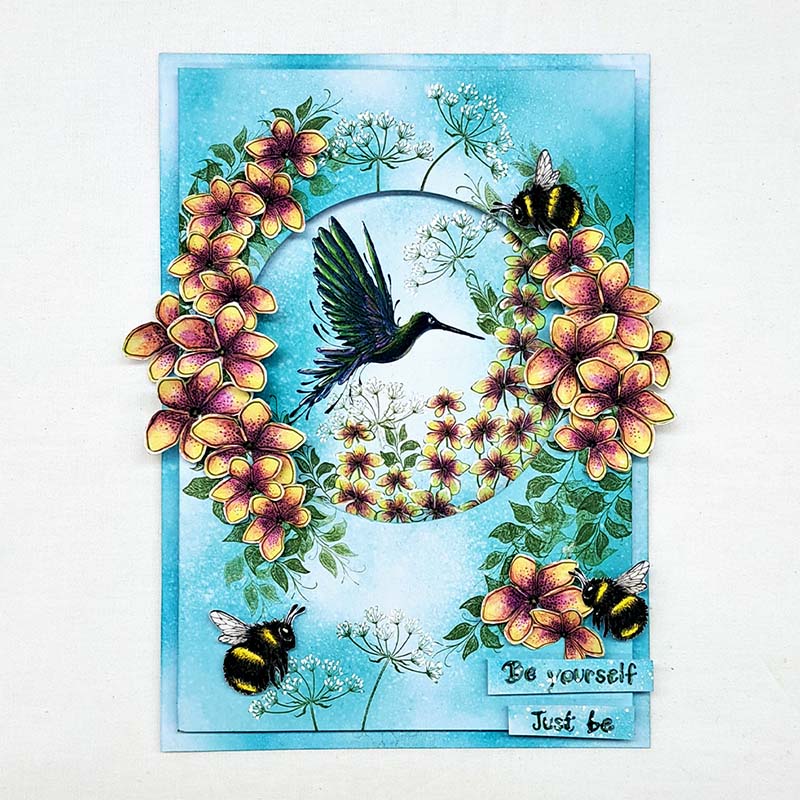
Add to cart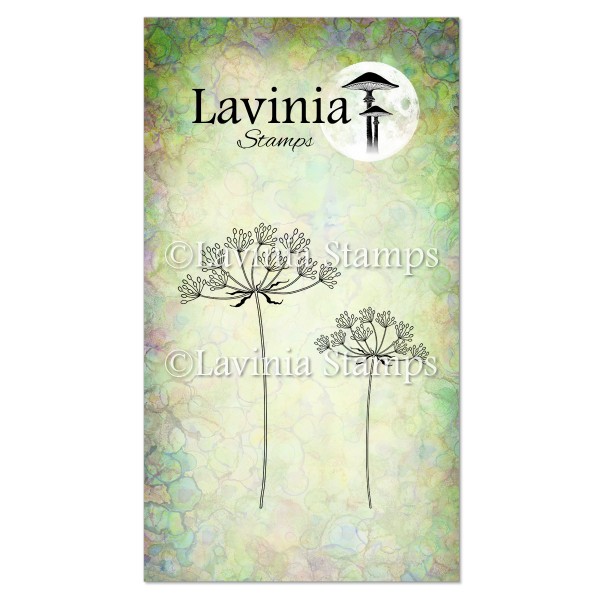 Wild Summer Flower Stamp
£8.00
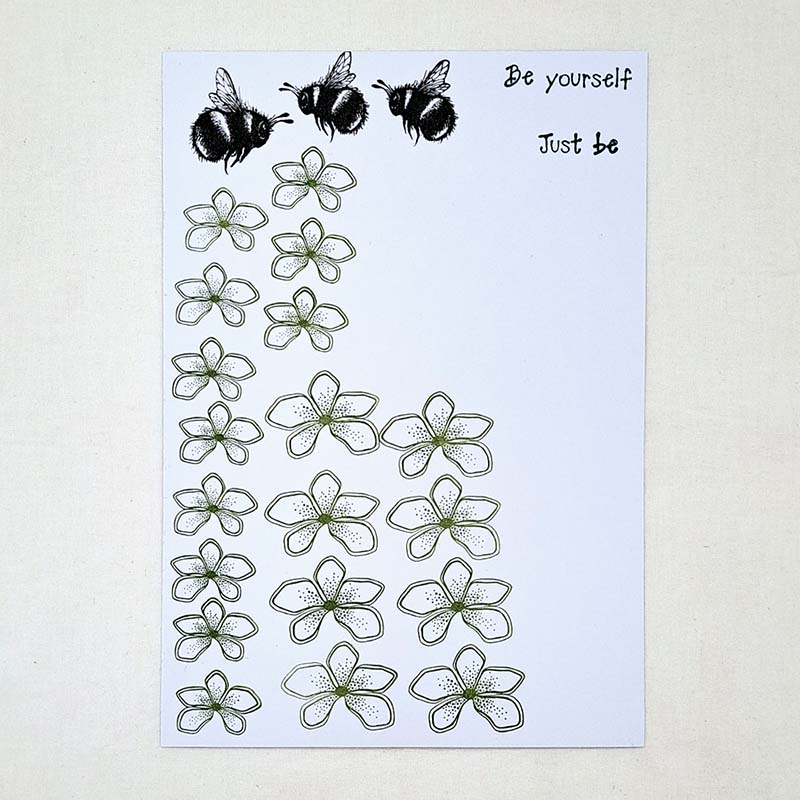
Add to cart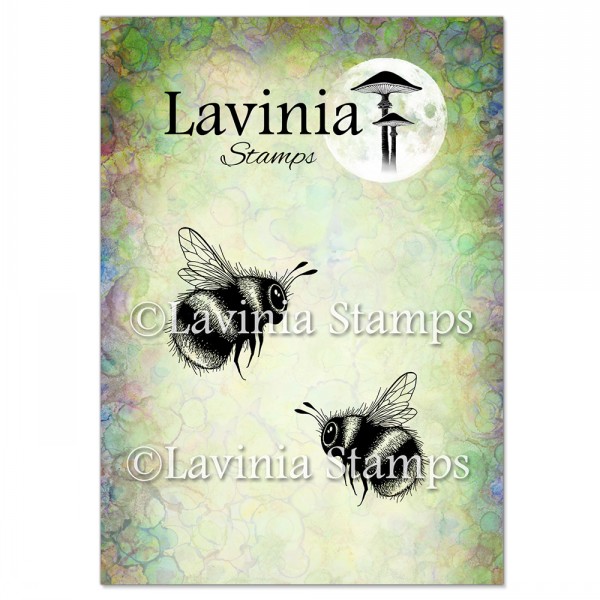 Bumble and Hum Stamp
£6.80
Add to cart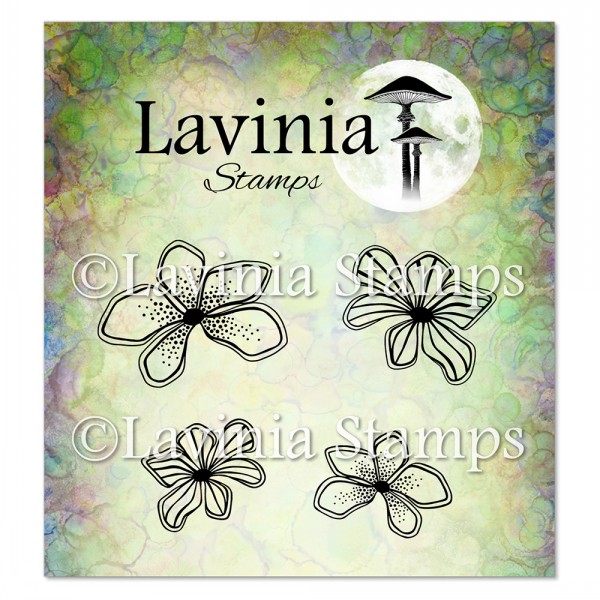 Moss Flowers Stamp
£7.10
Add to cart Hummingbird Small Stamp
£7.00
Add to cart Shadow Bloom Stamp
£9.60
Add to cart