Step by Step by Mona Hauge
Hi everyone 😃
This month´s challenge is “My Favourite Stamp” and I have made this picture tutorial using some of my favourite stamps. I tried to decide which is my one favourite stamp but that is IMPOSSIBLE because I love so many of the stamps!
My card is called “Hide And Seek” and all the stamps used are my favourites.😄
Hope you like it .
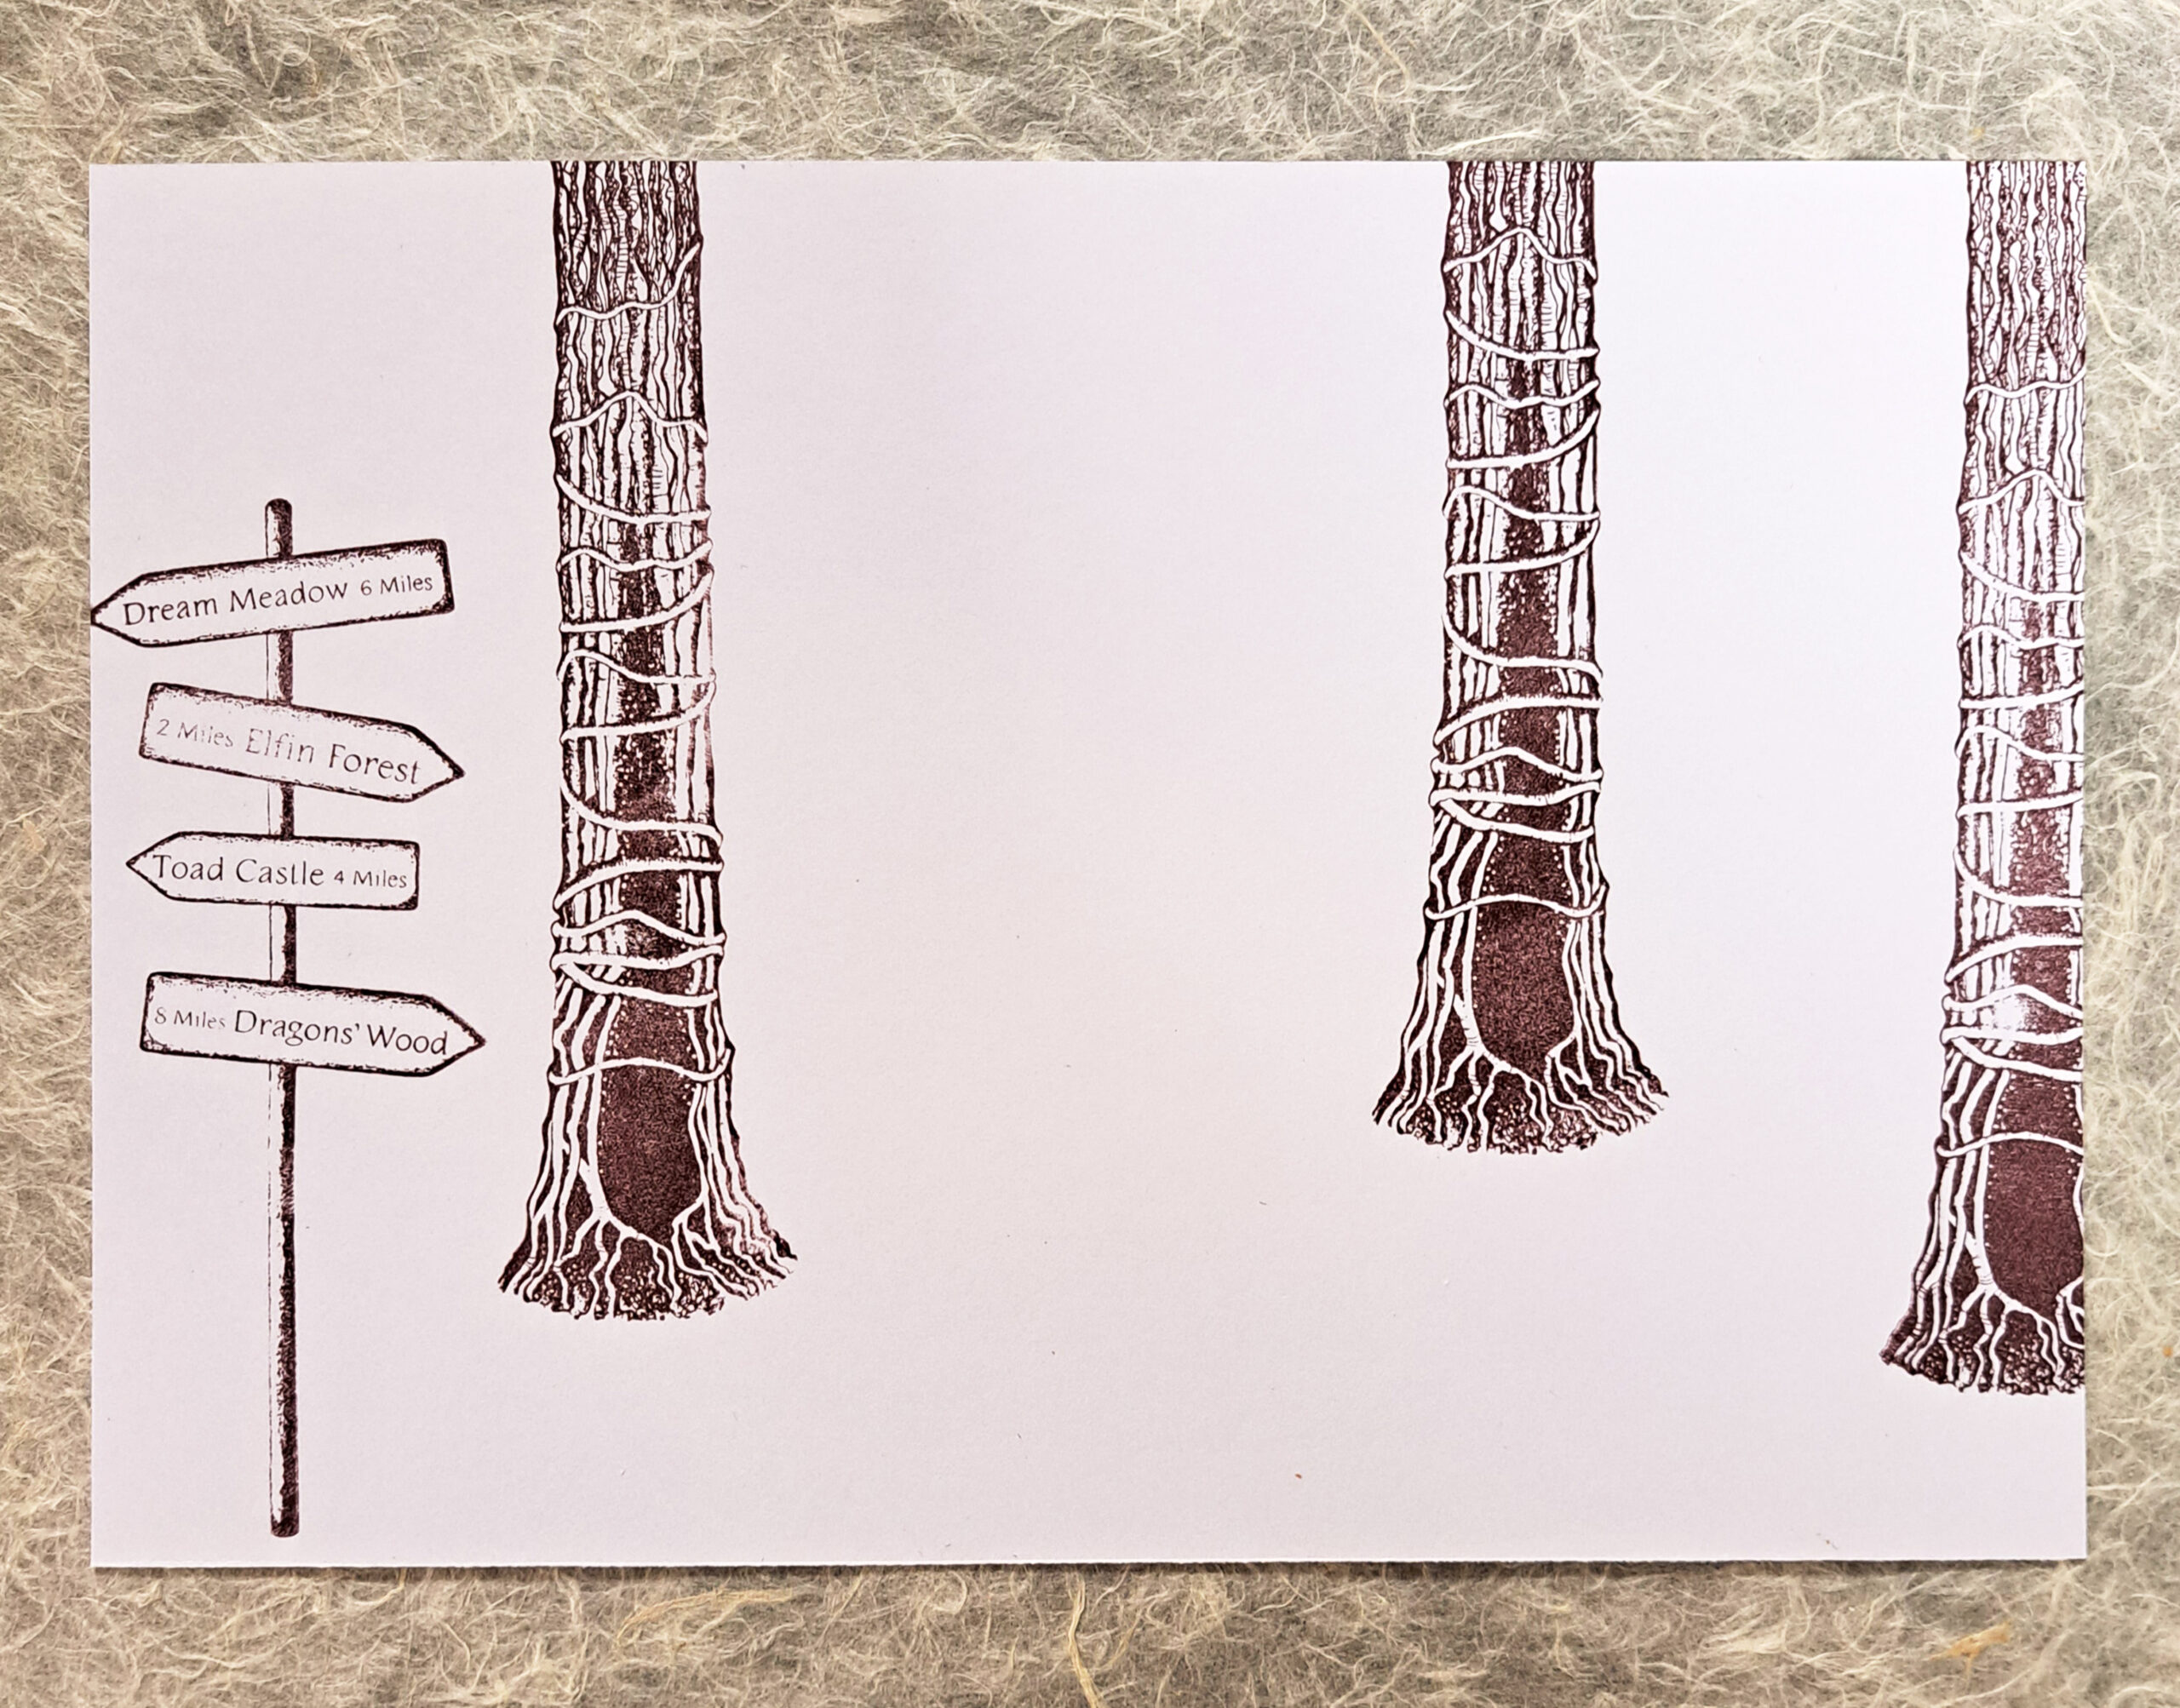
Picture 1
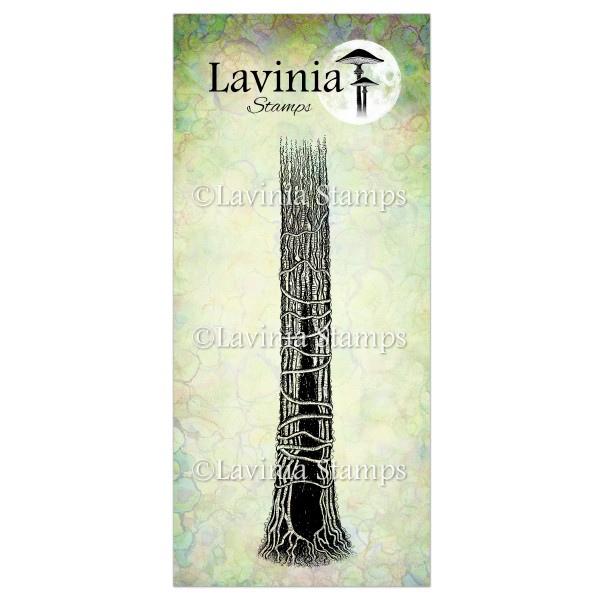
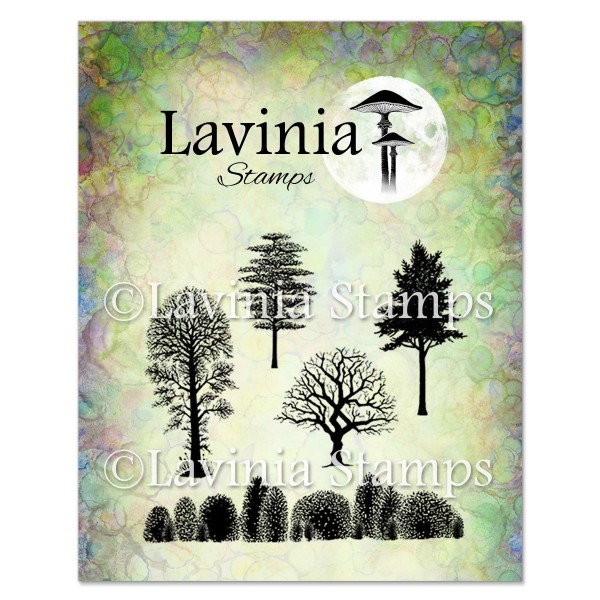
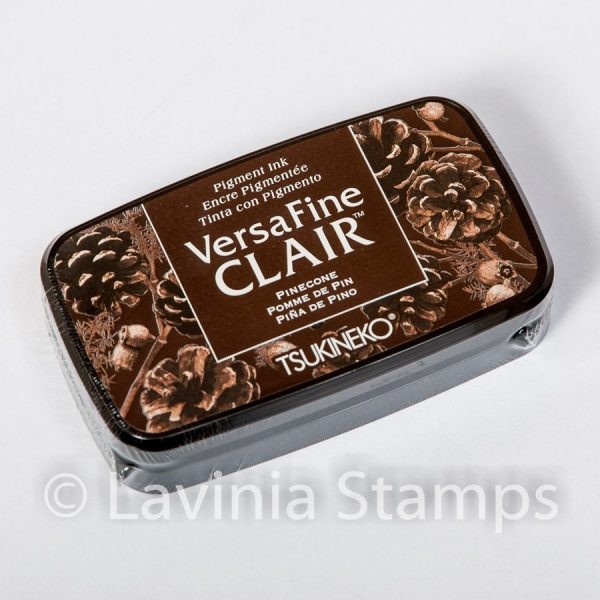
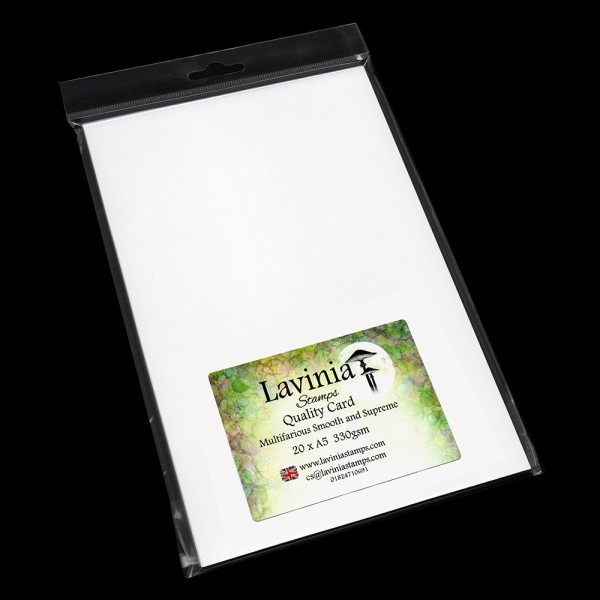
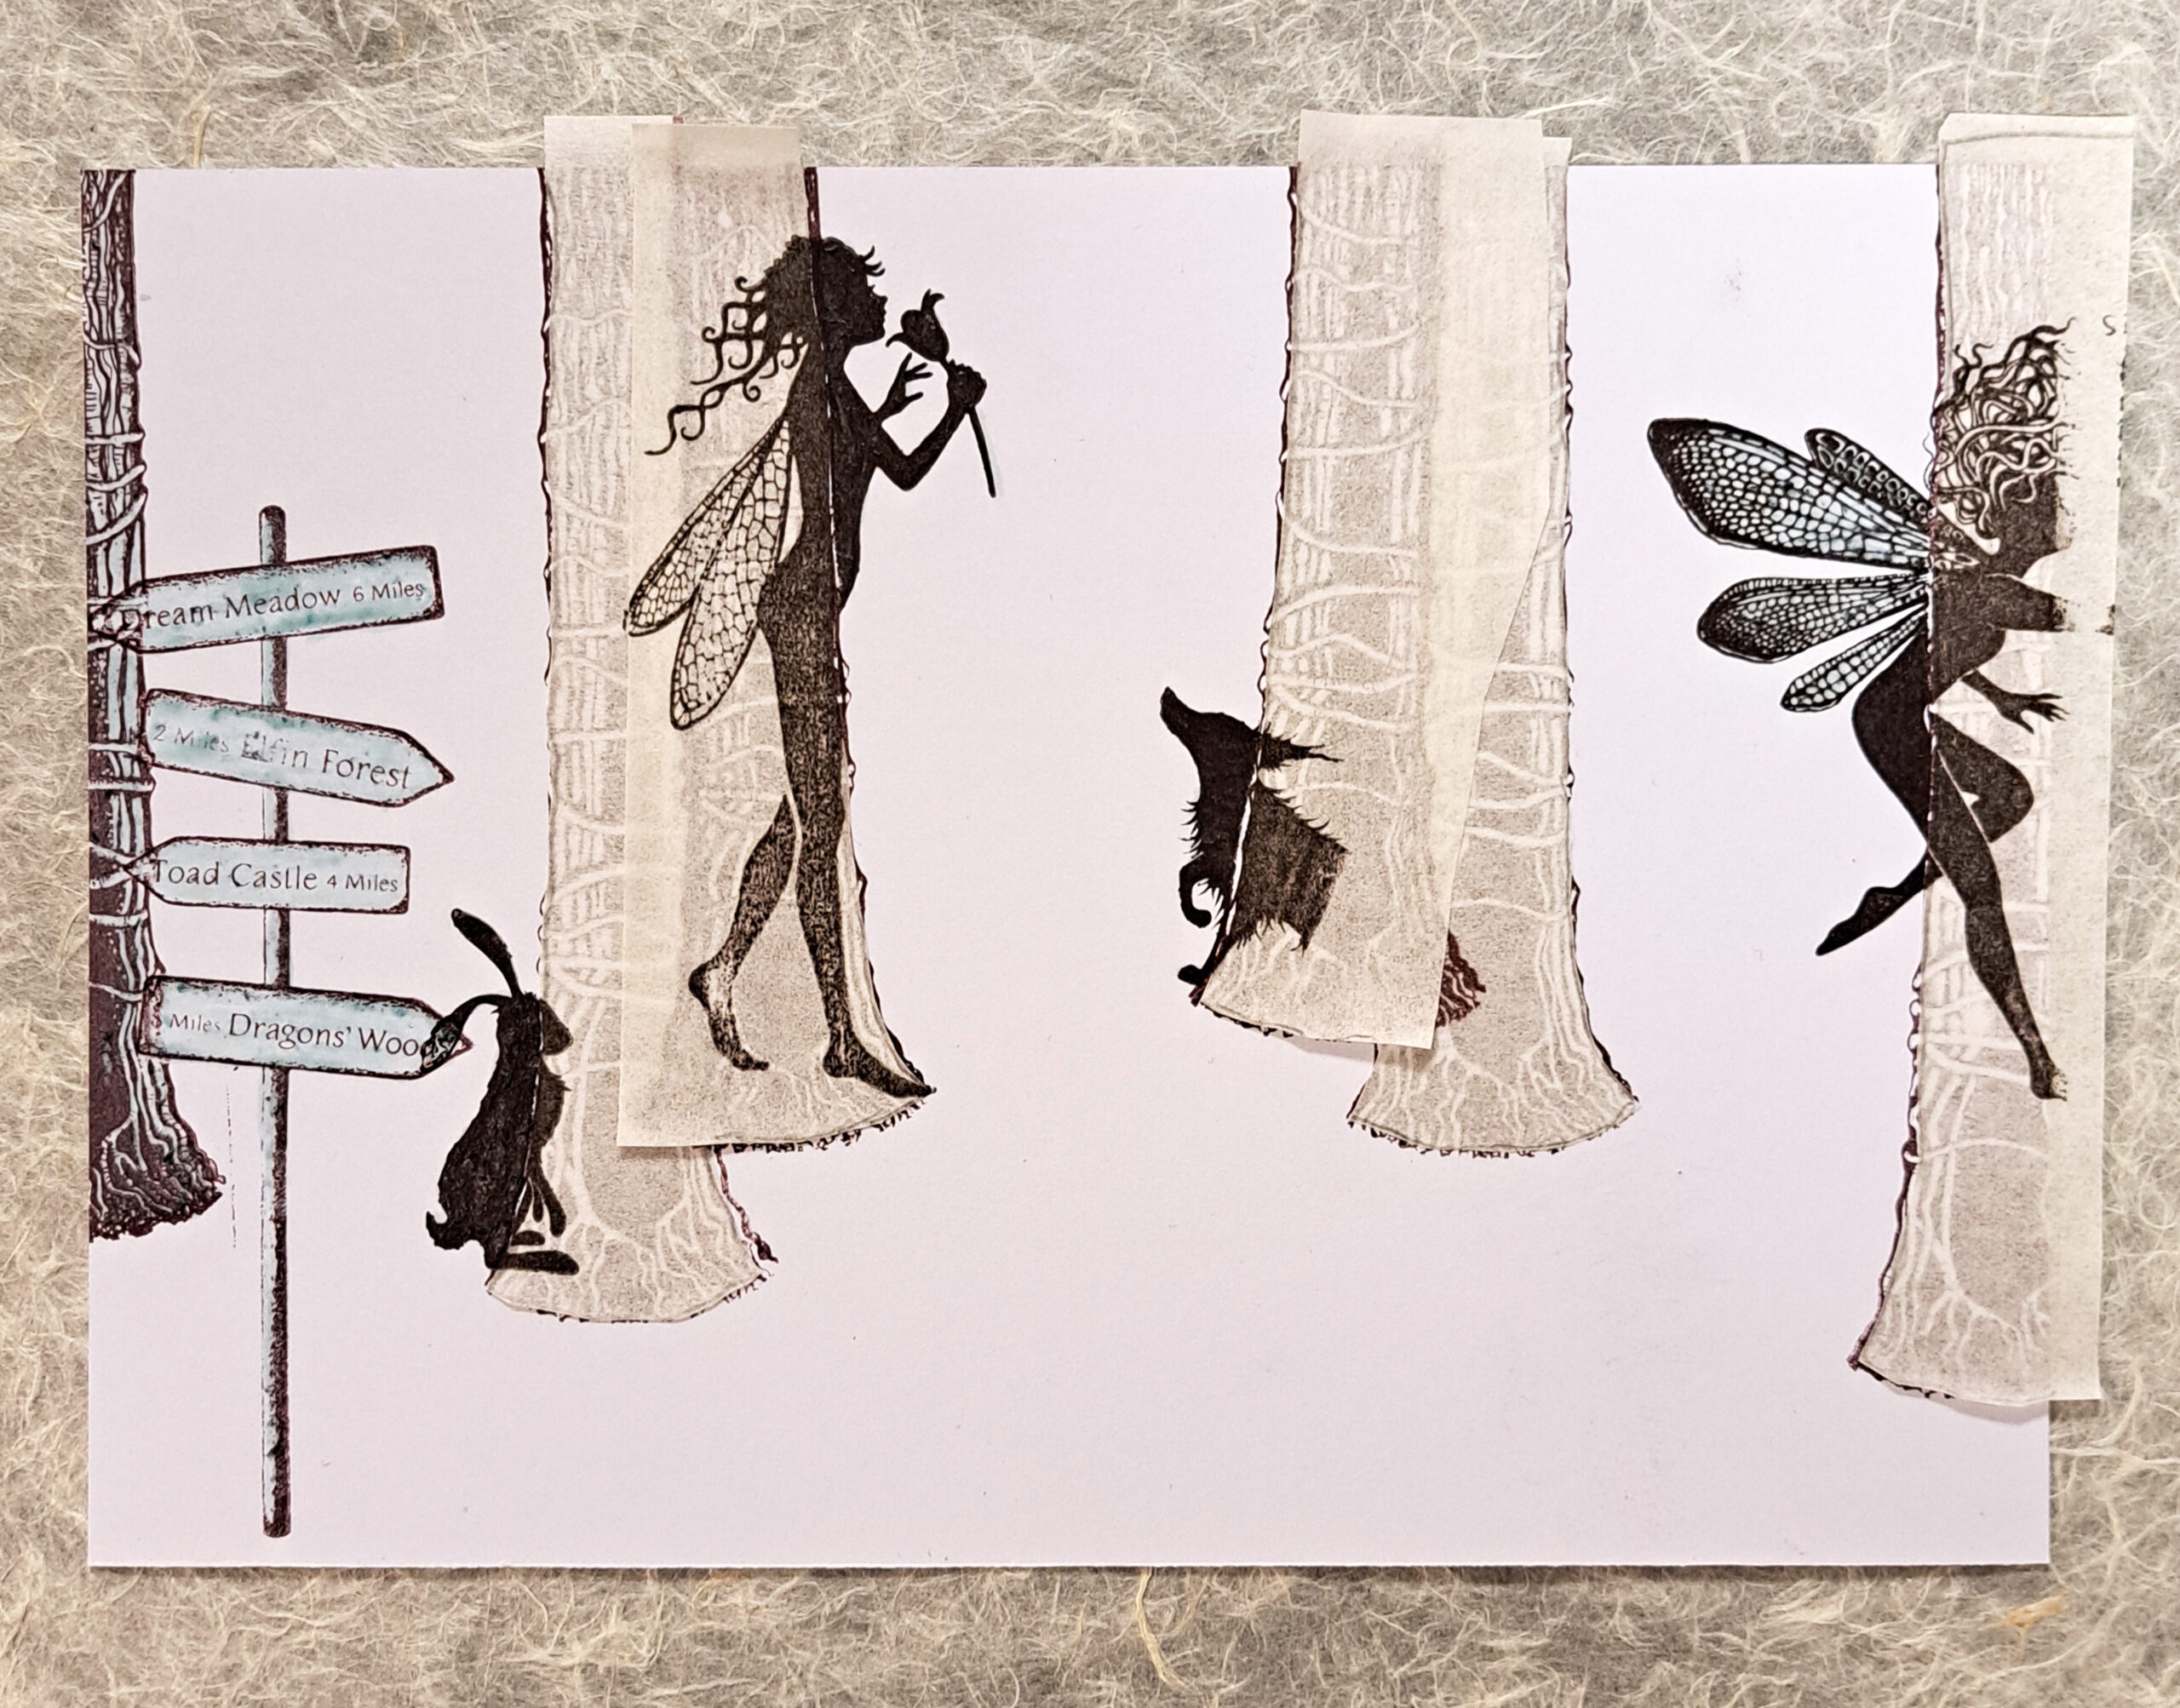
Mutifarious card size A5. Stamp Tree Den (LAV642) in Versafine Clair Pinecone and Fairy Towns (LAV768) in Versafine Clair Pinecone. You can check the placement in the picture.
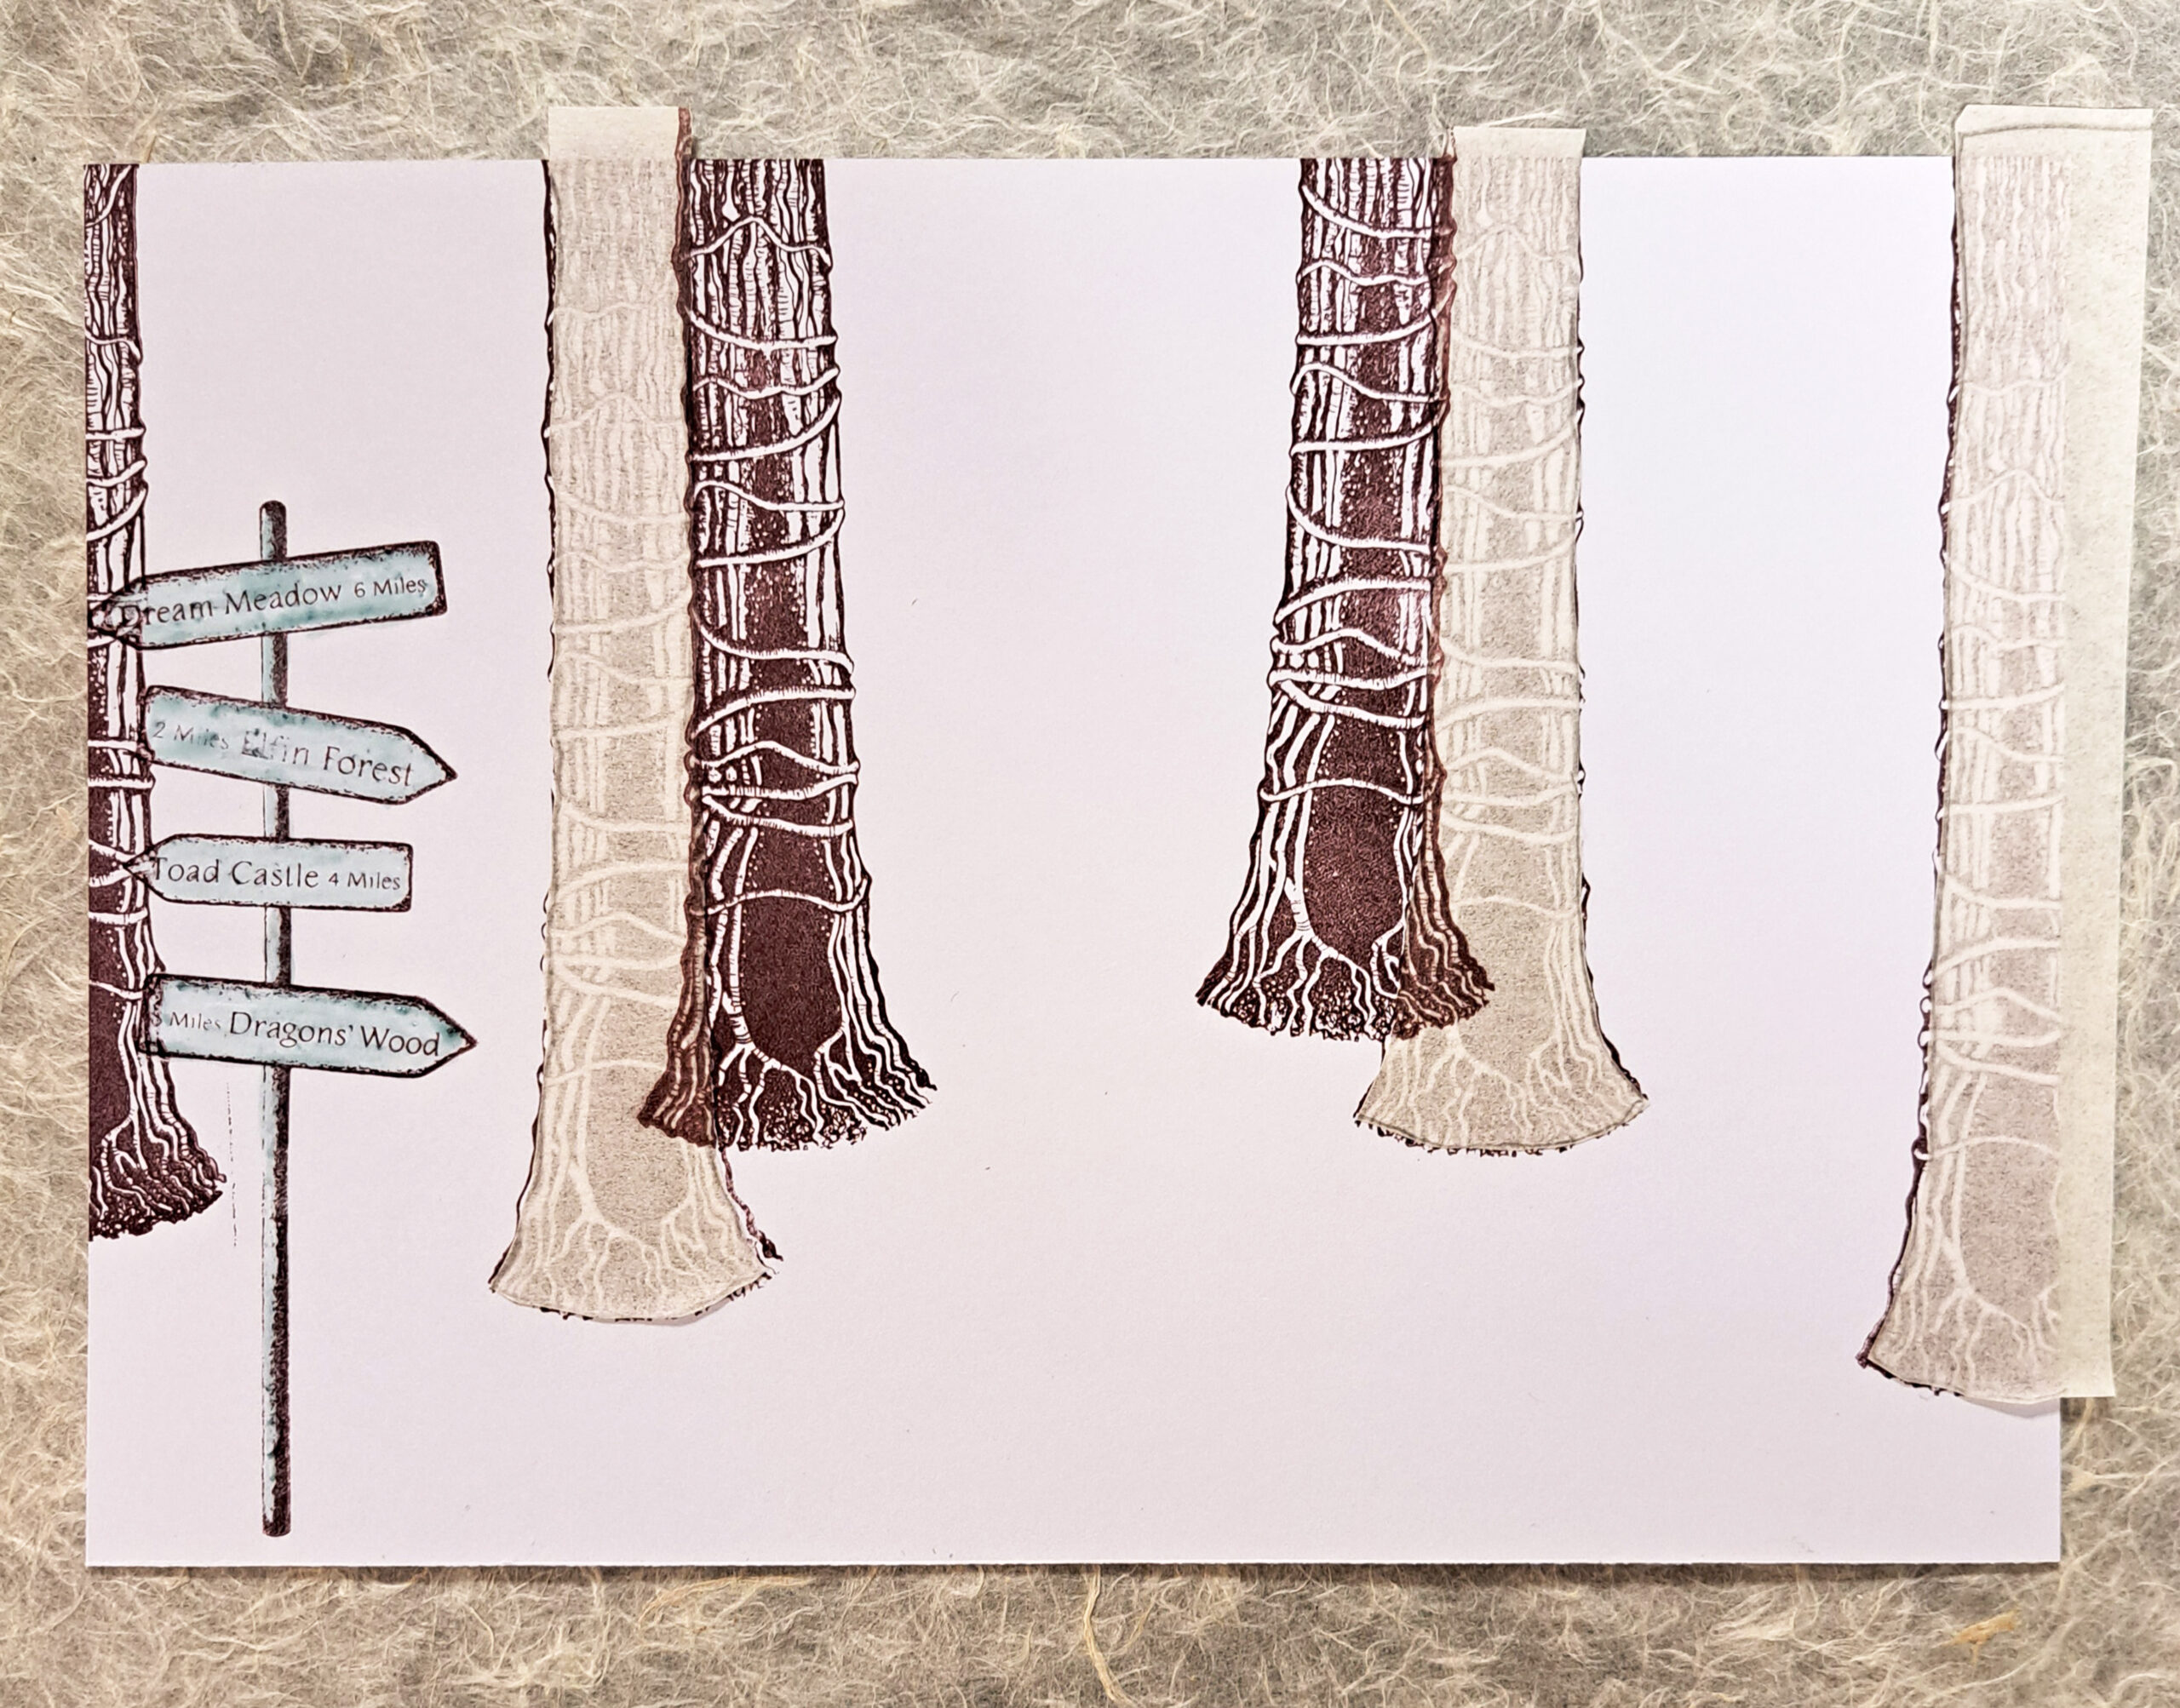
Picture 2
Put masking on everything so that you can stamp a few more Tree Den also in Versafine Clair Pinecone. You can check the placement in the picture.
Picture 3
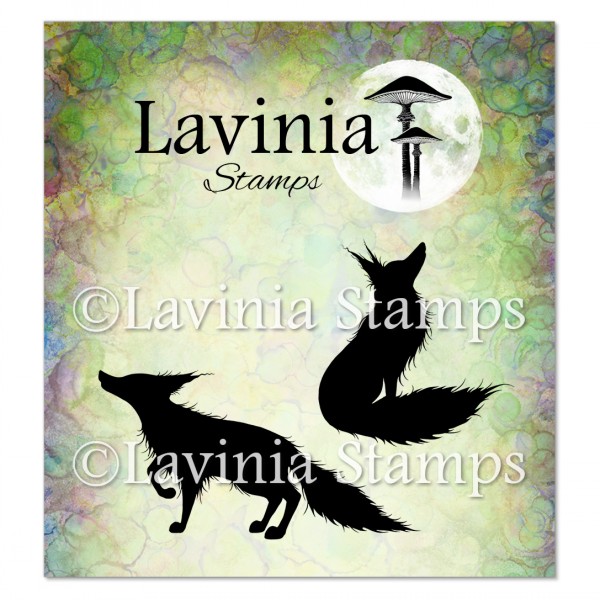
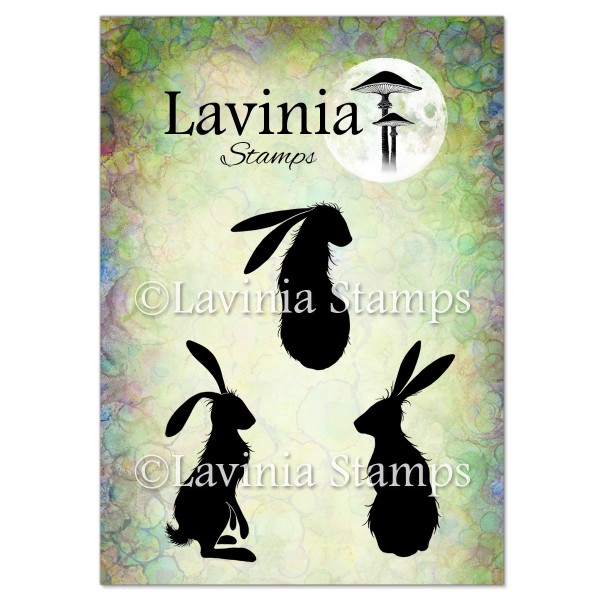
Mask the rest of the trees. Stamp Fox Set (LAV635), Wild Hares Set Large (LAV608), Bria Rose (LAV355) and Layla (LAV662) all in Versafine Clair Pinecone. Put masking on everything.
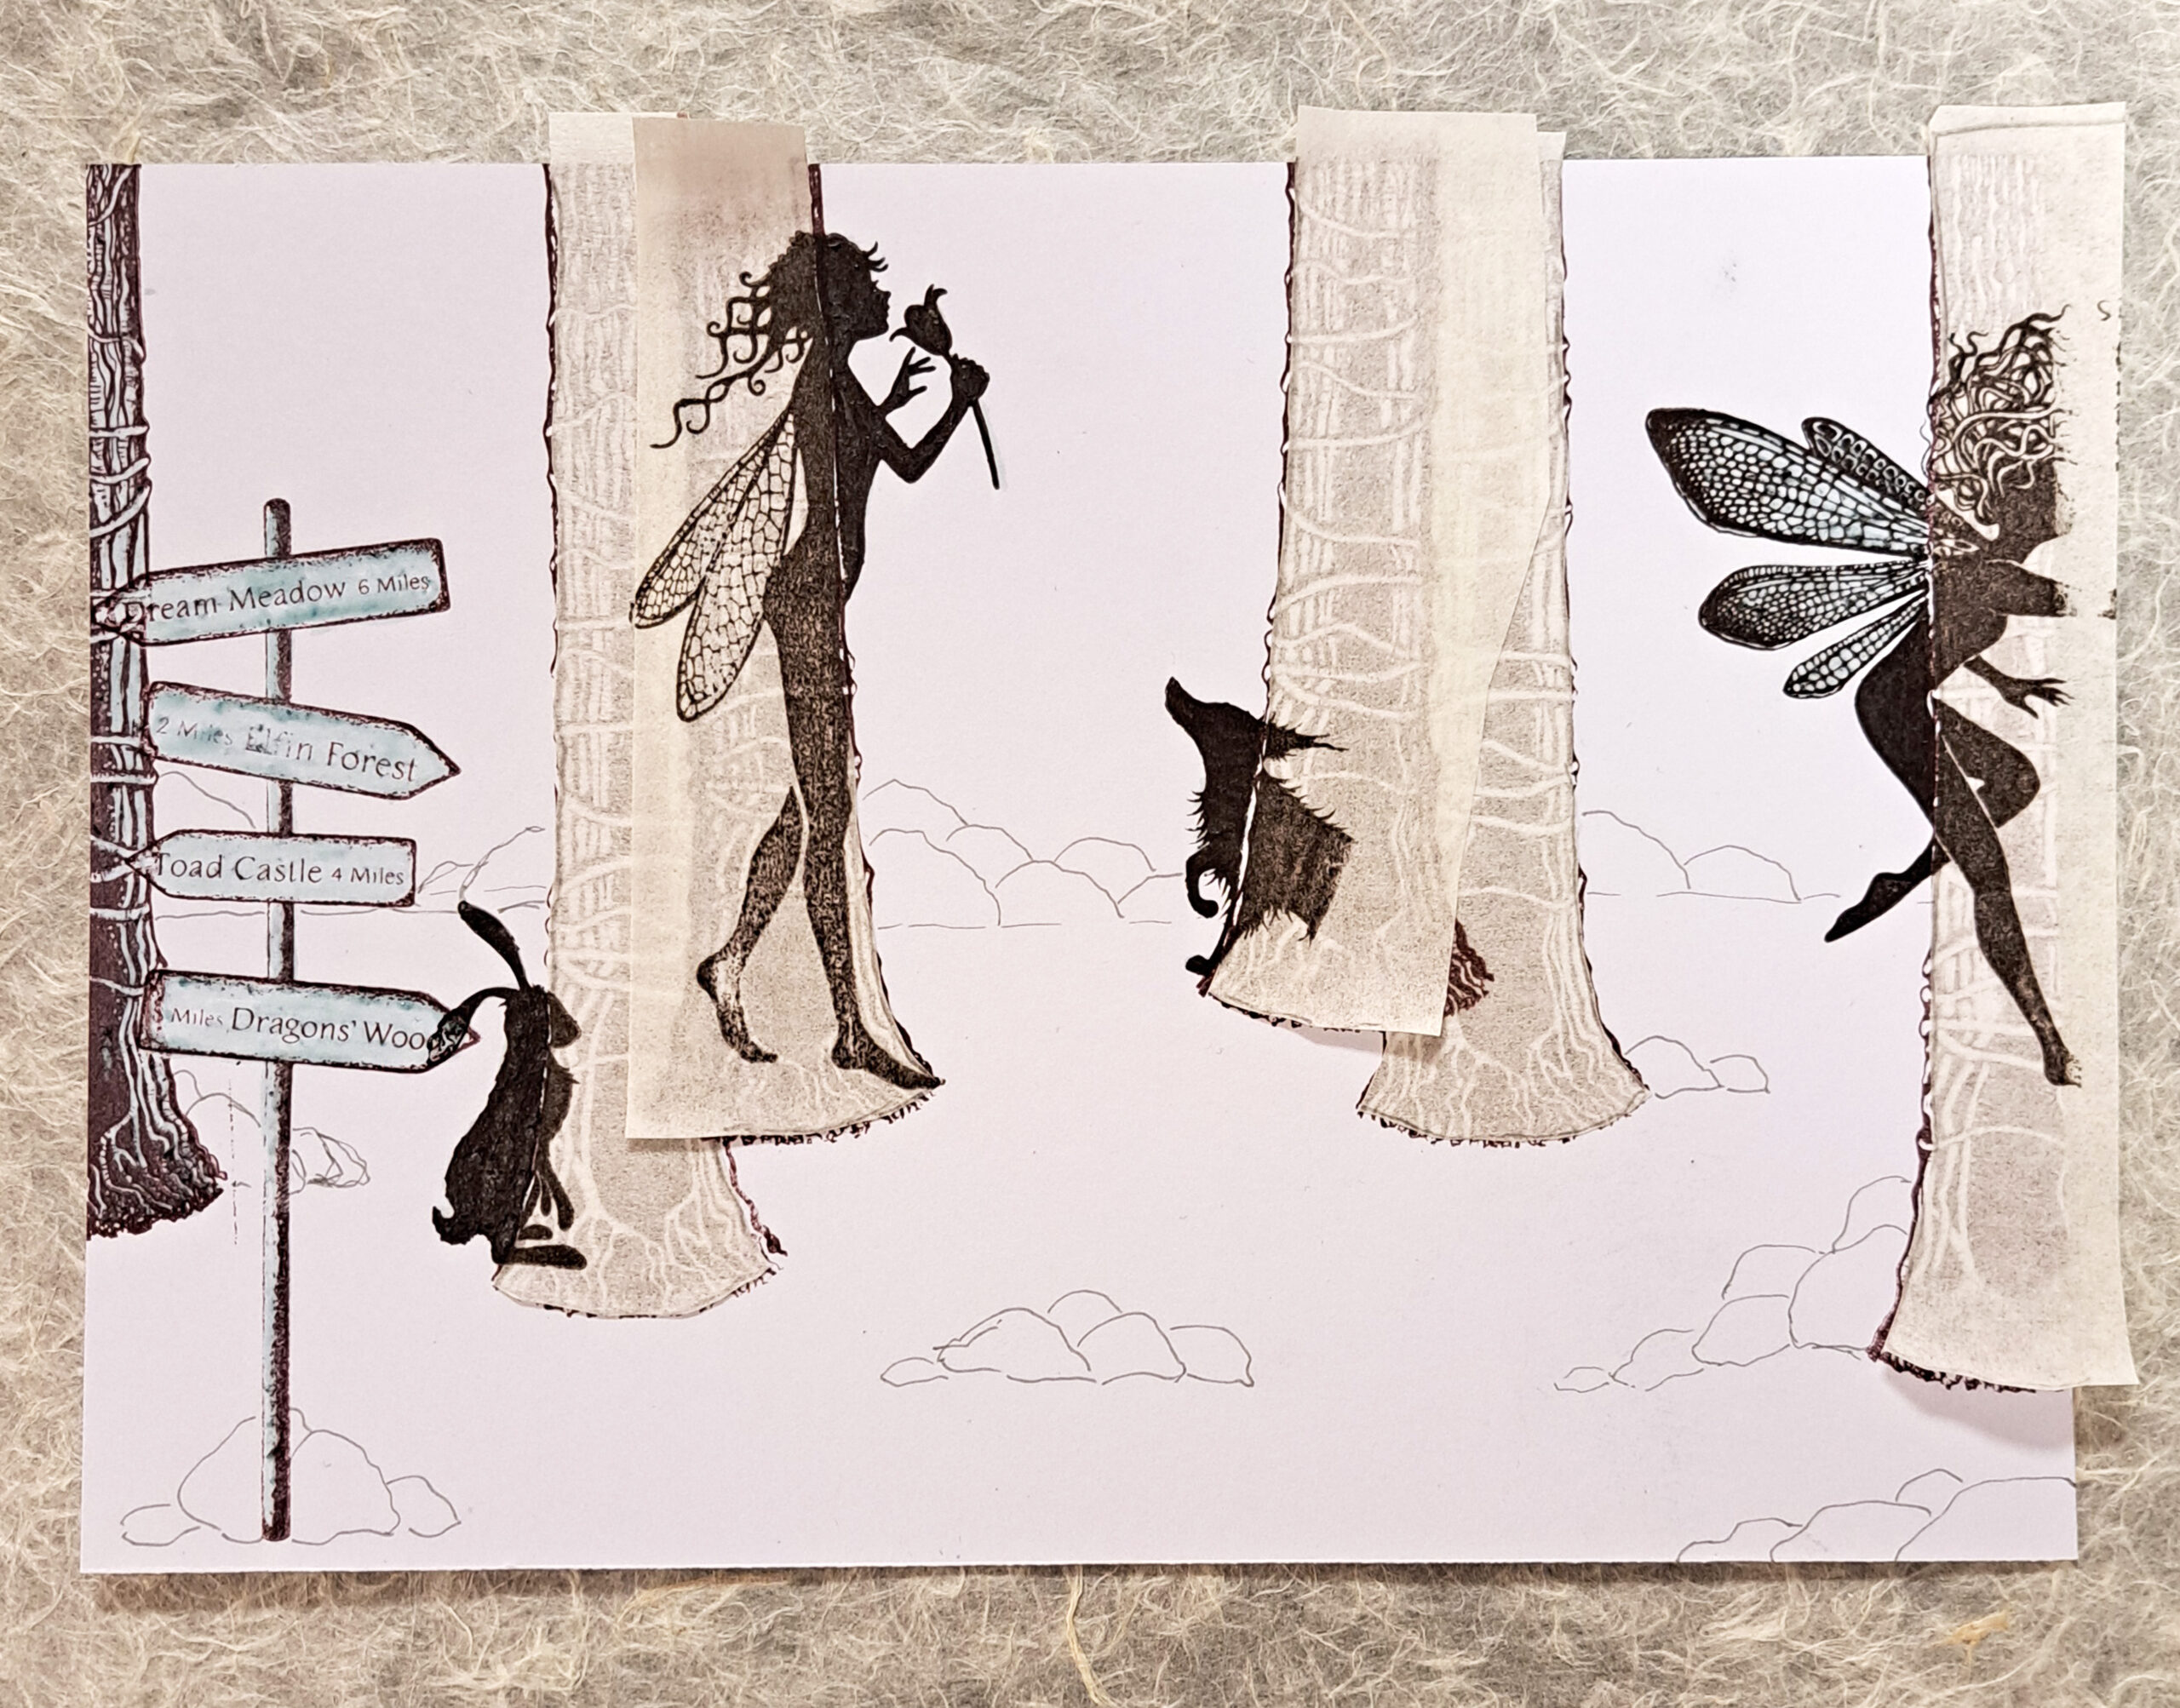
Picture 4
Use a waterproof pen in a light grey colour to draw some stones.
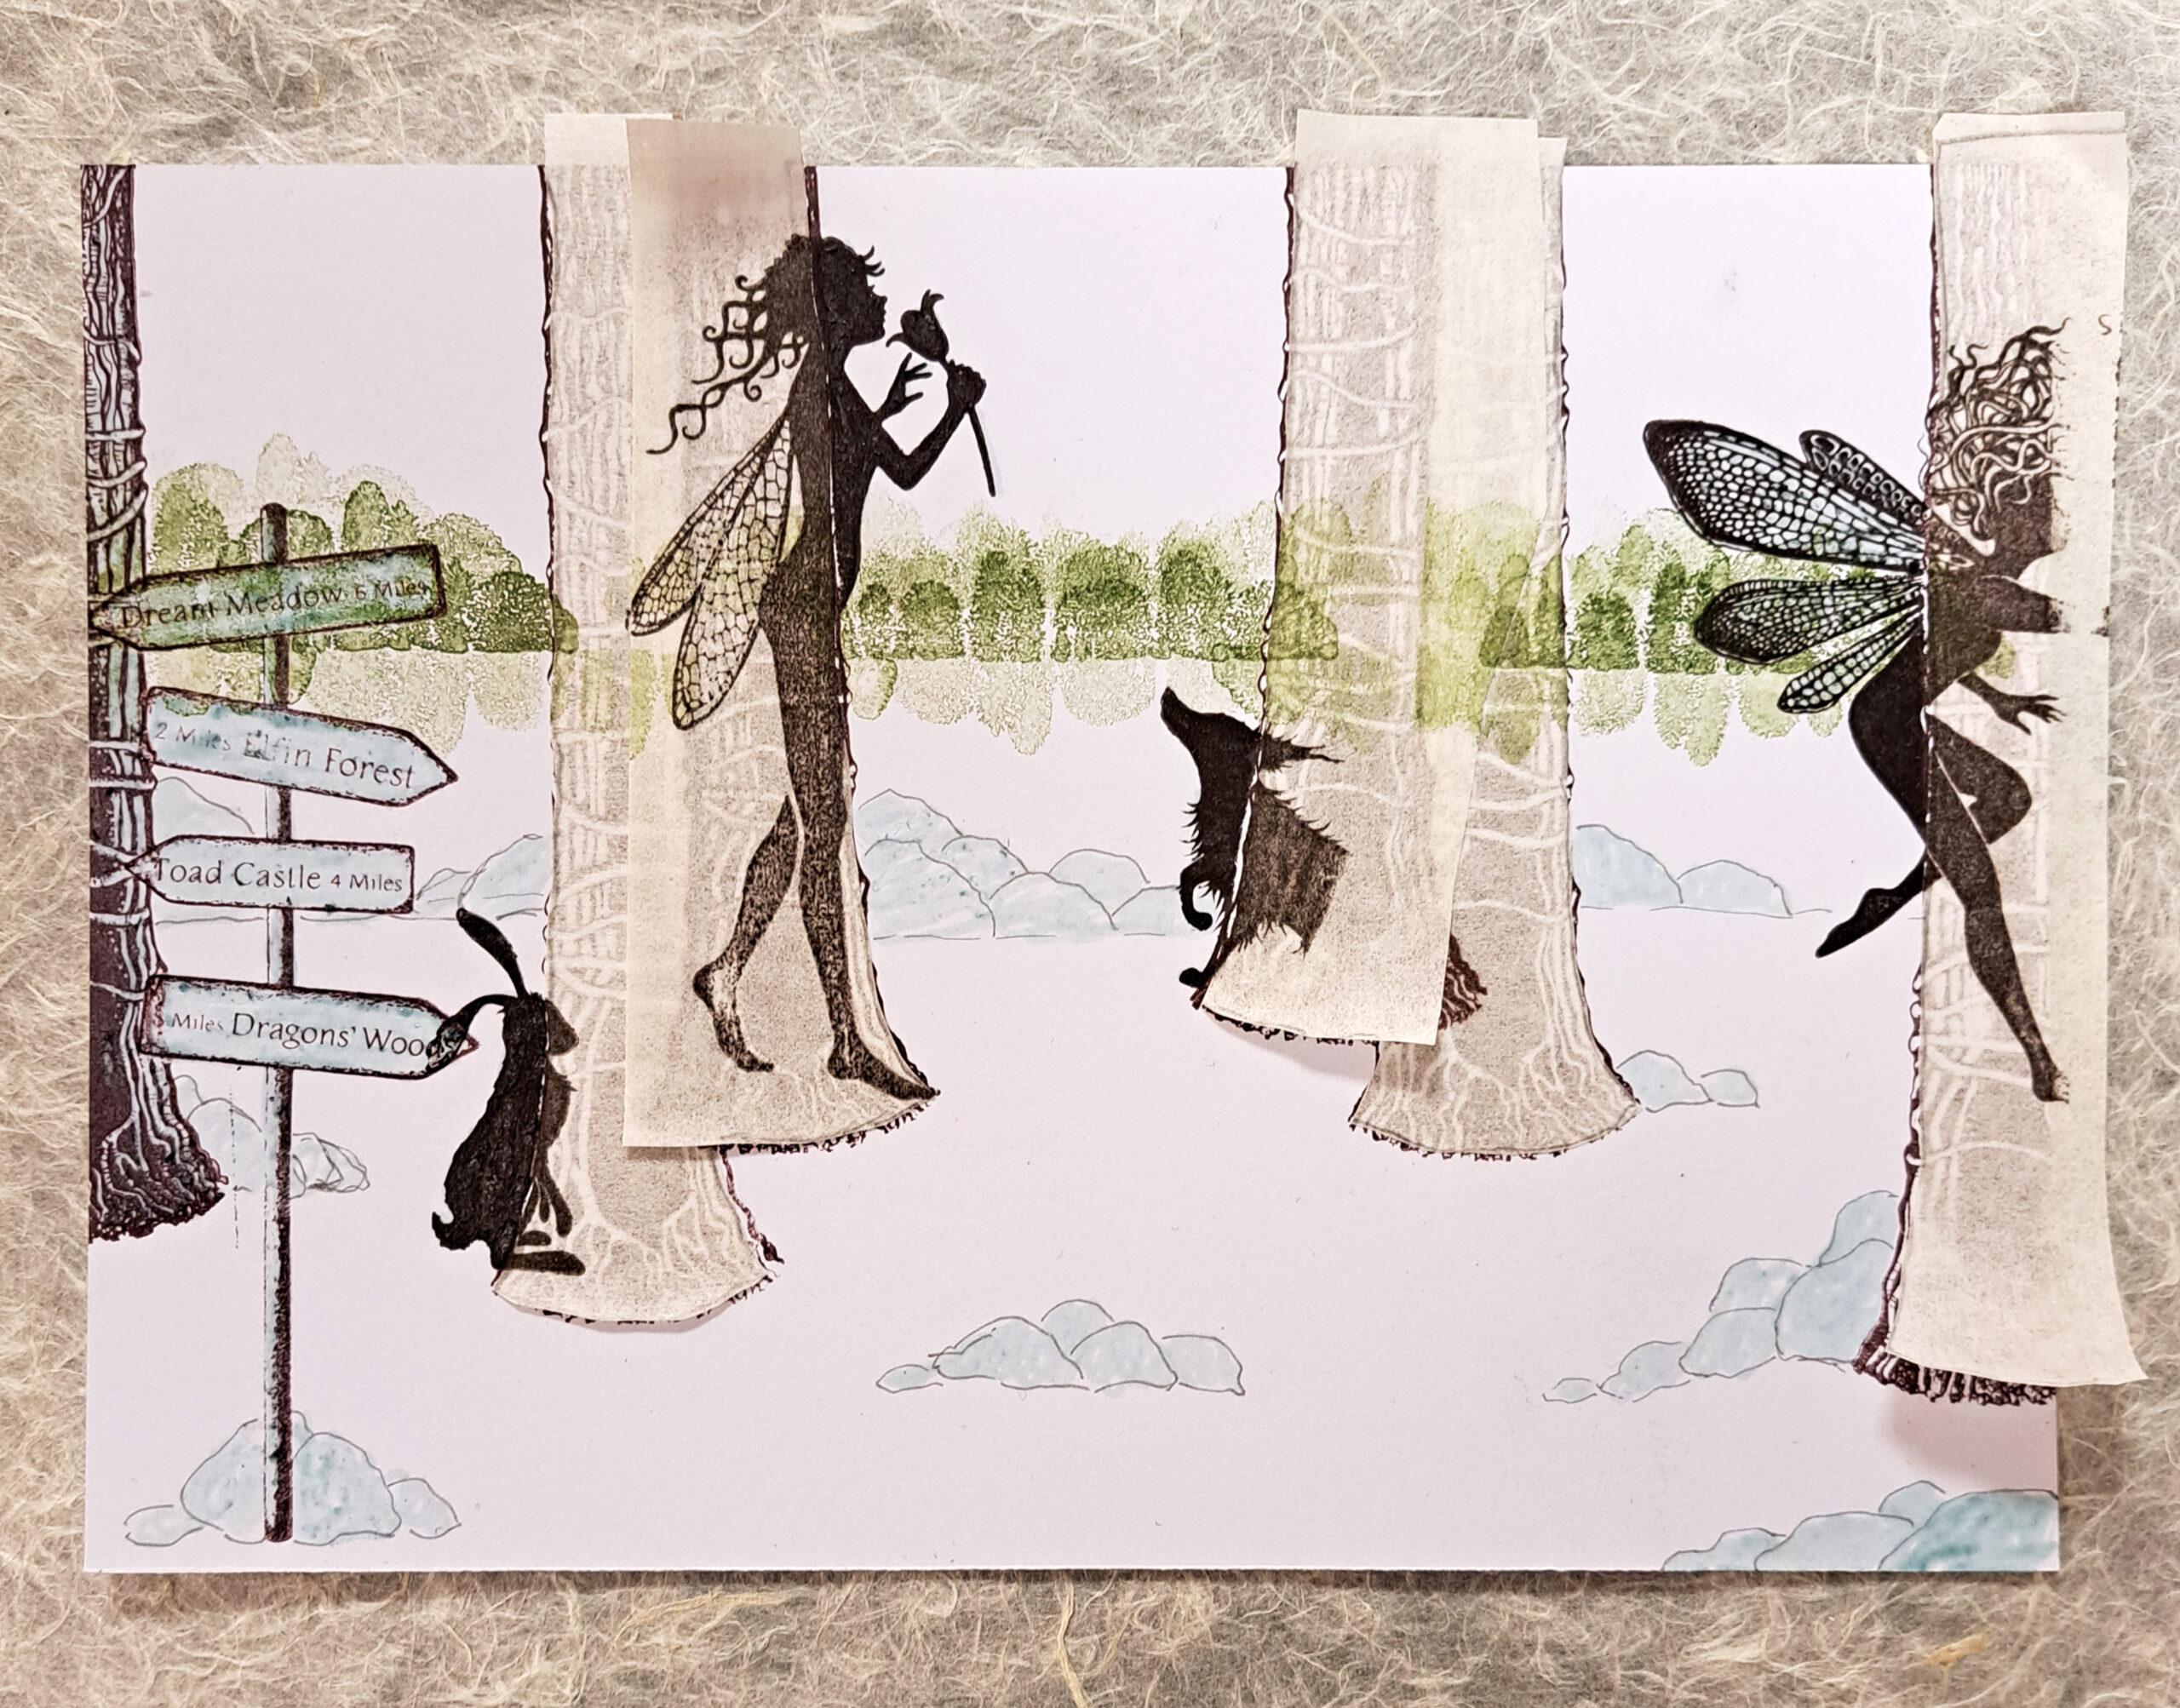
Picture 5
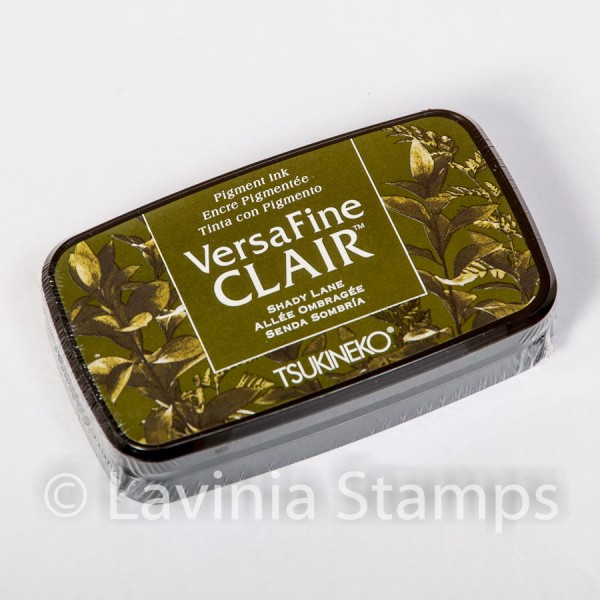
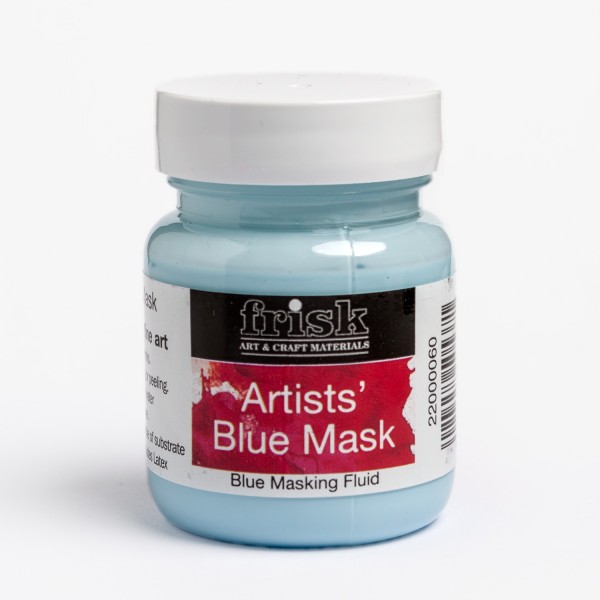
Mask the stones using Masking fluid. Stamp the Tree Scene (LAV219) in Versafine Clair Shady Lane like you see in the picture. Do the first row of trees in first time stamping and the second row of trees and their reflection, in second time stamping.
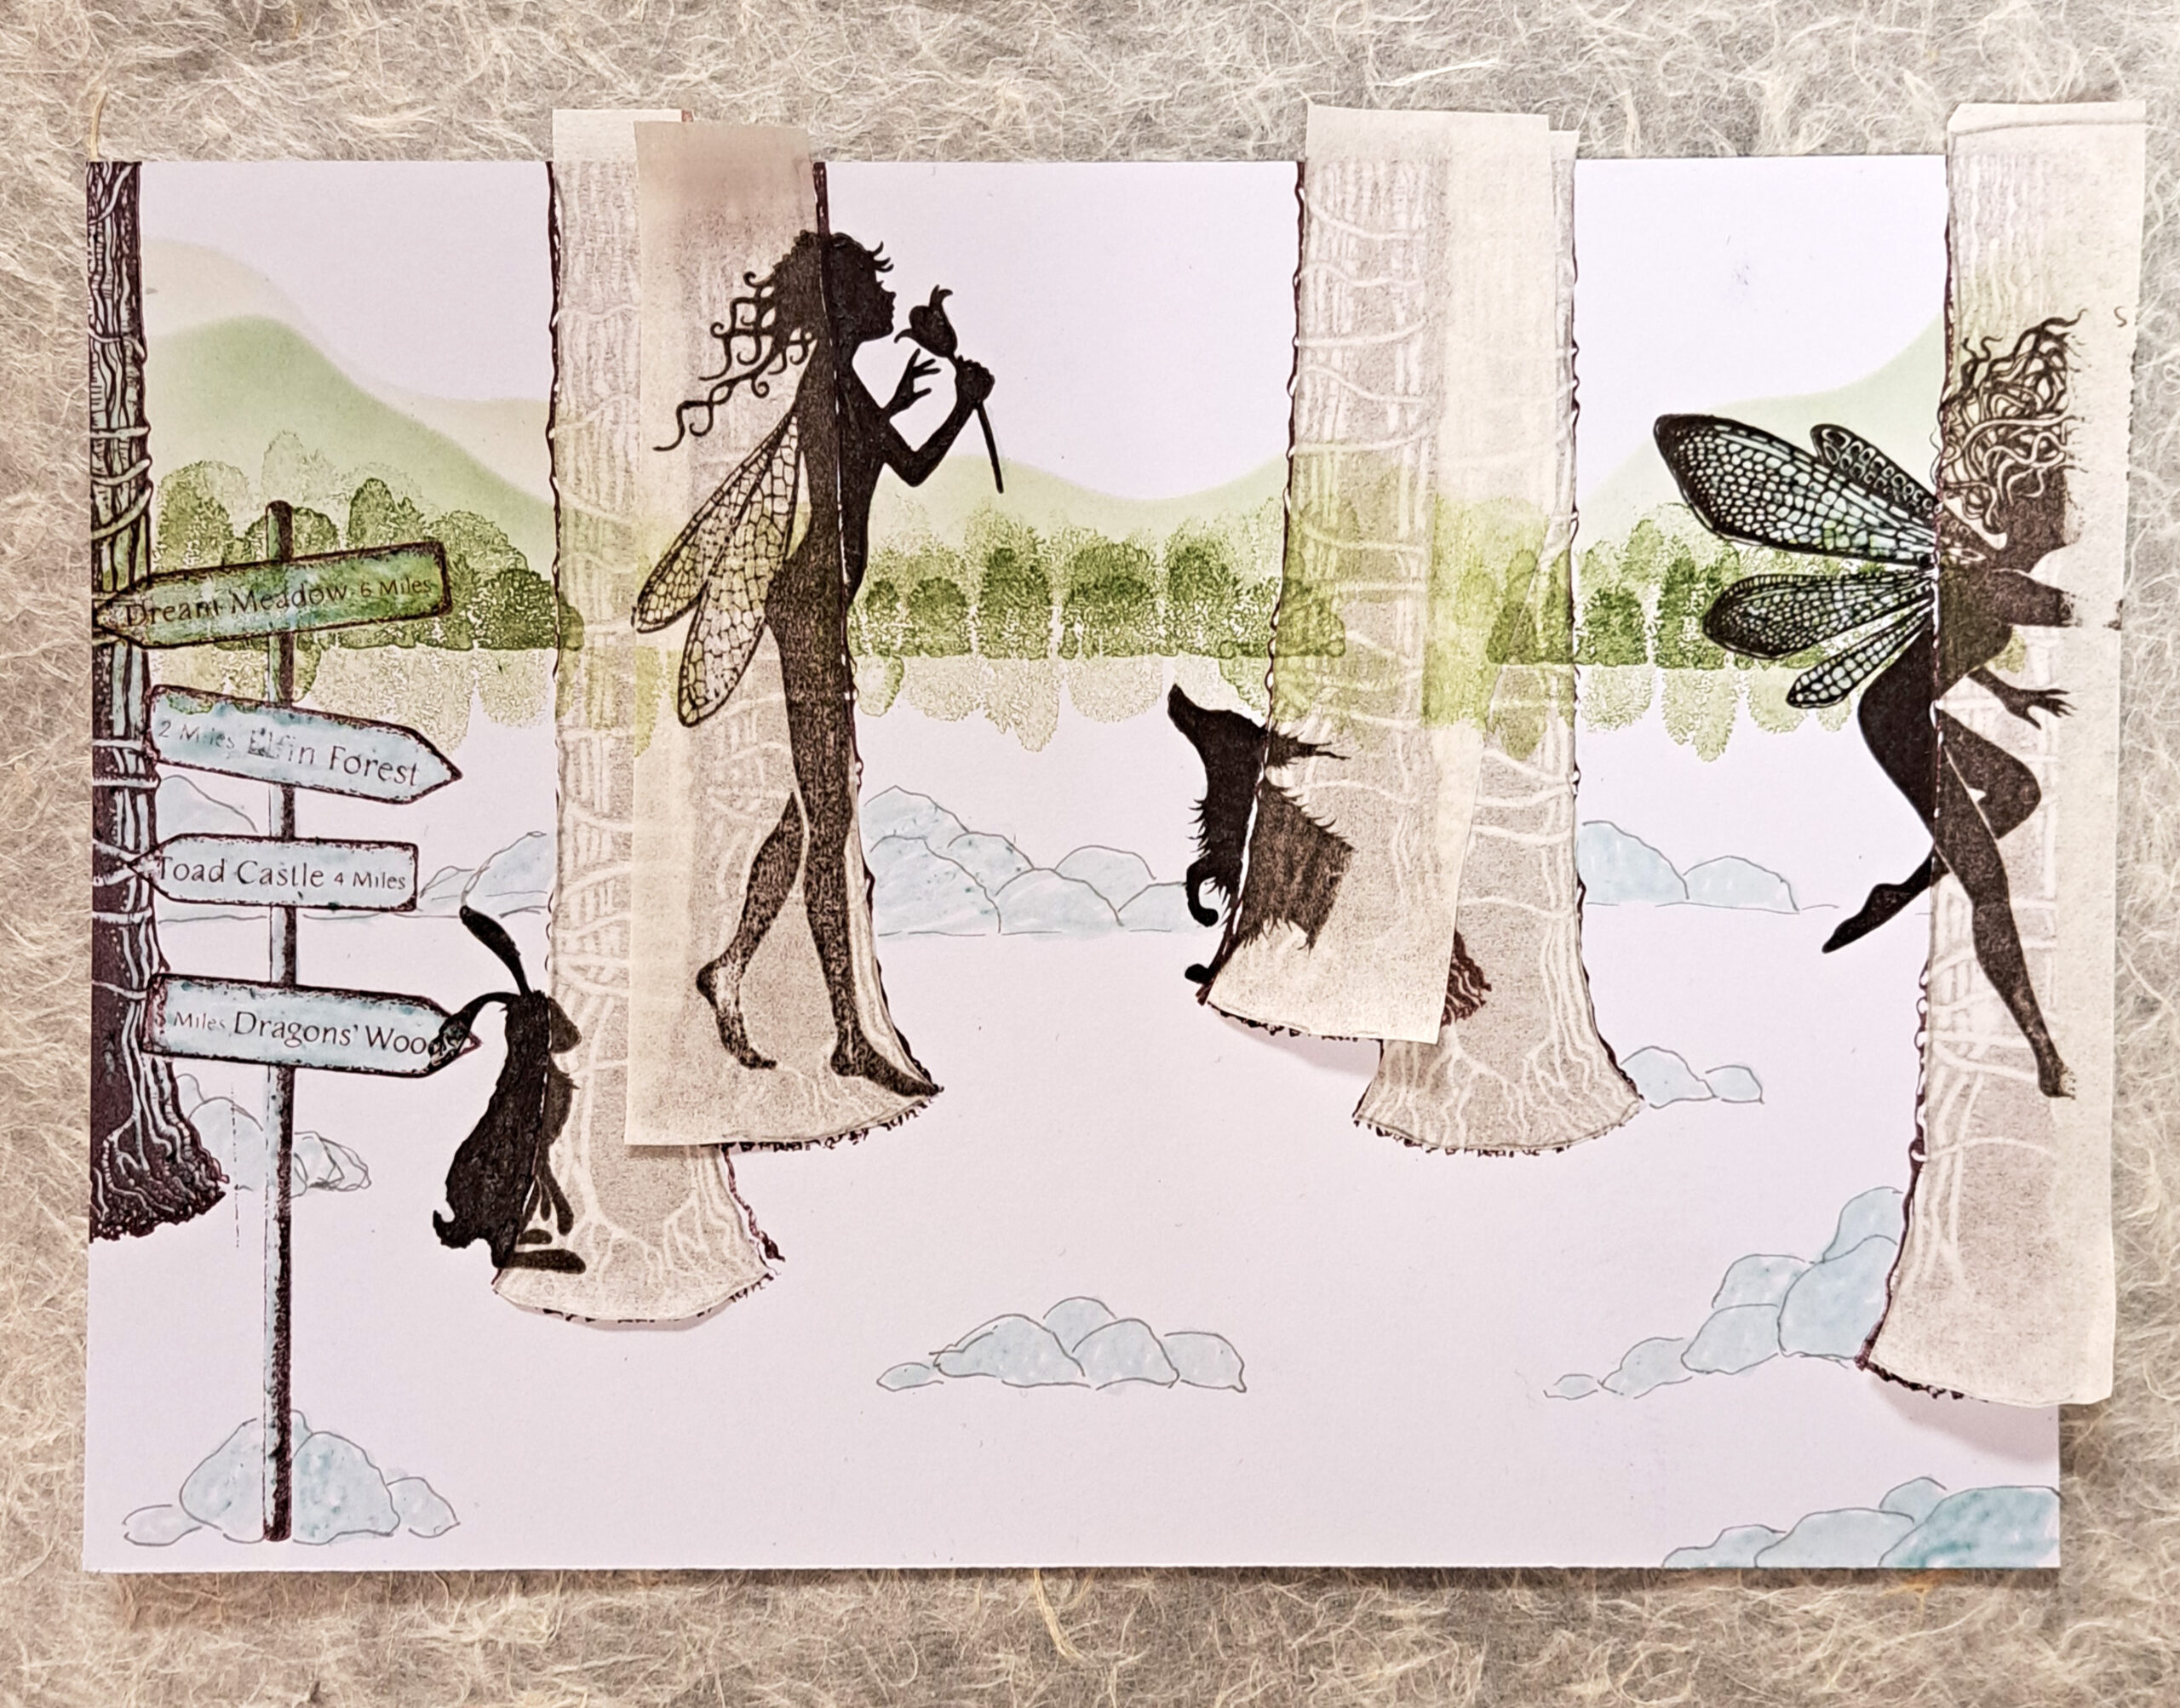
Picture 6
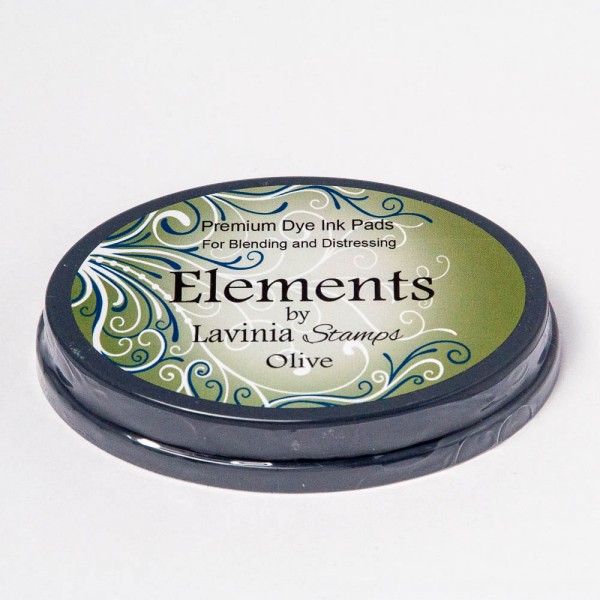
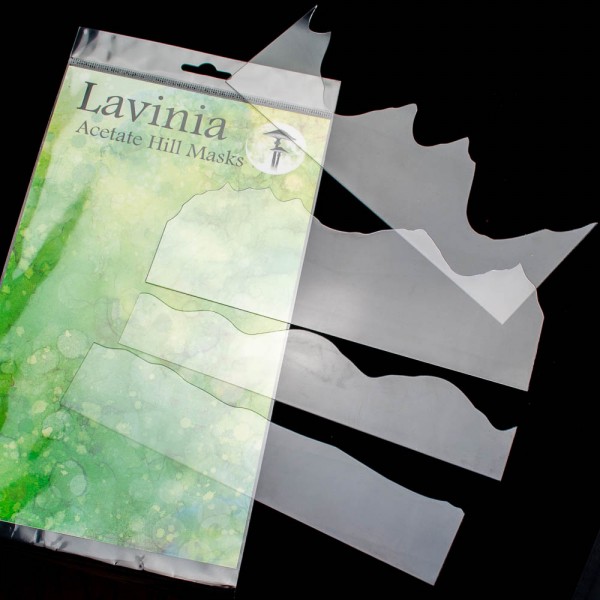
Use a Hill Mask to create some hills in the far distance. I used Elements Ink Olive.
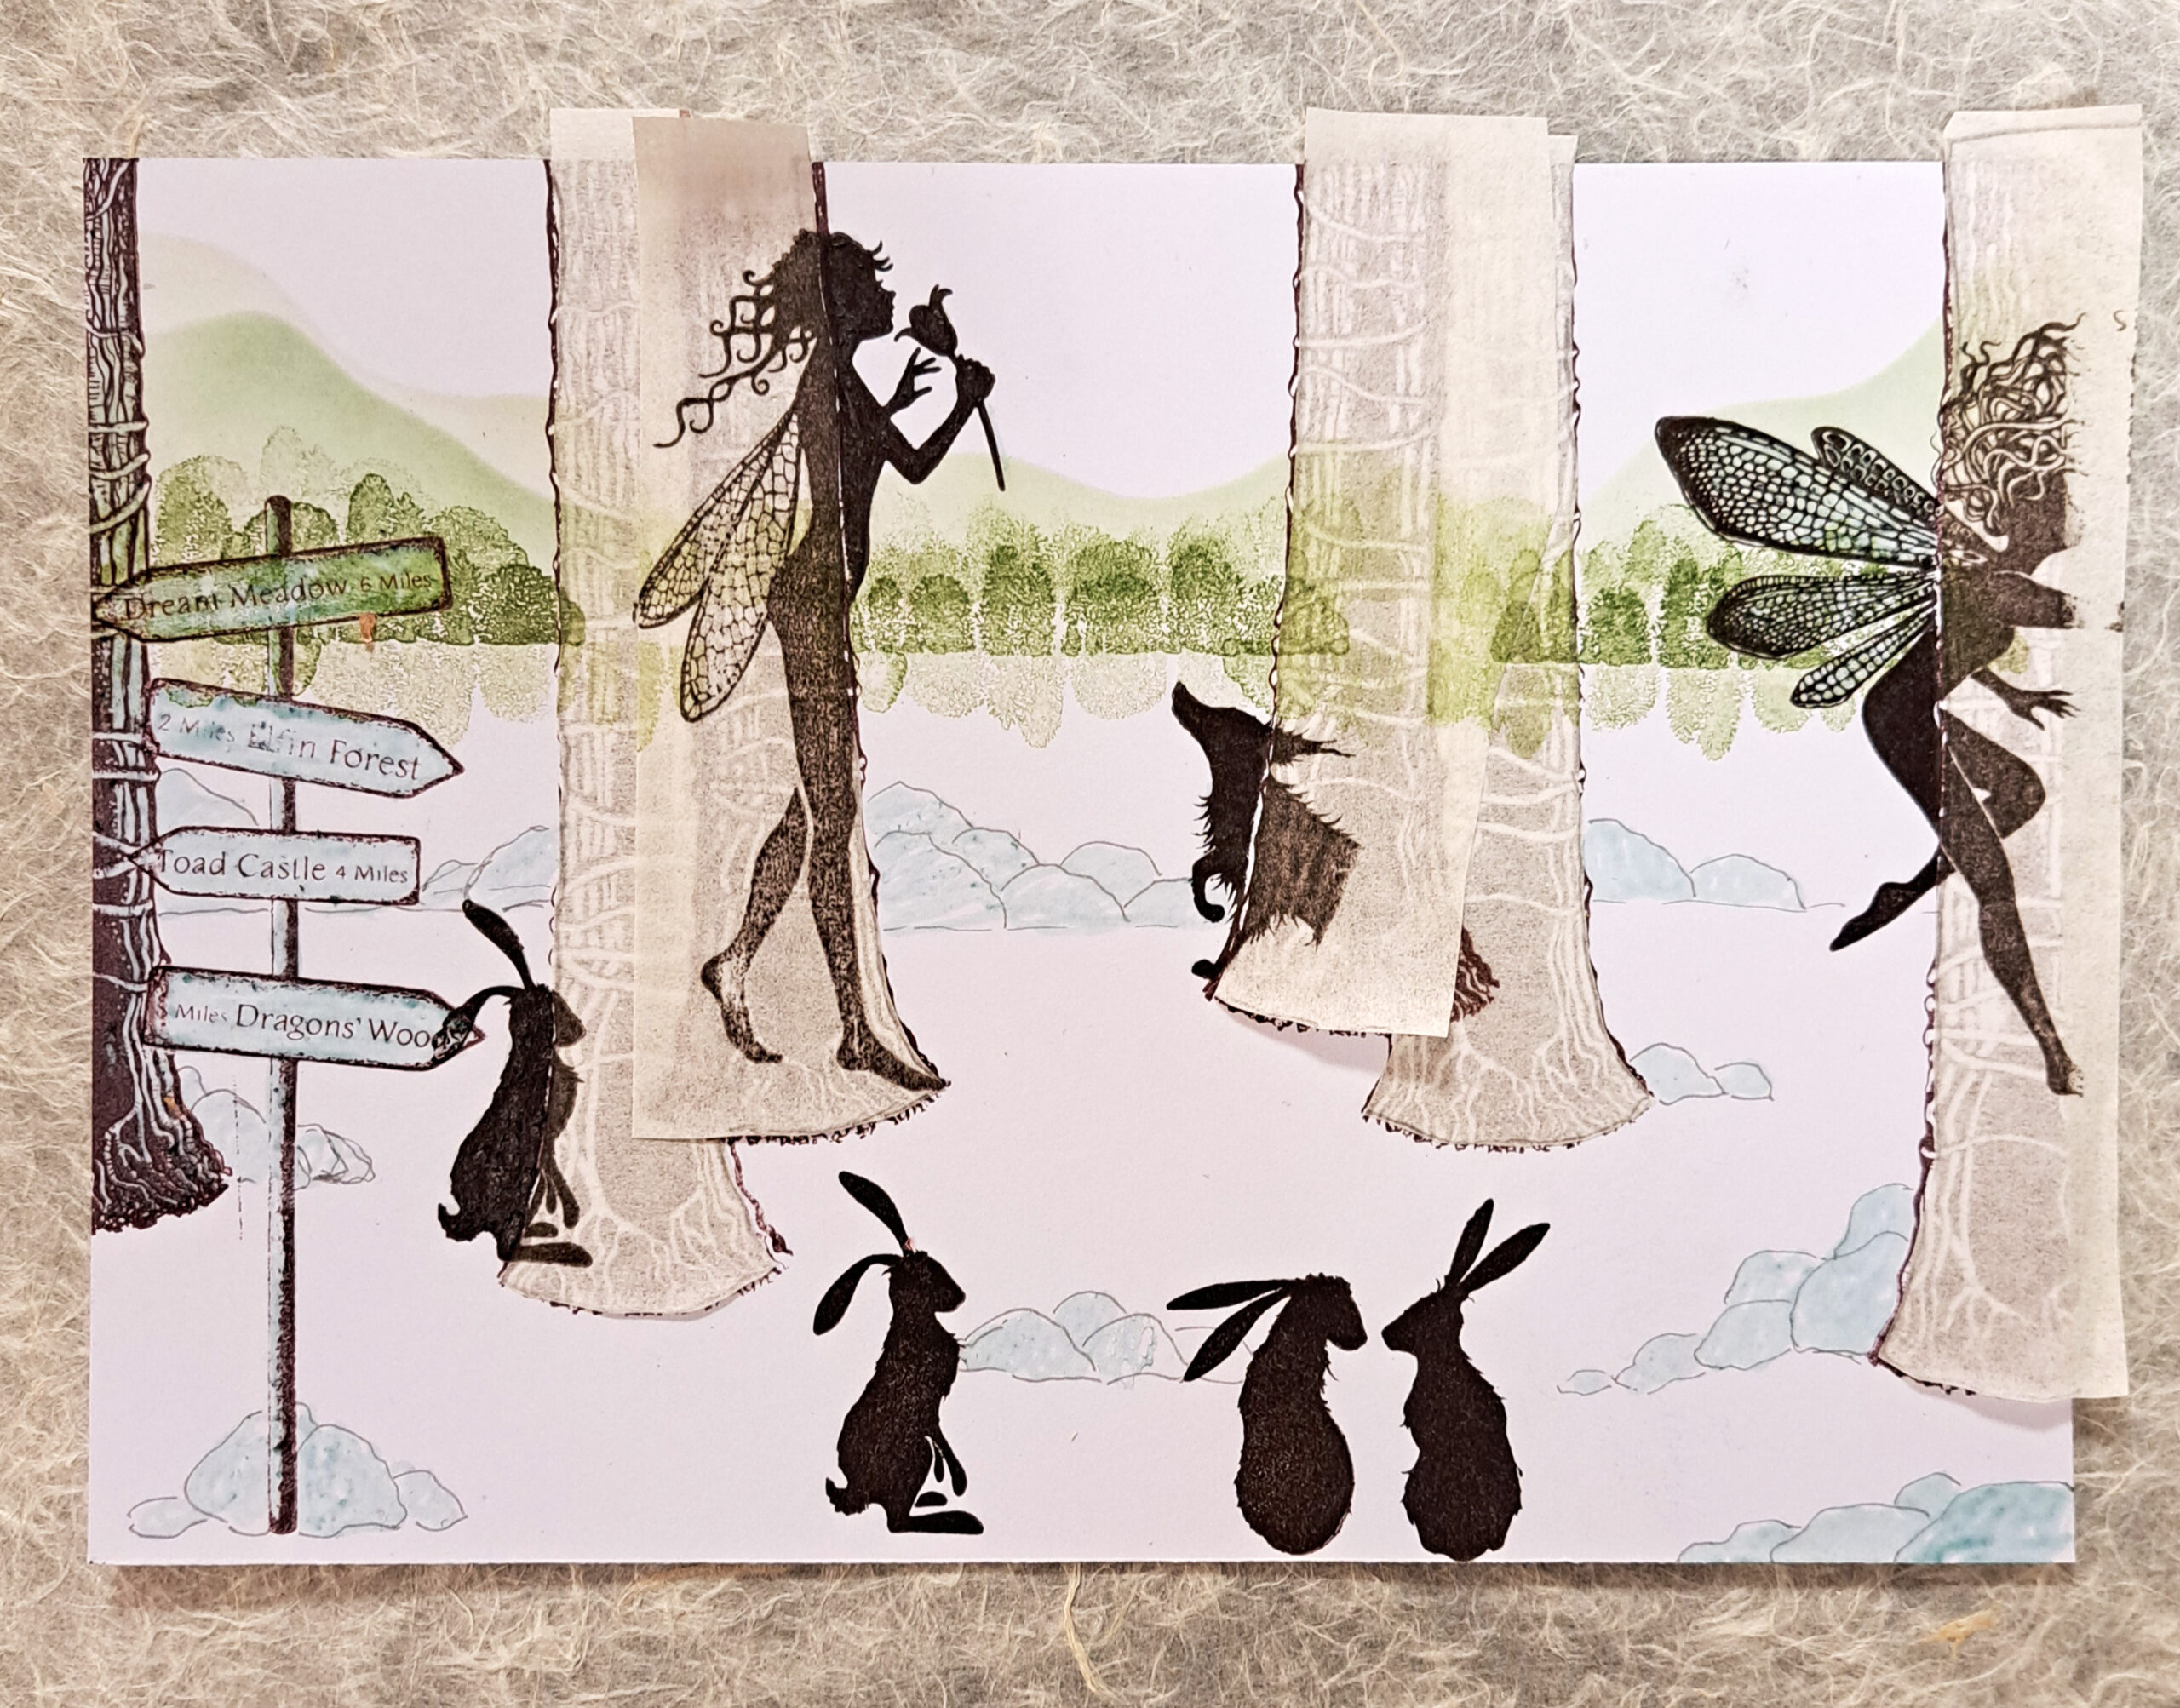
Picture 7
Let´s add some more friends. Stamp more Wild Hares Set Large in Versafine Clair Pinecone.
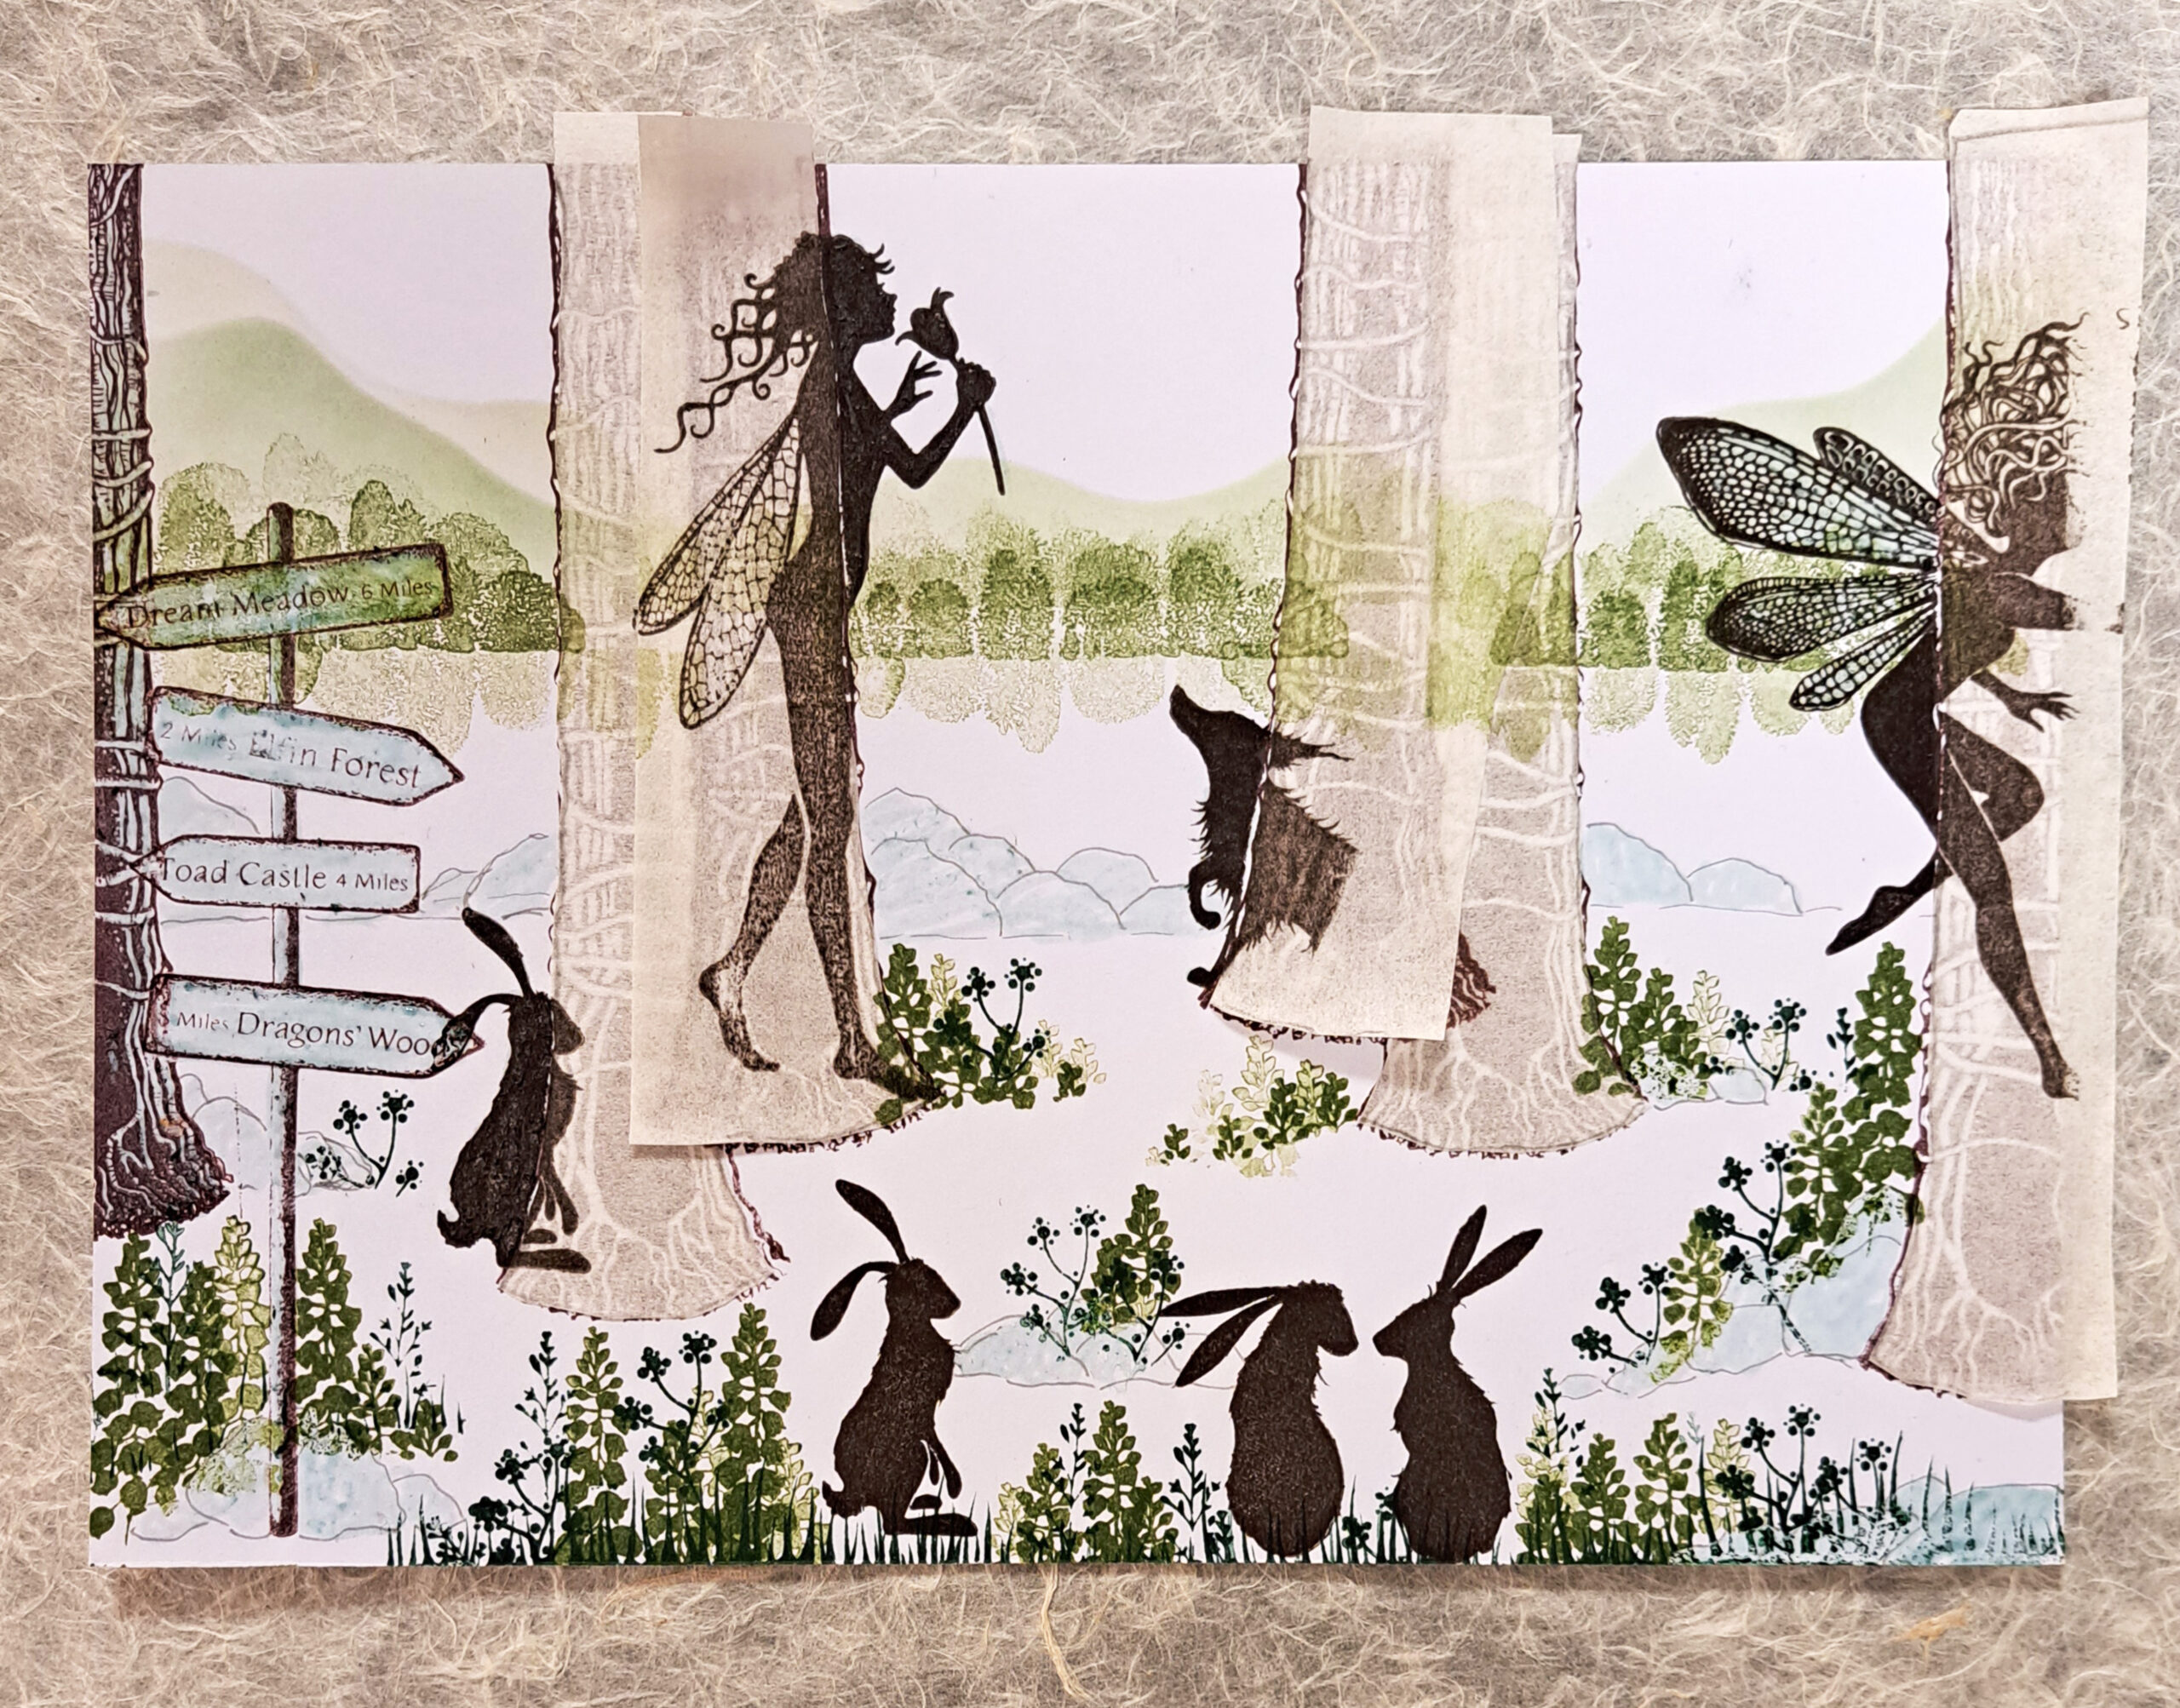
Picture 8
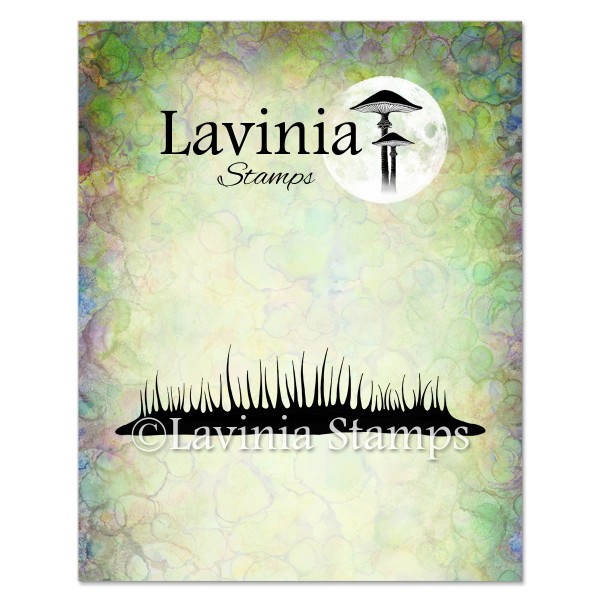
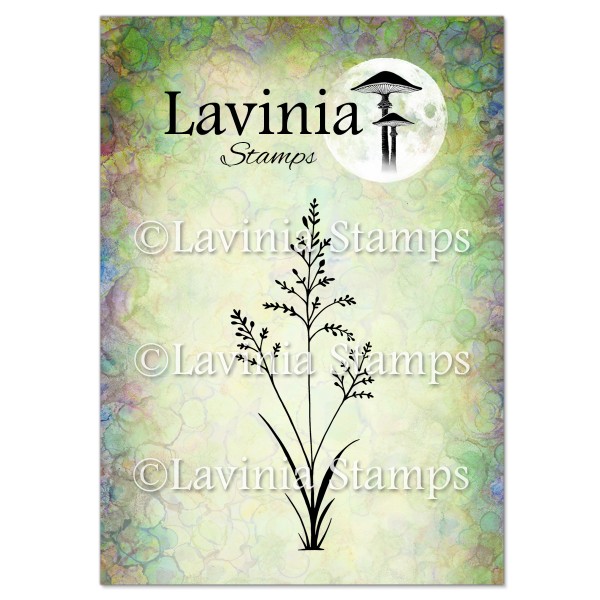
Now we need a lot of flower. Stamp Bluebells (LAV002) Foliage Set (LAV679) Silhouette Grass (LAV 680) and Orchard Grass (LAV672) in Versafine Clair Shady Lane.
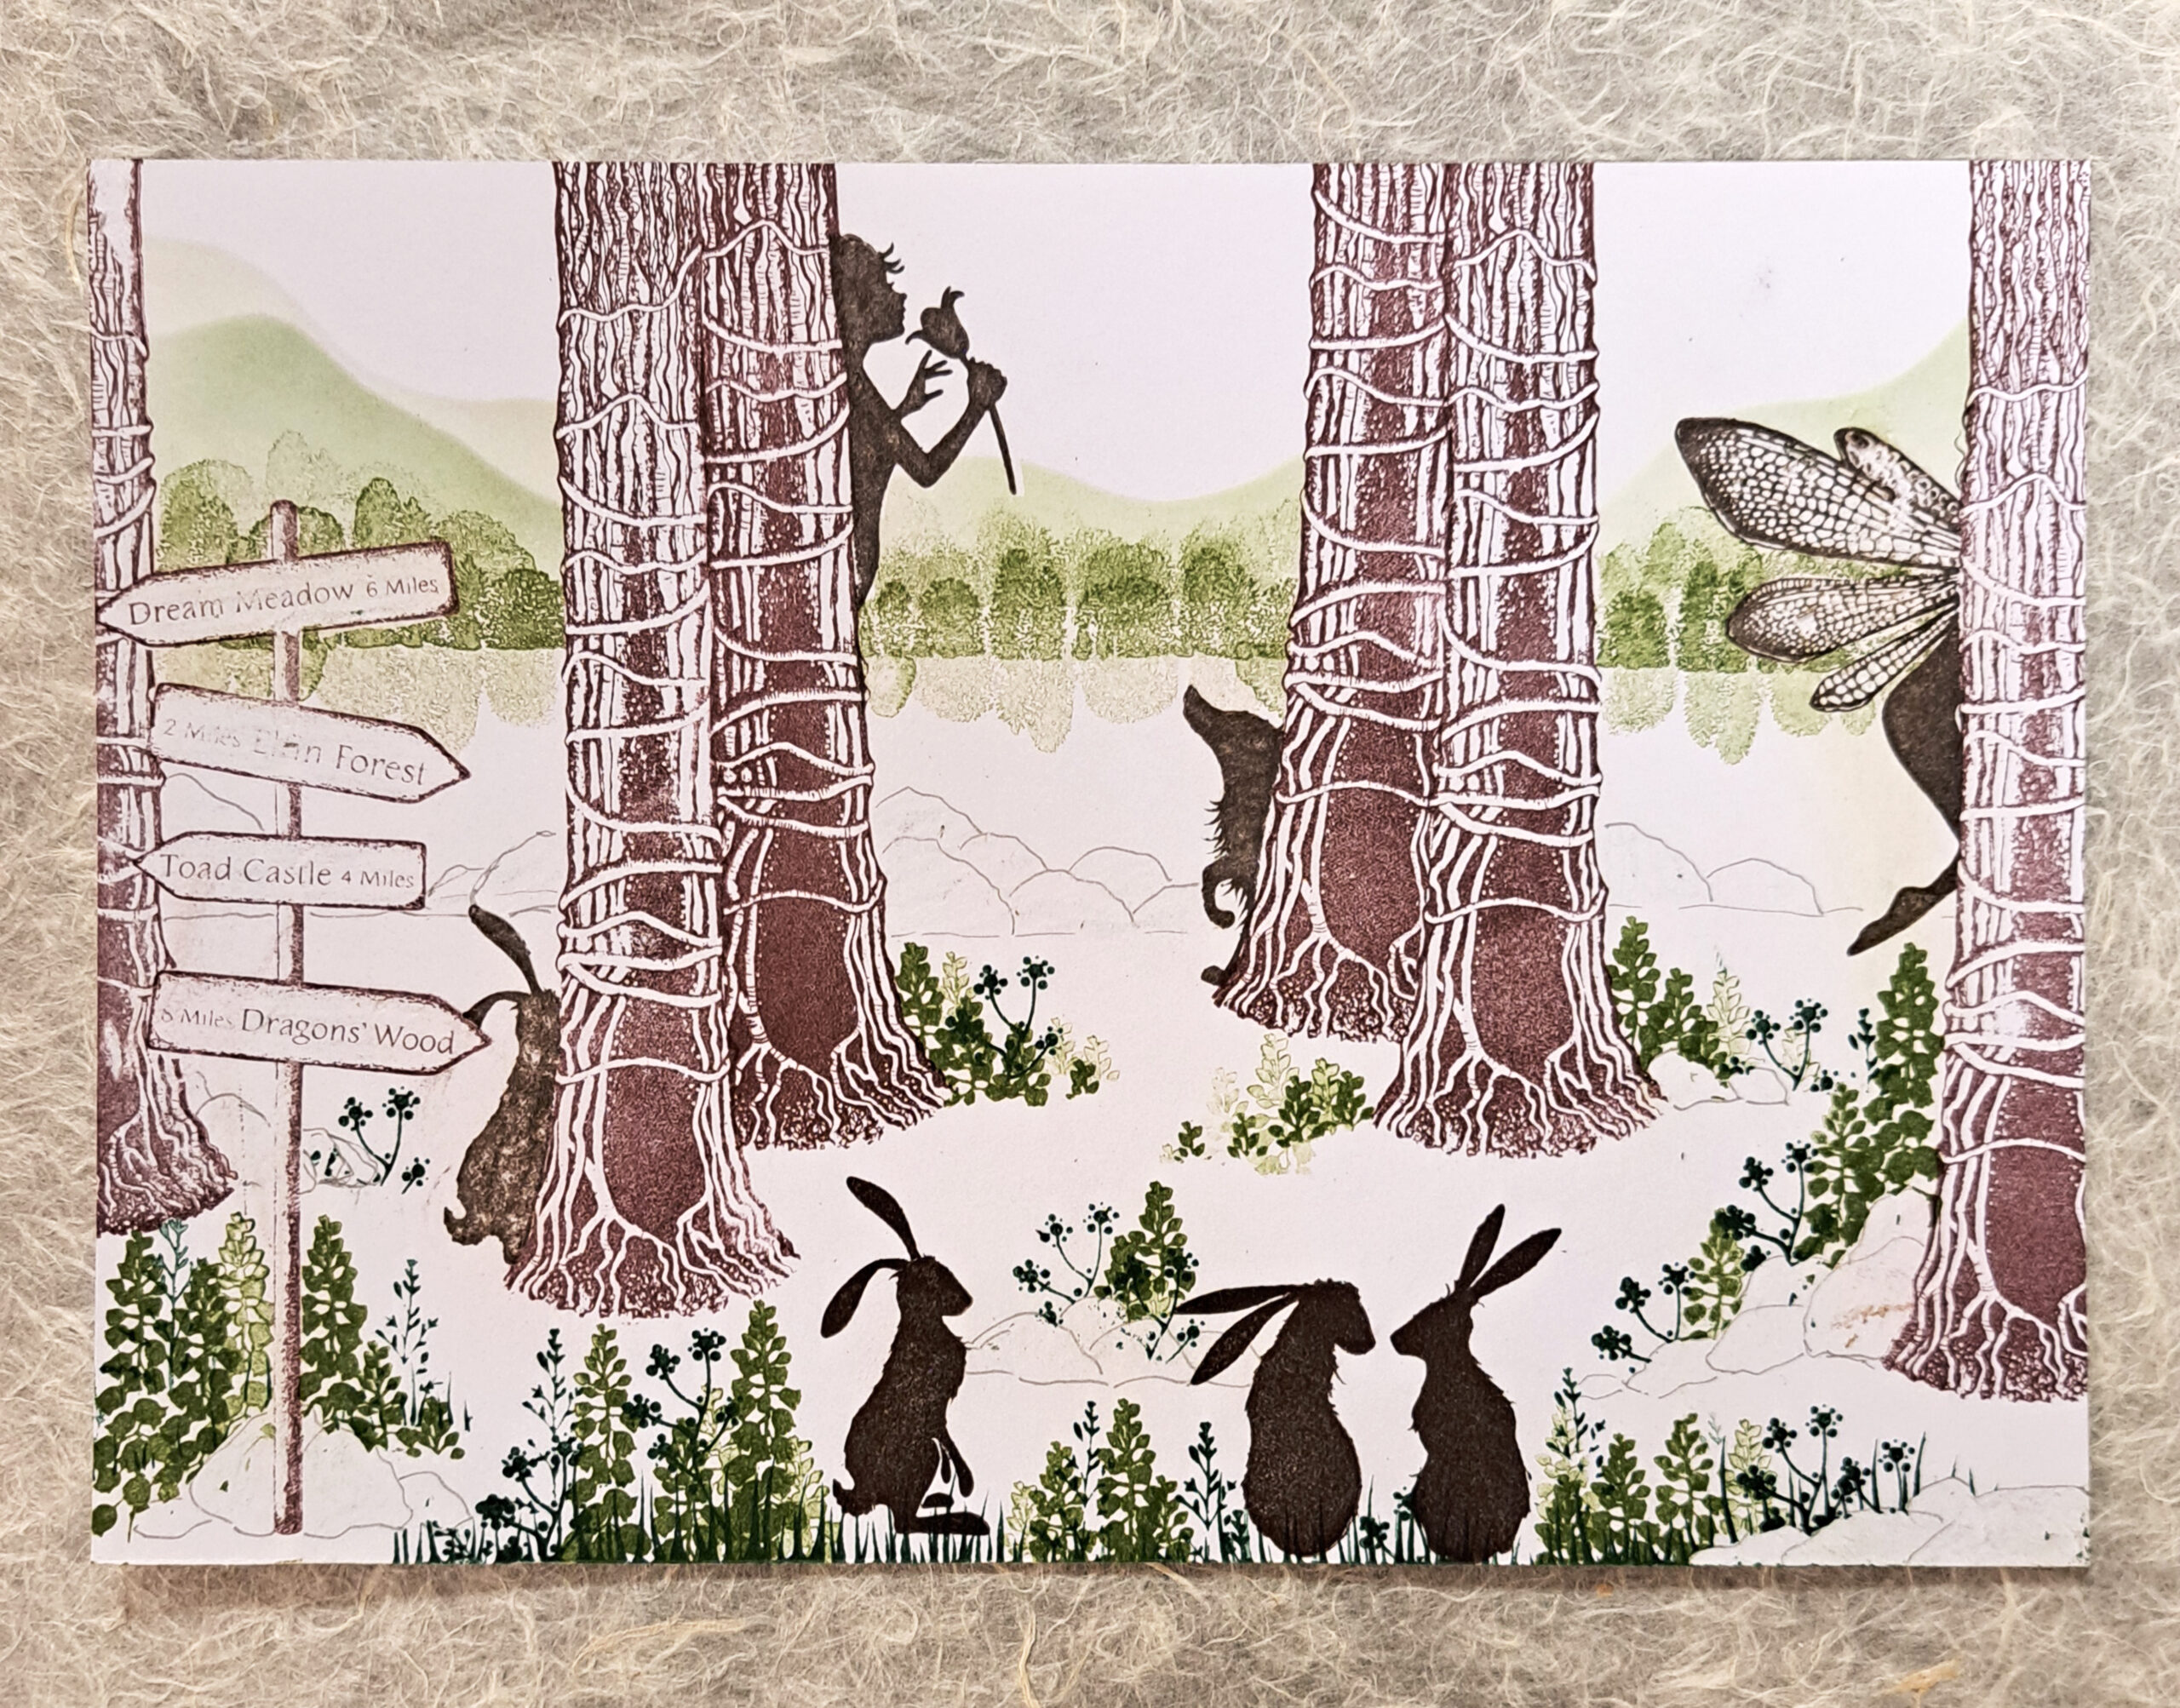
Picture 9
Remove all the masking.
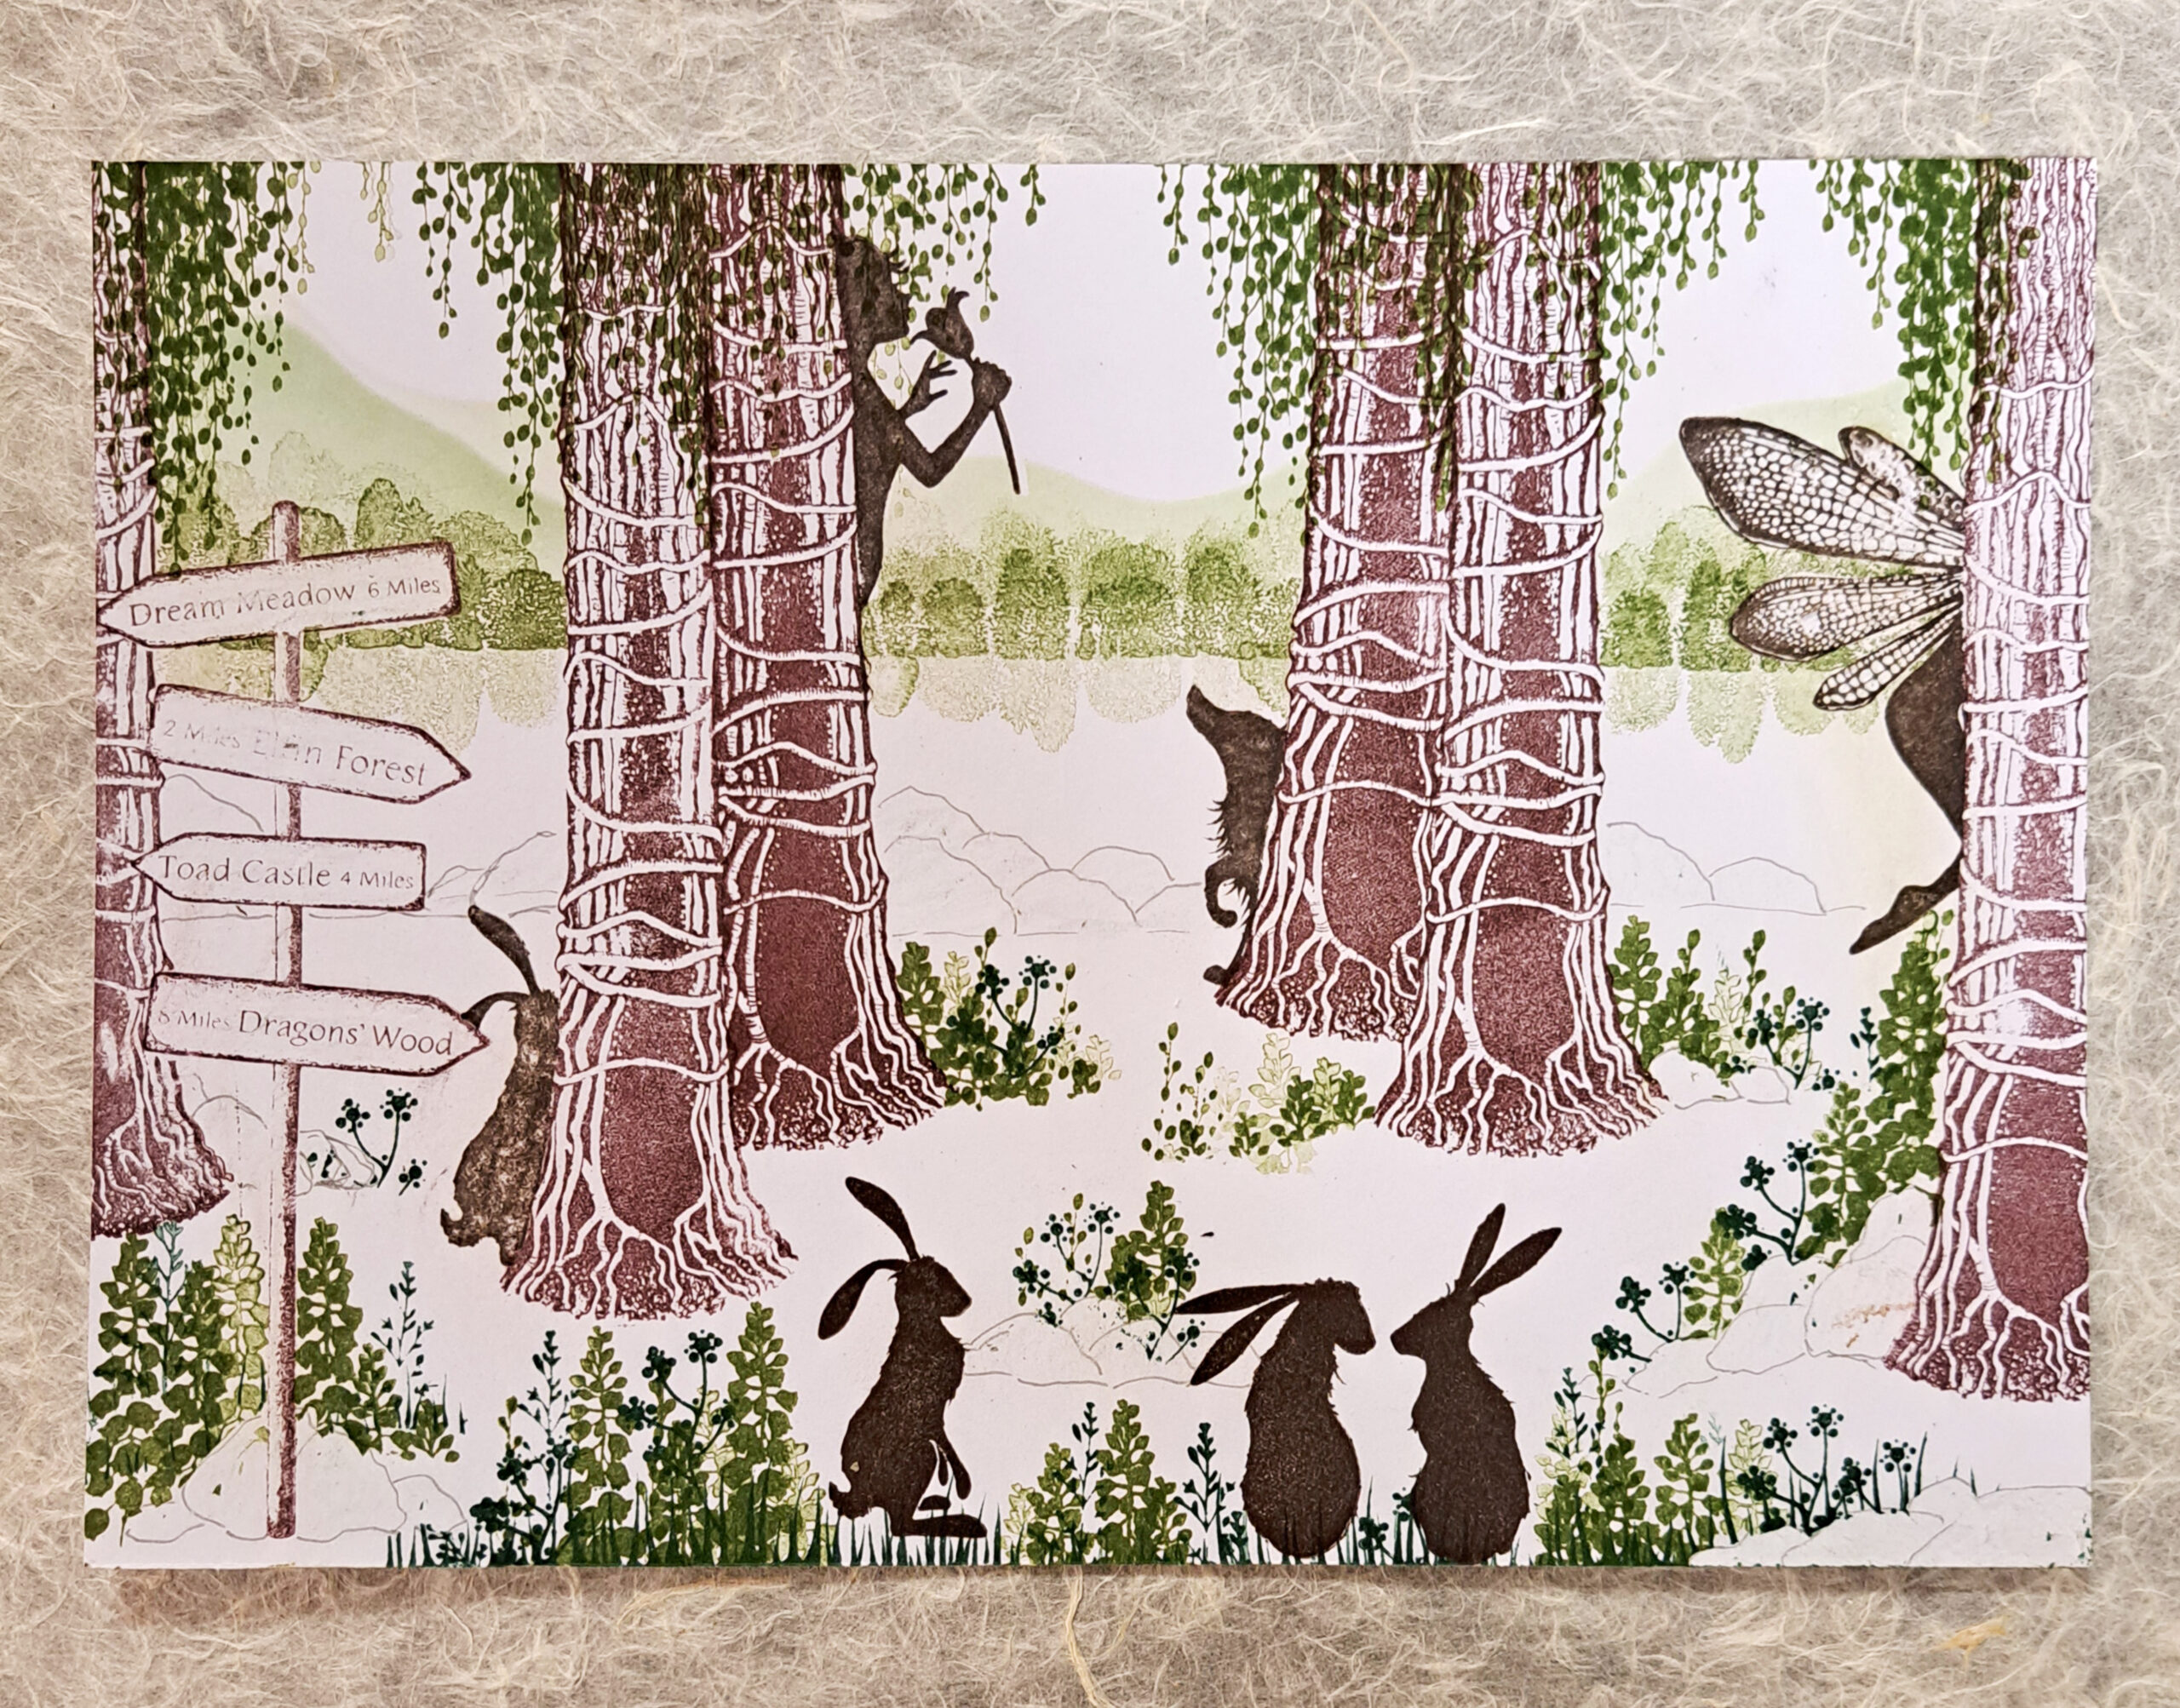
Picture 10
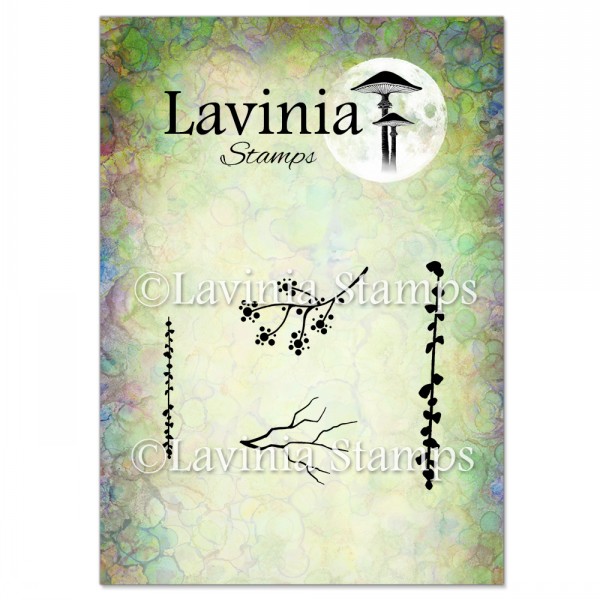
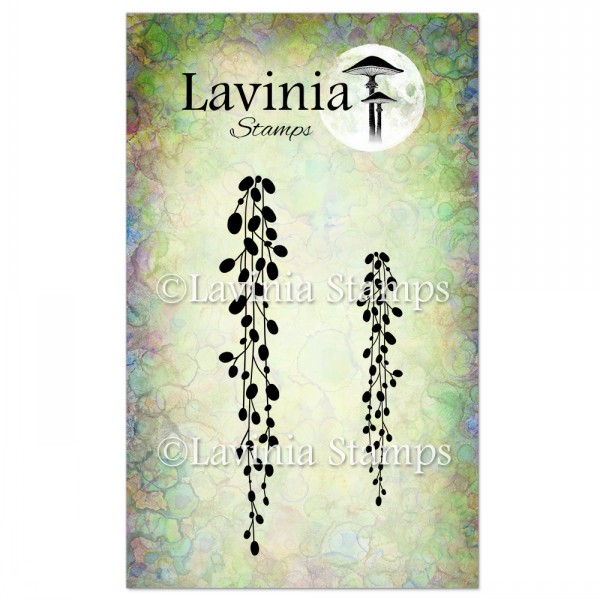
Stamp Leaf Creeper (LAV742) in Versafine Clair Shady Lane.
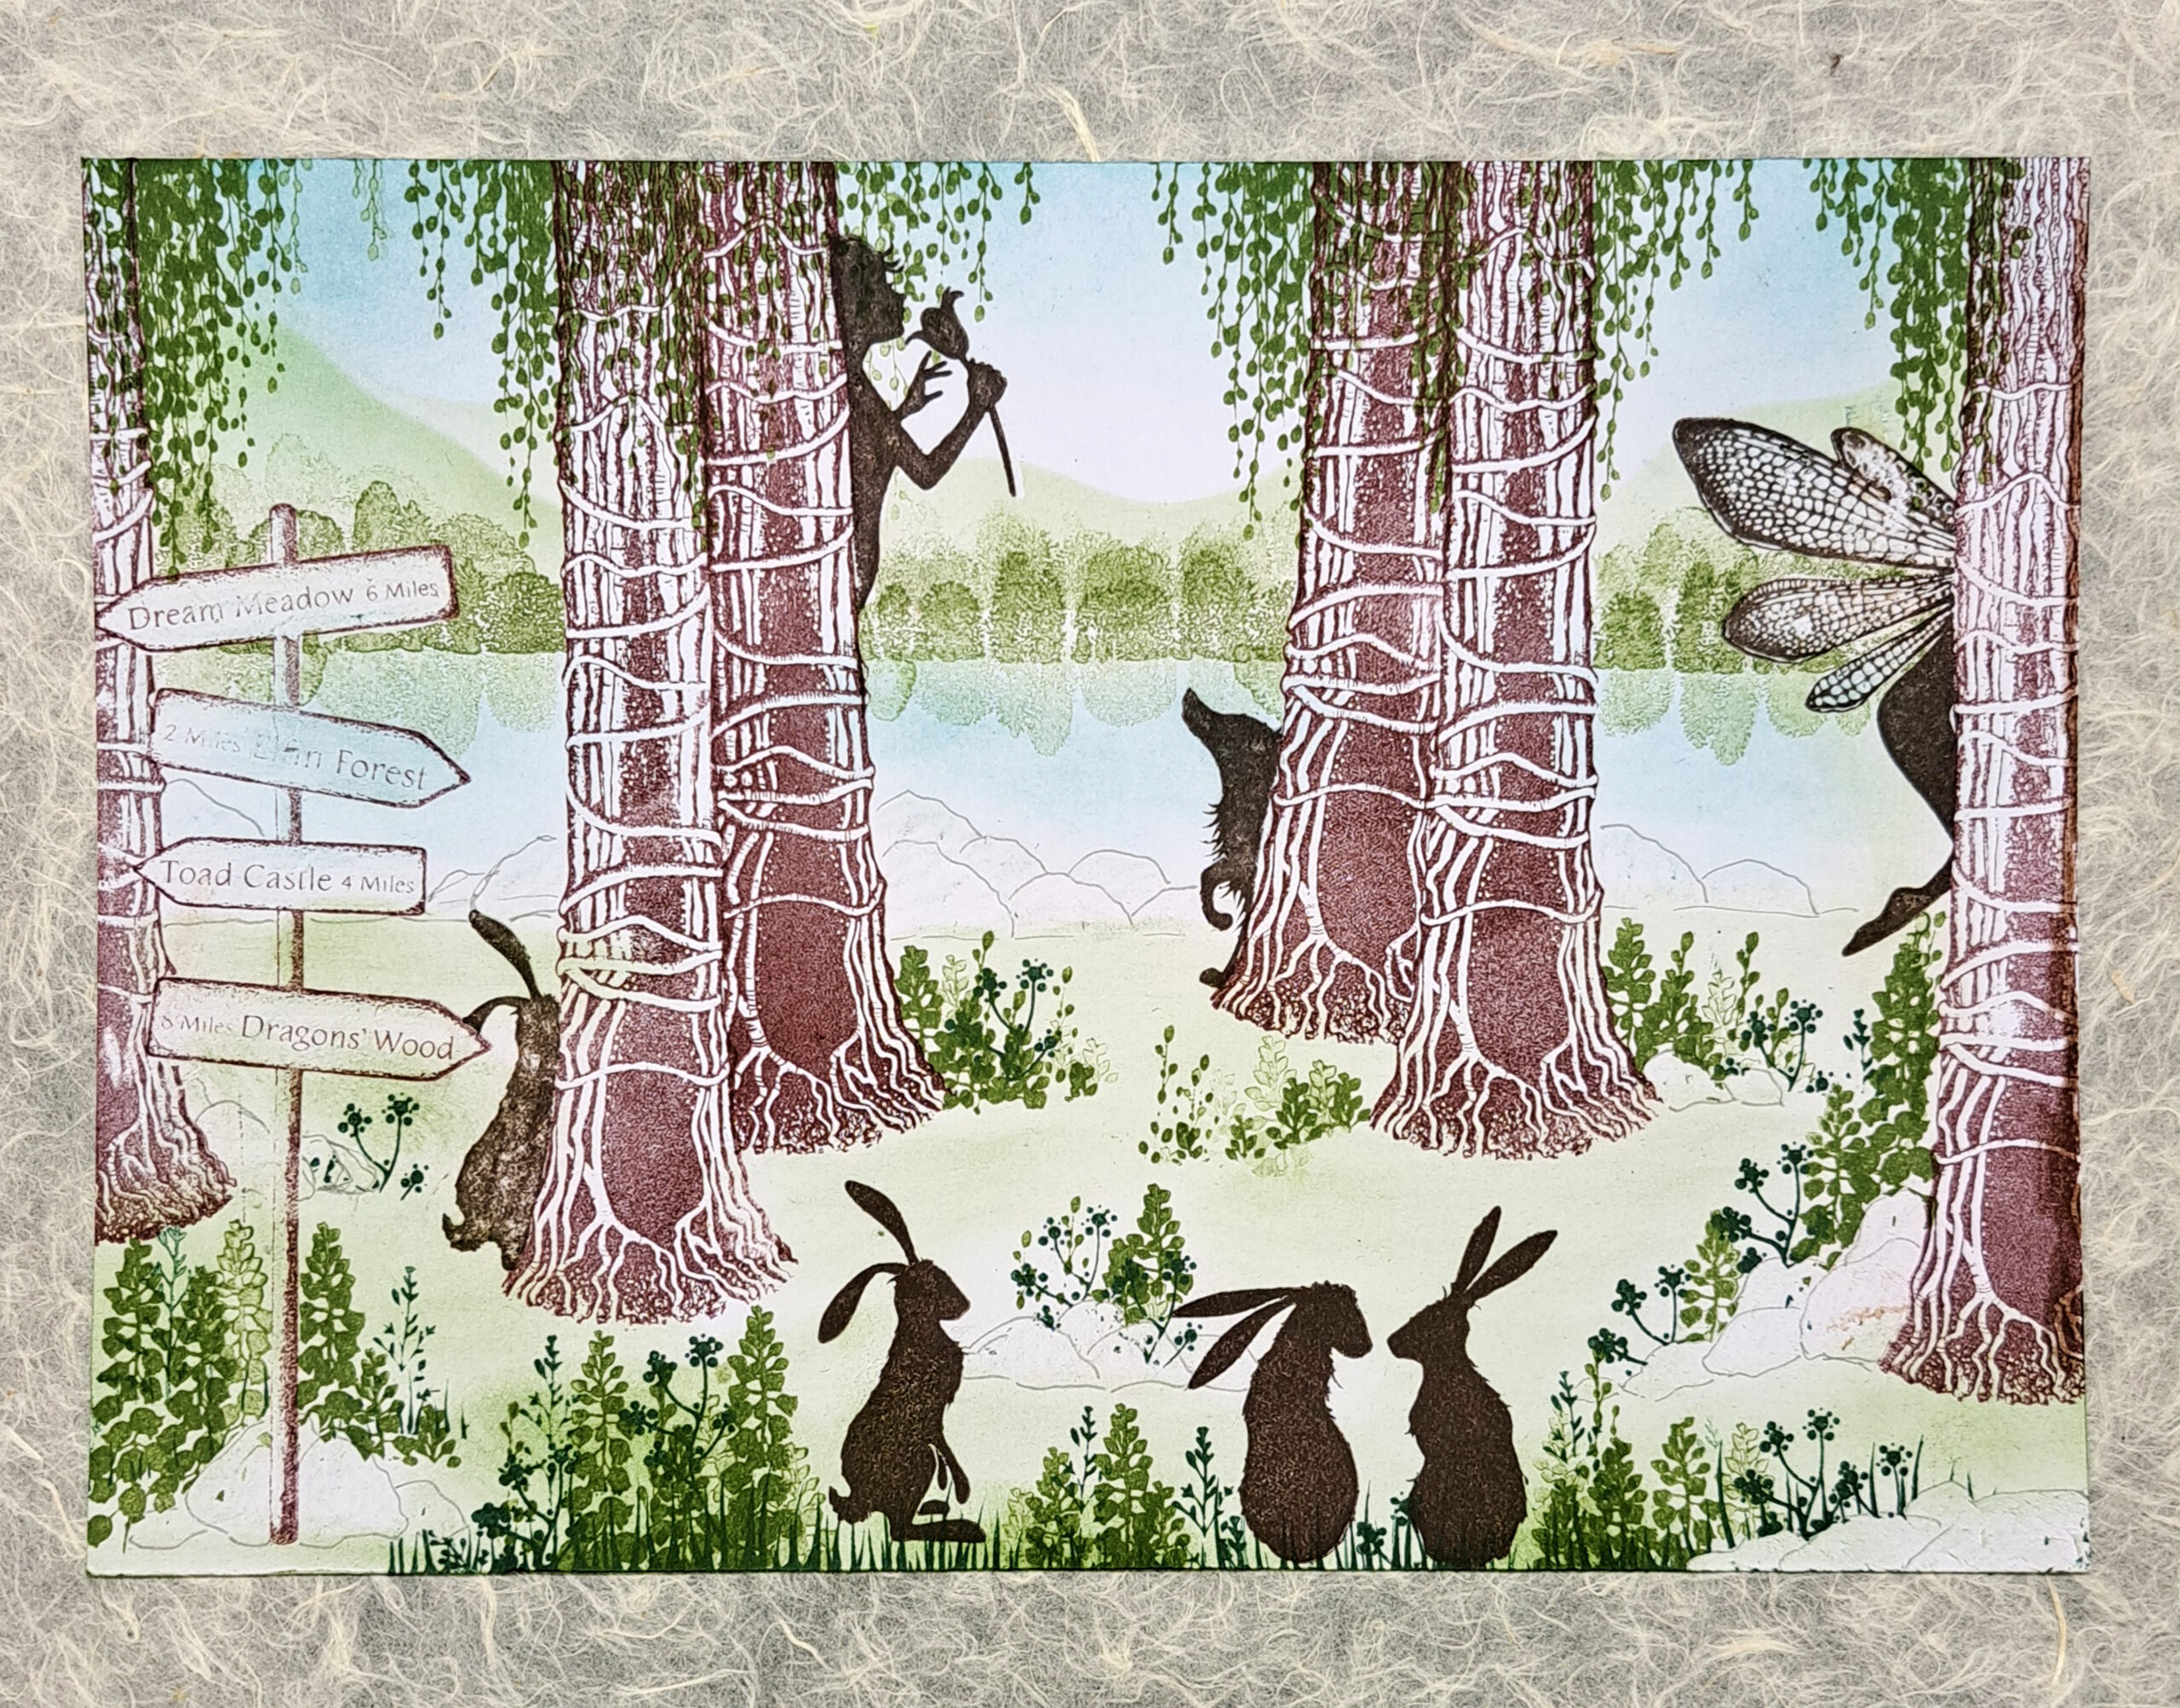
Picture 11
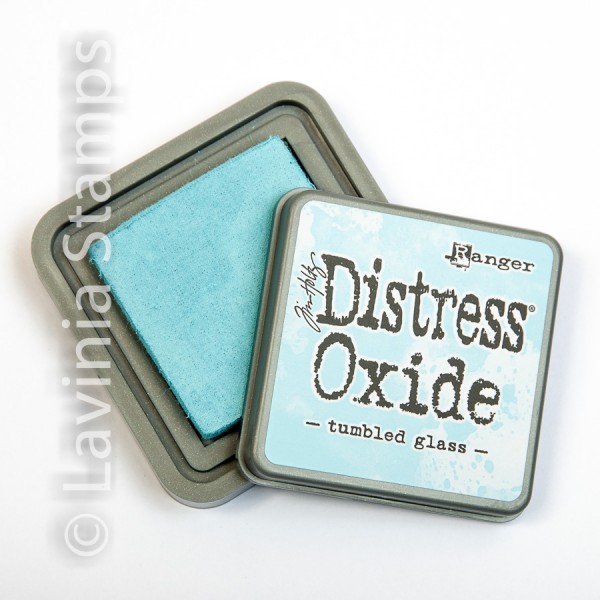
We need some colour in the sky, water and on the ground. For the sky and water I used Distress Ink Tumbled Glass and for the ground I used Elements Ink Olive.
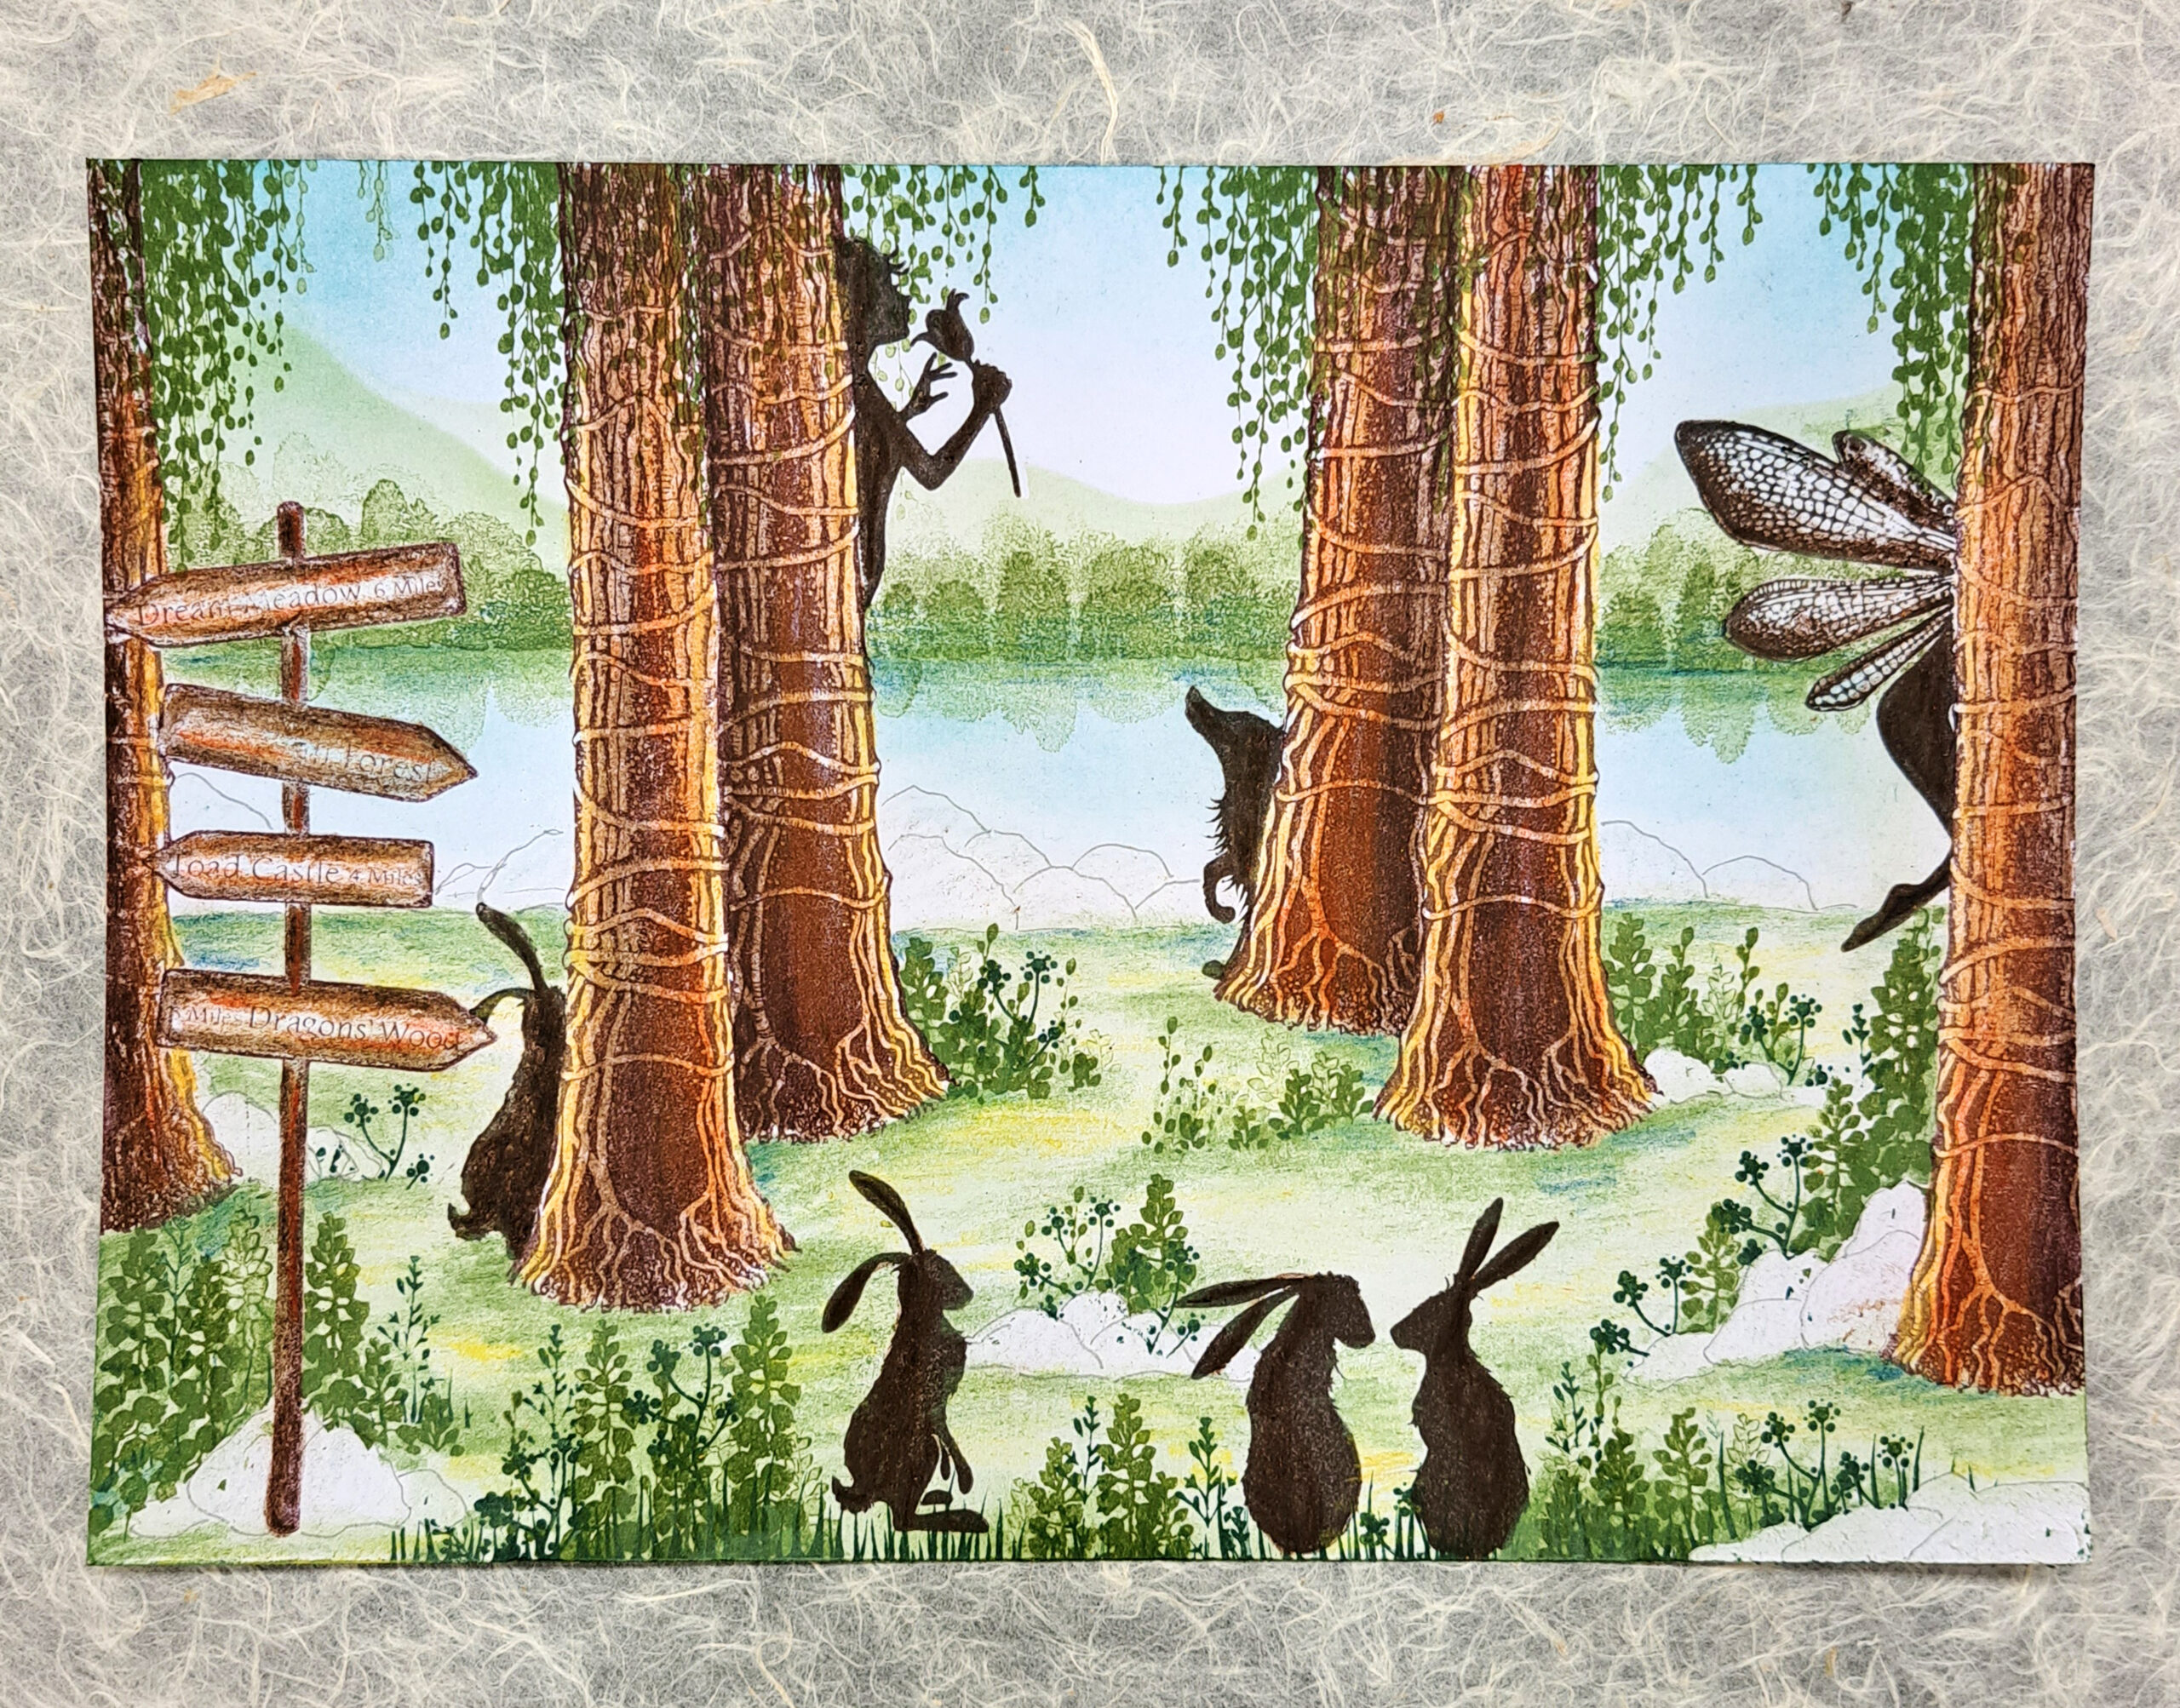
Picture 12
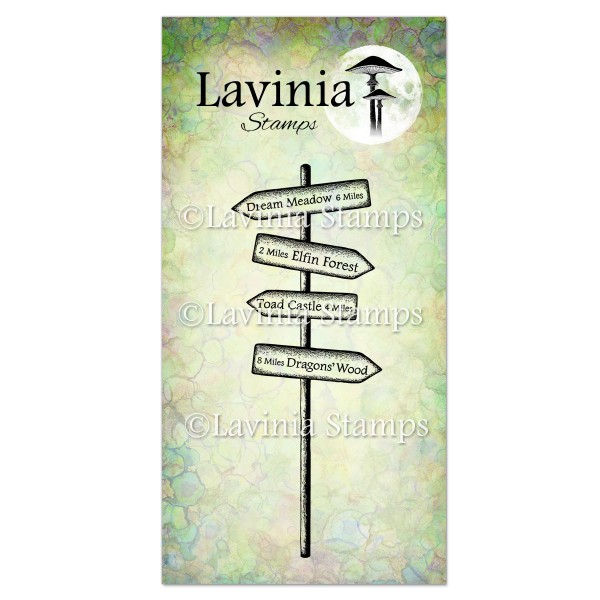
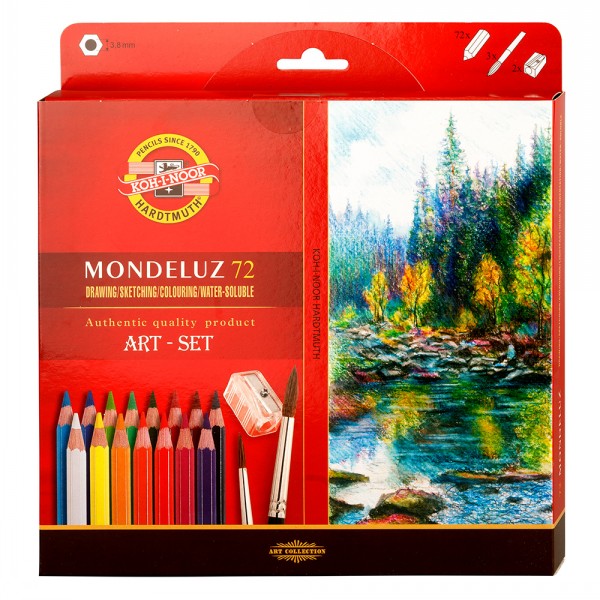
Now its time to colour the Trees, Fairies and Bunnies. I use my Watercolour pencils for colouring. For the trees I use 4 colours. Dark brown, brown, reddish brown and ochre. This gives much life to the trees. Colour the sign with the same colours. The Fairies and Bunnies I colour with dark brown and some beige colour for highlights.
Use green, ochre and a grey-blue colour to fill out on the ground. Look at the picture for colour placement.
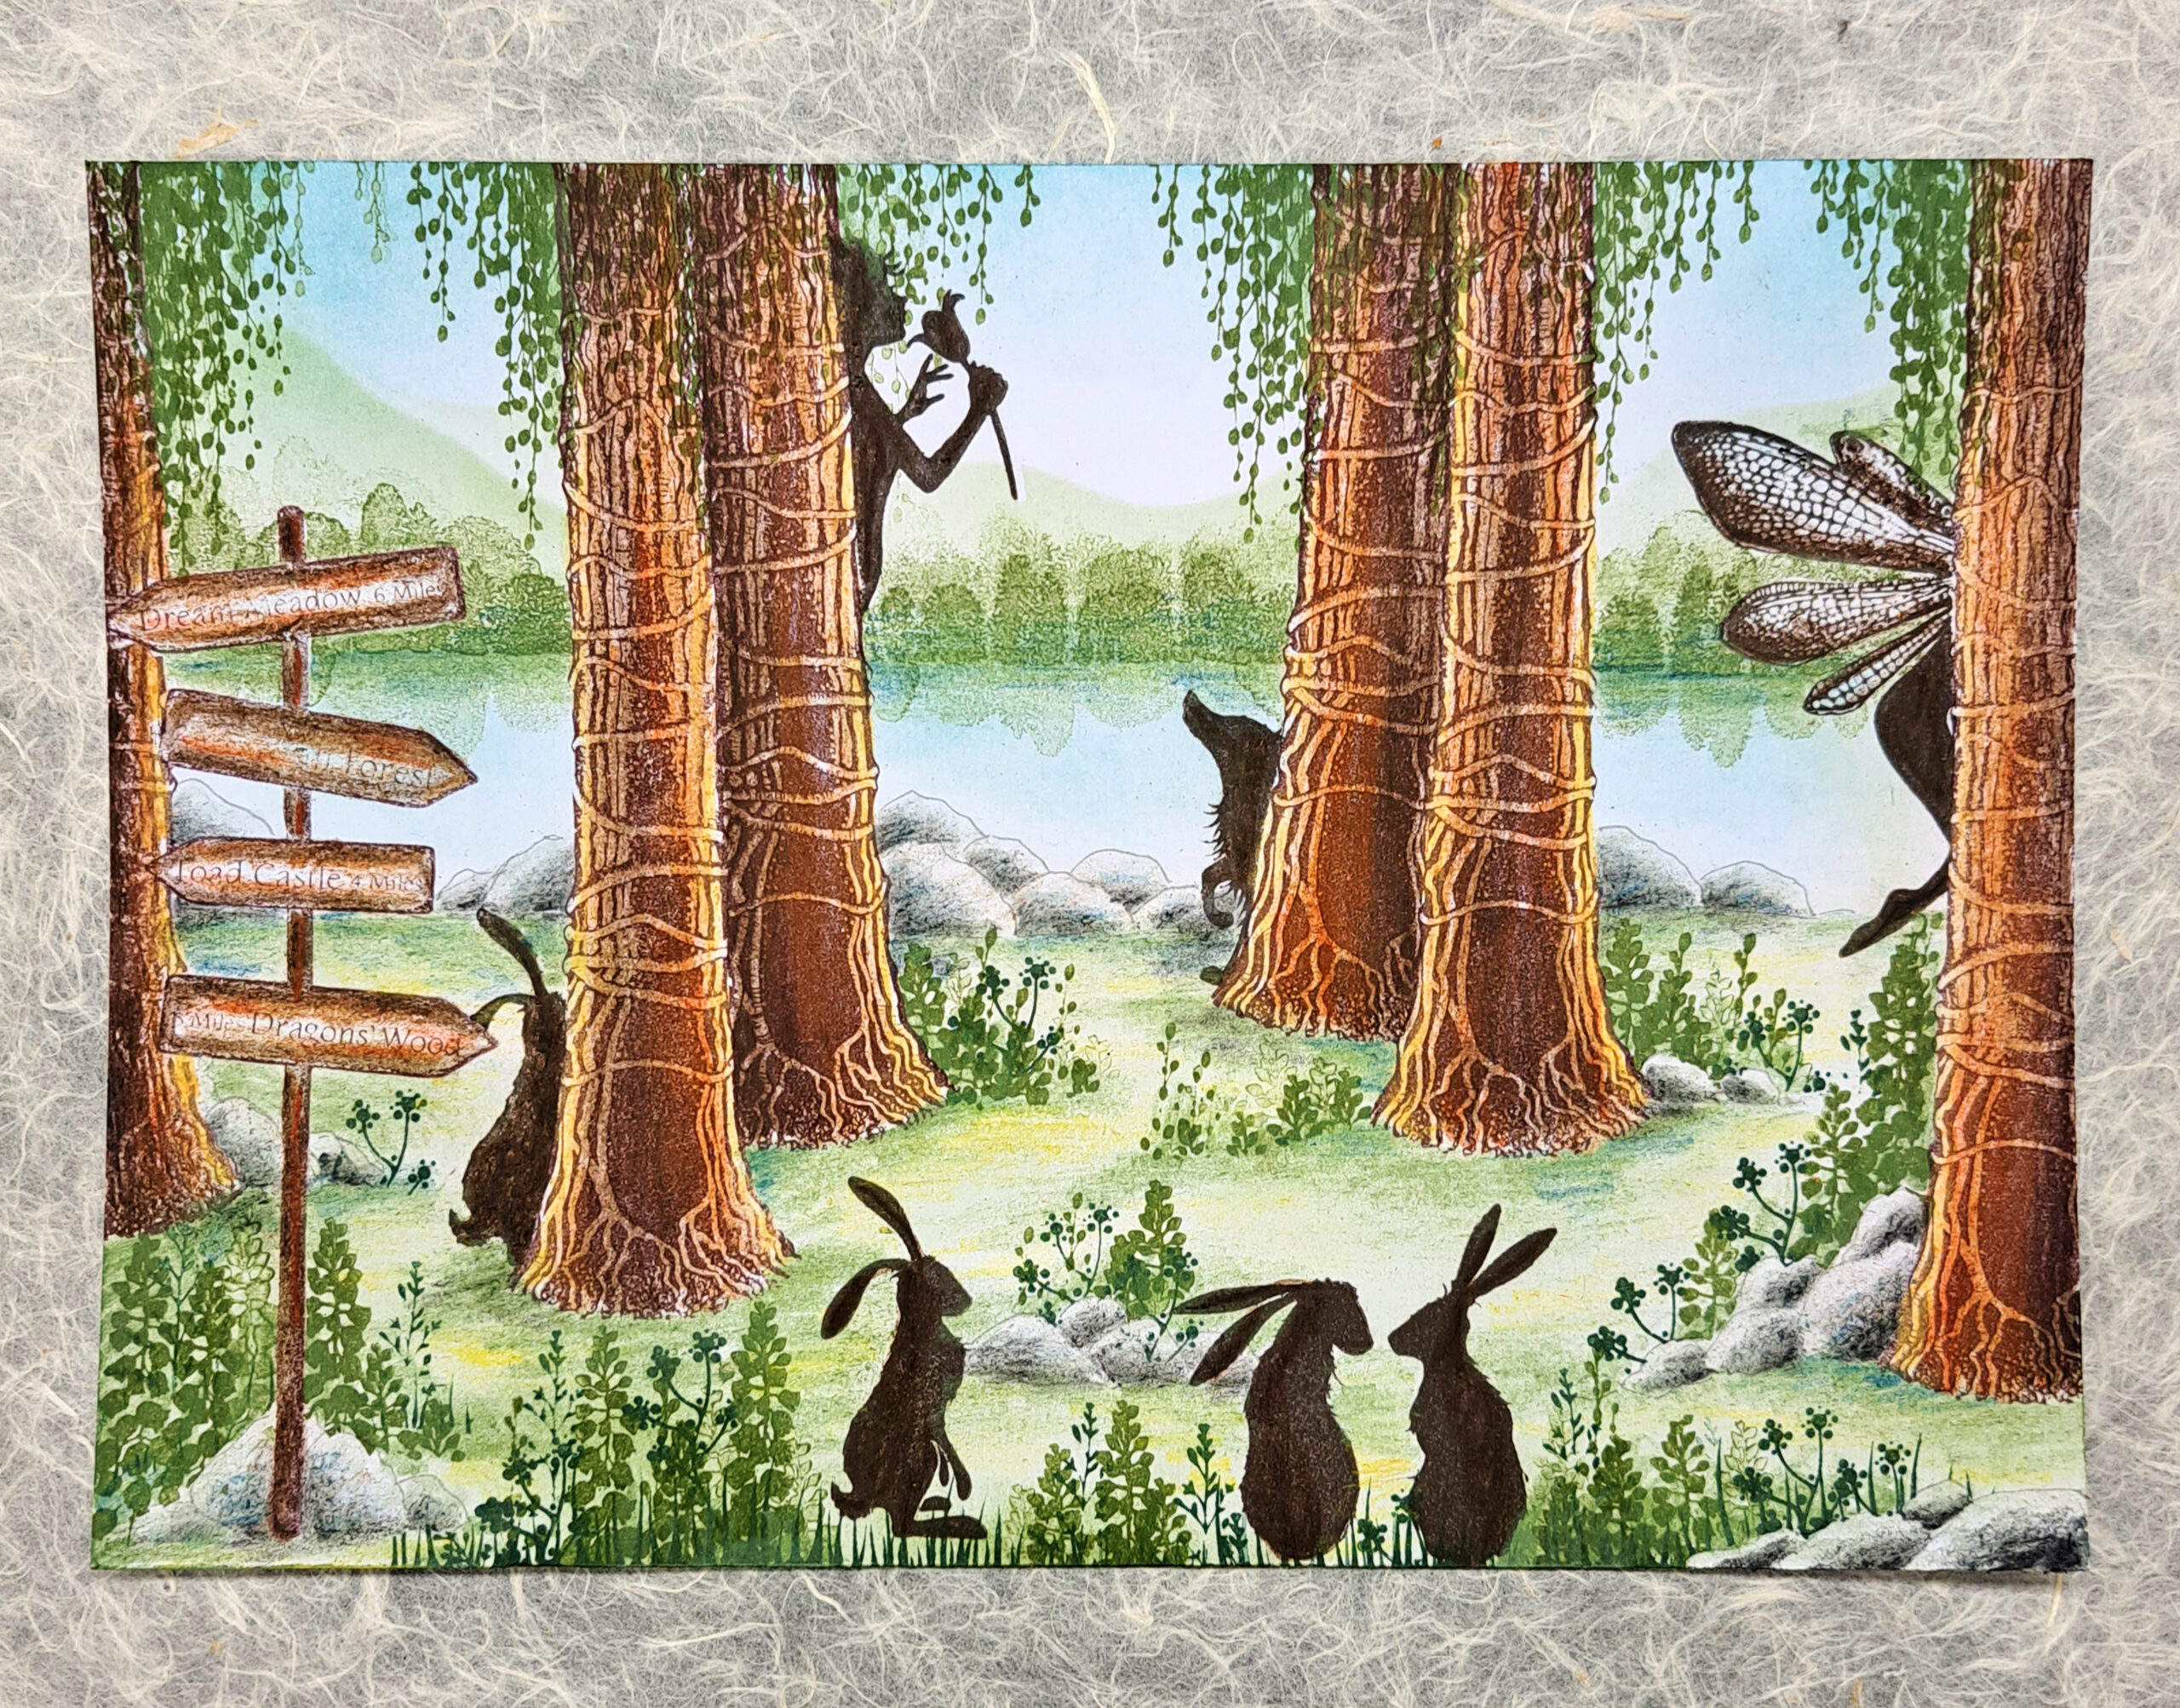
Picture 13
The rocks need some colour too. Use a light grey, dark grey, grey-blue and black. Look at the picture for colour placement .
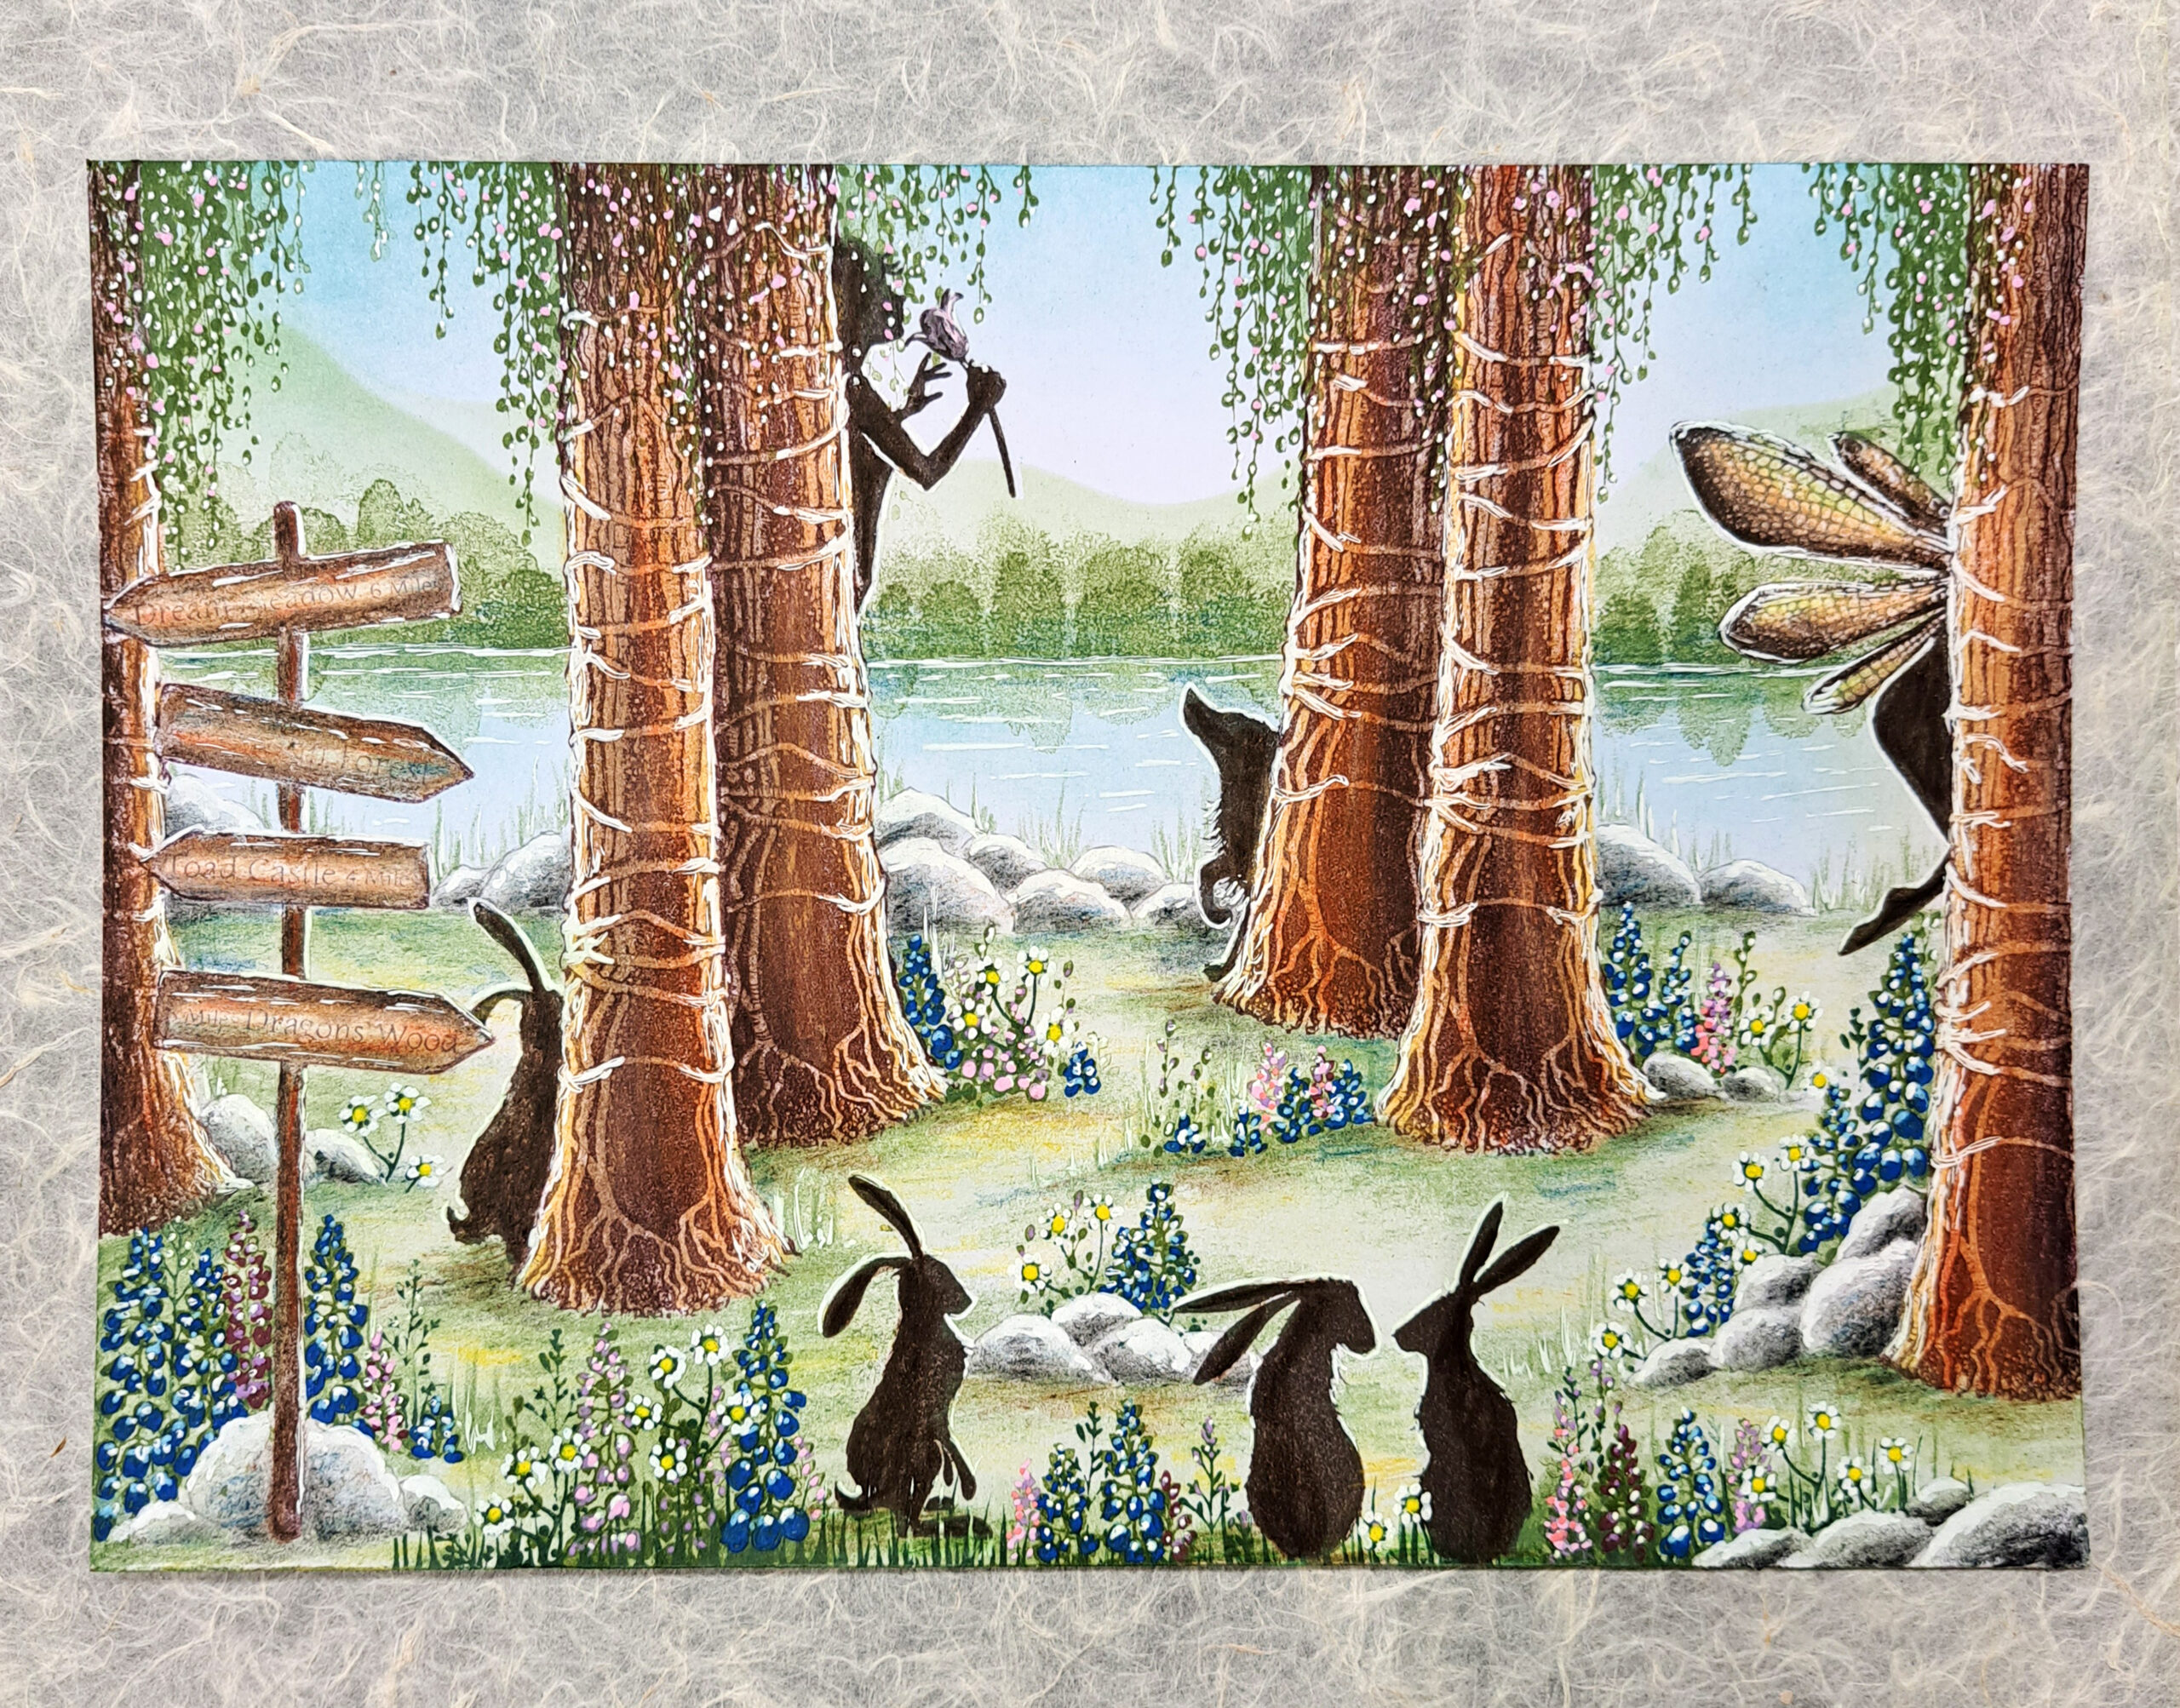
Picture 14
Colour the flowers and draw some straws on behind the rocks, along the water and several places on the ground. Put some colour in the trees also. Just do some dots of colour.
Let´s start doing some highlights. Use a white Posca pen or/and a Uniball pen. Draw a white line to highlight the surface of the water and some shorter lines to make some more reflections on the water. Every surface needs a little white highlight. Look at the picture for placement.
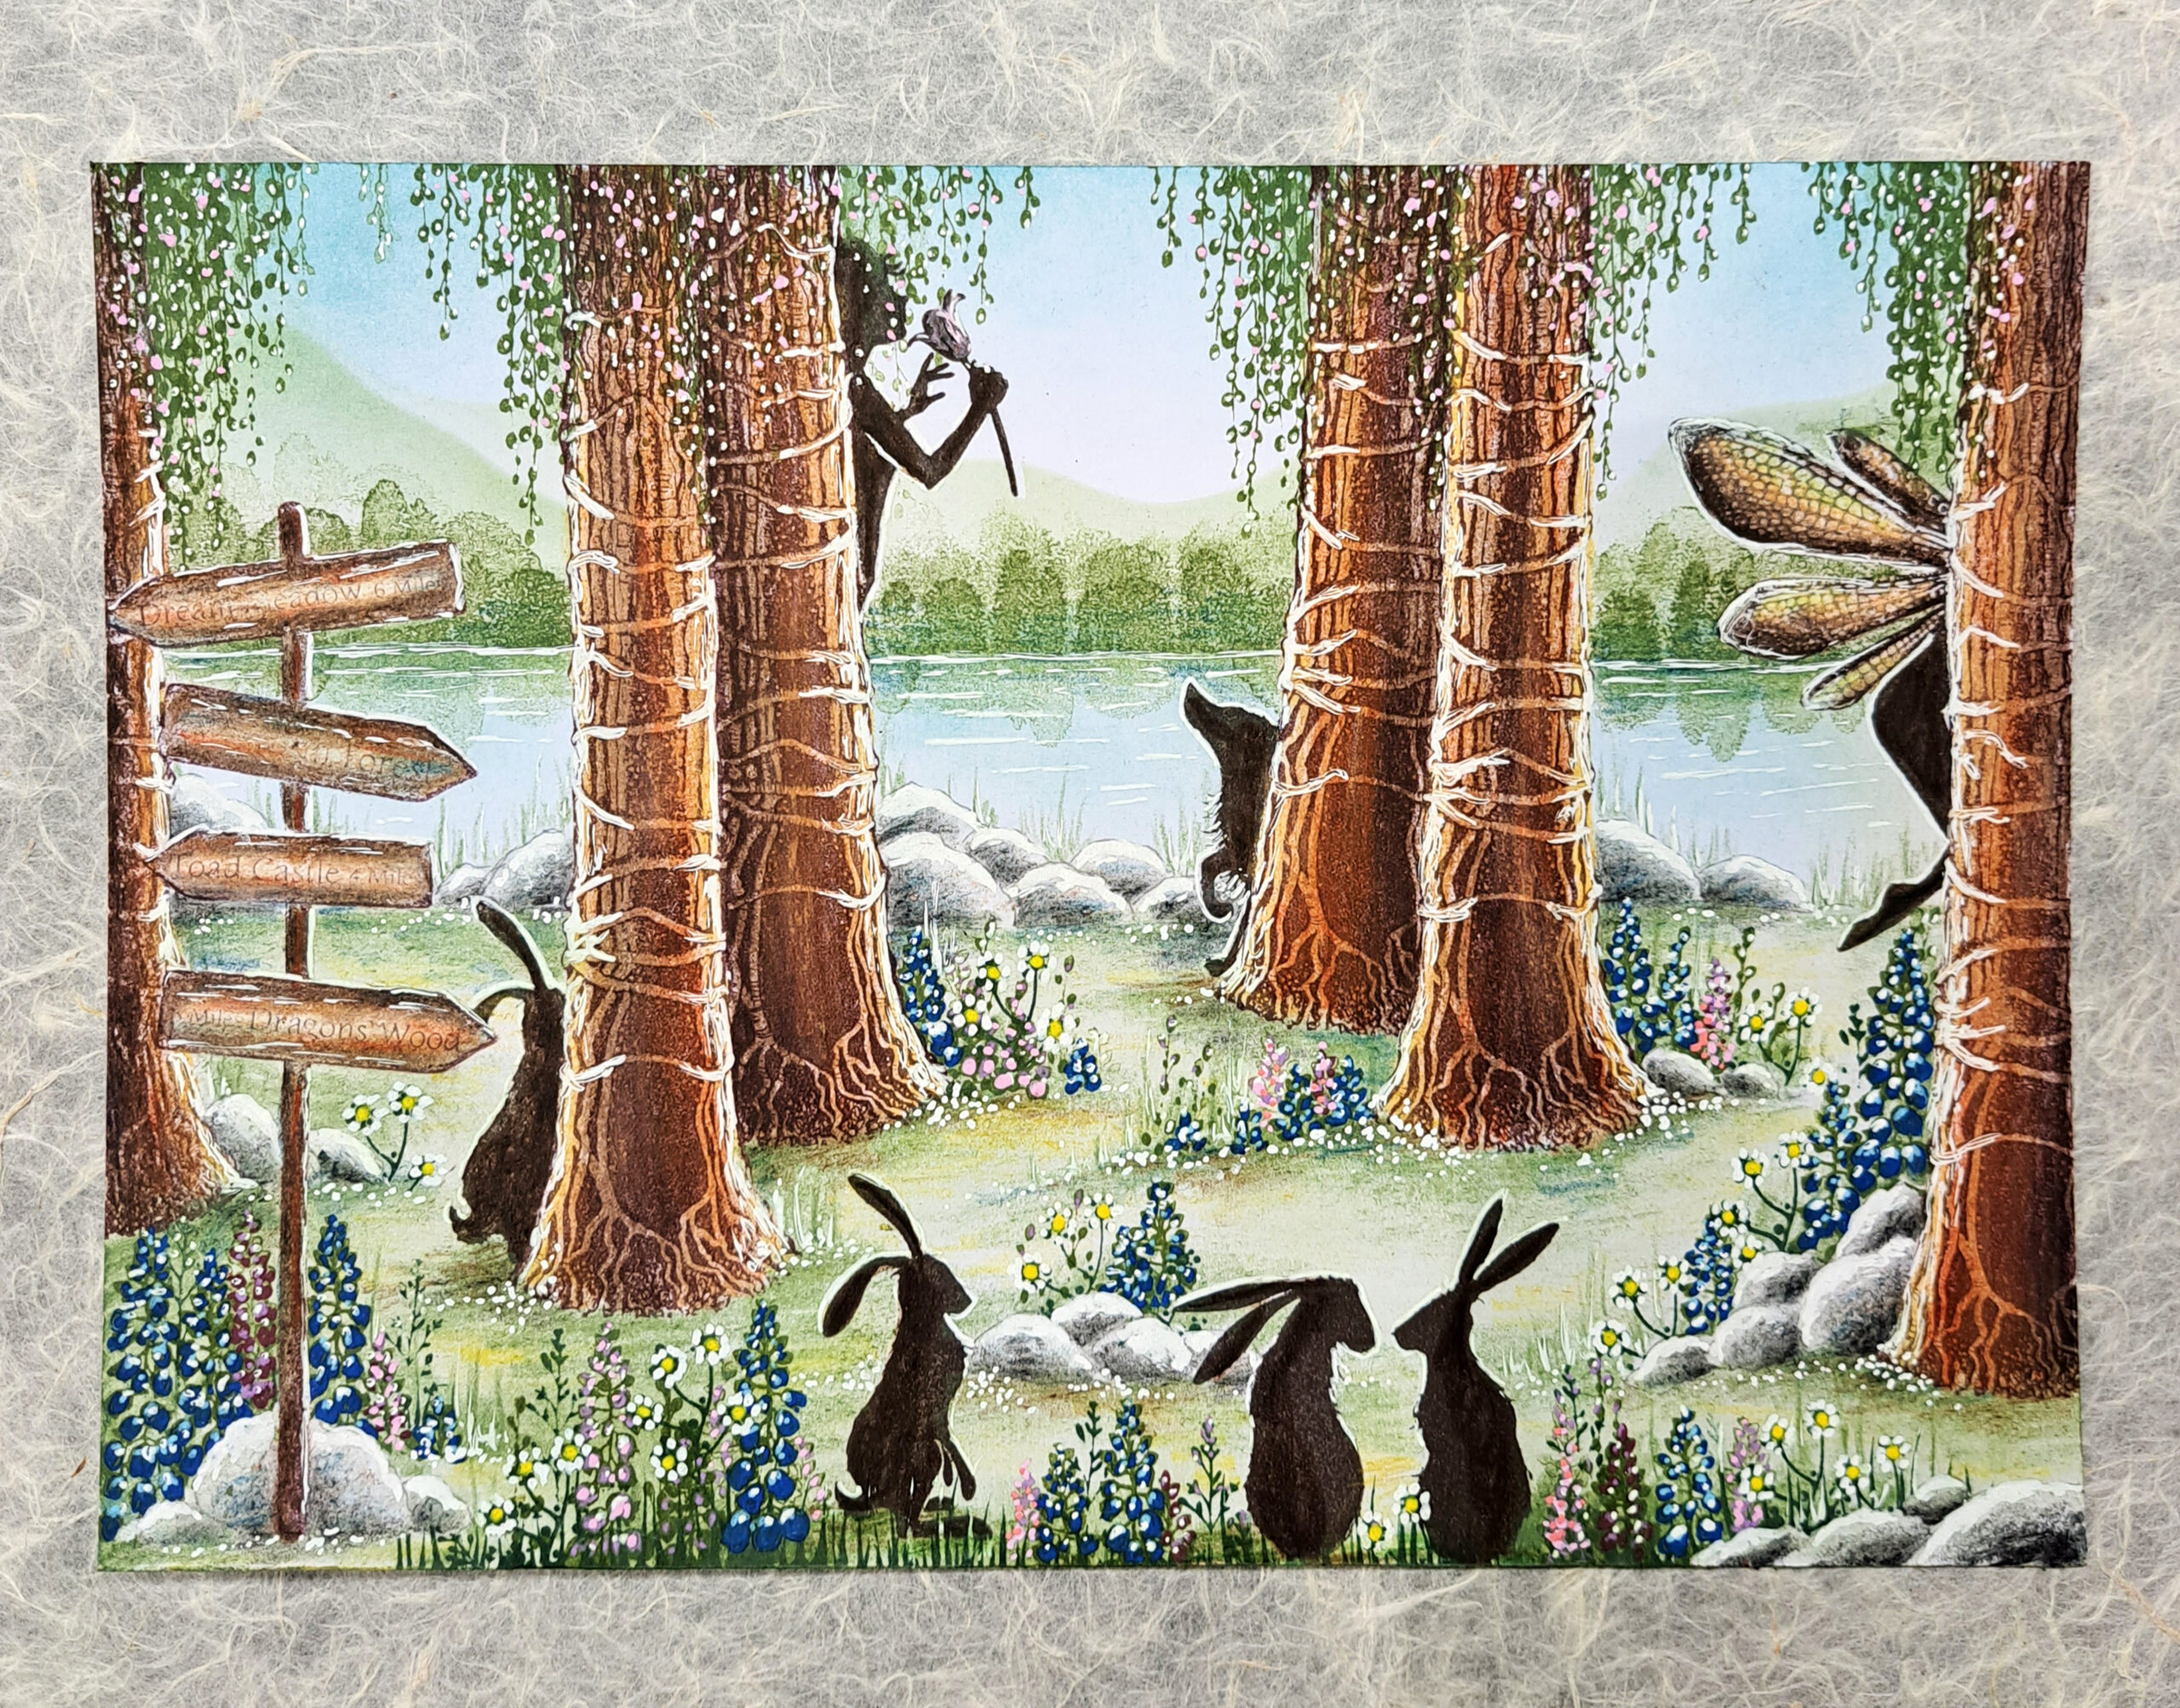
Picture 15
Do some white dots on the ground. This will create some more life to the picture.
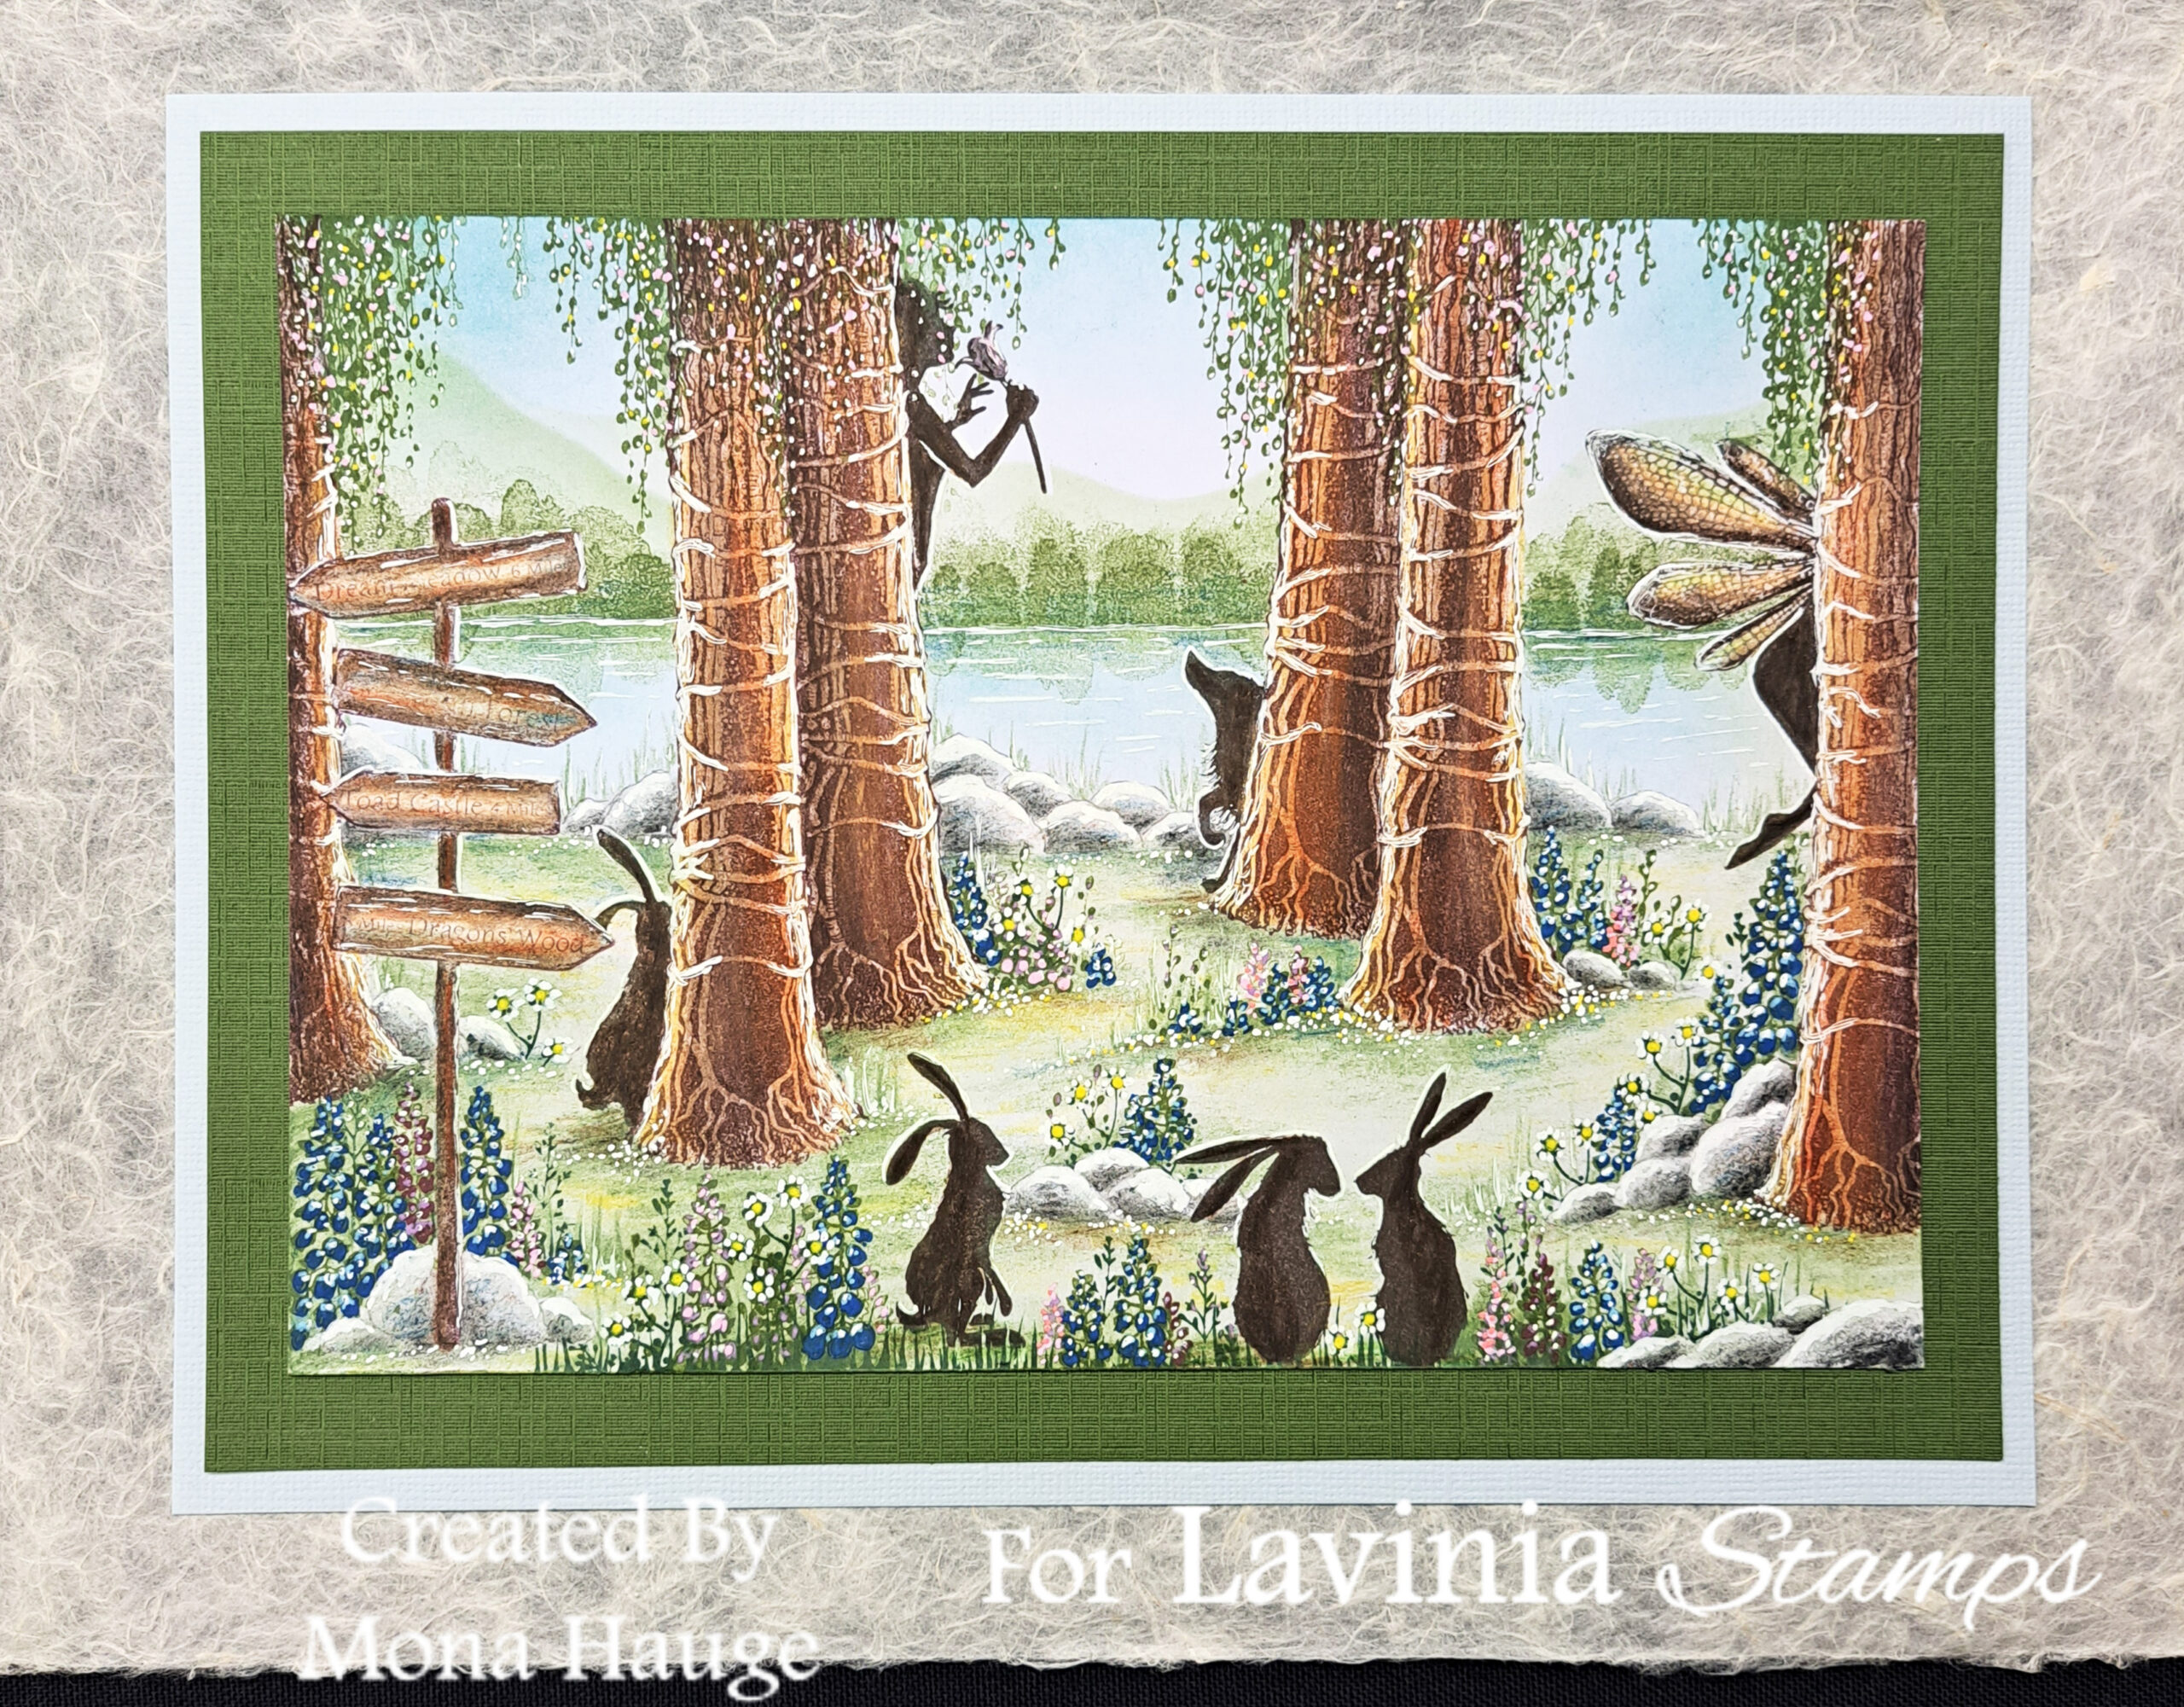
Picture 16
Now you have a finished picture 😄 Hope you enjoyed following my tutorial. If you have any questions just ask and I will answer as soon as I can.
Have fun everyone 😄
Big hugs from Mona


