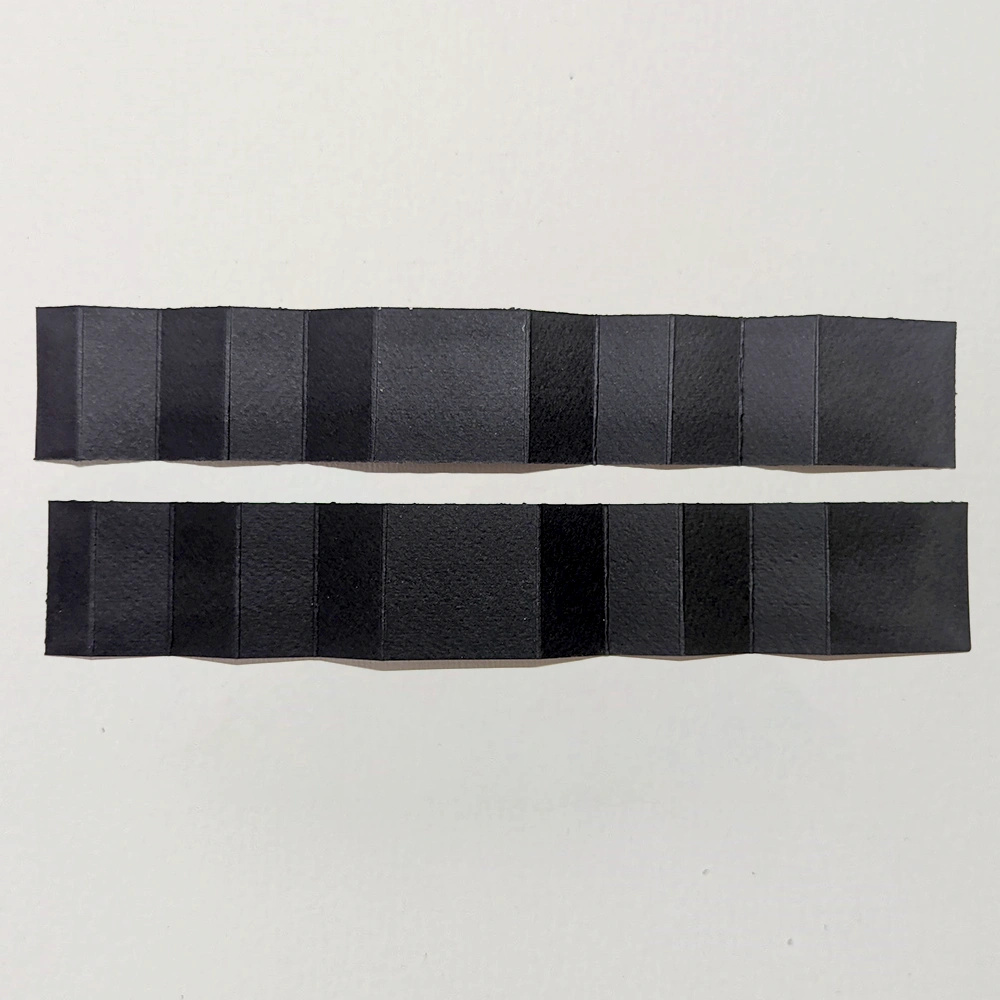


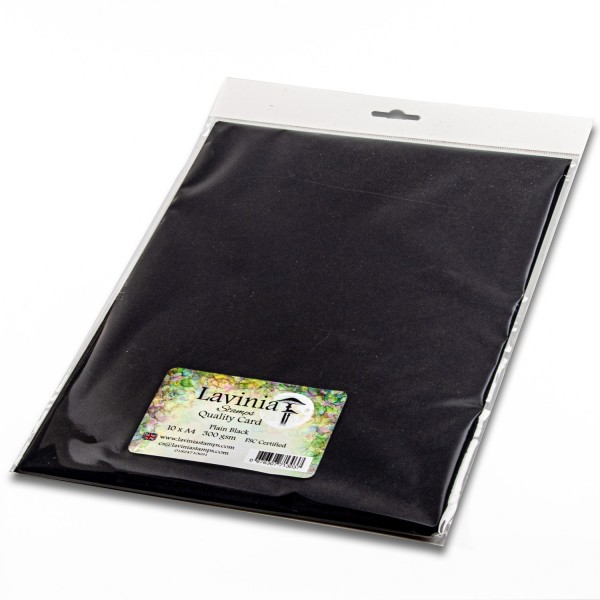
 Plain Quality Card – A4 – Black
£4.80
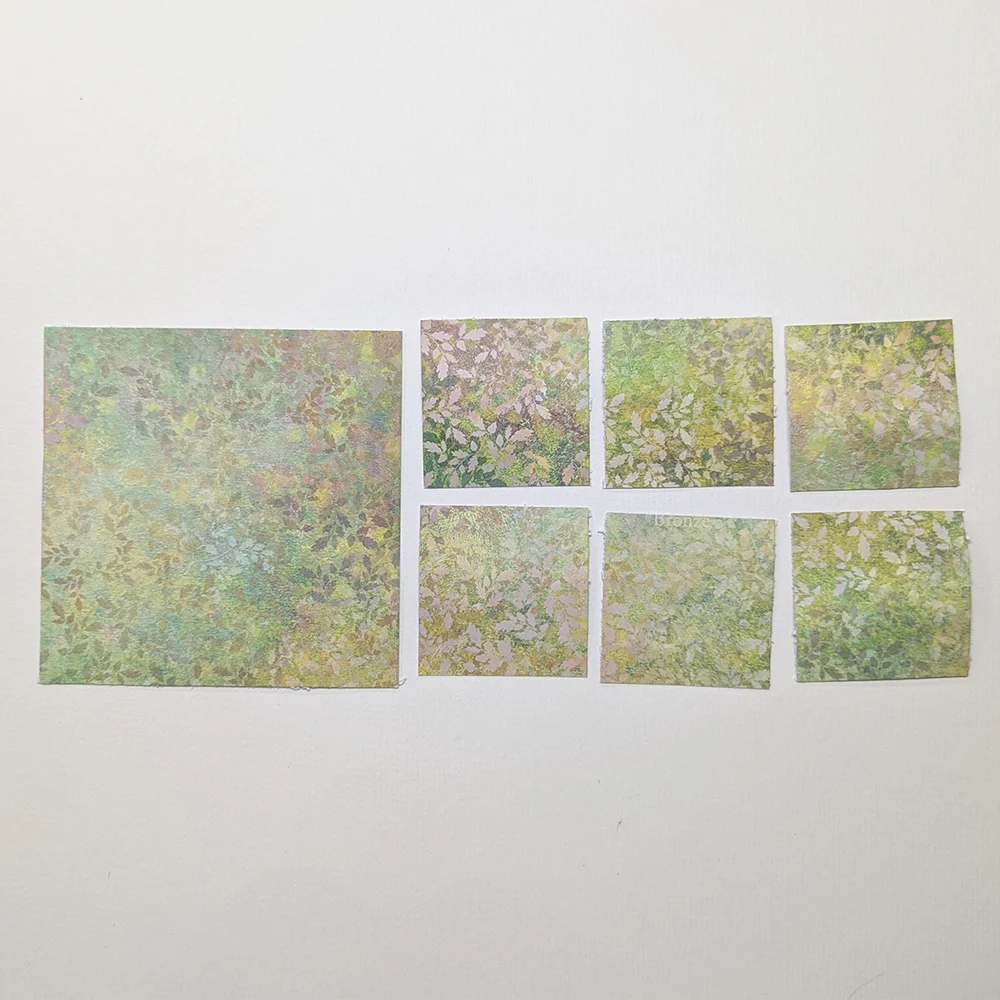
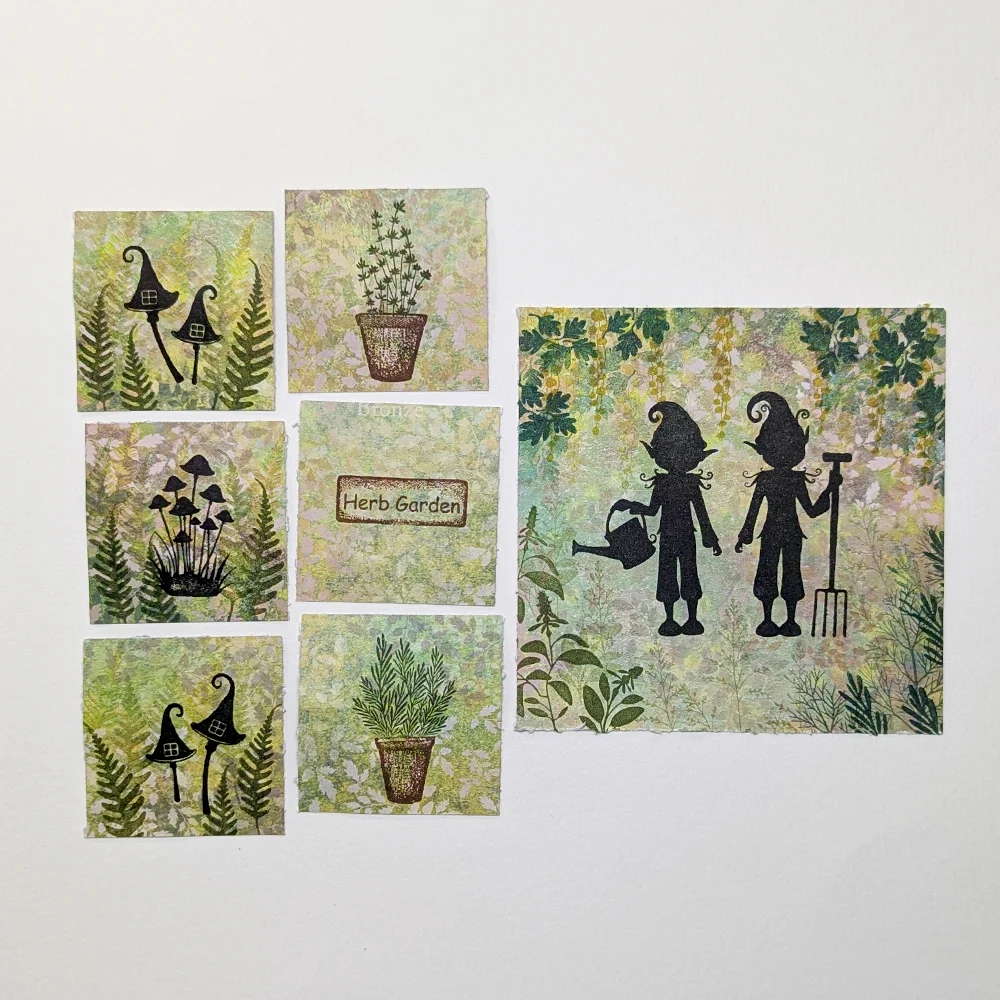
Add to cart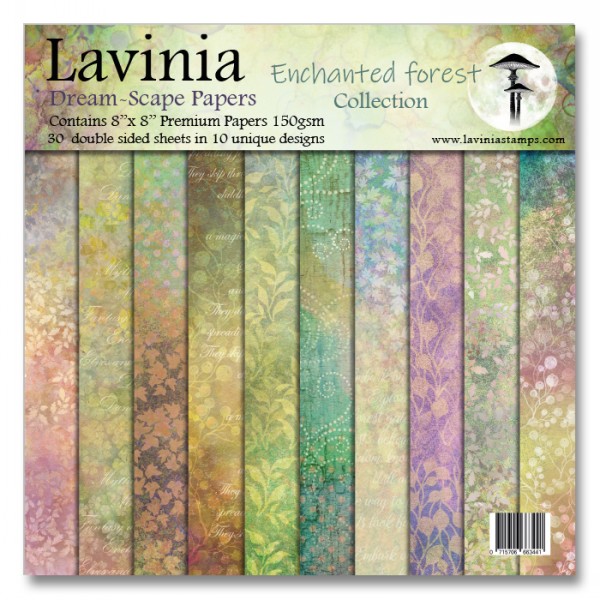 Dreamscape Papers – The Enchanted Forest Collection
£10.95
Add to cart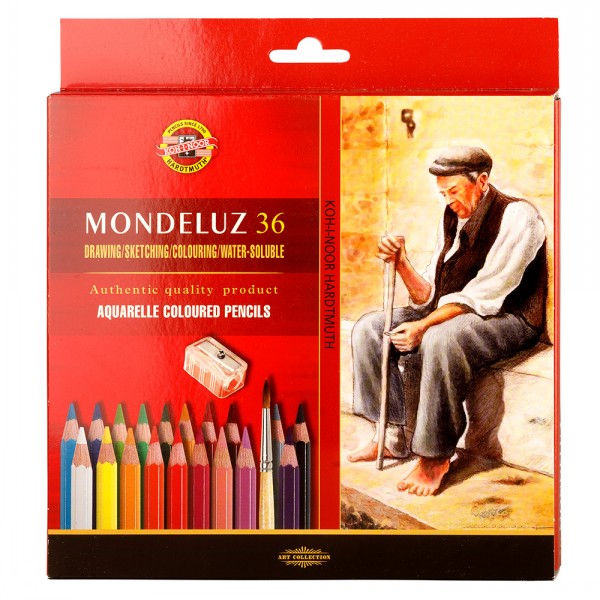 Mondeluz Watercolour Pencils 36 Set
£34.95
Add to cart Uni-Ball Gel Pens
£1.90
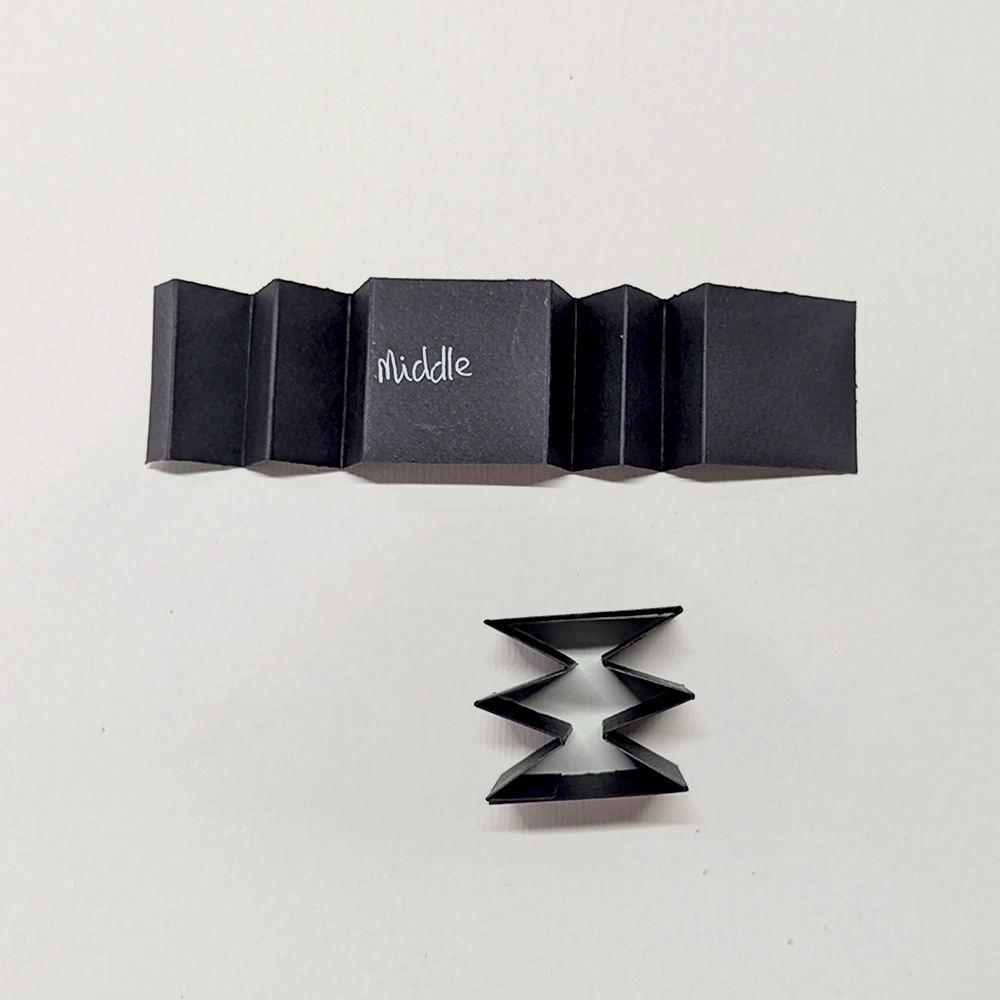
Select options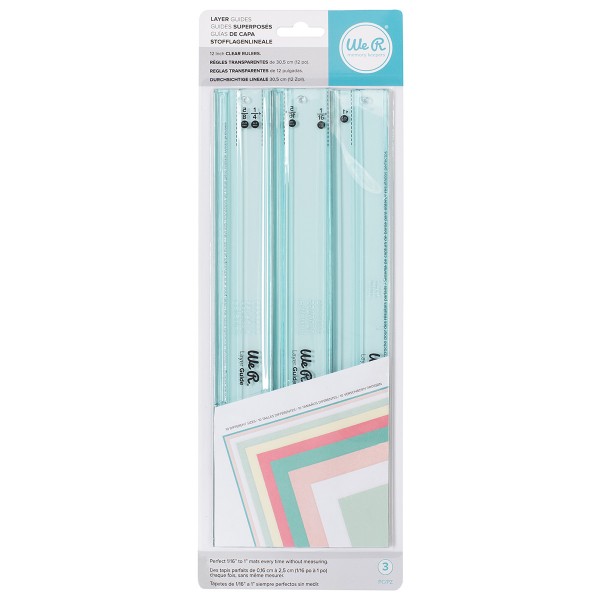 We R Memory Keepers Layer Guides
£23.99
Add to cart Bippity Boppity Glue
£6.25
Add to cart