Step by Step by Lainey Jones
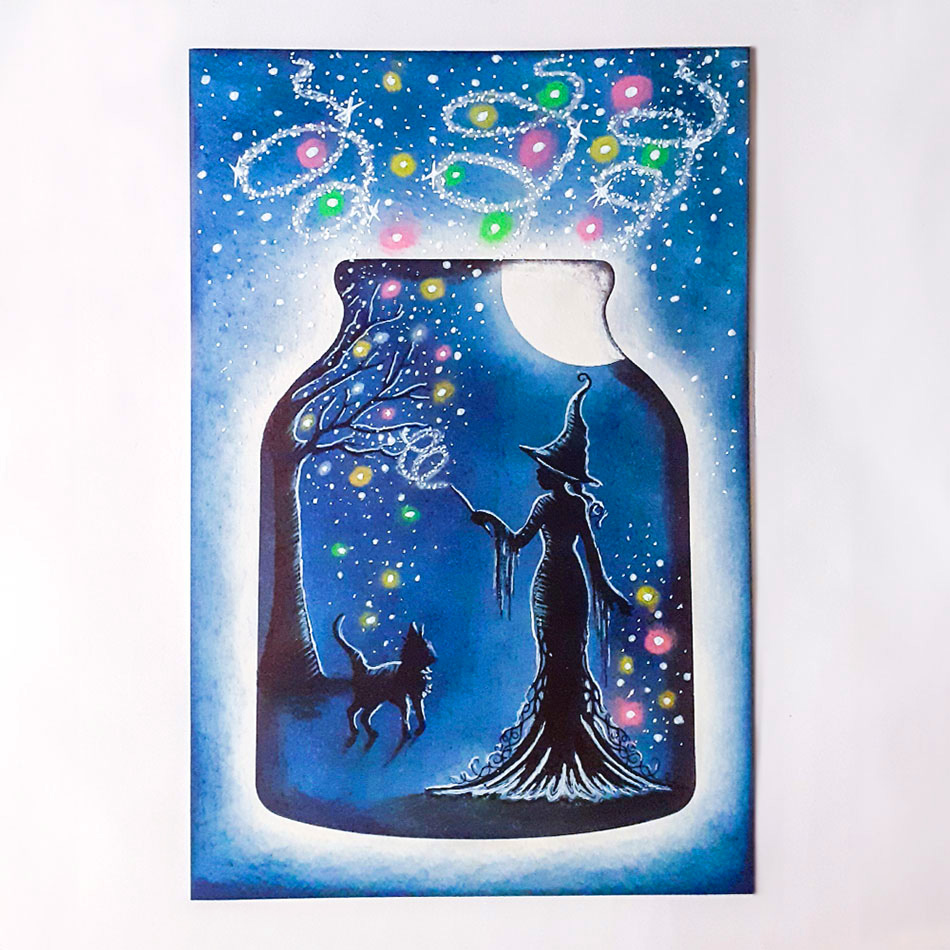
Hi everyone, It’s Lainey here with a tutorial from me on how to make this magical card. Hope you enjoy it!
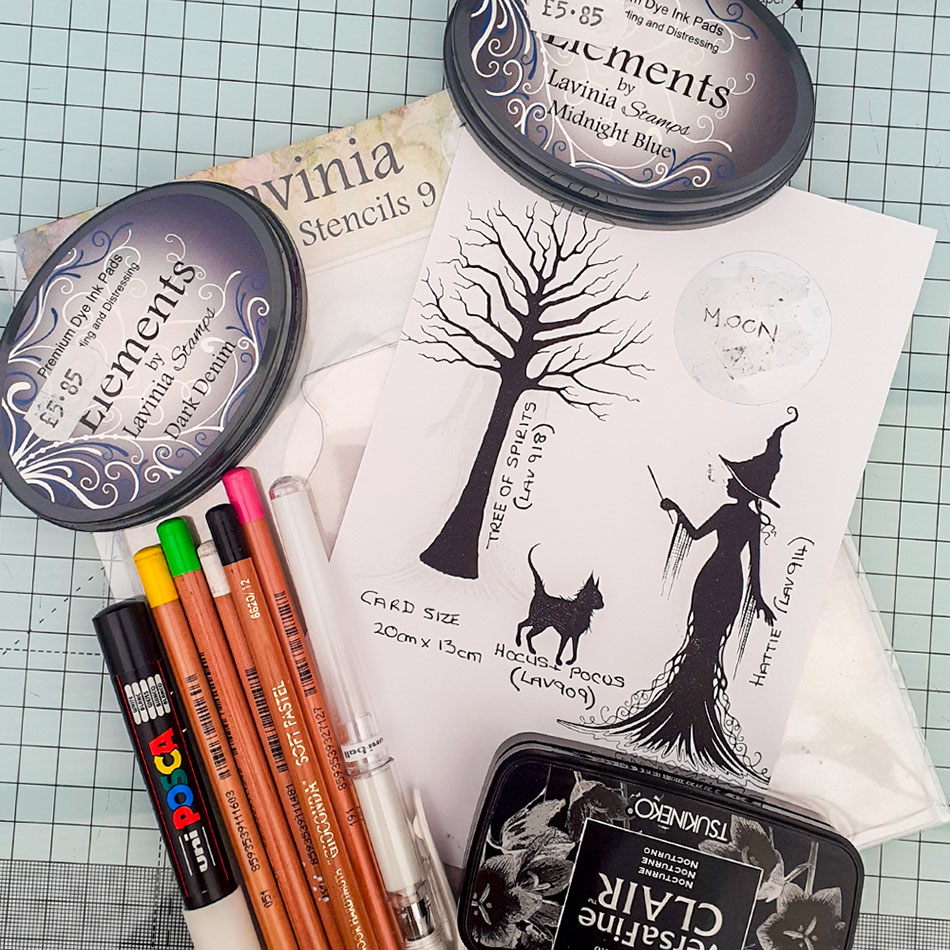
- You will need…
A piece of Multifarious A5 card cut to approx. 13cm x 20cm
An acetate circle masks for the moon.
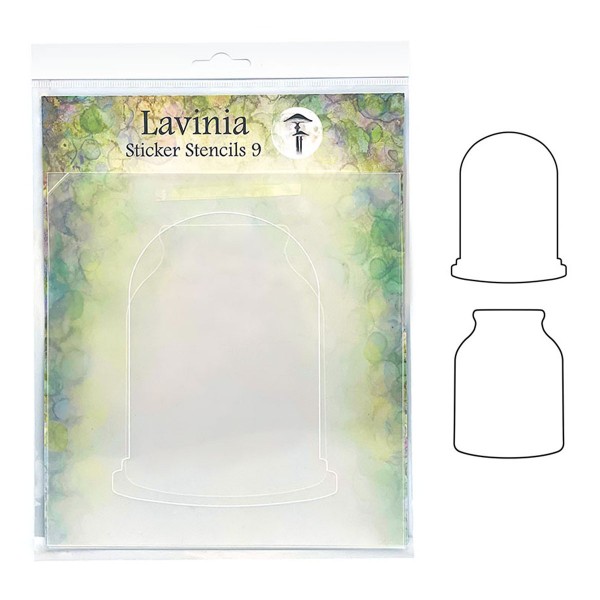
The jar stencil from Sticker Stencils set 9 – The outer part.
Stamps: Hattie (LAV914) – Hocus from the Hocus and Pocus cat set (LAV909) – Tree of Spirits (LAV918)
Inks: Versafine Clair Nocturne for stamping – Elements Dark Denim and Midnight Blue.
Pens & pencils: White Signo gel pen or Posca pen.
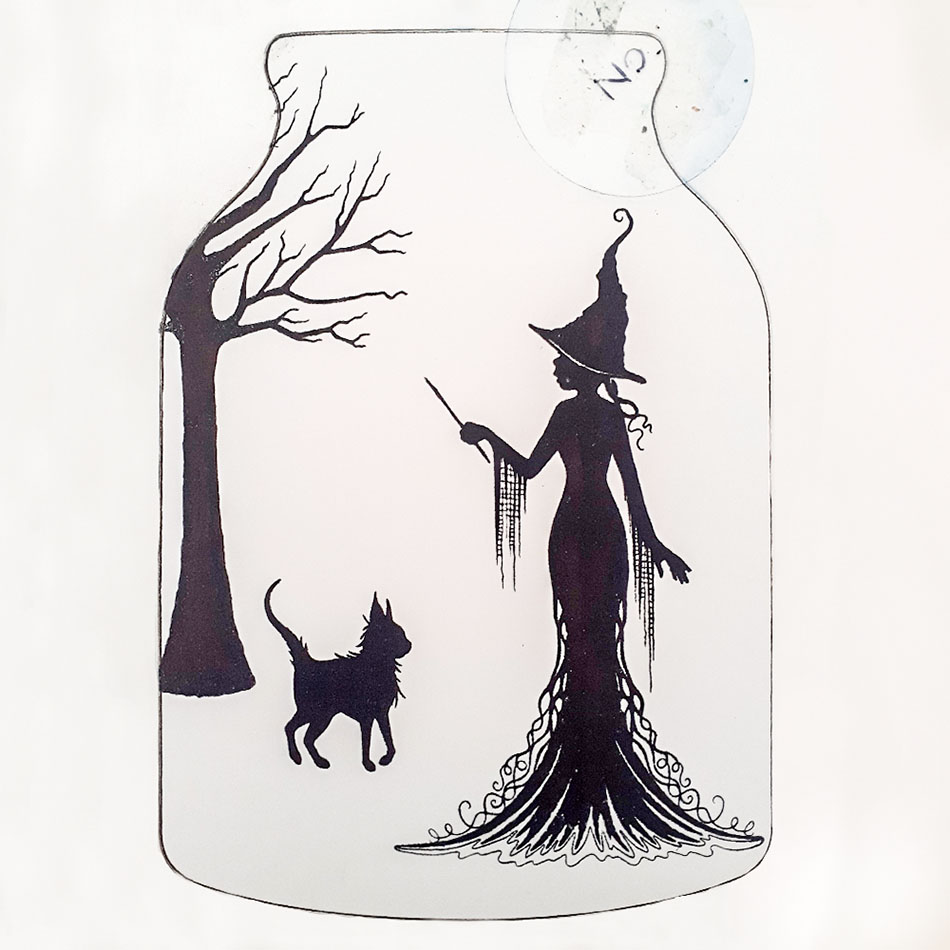
2. Position the stencil onto your card and then attach the moon mask to the top right of the jar. There will be roughly a third of the moon within the jar. Stamp Hattie ( LAV914), Hocus ( LAV909) and Tree of Spirits ( LAV918) in Versafine Clair Nocturne .

3. Leaving all Masks on, blend some Elements ink Dark Denim using a stencil brush size 9 over the inside of the stencil.
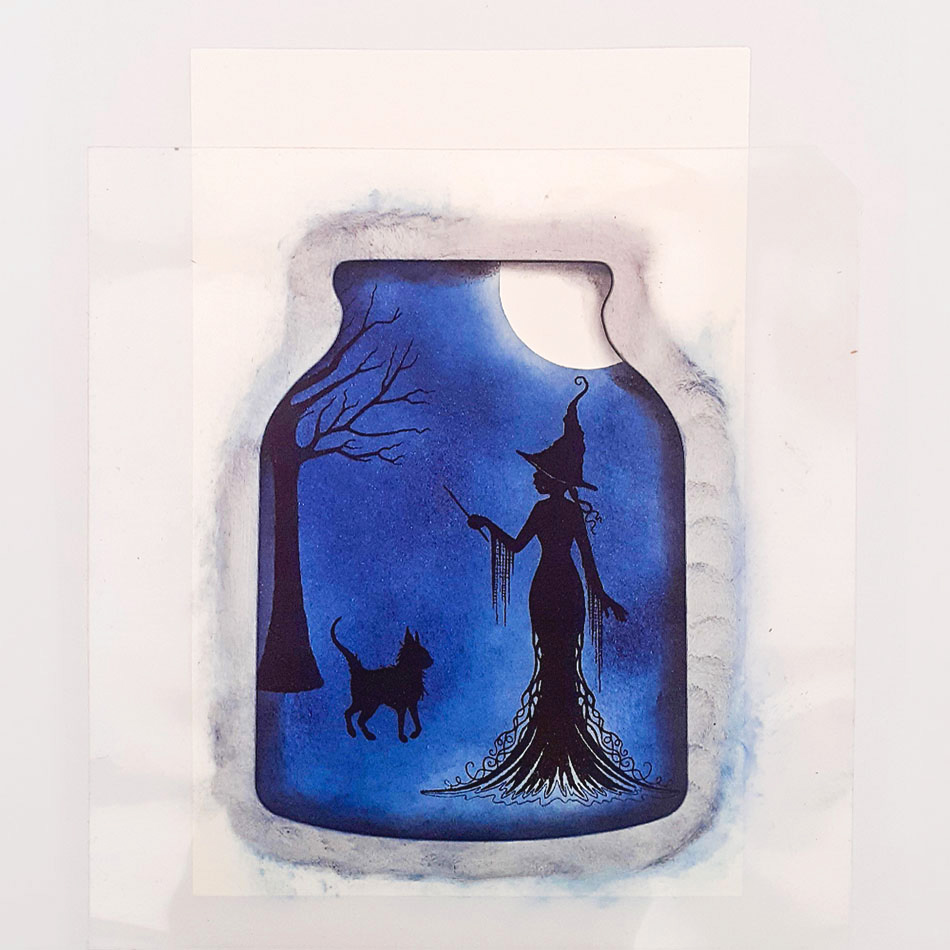
4. Leaving the jar stencil in place remove the moon mask and using the Elements Ink Midnight Blue, blend around the inside edge of the jar using a size 3 Stencil Brush. Try not to get much ink on the moon, a little ink gives a mystical effect.
5. Using a Black Koh -i-Noor pastel pencil create your shadows for the cats legs and shade around the bottom of the tree and witch’s dress. This gives the witch ground to stand on.
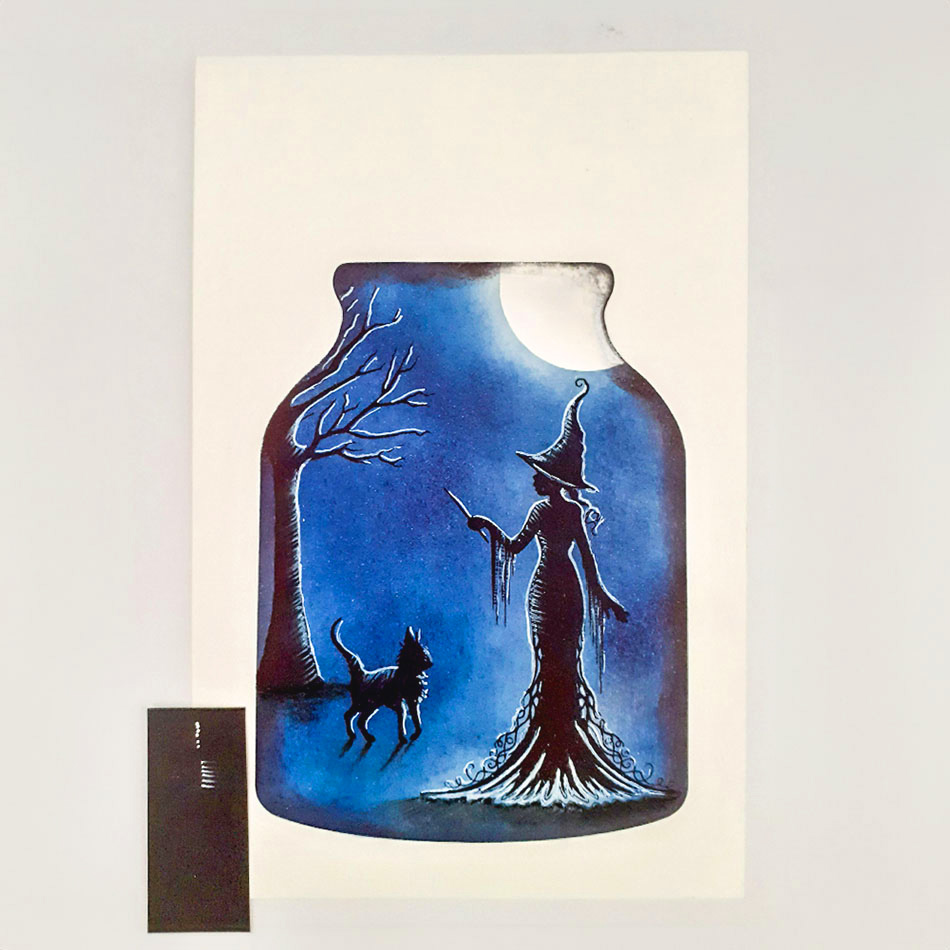
6.Using the white Signo or a Posca pen create your highlights on your stamped images by drawing a line around the edges. You can also use a white pastel pencil for this. To create more depth you can make tiny dots along the edge (only a few at a time as the Signo pen dries quickly) then gently swipe with your finger to smudge. (Please see the piece of Black card in the photograph to help). Of course this is optional. I have also brightened up the creases at bottom of the dress with my Signo.
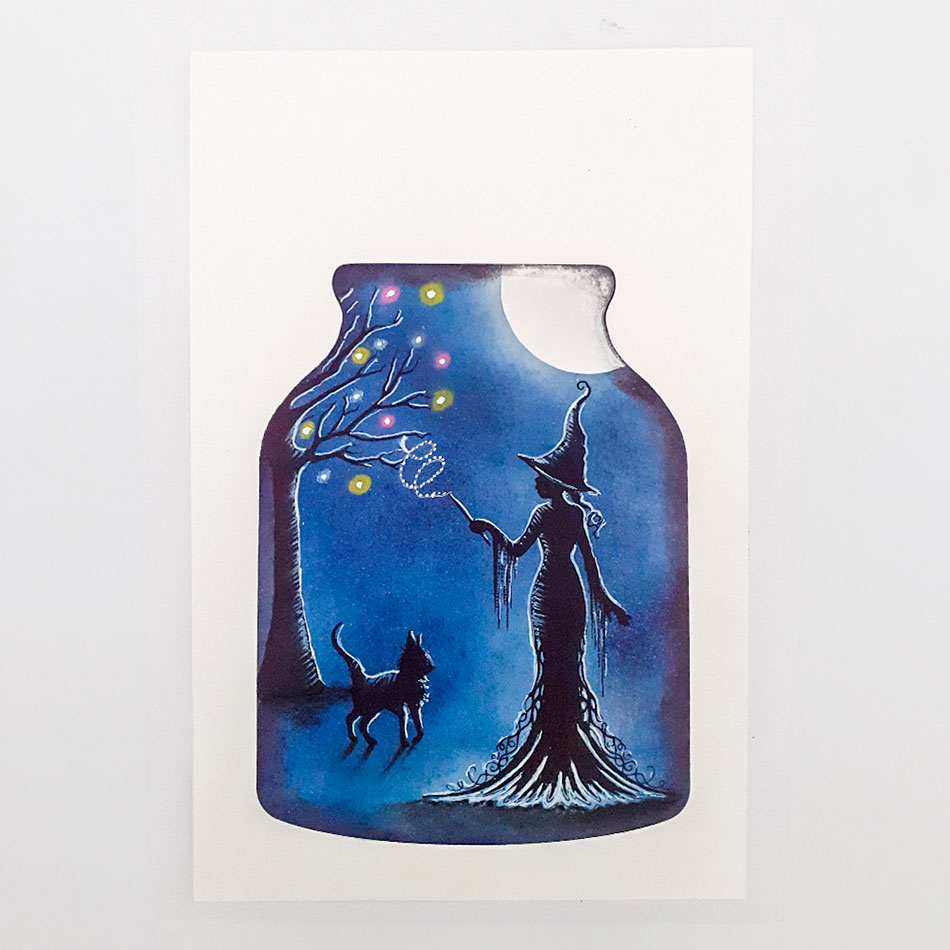
7. Using your coloured Koh- i-Noor pastel pencils draw circles for Orbs in different colours around and between the tree branches. Add a white dot of Posca or white Signo pen to the centre of each orb. Using a White pastel pencil draw a swirl from the wand tip towards the Tree. Then use a Signo/Posca pen to dot along the lines.
8. Add different sized dots around and between the tree branches and down towards Hocus. I have also drawn orbs and dots near the witch’s right hand.
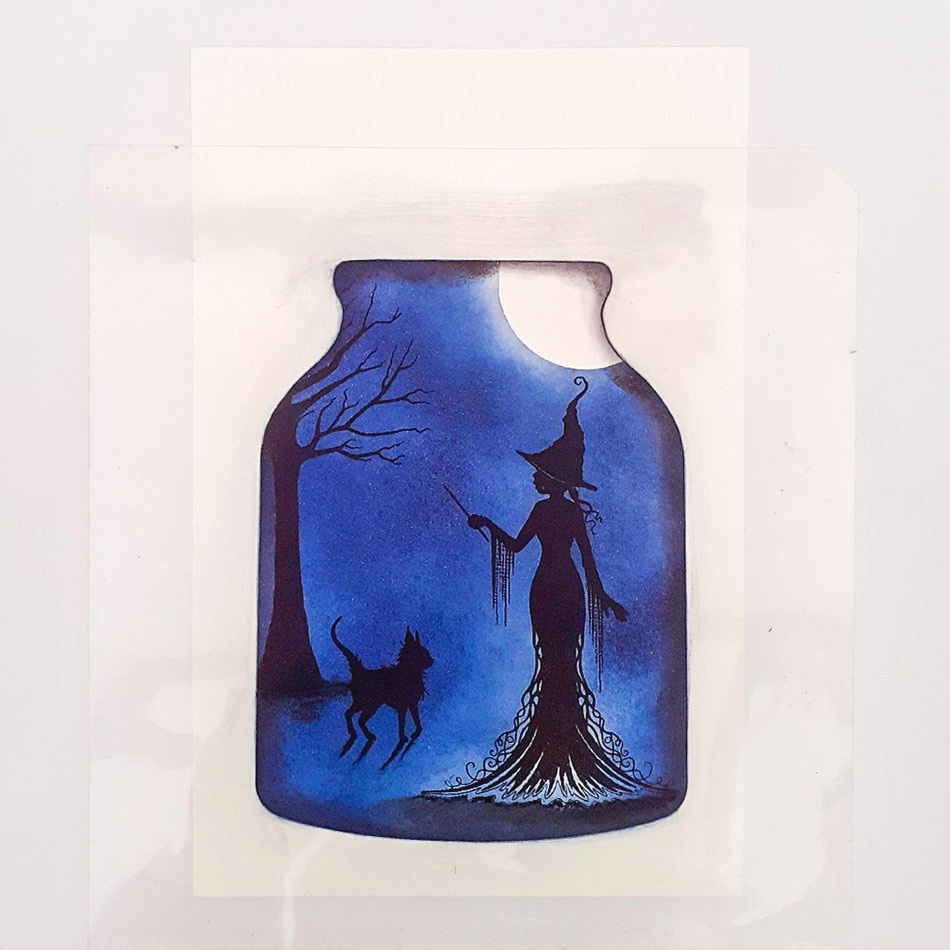
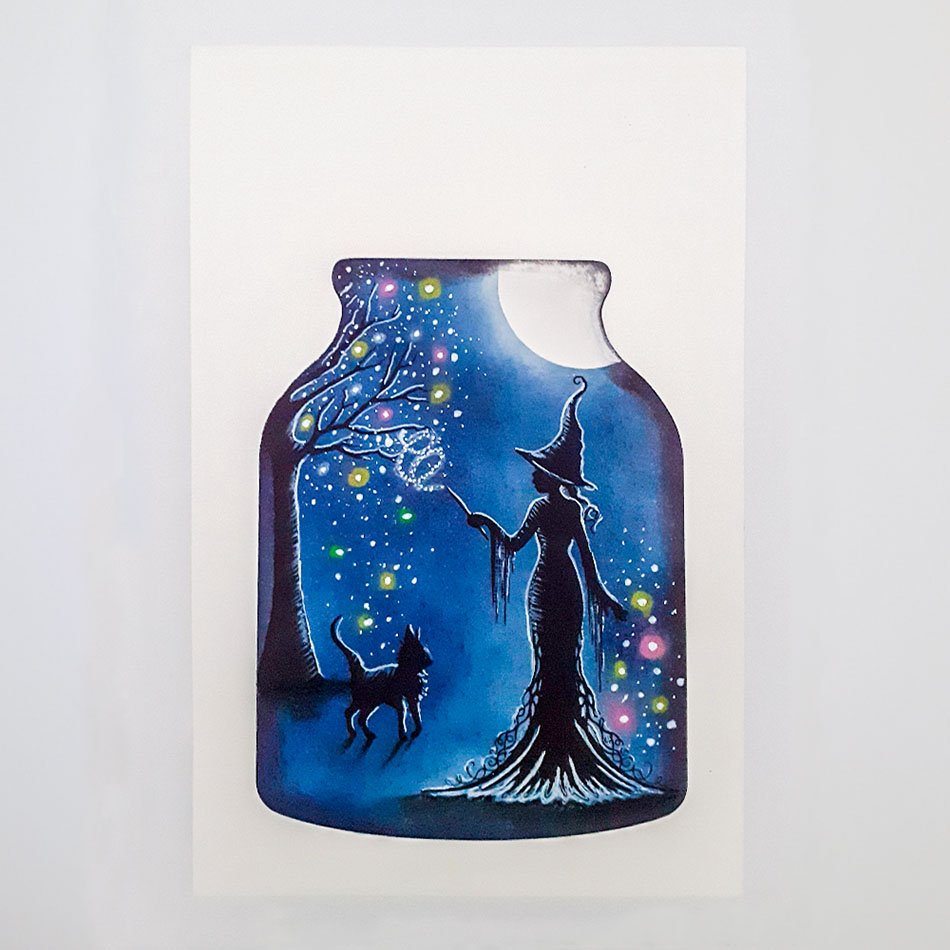
9. Remove the jar stencil mask and blend some Elements Ink Dark Denim outside the jar using a Stencil Brush Size 9. Be careful to leave a space around the jar to create a bright frame. See the photograph. Add more Orbs above the jar.
10. Draw more swirls and dot along the lines with the white Signo/Posca pen. This is optional, you can just have the orbs. Add more different sized dots for variation.
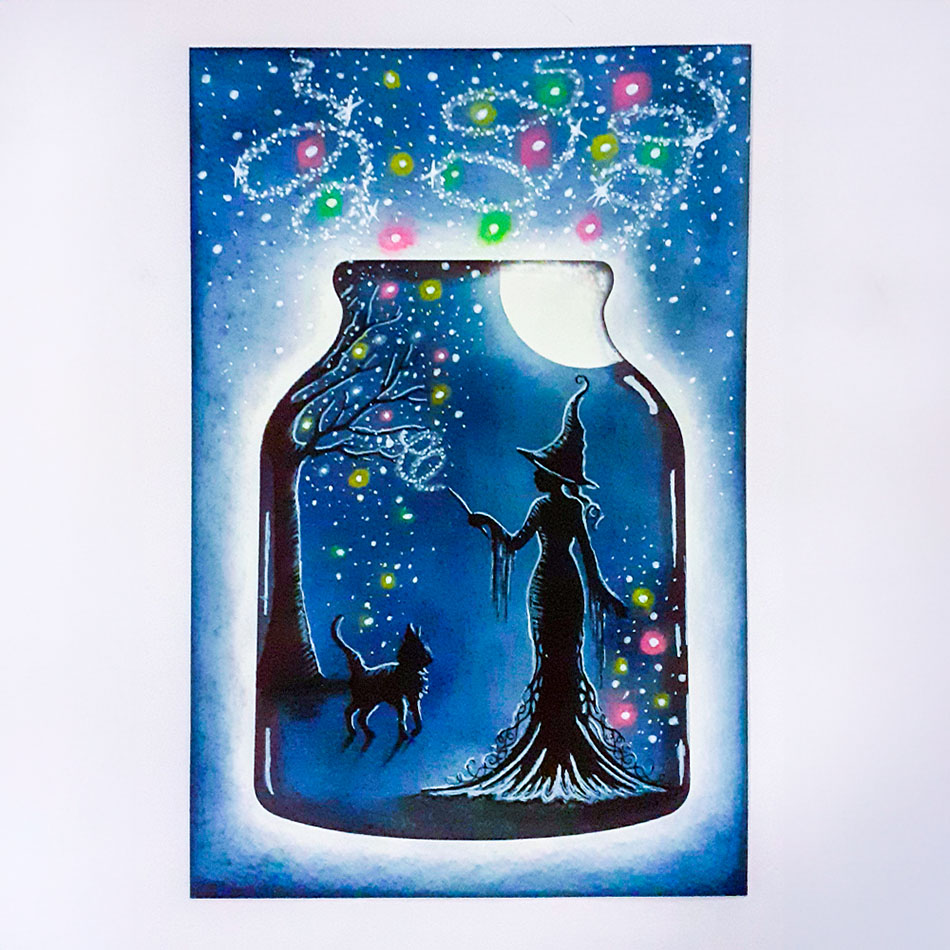
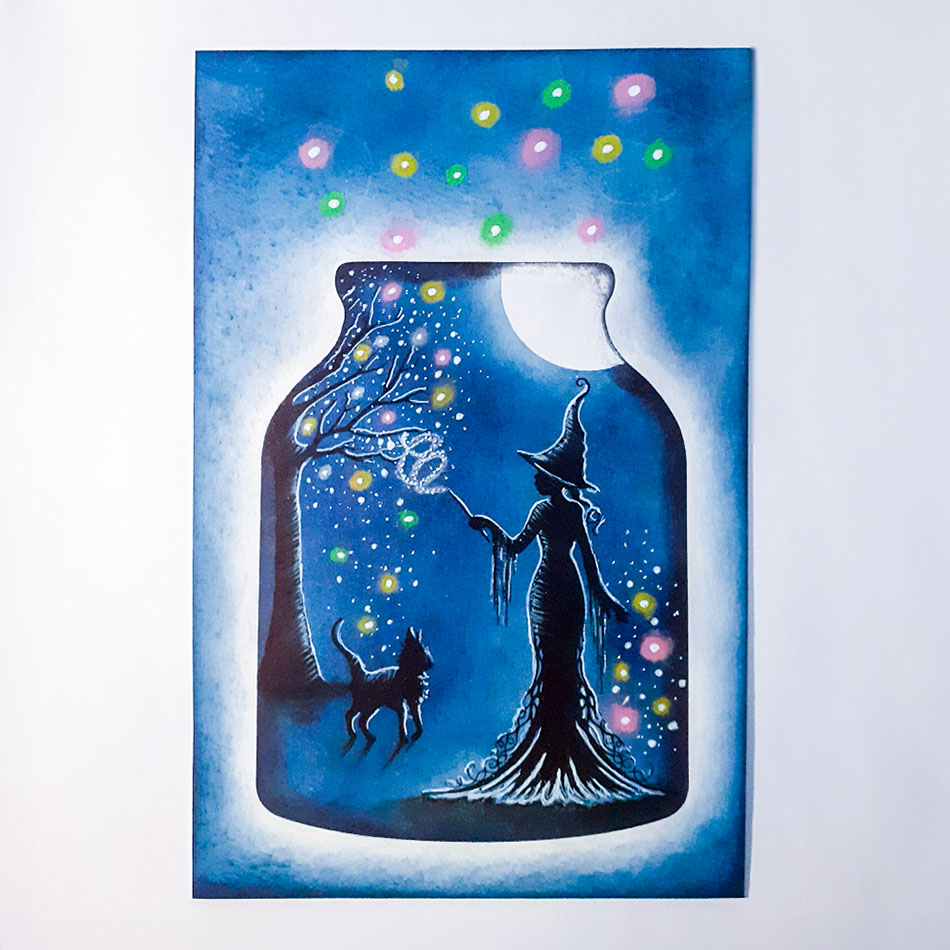
11. Finally add some highlights to the jar using a Signo or Posca pen as in the photograph. That’s it! You’ve done it! I can’t wait to see your creations! Thank you for following along. Lainey.