Hangin’ Out by Uli Delli
Hello, I’m Uli Delli, and as this month’s guest designer I’d like to share with you this step-by-step tutorial.
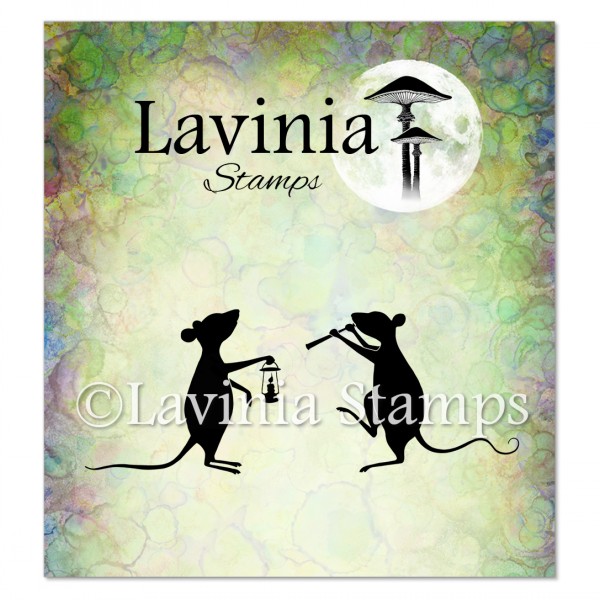
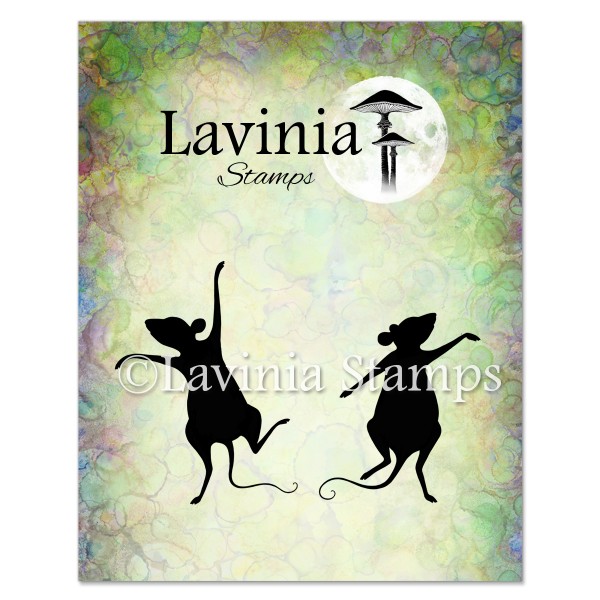
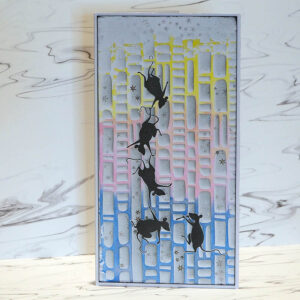
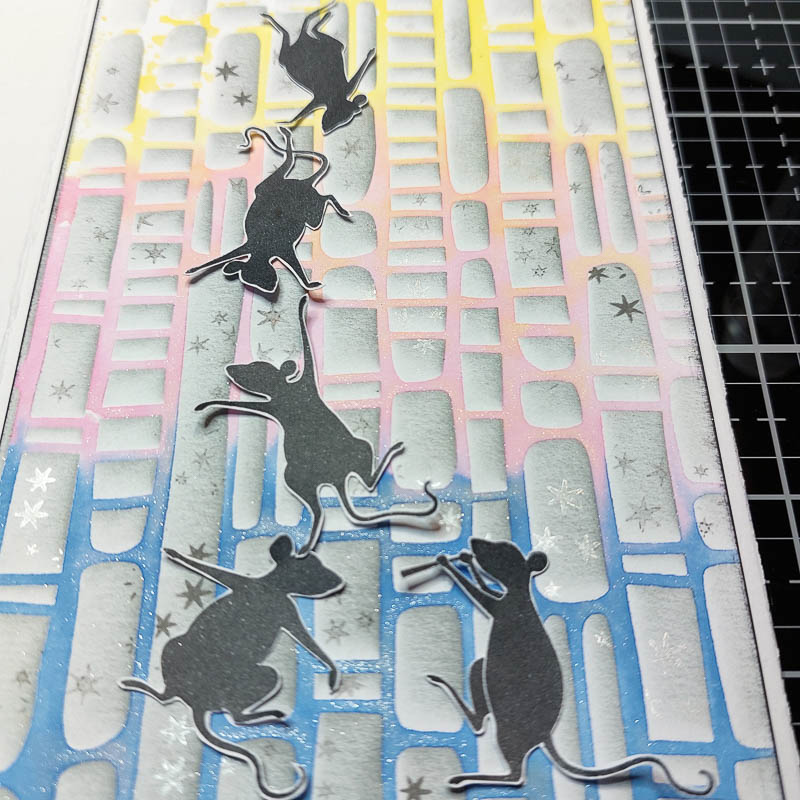
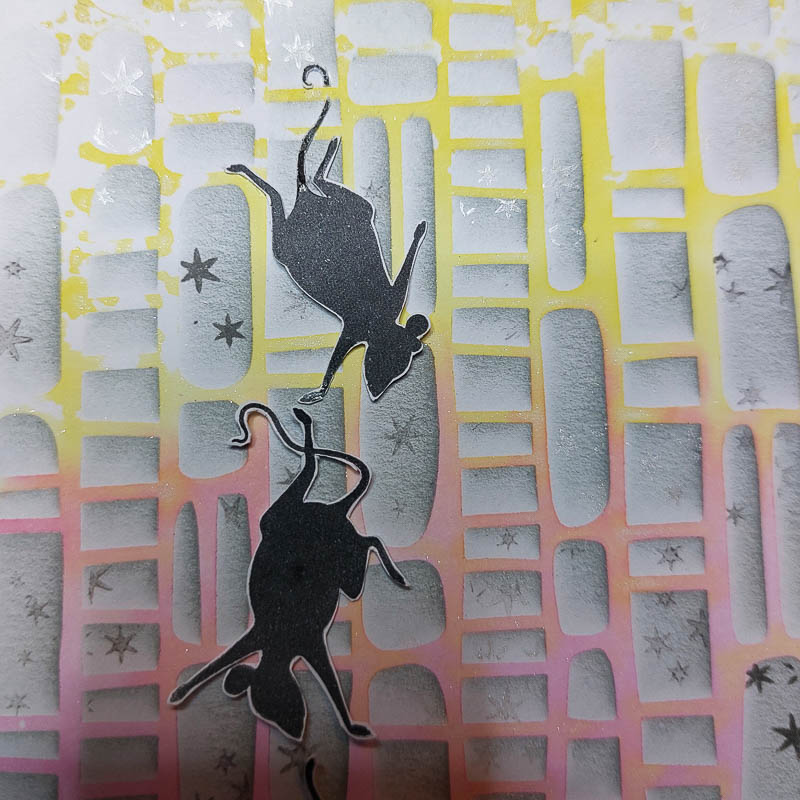
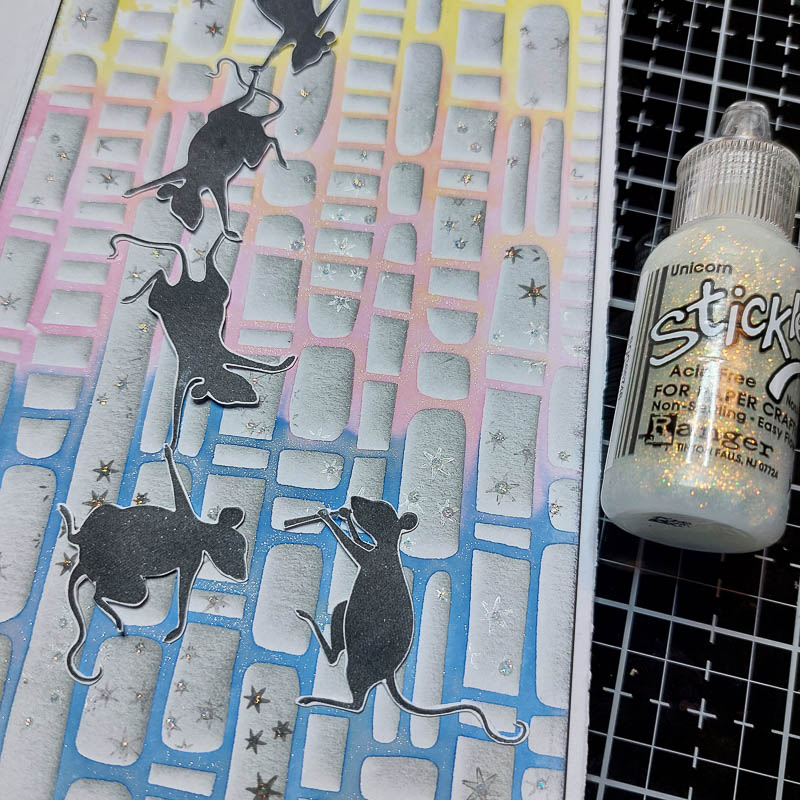
The theme of this card celebrated the mischievousness of the cute Lavinia mice as they hang out while Bibi sets the rhythm for them.
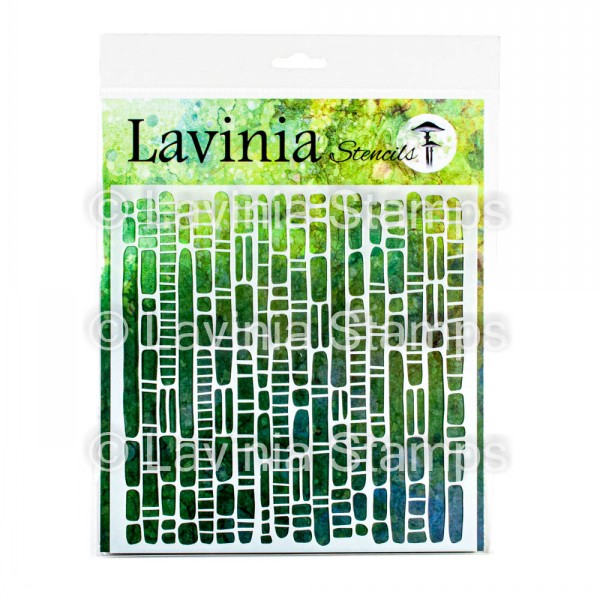
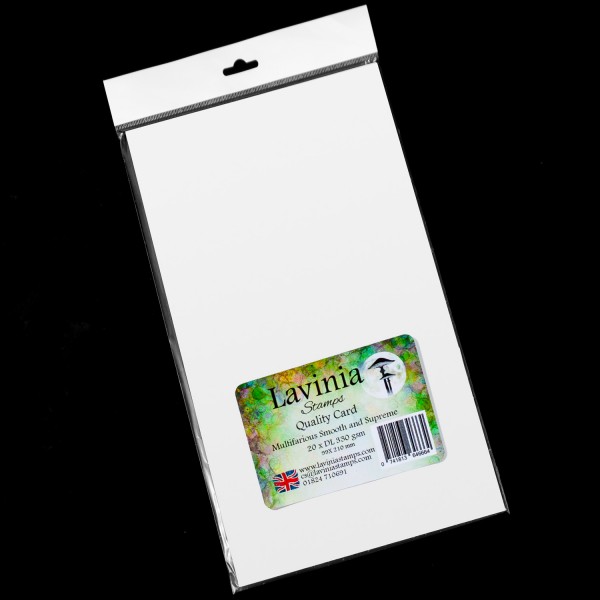
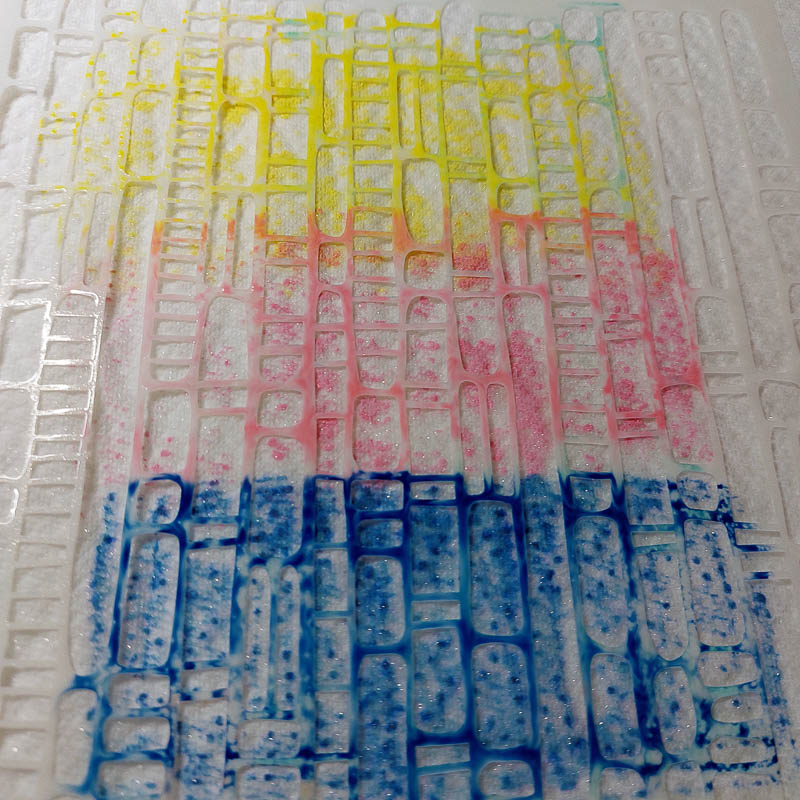
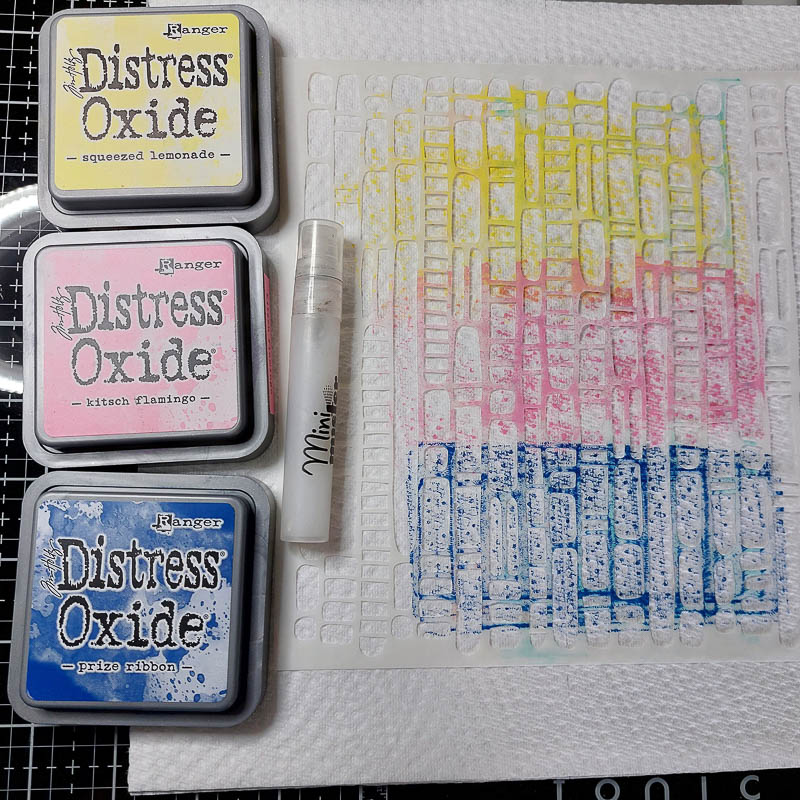
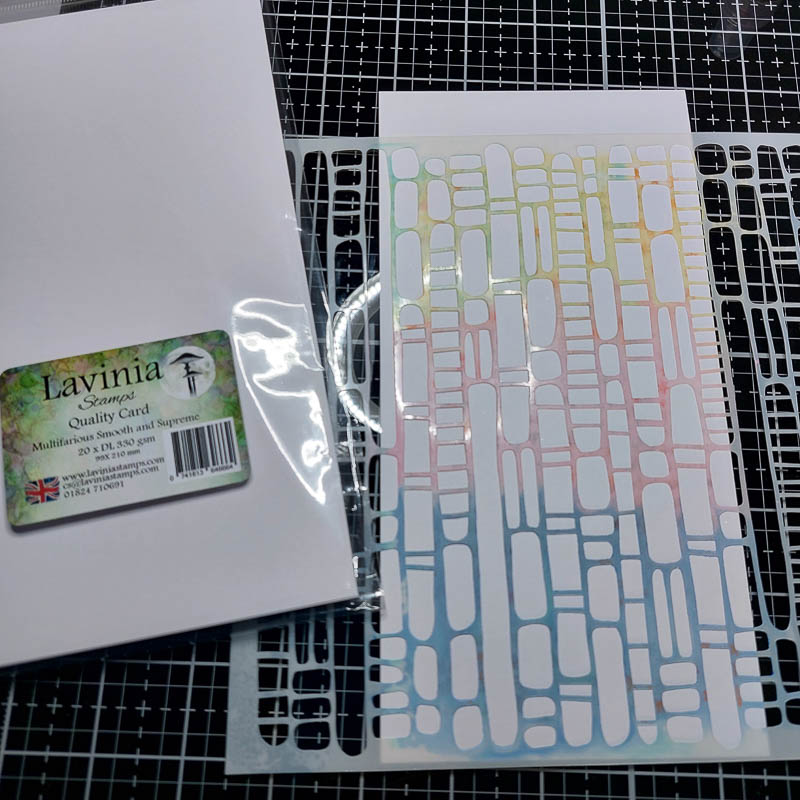
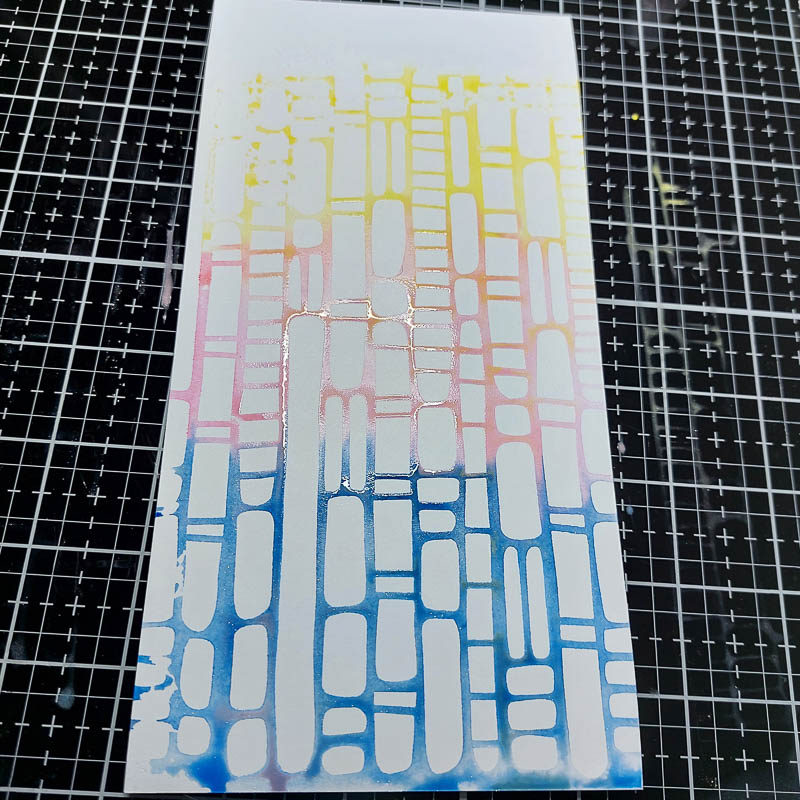
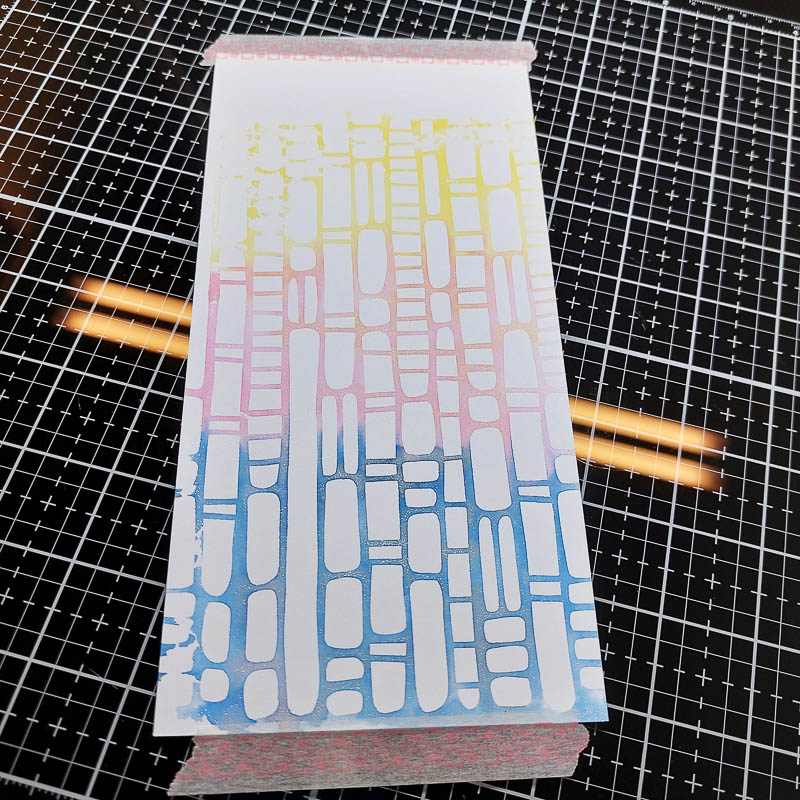
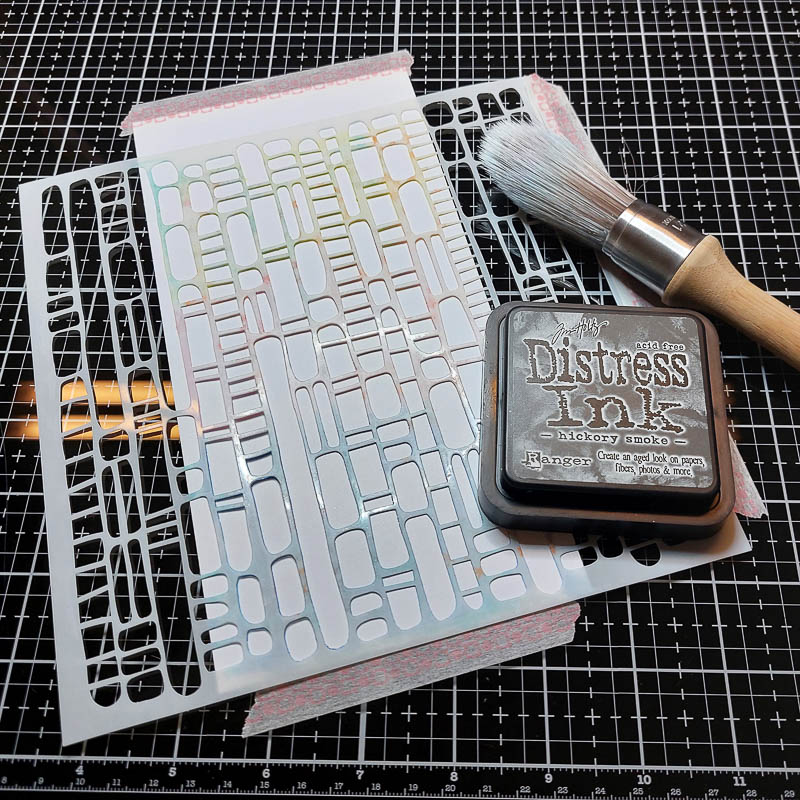
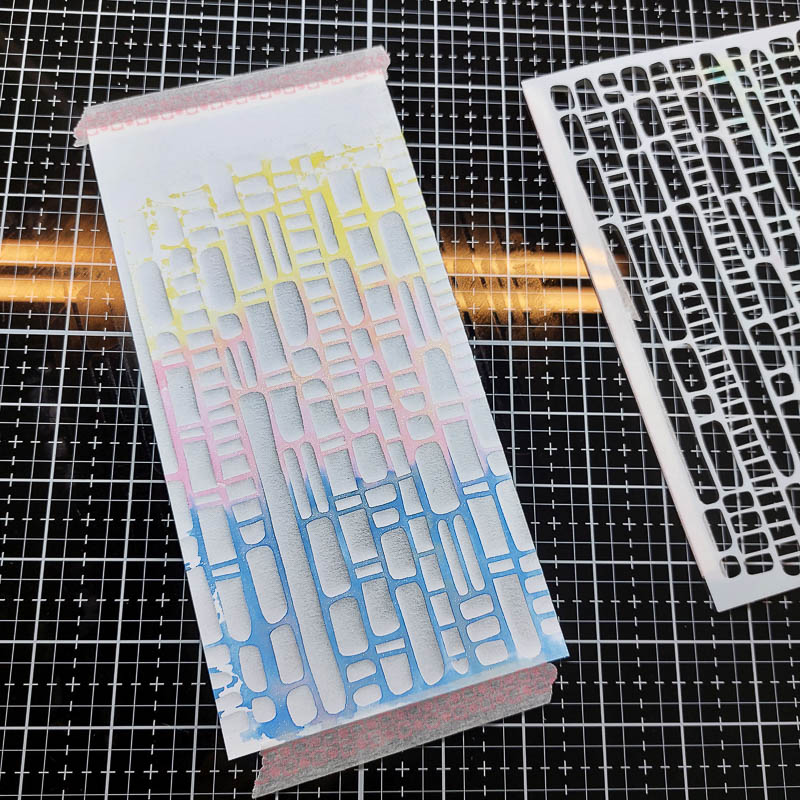
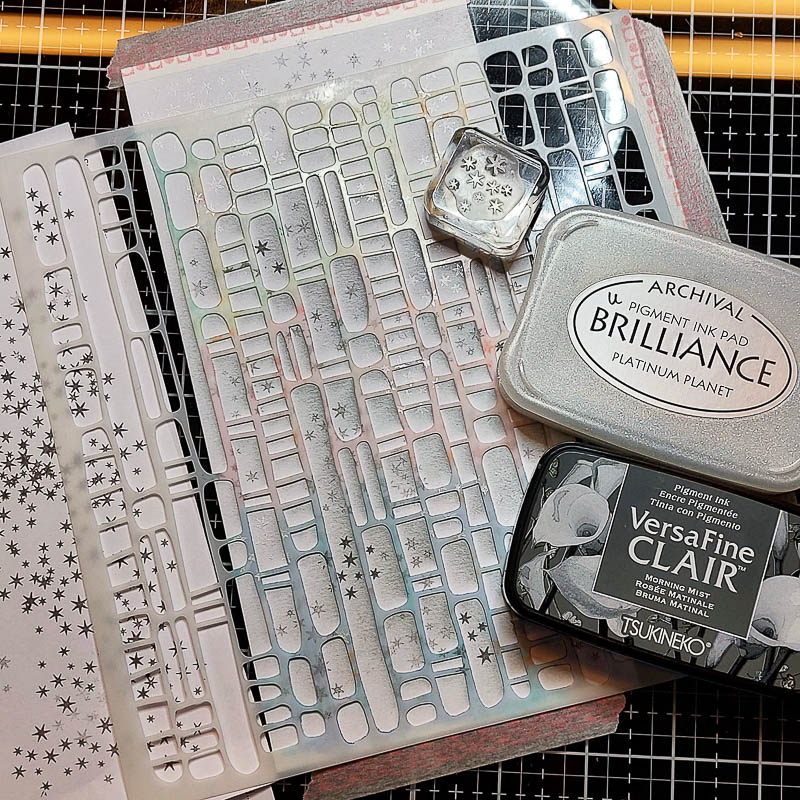
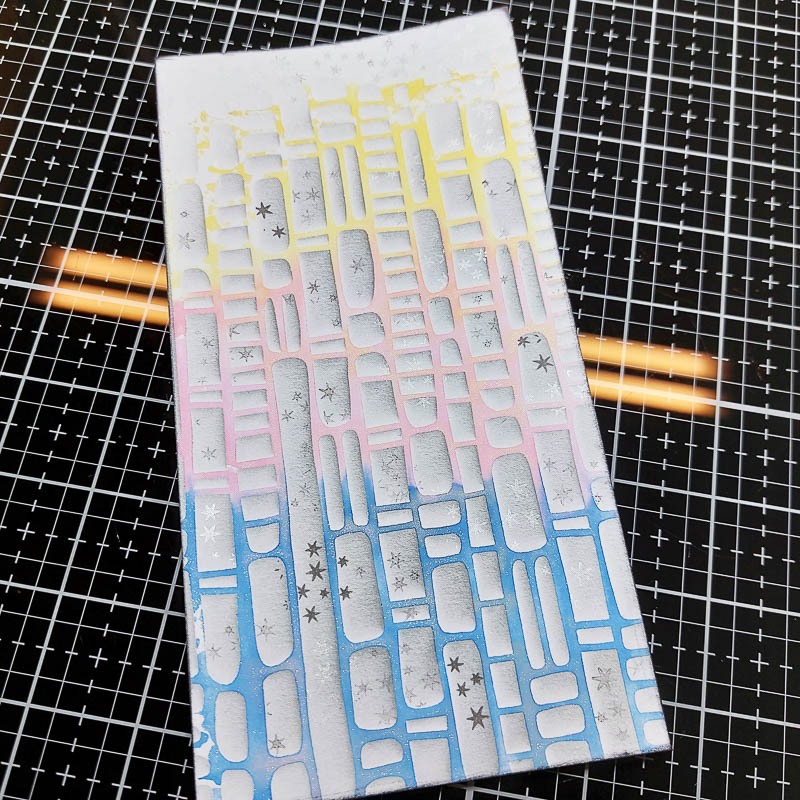
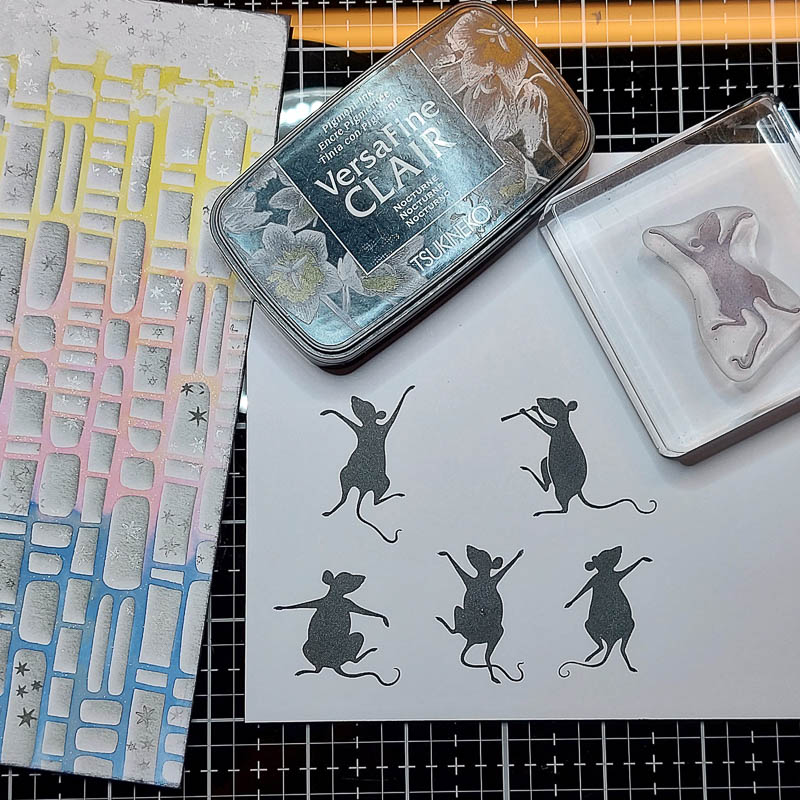
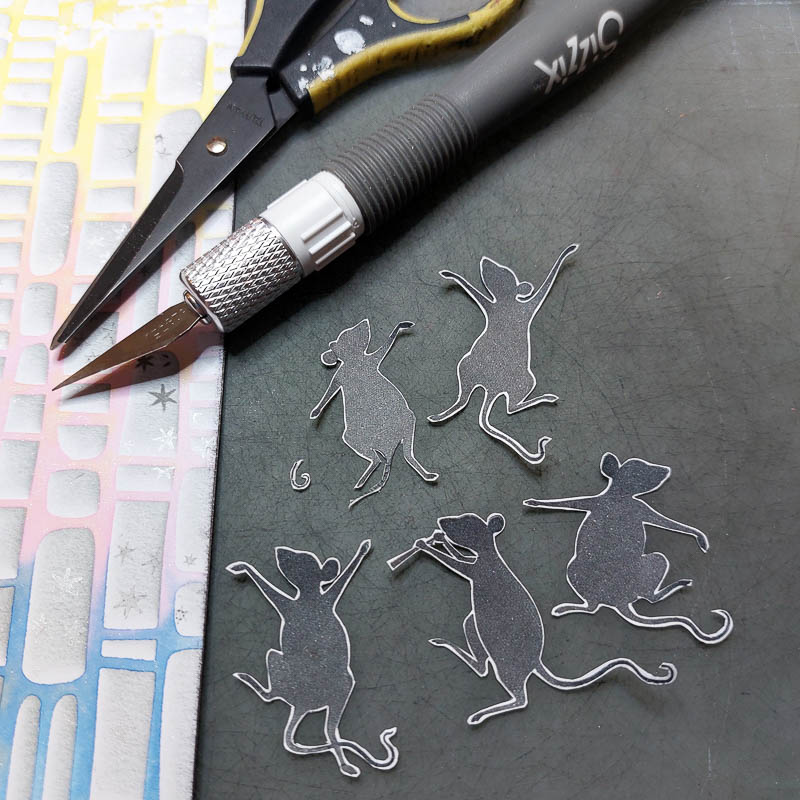
The Steps in Creating the Card
(click on the first image to view as a slideshow)
- Place the Block Print stencil on a kitchen towel. Dab Distress Oxide Ink directly onto the stencil. Start with the lightest colour at the top, in the middle the slightly darker colour and below the darkest colour.
- Spray water on the stencil. The stencil should be properly wet. Gently pat the top edge dry with a kitchen towel.
- Slowly turn the stencil over and carefully place it onto the Multifarious Card. Place the dark coloured part of the stencil at the bottom of the paper. There should be some space left at the top. Do not press! Leave the stencil on the paper for a minute to allow the ink to transfer well.
- Carefully lift off the stencil. Let the paper dry.
- Fix the paper to your work surface with washi tape.
- Place the stencil exactly over the design. Fix the stencil with a strip of washi tape on the right side (if you're right-handed - otherwise on the left side.) You should now be able to fold the stencil up and down without shifting. Take a big stencil brush and a light grey dye ink.
- Pick up colour from the inkpad with the brush. Blend the ink in even strokes, diagonally from top right to bottom left. Start under the top edge of the stencil. It takes some patience, but the result is worth it. Take the brush to colour the background evenly. By applying diagonally, the grey appears darker at the top right corners of the gaps in the stencil. This gives the background more depth. Lift the stencil to check if you coloured the whole background and if you want to apply more colour. Finally, fold the template to the side and lightly blend in at the top edge.
- Fold the stencil back to cover the coloured lines. Take the "Star Group Mini" stamp and stamp the stars all over the background. I used Versafine Clair Morning Mist ink pad. The first print was too dark for me, so I stamped on scratch paper and then the second and third prints on the background. With a silver stamp pad, I stamped a few shiny stars in between to bring in more variation.
- Put the stencil away. Now stamp a few stars on top of the background.
- Stamp Bibi, Minni, Moo, Tilly and Tango with Versafine Clair Nocturne on smooth white paper.
- Cut out the mice exactly. Tilly has the top end of the tail cut off.
- Trim the background that the vertical lines of the stencil print are even with the edges of the background. Cut off the top and bottom ends which were covered by washi tape. Ink the edges of the background with a black ink pad. Place the mice to estimate the layout.
- Glue the mice to the background. On the head and body, I smeared PVA Glue which gives some dimension. You can also use thin foam tape. Cover the feet with a precision glue pen.
- Start with Tilly. Place her that the cut tail starts directly under a rung and she hangs upside down. The last small part of the tail is glued over the rung. It should look like she's hanging from the rung with her tail curled around it.
- Work your way down. Each mouse holds a paw of the mouse hanging below. Only Bibi stands on a lower rung and plays the flute. As final touch put small dots glitter glue (Stickles) in the middle of the stars. Let dry. Mount the card on a card-base.
I hope you like the technique and give it a go.
Play and have fun!
Uli xx