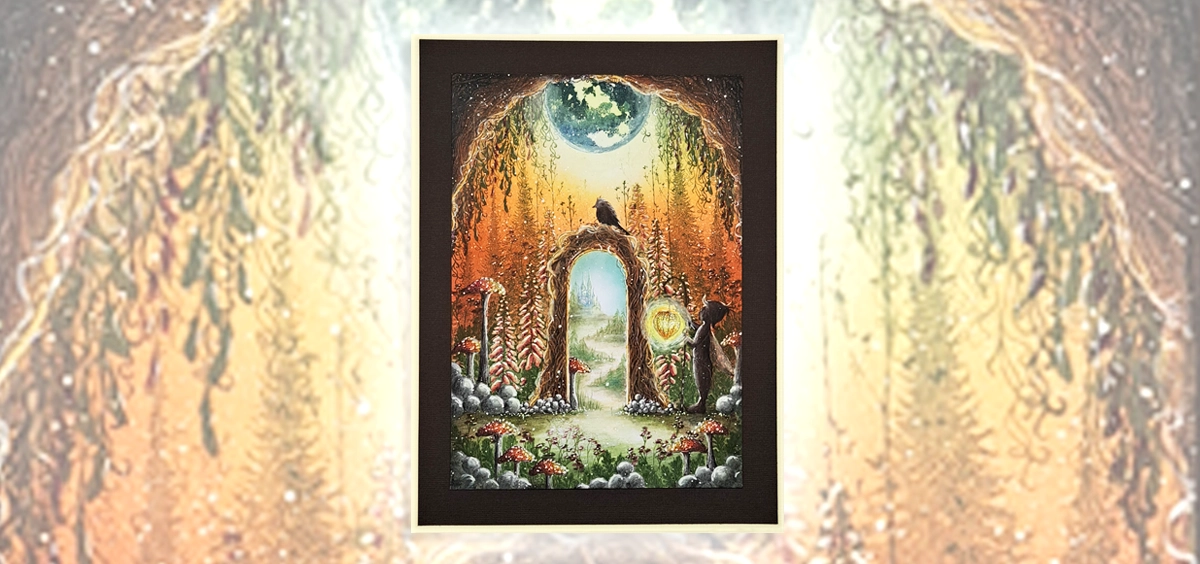


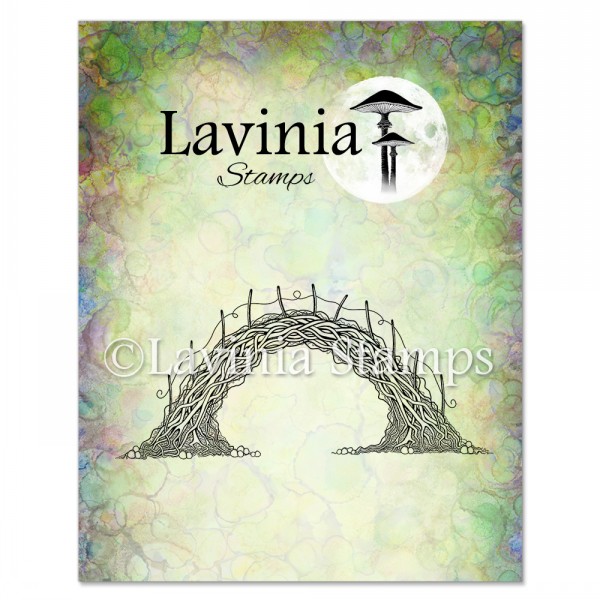
 Sacred Bridge Small Stamp
£5.80
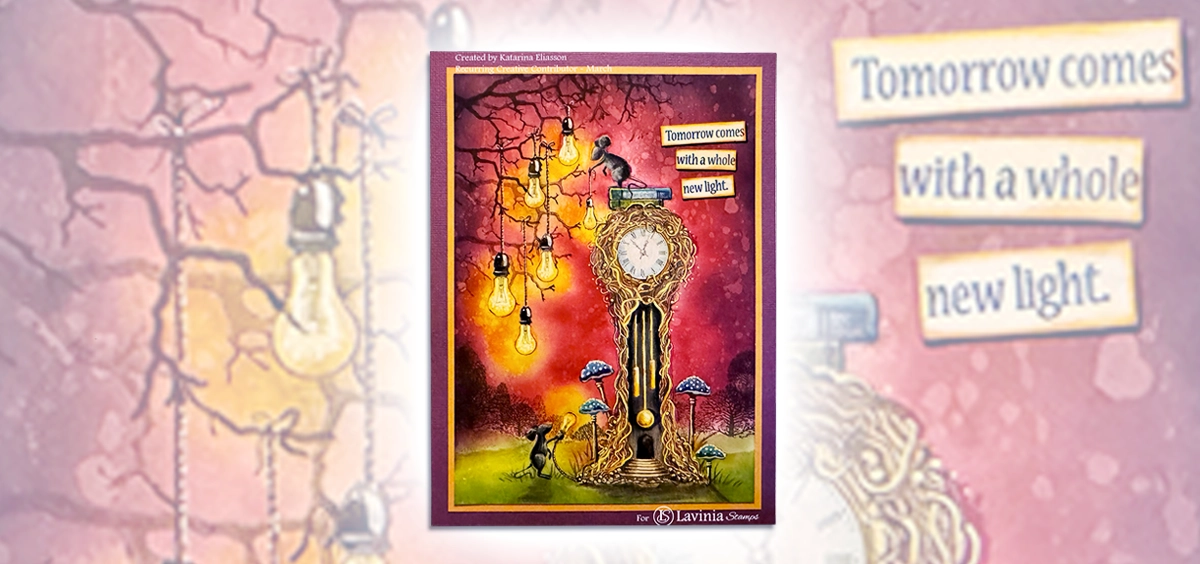
Add to cart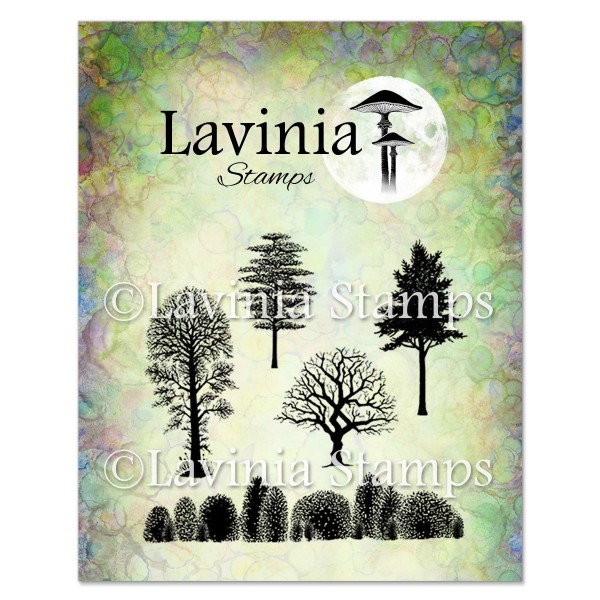 Tree Scene Stamp
£8.30
Add to cart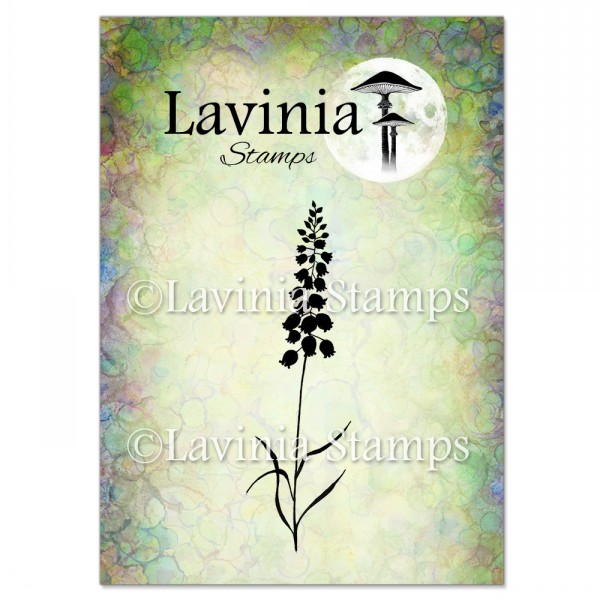 Bluebells Stamp
£5.80
Add to cart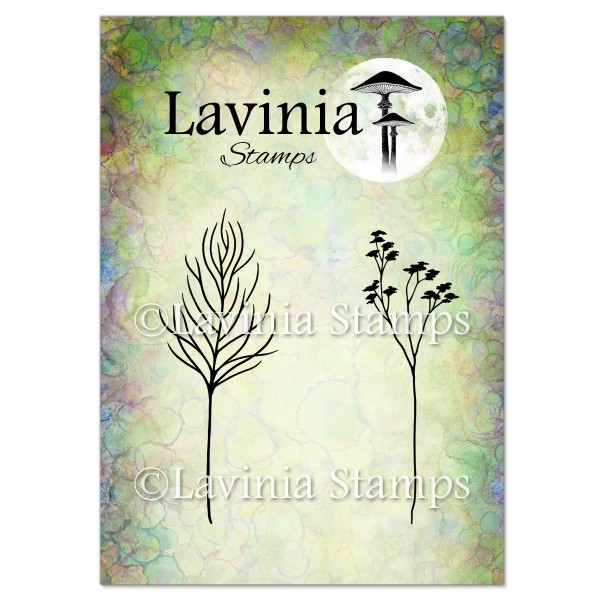 Flora Set Stamp
£7.20
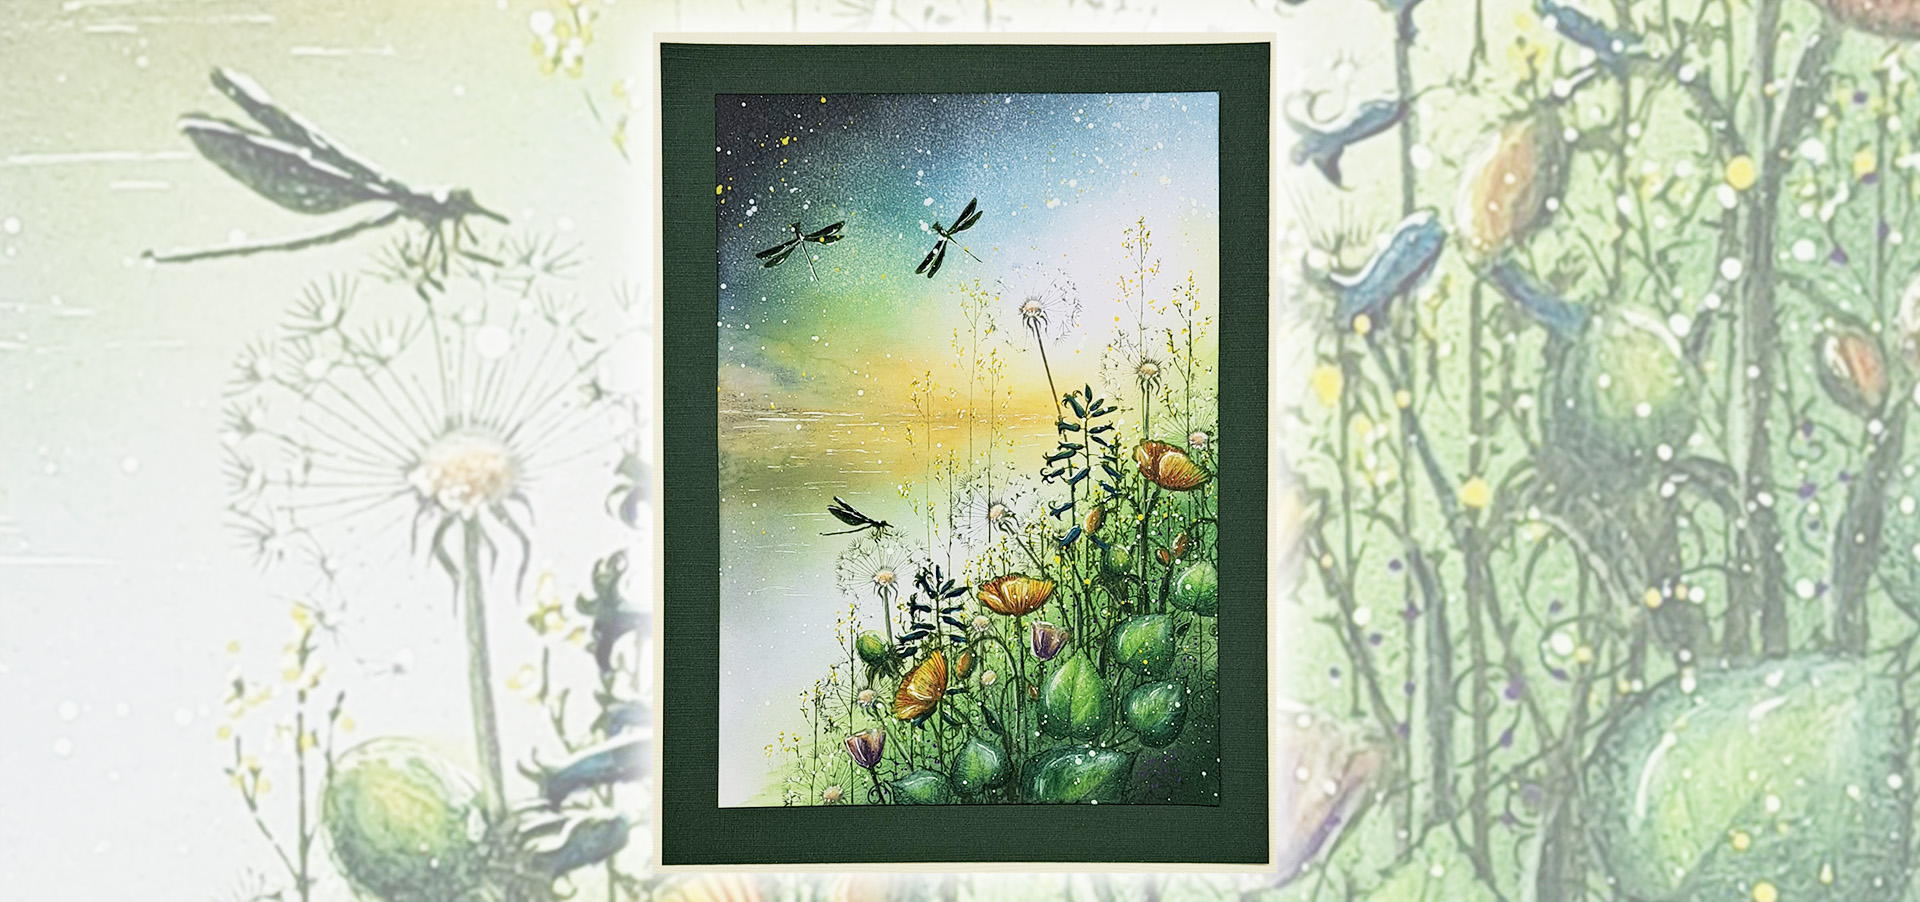
Add to cart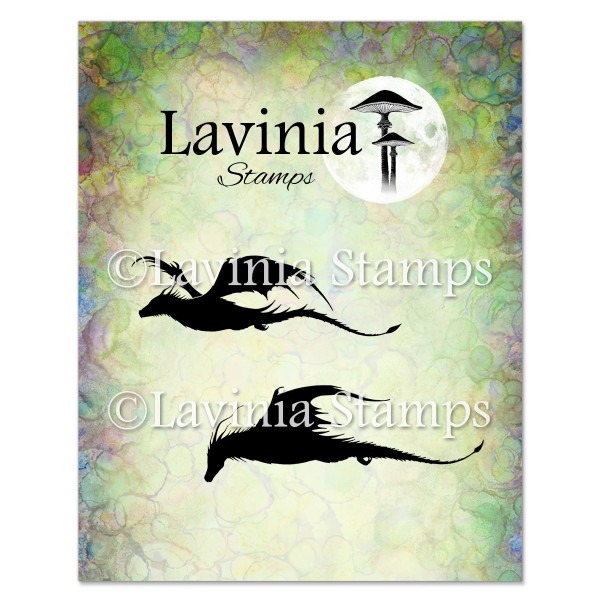 Dragon Set Stamp
£7.50
Add to cart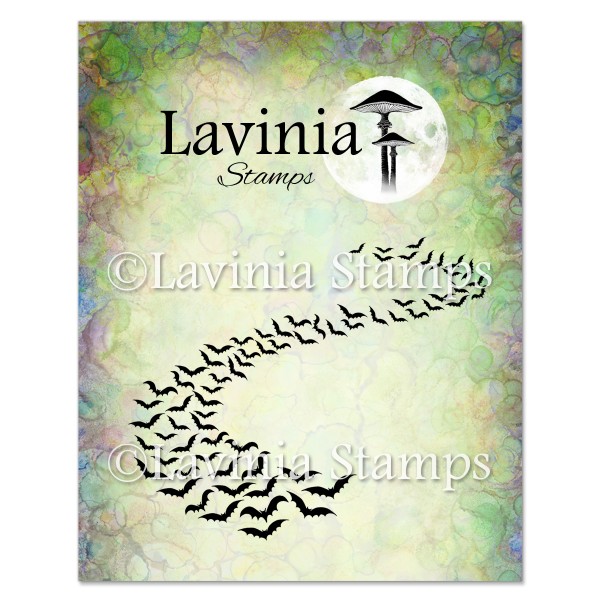 Bat Colony Stamp
£6.50
Add to cart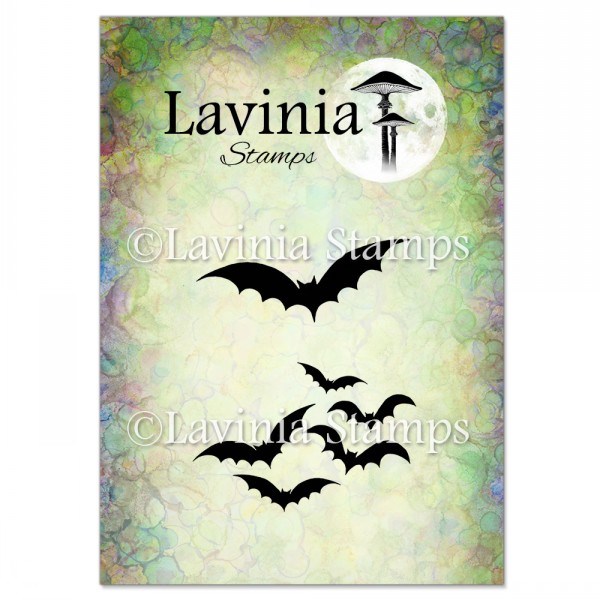 Bats Stamp
£5.80
Add to cart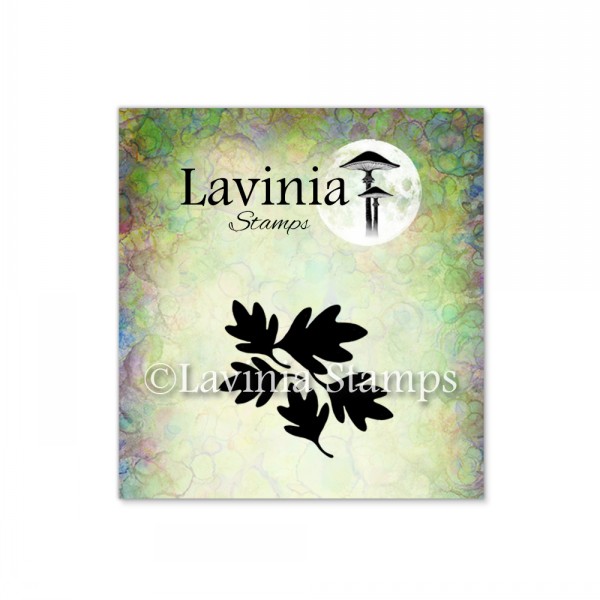 River Leaves Mini Stamp
£1.10
Add to cart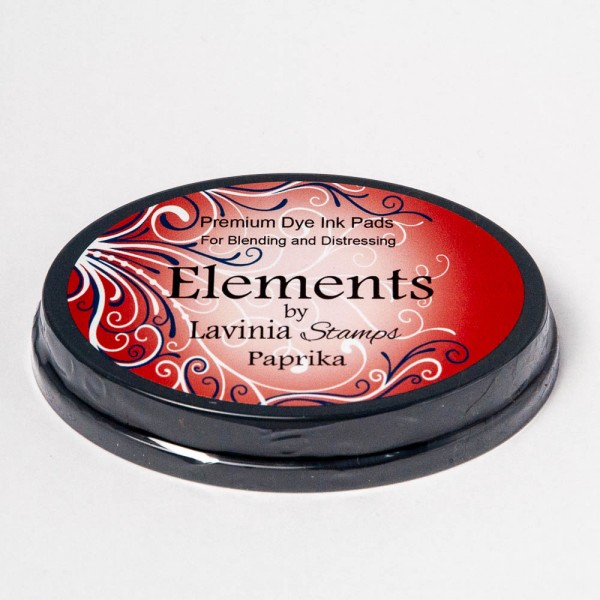 Elements Premium Dye Ink – Paprika
£5.85
Add to cart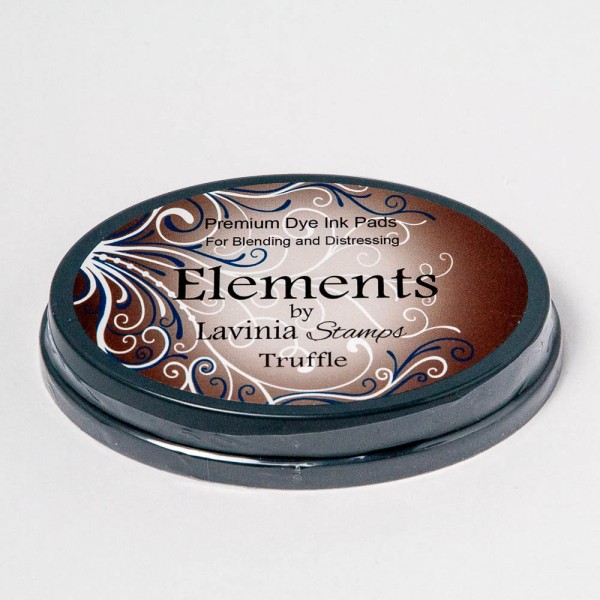 Elements Premium Dye Ink – Truffle
£5.85
Add to cart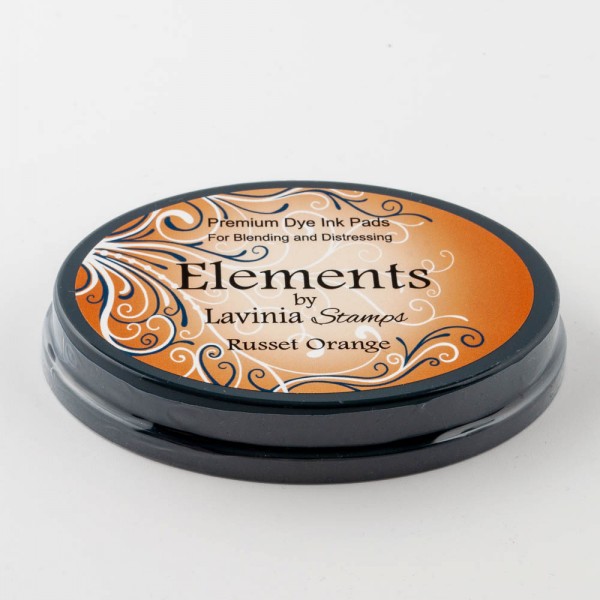 Elements Premium Dye Ink – Russet Orange
£5.85
Add to cart Elements Premium Dye Ink – Olive
£5.85
Add to cart PanPastels – Hansa Yellow
£9.30
Add to cart Versafine Clair Ink Pad – Pinecone
£5.80
Add to cart Versafine Clair Ink Pad – Shady Lane
£5.80
Add to cart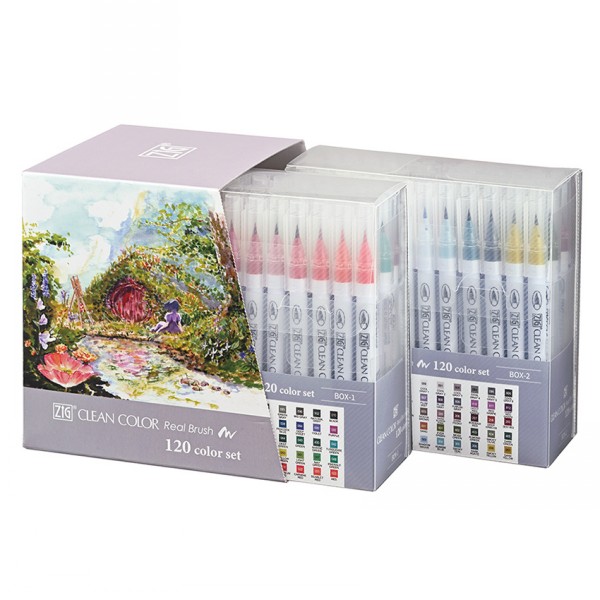 Kuretake Clean Colour Real Brush Pens Set of 120
£249.00
Add to cart Mondeluz Watercolour Pencils 72 Set
£59.95
Add to cart