Step by Step by Leesa Magical Maker.
Hello everyone, Hope you’re all well. Today’s tutorial is how I do my reflections in water. This can be used on any creation that needs a mirror effect. Feel free to adapt and use what you have in stamps & colours
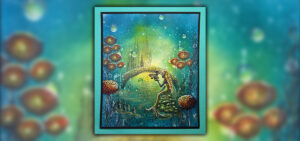
Hope you enjoy today’s tutorial named “Who’s that Twila” as I think she’s curious looking at her reflection in the water.
Picture 1
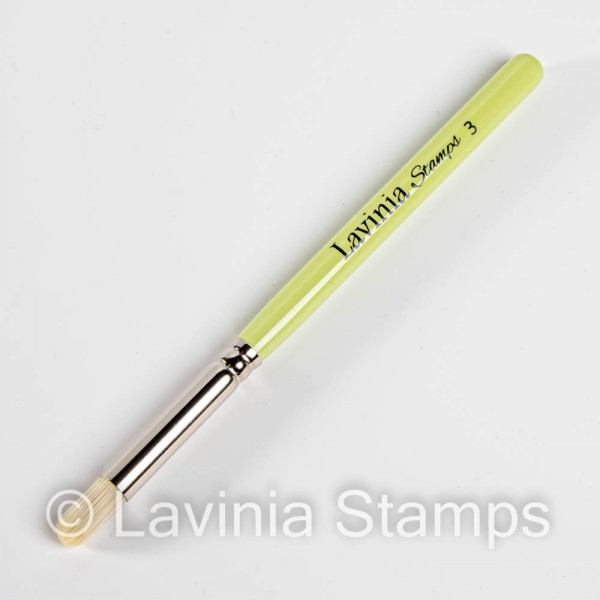
I used 7 x 7 multifarious card for this creation. Blend using a series 3 stencil brush with Elements ink Midnight Blue to create definition of the edge where land meets water. Turn the card around, if easier, using the ink already on the brush as the reflection will need to be lighter.
Picture 2
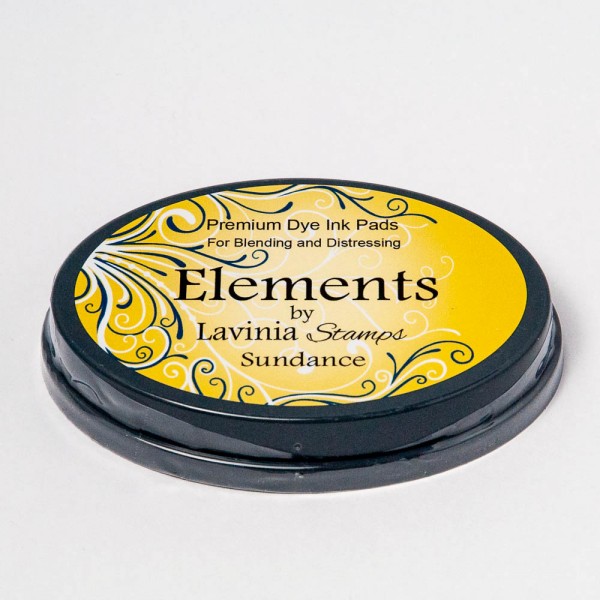
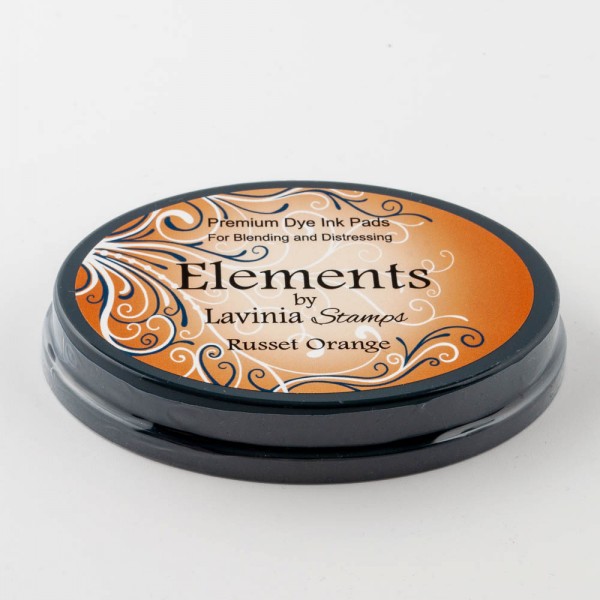
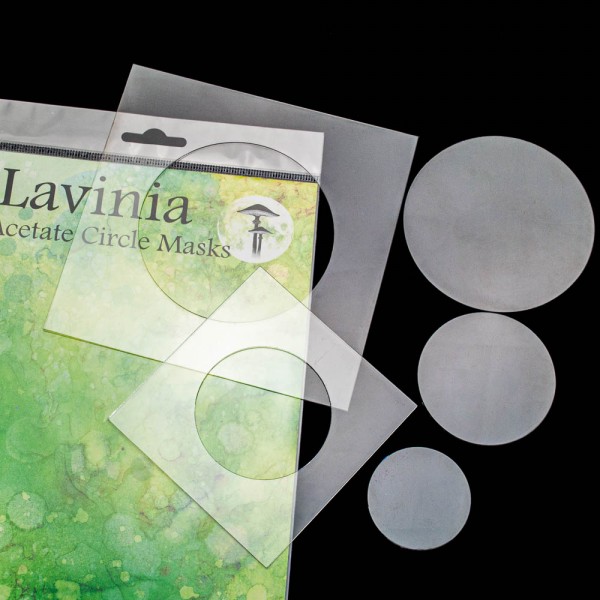
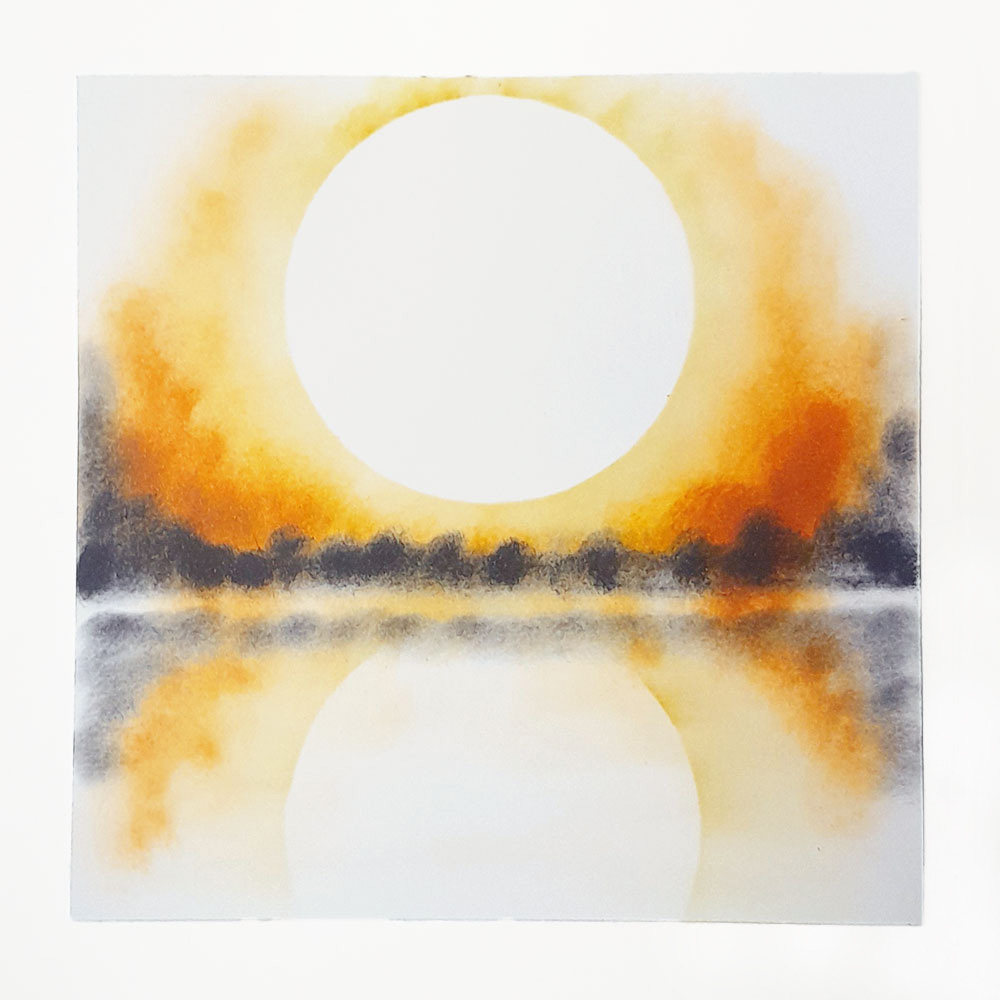
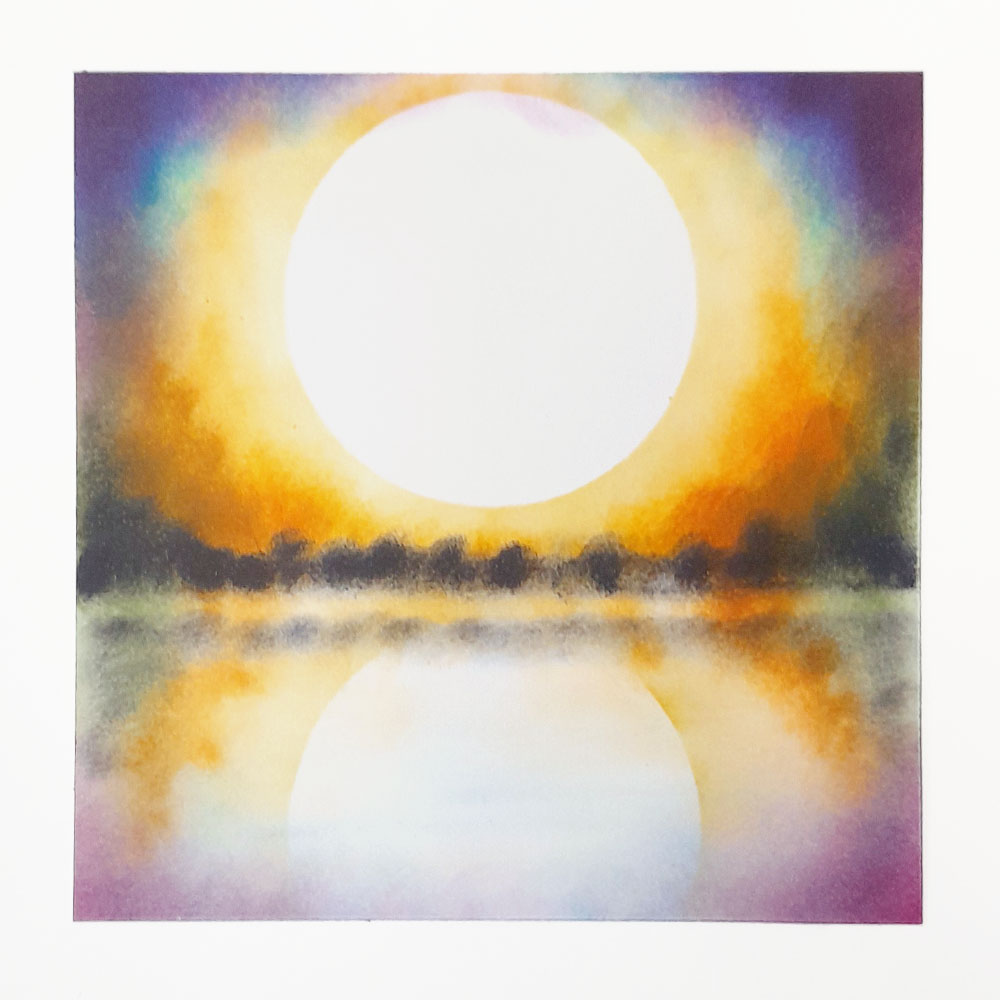
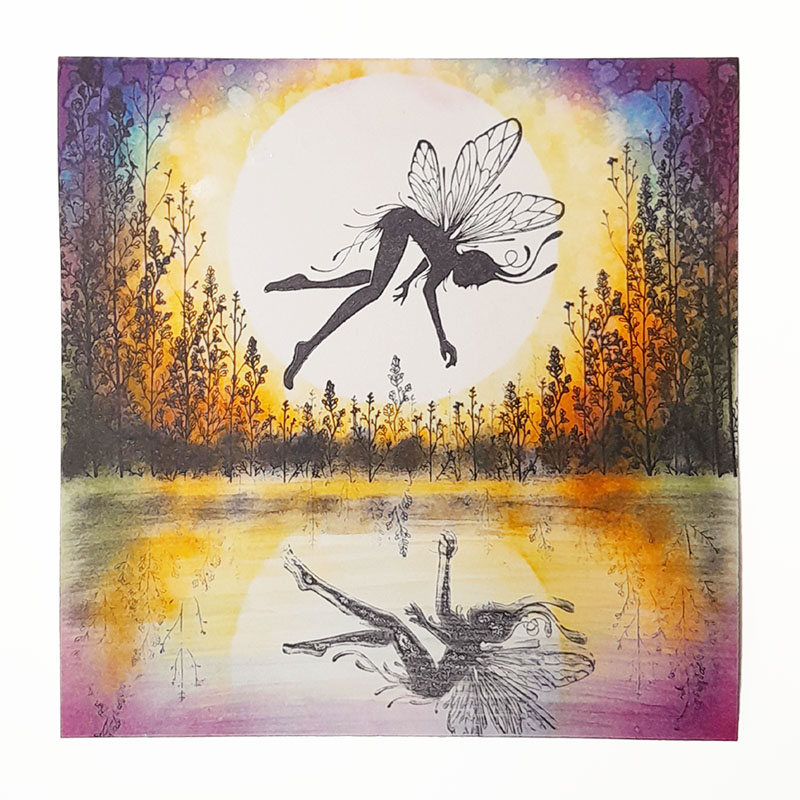
Put the largest acetate circle mask centrally in the top two thirds of the card. This is where I wanted the moon. Then add Elements Ink Sundance, Russett Orange around the moon. In the bottom third of the card create the moons reflection by making a lighter version. Next add in some Midnight Blue to create the horizon, keeping a line of the orange between the two. See the picture for placement.
Picture 3
Blend in a range of Elements inks to create the back ground. Starting with the lightest colour Blue Atoll, Olive & Mulberry for the top half. In the reflection area use less of the colours to create a muted effect. These all blend together well and give a magical effect.
Picture 4
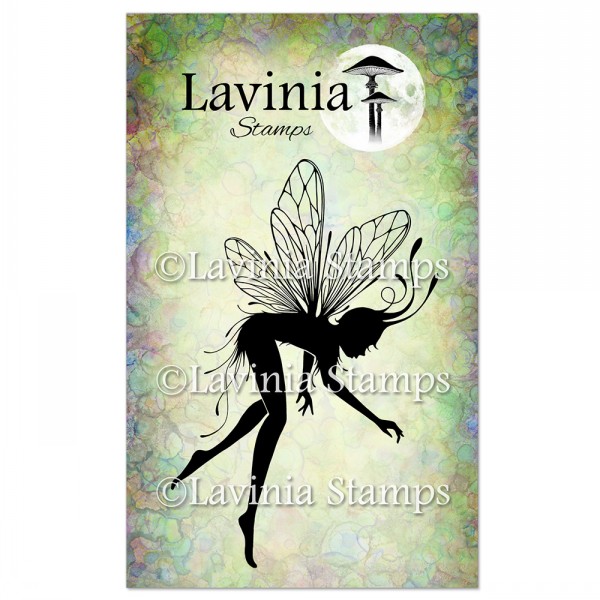
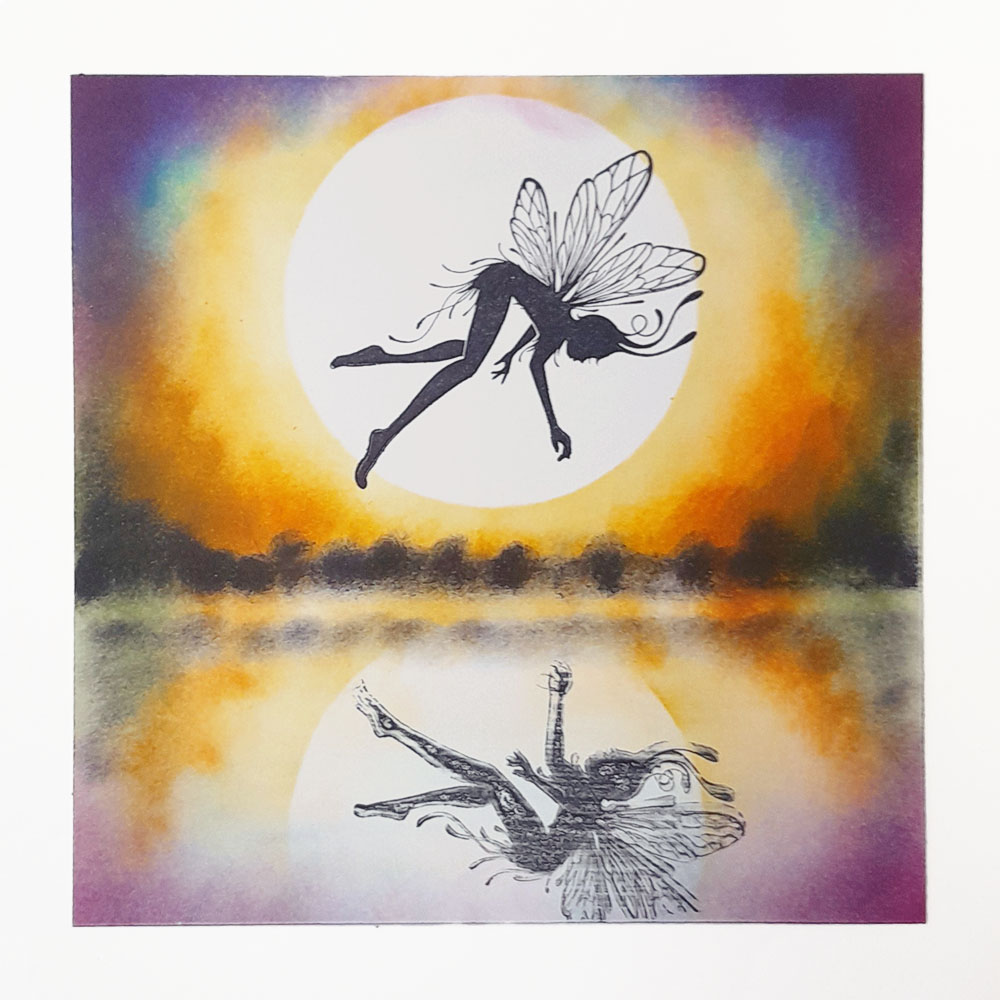
Stamp Twila LAV899 using Versafine Clair Nocturne ink. Place her as if she was going to touch the water. To create the reflection, turn the card around so you’re working looking at the reflection space. You can use a gel plate to print on, then place this image opposite to the main image to create the reflection. See the picture for placement.
Picture 5
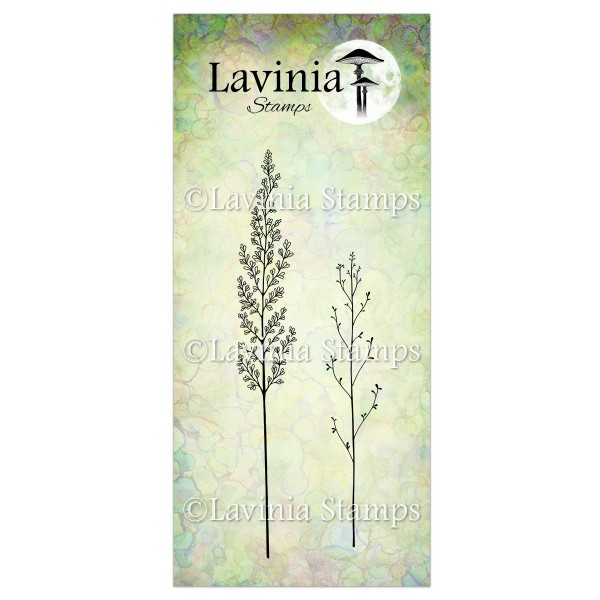
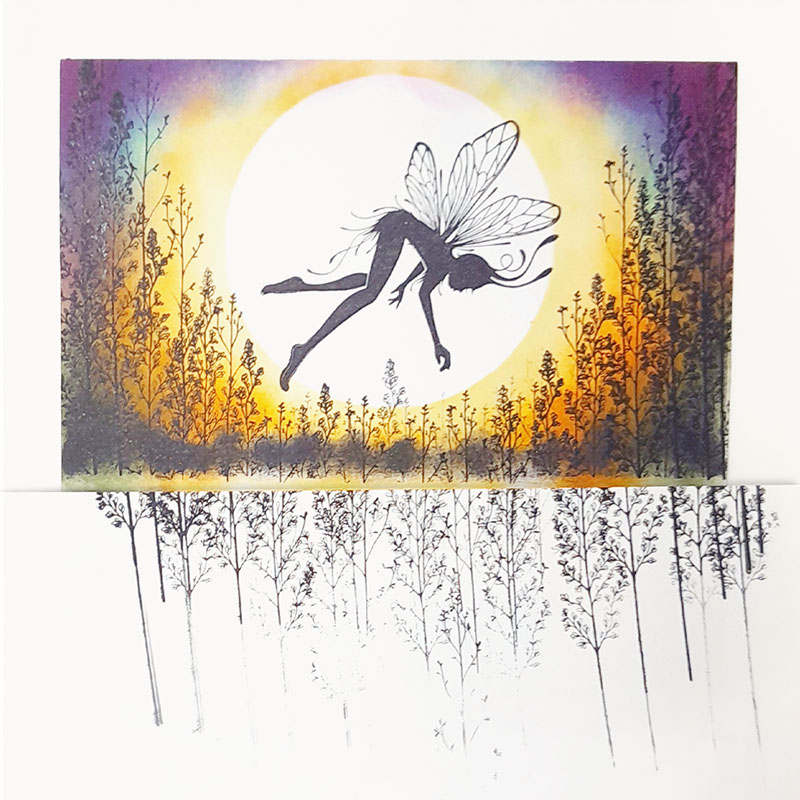
Turn the card to the correct way up so the main image is on the top. Get some scrap paper and stamp Leaf Spray LAV 741 with Versafine Clair Nocturne. This will add trees to the background. As there are 2 stamps in this set I used both to give dimension & depth.
Picture 6
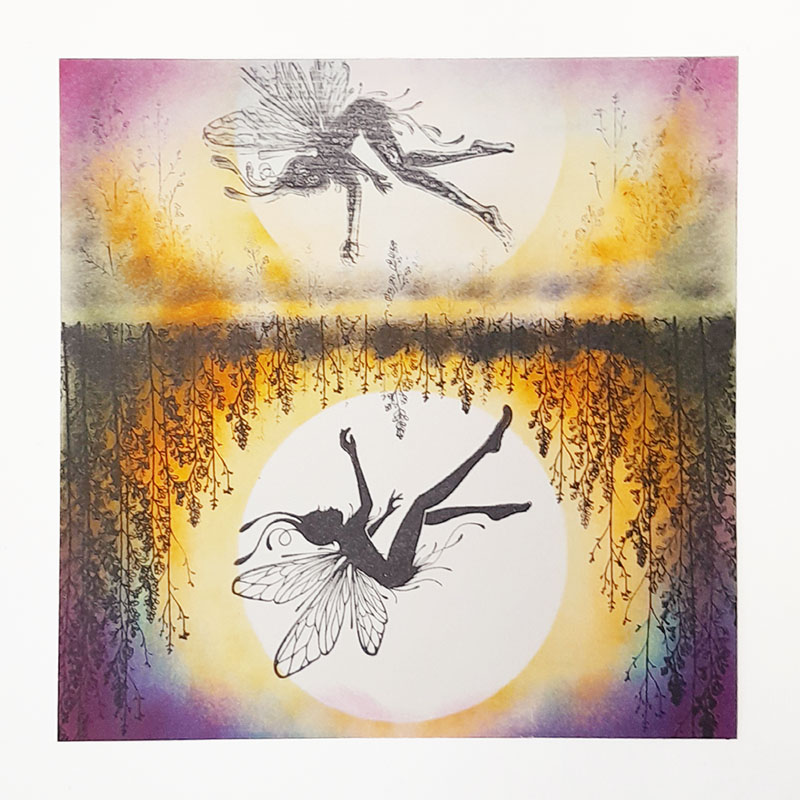
Turn the card and add the reflection of the back ground. Use 2nd generation stamping with no acrylic block so you’re just holding the stamp in your hand and lightly dab on the card where you feel the reflection will be. Don’t worry if you over stamp we can sort this out later.
Picture 7
Using the fan brush and some clean water flick some water onto the sky are to create texture. In the water area of the card drag from left to right to give a ripple effect in the water, just very lightly though. If you’re unsure we can add this effect with pastels.
Picture 8
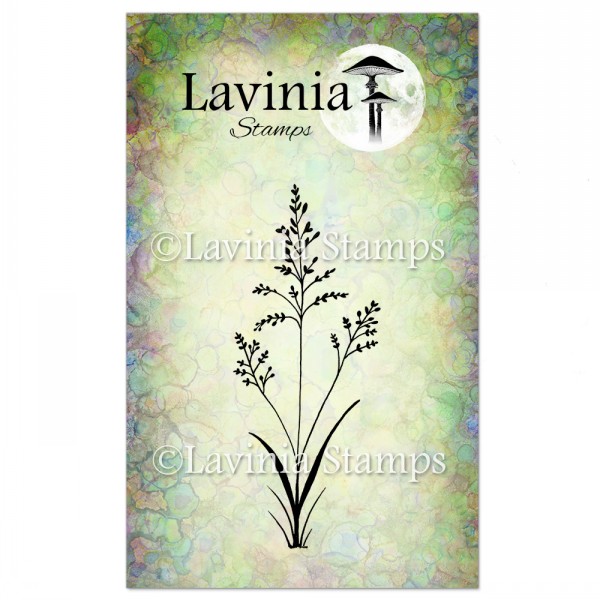
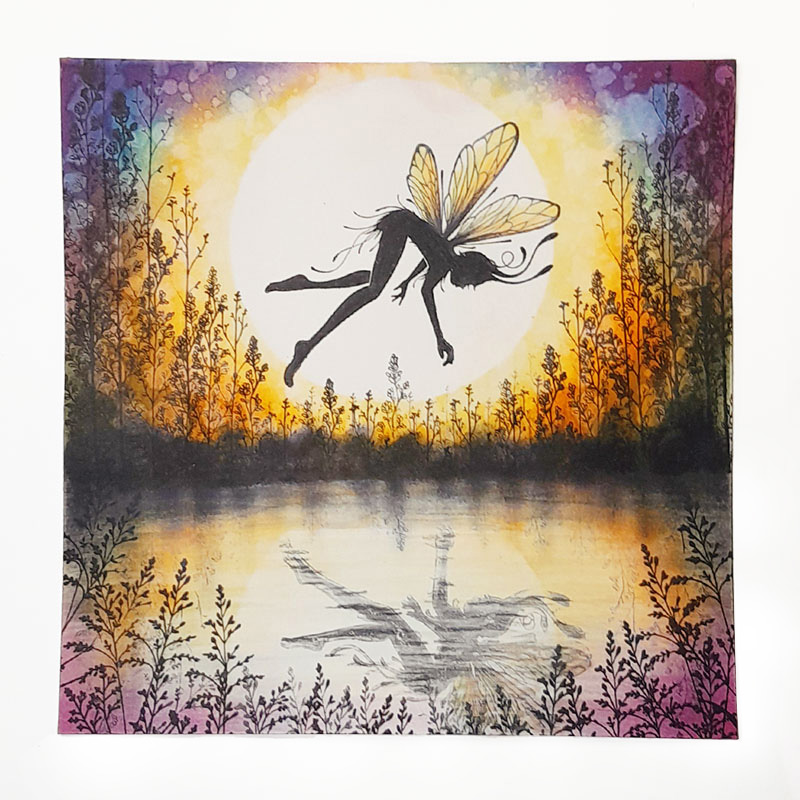
Blend in some extra Elements Ink Midnight Blue to bring the water edge and tree line together lightly blending the orange gap. Stamp Field Grass LAV197 to add the frame to the card. Try not to over stamp here as you take away the depth. 1st and 2nd generation stamps but less is more with this delicate stamp. Use Mondeluz watercolour pencils to finish off Twila’s wings with pale oranges and yellow colours. Add a bit of white soft pastel on the water to give the reflection a softer feel.
Picture 9
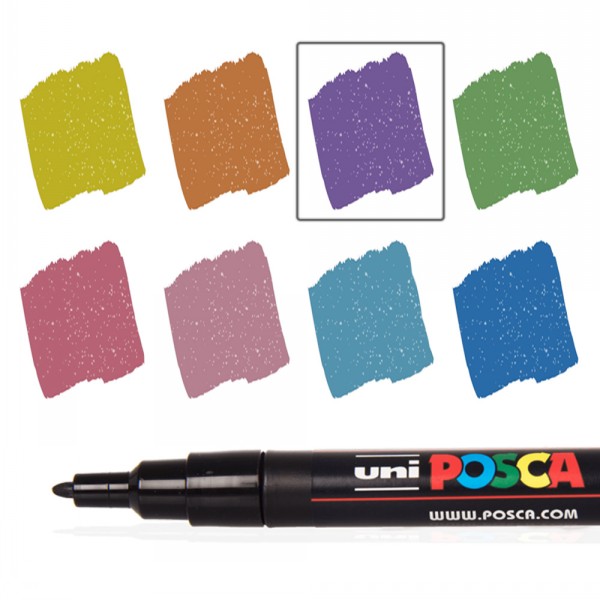
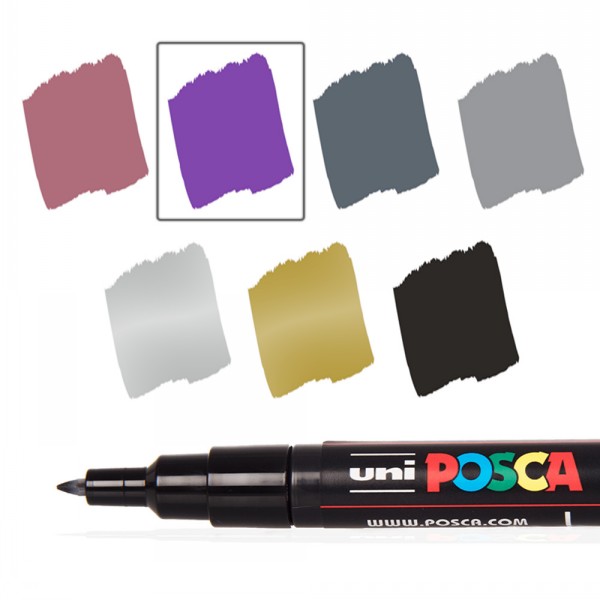
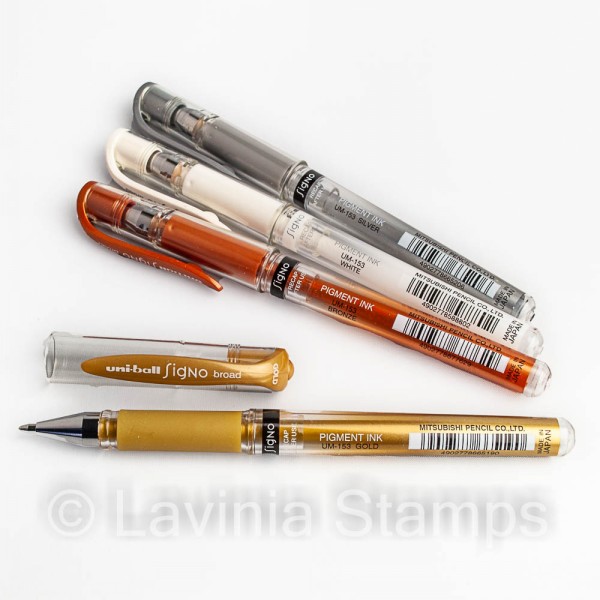
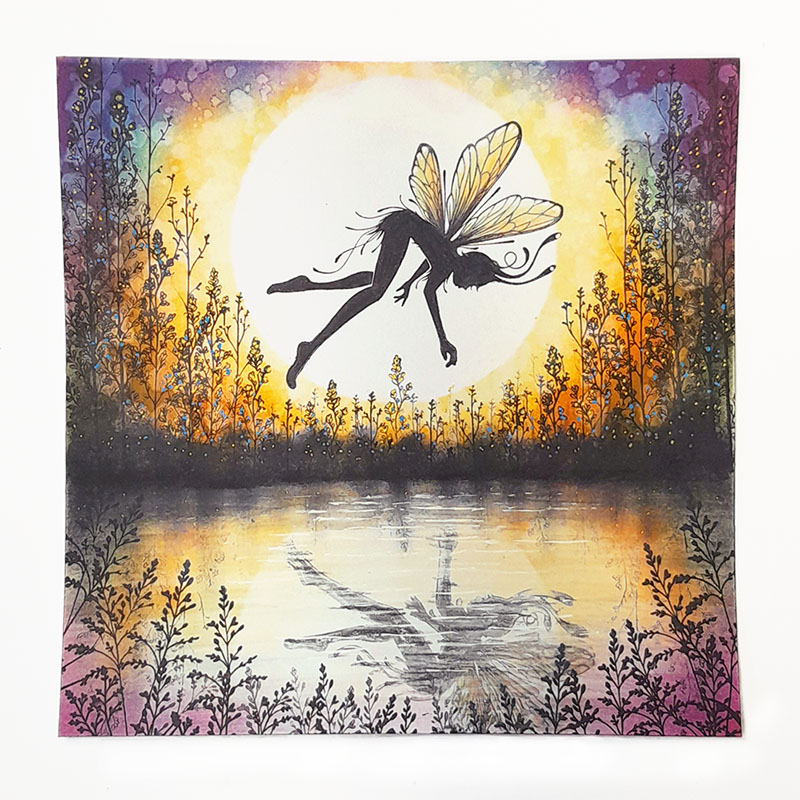
Posca pens at the ready! Use a yellow – sky blue and lavender to add dots in the trees & very light in the water reflection. Use your finger to move the ink if you feel it’s too much. Use the uni-ball Signo broad white pen to give a crisp white ripple effect – just skip this over the water. Add a little more white soft pastel.
Picture 10
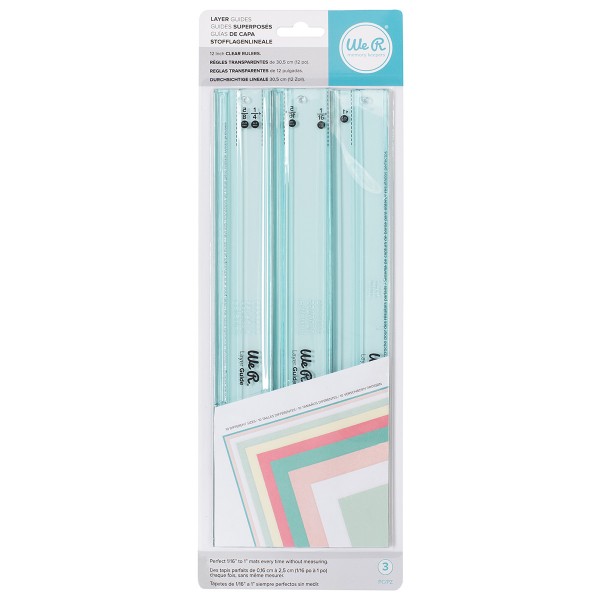
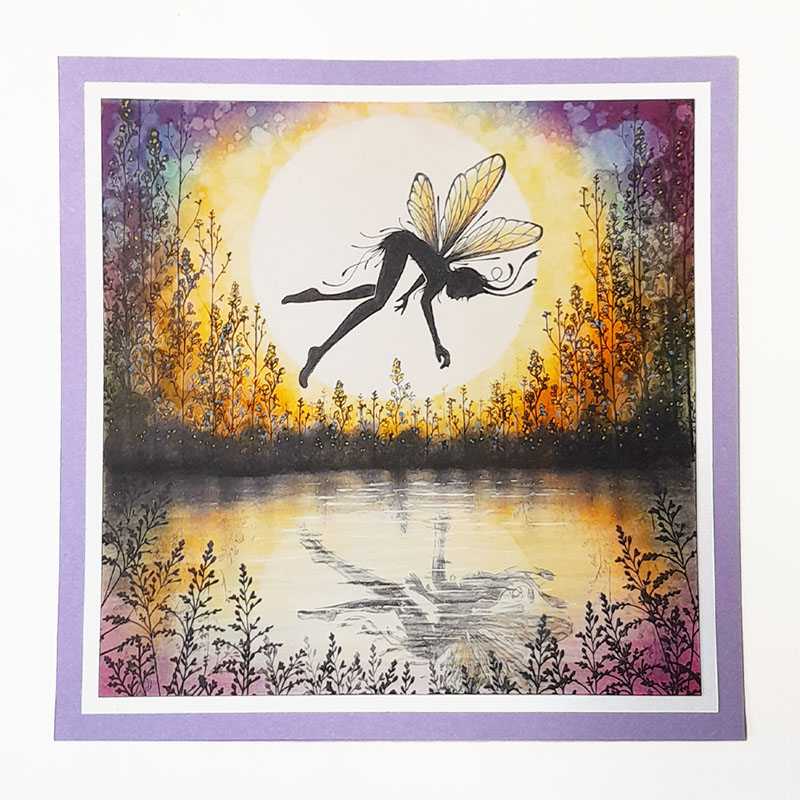
Finally matt and layer in colours to compliment what you have used. I used white card with a lilac to complement the mulberry coloured edge on the card. To do this I used the We R Memory rulers as these are great for crisp edges.
So there you go, you can use this for any occasion and create fabulous mirrored effects. I can’t wait to see what you create! Remember you’re inspiring so many by posting your fantastic creations.
Hugs till next time.
Leesa xxx