Hi everyoneI just love these gorgeous Owls so much! And they go so well together with my favourite stamps from previous collections.
Remember, this month’s Creative Challenge is “My Favourite Stamp” and this make has both new and old favourites.
I do hope you like it
Step-by-Step

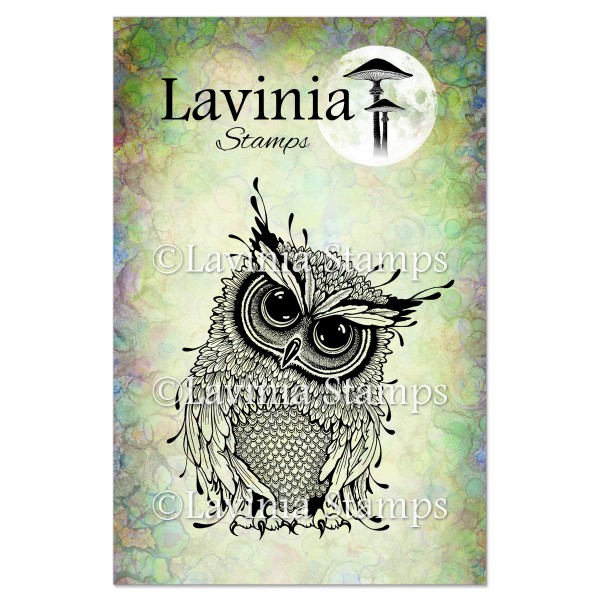
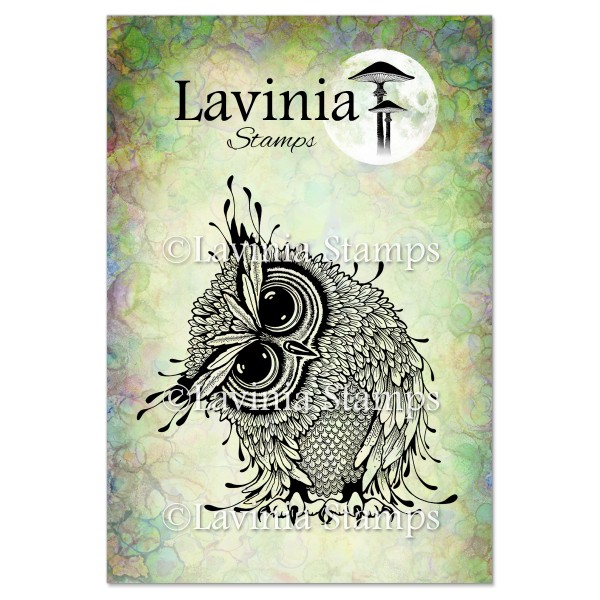
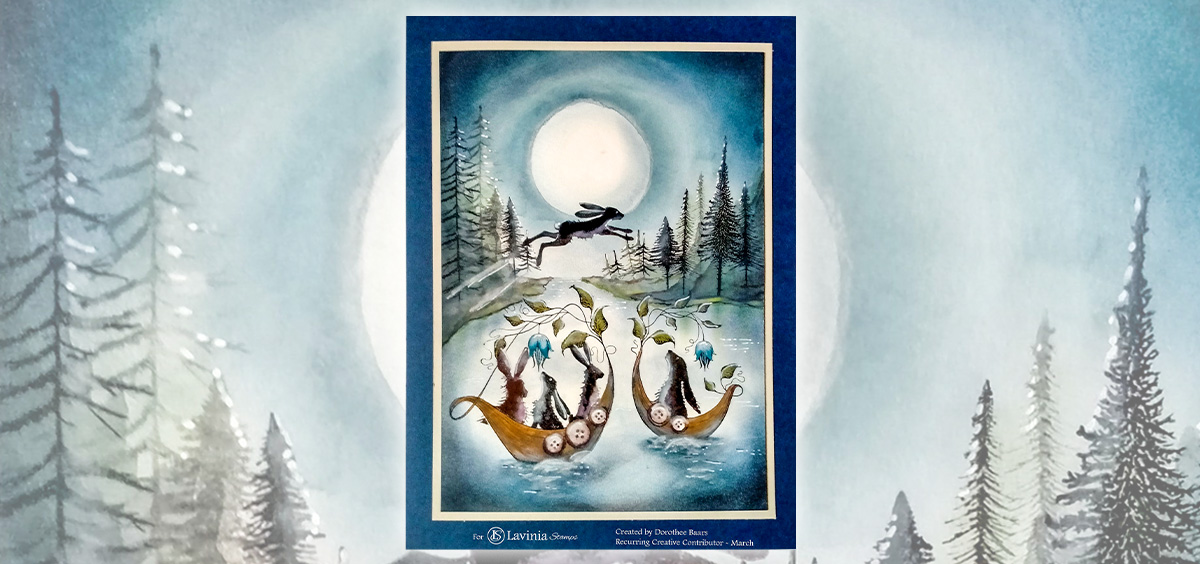
- Step 1; Stamp the curious Gus and the lovely Ginger onto Multifarious card size A5. Then use masking sheet before stamping the magnificent Erwin behind the others using Versafine Clair Fallen Leaves, one on each side.

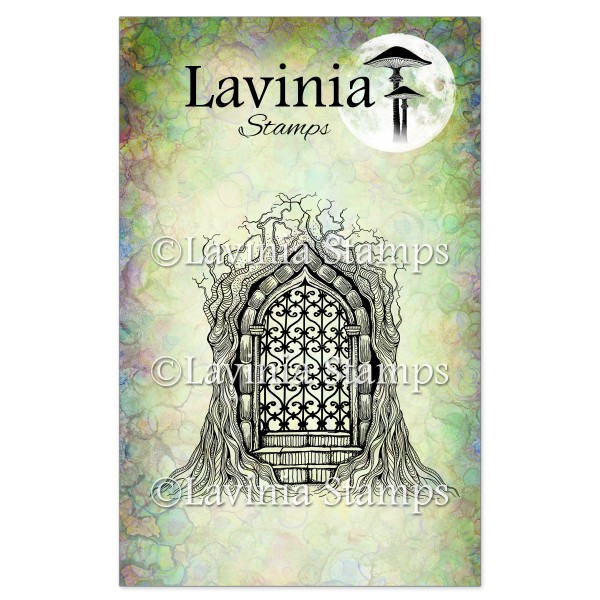
- Step 2: Cover all the Owls with masking sheet and stamp the gorgeous Forest Temple, also in Versafine Clair Fallen Leaves.

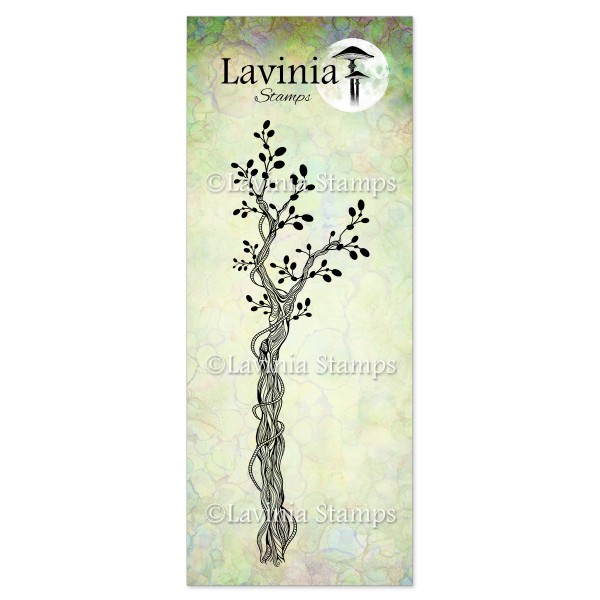
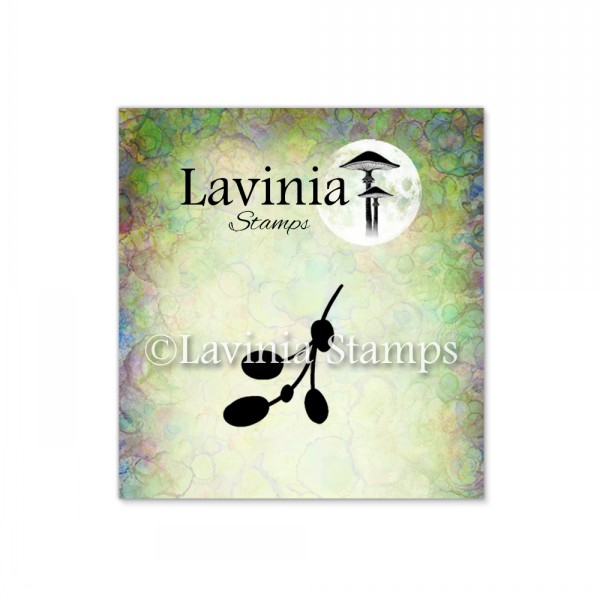
- Step 3: Stamp the fabulous new Vine Branch like you see in the picture in Versafine Clair Fallen Leaves. Now we need one of my favourite stamps, the Fairy Path stamped in Versafine Clair Morning Mist, twice to make a long stairway.

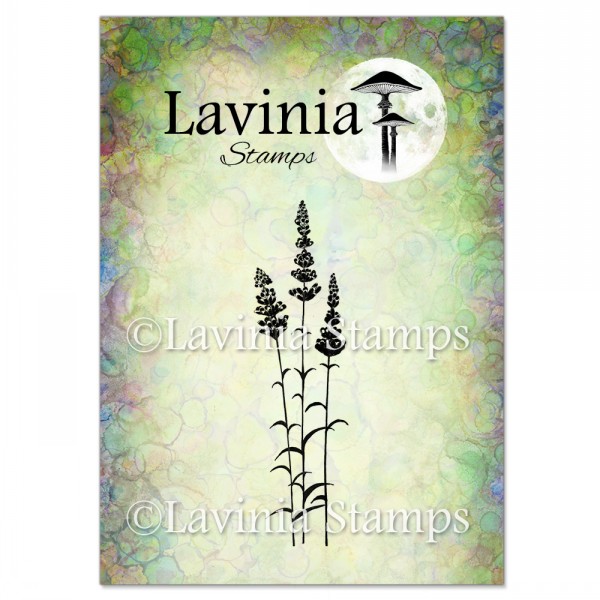
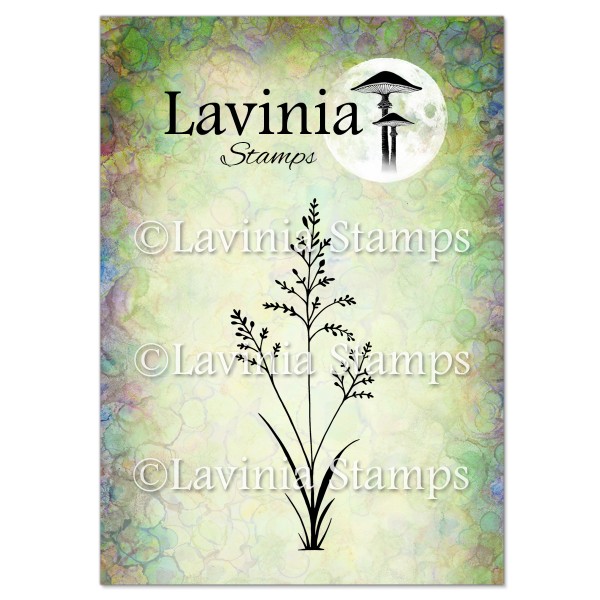
- Step 4: More favourite stamps, Lavender and Orchard Grass, both stamped in Versafine Clair Shady Lane and Rain Forest.

- Step 5: We need a few more leaves on our trees so stamp Mini Leaf Creeper in both Versafine Clair Shady Lane and Rain Forest.

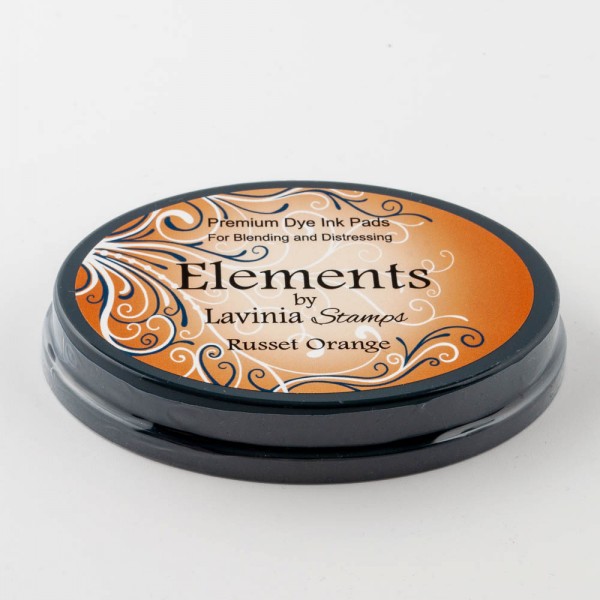
- Step 6: Remove the masking sheets and use Elements Midnight Blue in all corners of the picture.

- Step 7: Now we use Elements Confetti and Russet Orange on the sky, and Olive on the ground. Look at the picture for colour placement.

- Step 8: Let us put some glowing light with Yellow Pan Pastel. Look at the picture for colour placement.

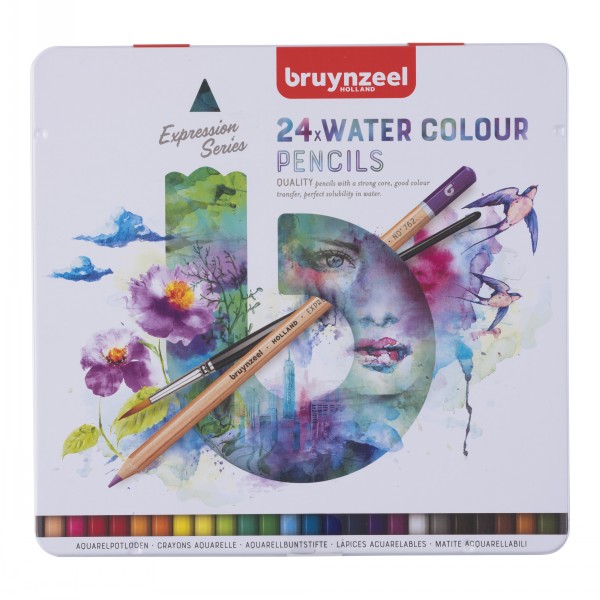
- Step 9: Next, we need to find our watercolour pencils and colour the beautiful trees. I always use four different colours for the trees, dark brown, brown, reddish brown, and ochre. Utilising several different shades in this way, helps create more life in the subject. Do the same on the grass but it is hard to find many different shades of green that go well together, so I use only two greens and I use some brown in the darker places and some ochre here as well.

- Step 10: I wanted all the Owls to have different colours so that the picture looks happy and playful. You can see in the picture that I start colouring half of the feathers in a light colour. Some brown and golden colour on their face, and some brown on their stomachs.

- Step 11: Now we need a darker colour on the rest of the feathers and remember to colour their claws too. Also colour the stairs and the stones in the gate. Use a light grey to colour it all and them use a darker grey to create some shade. A little bit of black to give it an even darker shadow. A hint of greyish blue to give it some life.

- Step 12: I started to colour all the flowers and decided that I wanted a lot more of them. So, I got my favourite flower stamp, Bluebells, and added to the blooms. Stamp in Versafine Clair Rain Forrest. When you stamp on top of the trees that have been coloured with pencils, the ink will take a bit longer to dry. You can dry it with a heat tool to speed the process. I put some green Posca pen on all the leaves on the tree, but only on half of each leaf.

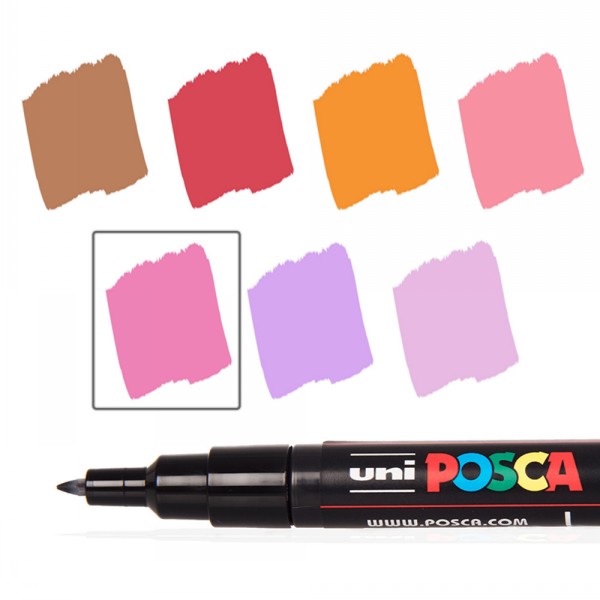
- Step 13: Use Posca pens to colour all the flowers. I used the same colours as I used for the Owls. Most of the flowers have both a dark and a light colour on them. Again, this gives it more life and depth. Colour their eyes all Black. We will use a Posca pen to get the white back in their eyes.

- Step 14 : Now it is Posca time! You can of course use other white pens but my favourite pens are the Posca pens. We want to have a Touch of white on everything!! This is what brings the whole picture to life. I also put some white dots on the ground for effect.


- Step 15 : Here is the final result Hope you enjoyed following my tutorial.

If there is anything you want to ask me, just let me know and I will answer as soon as I can. Thank you for watching.
Big hugs from Mona. Happy Crafting!