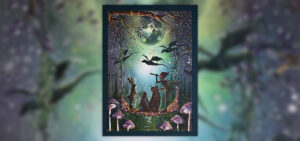
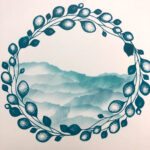
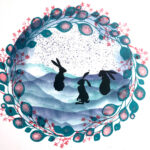
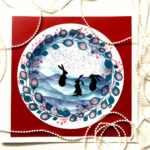
Today, Design Team member Karen Telfer gets to grips with our new Floral Wreath stamp to create a lovely circular frame for out cute little rabbits frolicking in a snowy scene

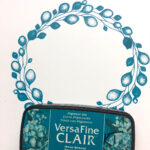
The Products I used…
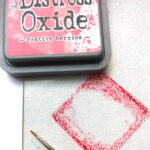
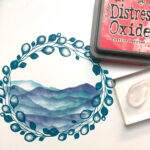
Distress Oxide Festive Berries
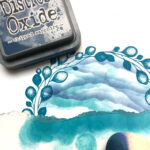
Distress Oxide Chipped Sapphire
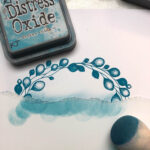
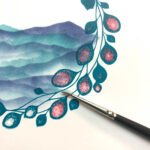
The Steps in creating “Friends in the Snow”
(click on the first image to view as a slideshow)
Till next time…
Karen xx