Step by step by Eleana Evans
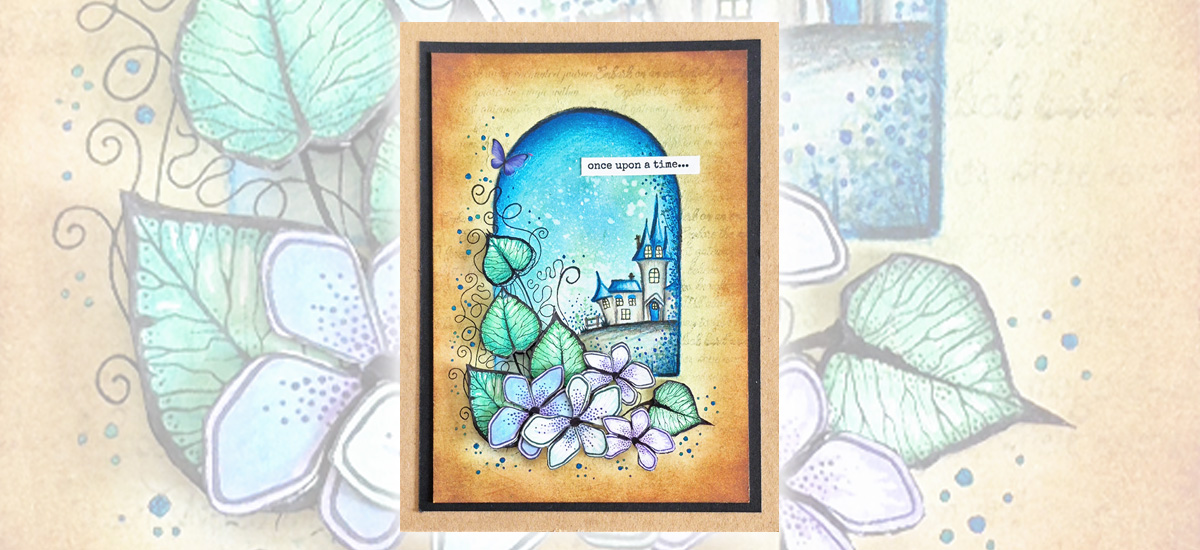
Hello Everyone and welcome to my step-by step tutorial using the new Sticker Stencils 9- Moon Jar Collection. Two fabulous stencils with a glass dome display and a lovely big jar that you can have with or without the cork stopper.
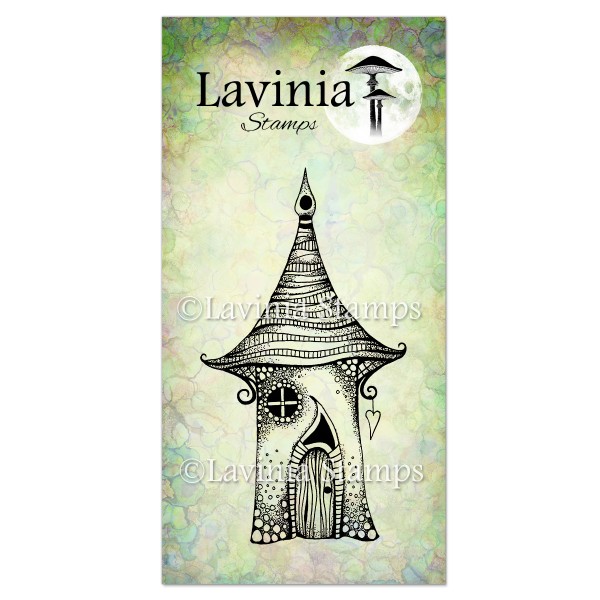
I am using the Glass Dome stencil for today’s project. With the beautiful Freya’s house, which is so cute with the fairy fir trees around it. I will be using a mixture of mediums, inks to stamp with and a little bit of blending. Watercolour pencils to colour with and then pastel pencils to add shading to the glass dome, the base and grounding. Let’s get started.

Step 1
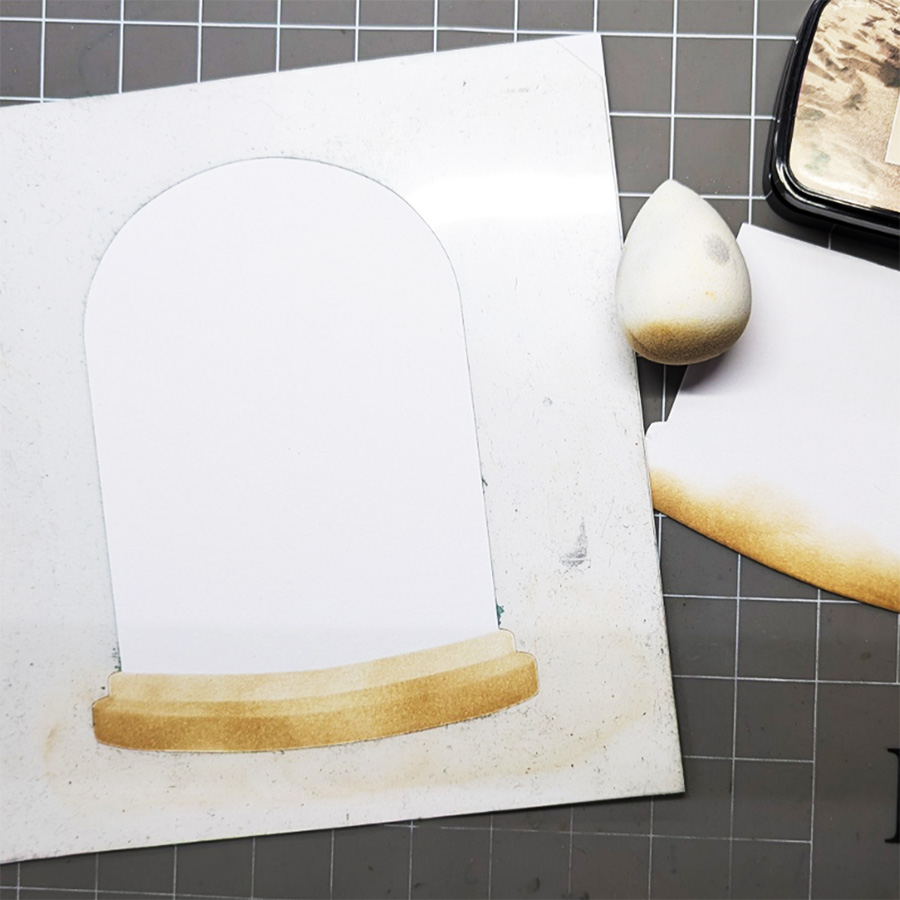
Cut a piece of card the same size as the stencil. With some scrap card I made a template of the base. I am going to use a smoothie and Versafine Clair Sand Dune.
Step 2
Working on the base first create 3 layers by using the template and blending Sand Dune. I’ve done this lightly as a guide for when I come back to work on it later.
Step 3
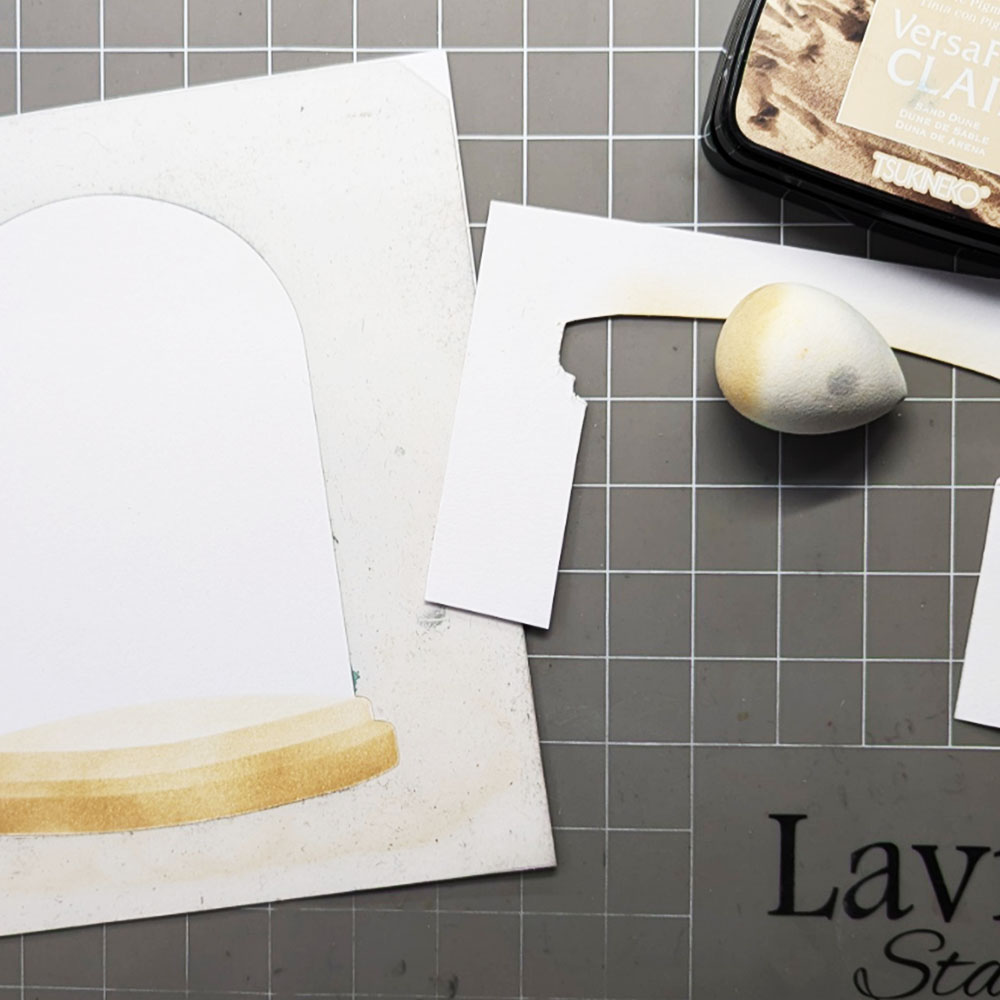
To finish off the base I have used the waste from the template and turned it upside down and gently blended what ink was left on my smoothie.
Step 4
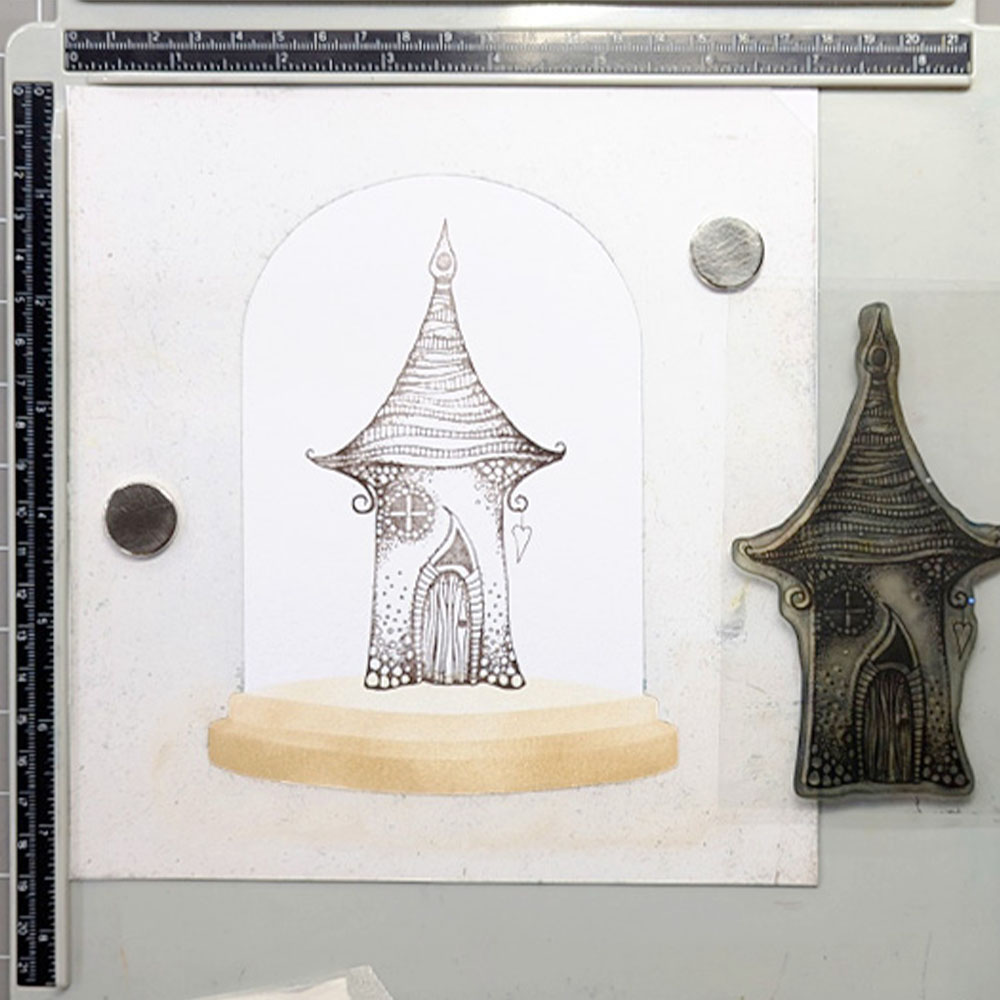
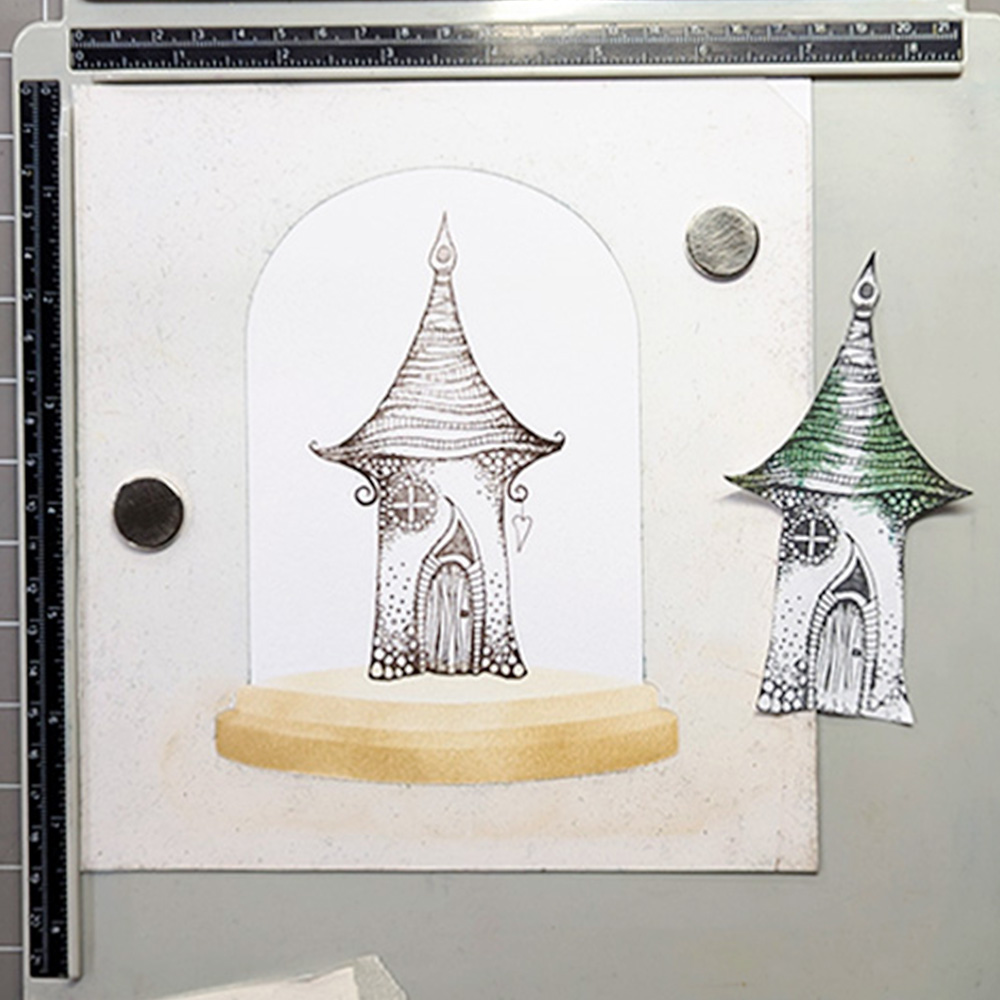
Now stamp Freya’s house LAV365 in the centre of the dome in Versafine Clair Fallen Leaves.
Step 5
Next stamp the house onto some copier paper to make a template. I will use this to cover the house and protect it from my other colours while I do the rest of the stamping.

Step 6
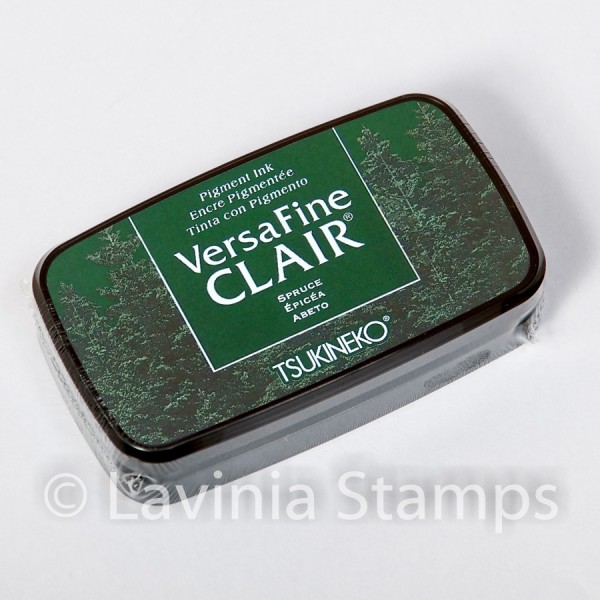
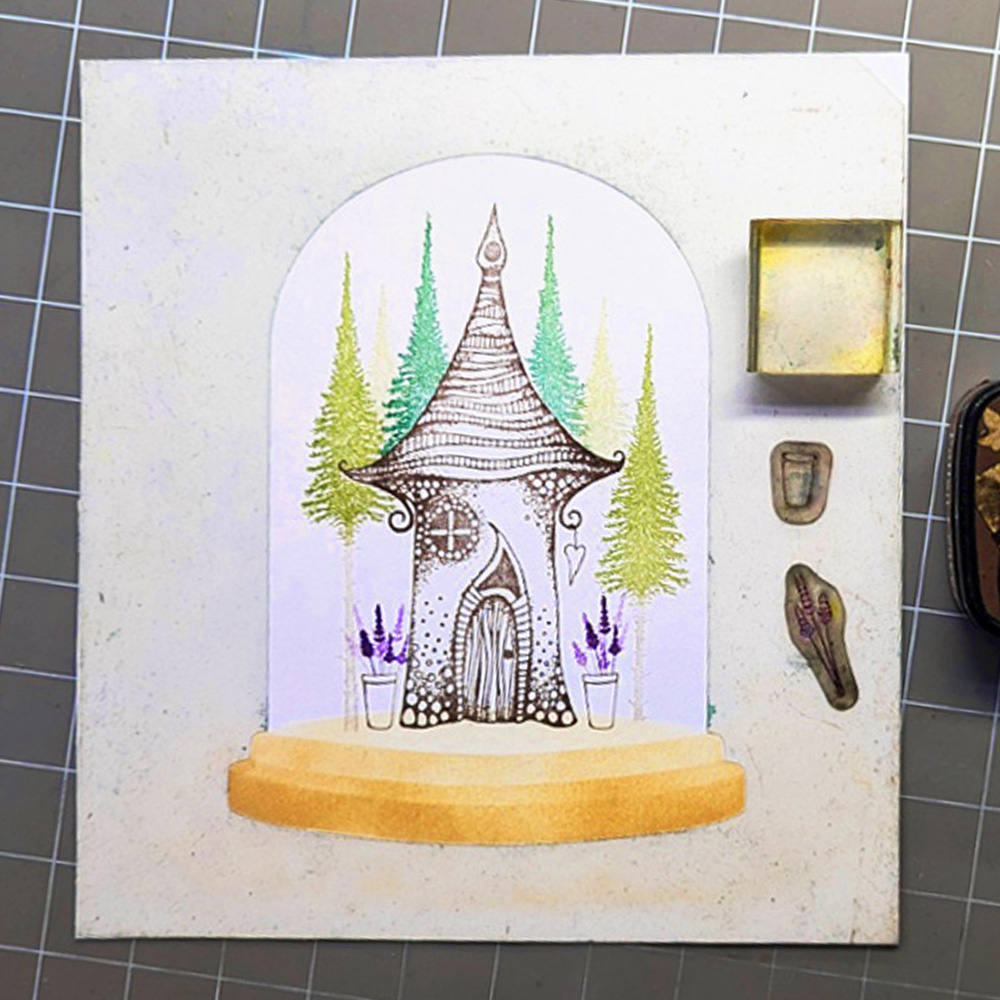
For the two outer trees ink up the branches of the Fairy Fir tree (small) LAV489 in Versafine Clair Shady Lane and the trunk of the tree in Versafine Clair Fallen Leaves. Then stamp using 2nd generation stamping. I did this by just dabbing off some of the brown ink. Stamp the same tree for by the roof in Versafine Clair Spruce and in 2nd generation stamping. Fill in the gaps with more trees in 3rd generation stamping using Versafine Clair Shady Lane.
Step 7
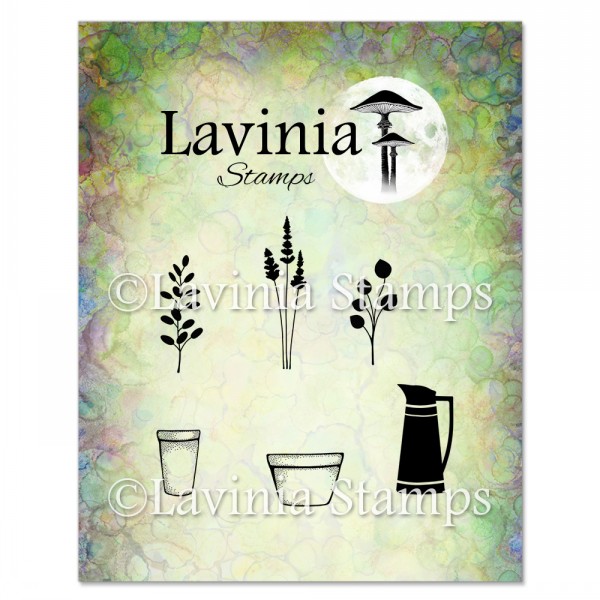
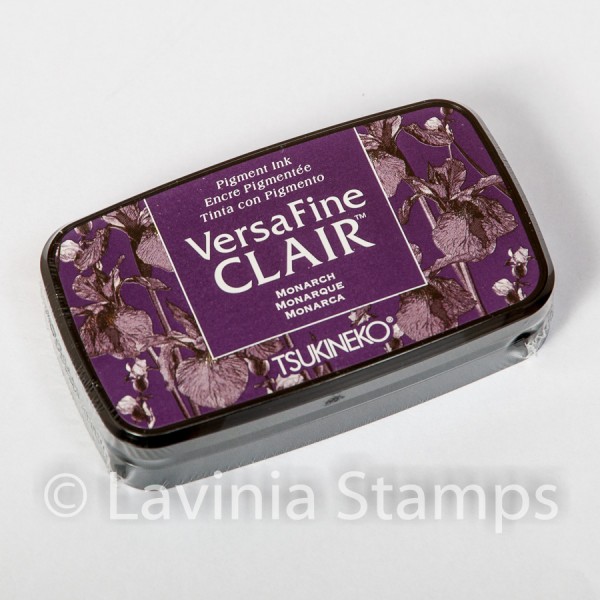
Now stamp the flower pots LAV 826 in Versafine Clair Fallen Leaves and the Lavender in Versafine Clair Monarch.
Step 8
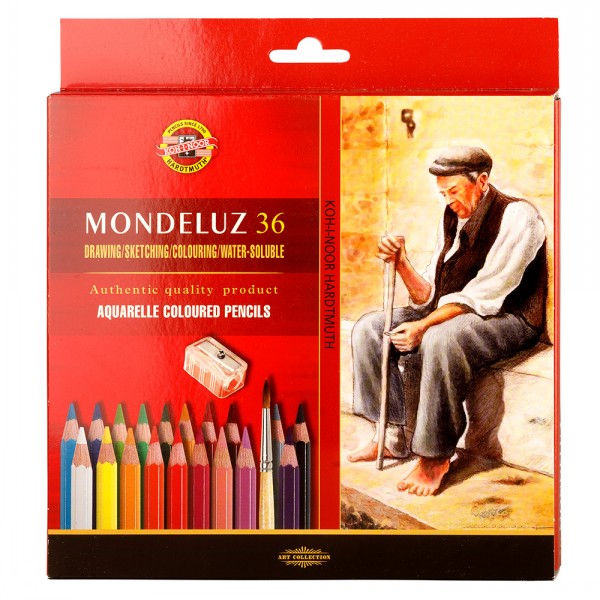
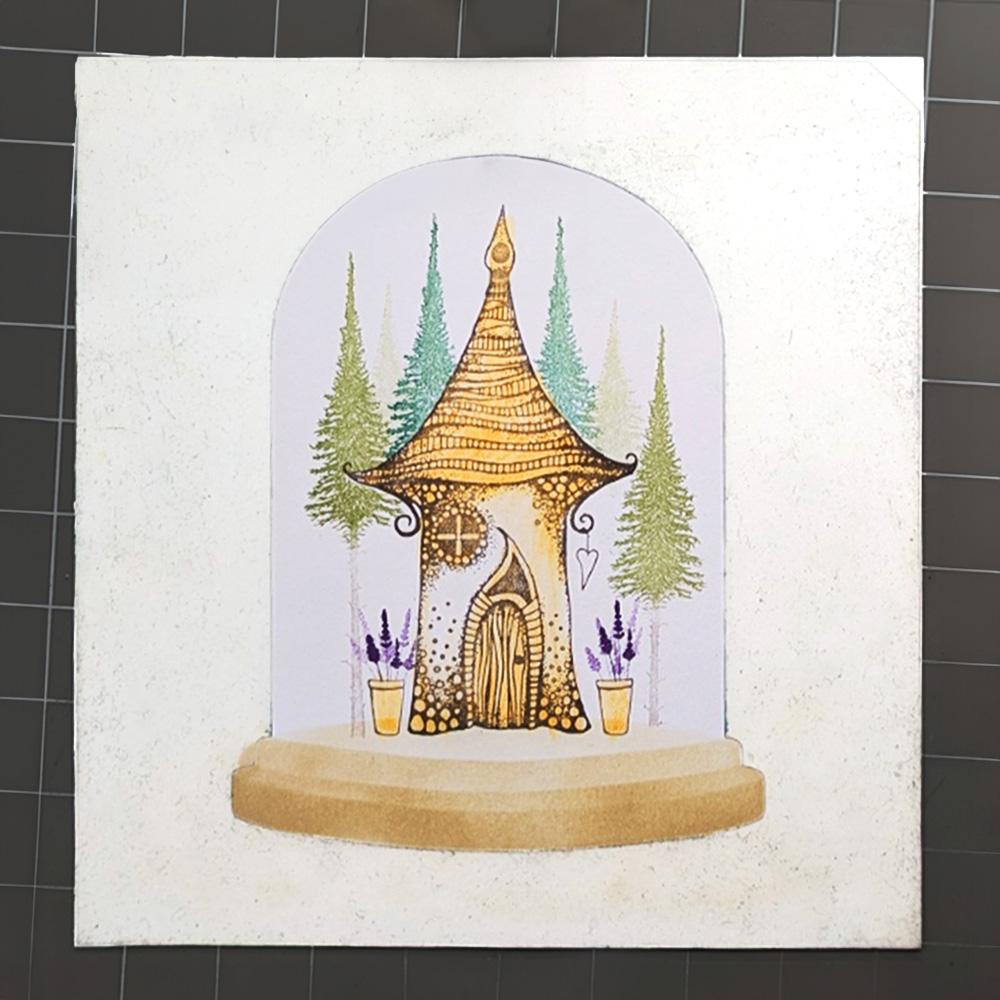
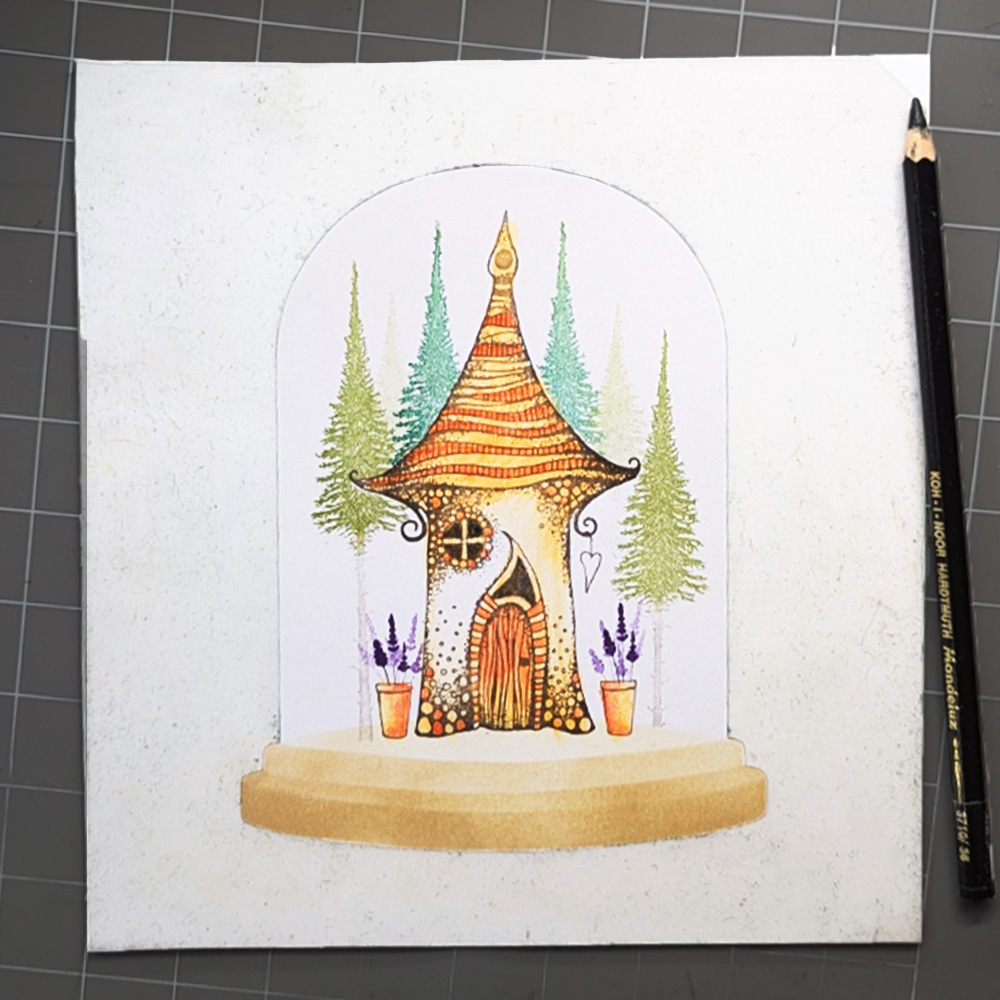
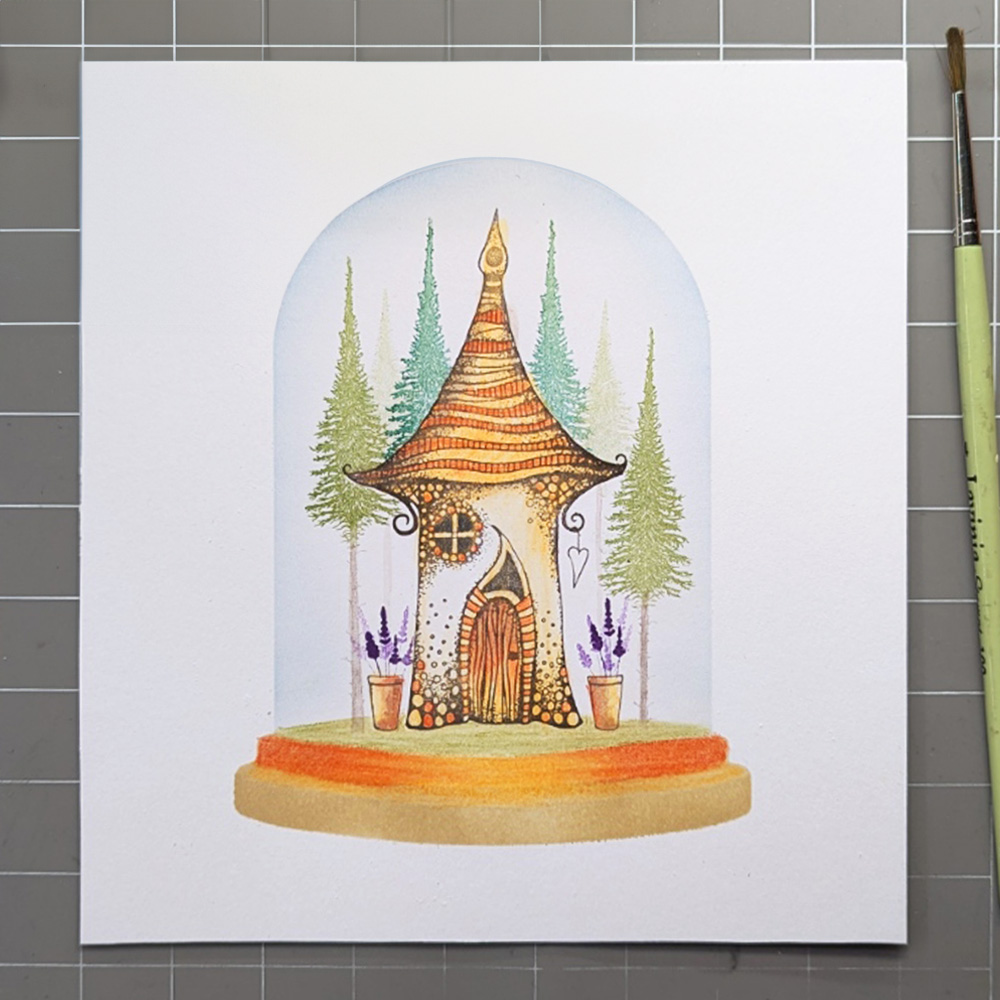
Now we can start to add colour using Koh-I-Noor Mondeluz Watercolour pencils, start with 3710/42 Chromium Orange for the base colour. Lightly colour in the roof, door/frame, window and the corners where the stones are, not forgetting the flower pots.
With my brush and some water I quickly water coloured the house by pulling the colour from the corner of the house so it had a slight colour wash.
Step 9
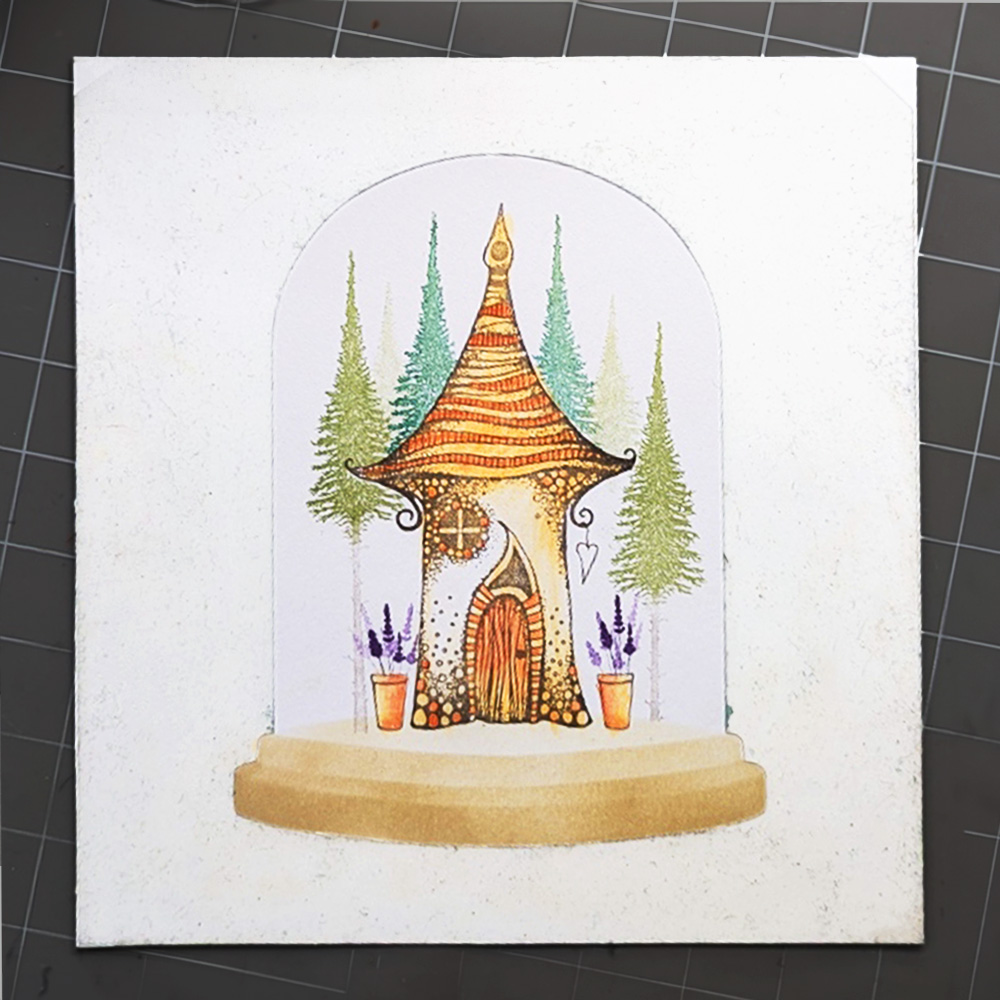
The next colour is 3710/30 Indian Red and this is for the pots, around the door frame, the odd stone or two on the house and finally the roof detail going across the roof.
Step 10
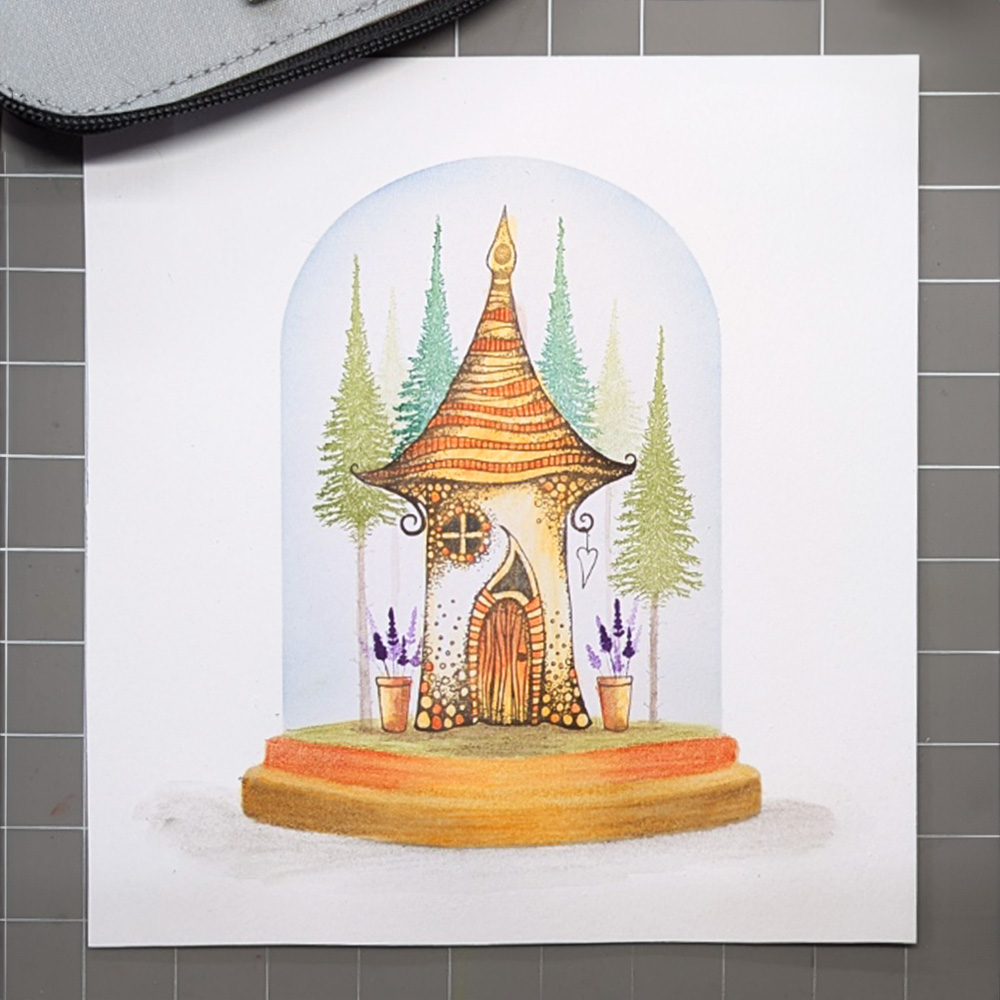
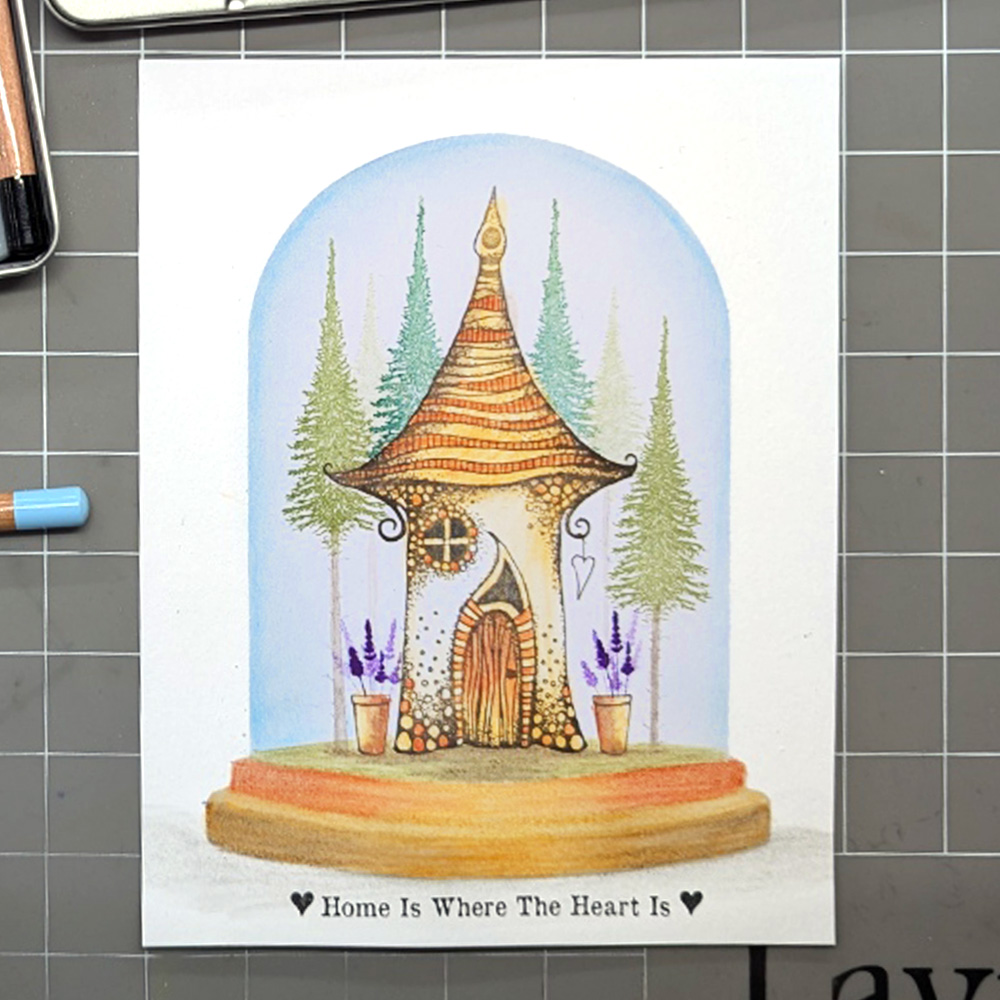
Next use the black watercolour pencil to darken the window and above the door, so they were no longer brown. Add a bit of shading to the roof with 3710/33 Dark Brown. Use a brush and a little water to gently blend it into the sides of the roof and pots. Then add a bit of green to the ground with Dark Olive Green 3710/27and use a brush and some water to activate the colour and blend it around the house.
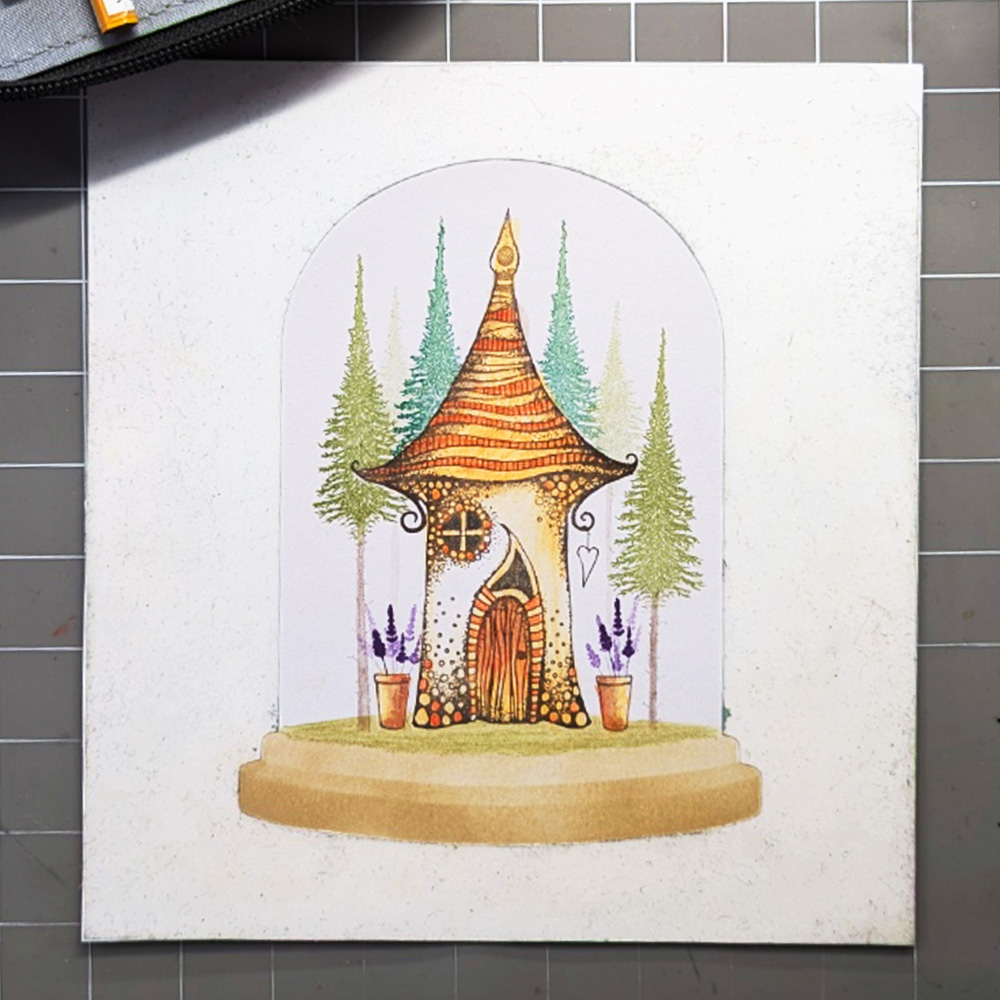
Step 11
Add a bit of green to the ground by using Dark Olive Green 3710/27 and then use a brush and some water to activate the colour and blend it around the house. Use the Dark brown again just around the front door and around the plant pots to create shadow and a path from the door.
Step 12
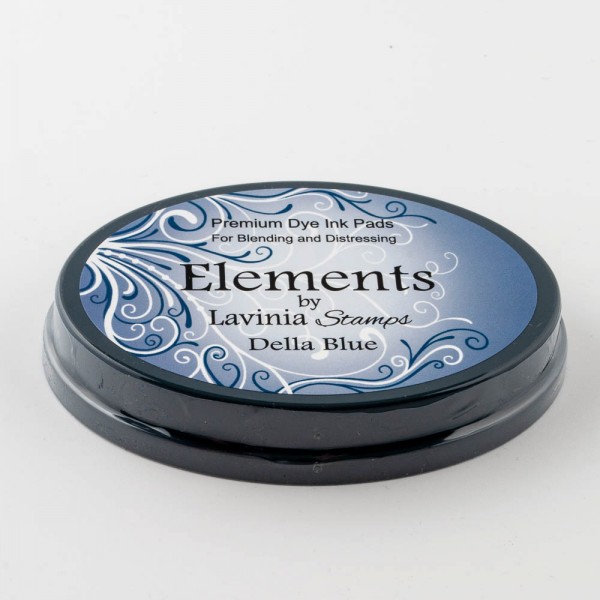
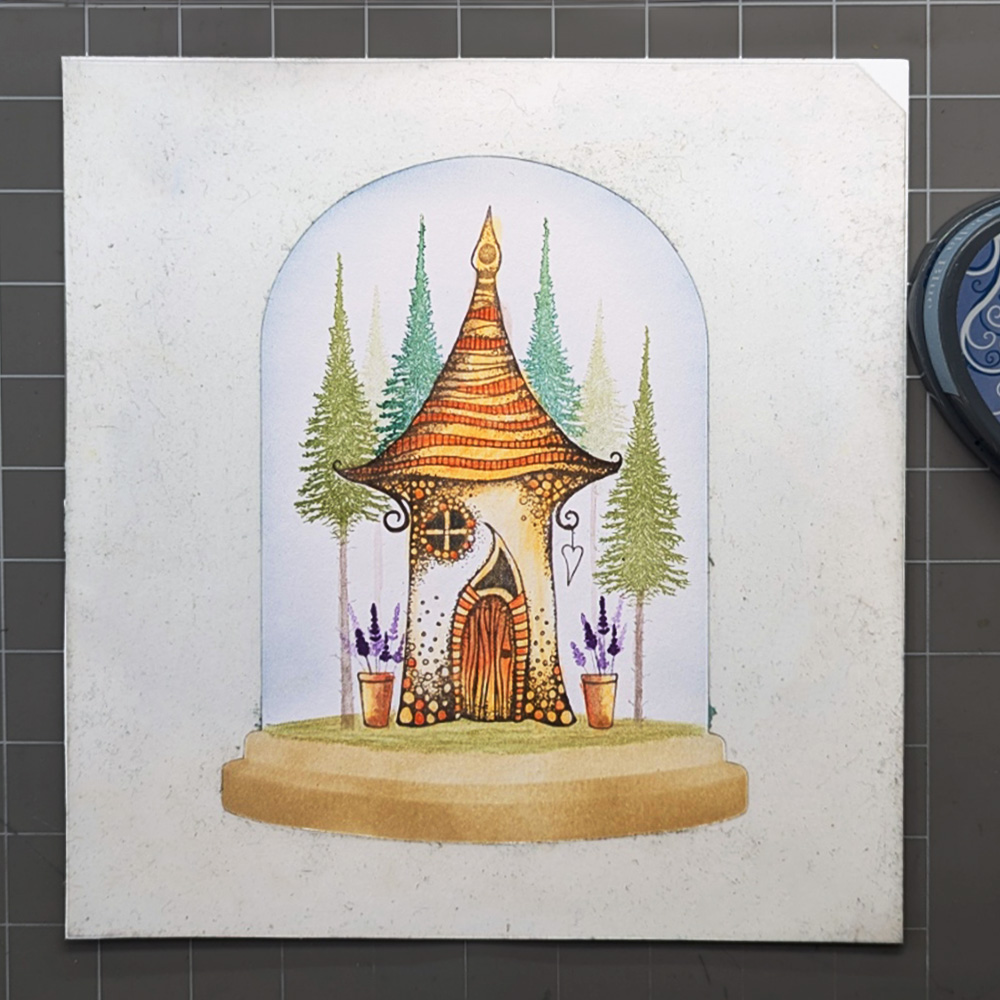
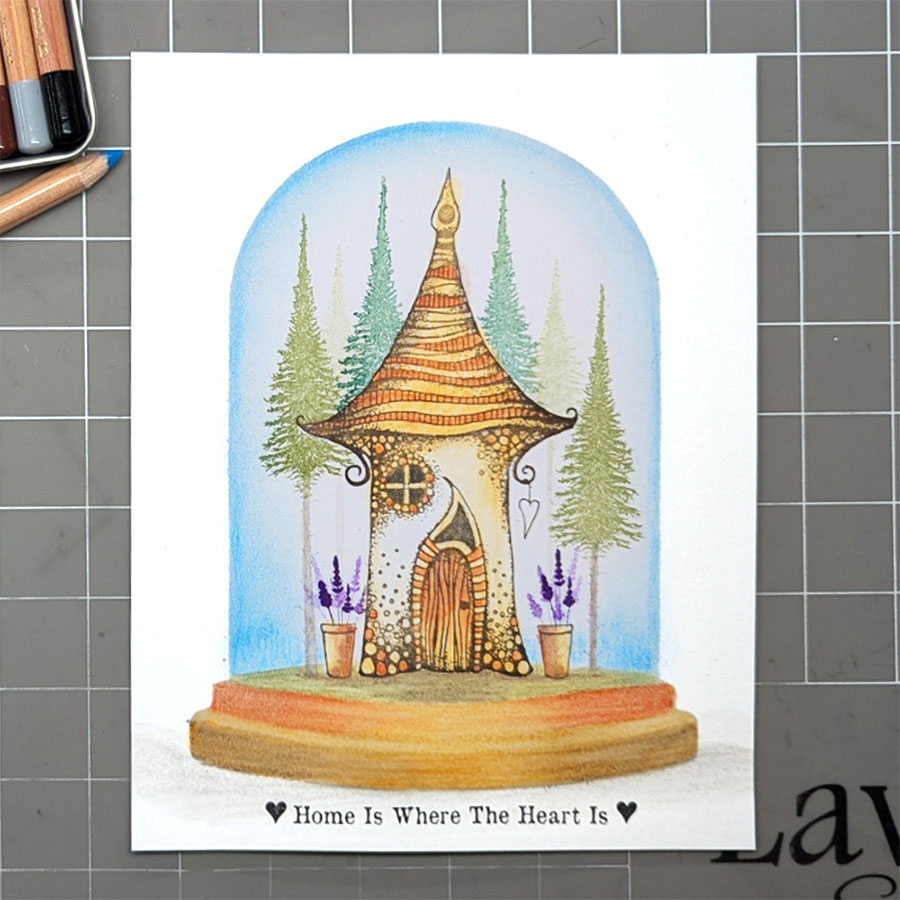
Time to do the glass dome using Elements Della Blue and a blending brush. I blended the colour by bring it from the sides in little flicks. I wanted this gentle so I kept lifting the stencil to make sure it wasn’t too strong but noticeable.
Step 13
This what it looked like when I took the stencil off. You can just see the dome.
Step 14
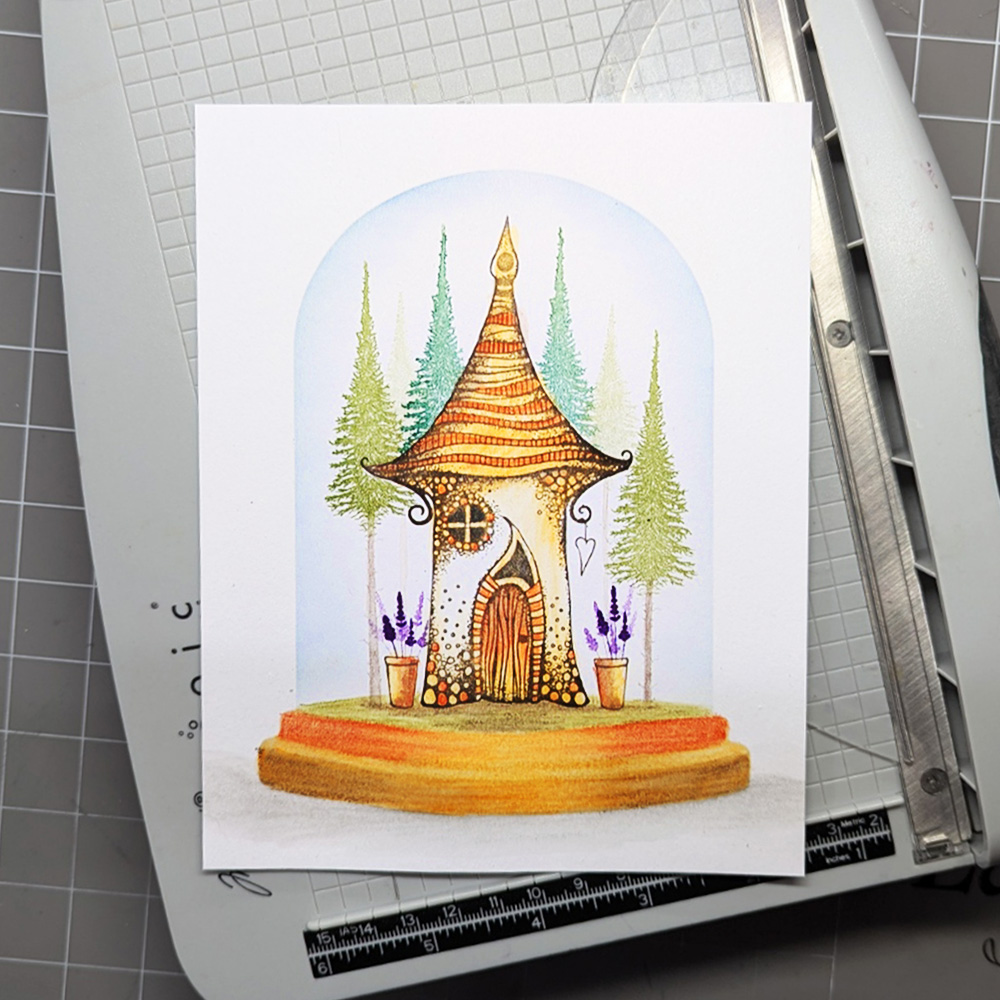
Time to work on the base. Using 3710/30 Indian Red on the ends of the top layer and the 3710/42 Chromium Orange in the middle to create dimension, blend it with a brush and a bit of water.
Step 15
Second layer on the bottom of the base use 37140/42 Chromium Orange and blended it with a brush and water. Next use 3710/33 Dark Brown on the edges to create dimension and then blend with water.
Do the same Chromium Orange. Use the Dark Grey 3710/70 to ground it and add a bit of a shadow. Then blend it with my brush and water.
Step 16
Trimmed it down to 5 ½” x 7”.
Step 17
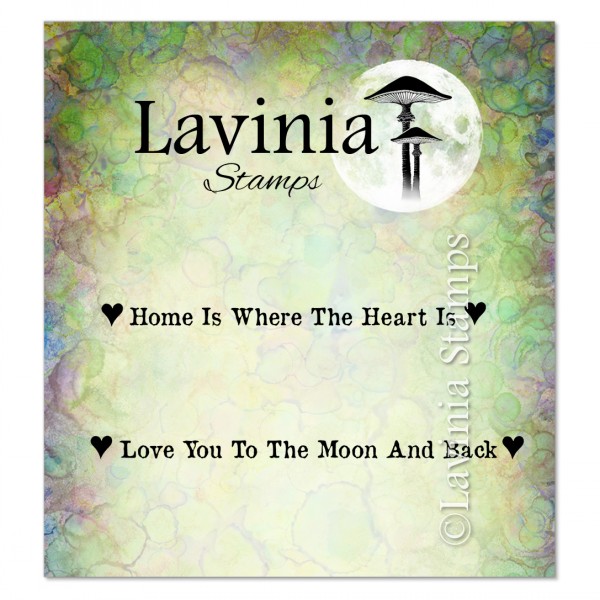
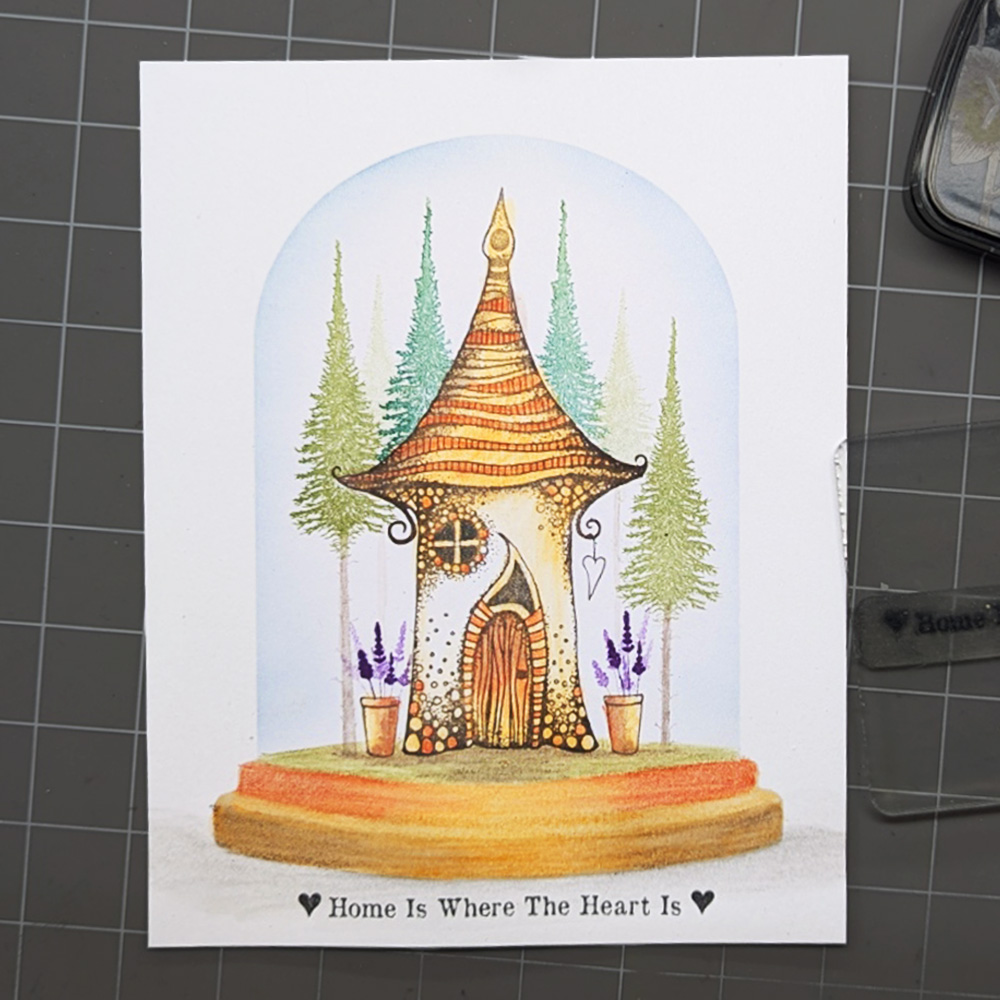
Stamp the sentiment “ Home is where the Heart is” LAV860 in Versafine Clair Nocturne.
Step 18
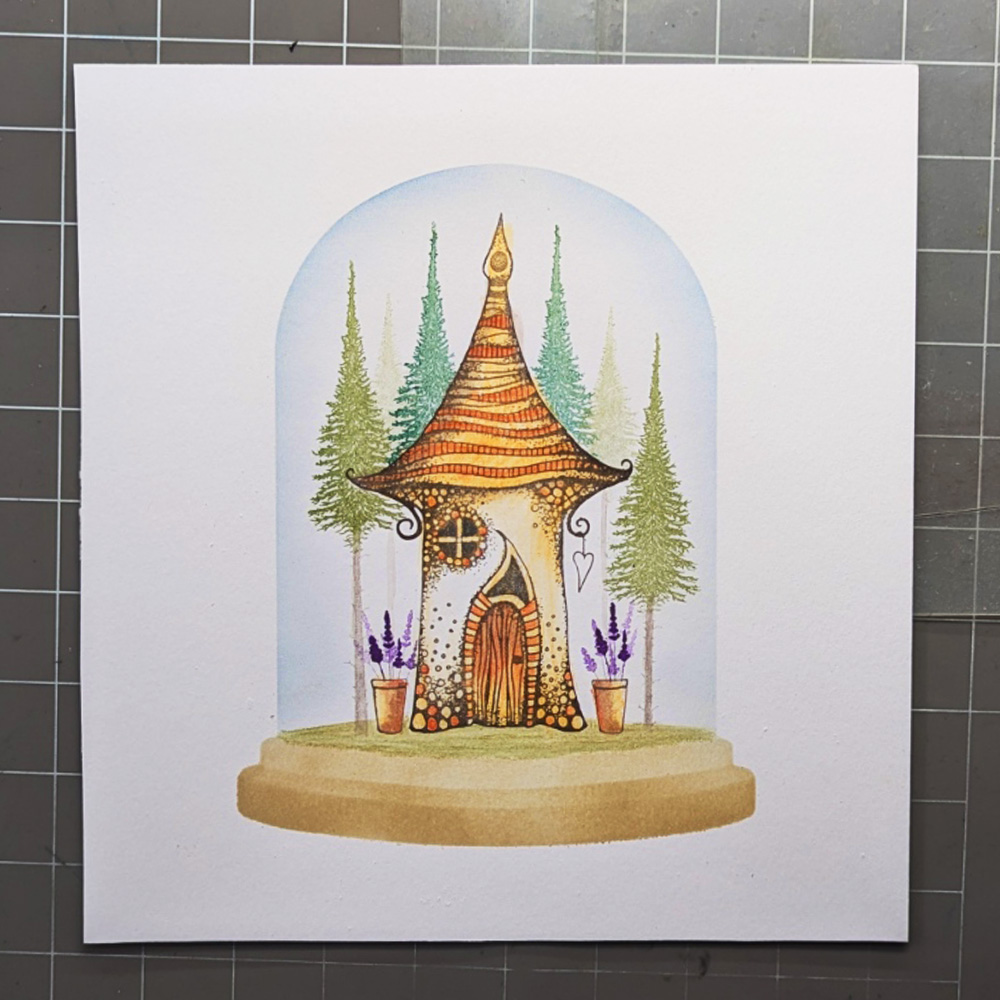
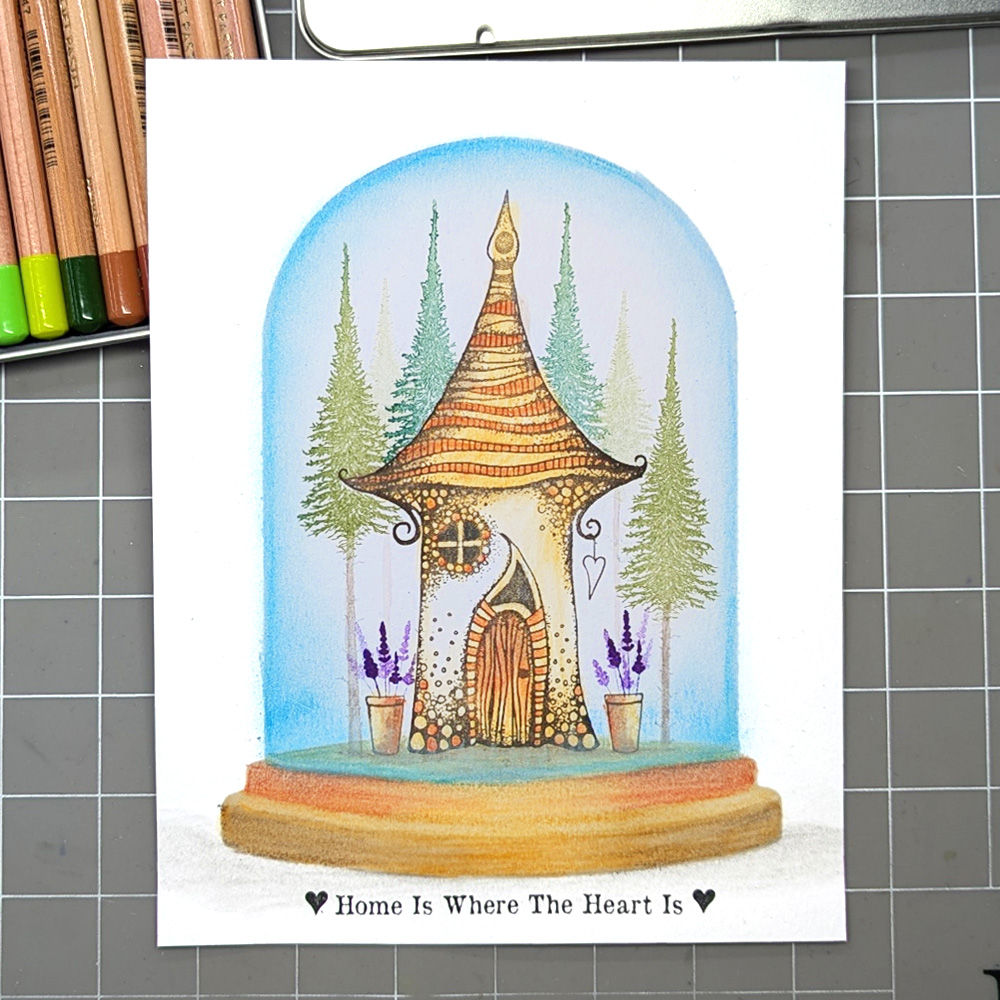
Now to work on the glass dome using Koh-I-Noor Gioconda Soft Pastel Pencils. I have used 8820/27 with is a light baby blue. Just follow the shape around and blend it with a finger by flicking it towards the house. Then shading in a bit more on the left side of the dome and blending it with a finger.
Step 19
Use a darker blue pastel pencil 8820/187. Concentrating on the left side shading it, also along the ground and blending it with a finger.
Step 20
The last colour is a the teal colour 8820/152. Blend it around the right side, a bit on the top and along the top of the base. Just like where a glass dome would be. Don’t forget if it’s too dark or you don’t like it you can always rub it off and start again! Use a white soft pastel pencil along the top of the base and blend that upwards, towards the house.
Step 21
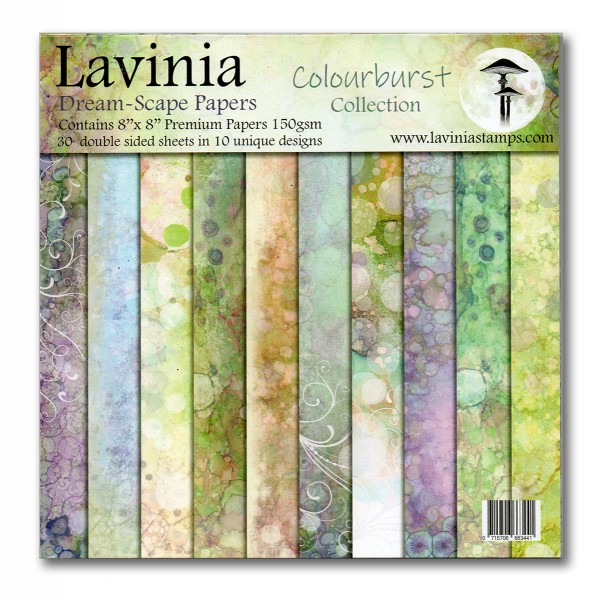
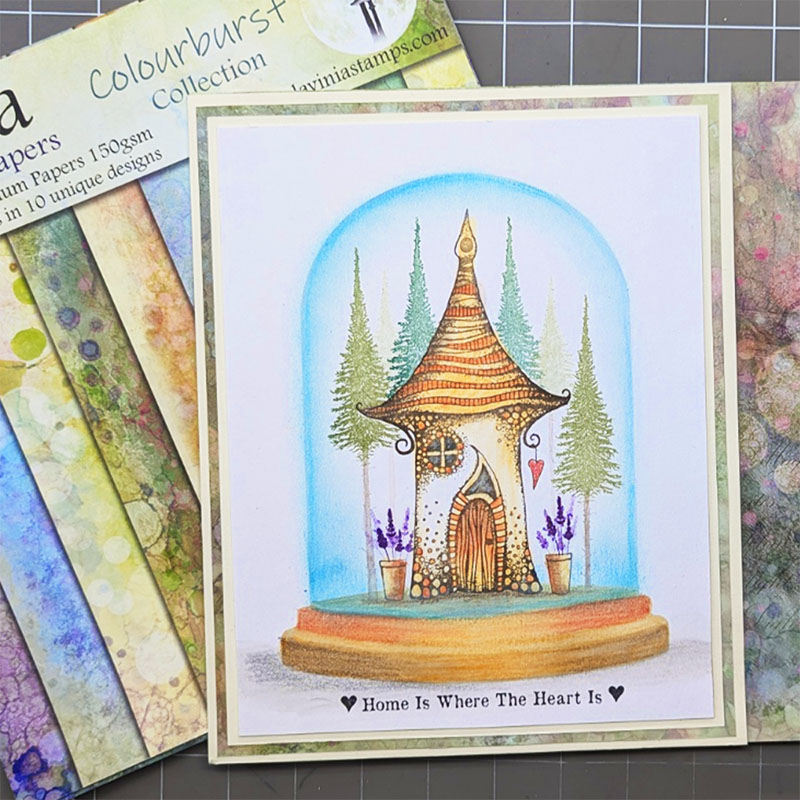
Time to put the card together. I used some cream card and two sheets from Lavinia’s Dreamscape Paper pad. I used a 8”x8” card blank. My design wasn’t big enough to cover the front of the card so I trimmed it down so you could see the beautiful dream scape paper inside. You can use your glitter pens to add some sparkle to the paper inside. Add some clear sparkle pen to the trees, the copper glitter pen to the door by flicking the colour, some of the stones, a bit to the plant pots and then the purple glitter pen to the lavender. I added a bit more of a shadow to the left of the base with the grey watercolour pencil and added the white soft pastel pencil to the windows to create a shine on them.
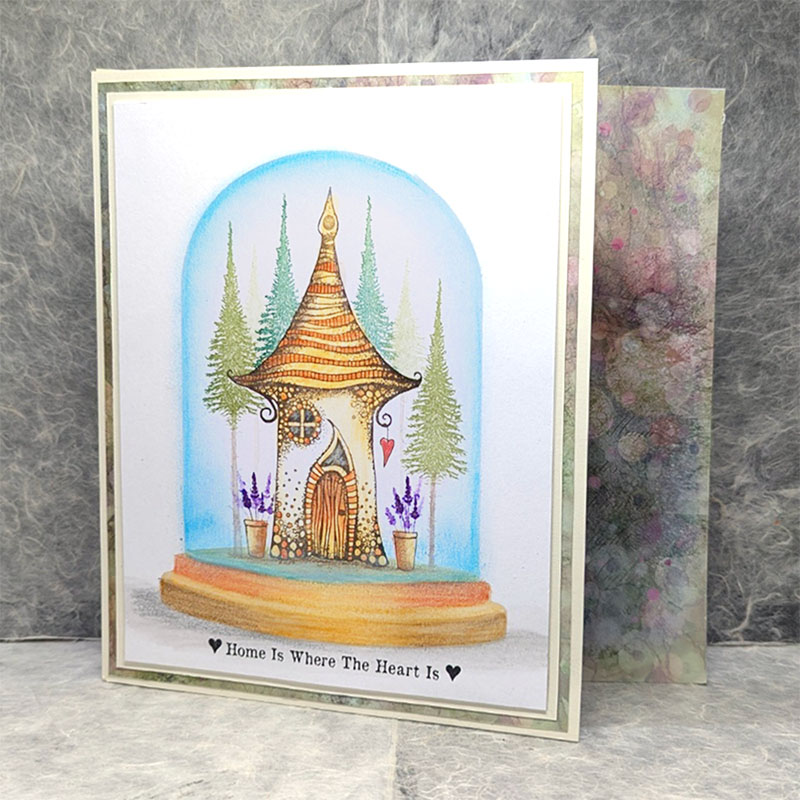
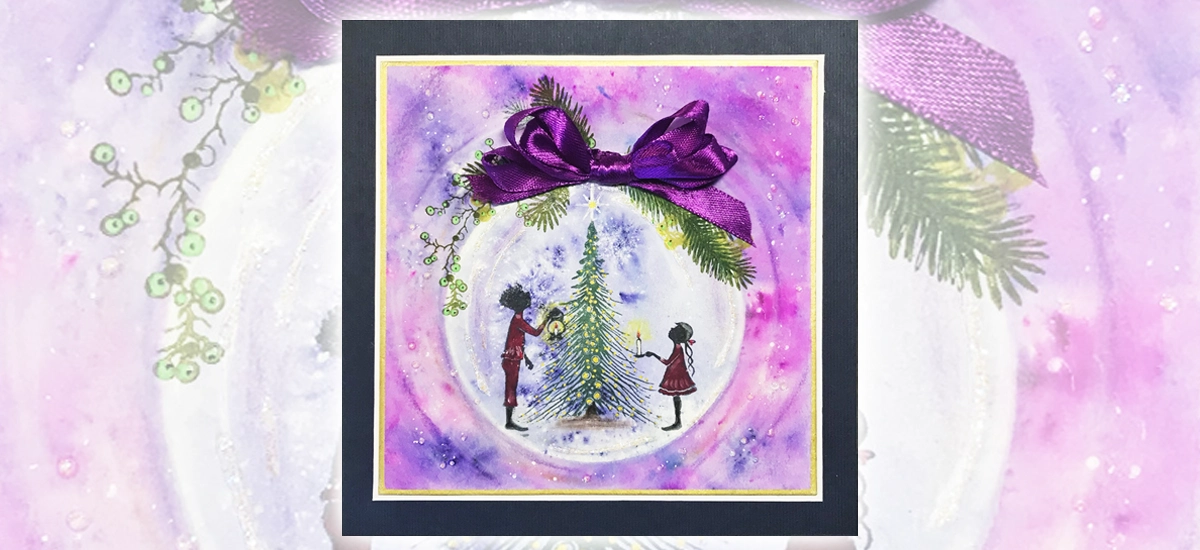
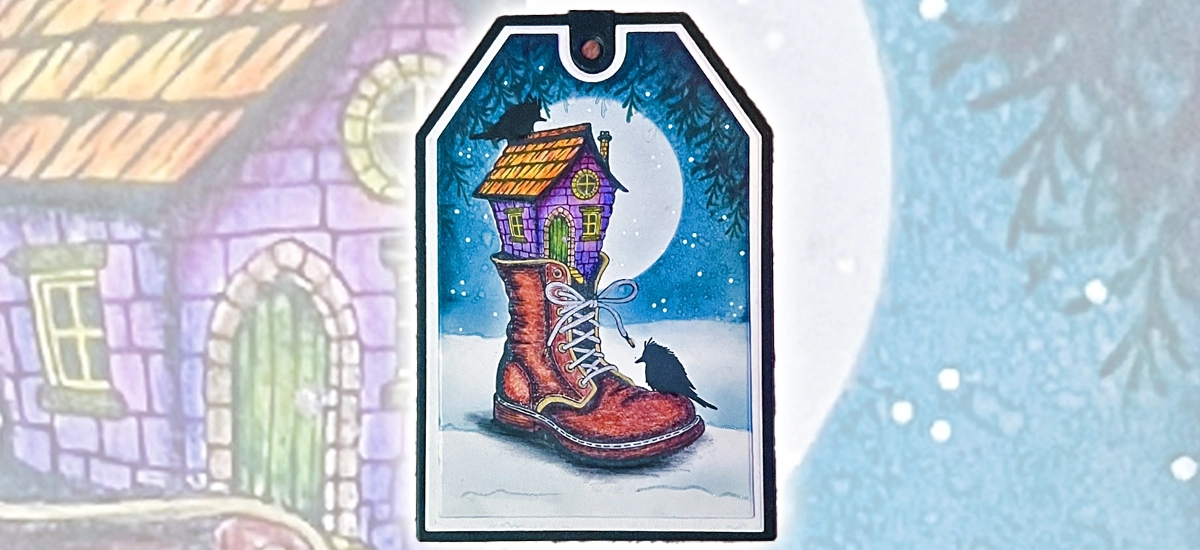
This is the finished card. I hope it inspires you and happy crafting to you all. Ellie. X