Step by Step by Mona Hauge
Hello everyone
It’s Mona here with my latest tutorial called “Fragile Beauty”. It is all about a snowy winter feeling. I hope you like it.
Picture 1
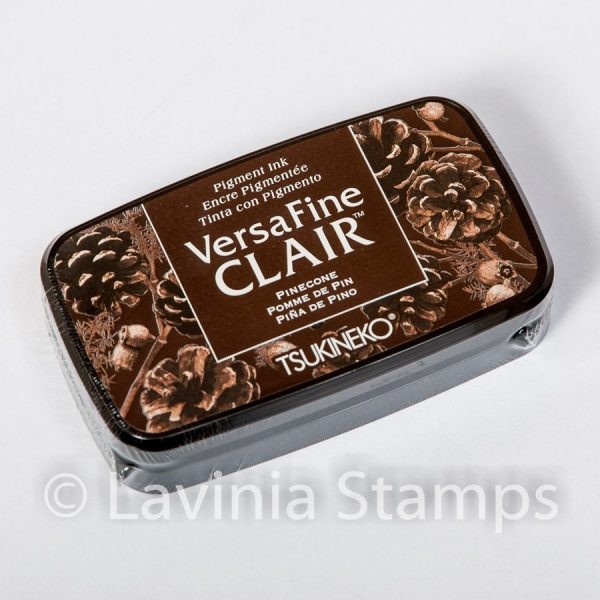
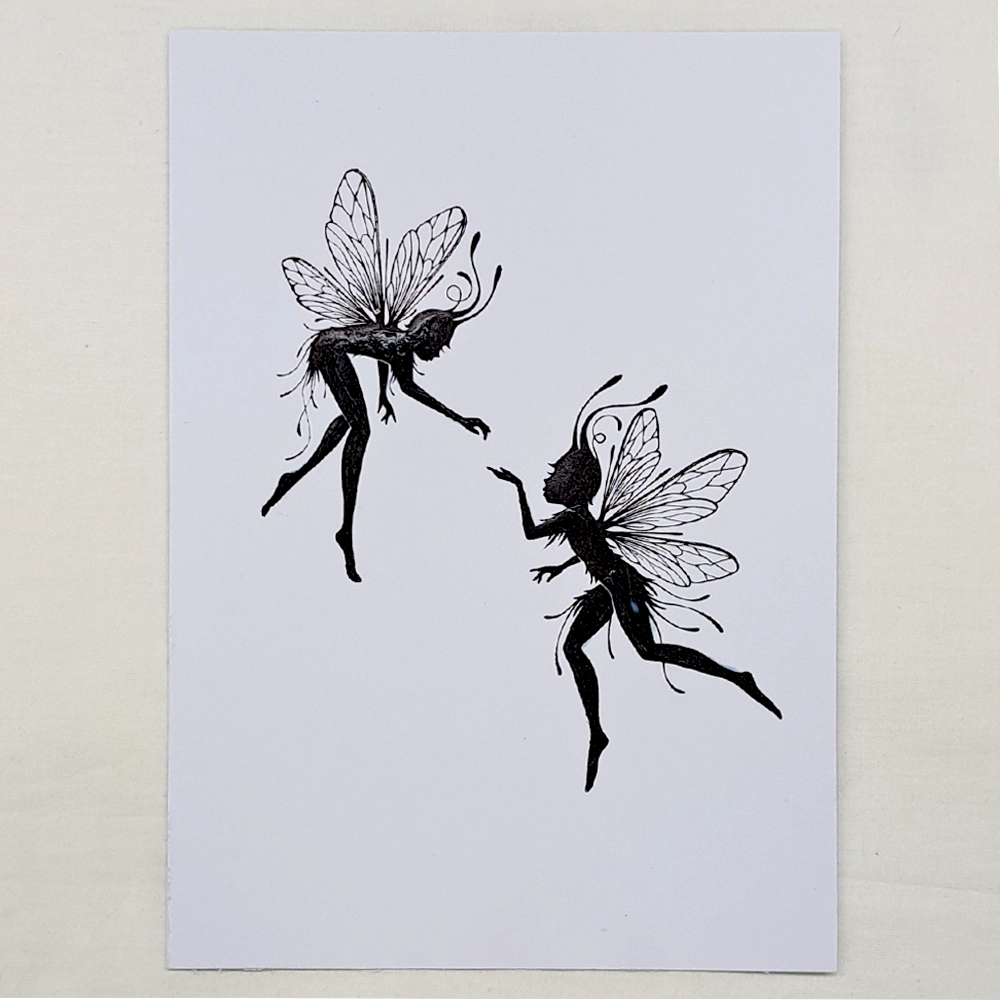
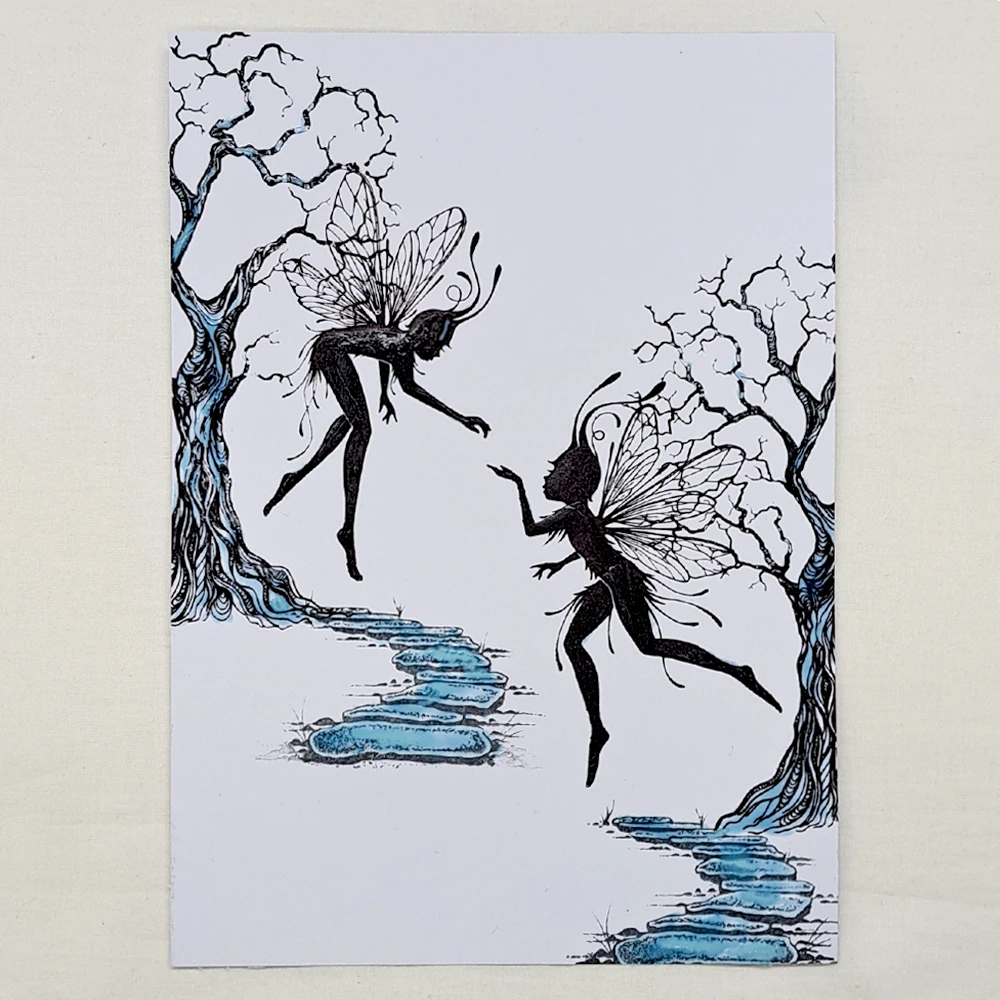
Using some white A5 Multifarious card stamp the beautiful Twila LAV899 and the sweet Lumus Large LAV897 in Versafine Clair Pinecone. Cover them with Liquid masking Fluid. Check the picture for placement.
Picture 2
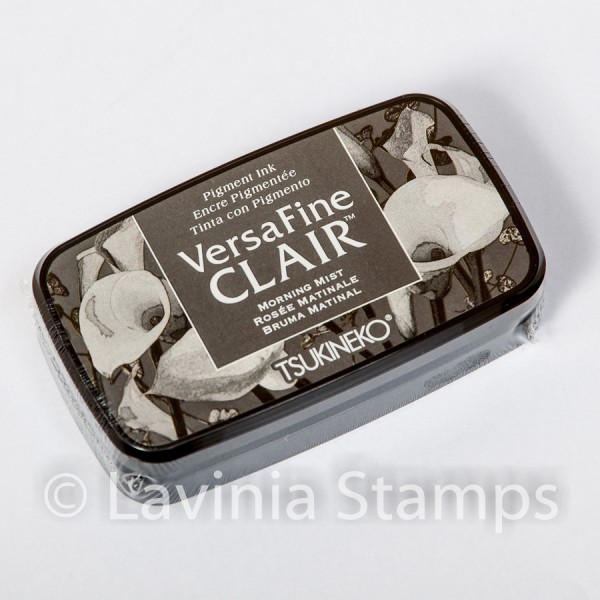
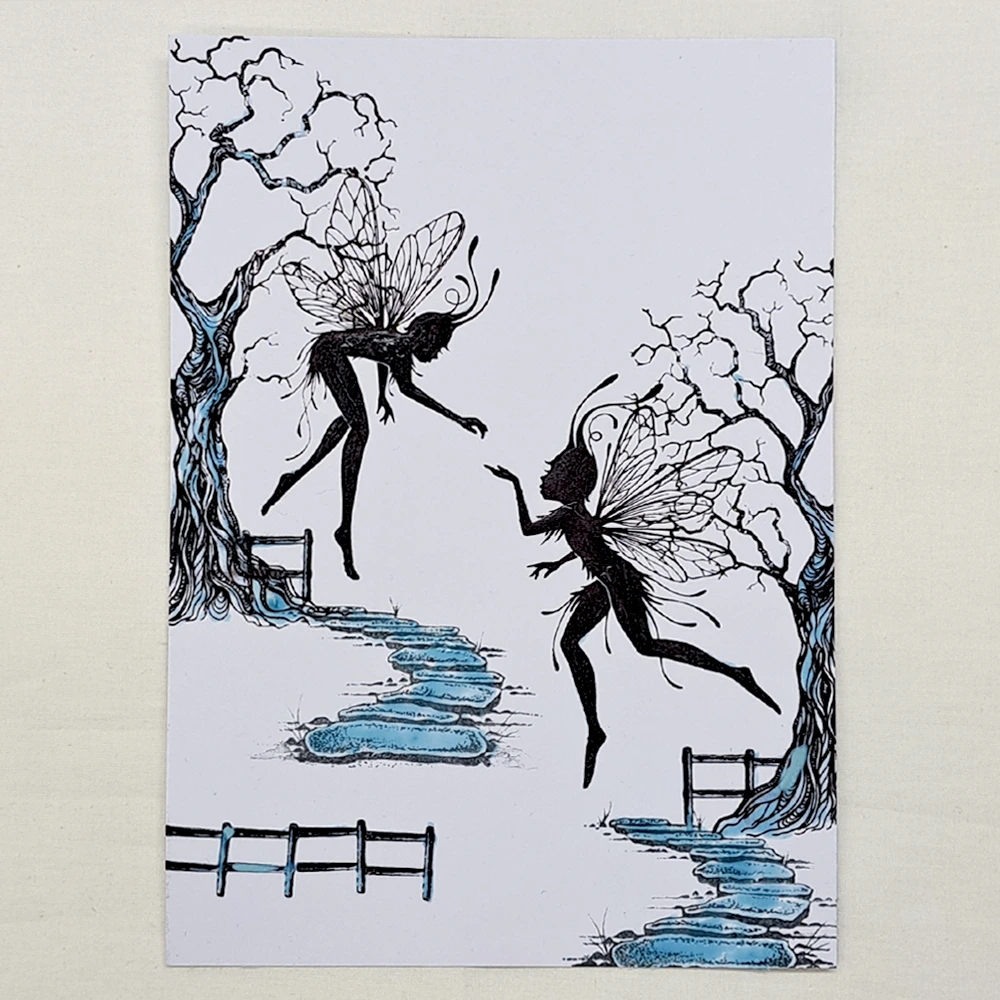
Stamp the gorgeous Tree Of Wisdom LAV609 in Versafine Clair Pinecone. We need the fabulous Fairy Path LAV246 stamped in Versafine Clair Morning Mist. Cover everything in Liquid Masking Fluid.
Picture 3
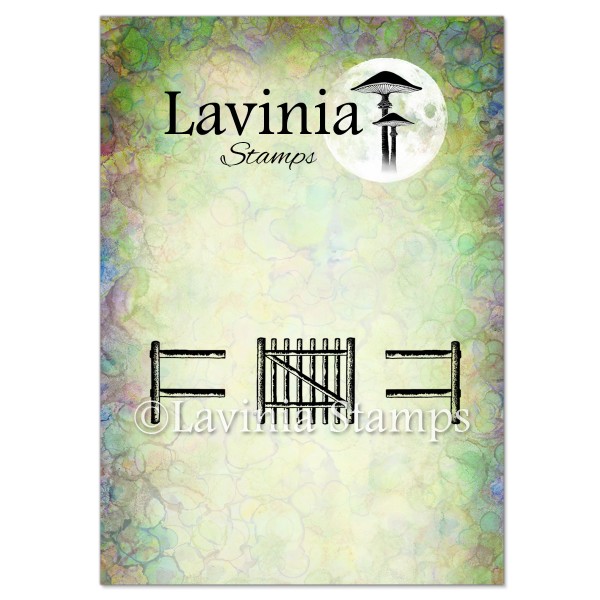
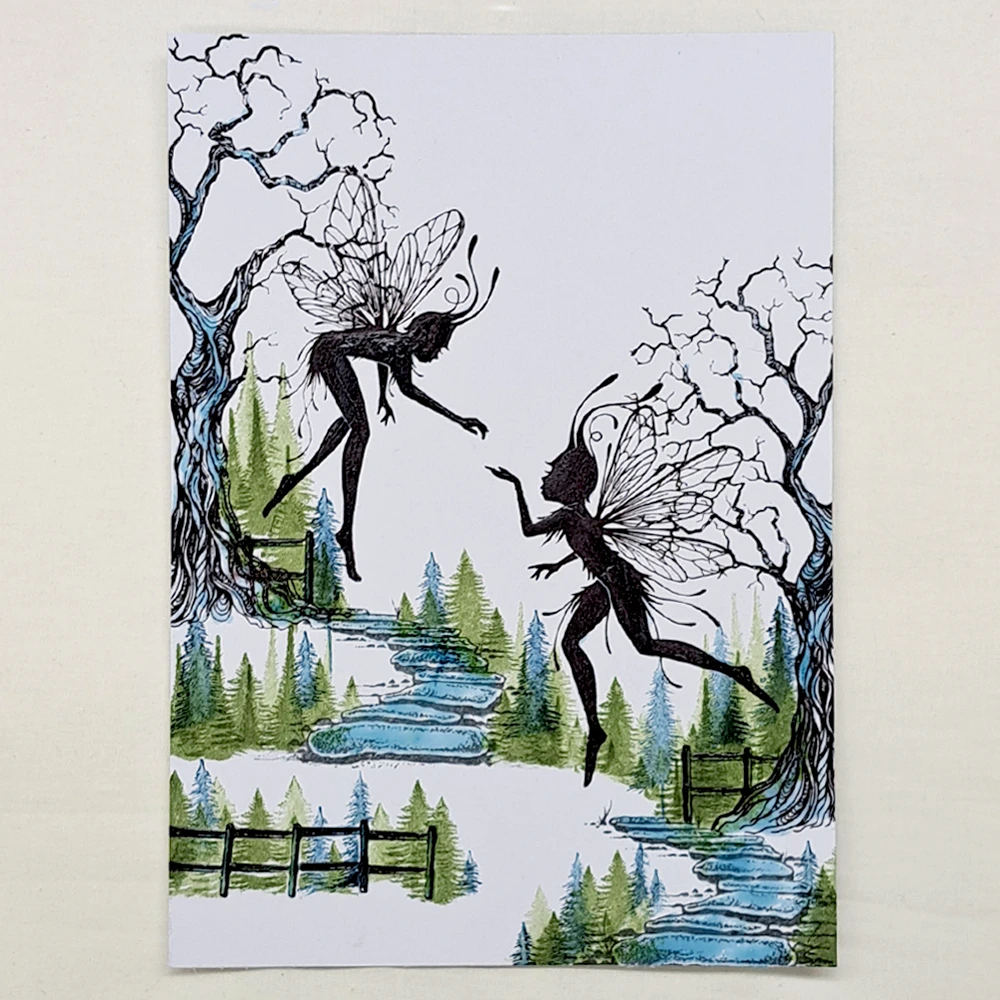
The Gate and Fence stamp LAV752 stamped in Versafine Clair Pinecone will help to create some layers to our hill side. Cover in Liquid masking Fluid.
Picture 4
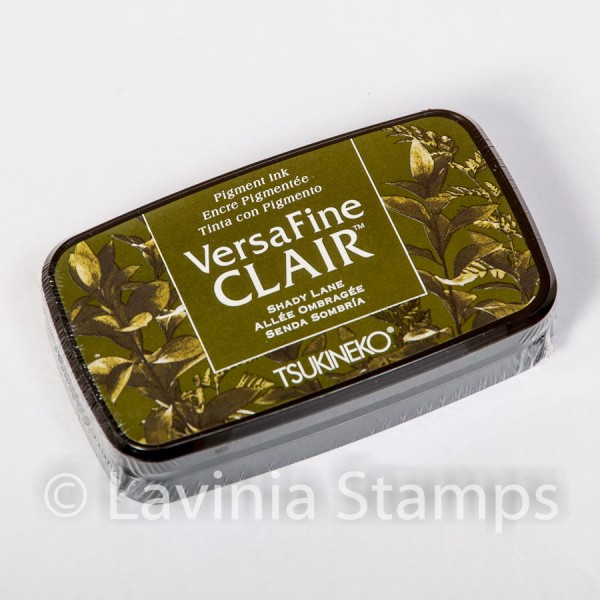
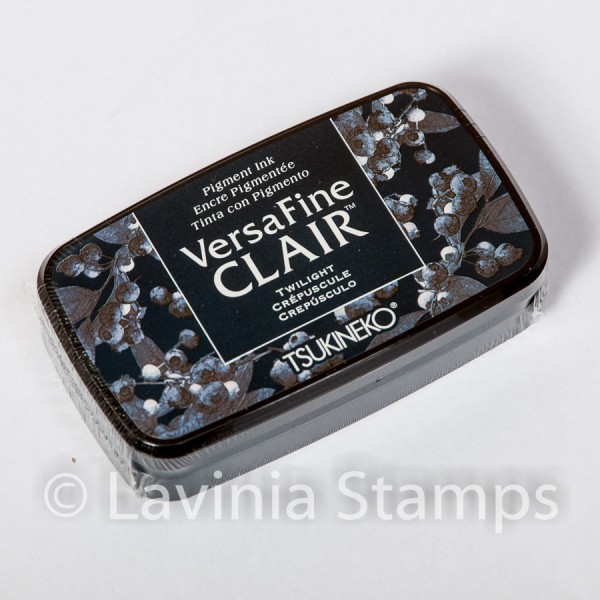
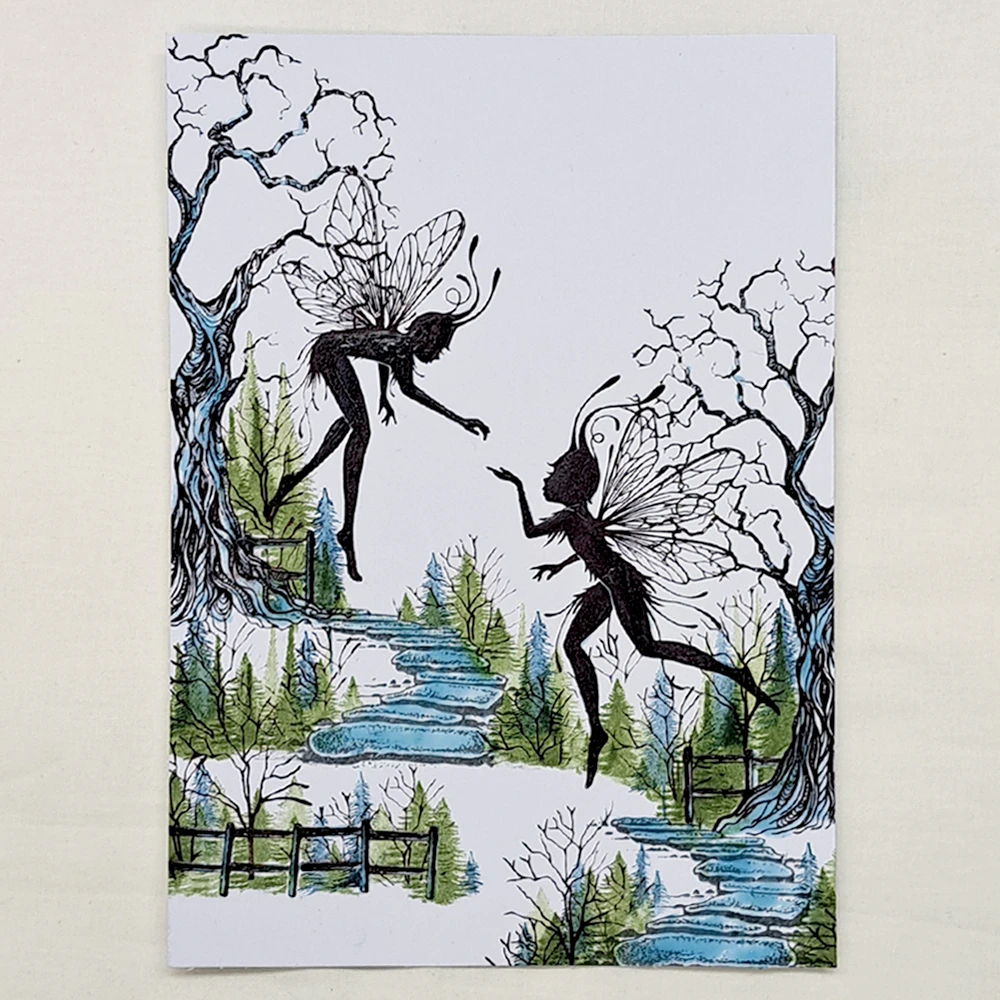
Small Pine Trees LAV836 will look great stamped in Versafine Clair Shady Lane. Use a few different trees and stamp some in Versafine Clair Twilight second generation stamping. Using more than one colour helps to create depth and brings more life to the picture.
Picture 5
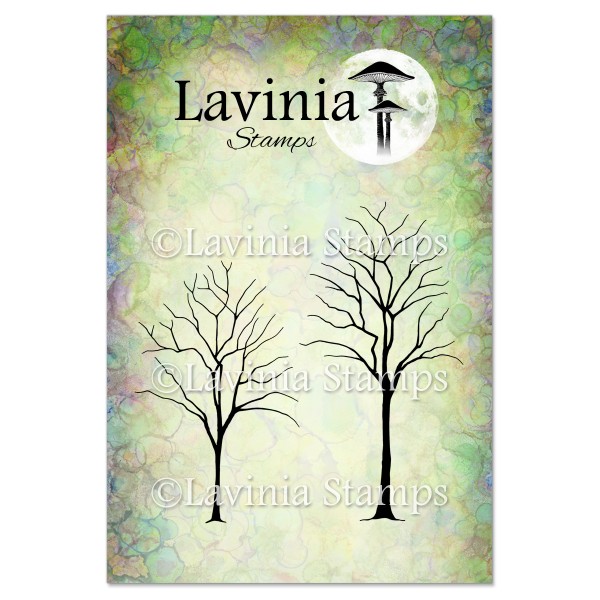
Stamp some of the Small Trees Stamp LAV663 in Versafine Clair Pinecone. See the picture for placement.
Picture 6
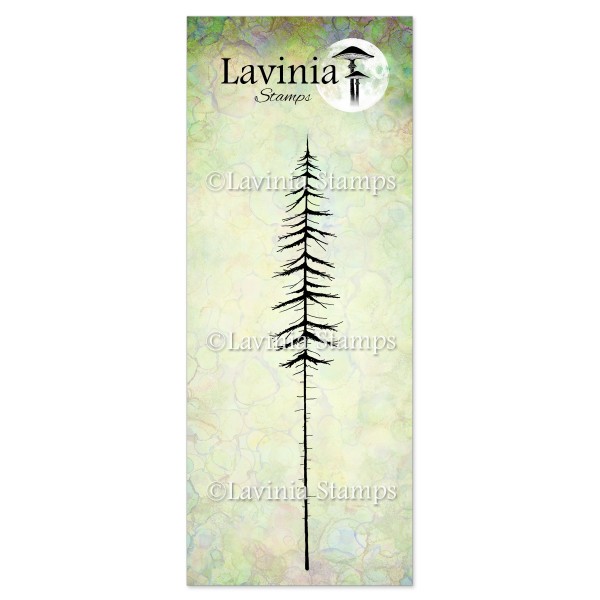
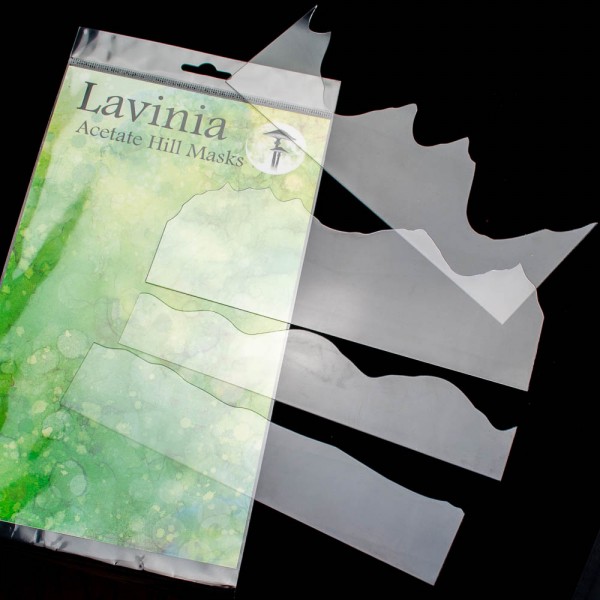
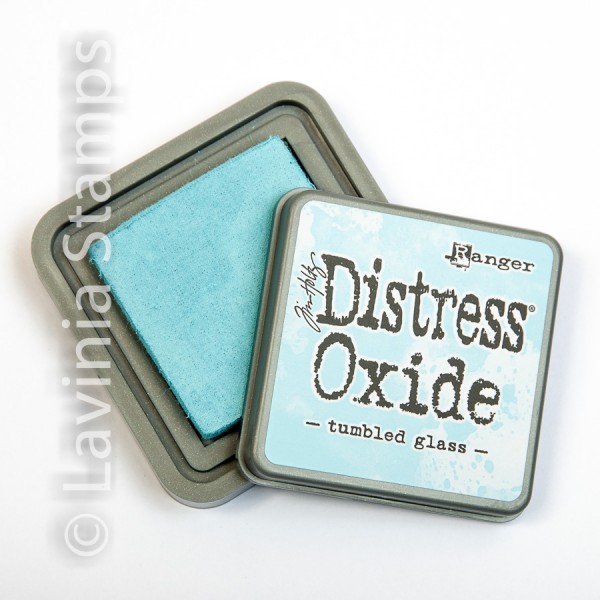
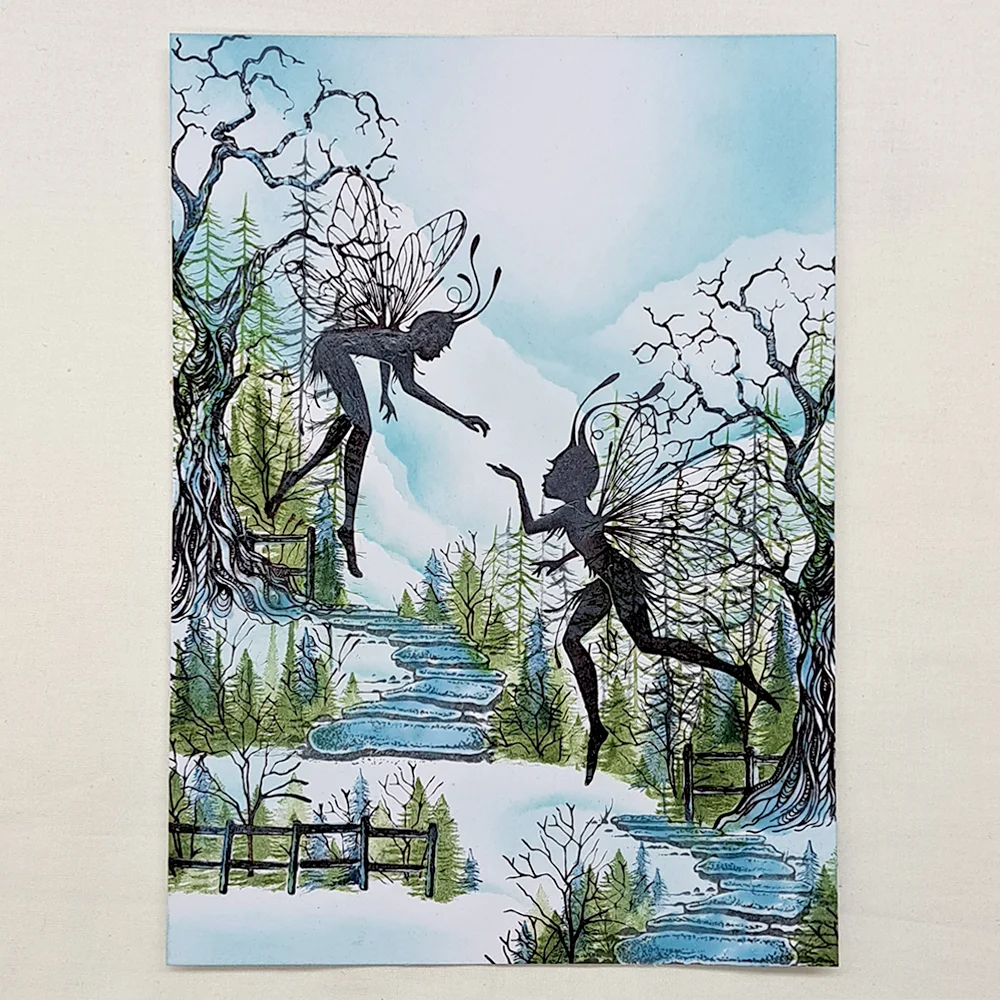
We need some more trees in the background and the Red Pine Large LAV591 is perfect stamped in Versafine Clair Shady Lane. For the colour of the sky, mountains, ice and the snow we will use Distress Oxide Tumbled Glass. Use a Hill mask or a piece of paper with a ripped edge to create the mountains. Remember that the colour is going to be the sky and the snowy mountains are the part that you cover up. Look at the picture for placement.
Picture 7
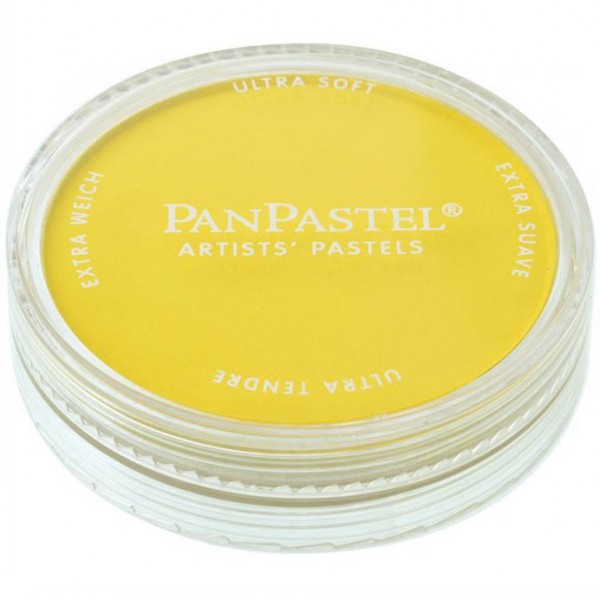
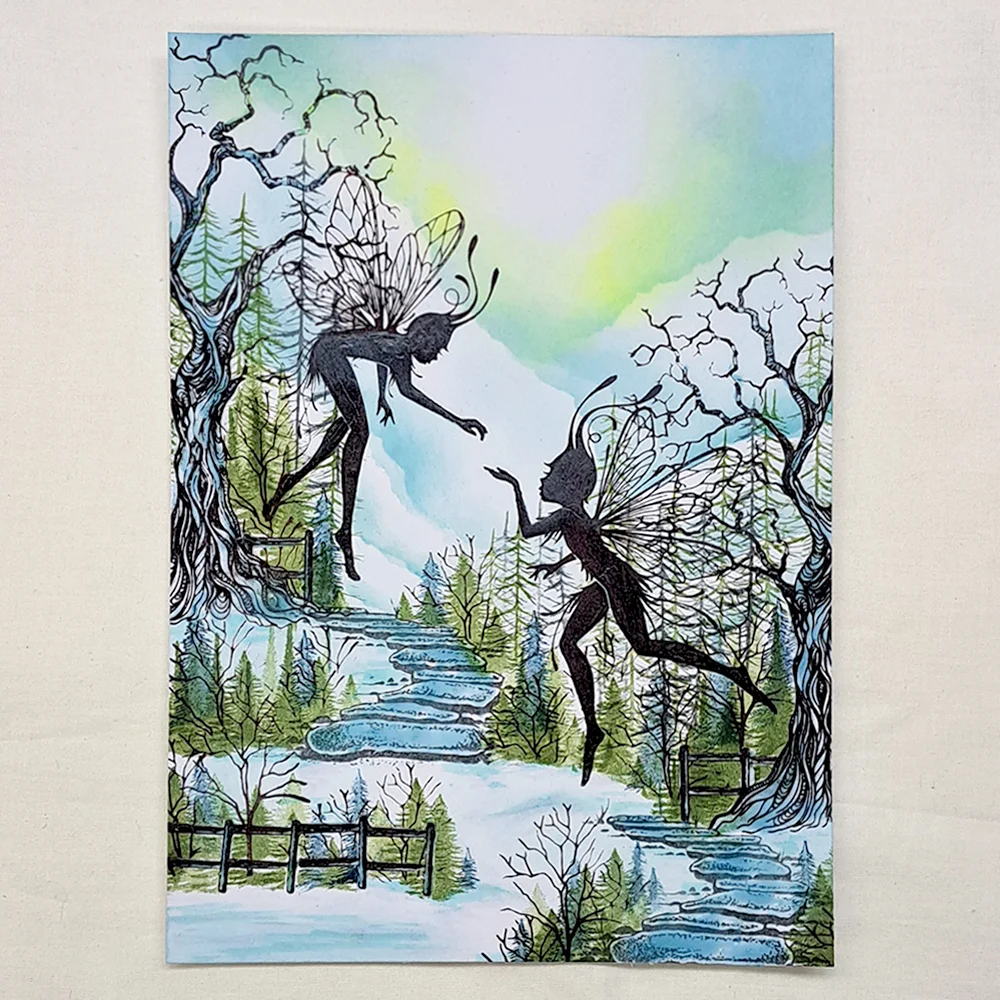
We want to add some glow to our sky and the magical PanPastel Hansa Yellow will do just that. Just a little bit is enough. Use a watercolour brush to create some more definition in the snow on our hill.
Picture 8
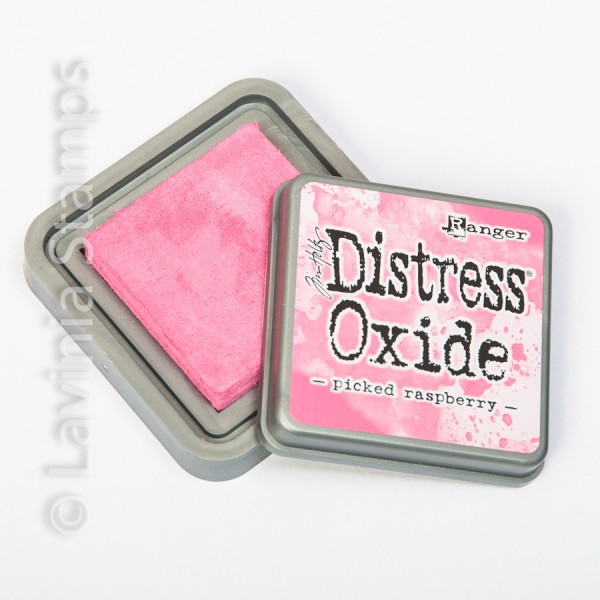
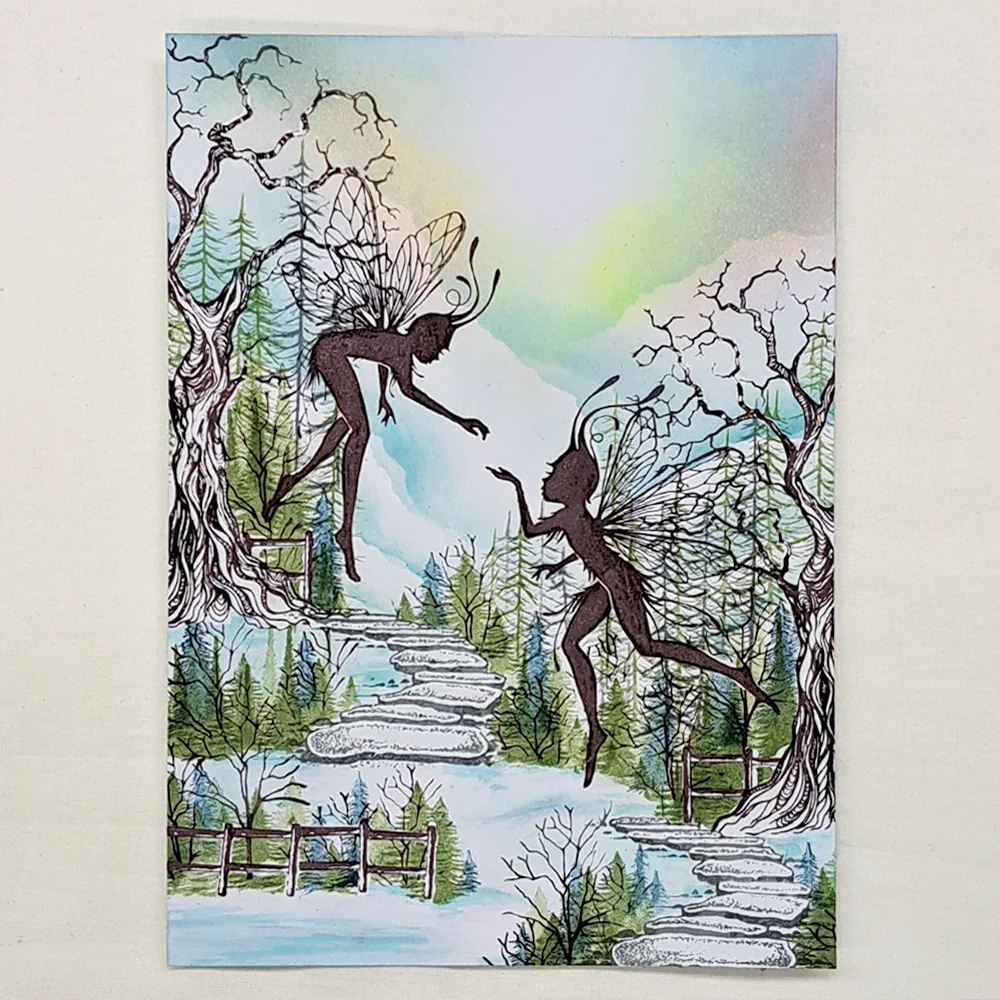
A subtle hint of pink with Distress Oxide Picked Raspberry will give more magic to our snowy sky. Make sure that the card is 100% dry before you rub off the masking. If there is a tiny bit of moisture the paper can rip when you rub it. To be sure it is dry, you can use a heat gun.
Picture 9
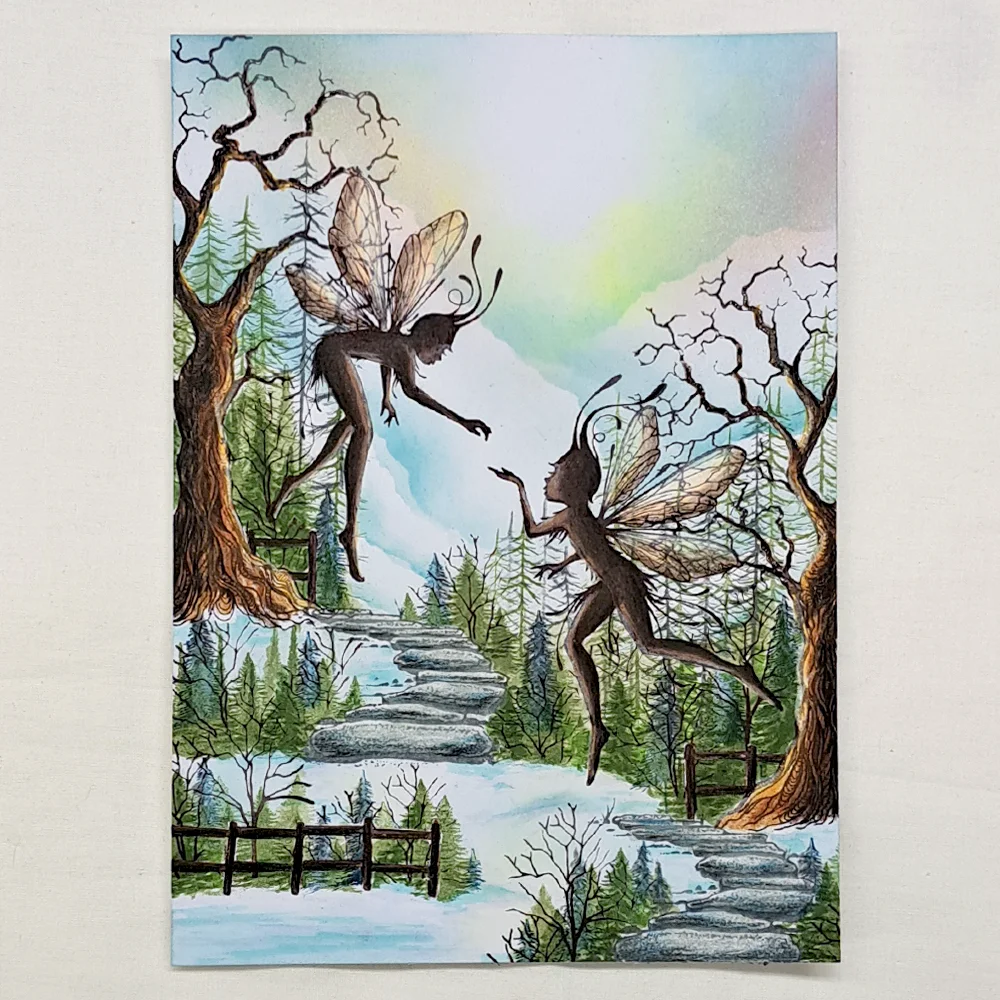
Now it is time to colour our trees, fairies, stairs and fences. The Mondeluz Watercolour pencils are perfect for this because they blend well and are so soft and so vibrant in colour. We will use several shades of colour for the each object. For example the trees have dark brown, brown, reddish brown and ochre and some black for the shadow side and some white for highlights. The stairs have dark grey, light grey and Prussian blue and some white. The fairies need some dark brown, black and beige and some white. For the fences we use dark brown and black.
Picture 10
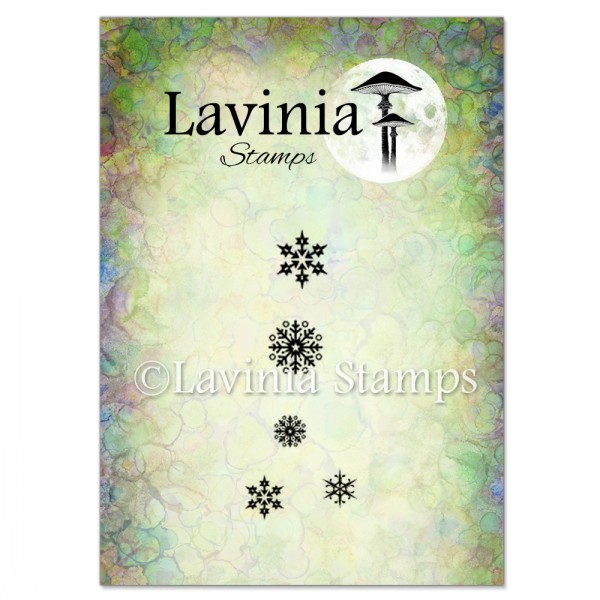
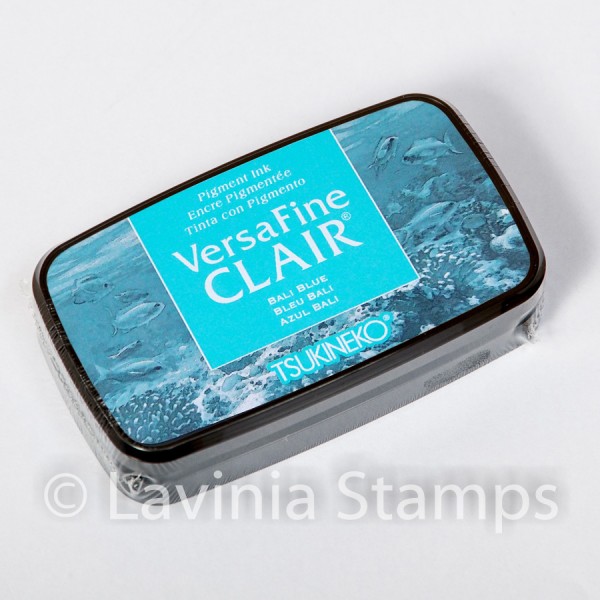
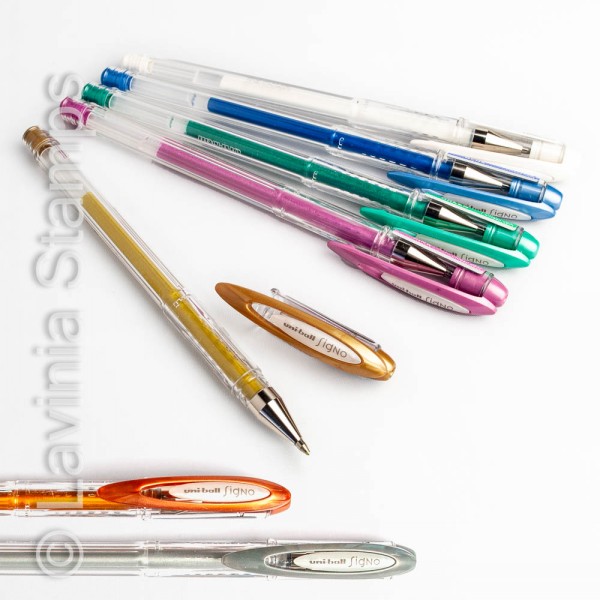
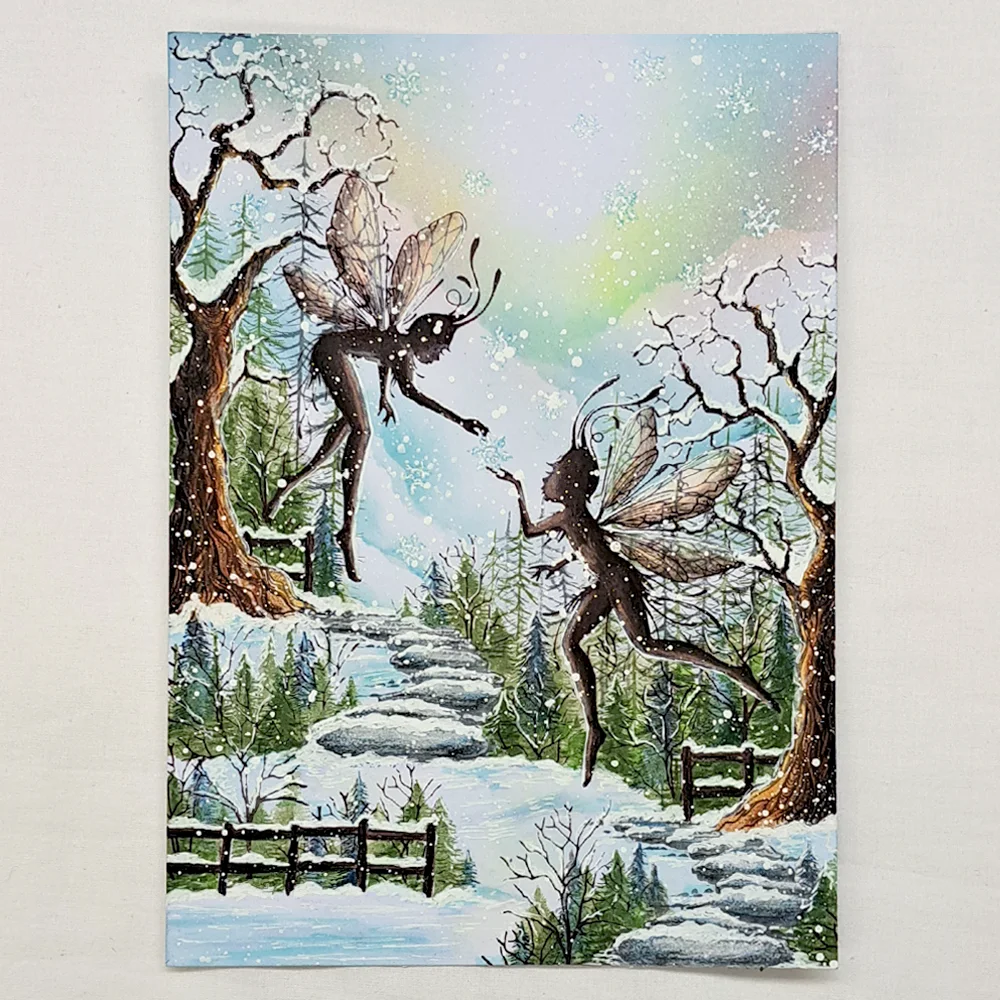
Our Fragile Beauties in this are the Snowflakes. So, for these stamp the snowflakes set LAV206 in Versafine Clair Bali Blue. Do this in second generation stamping. Now we will use a White Uniball or Gelly Roll pen to do some highlights on our fairies and everything else will have snow on it. The snow we will create with a White posca pen. We want snow on all the branches, fences, the stairs and the ground. I also put snow on the snowflakes to make them blend more with the Posca pen splatter snow. Do a lot of splatters.
Picture 11
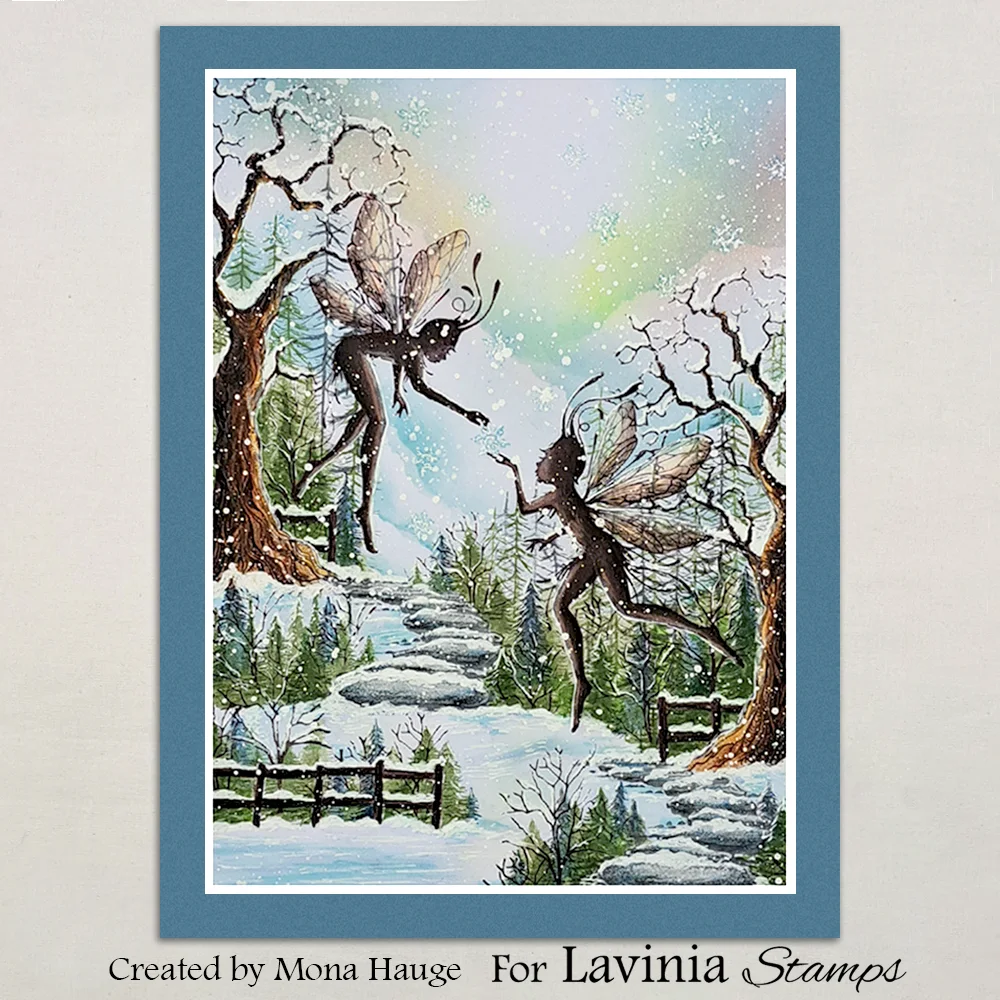
And now we have a beautiful winter card. I hope you enjoyed following my tutorial. If you have any questions, just send me a message and I will answer as soon as I can.
Big hugs from Mona


