Step by Step by Eleana Evans
Hello Everyone,
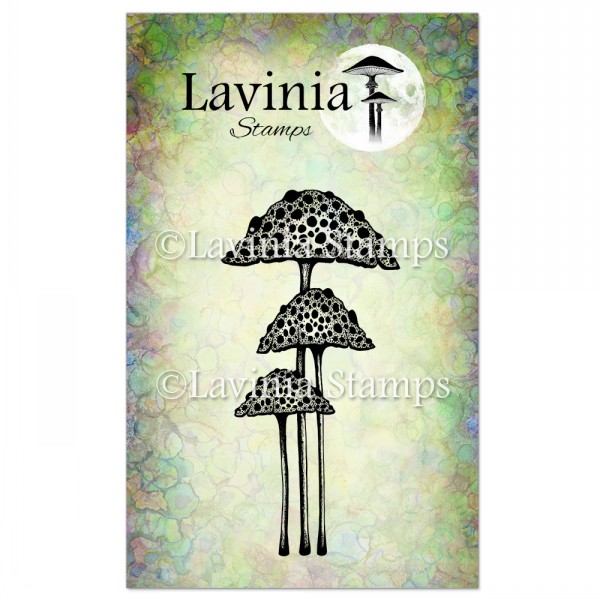
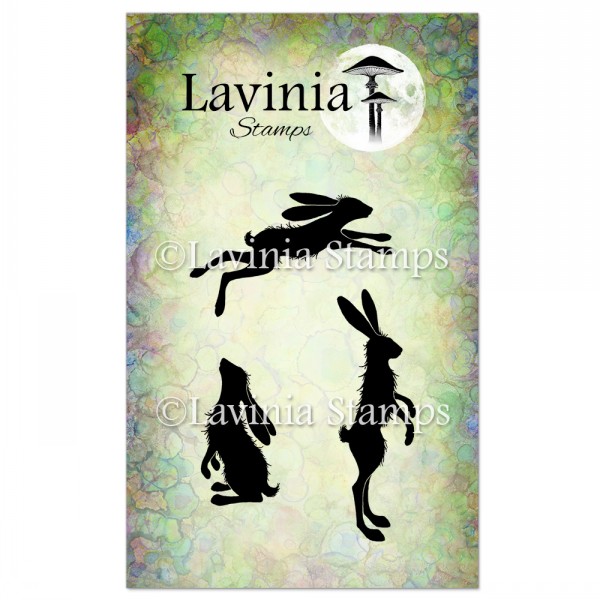
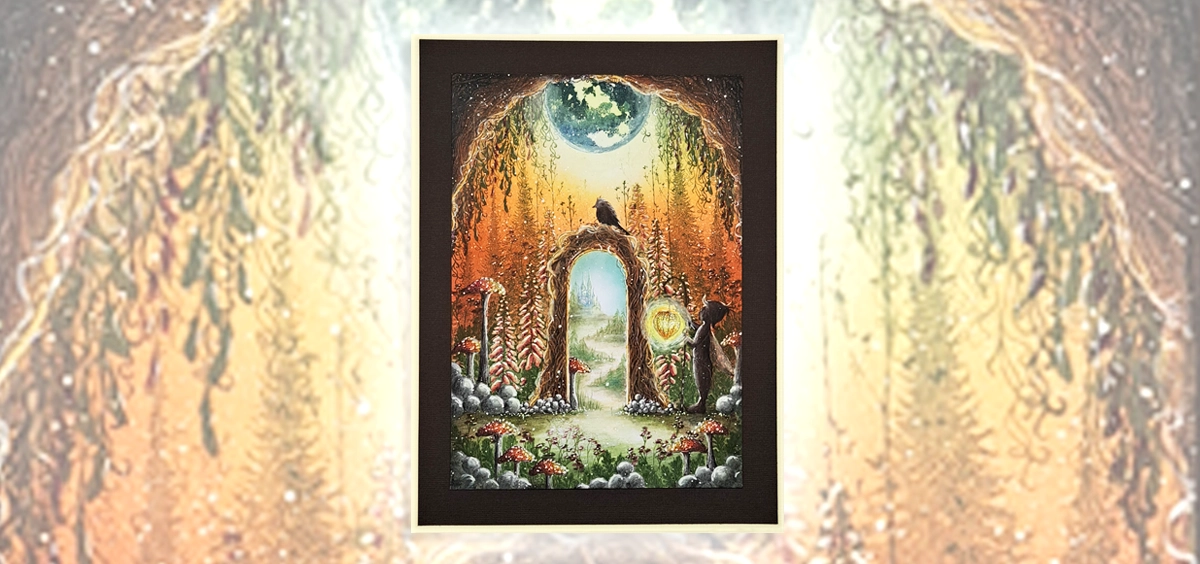
It’s Ellie here. Welcome to my step-by-step tutorial to make a wonderful bookmark using a mixture of new and old stamps. The main focal point is one of the new stamps from the Forest Realm Collection. The Elfin Cap cluster of mushrooms has little Pipin on the top looking at the butterfly, whilst the hare at the bottom watches.
I hope you enjoy it and Happy Crafting to you all.
E x
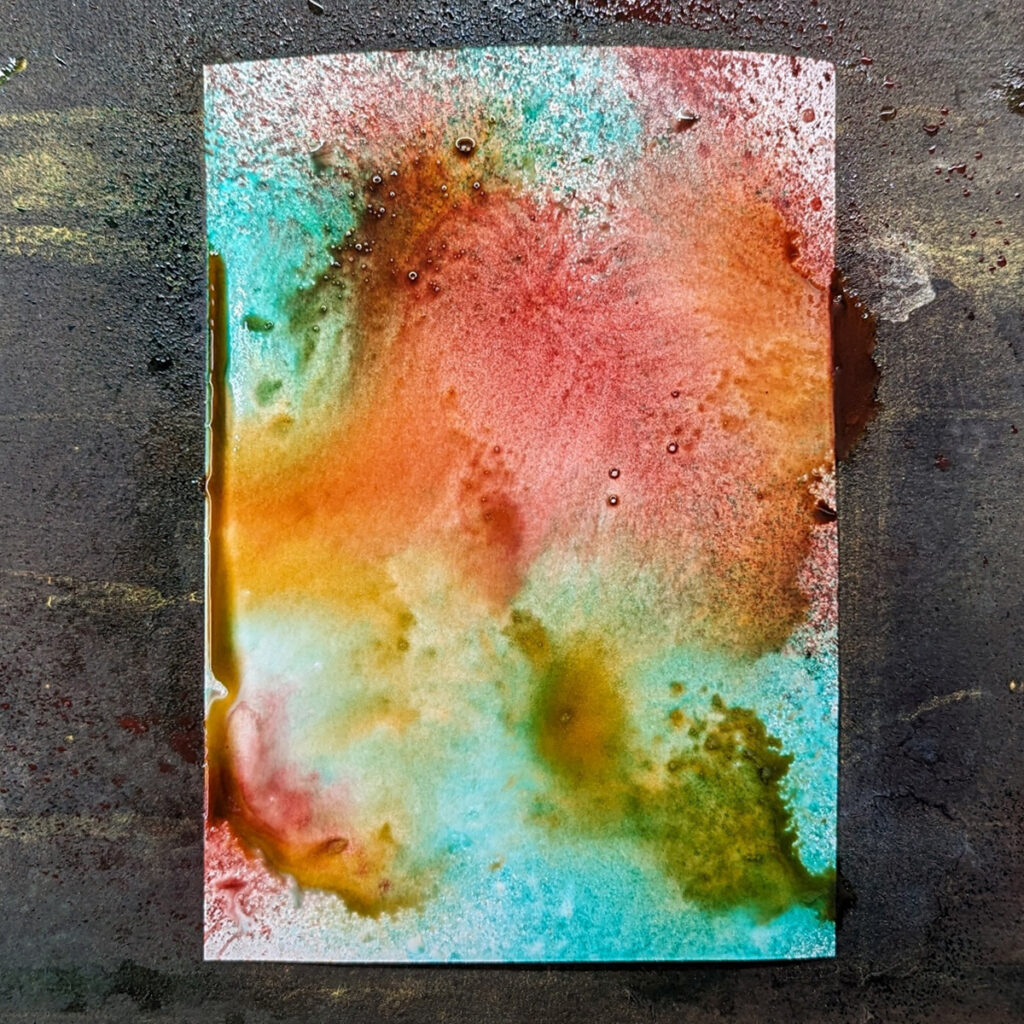
Photo 1
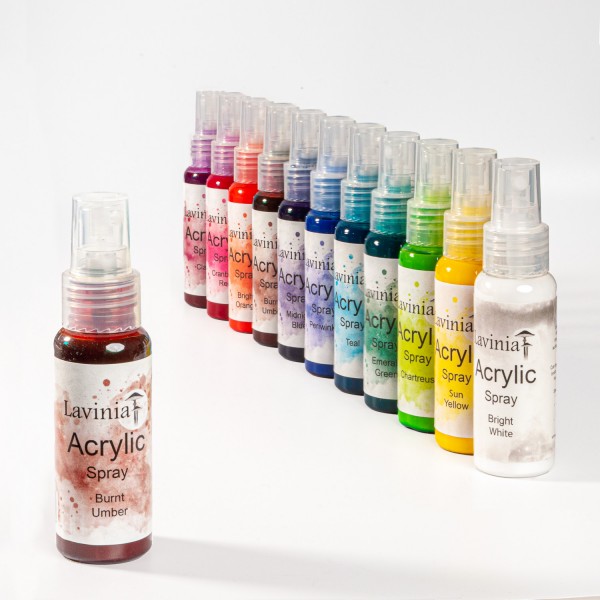
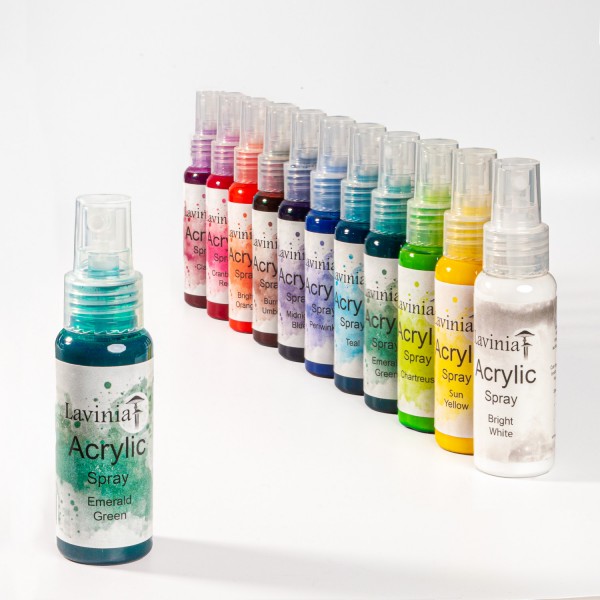
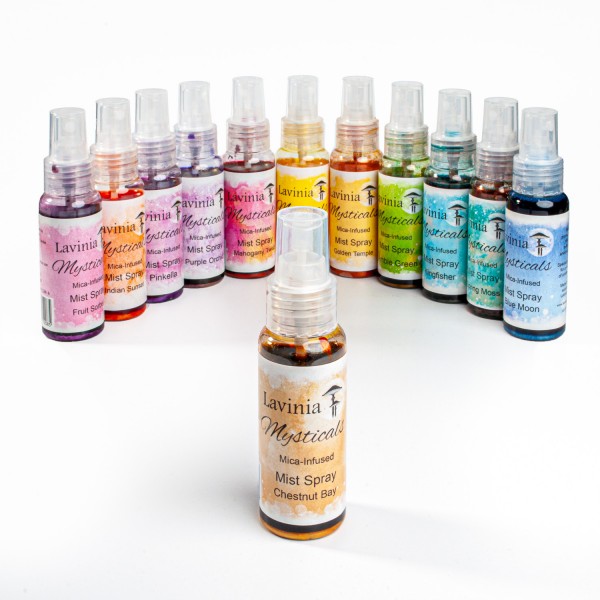
You will need two pieces of A5 multifarious card. Spritz your first piece of card with some water on the front and back. Then place the card down and spritz it with your colours of Emerald Green, Burnt Umber and Chestnut Bay. Then add another spritz of water.
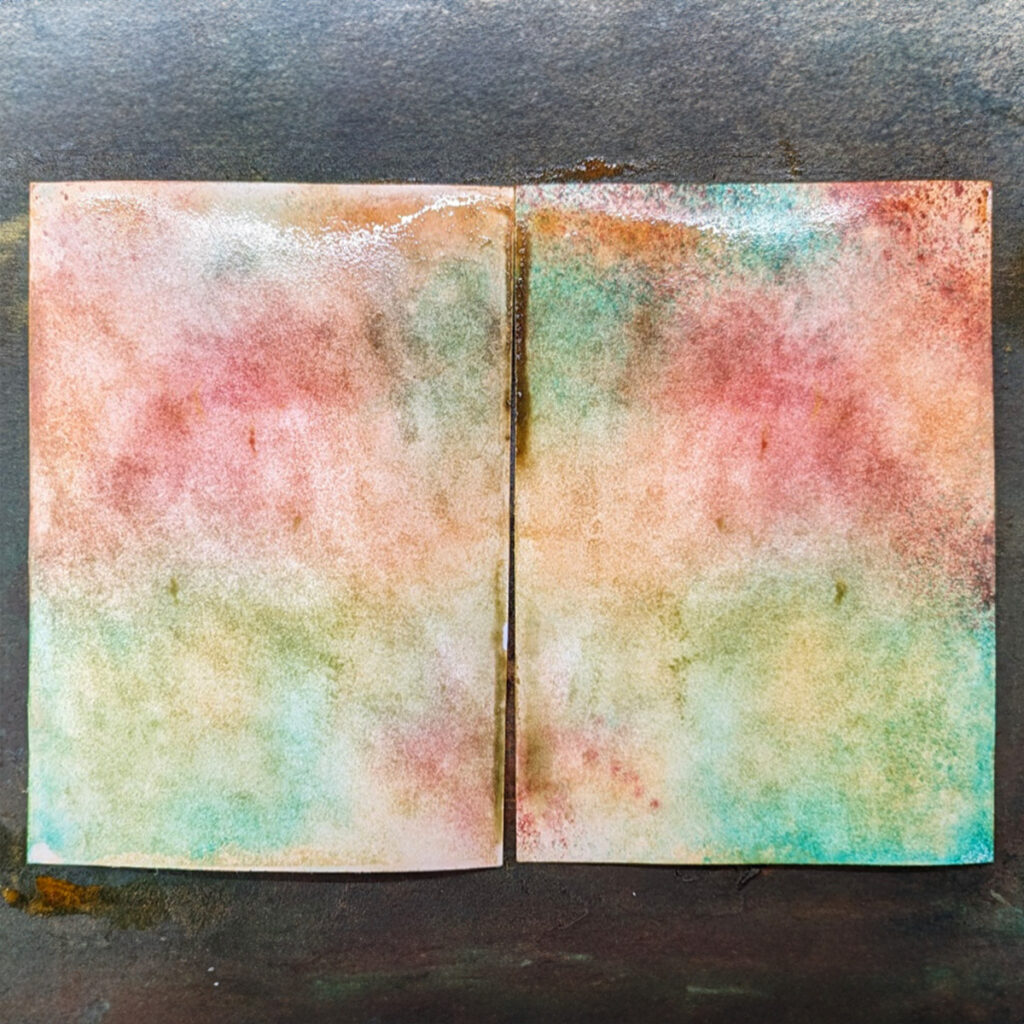
Photo 2
Next place your second piece of card on top and give it a rub with an old tea towel or any cloth you use for crafting. Open it up and you have two beautiful backgrounds ready for inking and stamping on. Give the backgrounds a good dry with your heat gun and then you are ready to get creative!
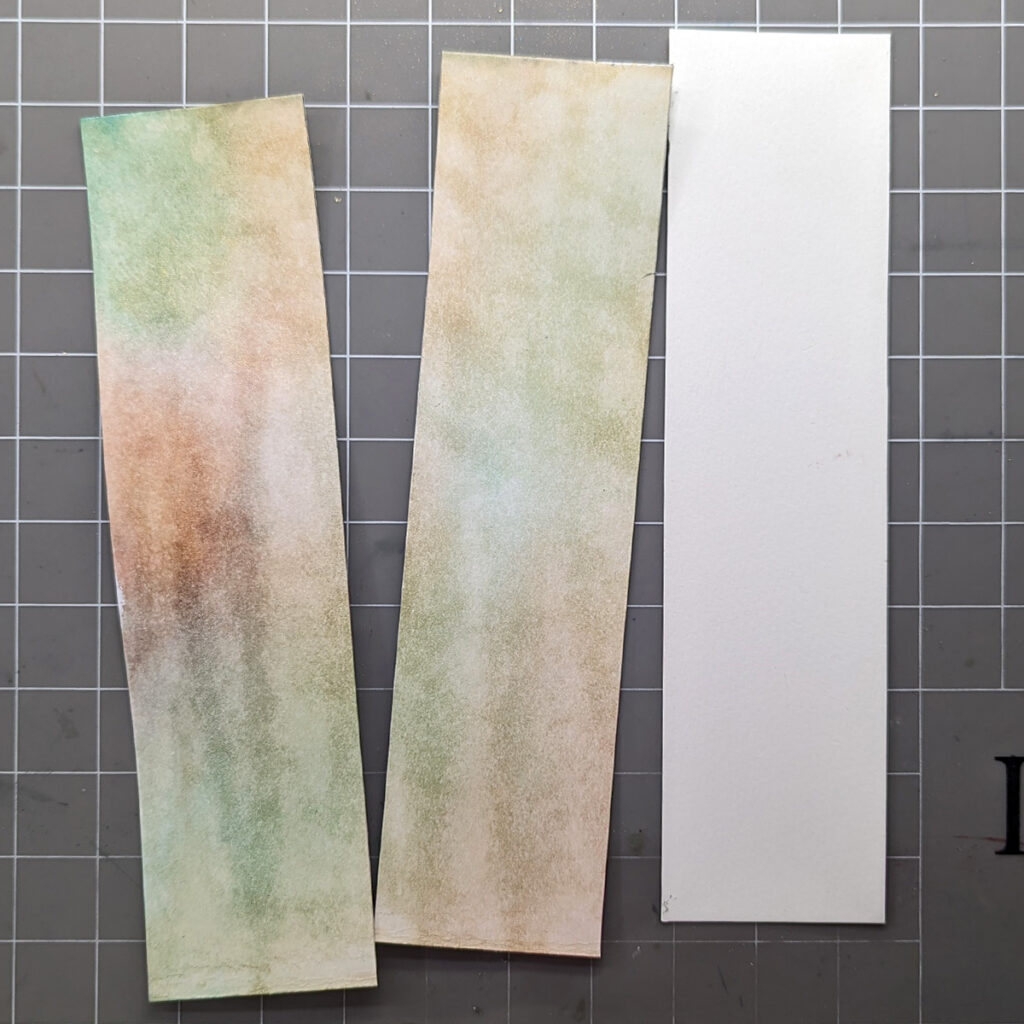
Photo 3
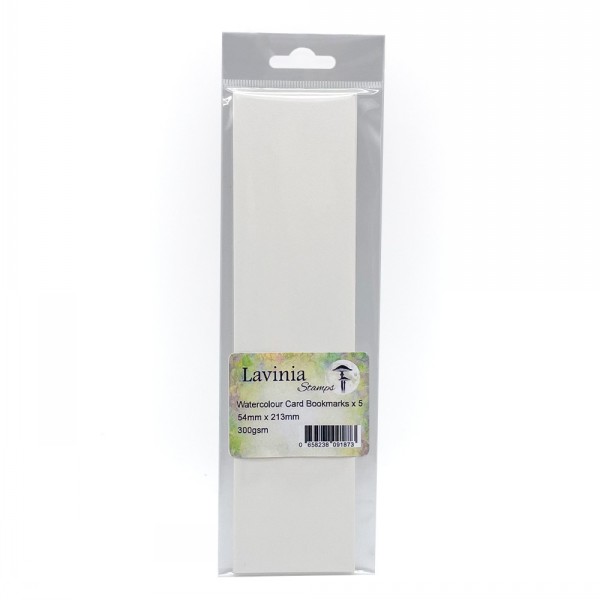
I have used a bookmark card and cut two strips off my background that I just created. The background strips are going to be the front and back of the Bookmark.
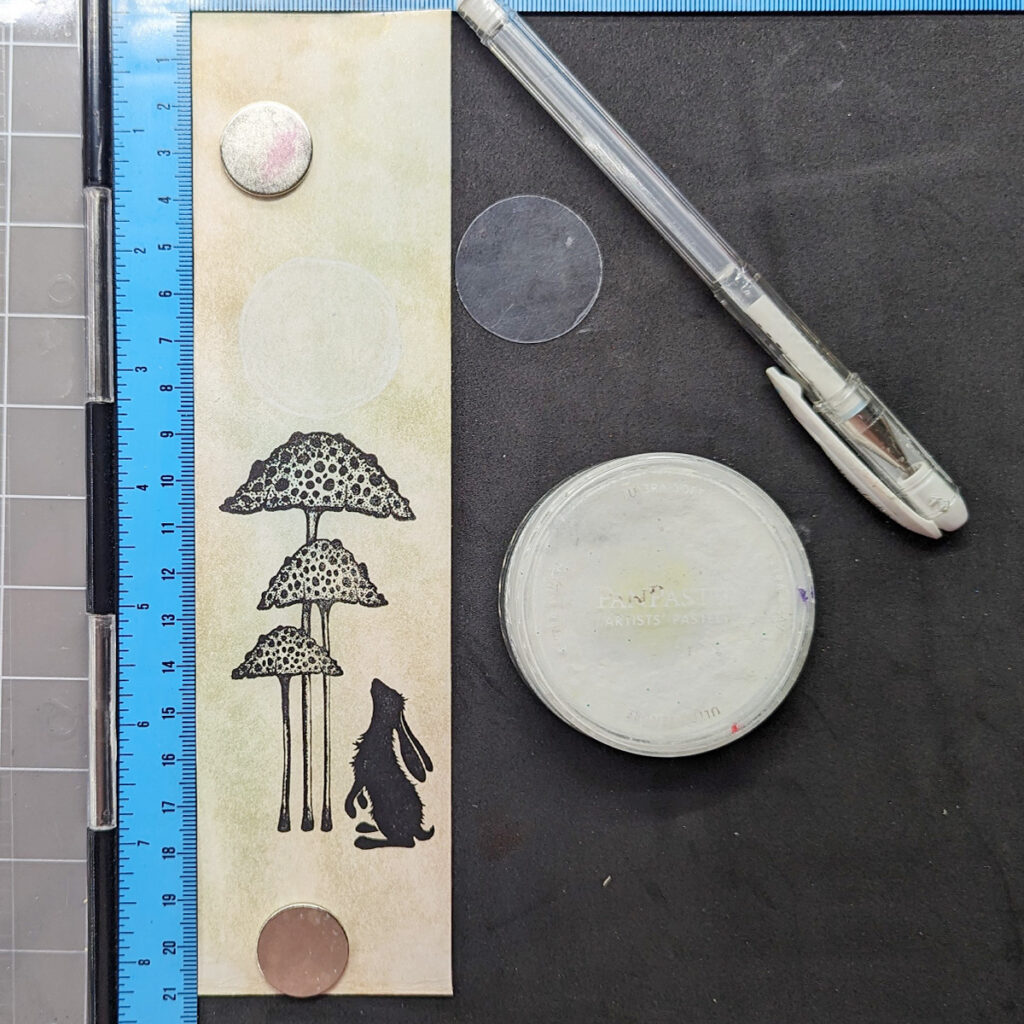
Photo 4
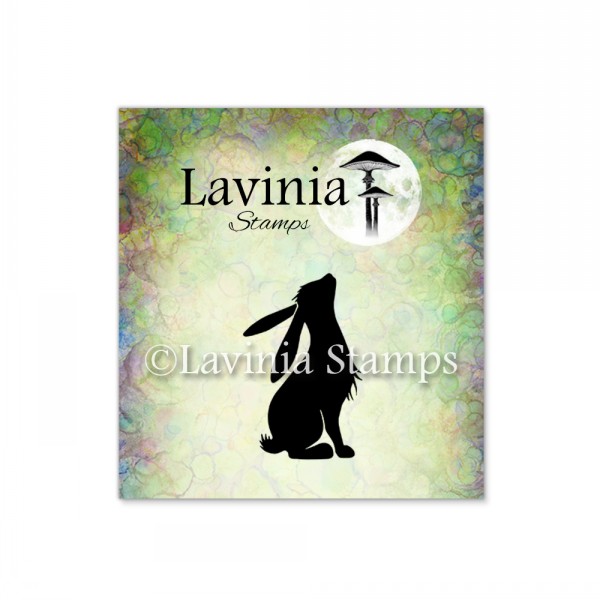
First I stamped the Elfin Cap Cluster and the Hare in Versafine Clair Nocturne. Then I created the moon. With the bottom of your spray bottle draw around it and cut the circle out. I have used a piece of acetate that I have spare but card will also be perfect This is a perfect size for the moon. Draw around it with your white Uni-Ball Signo pen and then blend it into the middle of you moon so you have a faint line. Then using a white Pan-pastel or a white pastel pencil colour your moon white.
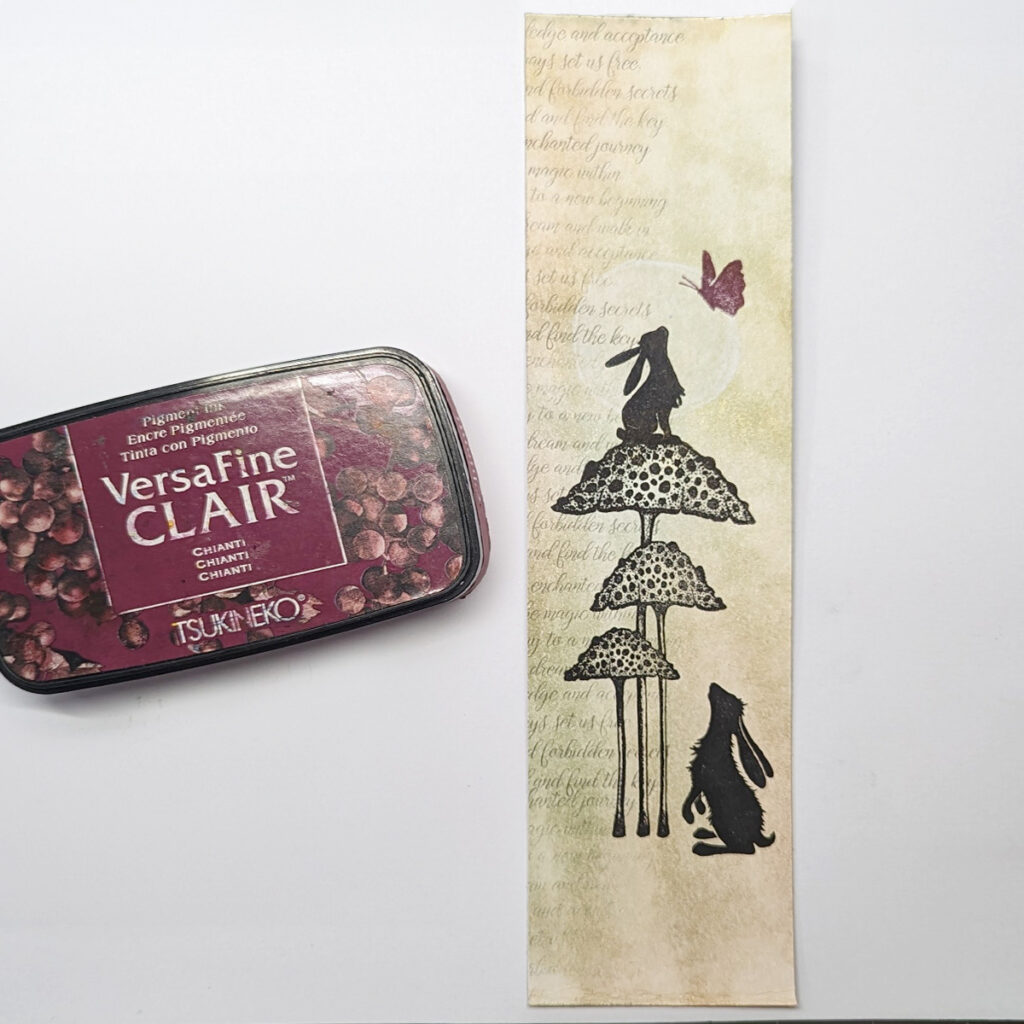
Photo 5
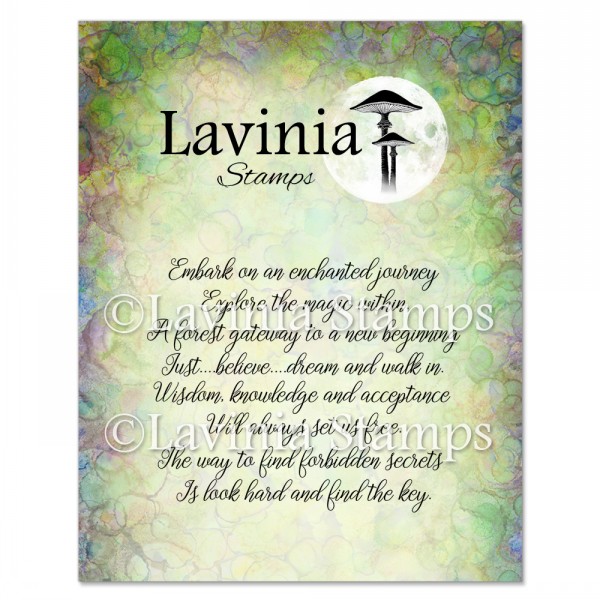
Next stamp little Pipin on to the top of the mushroom using Versafine Clair Nocturne. Using Versafine Clair Morning Mist I stamped this beautiful verse Forbidden Secrets down the left side of the background. I stamped the little butterfly that is hovering above Pipin in Versafine Clair Chianti.
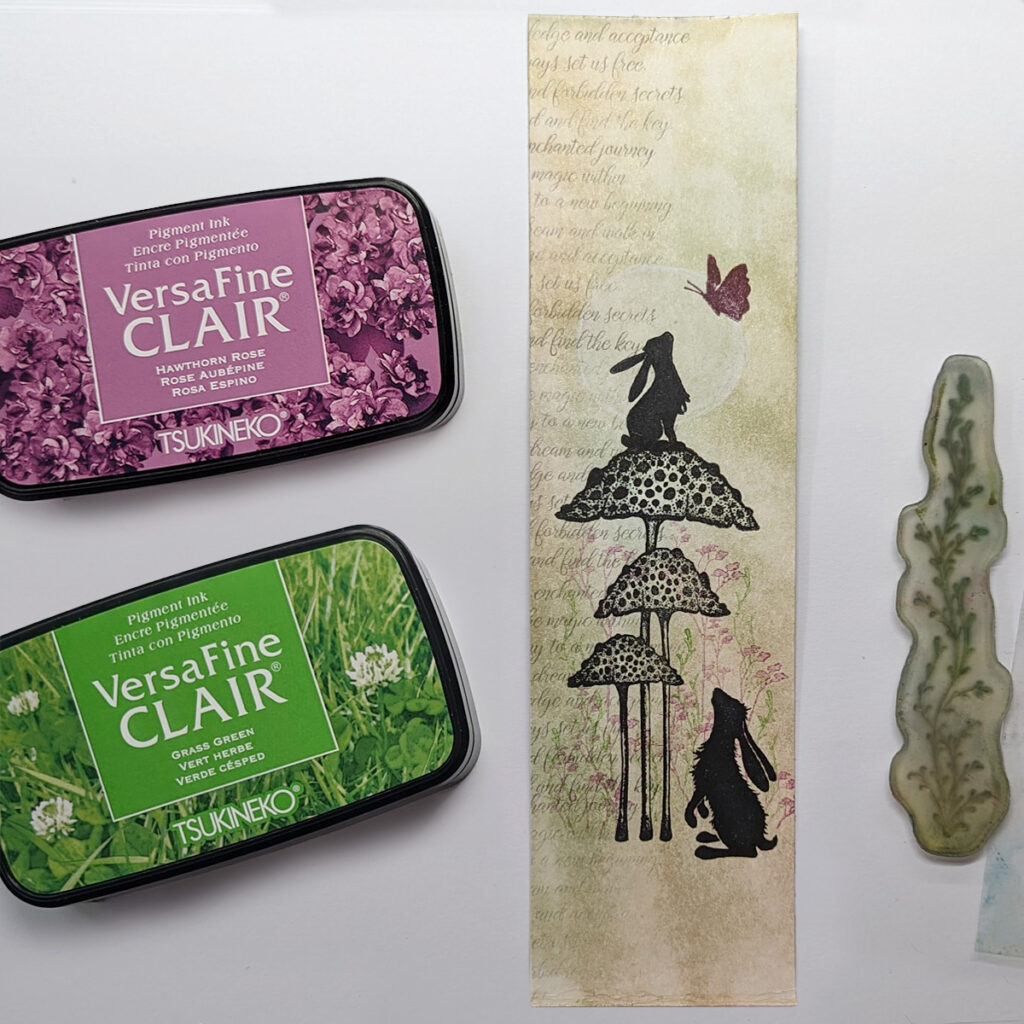
Photo 6
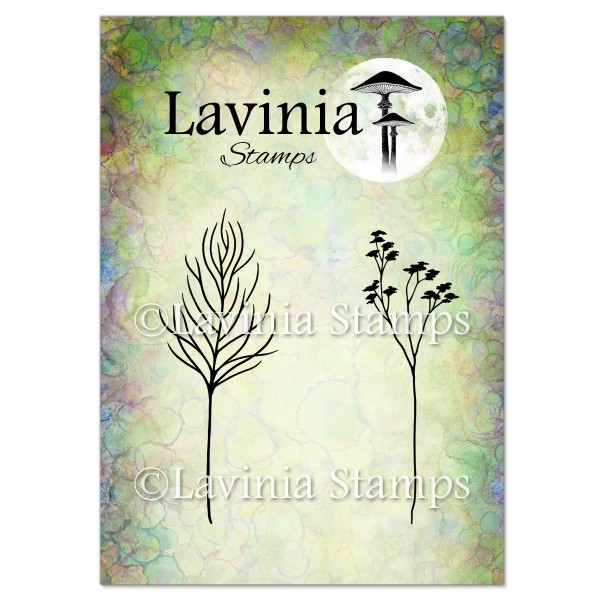
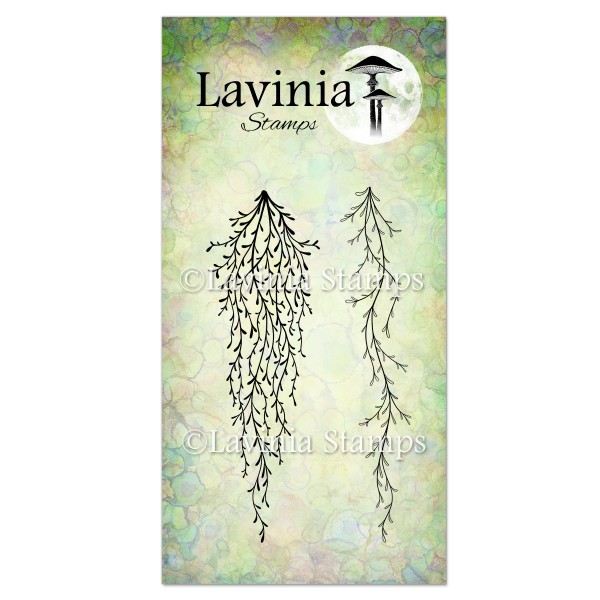
Then using this flower stamp from the Flora Stamp set I stamped it in Versafine Clair Hawthorn Rose in second generation stamping. To finish off building around the mushrooms I used Spanish Moss and I have used the thin one. Stamp this in 2nd generation stamping and Versafine Clair Grass Green.
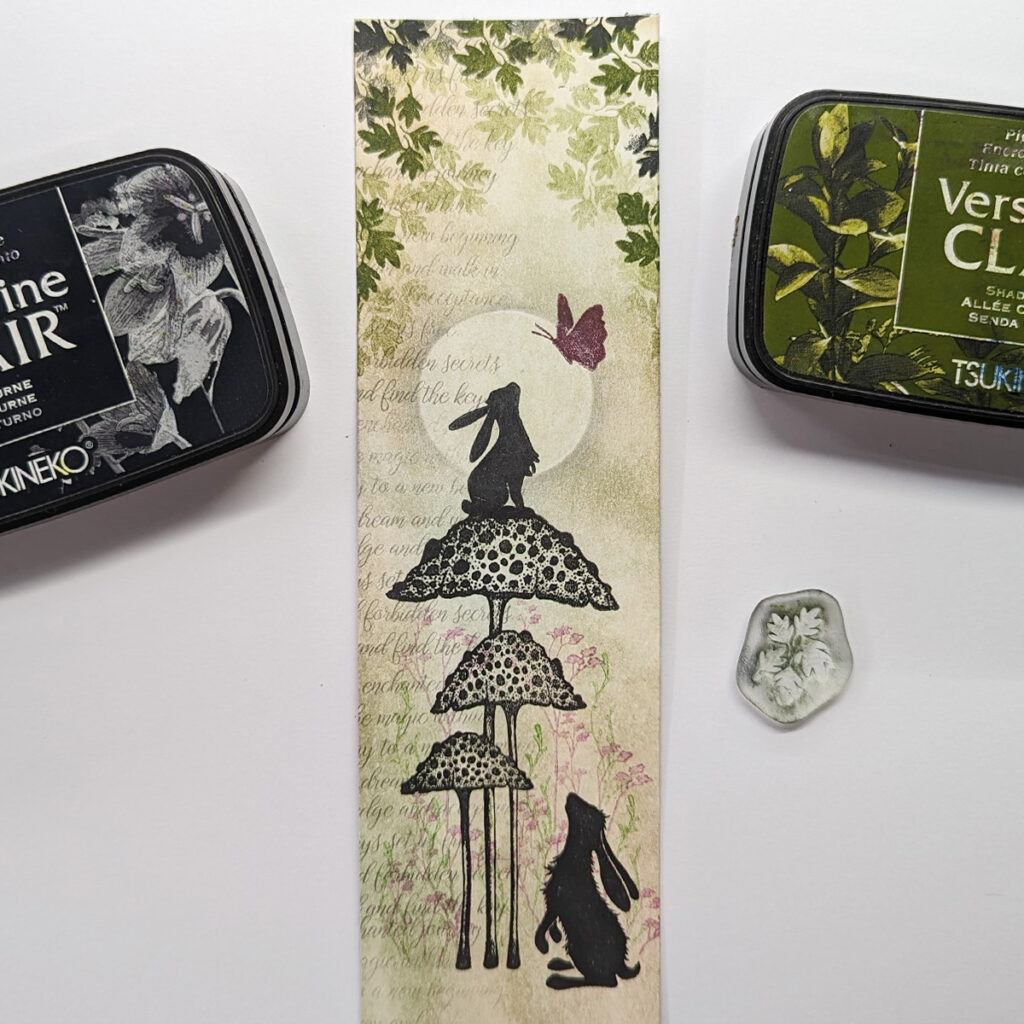
Photo 7
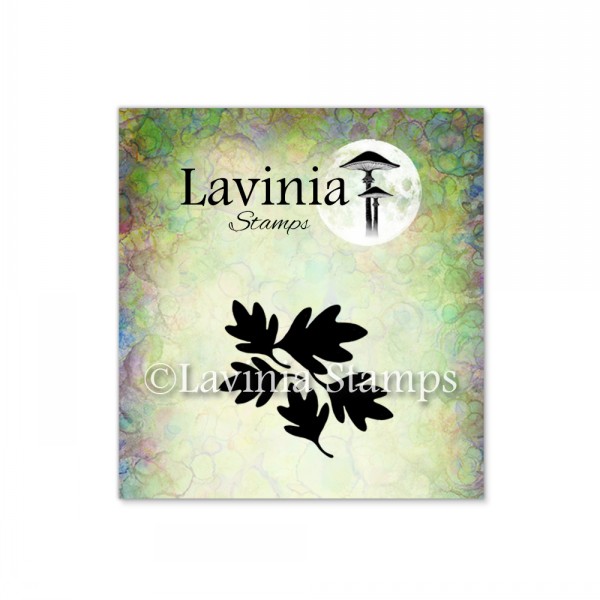
Now go back to your moon and place the circle back over your moon. Gently blend a bit of Elements Graphite around it, just to make the moon pop out more. At the top I stamped some leaves, for this I used the River leaves mini in Versafine Clair Shady Lane. I stamped a mixture of 1st, 2nd and 3rd generation stamping and added a few in Versafine Clair Nocturne.
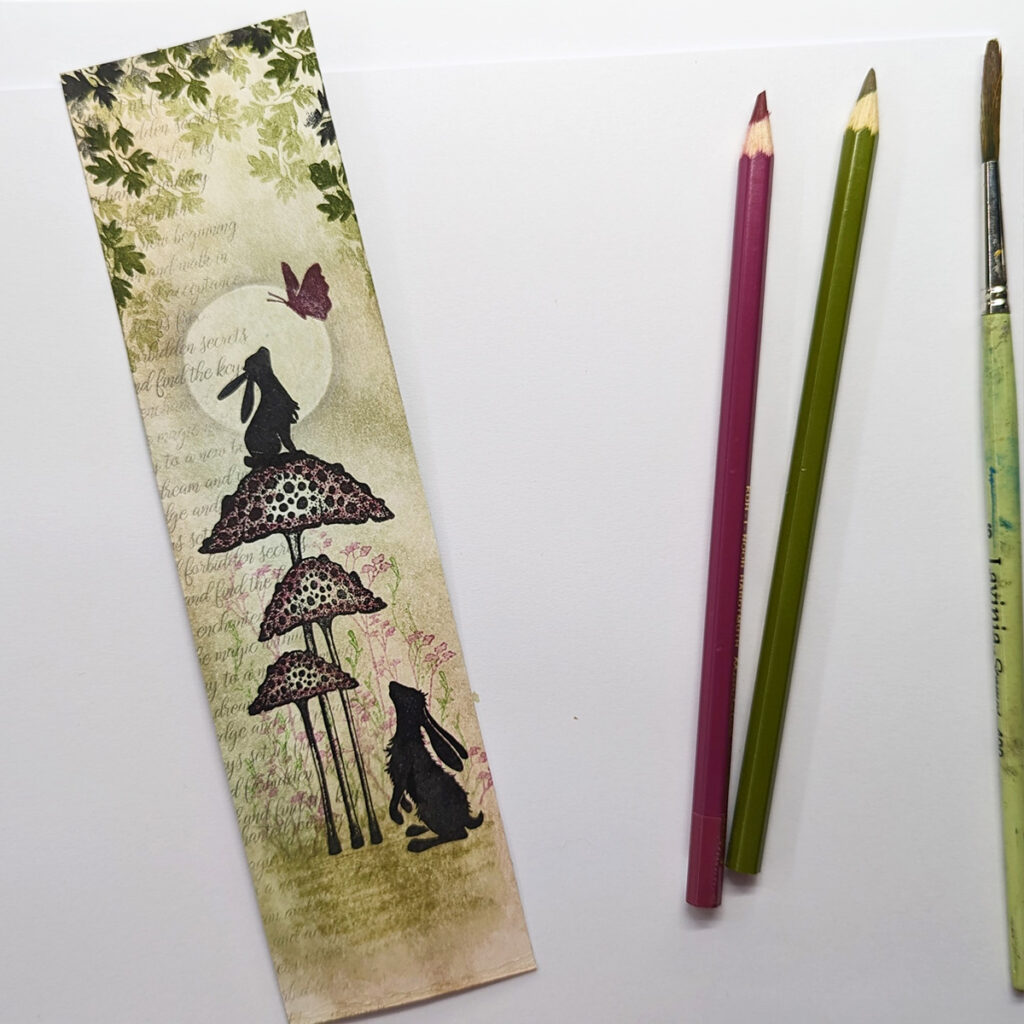
Photo 8
Now, I added some colour to our mushrooms and to the ground. So I am using those lovely Koh-I-Noor Mondeluz watercolour pencils. I have used (3710/8) a pinky red for the mushroom and a green (3710/27) for the ground around the mushroom and the hare. Then blended it in with a brush and a bit of water.
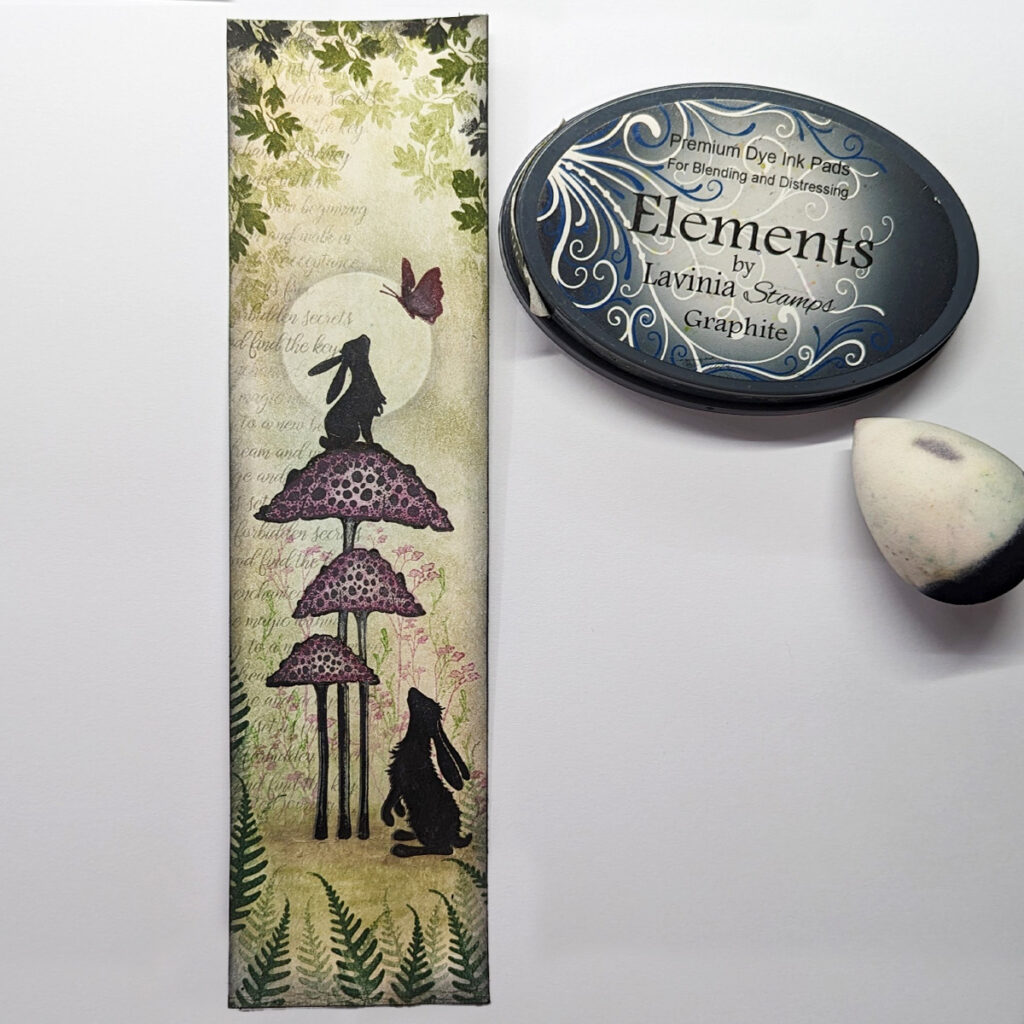
Photo 9
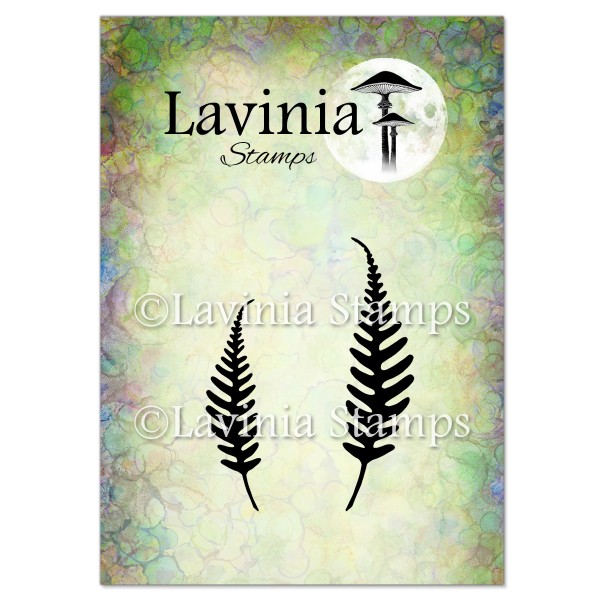
I stamped the small Woodland Fern in 2nd Gen stamping in Versafine Clair Rainforest, at the bottom. Next I stamped the large Woodland Fern in colour Versafine Clair Rainforest. Blend some Elements Graphite gently around the edge of your work.
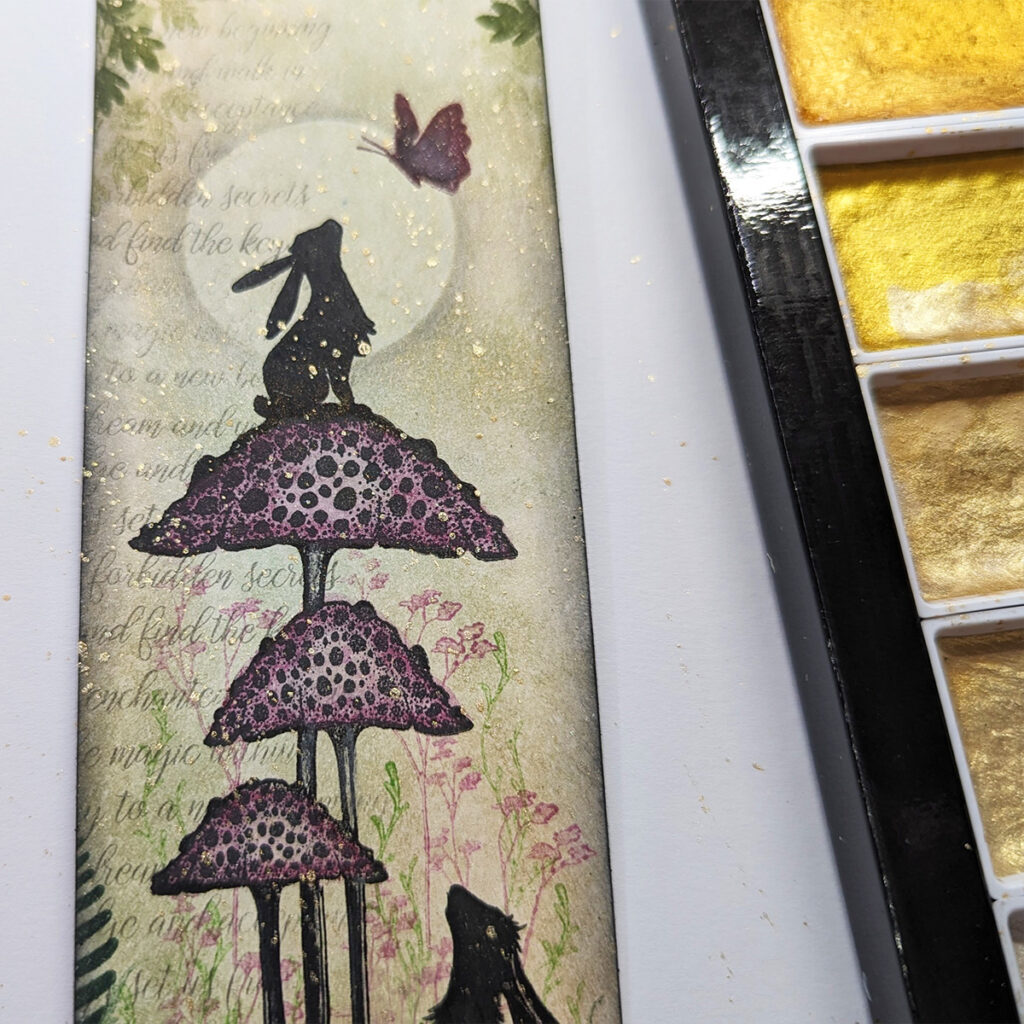
Photo 10
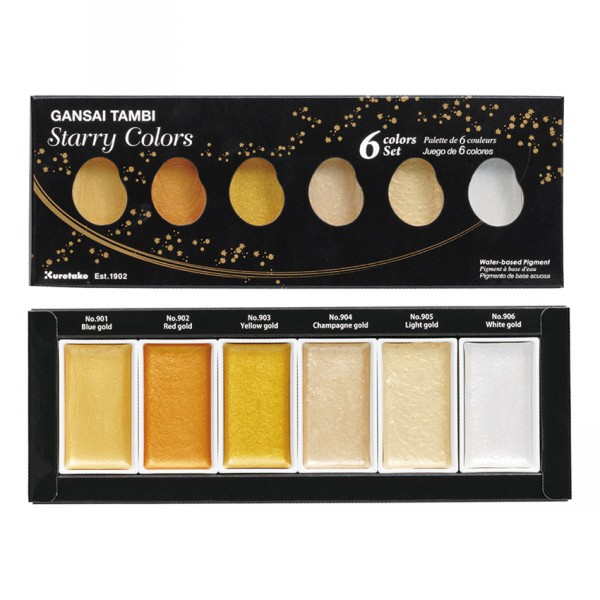
To add a bit of interest I used some Gansai Tambi Starry Colours. They are a beautiful collection of 6 golden pearl watercolour paints. With some water I flicked some colour on to the bookmark and dried it with a heat gun.
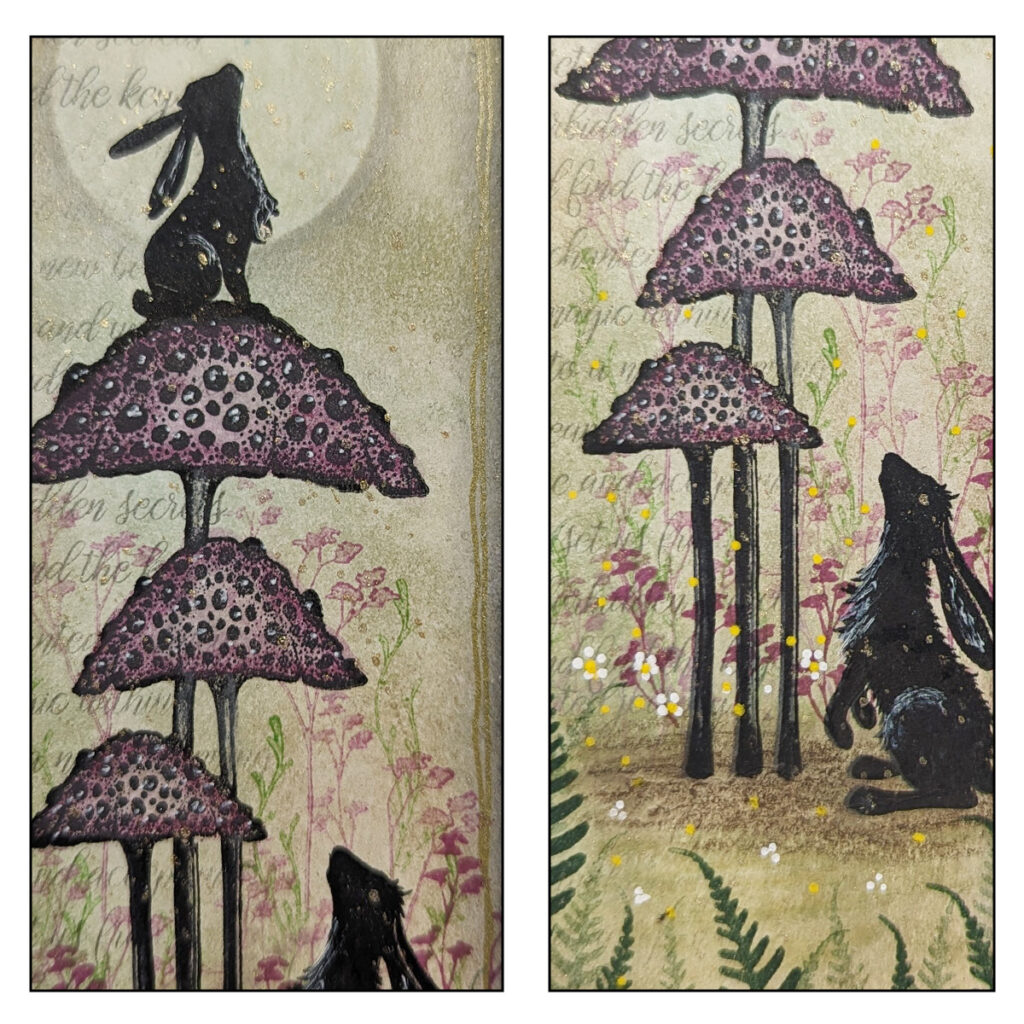
Photo 11
Then, around the edge I used a gold signo pen and did a double line around the edge. This helps to frame it. To add detail to the mushroom I used a white pen to add a white dot to the top of the black dots on the mushroom cap. Using a white and a yellow posca pen I added some interest to the bottom of the mushrooms.
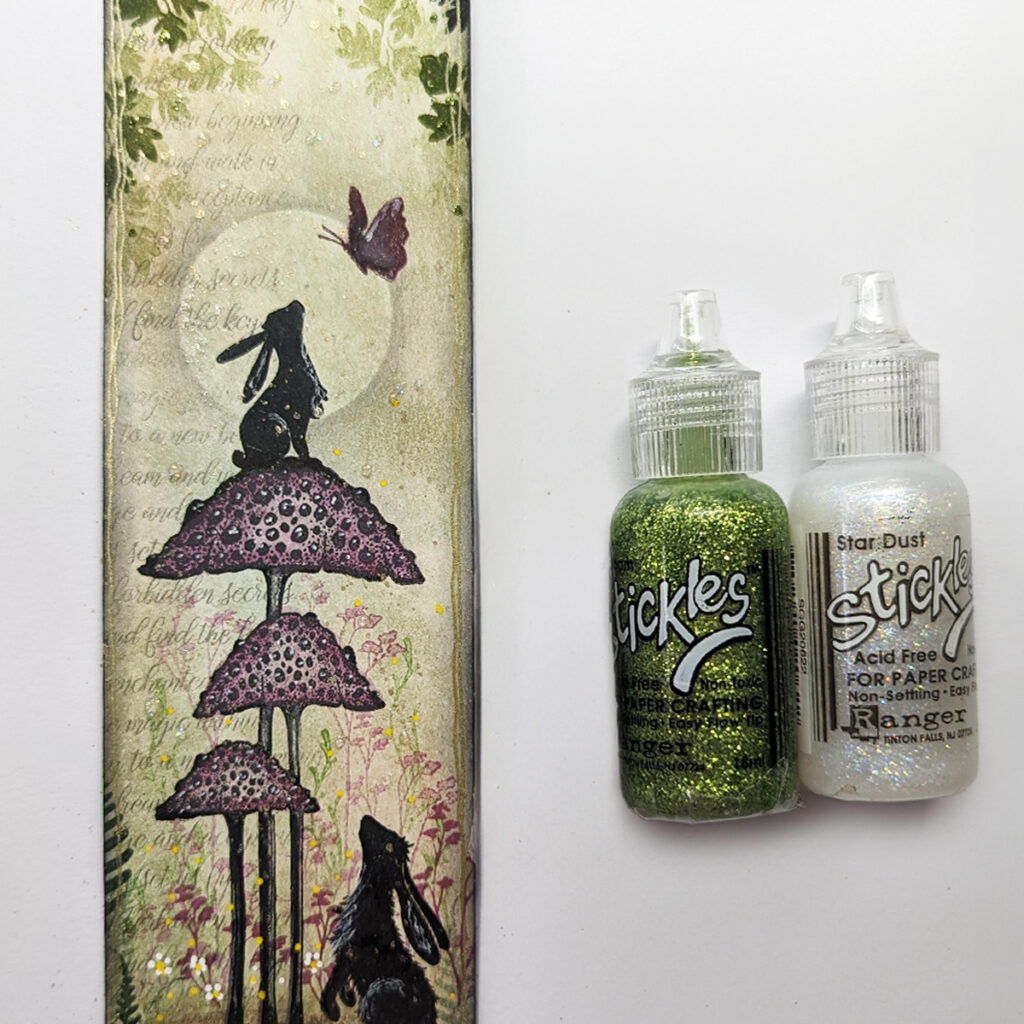
Photo 12
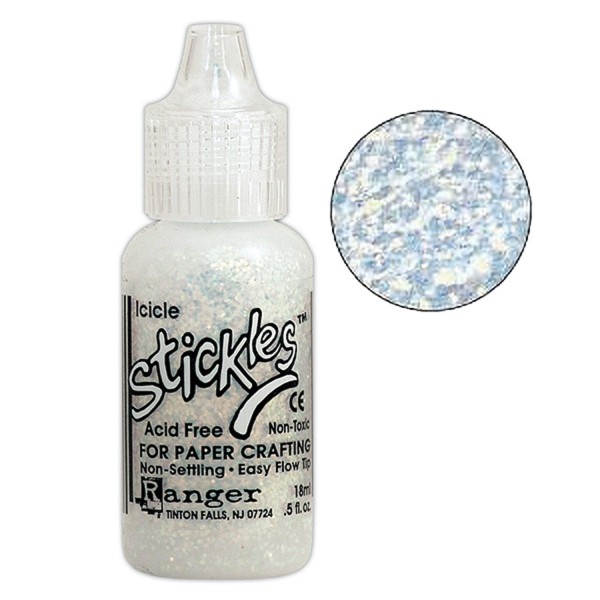
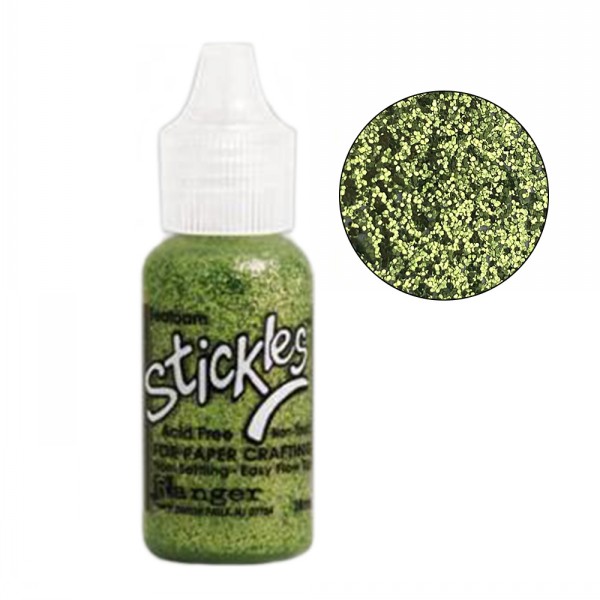
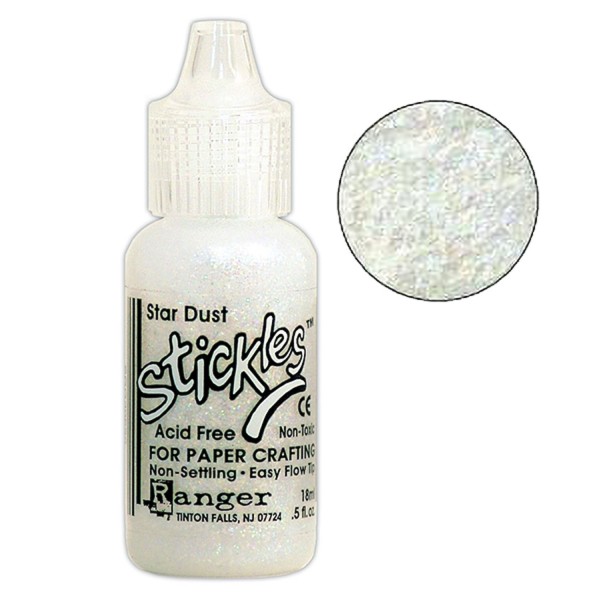
Finally I added a bit of sparkle. I used some Icicle Stickles to highlight the moon by adding a bit and then using my finger to dab it around the edge. I added Seafoam stickles around the leaves and the fern and again, used my finger to dab it around. Lastly I used Star Dust Stickles in little dots randomly around the mushroom, then I left it to dry.
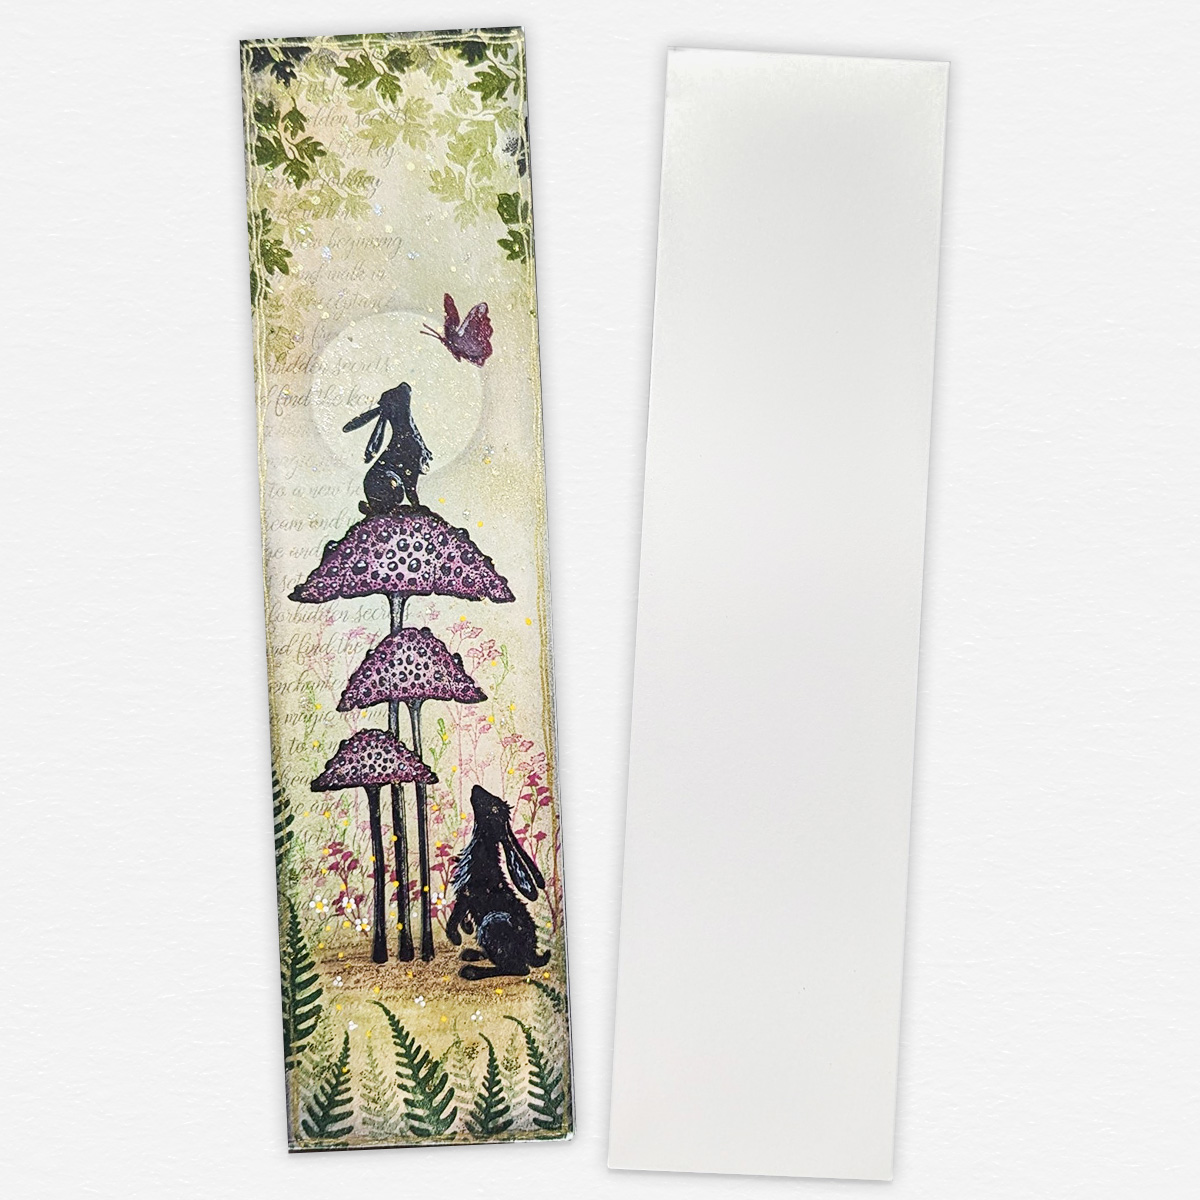
Photo 13
Once it is dry glue it to you bookmark .
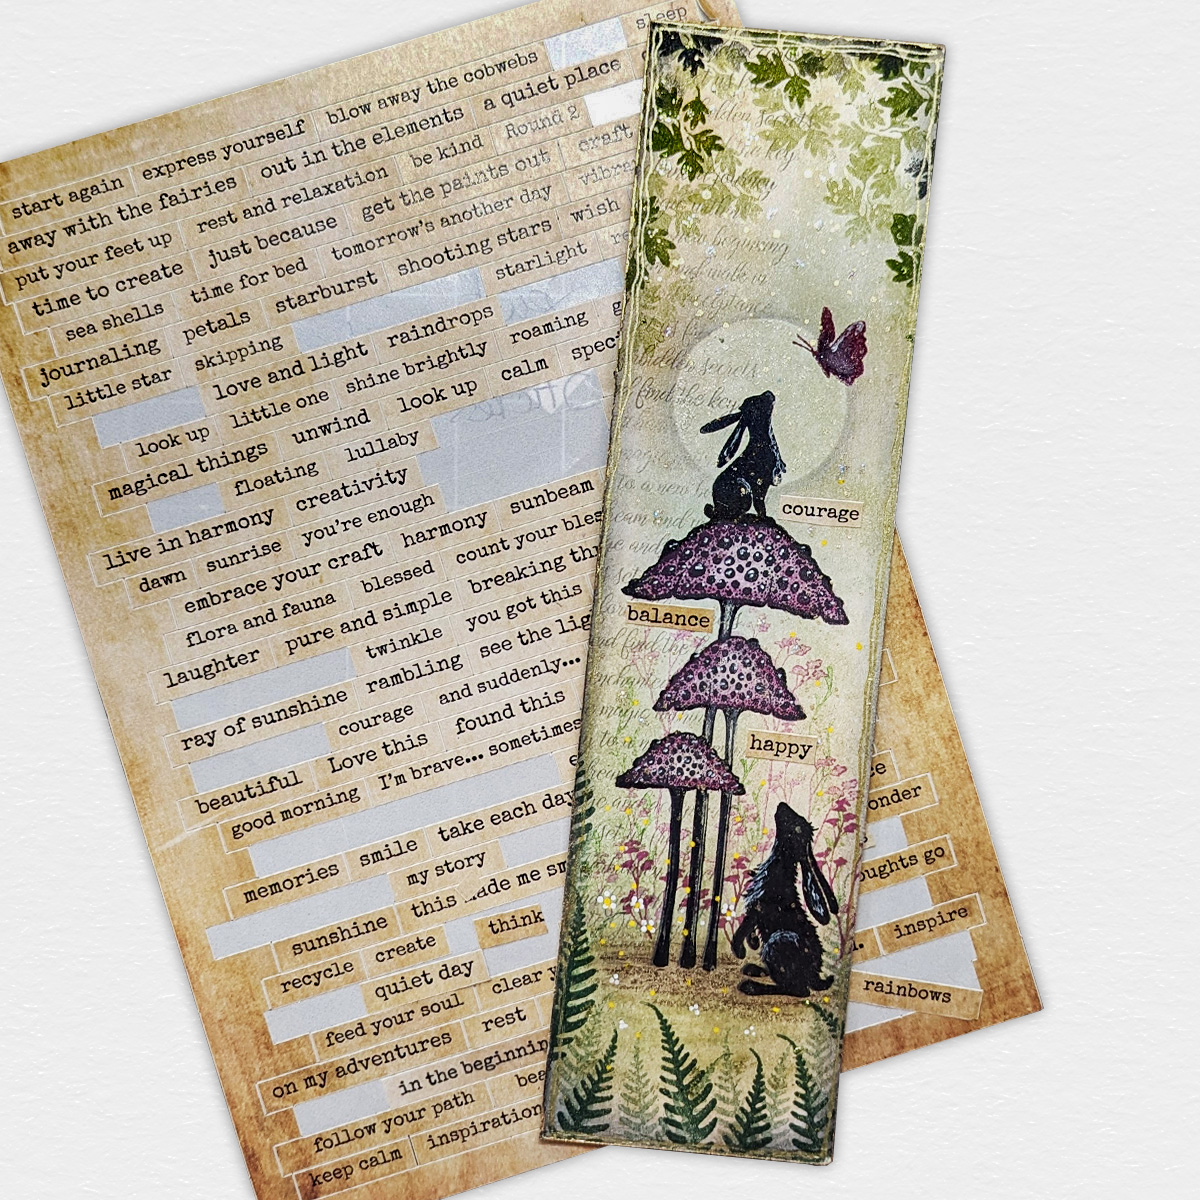
Photo 14
Add some words or a sentiment to you bookmark. I used some words from the Sentiment Stickers 6 pack.
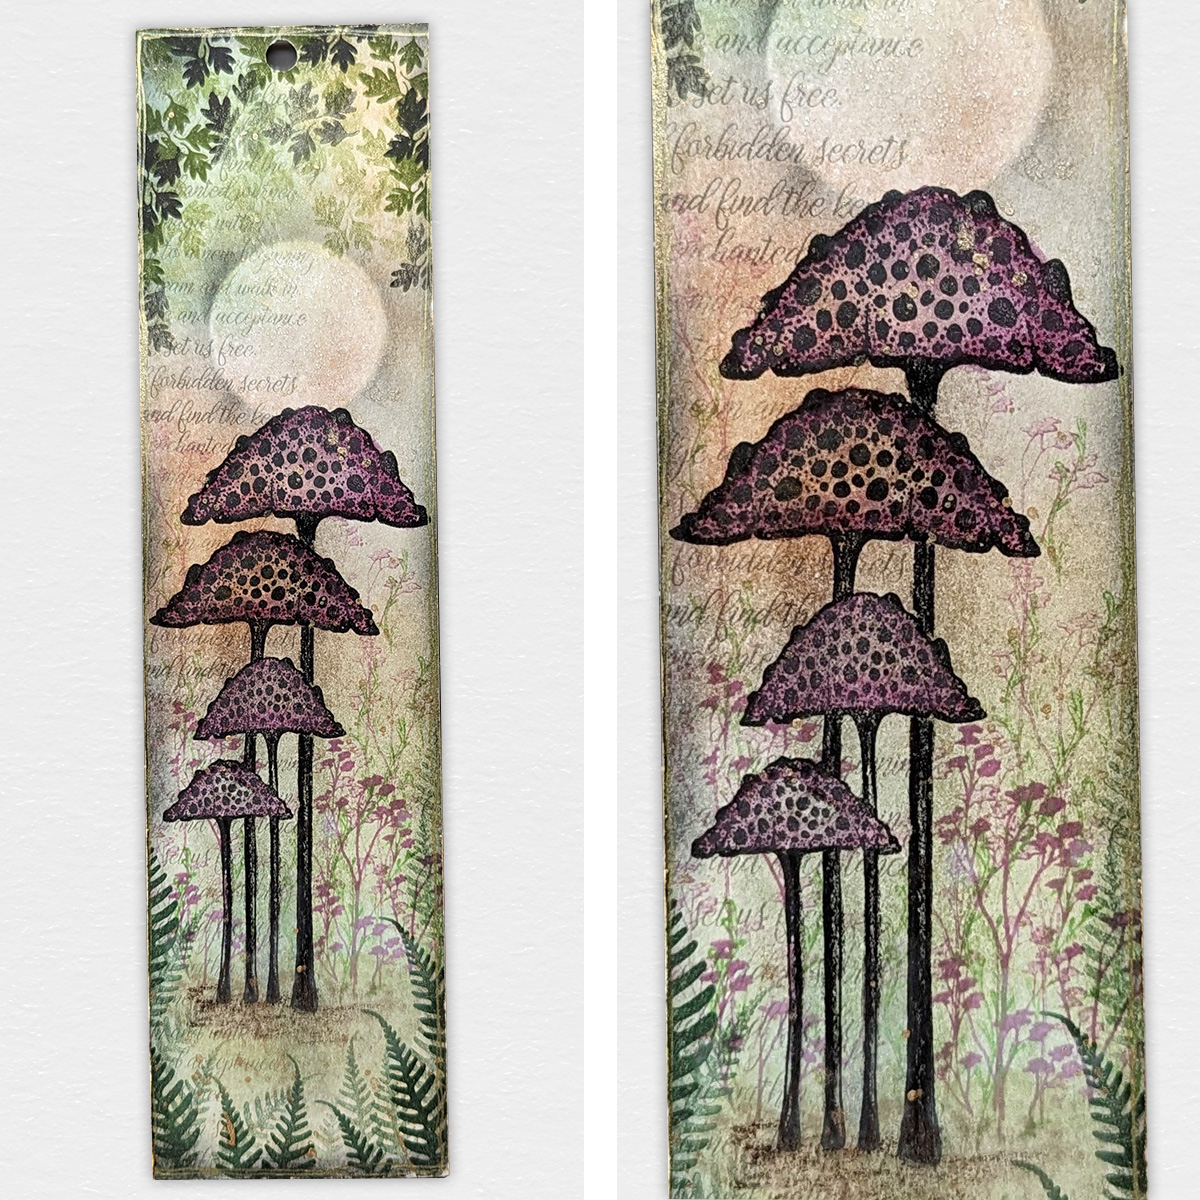
Photo 15
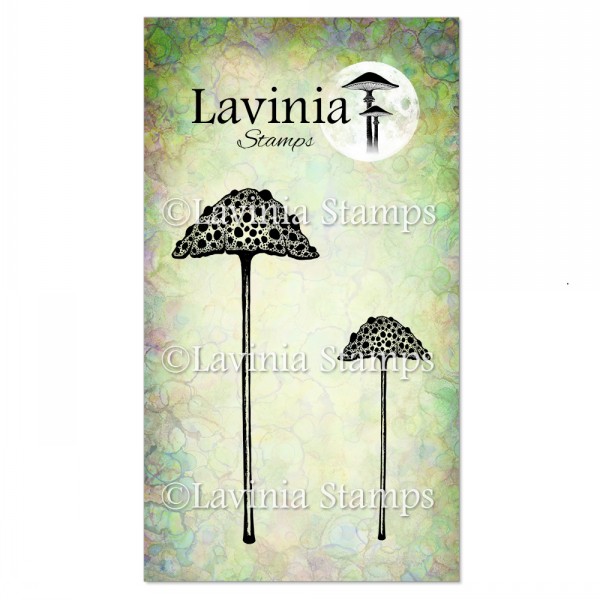
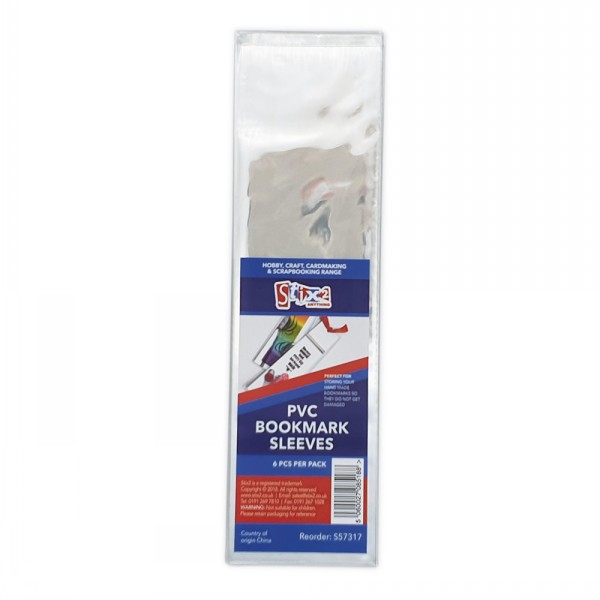
On the second strip of card I created the same sort of scene but using the large mushroom from the set of Elfin Caps instead of the hare. Then I glued it to the back of my bookmark and popped it into my bookmark sleeve to help to protect it.
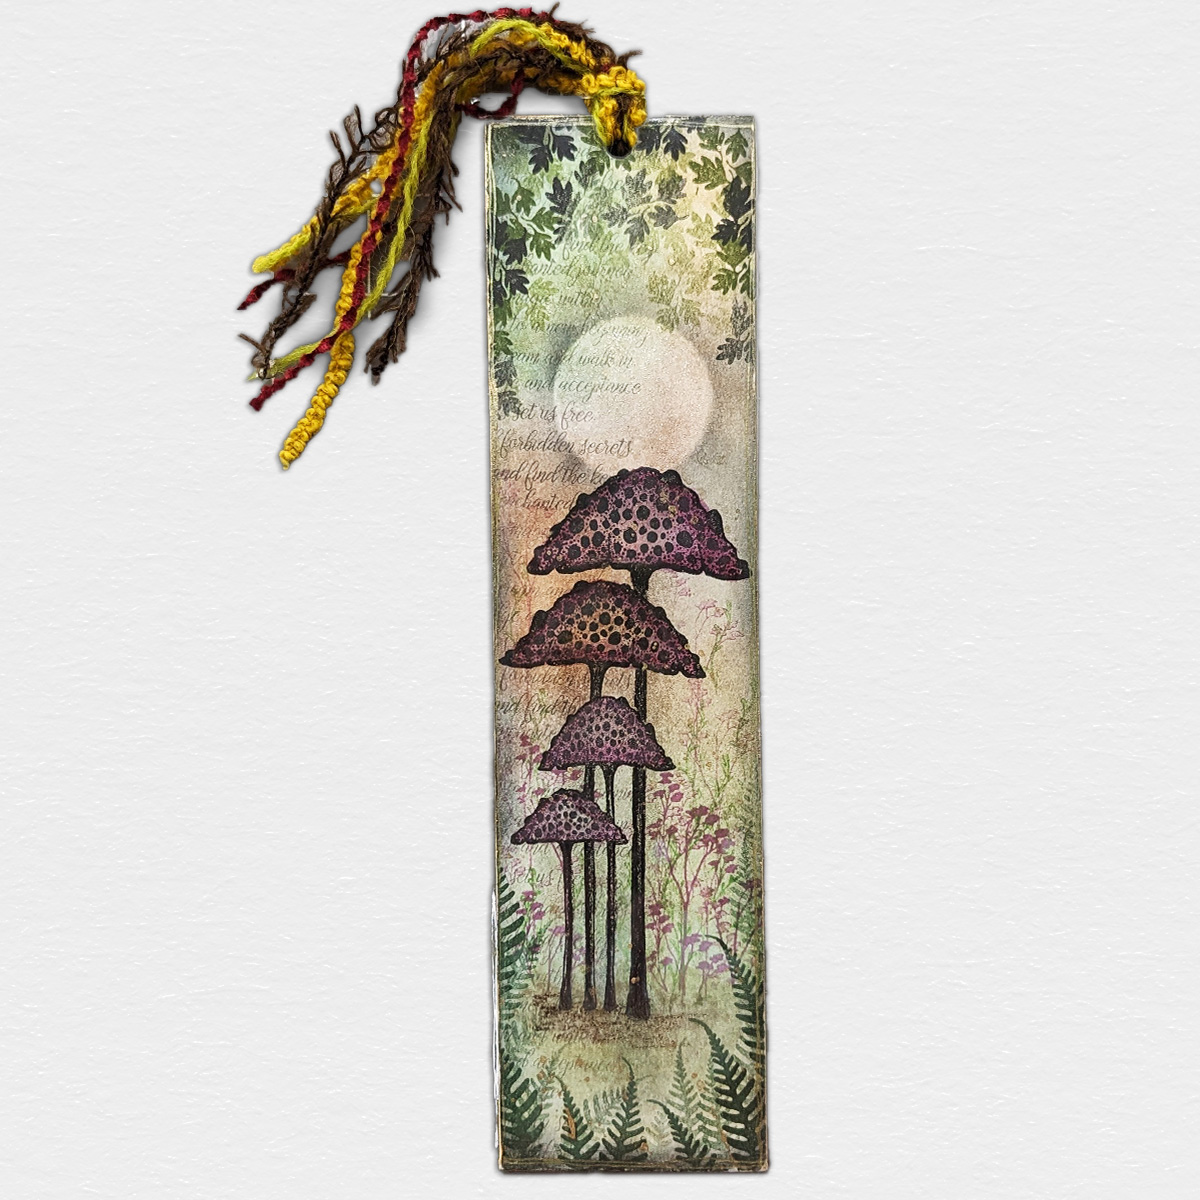
Photo 16
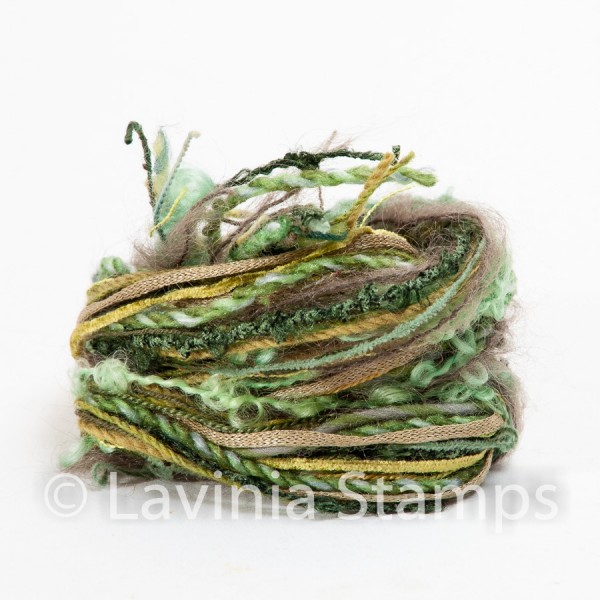
Punch a hole at the top and used some crafting yarn from Lavinia Stamps to finish the bookmark off. There you have the front and back of your beautiful bookmark.
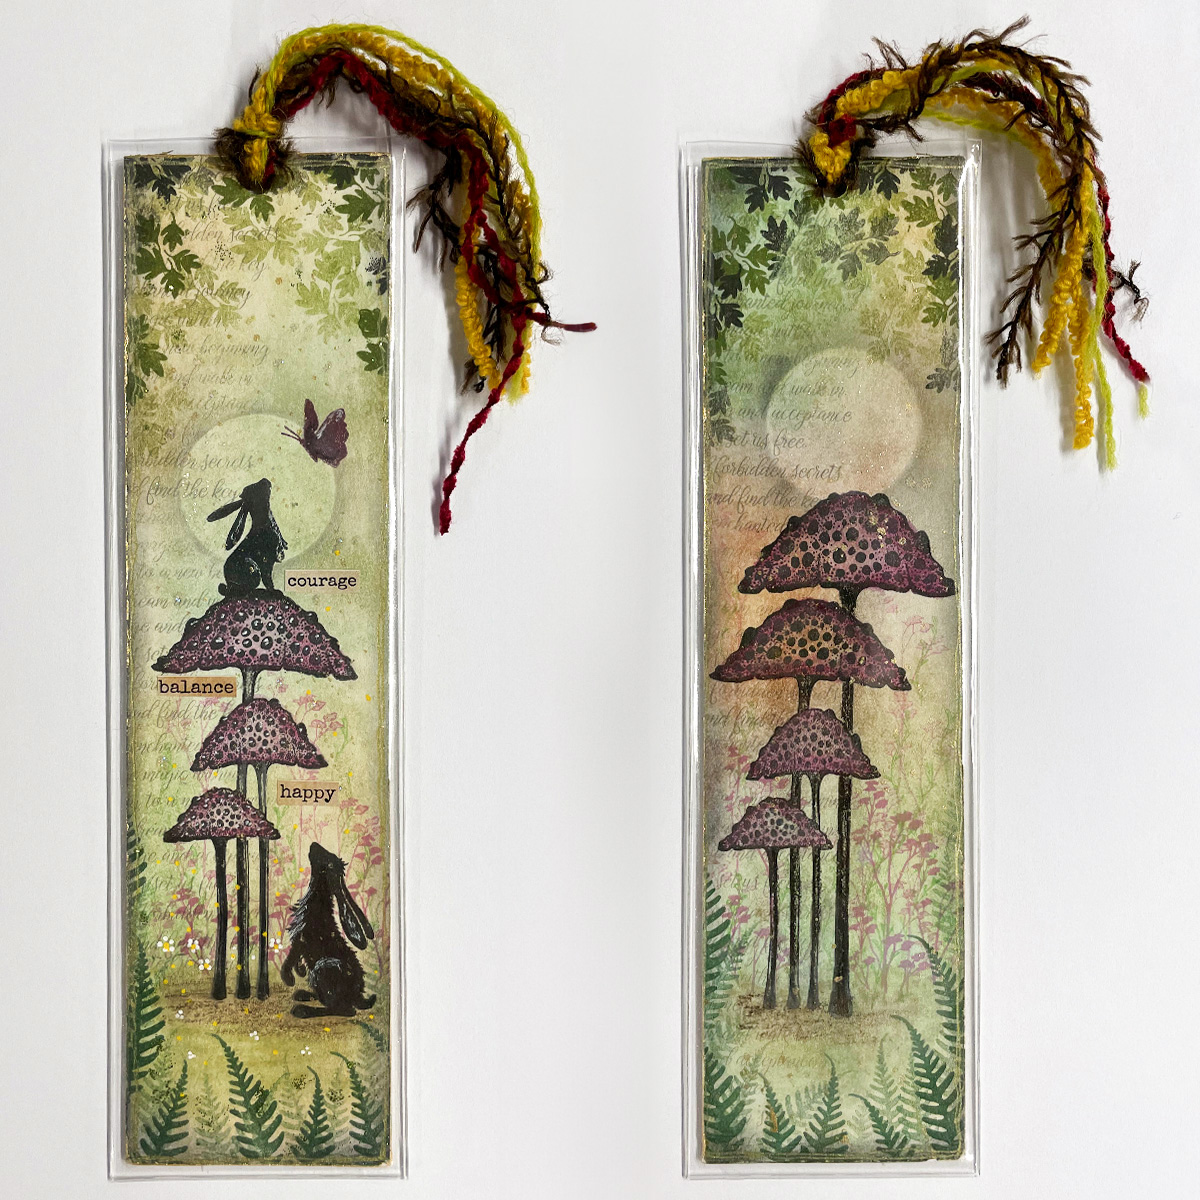
Photo 17
Finally your beautiful finished bookmark.
I hope you enjoy making this everyone. Any questions I am happy to answer.
Happy crafting to you all and take care.
Ellie x


