Hello. I’m Elizabeth, a former Guest Member of the Lavinia Design Team.
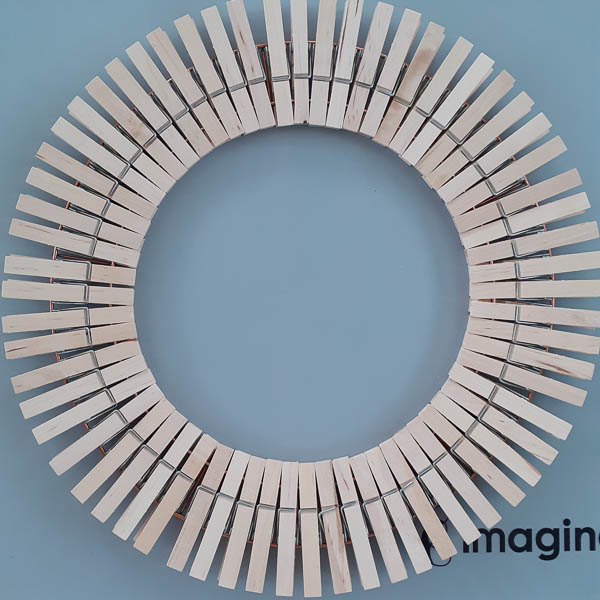
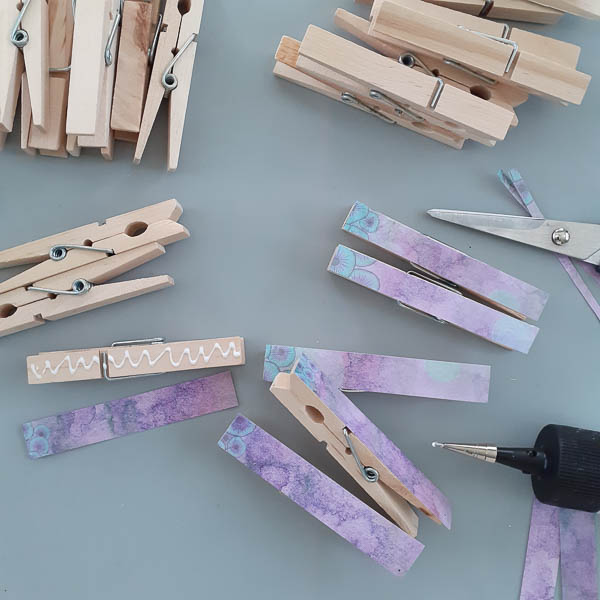
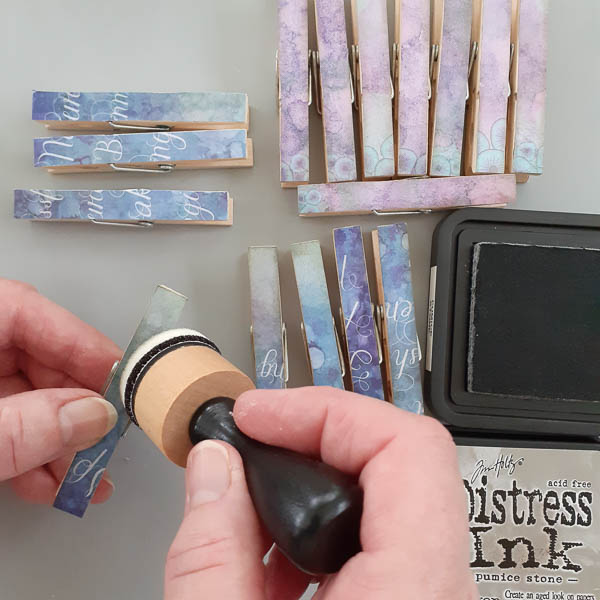
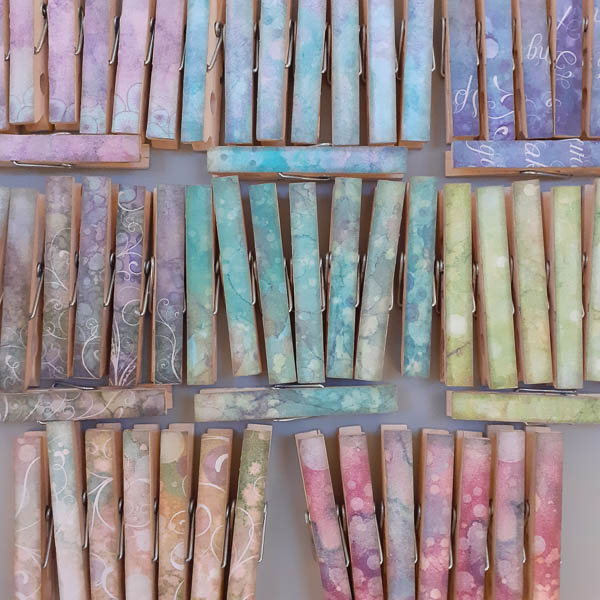
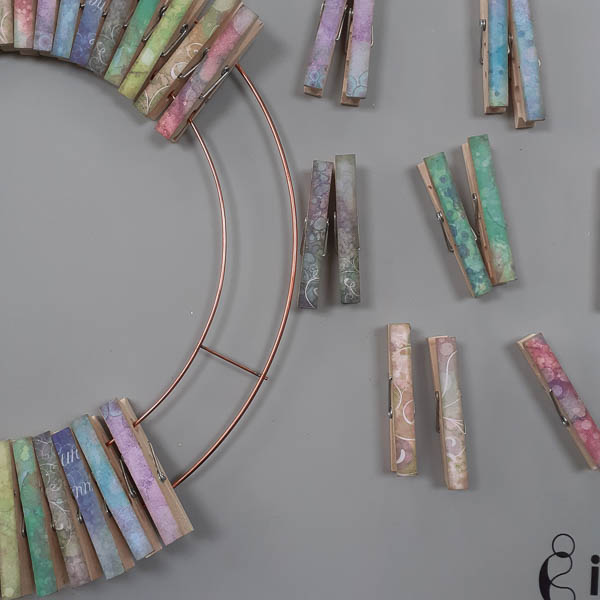
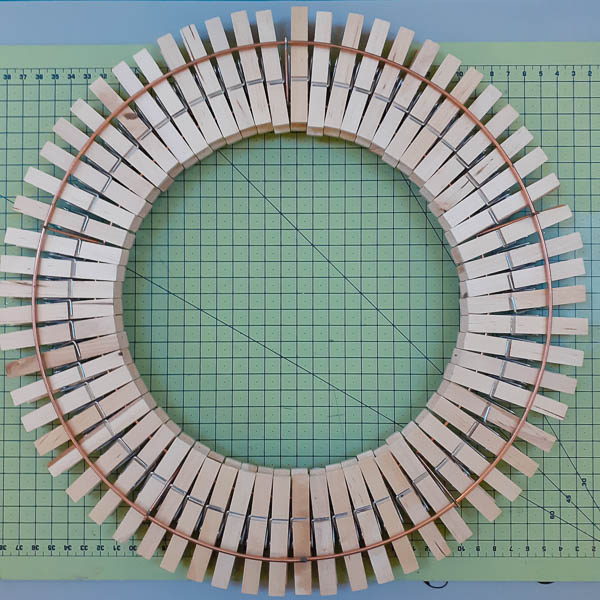
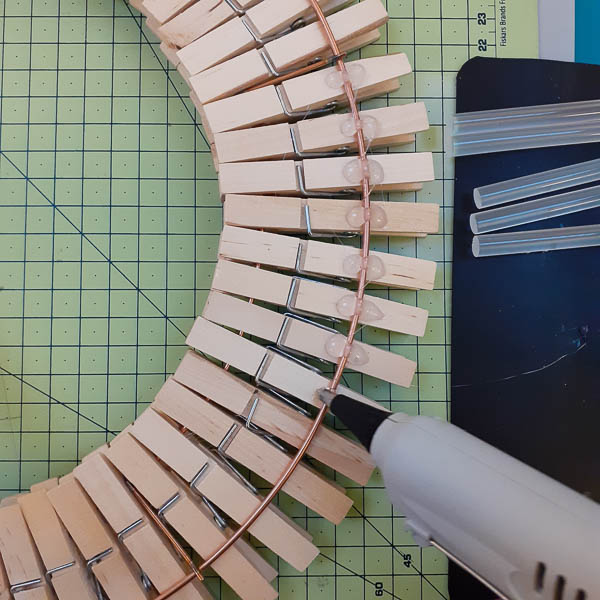
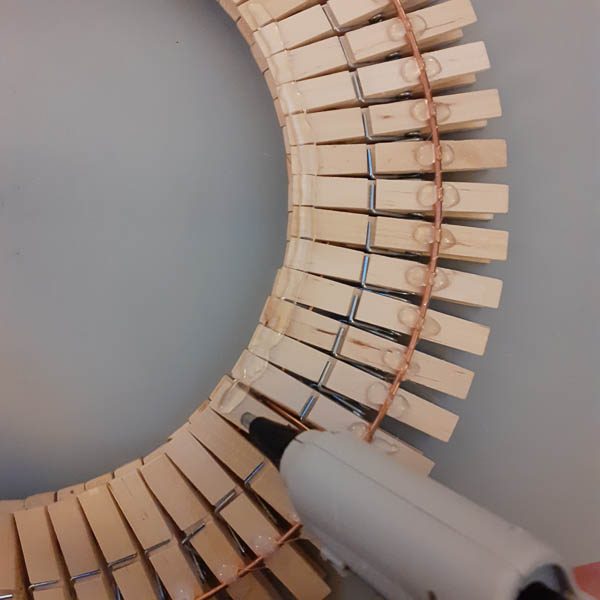
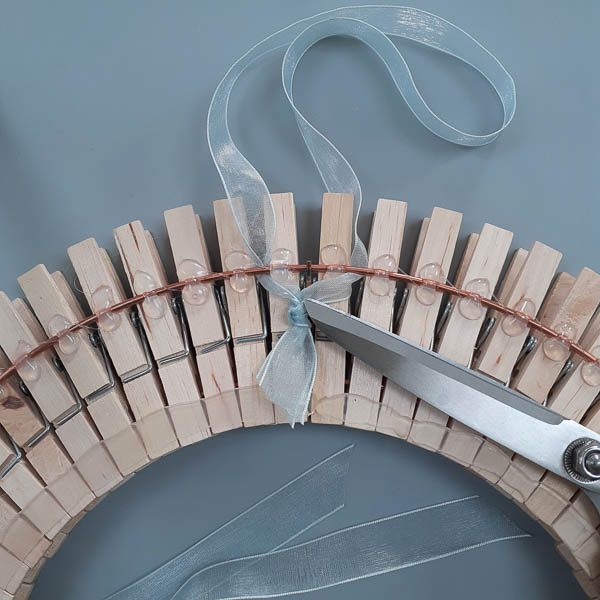
Earlier this month, I posted some photographs of a wreath that I made with wooden clothes pegs (pins), and I had several requests for instructions or a photo tutorial…so here it is.

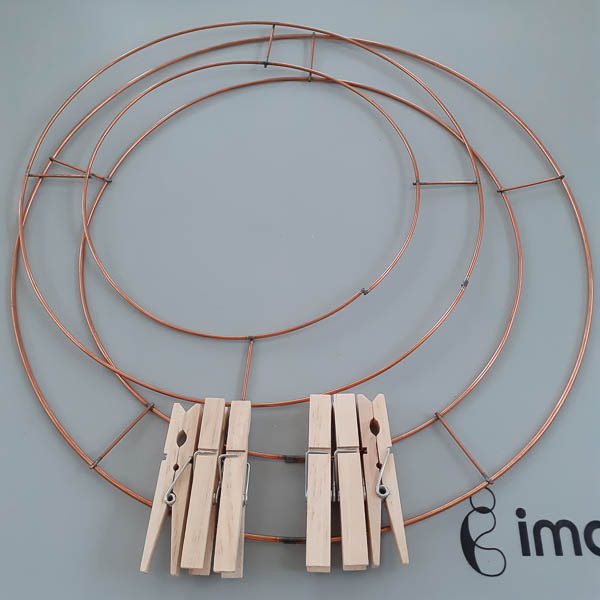
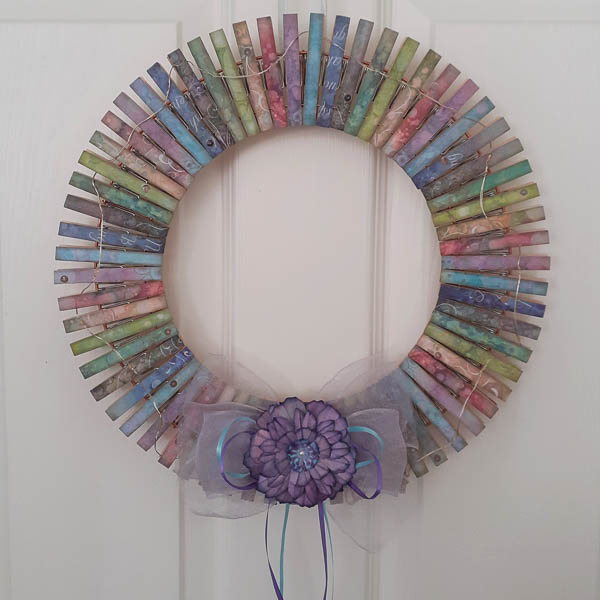
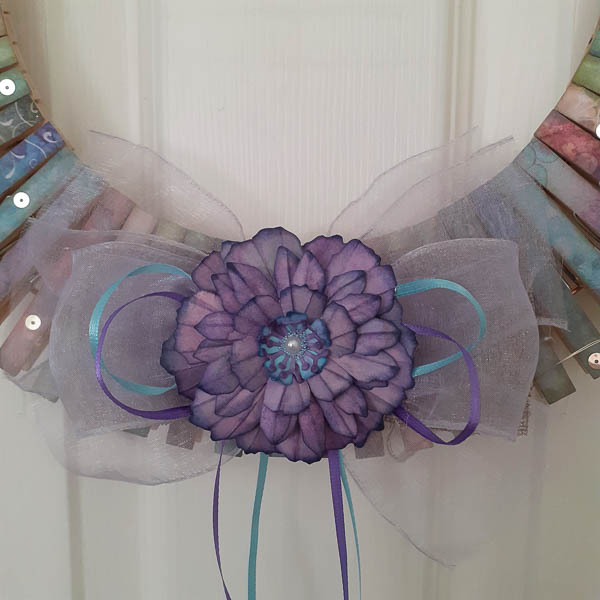
I hope that you enjoyed this tutorial, and maybe make a peg wreath yourself.
Stay safe and well.
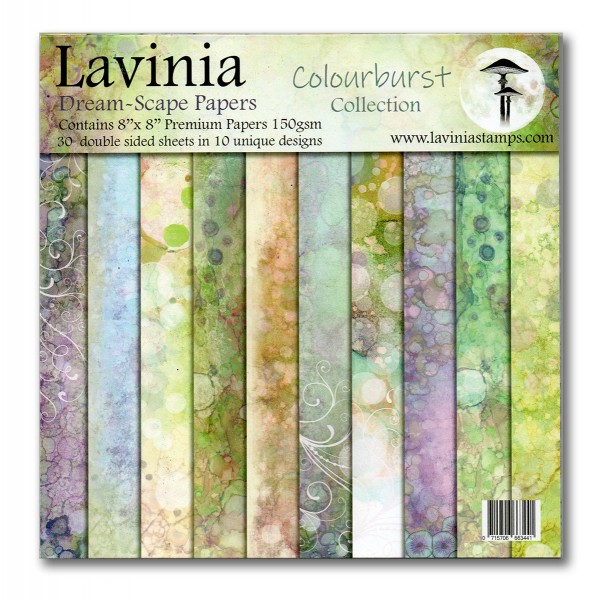 Dreamscape Papers. The Colourburst Collection
£10.80
Add to basket Bippity Boppity Glue
£6.25
Add to basket Alcohol Ink Mini Applicator
£10.20
Add to basket Glue Gun
£13.99
Add to basket Glue Gun Sticks
£4.00
Add to basket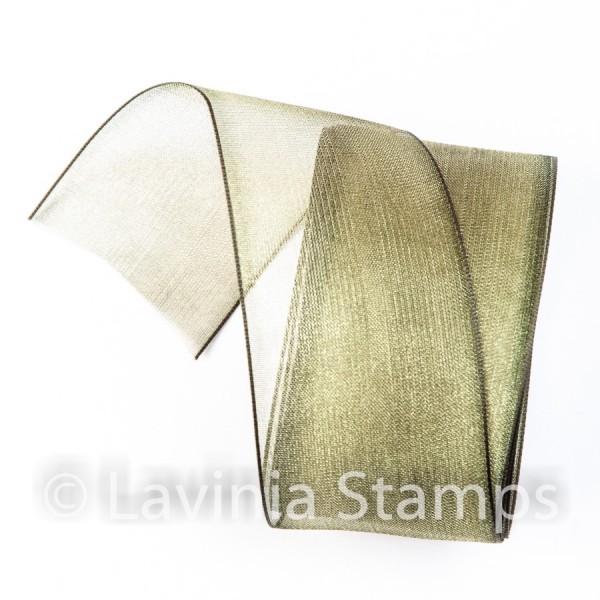 Organza Ribbon – Olive Green
£0.35 – £0.40
Read more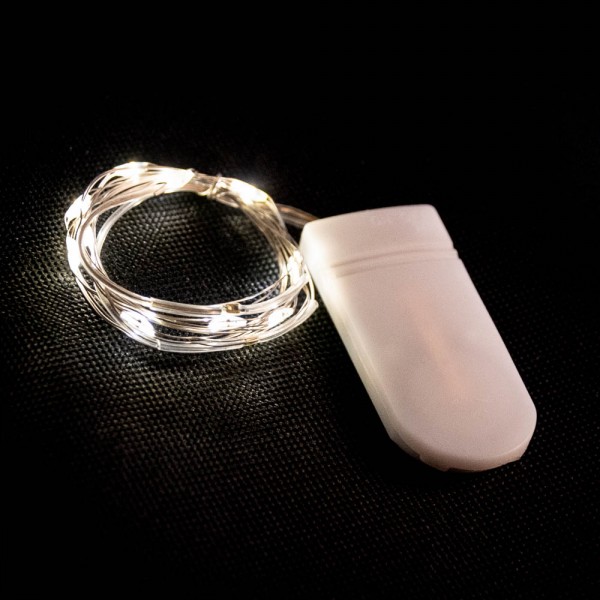 LED Festive Lights
£1.95
Add to basket