Step by Step by Mona Hauge
Hello Everyone 💚
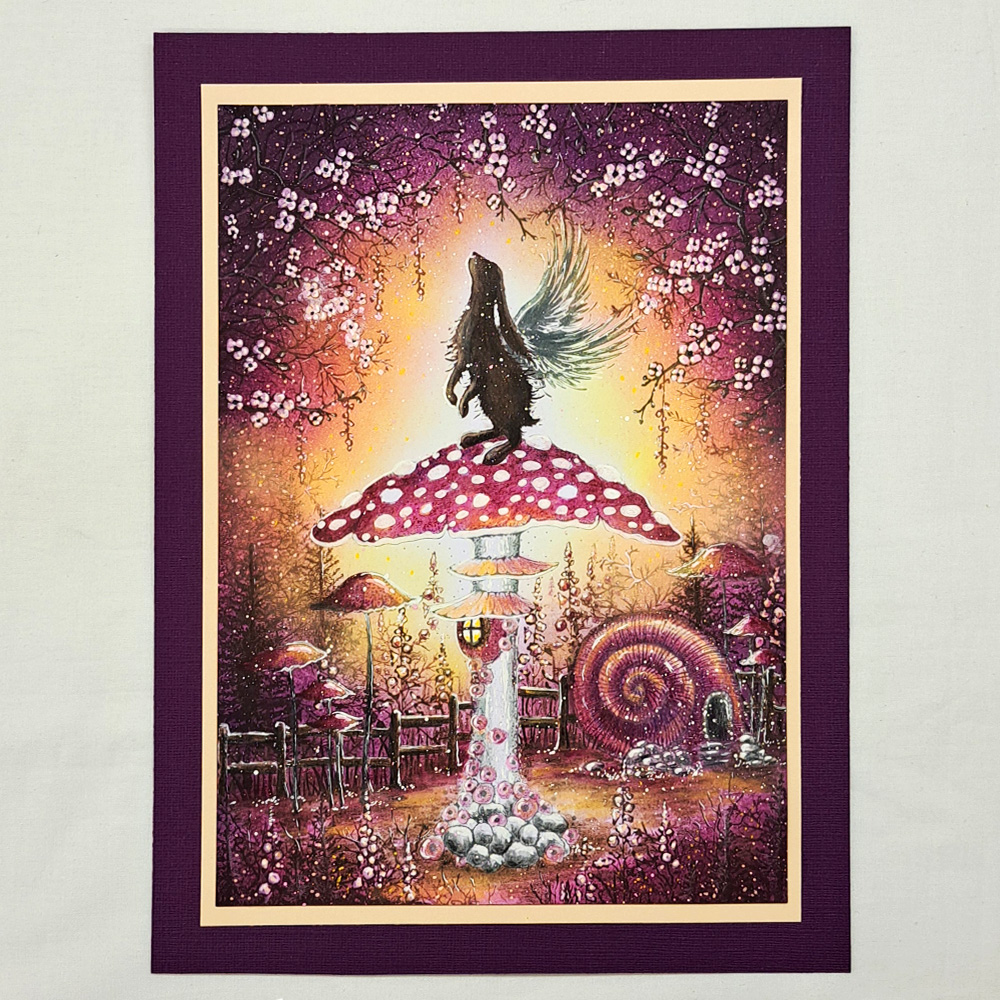
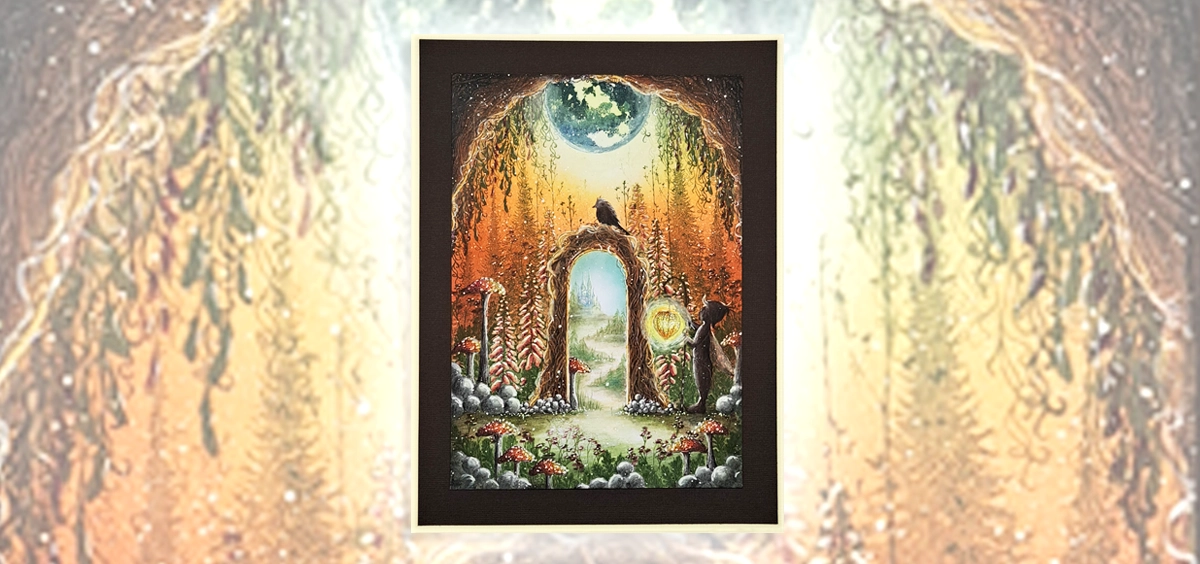
Here is another Picture tutorial from me. This is called “Dreams”.
This sweet hare is dreaming of receiving wings so he can fly together with all his fairy friends.
Hope you like it.
🧚♀️
Picture 1
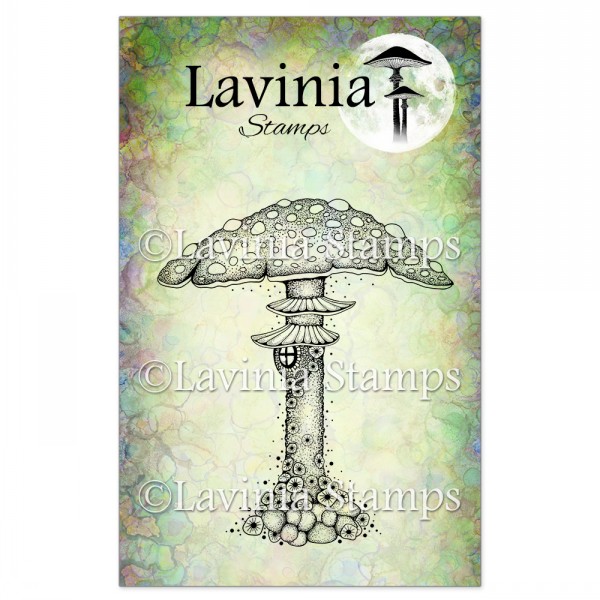
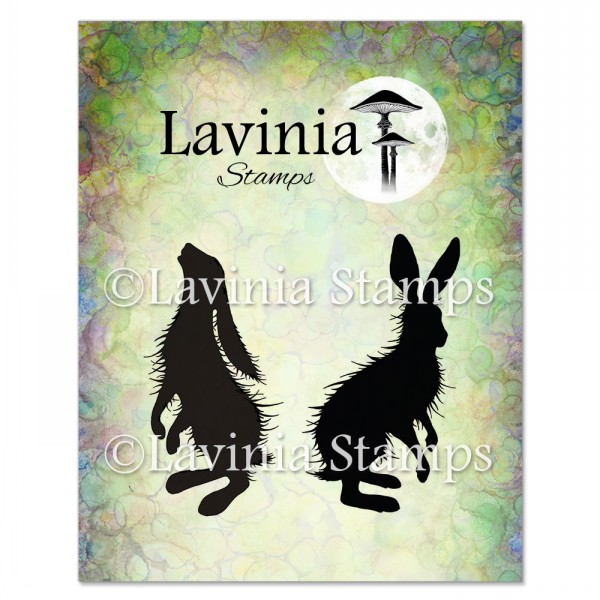
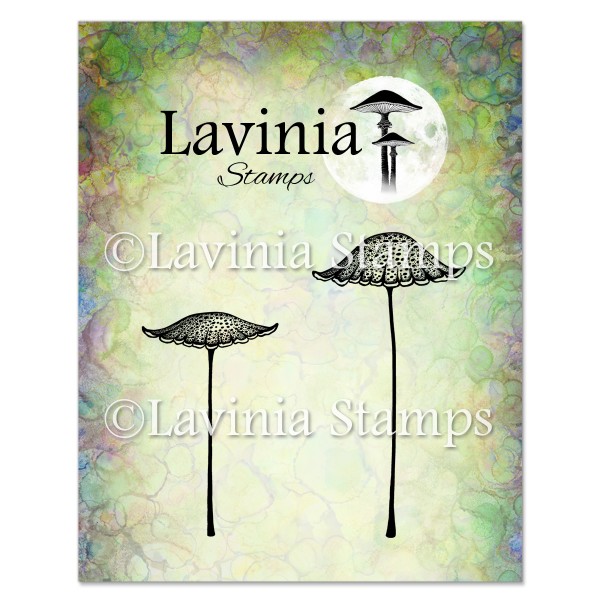
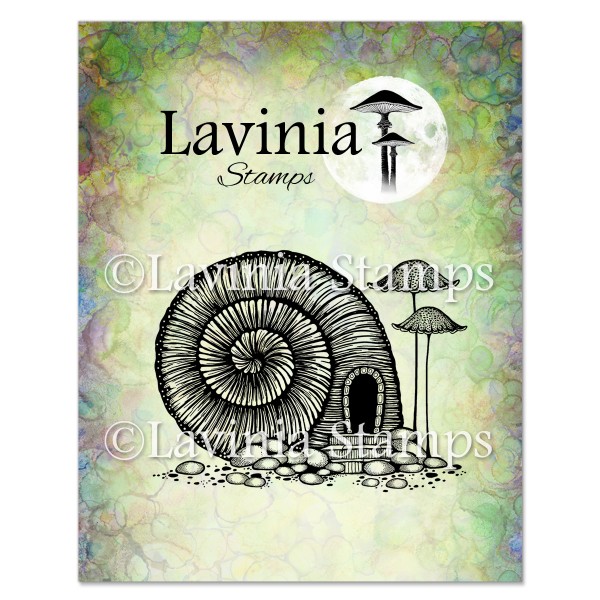
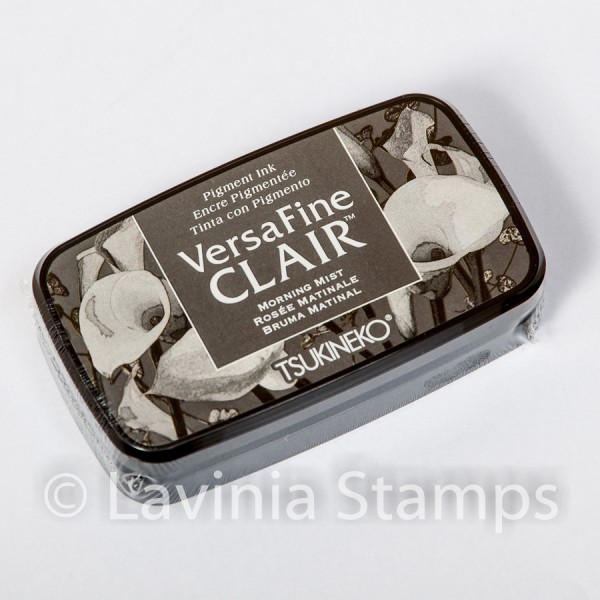
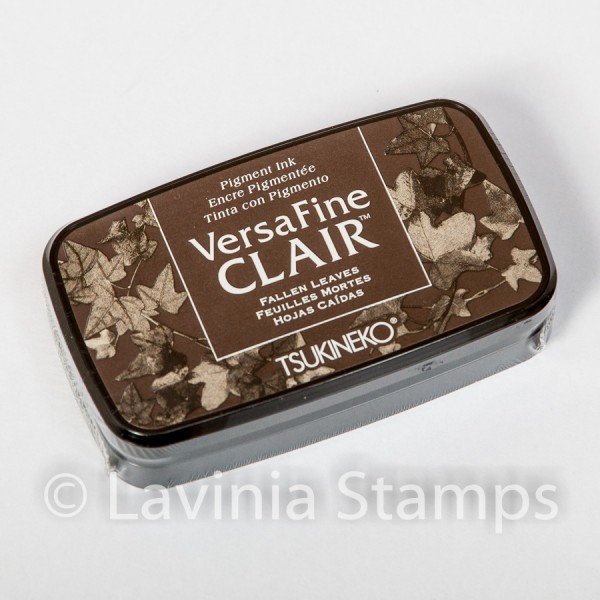
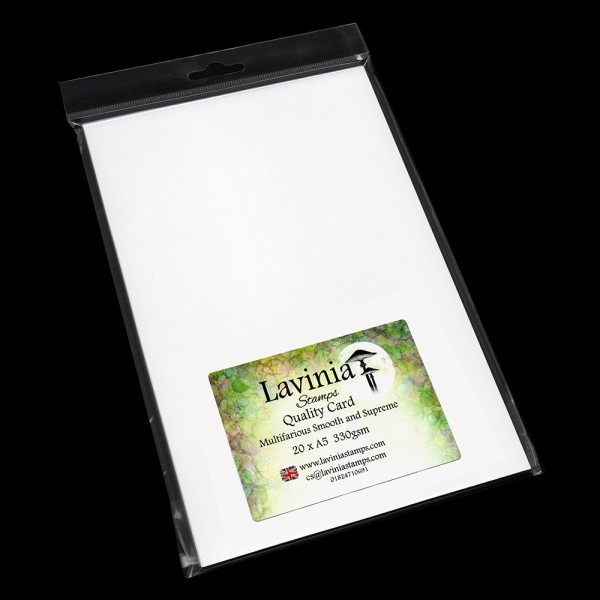
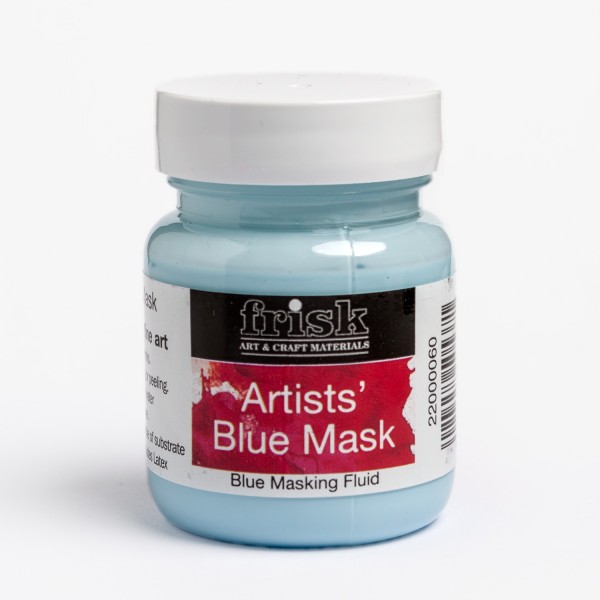
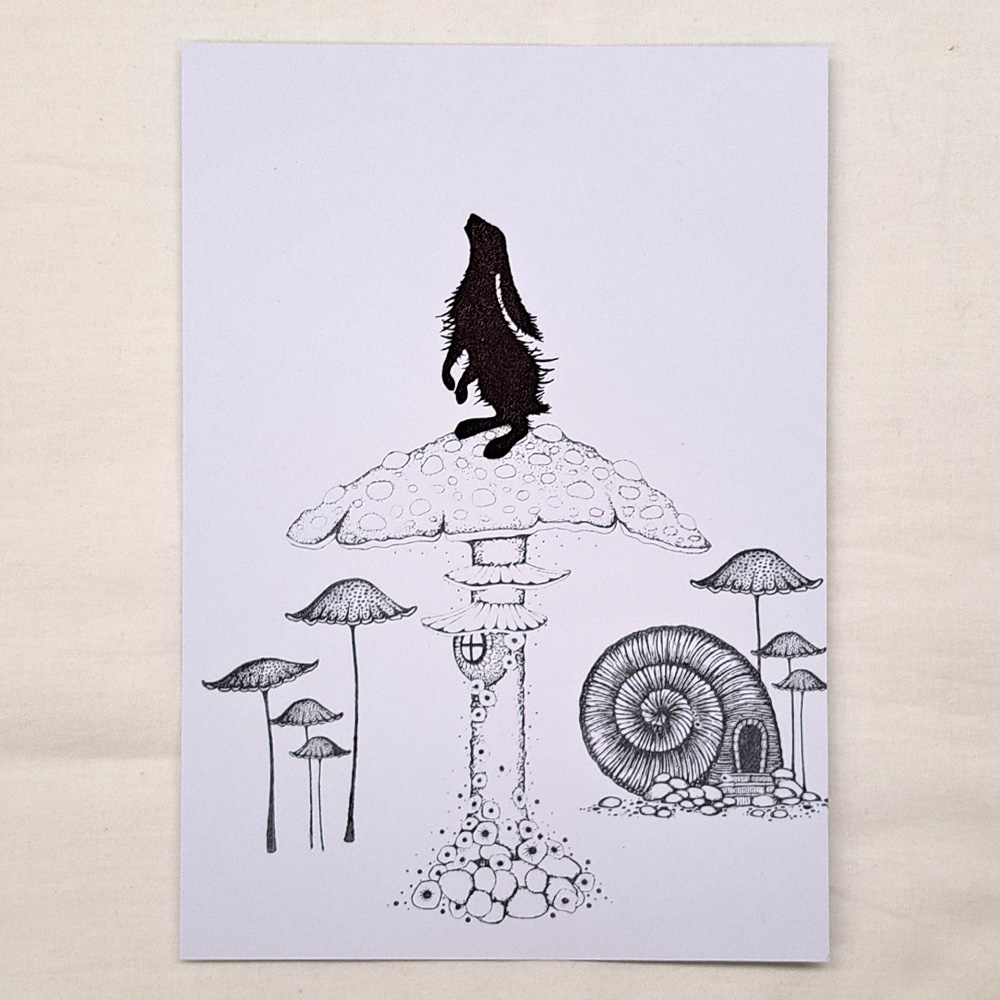
Using some A5 Multifarious card stamp the Forest Cap Toadstool LAV736 in Versafine Clair Morning Mist and the Woodland Hares LAV409 on top of the Forest Cap Toadstool in Versafine Clair Fallen Leaves. Add some Thistlecap Mushrooms in Versafine Clair Morning Mist. Ink up the 2 smaller mushrooms on the Snail House stamp LAV851 and stamp them next to the other mushrooms in Versafine Clair Morning Mist. Then we stamp the whole Snail House stamp LAV 851 in Versafine Clair Morning Mist. Put Liquid Masking Fluid on everything but the cap of the Forest Cap Toadstool.
Picture 2
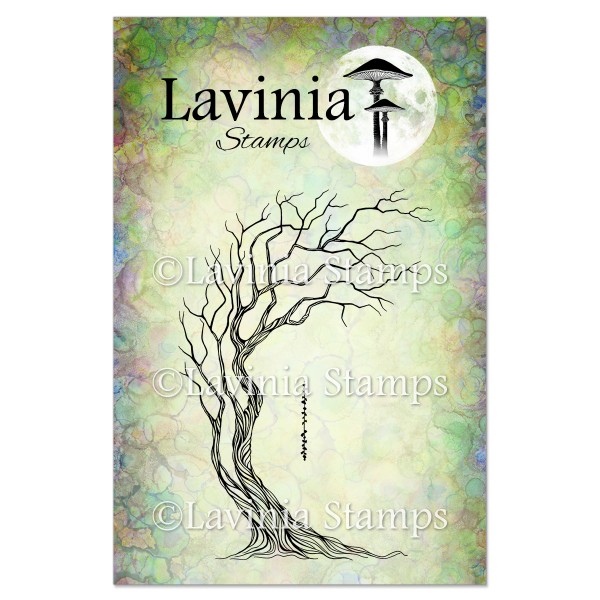
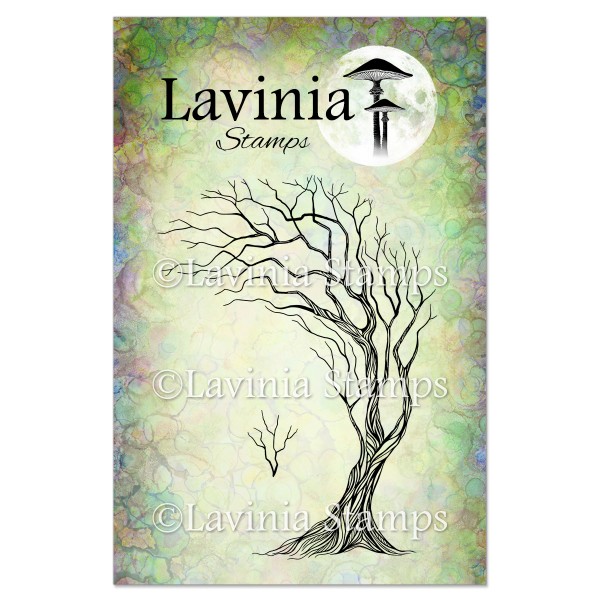
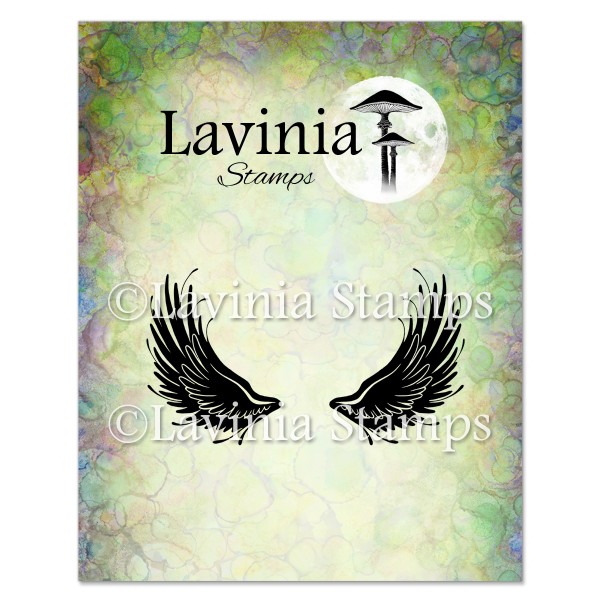
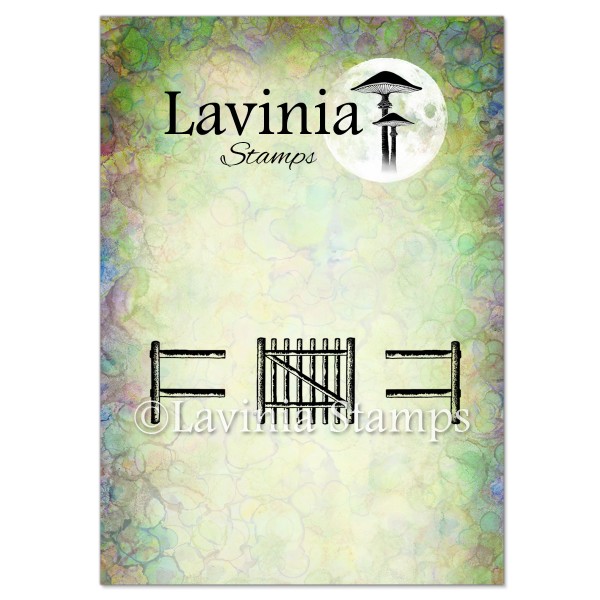
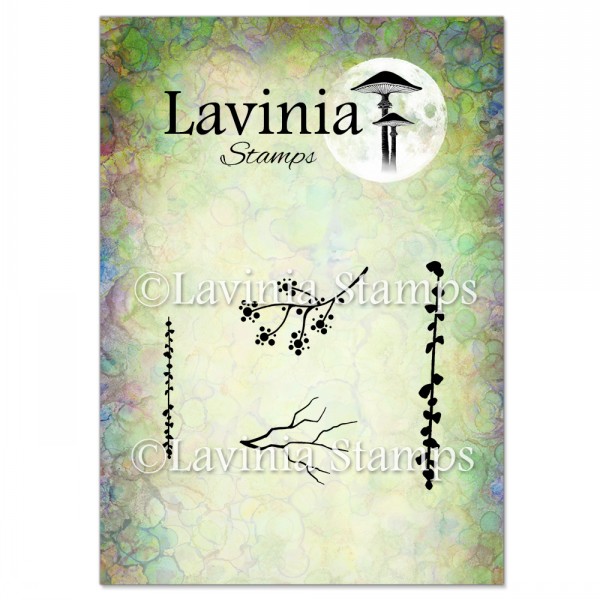
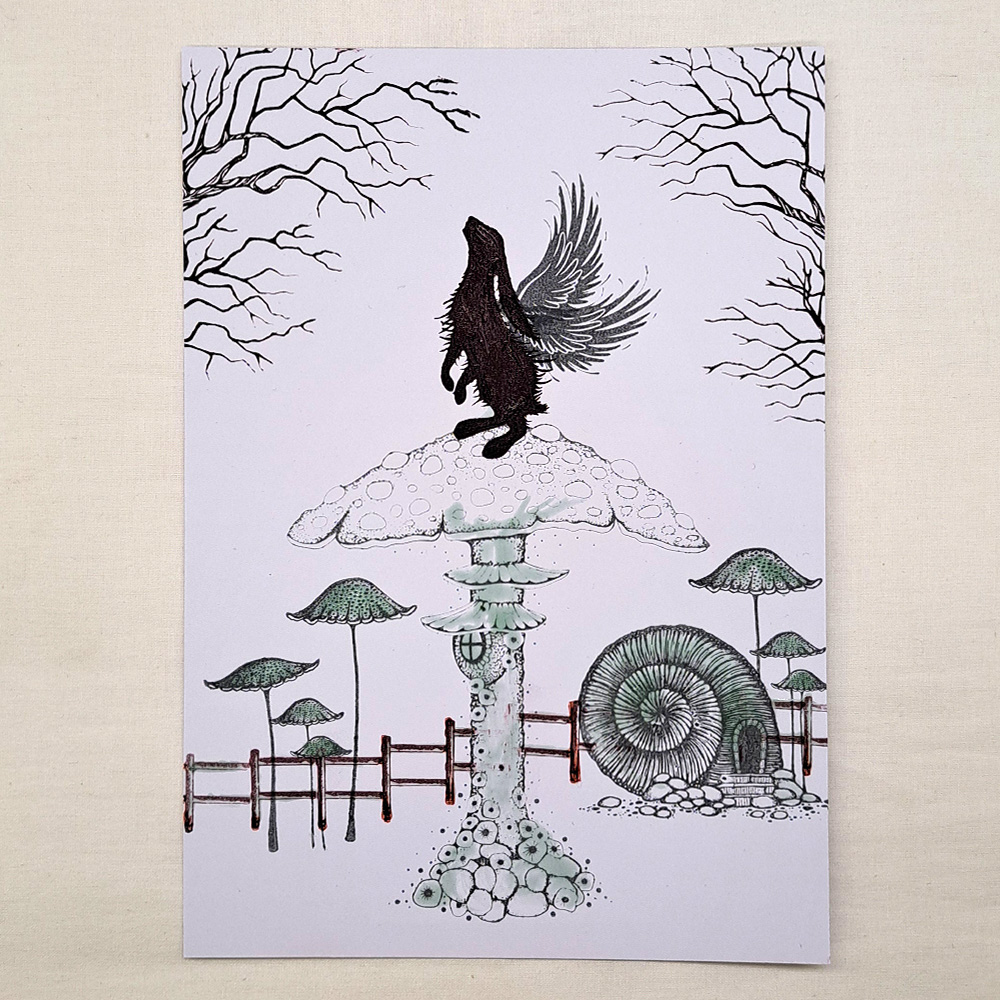
Stamp in Versafine Clair Fallen Leaves the Tree of Courage LAV657 and The Tree of Hope LAV658 to create the branches in the top corners. The Angel wings Small LAV778 we stamp in Versafine Clair Morning Mist. Look at the picture for placement. The Fence and Gate stamp LAV752 is one of my favourite stamps and I use it a lot. It helps to give some depth to the picture. Stamp it in Versafine Clair Fallen Leaves.
Picture 3
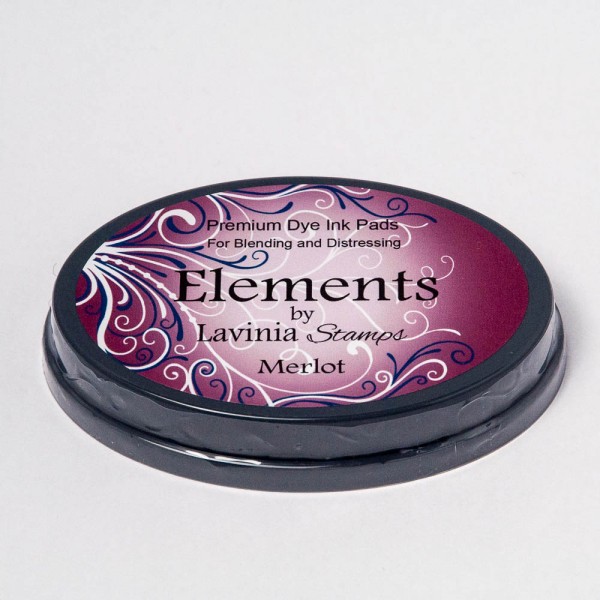
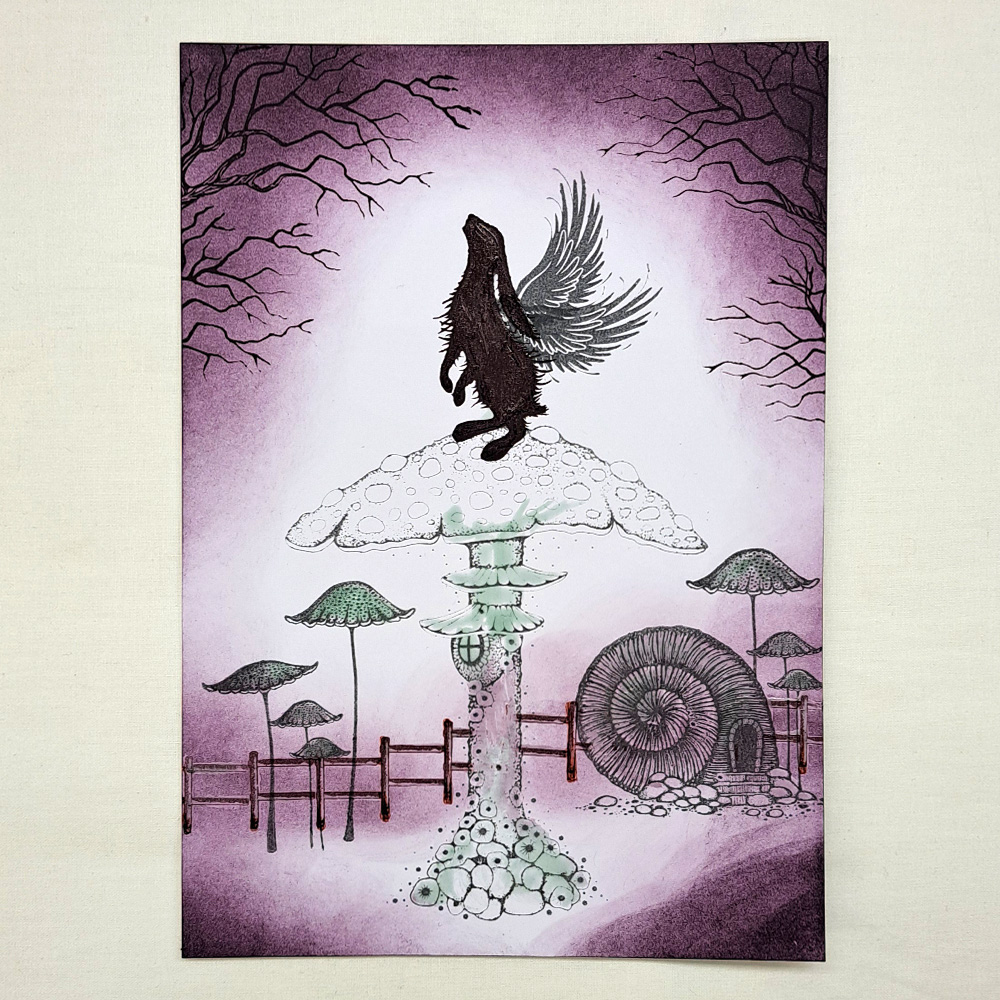
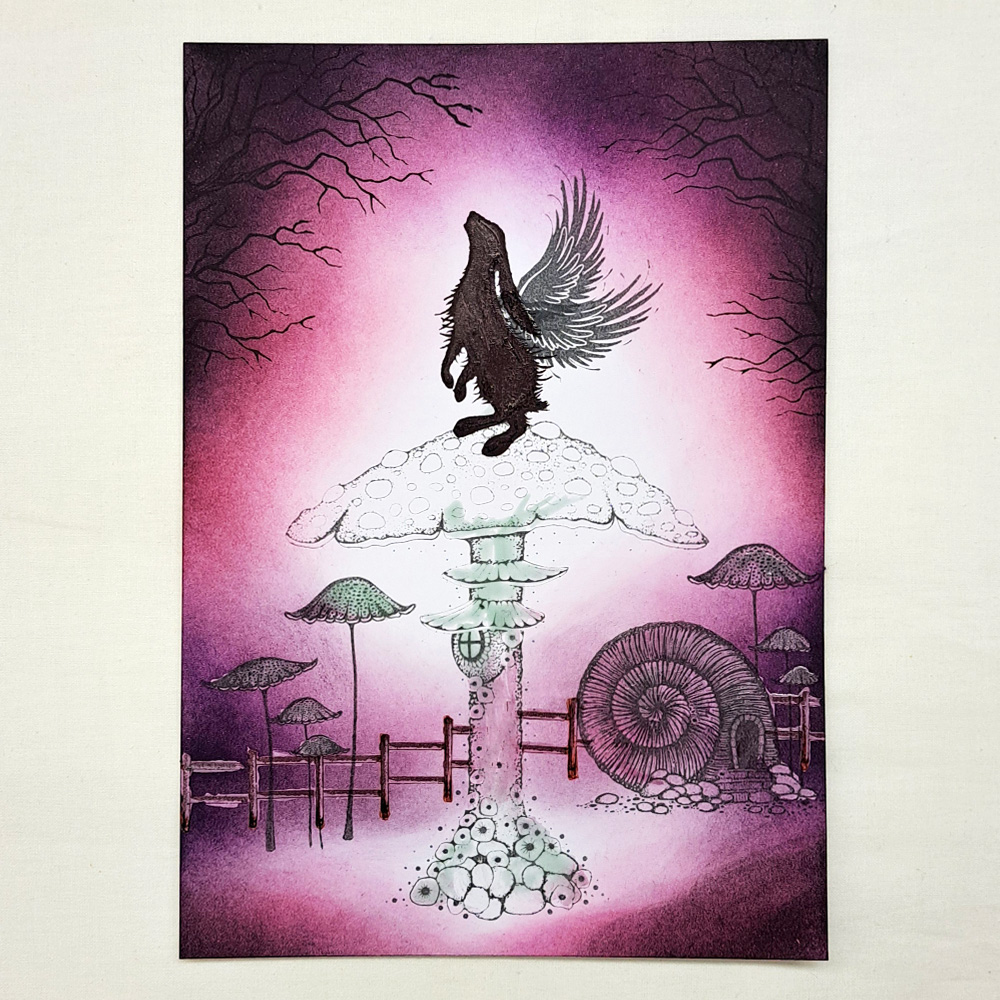
Now we will start to create the background colour. Start with blending some Elements Merlot. Make the colour darker in the corners and try to fade it towards the middle.
Picture 4
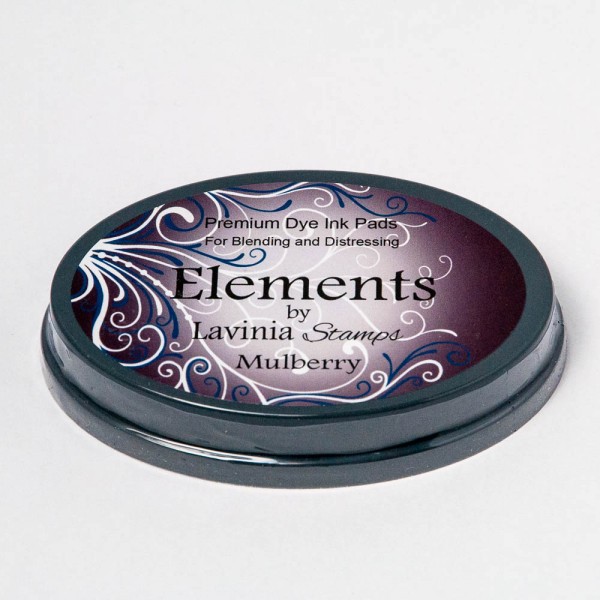
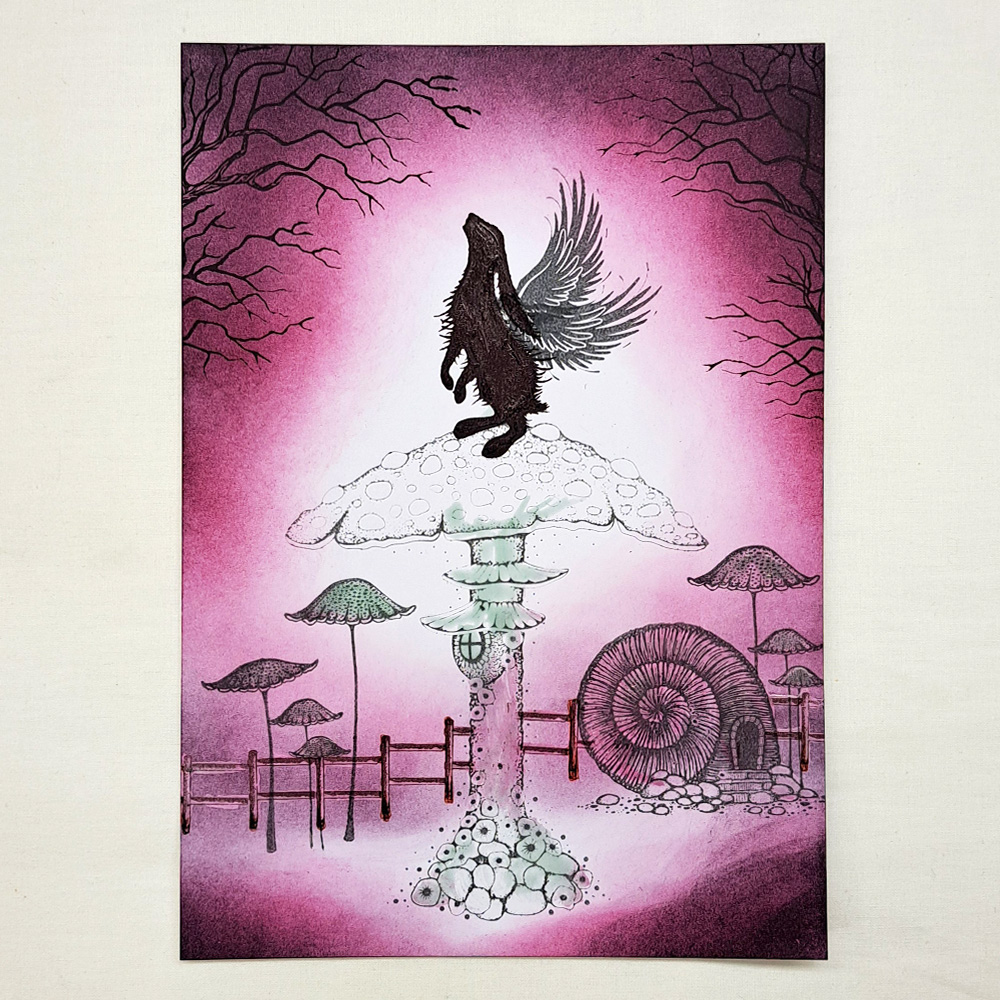
On top of the Merlot colour, we now will use the Elements Mulberry. Blend it together with the Merlot colour and fade it towards the middle. Look at the picture for placement.
Picture 6
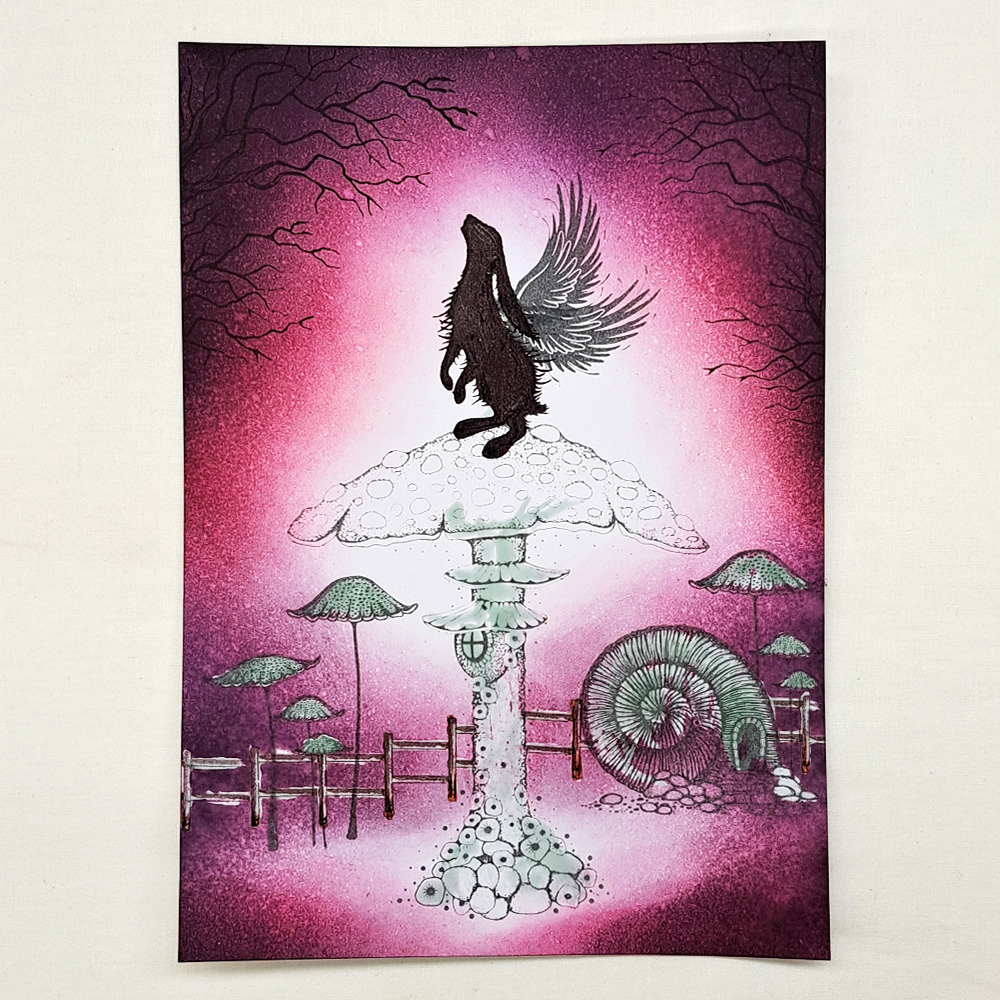
Spray some water on the whole picture and let the magic happen. Dab a paper towel on the picture when you see that the water has done its job.
Picture 7
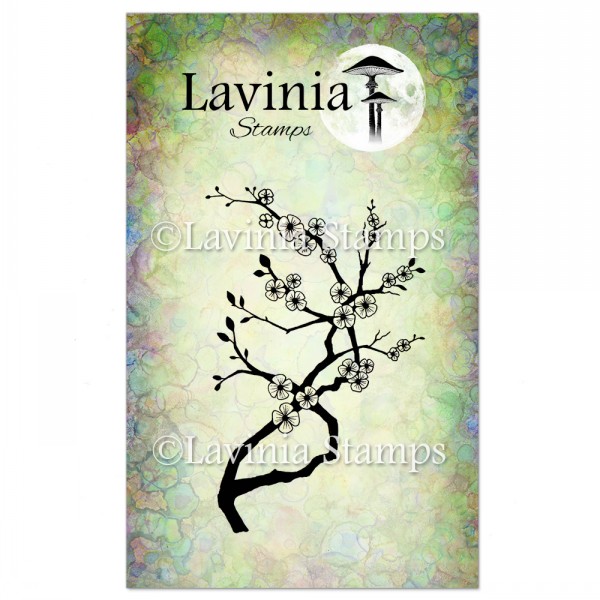
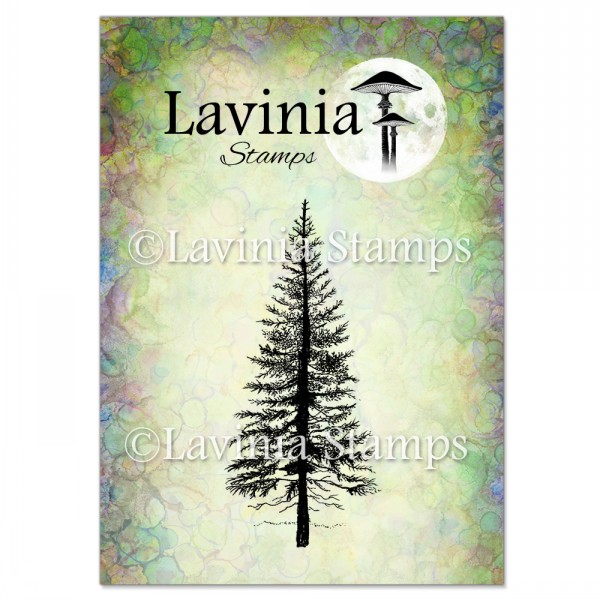
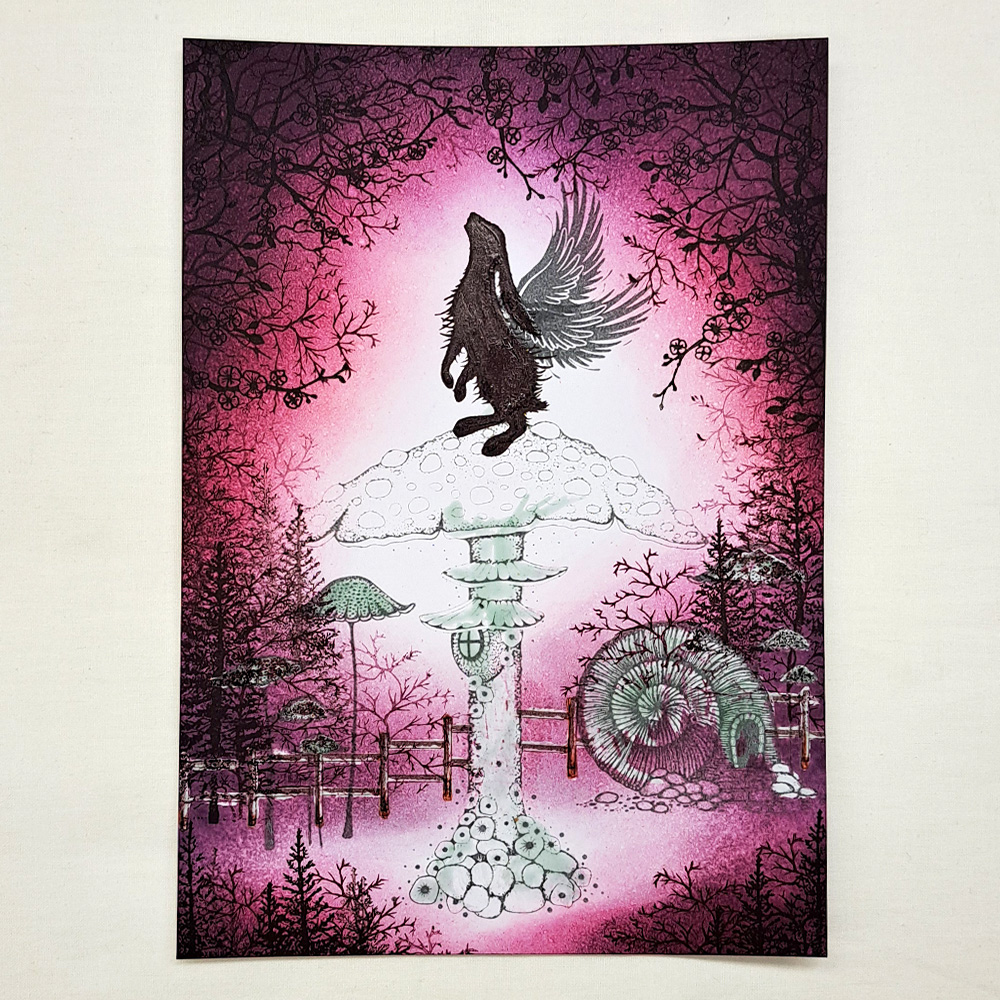
Now we want some flowers and bushes. The Cherry Blossom LAV176 will give us some beautiful flowers in the trees. Stamp in Versafine Clair Fallen Leaves. The Fern Leaf stamp LAV123 we will stamp everywhere. Stamp in Versafine Clair Fallen Leaves. Do both first and second generation stamping. This creates some depth. Finally, we will use the Fir tree 1 stamp in Versa fine Clair Nocturne to create more vegetation.
Picture 8
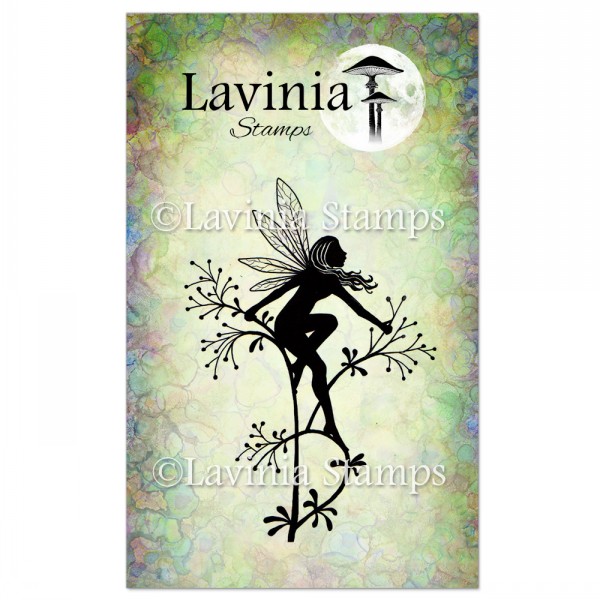
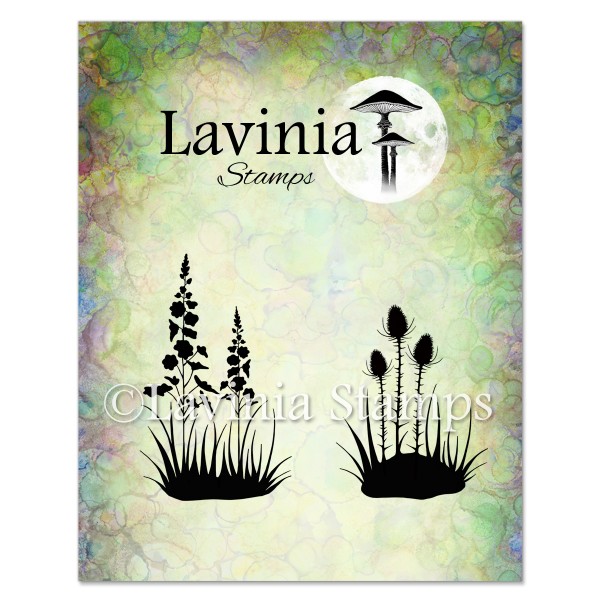
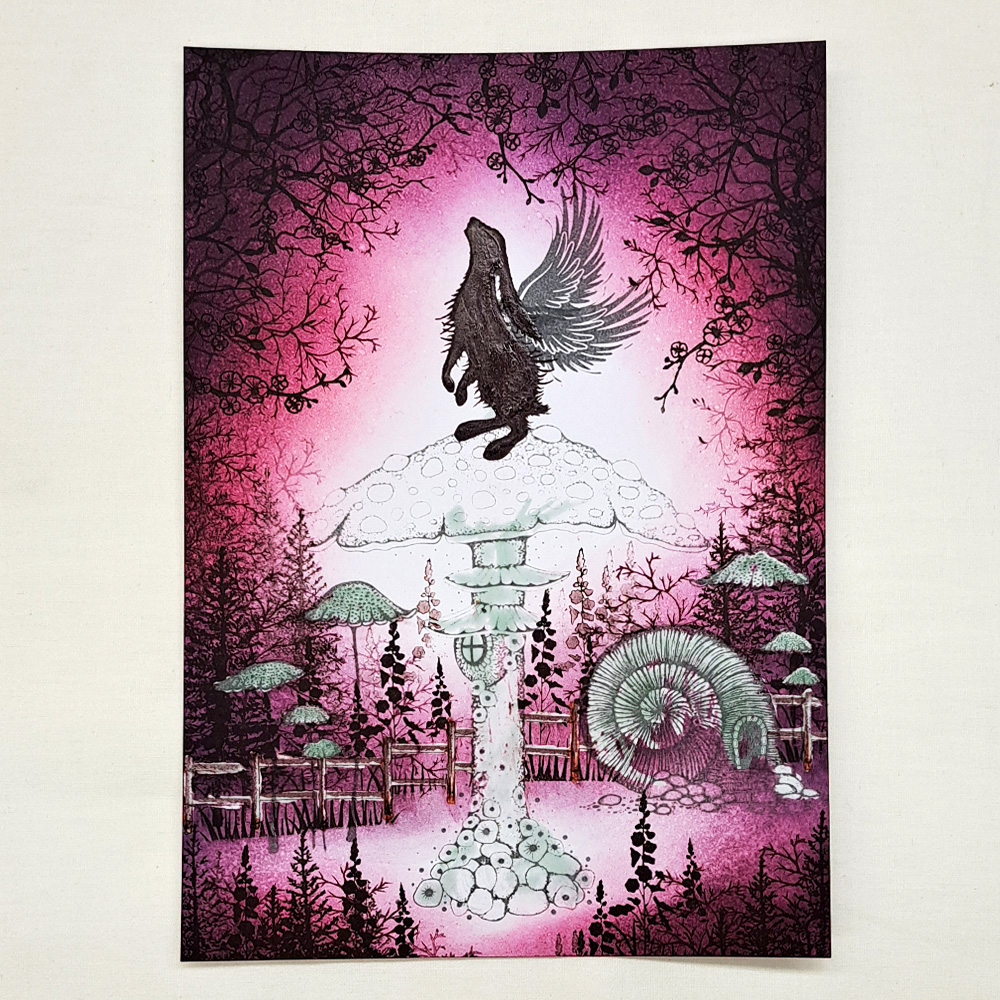
Some flowers are needed so we will use the Silhouette Foliage set LAV683 and stamp in Versafine Clair Fallen leaves. Do both first and second generation stamping. Place some flowers in front and some behind the fence.
Picture 9
Make sure your card is dry and then remove all the masking. Don’t worry if some colour has bled like you see on my Snailhouse. We are going to colour over it, so it doesn’t matter. Now stamp some more foliage in the trees. The little hanging plant from the Foliage stamp set LAV679 will be perfect. Stamp in Versafine Clair Chianti.
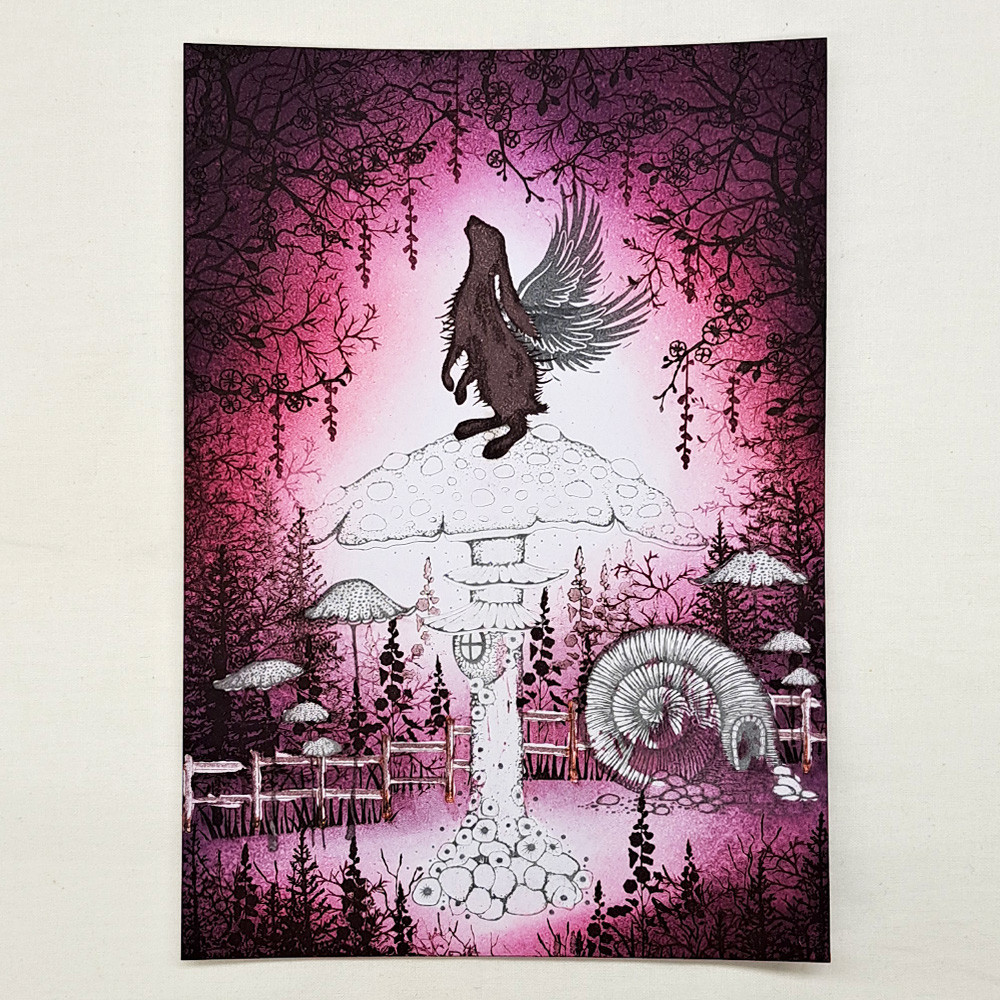
Picture 10
We only need a few colours to create this picture. A dark plum colour, a lighter plum colour, and a beige colour. Look at the picture for placement of colour and don’t worry if you colour over some of the white spots on the Toadstool, we will colour with Posca pen after.
Also, a grey colour is needed for the stones and a little bit for the shadow on the Toadstool stem.
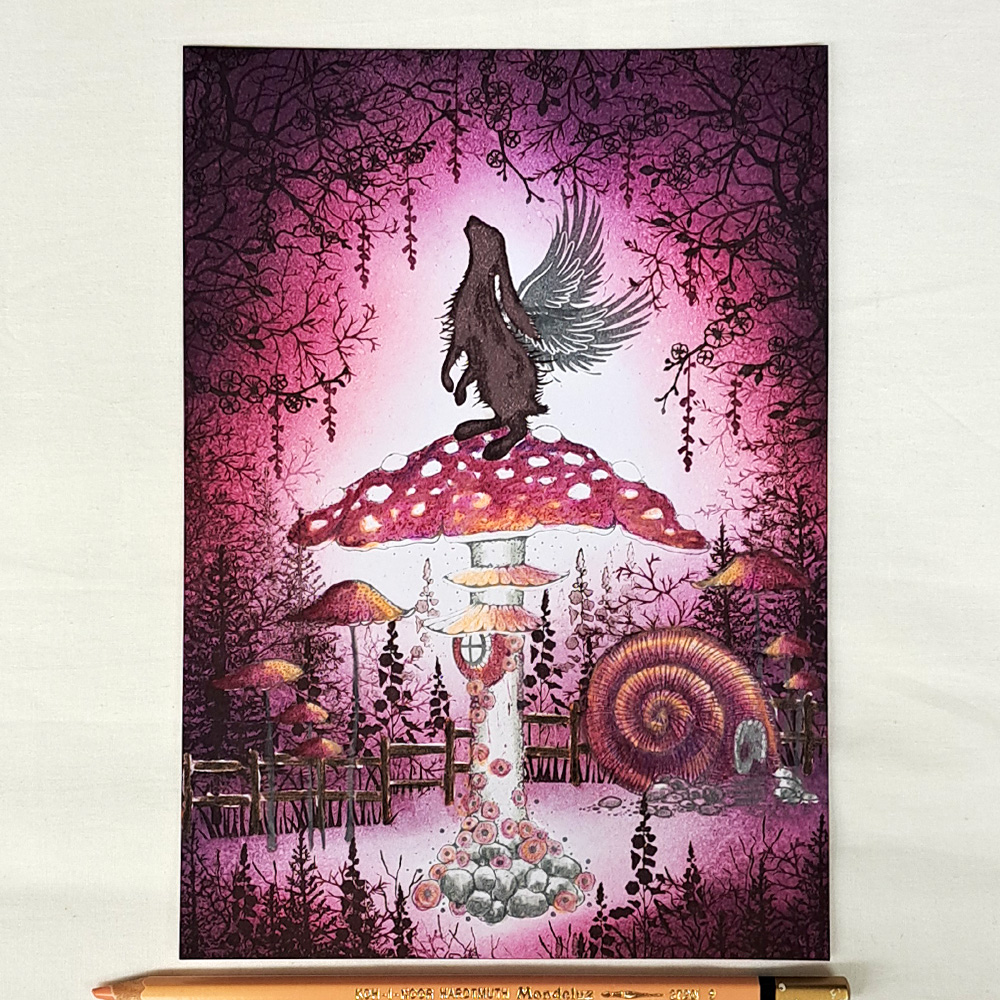
Picture 11
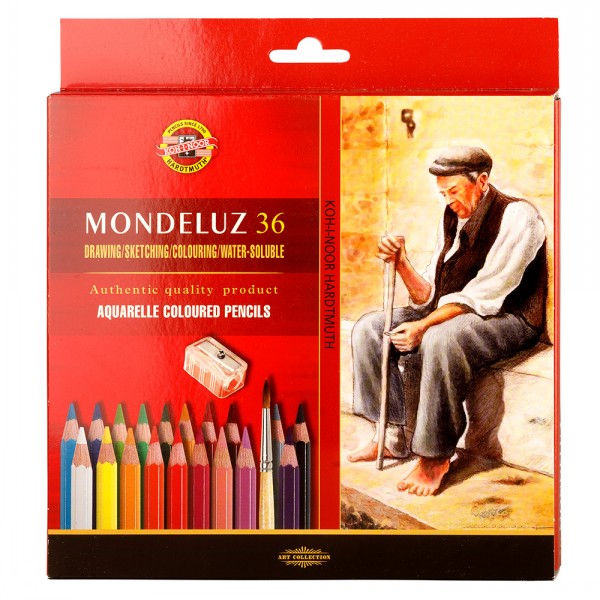
Our angel hare needs some dark brown, black and beige. His wings need a bit of grey and the fence needs a bit of dark brown. When we use a lot of masking many of the lines will get a bit uneven and the colour will also fade when you remove the masking. So I love my Mondeluz Watercolour colour pencils to colour with because they are so soft and they cover so well any small mistakes.
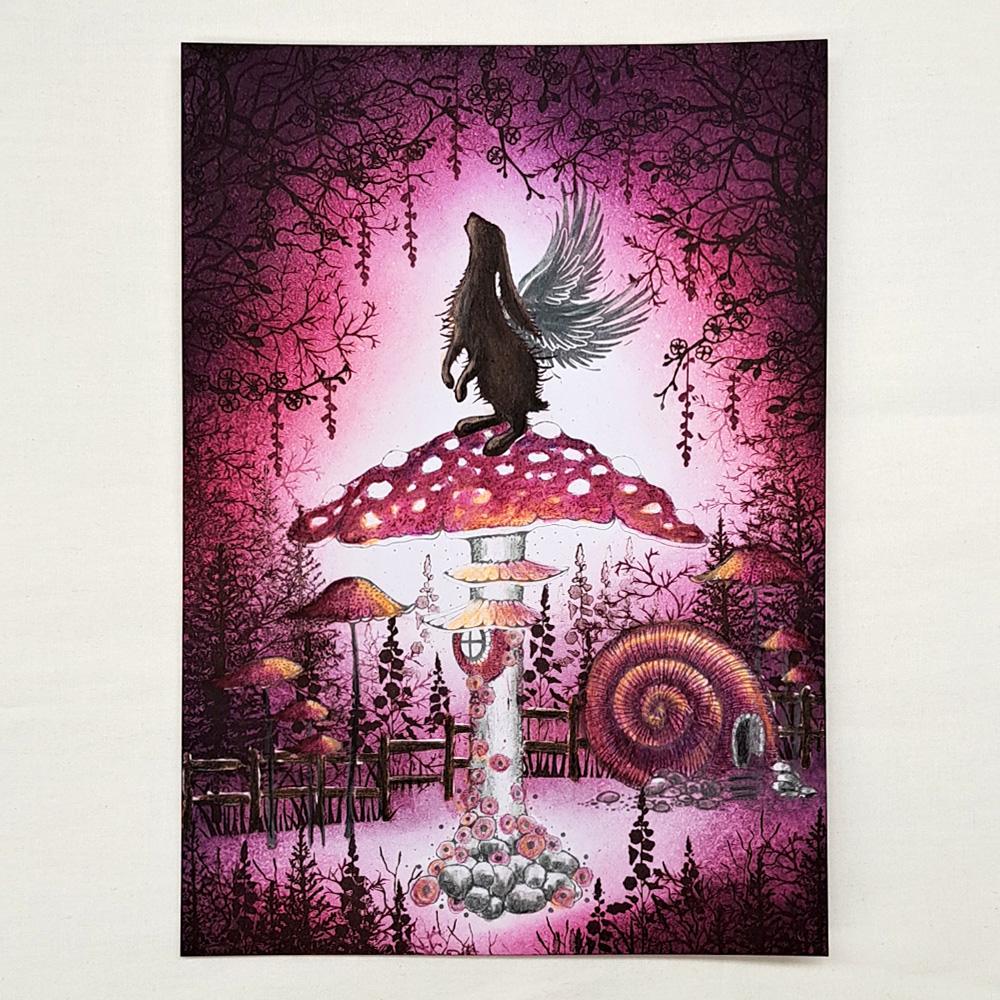
Picture 12
Use a light pink Posca pen to colour the cherry blossoms and the flowers.
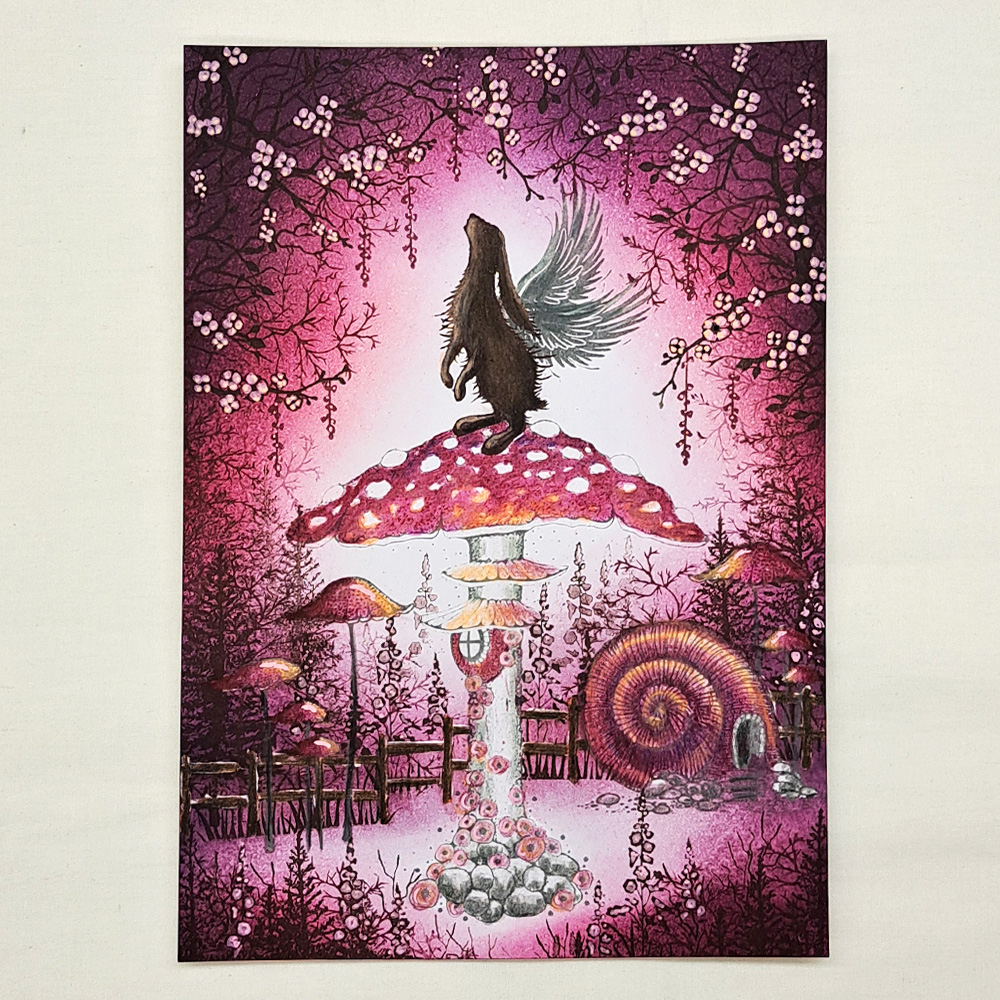
Picture 13
Now we use a beige Posca pen to create some depth in the colour on the flowers. Also draw a tiny line on the small mushrooms. To colour in the ground, we will use the same three colours as we used before. Look at the picture for placement of the colours.
On the stones we will use a dark grey and a little bit of black.
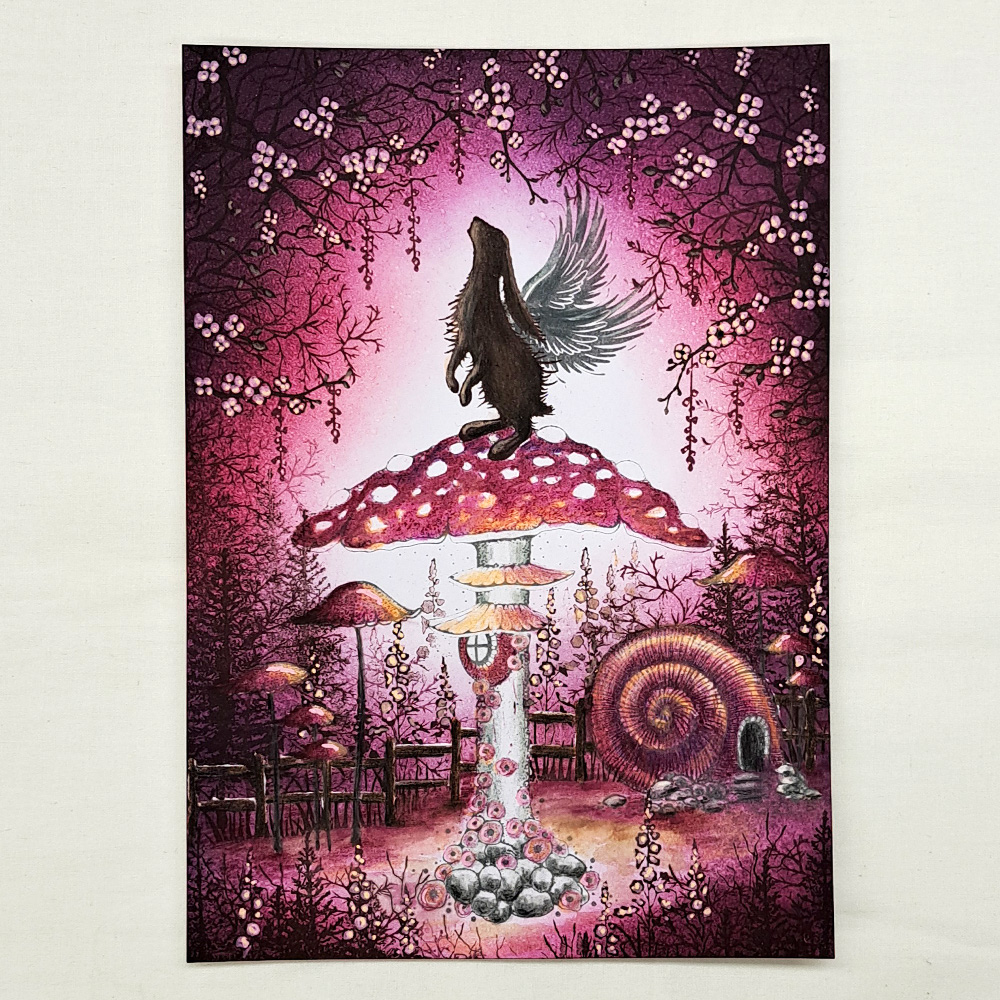
Picture 14
We need a little brown colour to draw some shadows around the Toadstool base and under the fence poles.
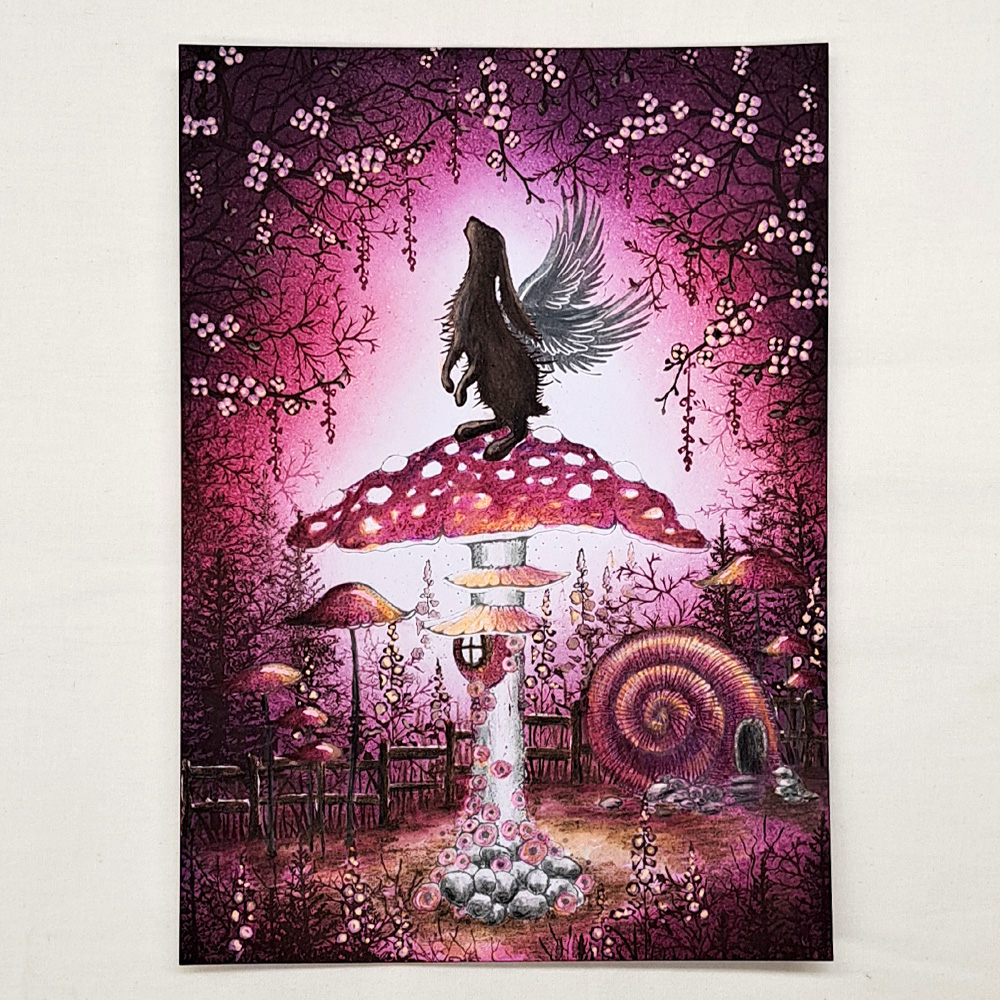
Picture 15
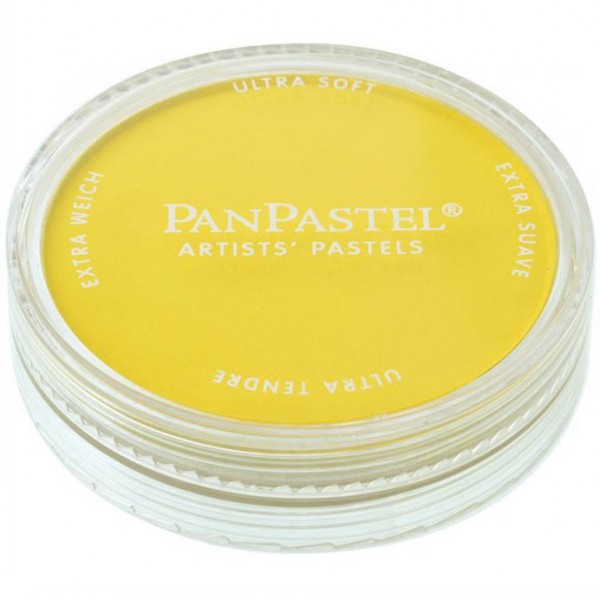
Panpastel Hansa Yellow will help to create a wonderful glow.
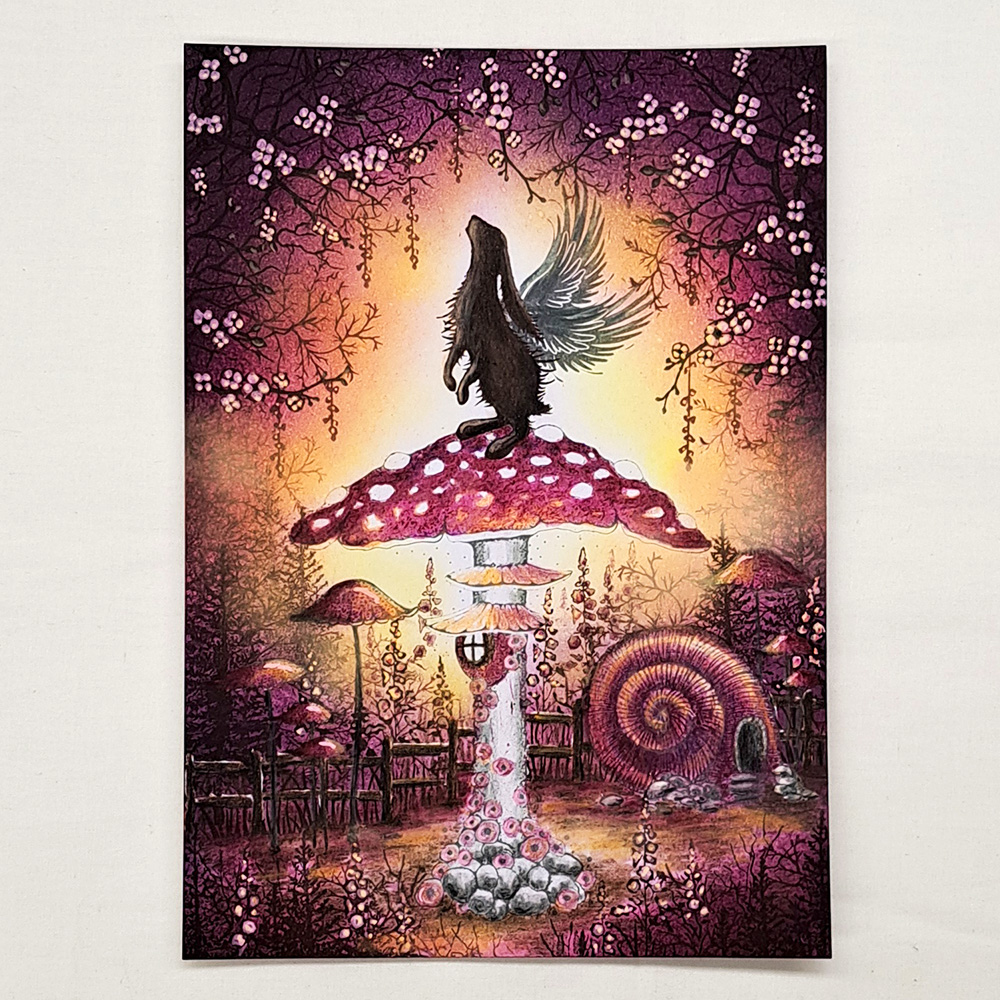
Picture 16
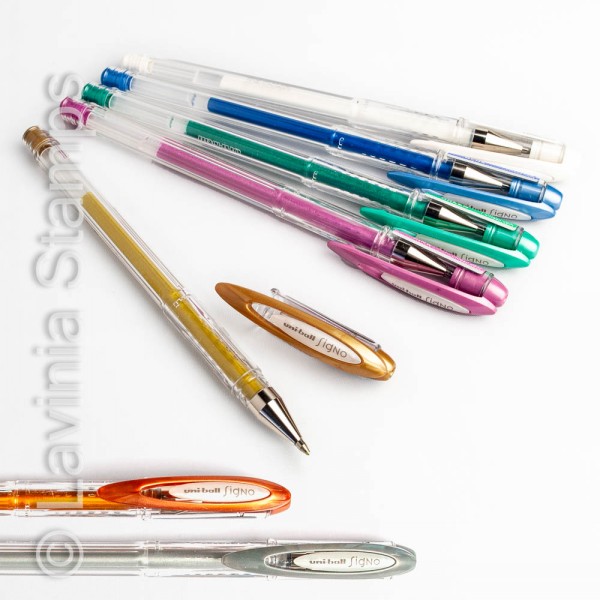
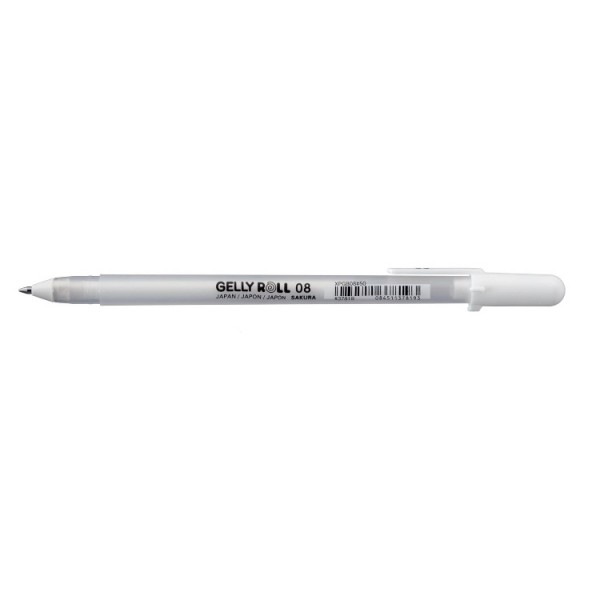
Time for highlights. Start by colouring the white spots on the Toadstool. I love to use a white Uniball pen, but both a white Posca pen or a white Gellyroll 10 will work too! Everything needs a little highlight. A little yellow colour in the Toadstools window to give it some warmth.
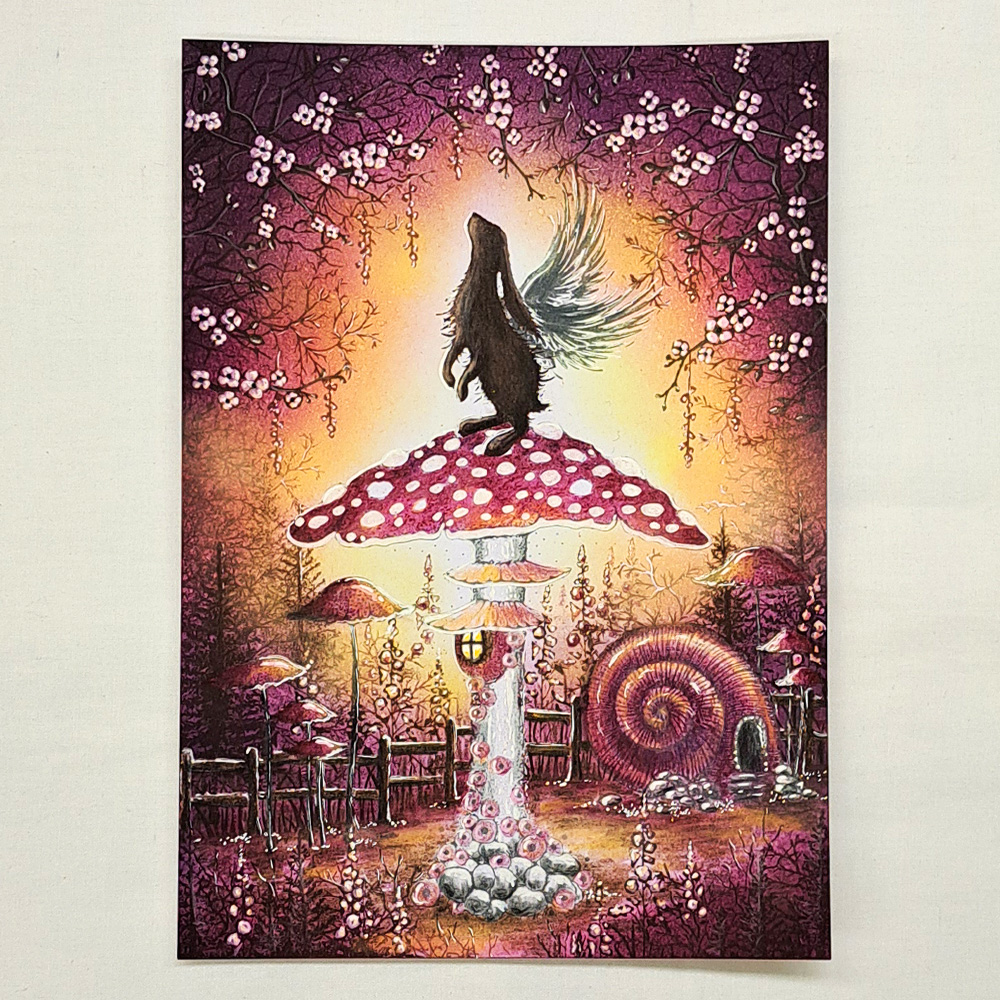
Picture 17
The final touch is some posca pen splatter. As I was doing the splattering the tip of the Posca pen fell out and landed on my card!!!!! I removed it quickly and dabbed off the paint with some paper but it still left a visible spot……. so, I just drew on some more Cherry blossoms to cover the damage! Just four dots and a black centre for every flower. To restore the balance in the picture I drew some Cherry blossoms on the right side too. I am so happy I managed to save it. I hope you don’t need to do this last step.
So finally, we are done. I hope you enjoyed following this tutorial. Thank you all.
Big hugs from Mona
