You may have noticed a lot of mushrooms starring in posts on the Lavinia Stamps page…Well in this piece we’ll share with you how they were made and how they have been getting on!
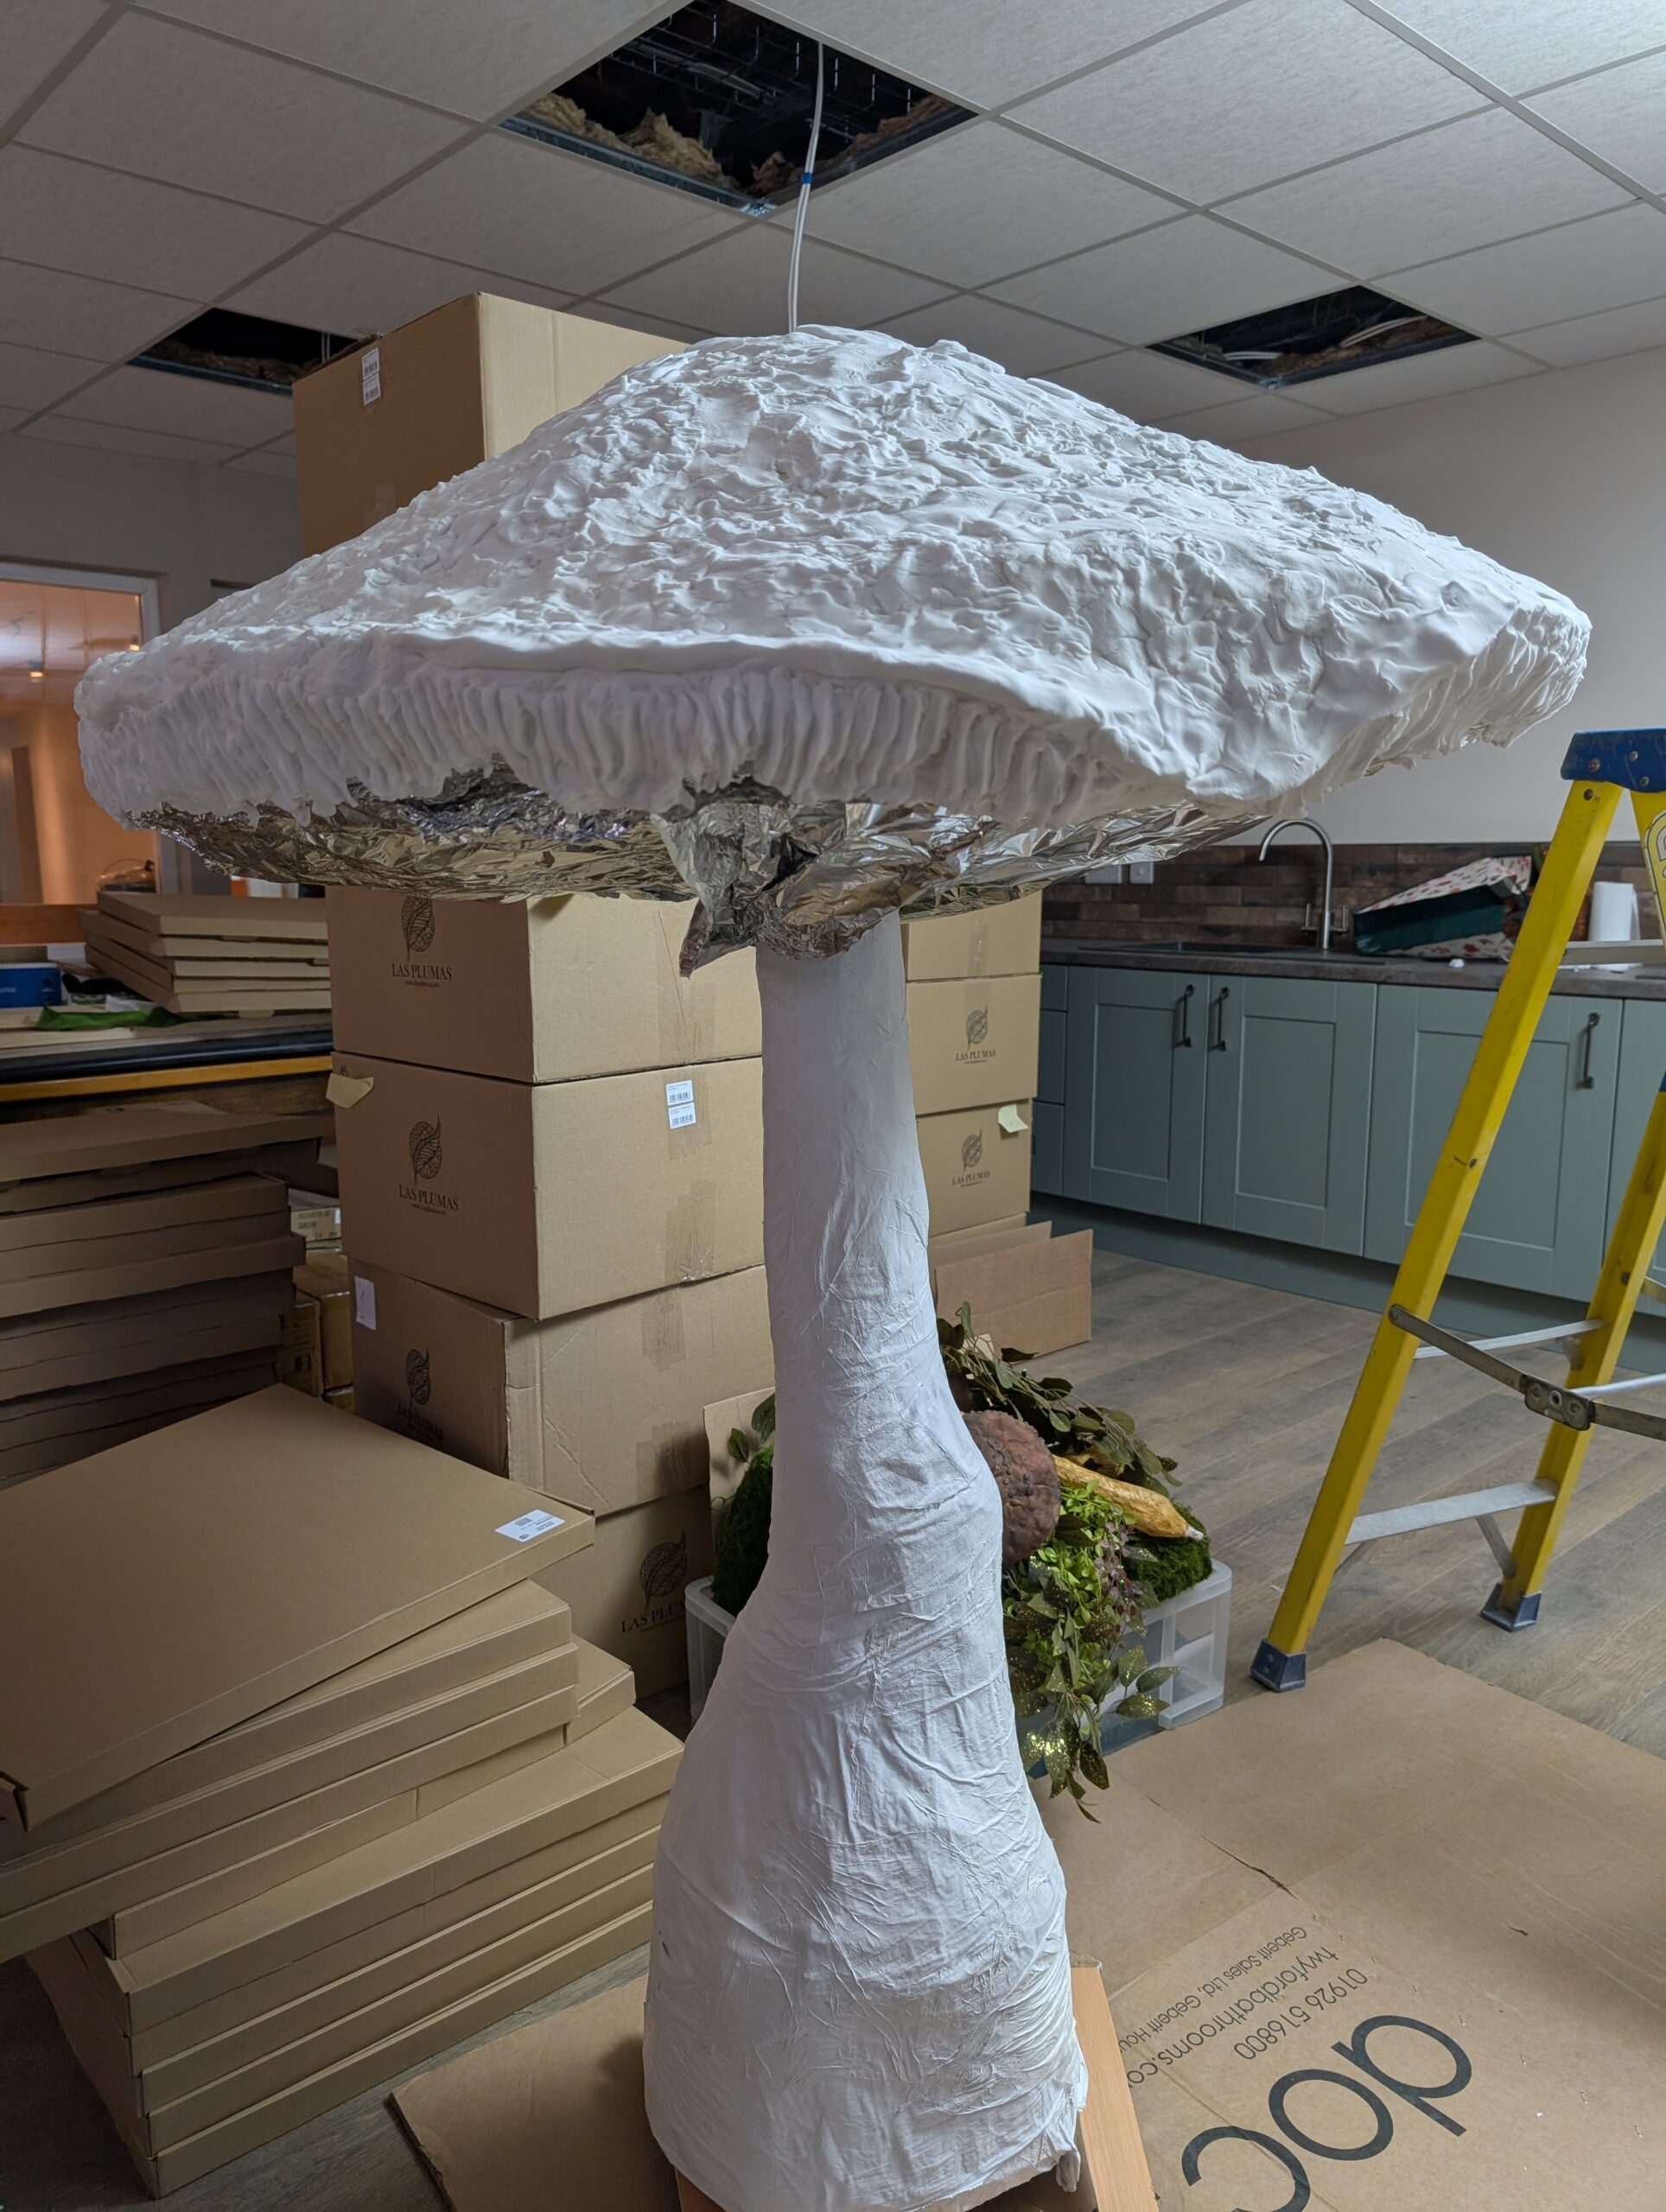
We had to finish the mushroom shape by creating the cap of the mushroom using foam clay. (Which is a fabulous way to relax by the way..!)
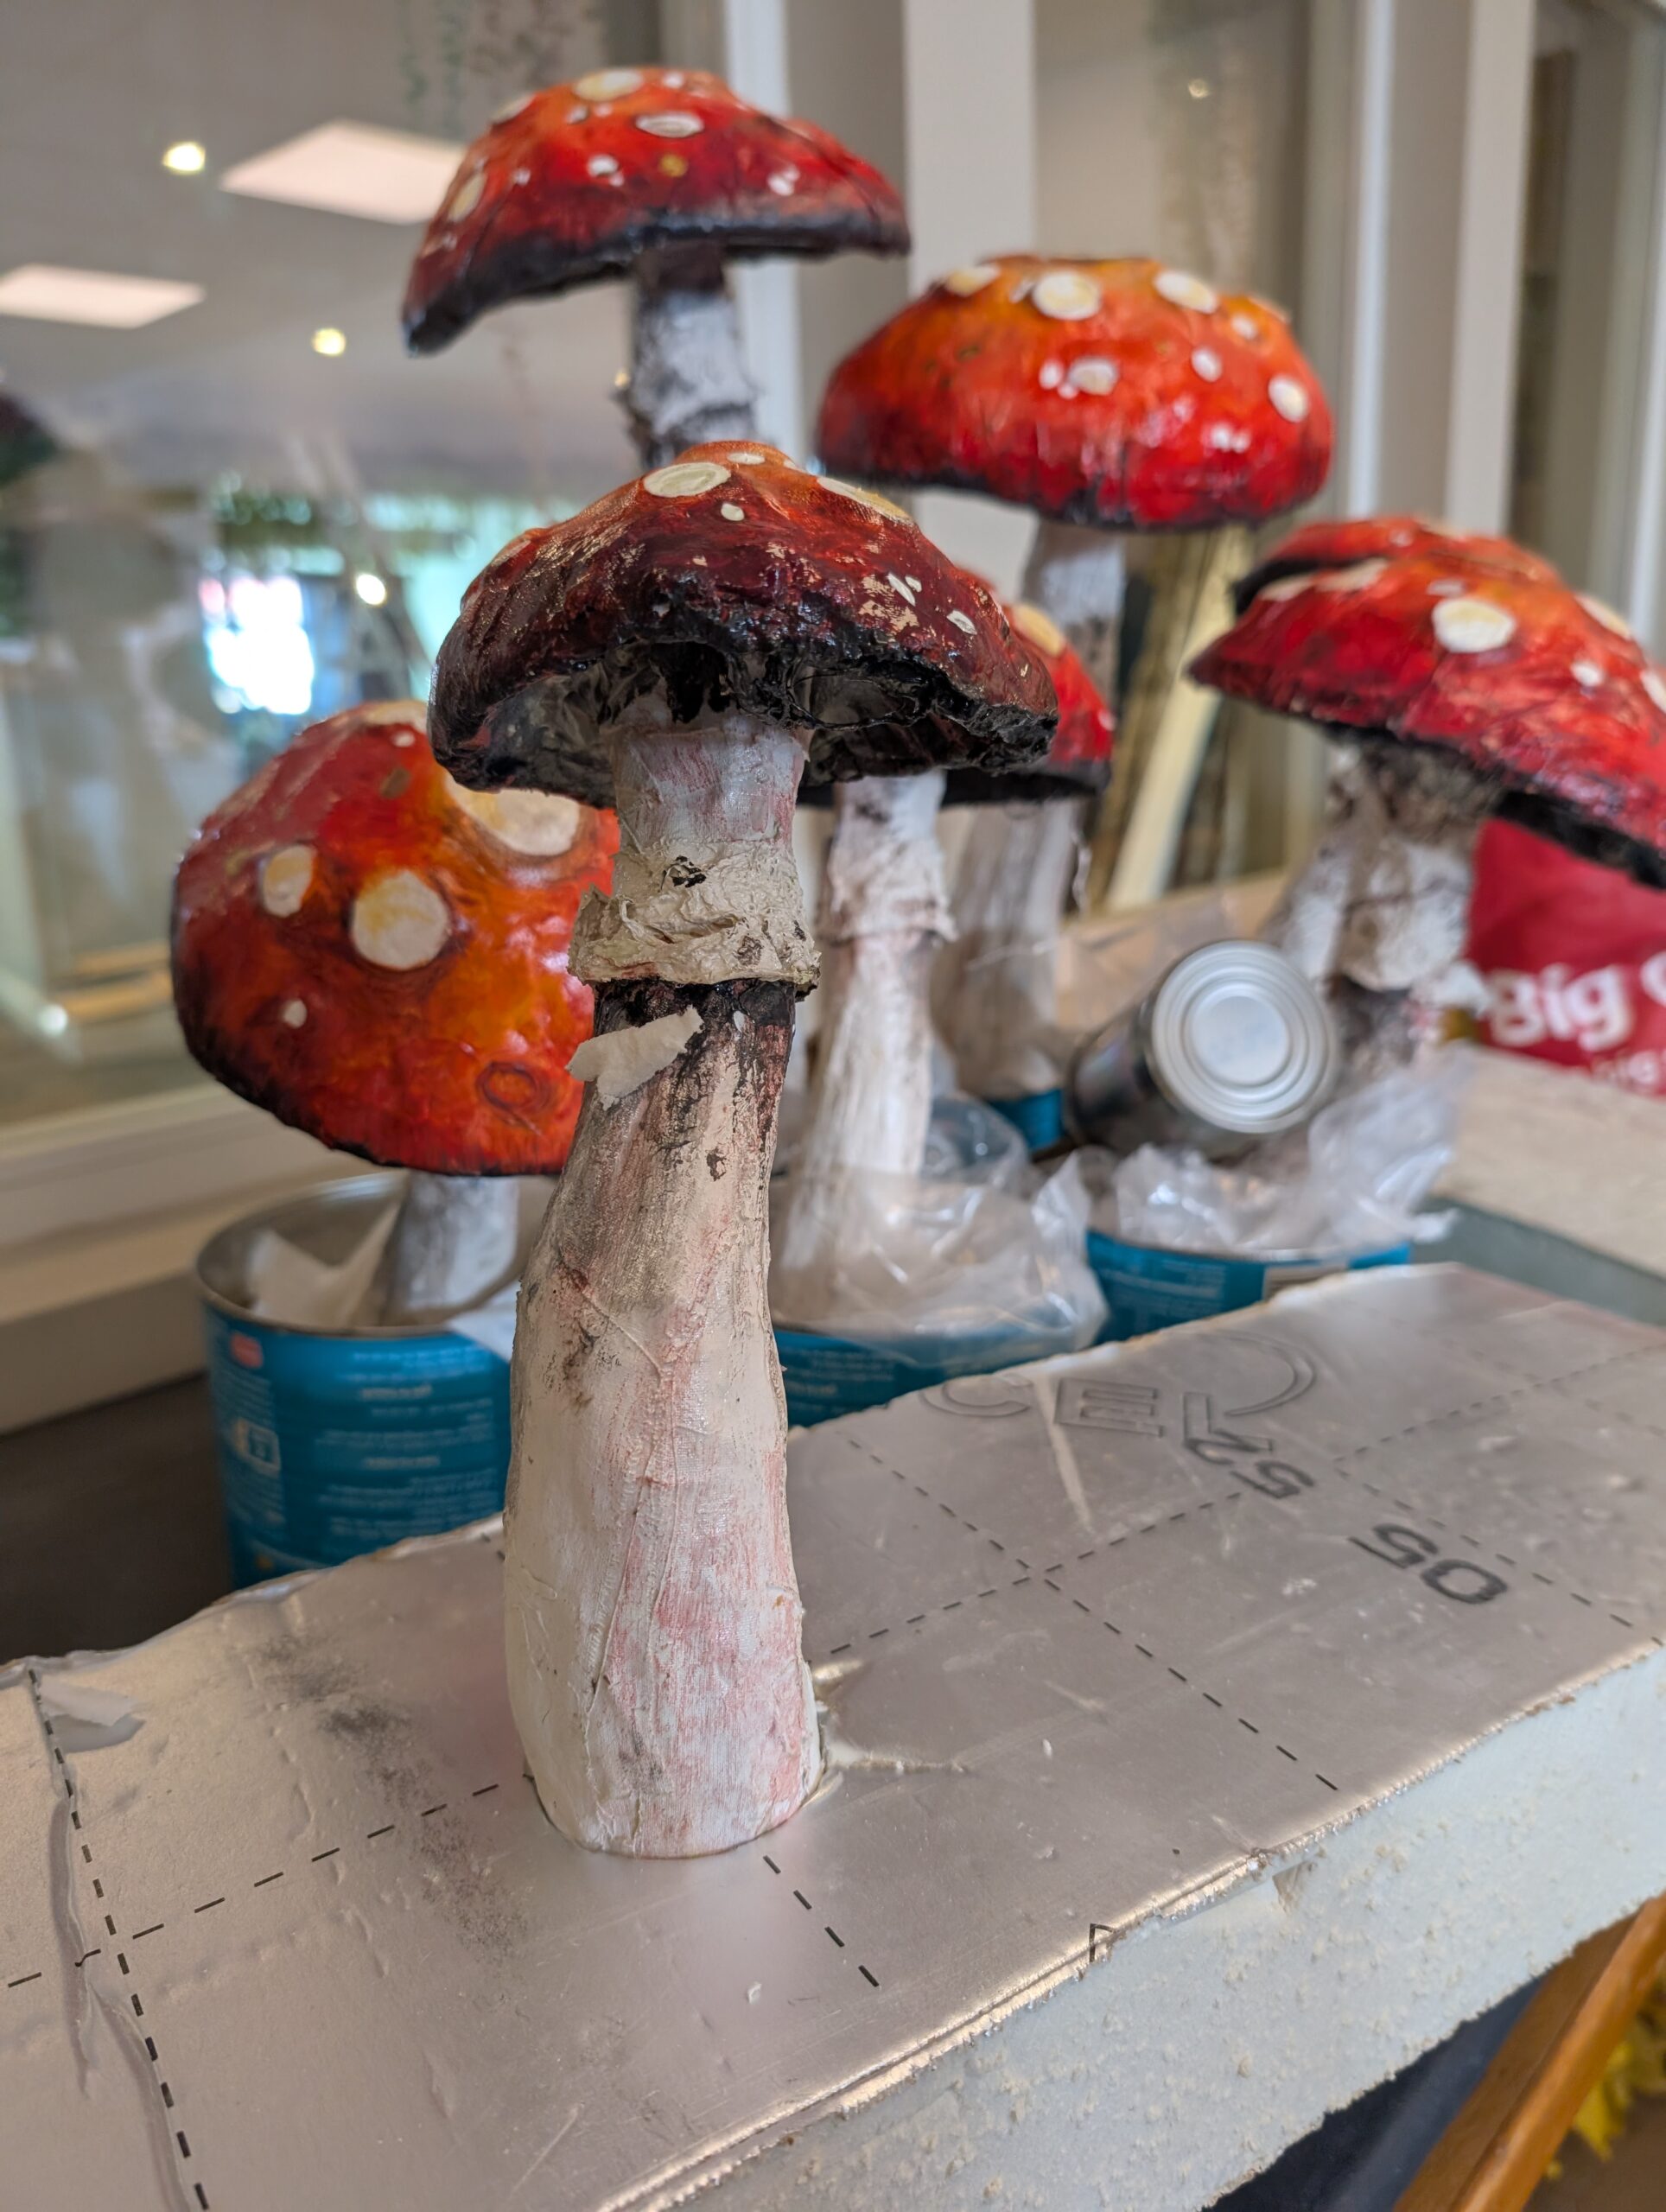
After we had created the stalk of the mushroom and the Powertex had dried we were able to create the top of the cap of the mushroom. It was great to try and imagine what a fairy mushroom cap under a magnifying glass would look like! So we added spots and indents and pitting.
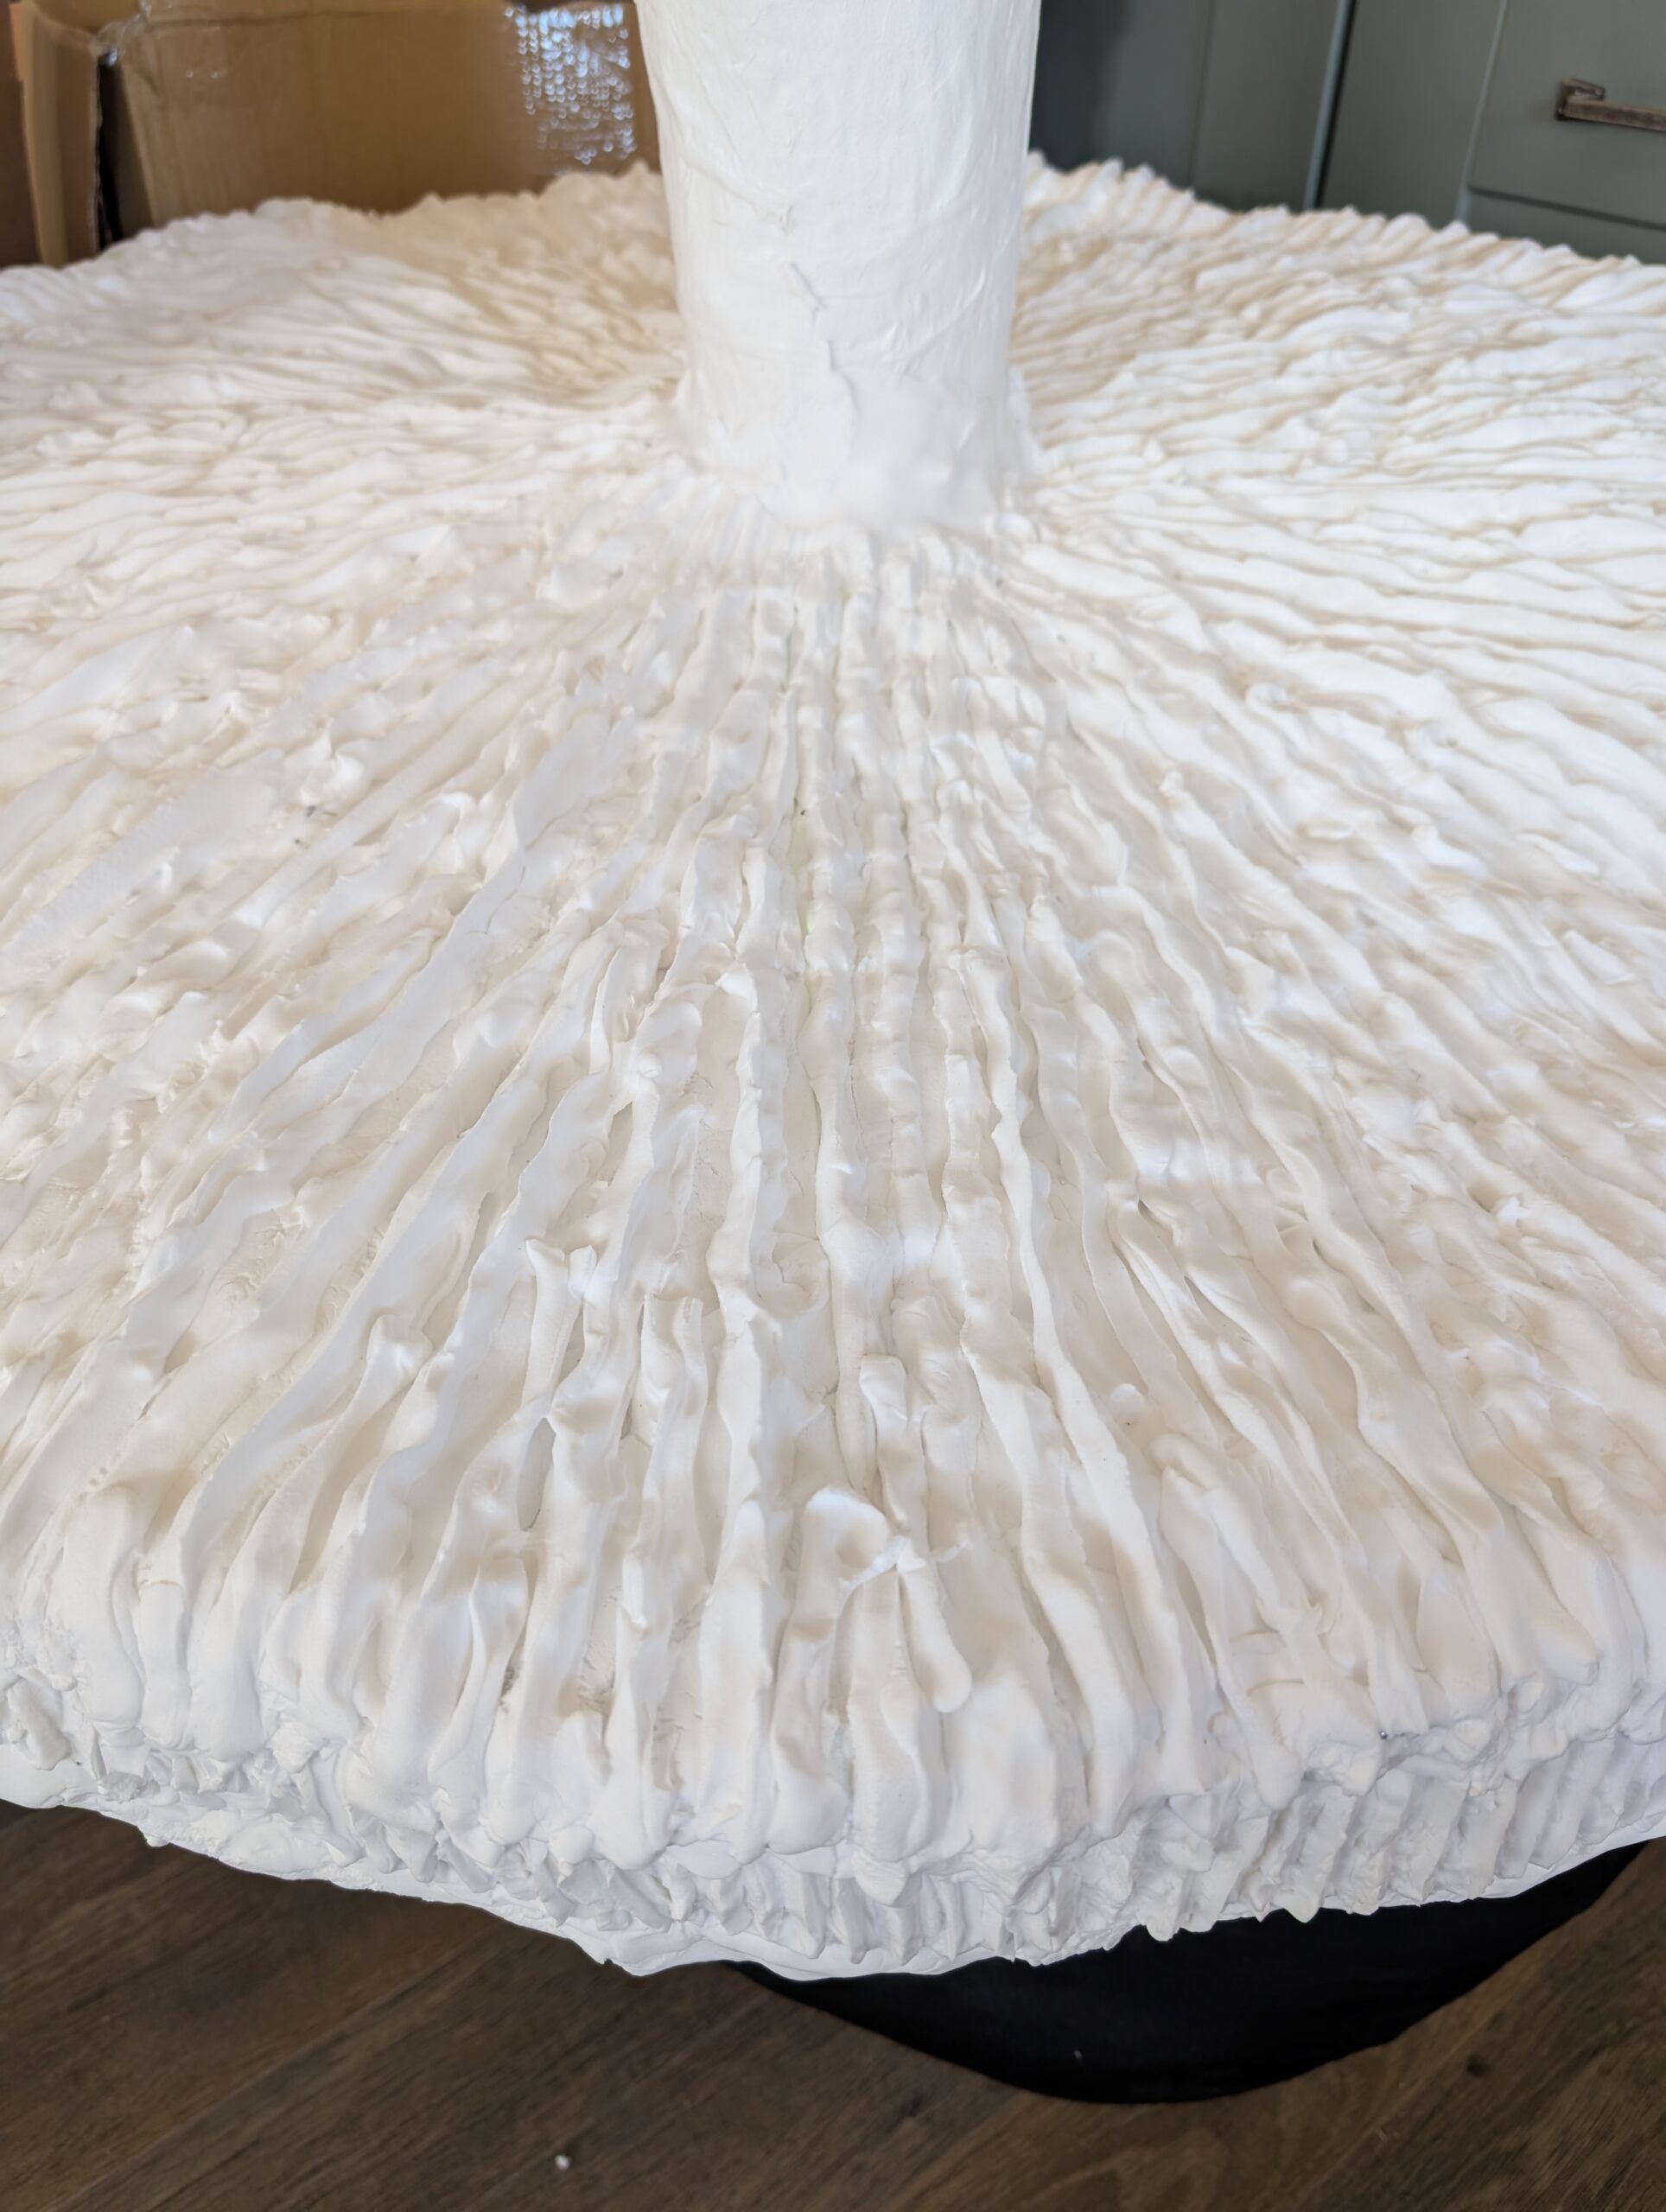
Once that bit was dry next it was time to create the gills. The hero of the day for this appeared to be…a beanbag!
As we had already created the cap, the beanbag acted as a gentle support for when we turned it upside down to create the gills of the mushroom.
It also saved our backs creating this way and gravity was on our side holding the foam clay in place until it dried the gills into position!
After having made these mushrooms using foam clay and Powertex, the next task was to colour them, which had to happen outside!
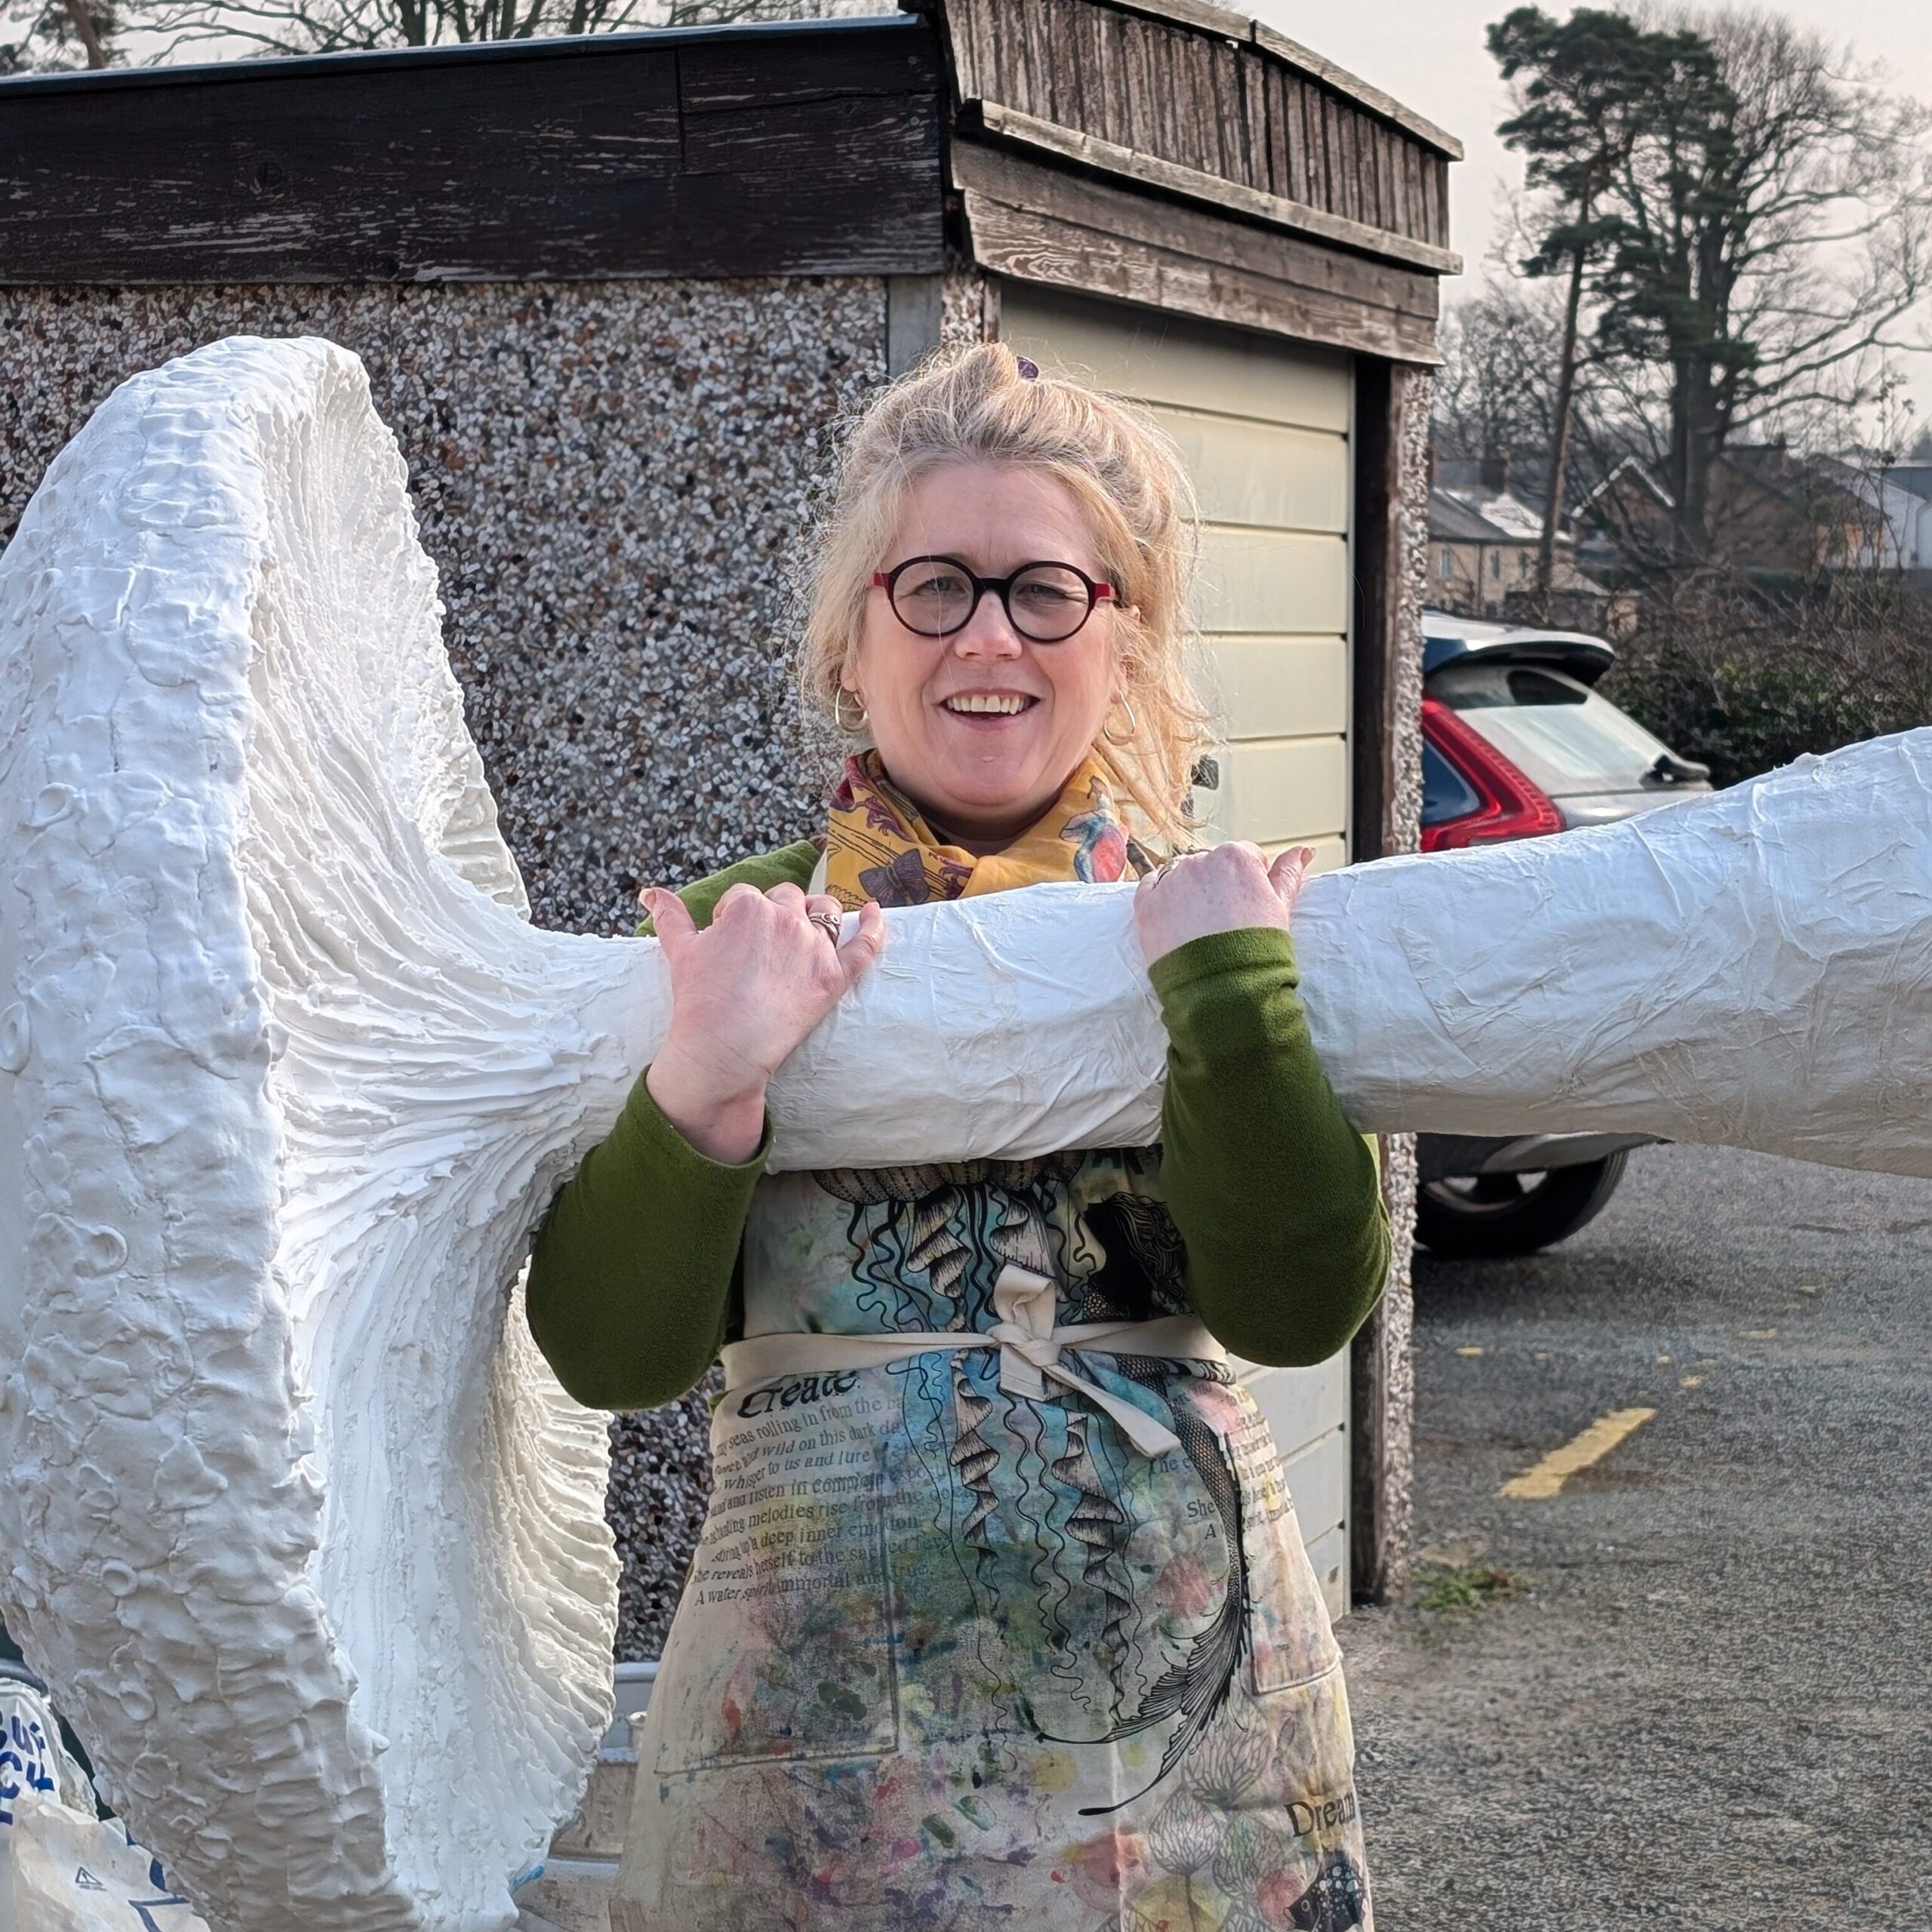
Here is Tracey modelling the unpainted mushroom.
Imagine all the soup you could make with that mushroom!
To get a glimpse of the painted mushroom take a look at the video below!