I learned to make little books like this on a workshop with Kathryn Sturrock on the Hochanda stall at one of the craft fayres before the world descended into madness. They’re fun, fairly simple to make and can be decorated any way you wish.

The Products I used…
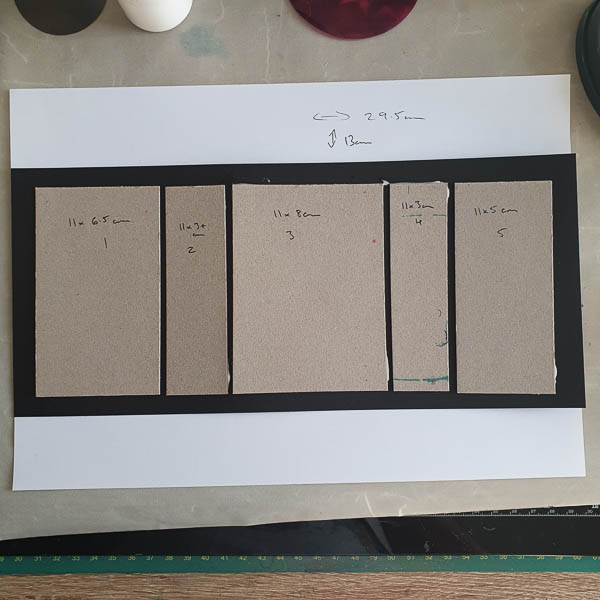
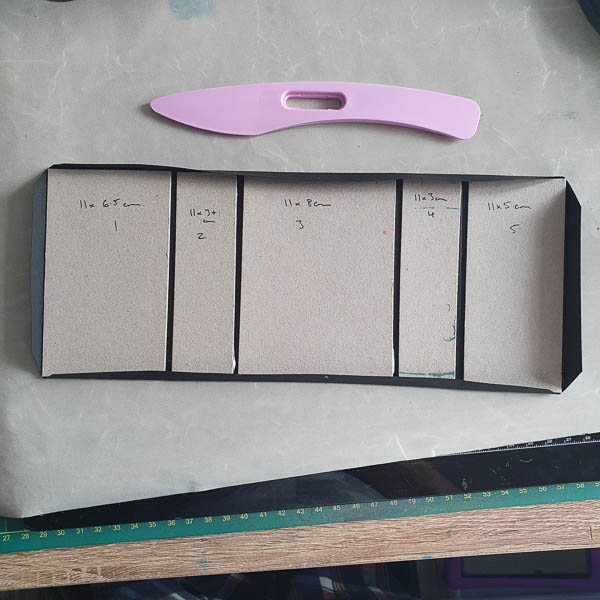
Greyboard
All pieces 11 cm tall, one at 8cm wide, one at 6.5cm wide, one at 5cm wide, and two pieces 3cm wide.
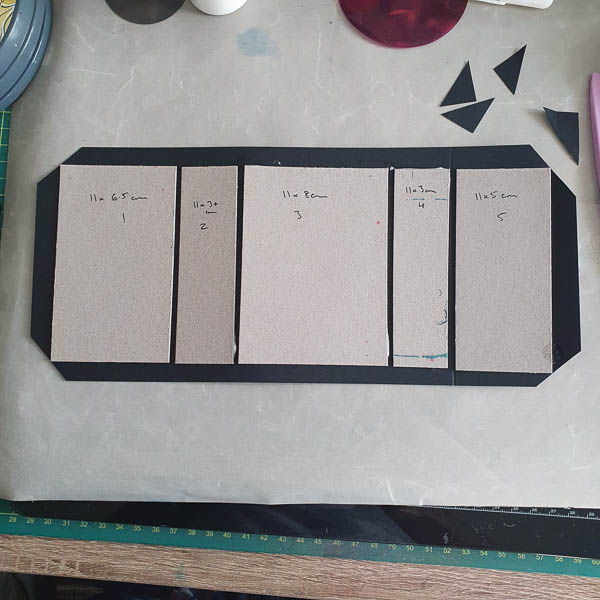
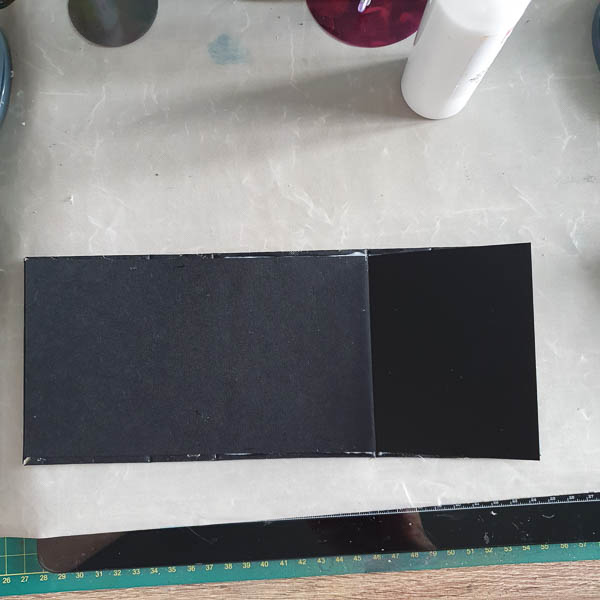
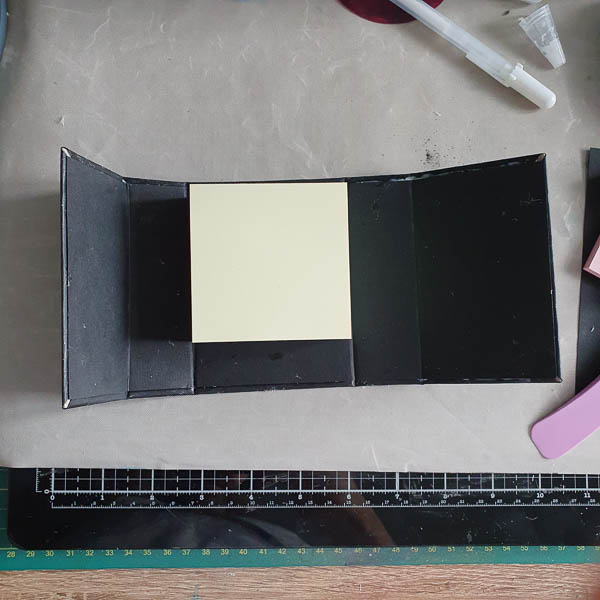
Black card
One cut to 29cm by 13 cm tall
One cut to 26.5cm by 10.5cm
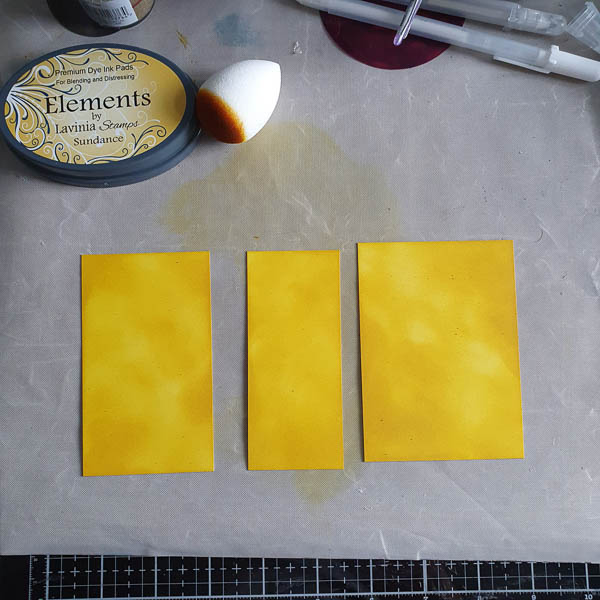
Multifarious Card
One cut to 7.5cm by 10.5cm
One cut to 6cm by 10.5cm
One cut to 4.5cm by 10.5cm
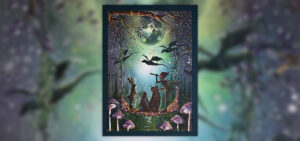
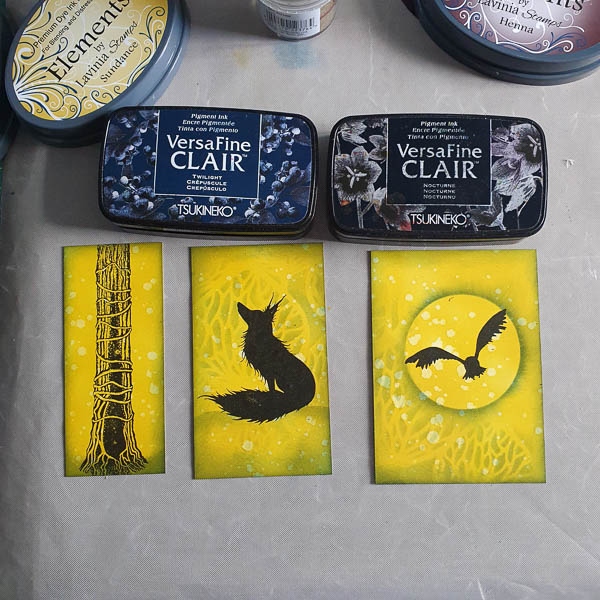
Lavinia Stamps used
Tree den
Rufus
Brodwin
Snow Falling
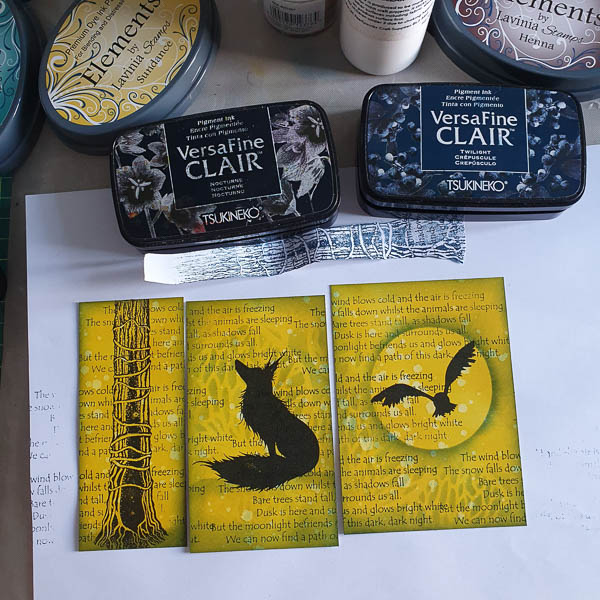
Inks
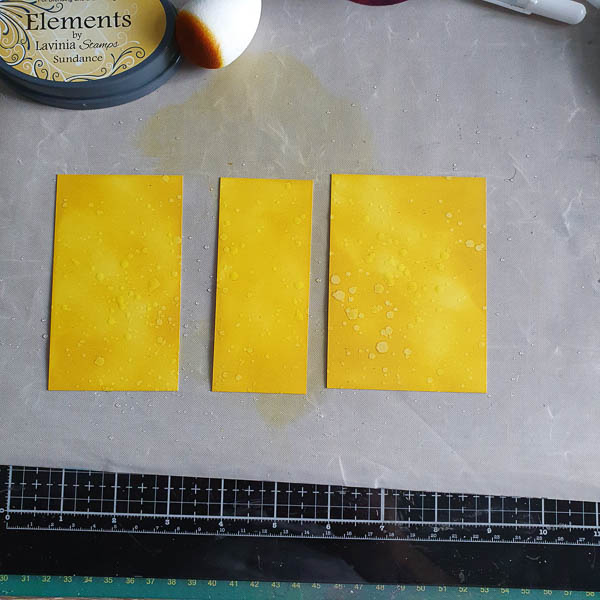
Elements Sundance
Versafine Clair Nocturne and Twilight
Smoothie
Fan brush
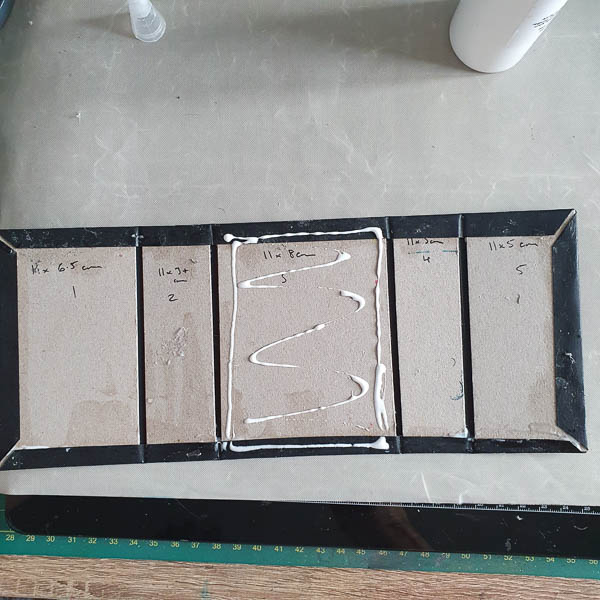
Glue
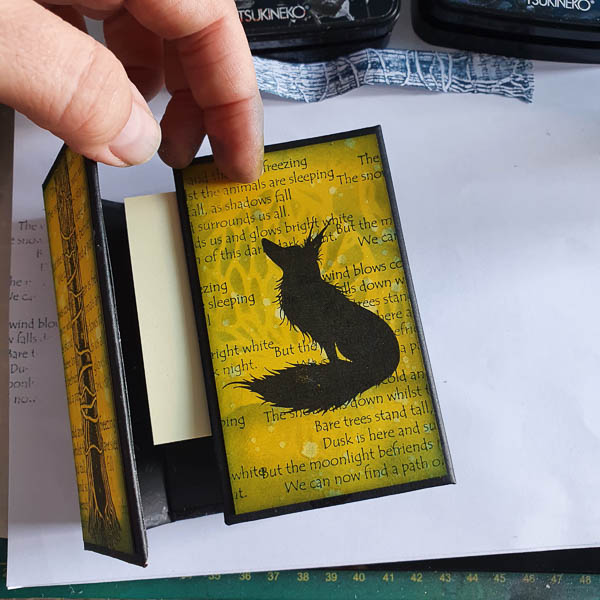
Post-it note pad (however you could add pages to make a mini journal if you prefer.
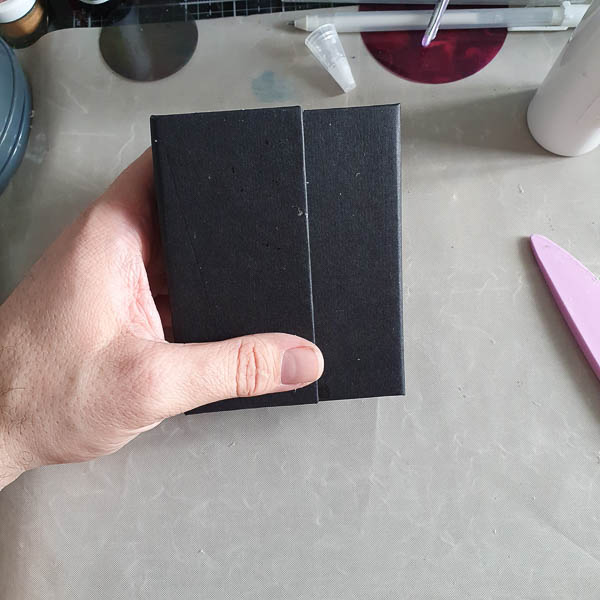
The Steps in creating “The Den”
(click on the first image to view as a slideshow)


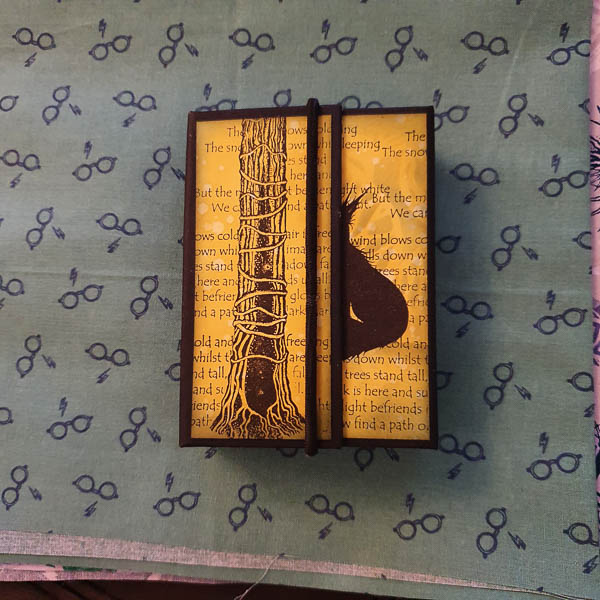
I hope that this was easy to follow, and you enjoyed it.
Have a fairytastic day.
Tom xx