


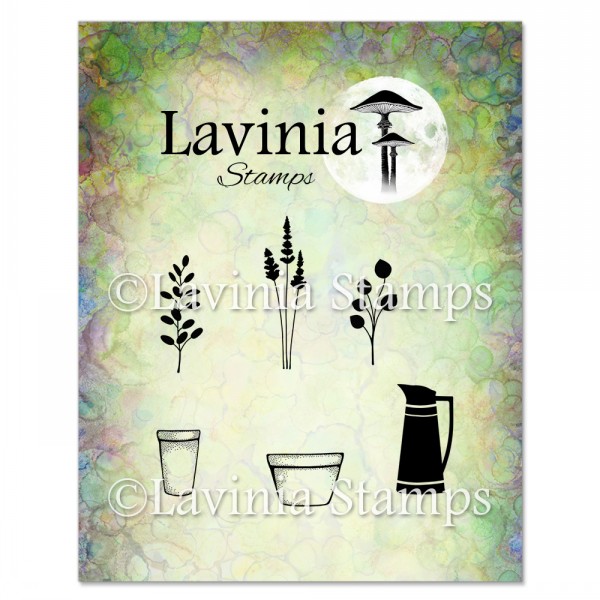
 Flower Pots Stamp
£6.20
Add to cart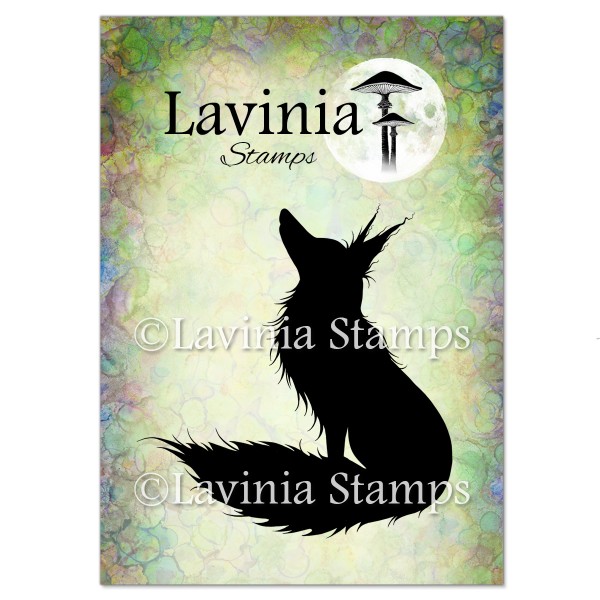 Rufus Stamp
£7.20
Add to cart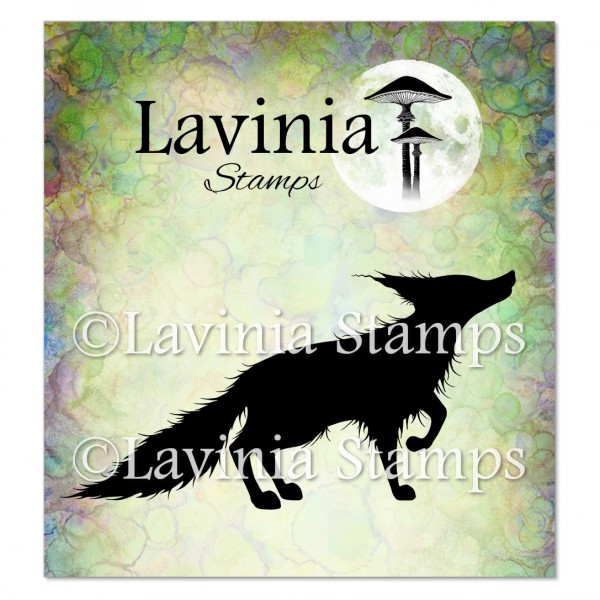 Bandit Stamp
£7.20
Add to cart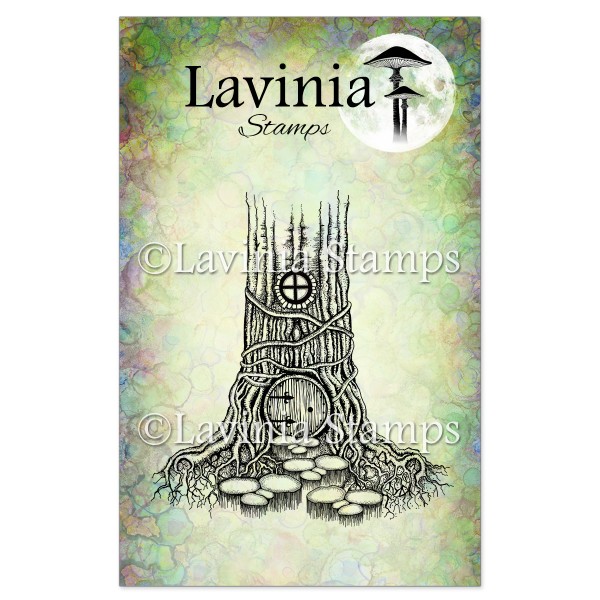 Druid’s Inn Stamp
£13.80
Add to cart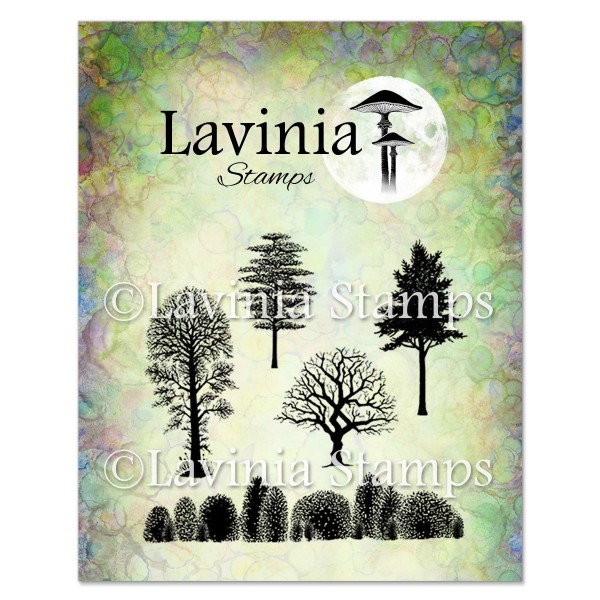 Tree Scene Stamp
£8.30
Add to cart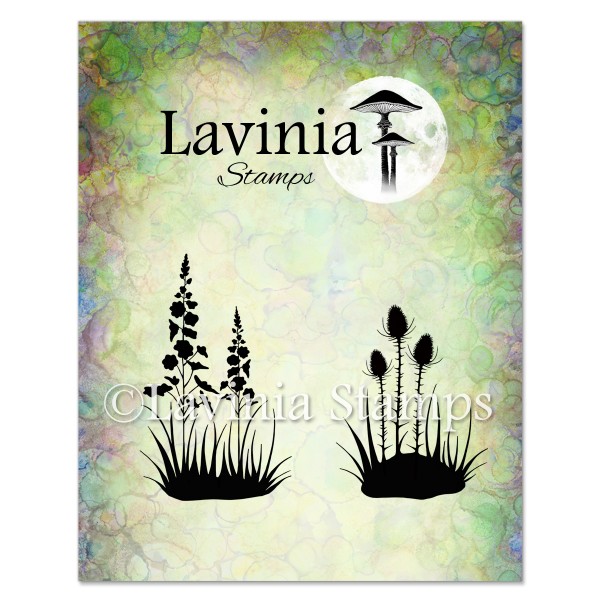 Silhouette Foliage Set Stamp
£7.20
Add to cart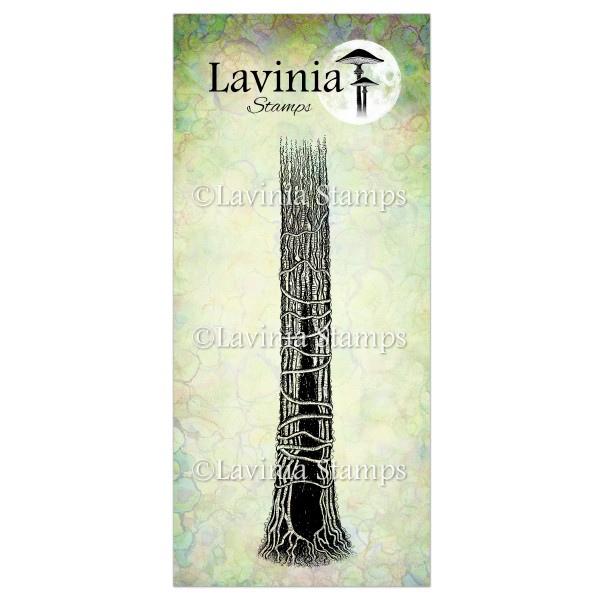 Tree Den Stamp
£8.20
Add to cart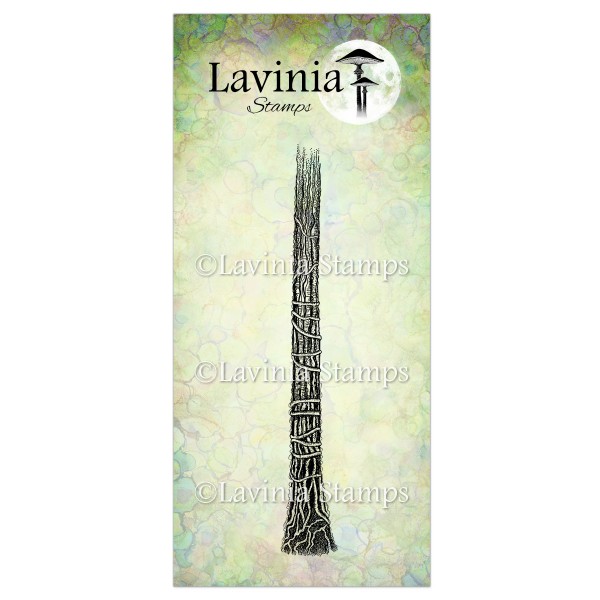 Tree Stem Stamp
£7.60
Add to cart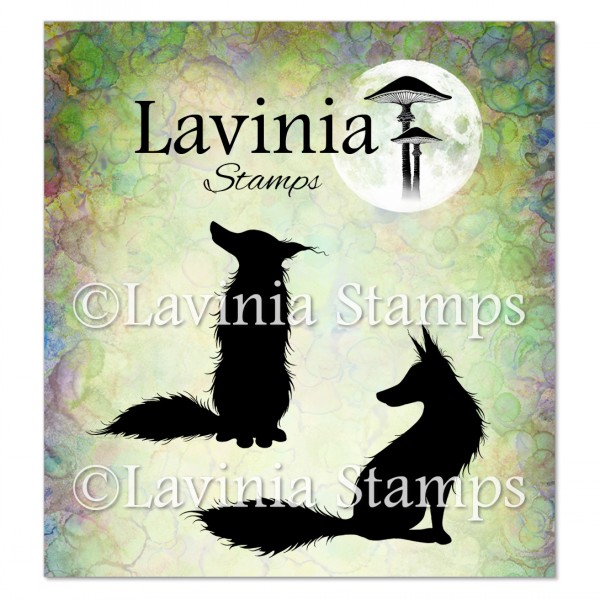 Fox Set 2 Stamp
£7.90
Add to cart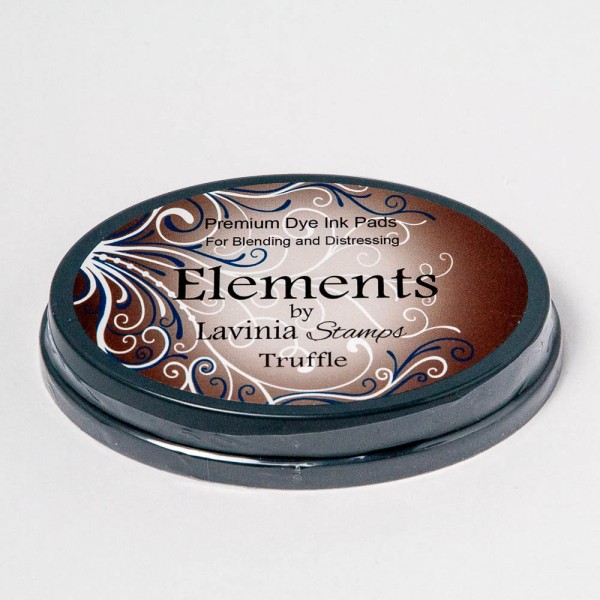 Elements Premium Dye Ink – Truffle
£5.85
Add to cart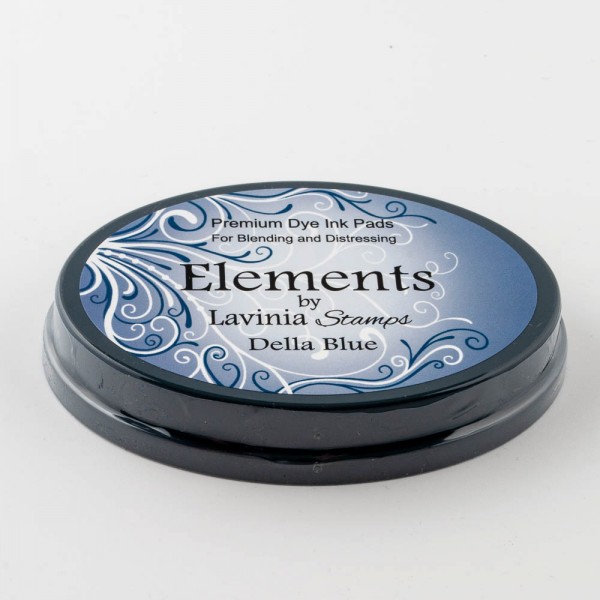 Elements Premium Dye Ink – Della Blue
£5.85
Add to cart Elements Premium Dye Ink – Dark Denim
£5.85
Add to cart Versafine Clair Ink Pad – Nocturne
£5.80
Add to cart Versafine Clair Ink Pad – Rain Forest
£5.80
Add to cart Versafine Clair Ink Pad – Fallen Leaves
£5.80
Add to cart Versafine Clair Ink Pad – Shady Lane
£5.80
Add to cart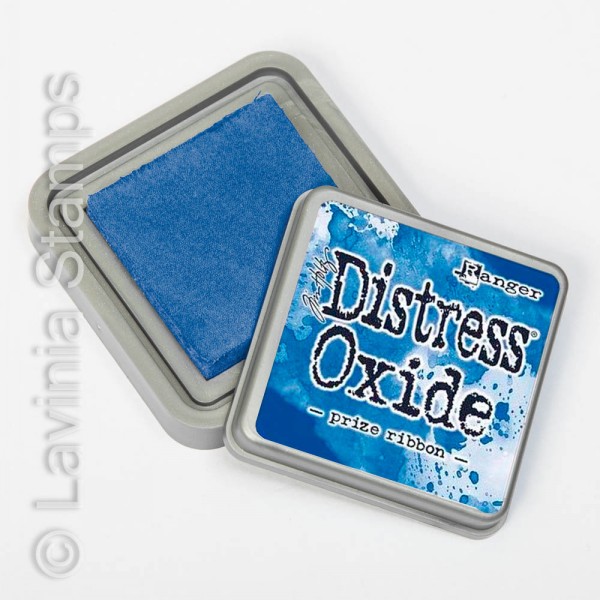 Distress Oxide Ink Pad – Prize Ribbon
£6.25
Add to cart