Step by Step by Leesa Magical Maker!
Hi everyone, its Leesa back with another quick tutorial.
I’ve called this one Christmas Flurry. It’s a shame you can’t see all the twinkles and glitter, but you will once you have a play and make your own. I love seeing your makes… So let’s create! 🙂
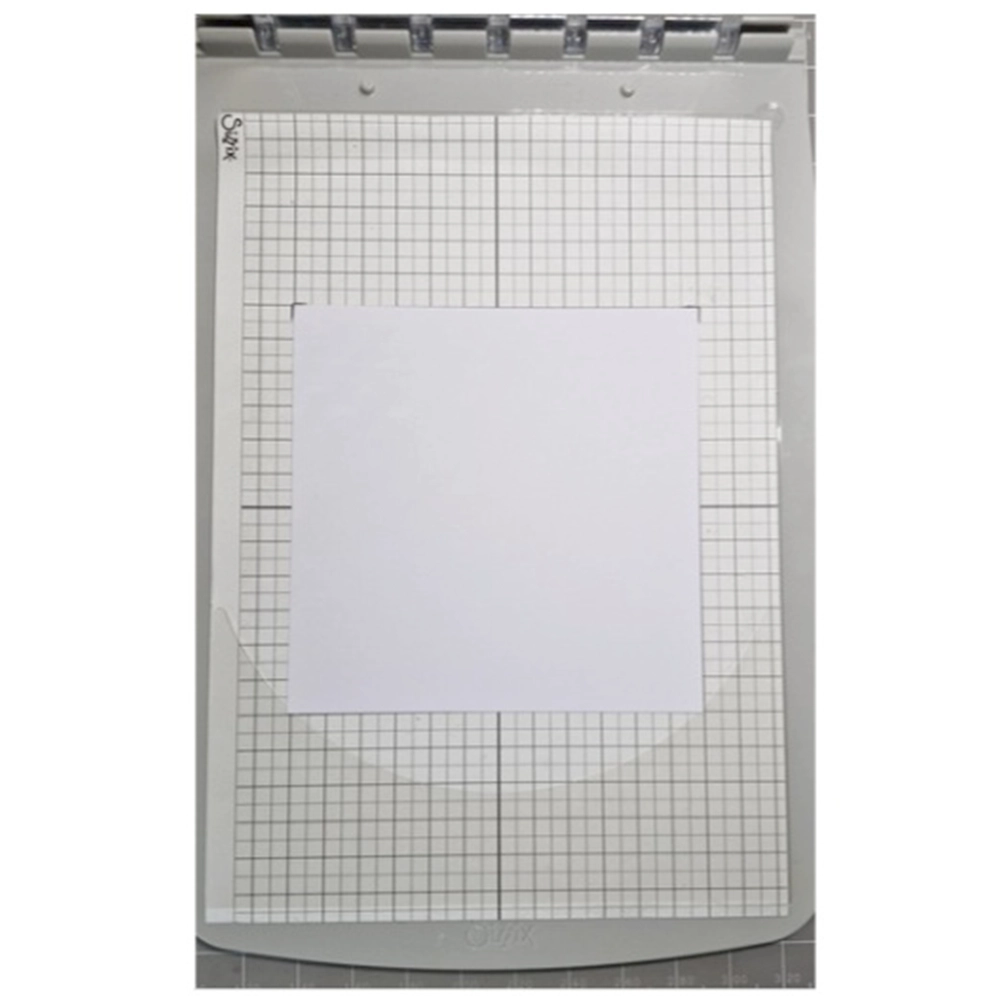
Picture 1
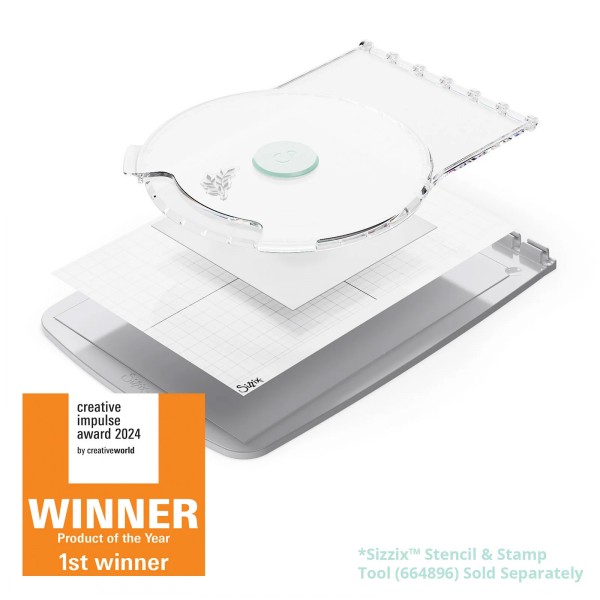
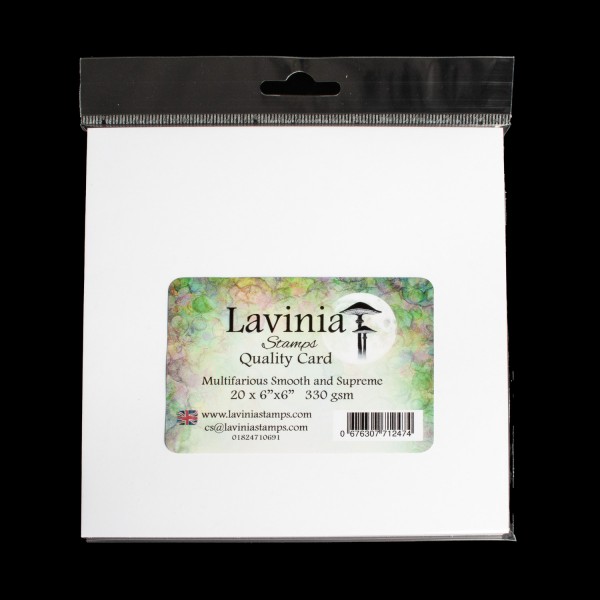
I have used the Sizzix Stamp and Spin tool with a 6” x 6” white multifarious card. Make sure you check the placement and do a test spin with no ink. This way you can check if it will connect with the card on all sides. I have marked the paper to show my placement. Depending on how you have put the sheet on will depend on your centre, so please check.
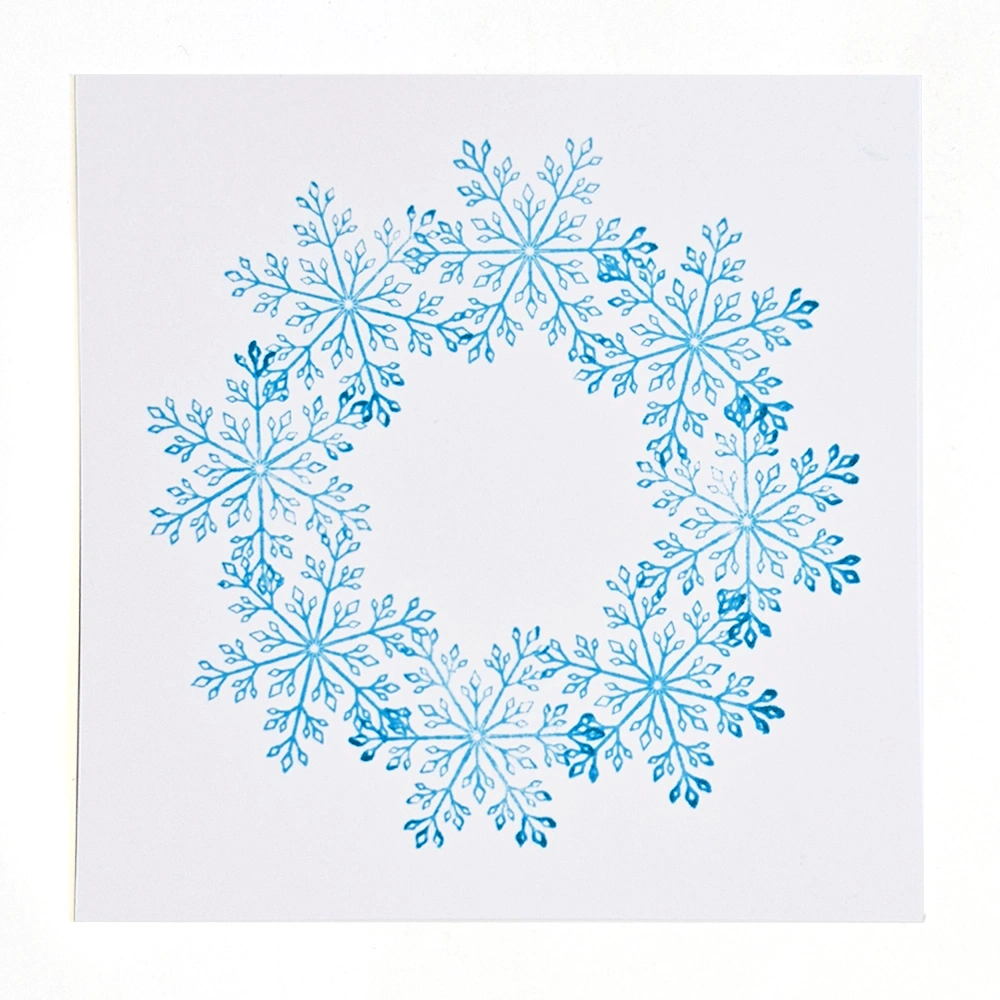
Picture 2
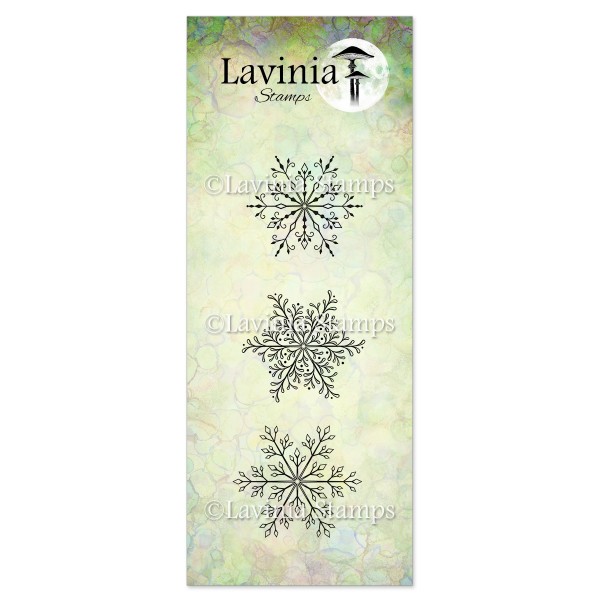
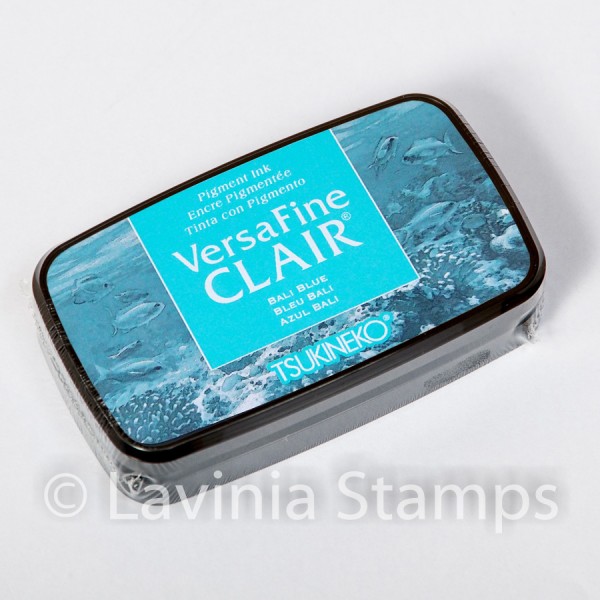
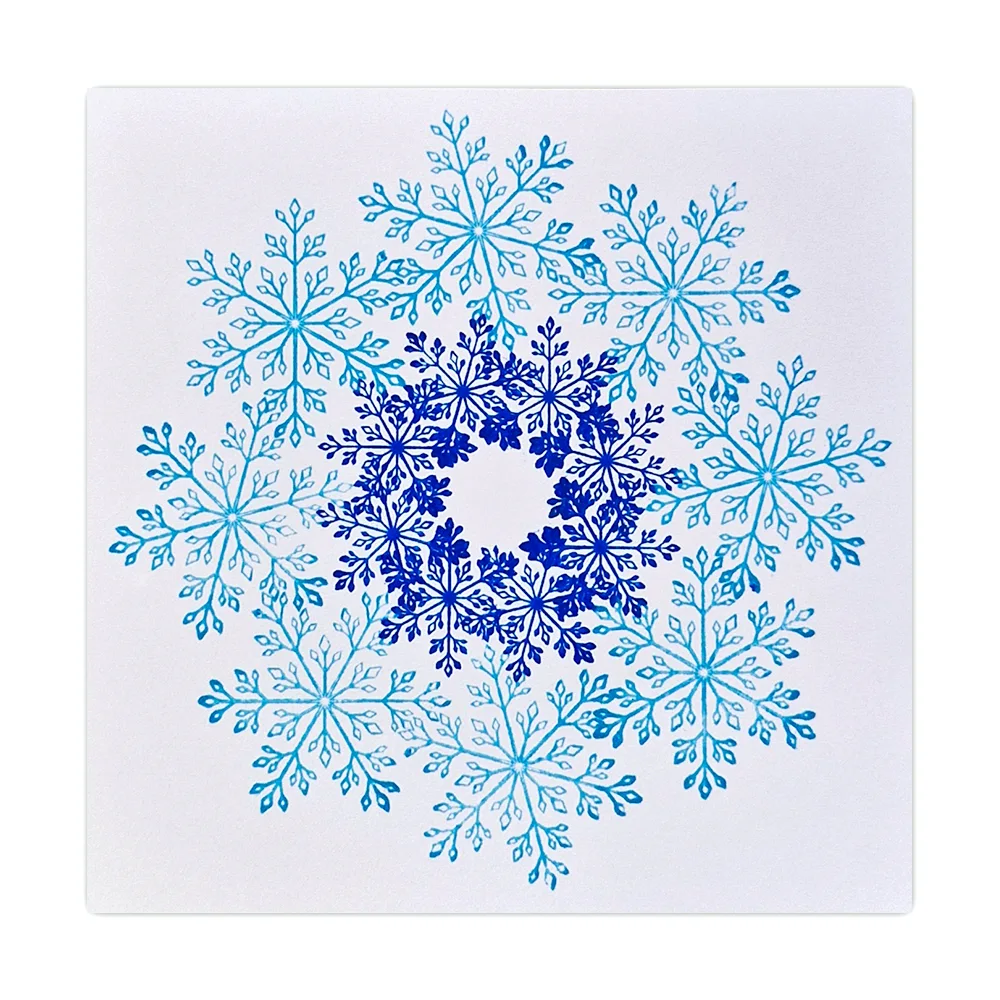
Stamp Large Snowflake LAV842 with Versafine Clair Bali Blue. Make sure you take your time and press firmly on each print of the stamp. Eight of these snowflakes fit nicely together in a circle. Stamp your first snowflake, re-ink and reposition and stamp again. Do this until you have completed your circle.
Picture 3
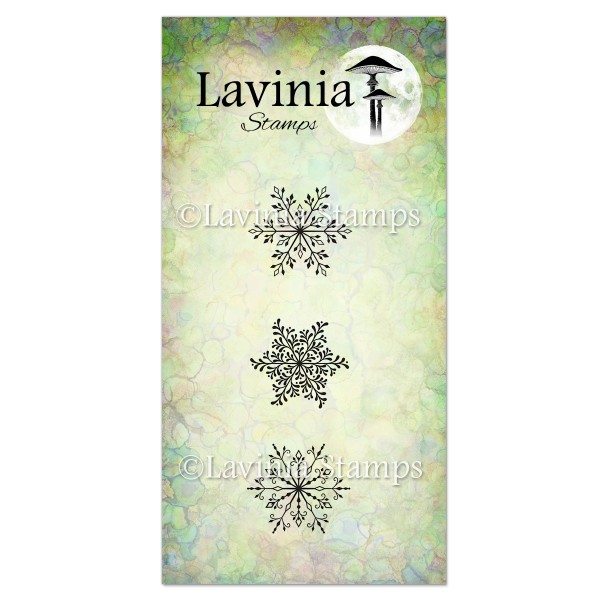
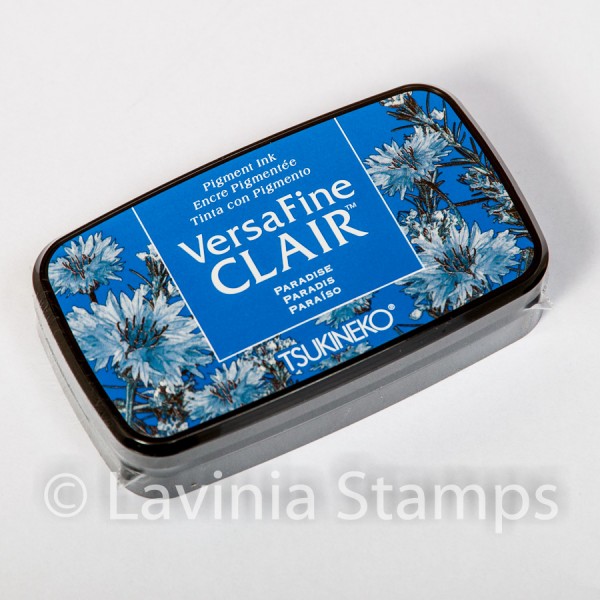
Stamp Medium Snowflake LAV843 in Versafine Clair Paradise to give some depth to the creation. You can choose where to place your snowflakes to give you a unique design.
Picture 4
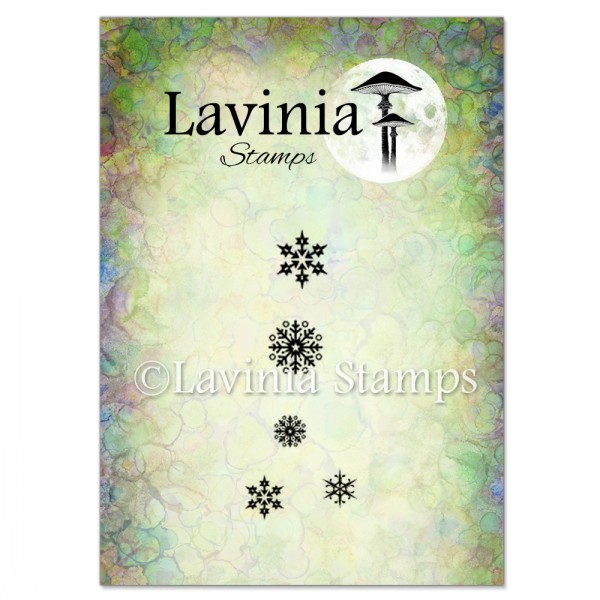
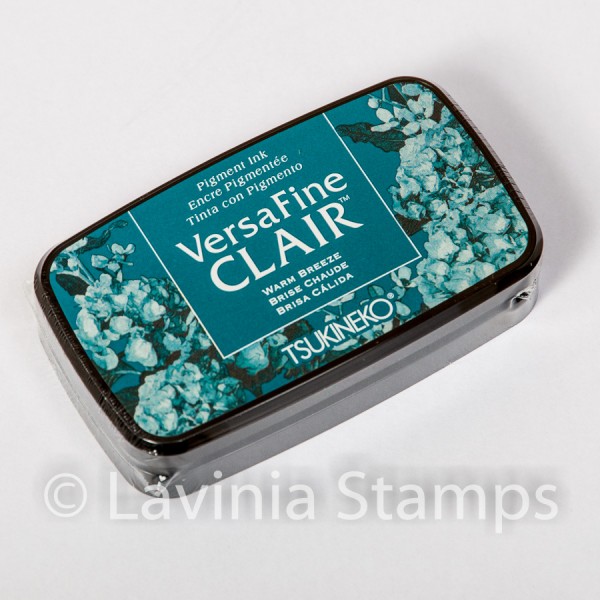
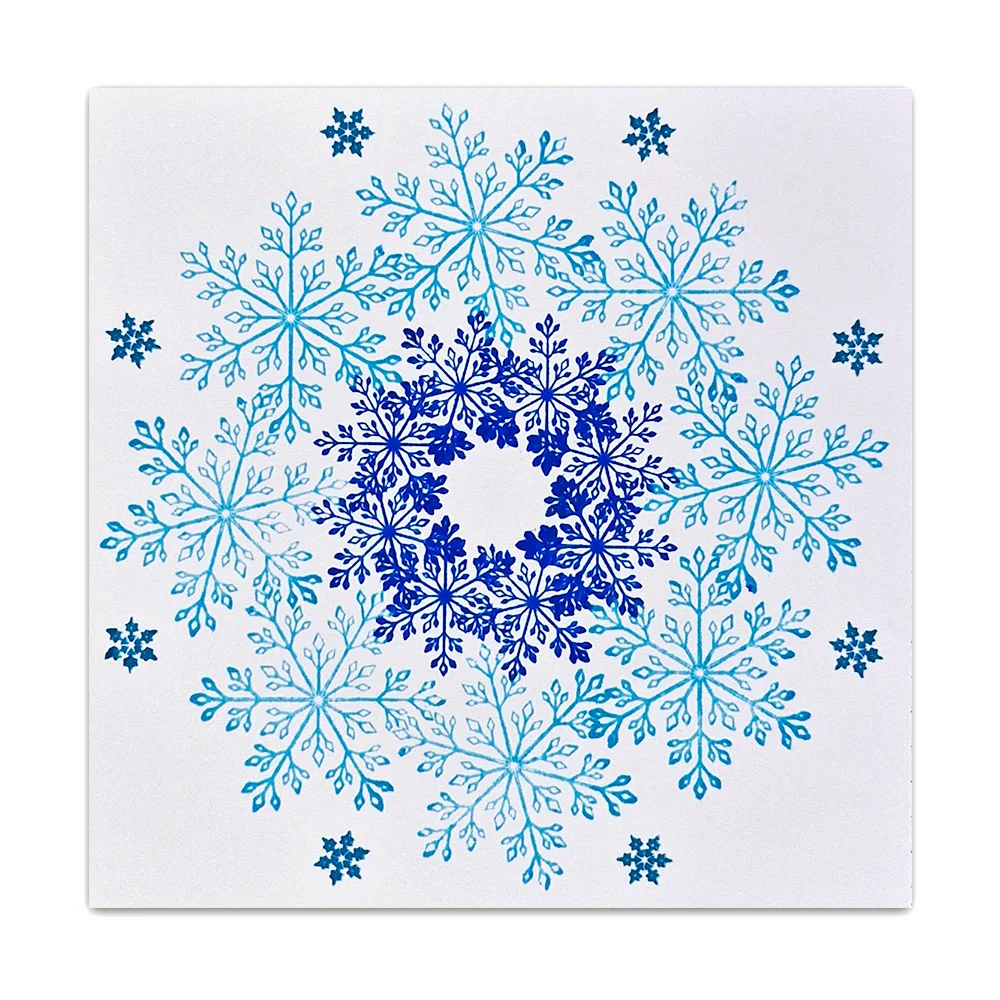
Stamp the smallest of the Snowflakes LAV206 around the outside of the wreath in Versafine Clair Warm Breeze.
Picture 5
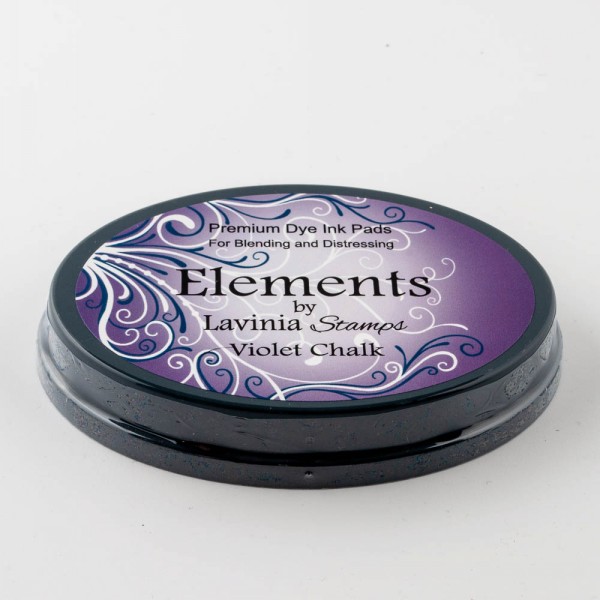
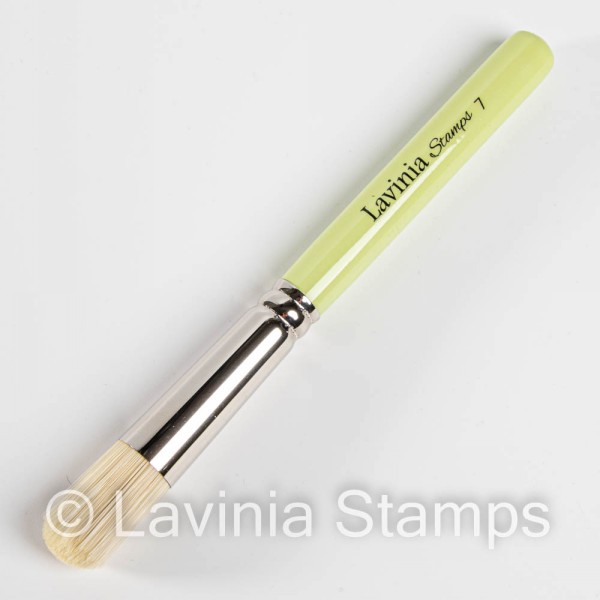
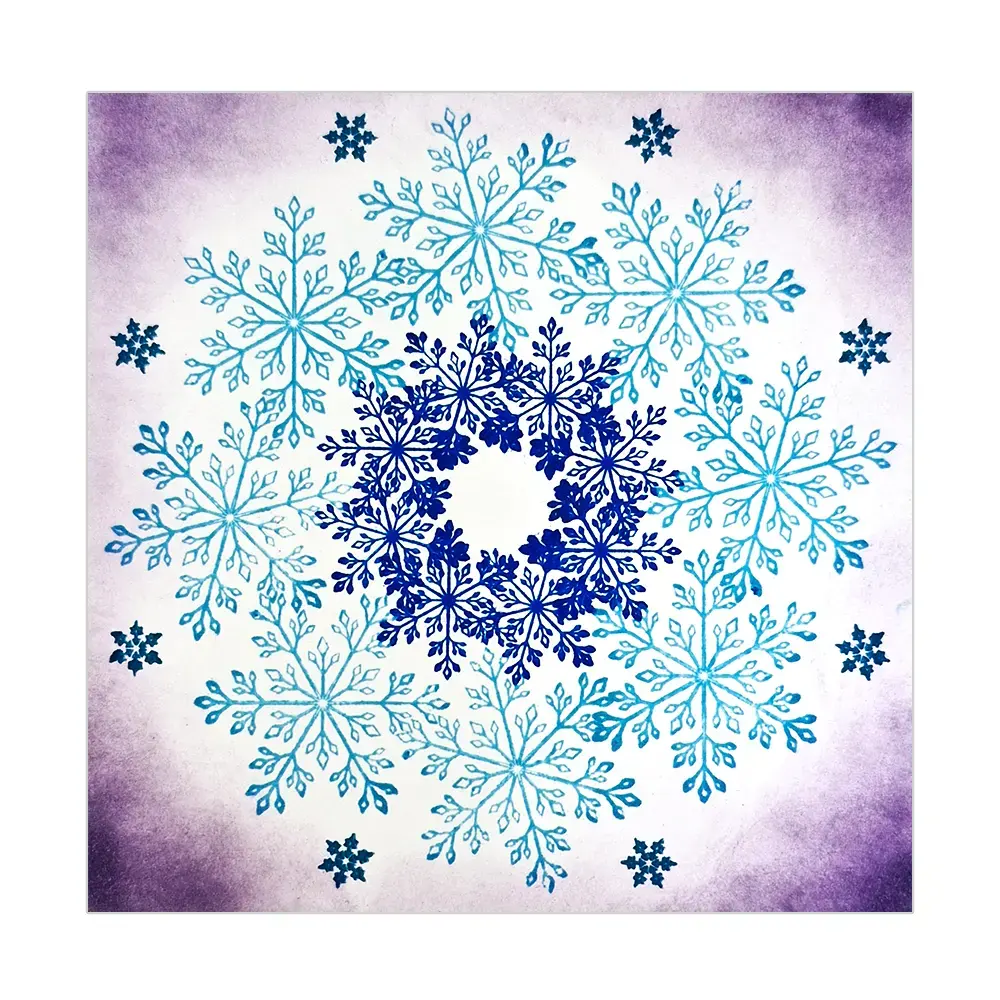
Now for the fun bit, use a stencil brush series 7 and gently blend Elements ink Violet Chalk around the card edges. Allowing the colour to be darker in the outer corners.
Picture 6
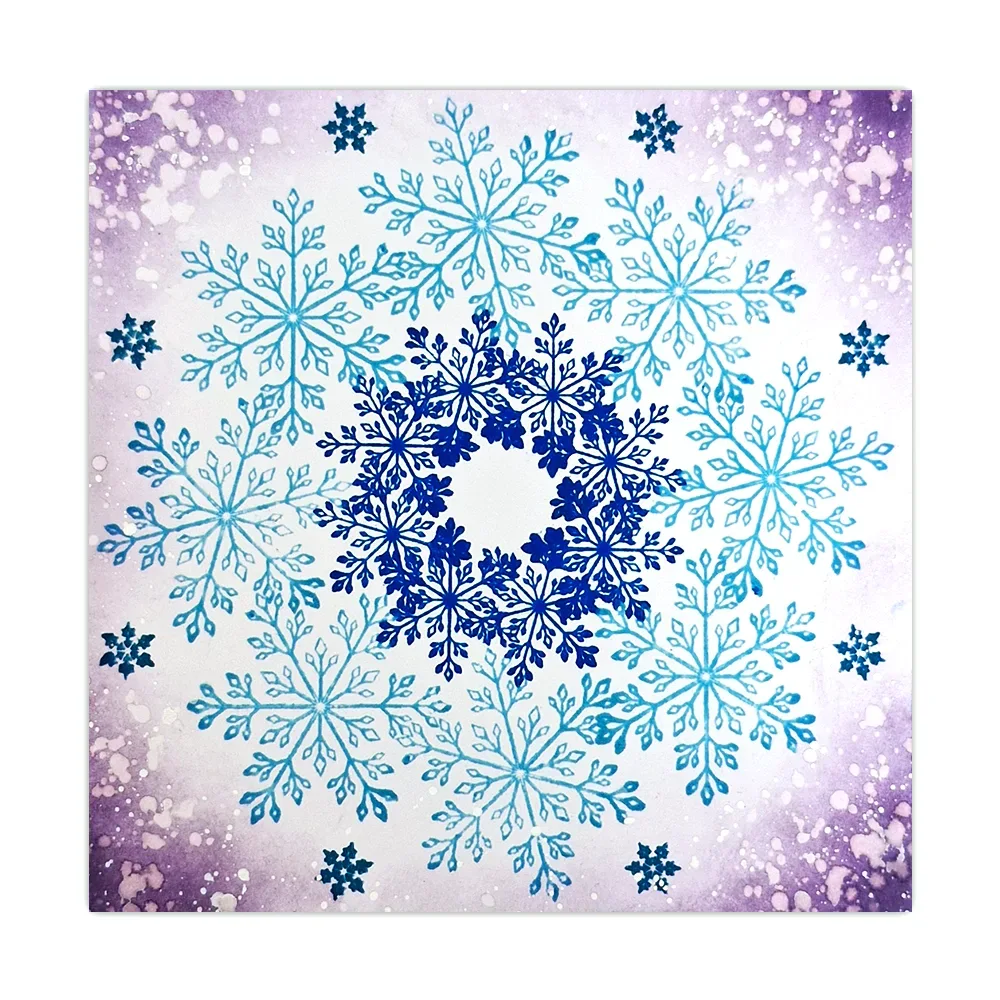
My favourite part, water splats! I love to add plenty of water, but if you’re not confident just do a bit at a time. Use a fan brush to apply some clean water and a paper towel to dab and take the water off. Remember to fully dry between applications.

Picture 7
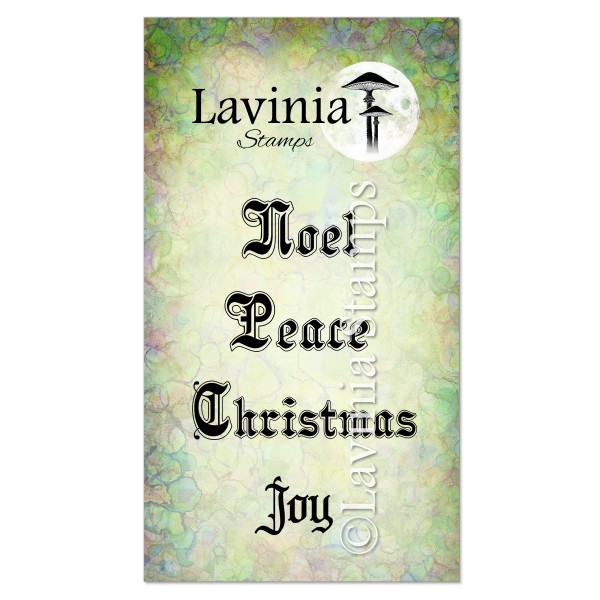
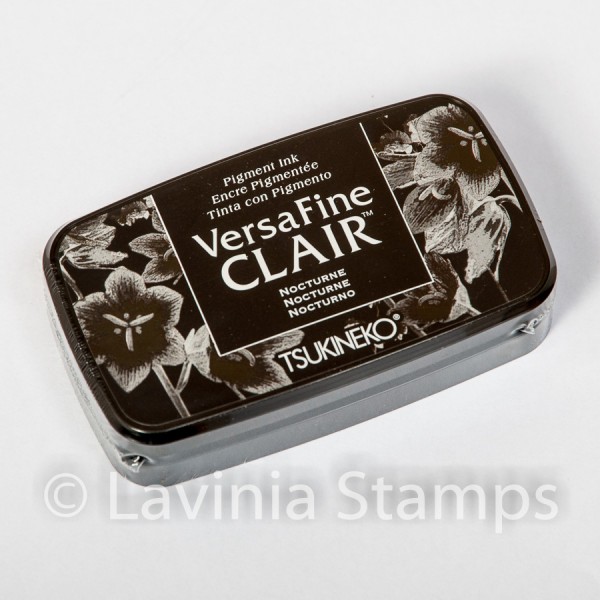
I decided to add some wording. Stamp Christmas from the Seasonal Words LAV838 stamp set in Versafine Clair Nocturne. Then use the corner punch to round the edges to give a nice clean finish and add some foam pads then stick this in position.

Picture 8
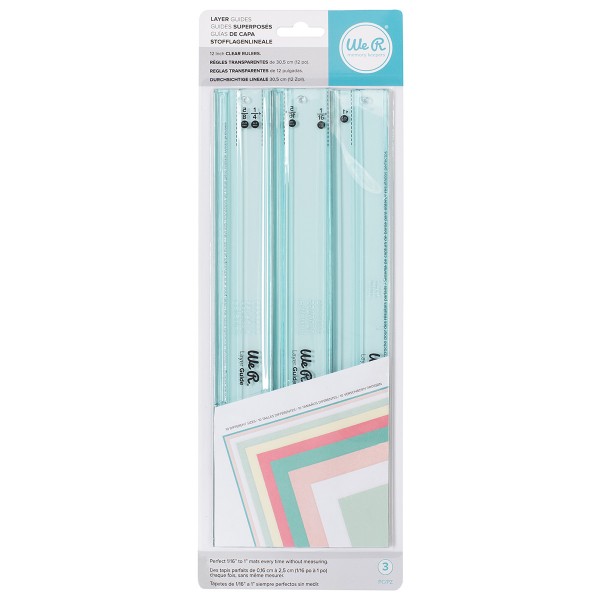
Use the We R Memory Layer Rules for mat and layering. I used a card colour I used in the card as this would compliment the design. Once this has been done, then add any glitter and liquid pearls if you’re adding to the card.

Picture 9
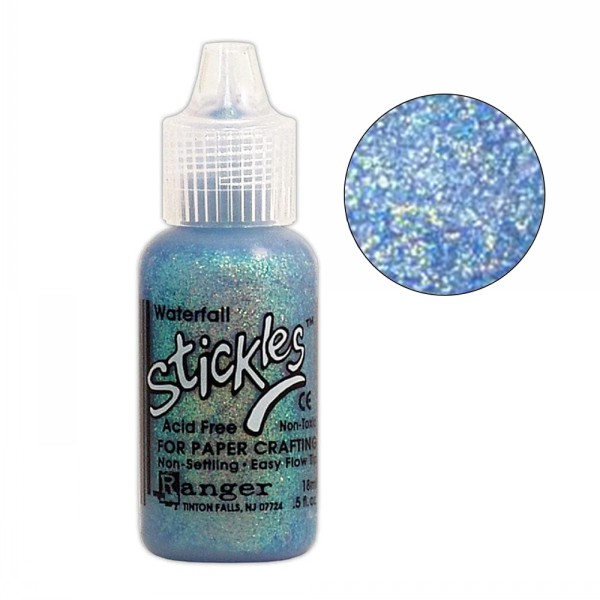
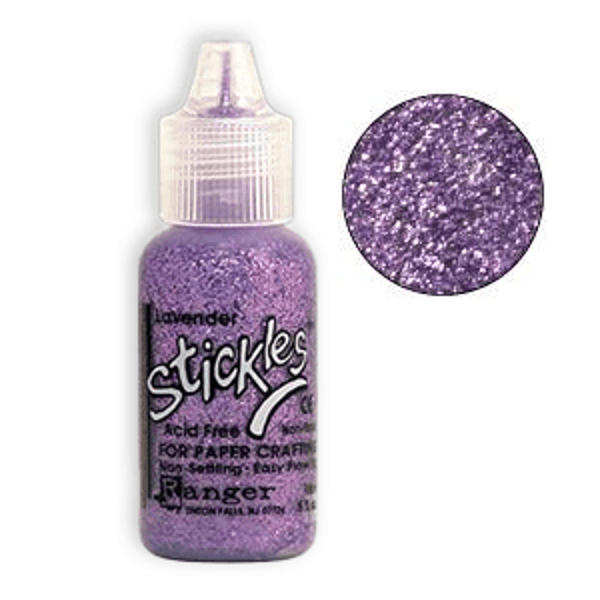
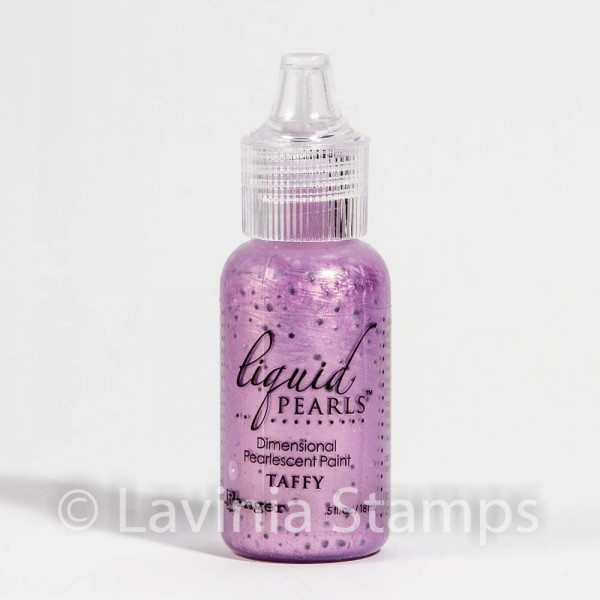
For the finishing touches I added Stickles Waterfall and Lavender, even though you can never see on a picture this was very sparkly. I then decided to add in the snowflake centre some liquid pearls. I used liquid pearls Taffy as this light pinkie purple went well with the colours. Go as wild as you like with the glitter as the card needs sparkle. Snowflakes always sparkle!
So, we have finished the make, hope you like your version. I can’t wait to see the colours you have used and where you decide to place your stamps. Don’t forget the sparkle!
Have fun everyone and see you all soon.
Hugs Leesa 🙂


