Christmas Buddies
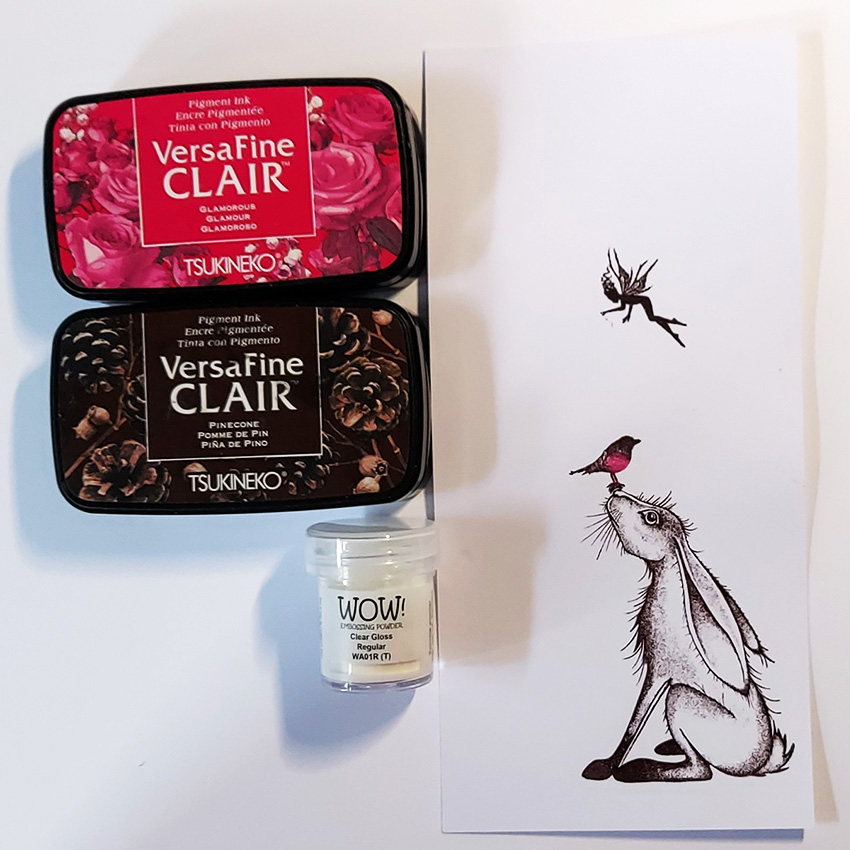
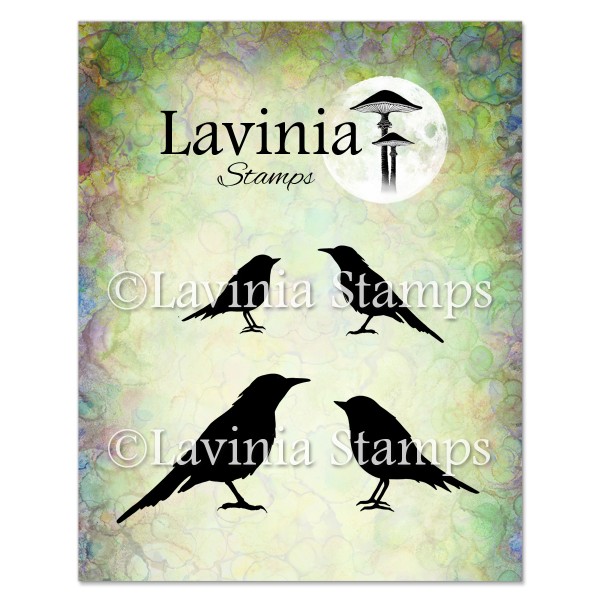
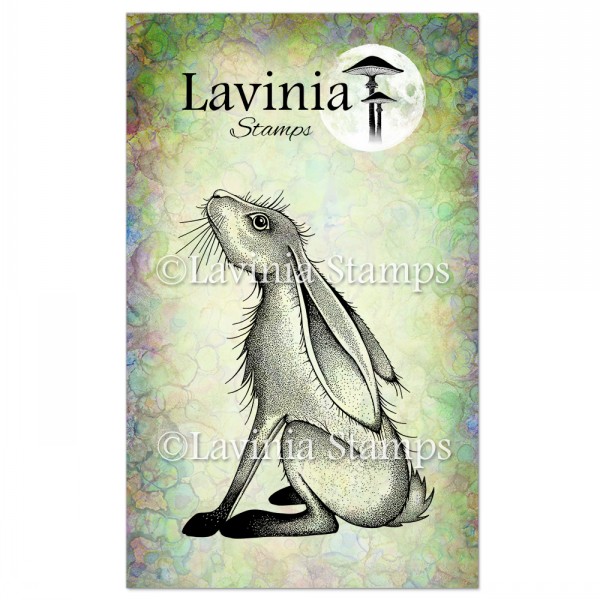
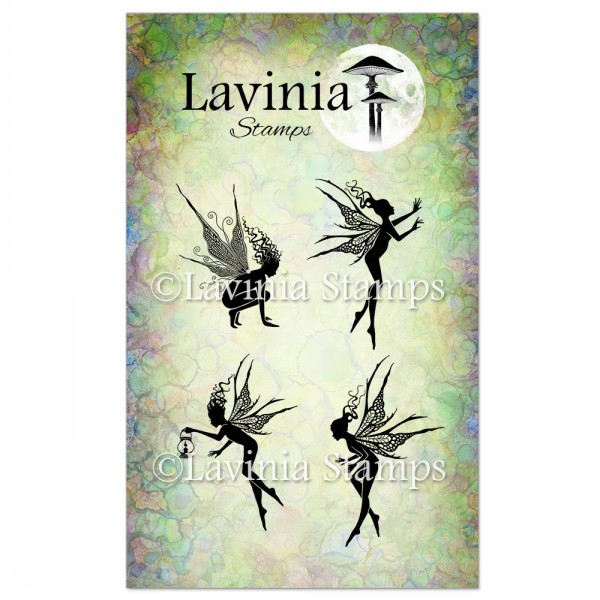
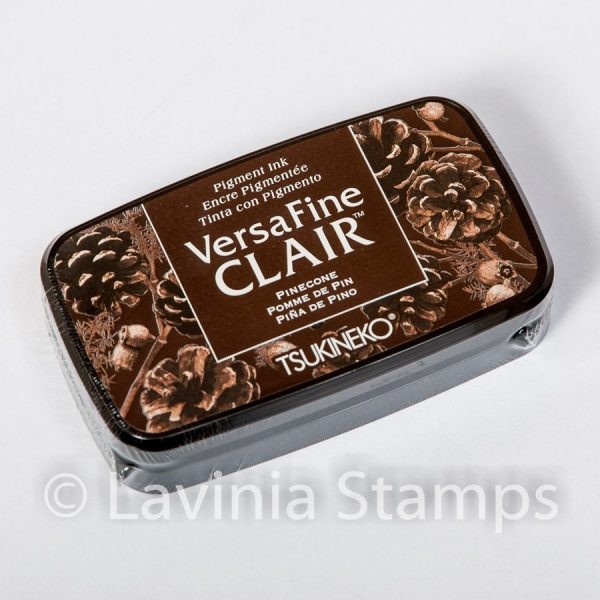
- First stamp Lupin on some DL Multifarious card and perch a robin from the Bird Collection and one of the Fairy Foragers using Versafine Clair Pinecone. Add some Versafine Clair Glamorous for the breast of the bird.
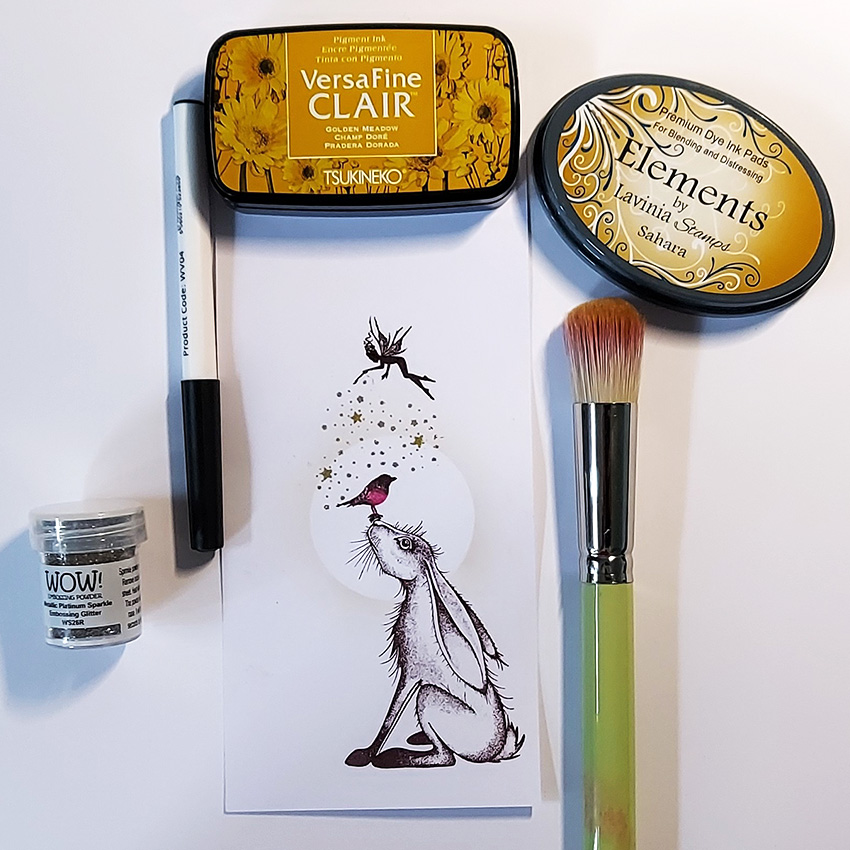
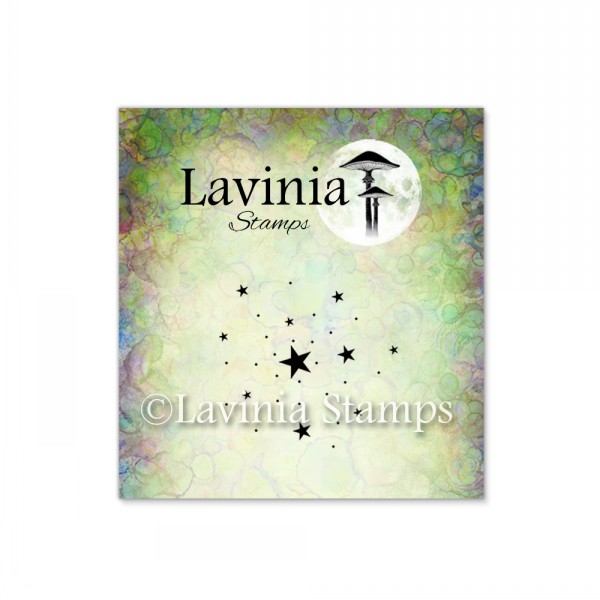
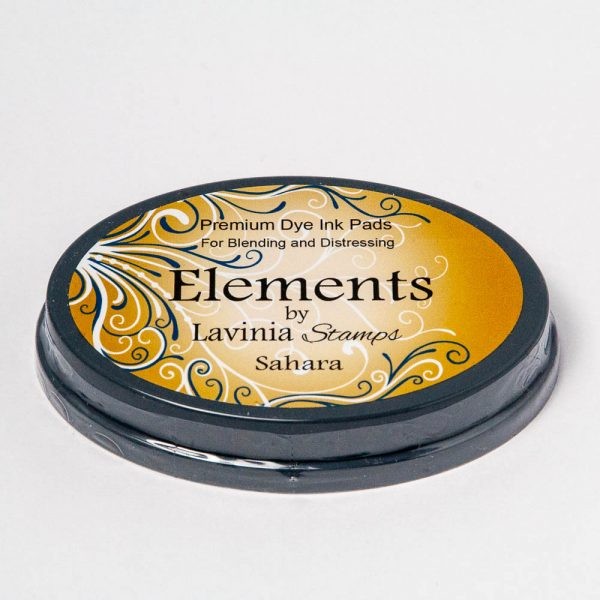
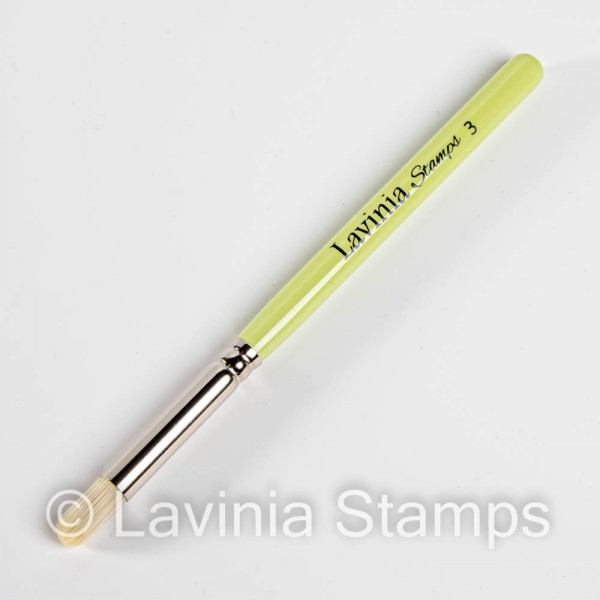
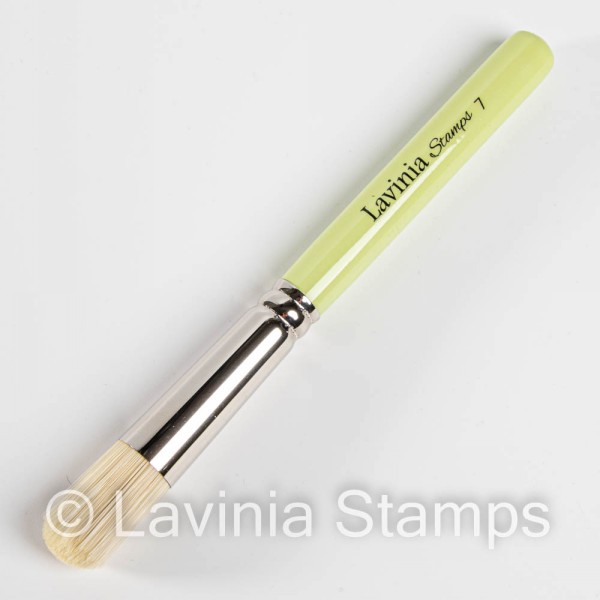
- Stamp some mini stars under the fairy and over Lupin. Use a Wow! Embossing pen over the stars and fairy wings and add some WOW! Platinum sparkle embossing powder. Use a circle mask and create a spotlight round Lupin and the bird with a light touch of Elements Ink Sahara on a Lavinia Stamps Stencil brush series 9.
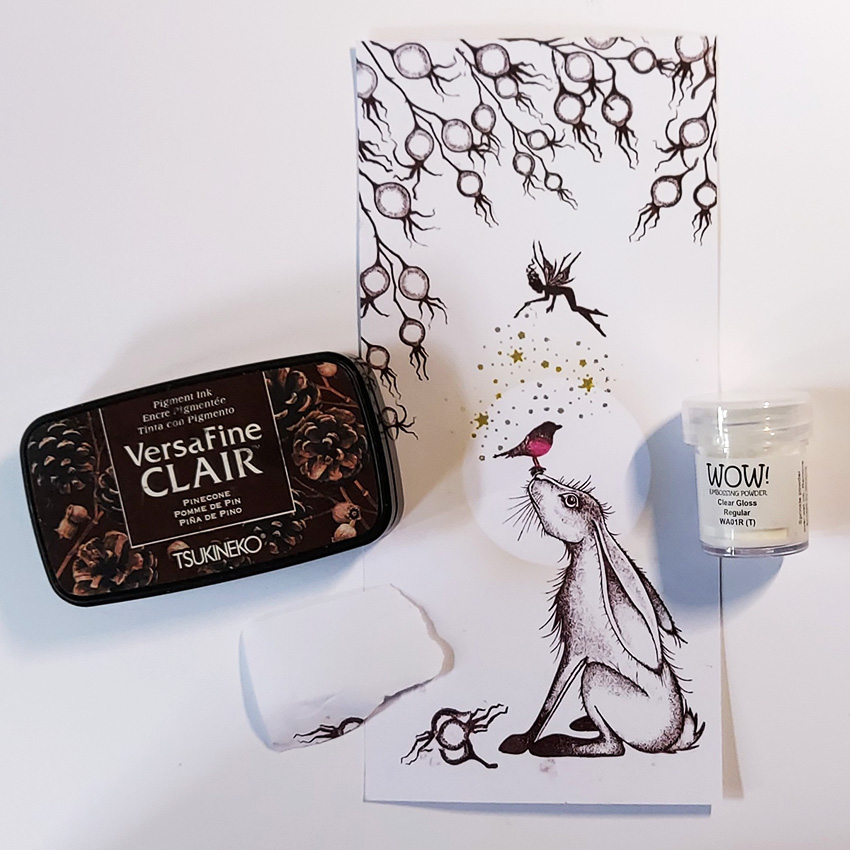
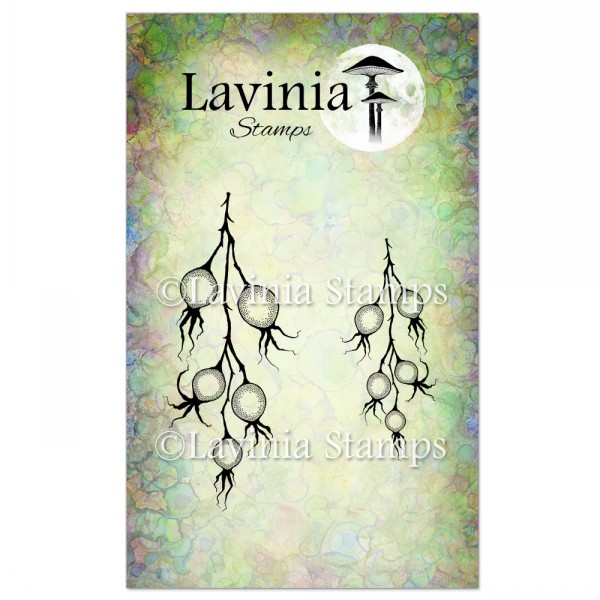
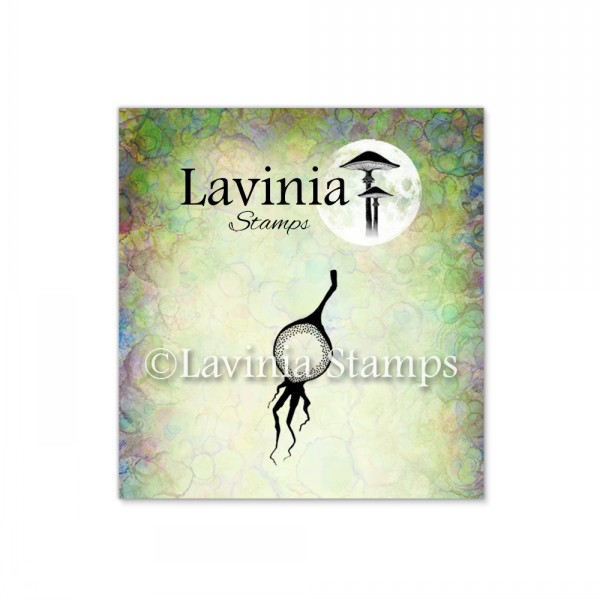
- Next stamp the Winter Berries stamp using Versafine Clair Pinecone and add some Clear Gloss Embossing Powder over the top. Use some torn paper to give the impression of berries piled near Lupin’s feet.
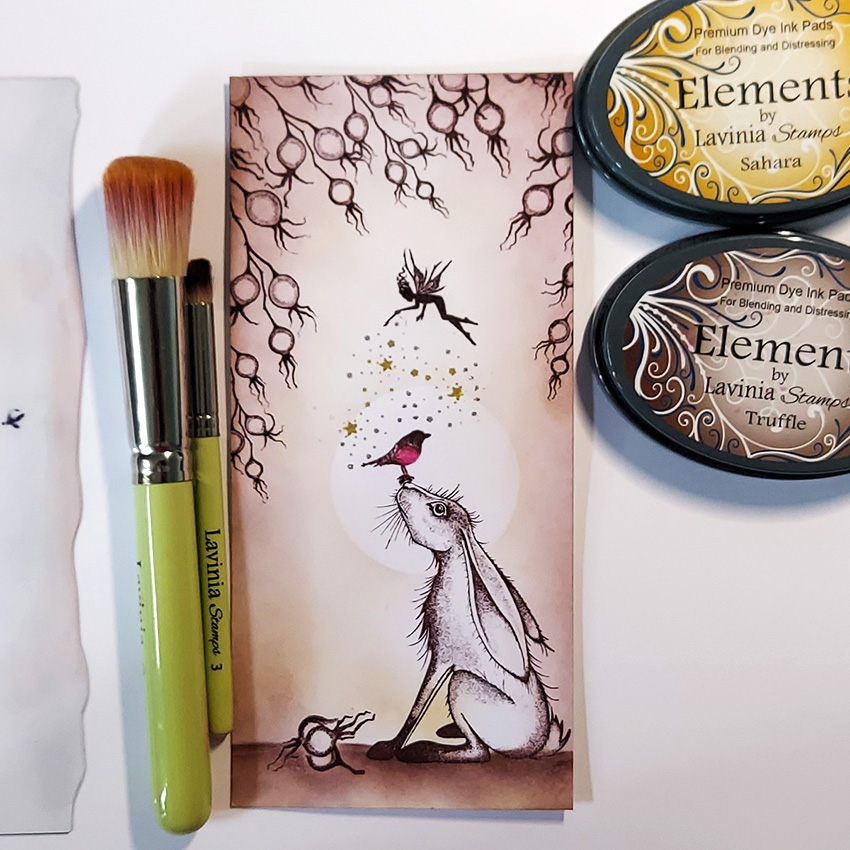
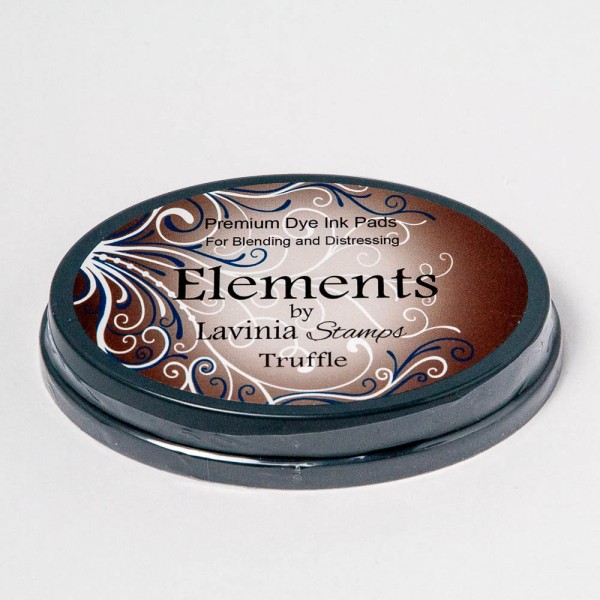
- Create the ground by blending around the edges of the card using Elements inks Truffle and Sahara with Stencil brushes size 3 and 9.
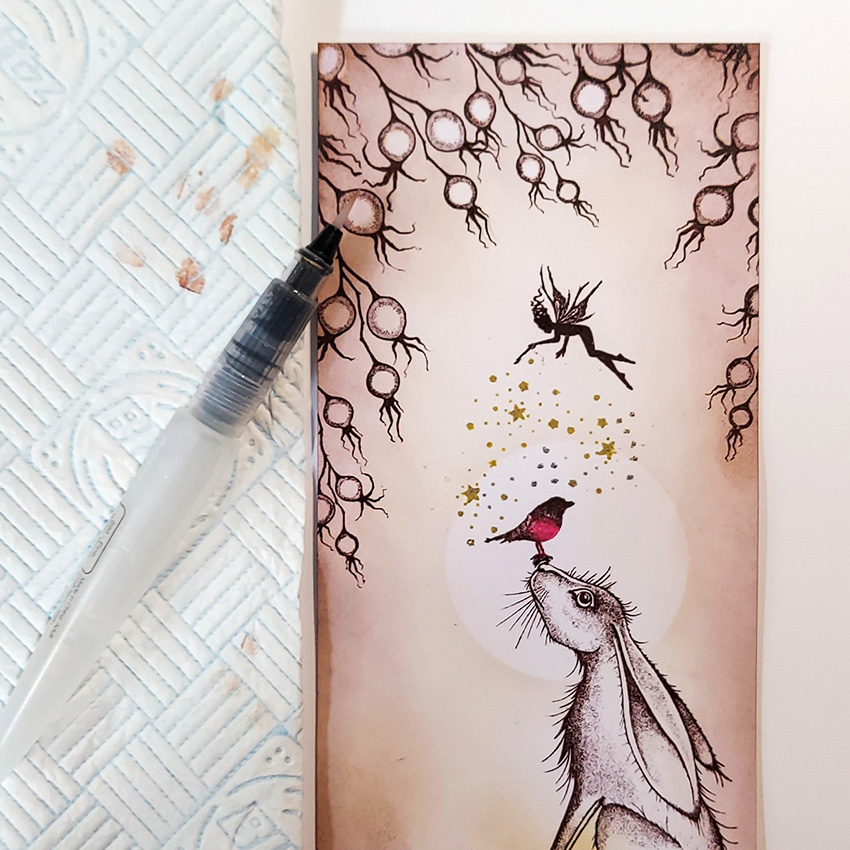
- Faux bleach the Elements ink Truffle by adding water to the middle of the berries using a water brush and then dabbing away with some paper kitchen towel. This will to enable us to add colour to them without tainting the colour.
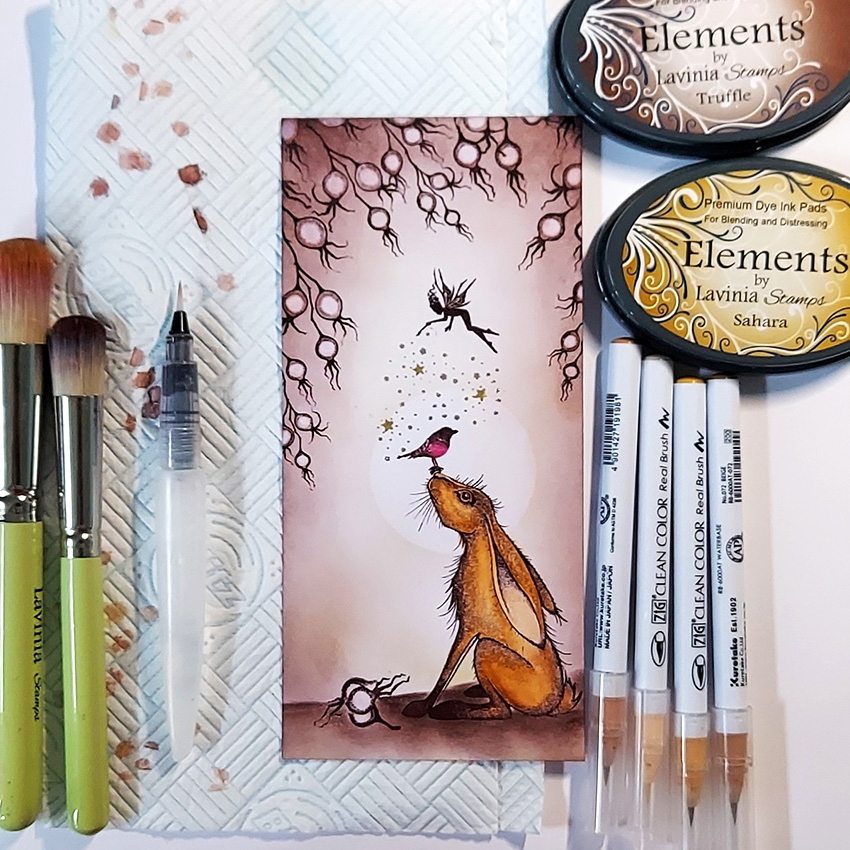
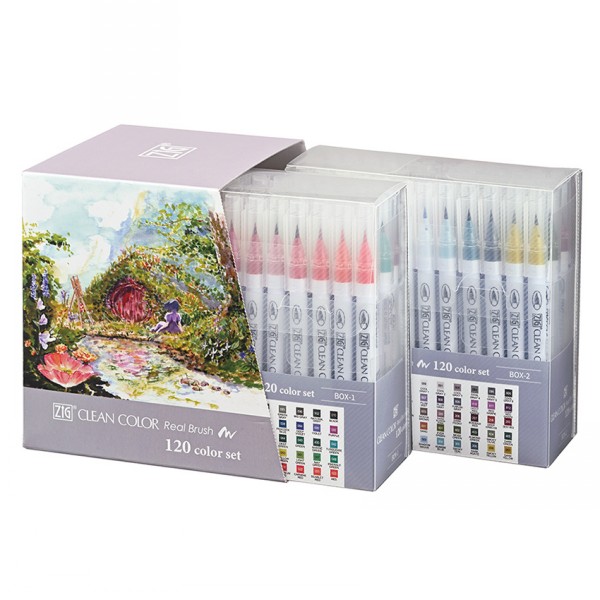
6. After faux bleaching colour Lupin using Kuretake Zig Clean Colour Real Brush pens. Also blend some more Elements inks into the body of the card.
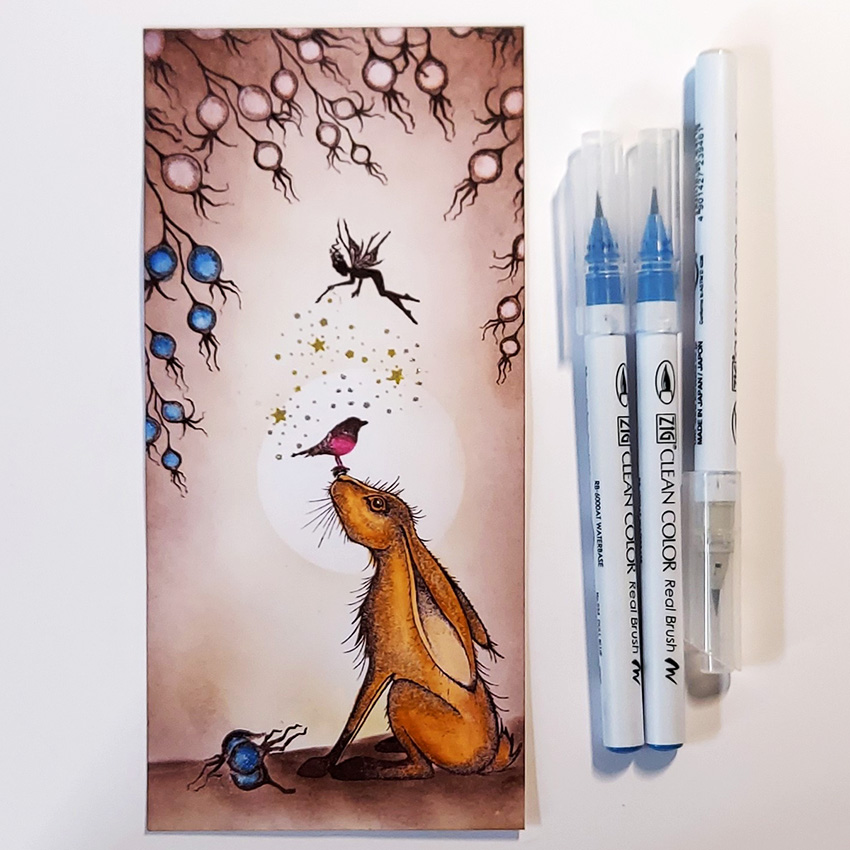
- Next use some Kuretake Zig Clean colour watercolour pens in blue hues for the Winter Berries.
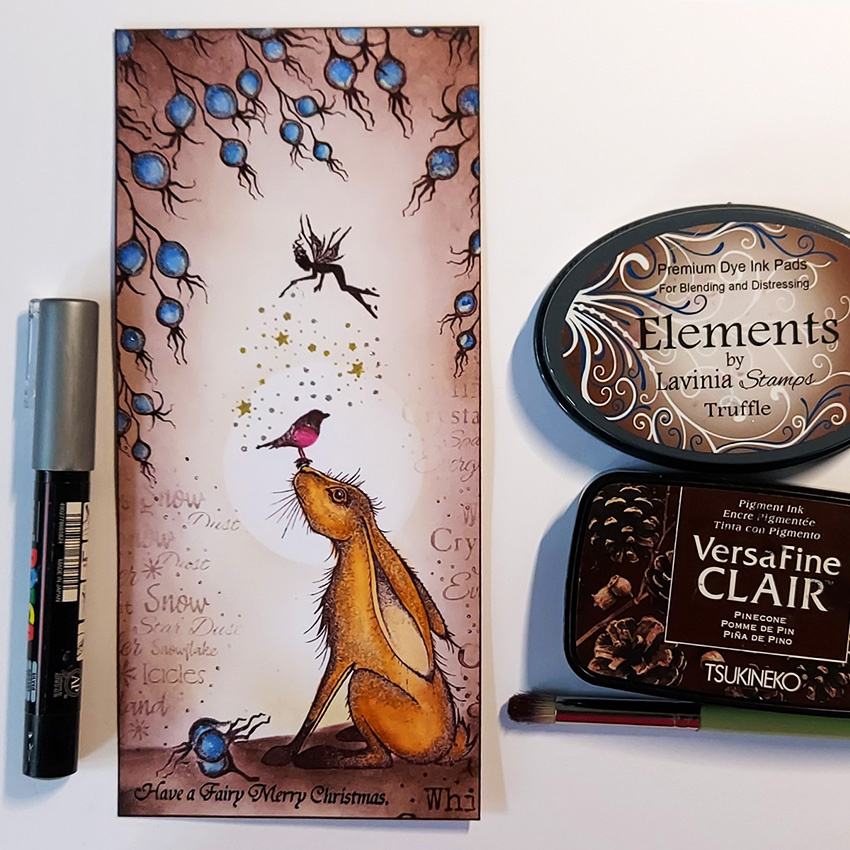
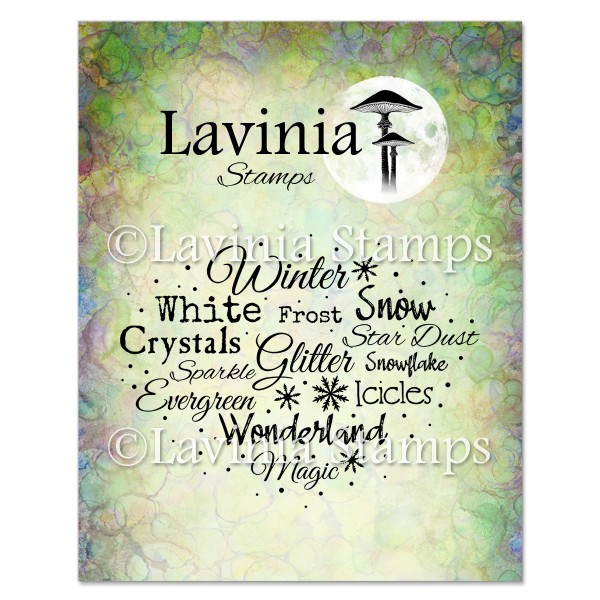
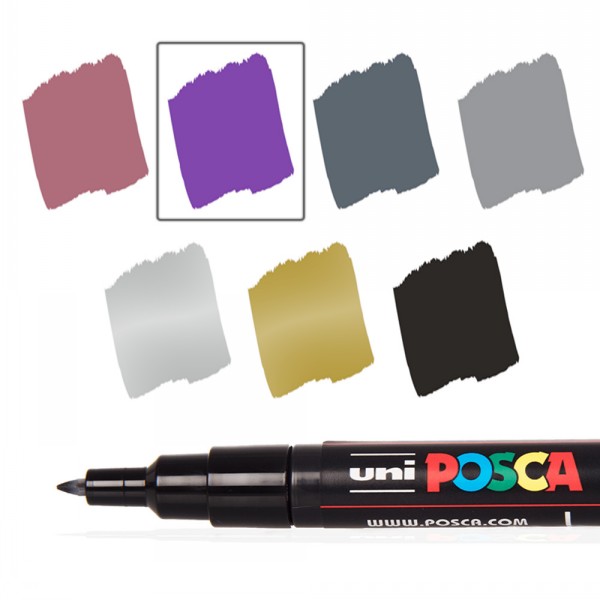
- Once the berries are coloured use a silver Posca pen for highlights on the berries. Next use Versafine Clair Pinecone to stamp the Winter Magic stamp around the edge.
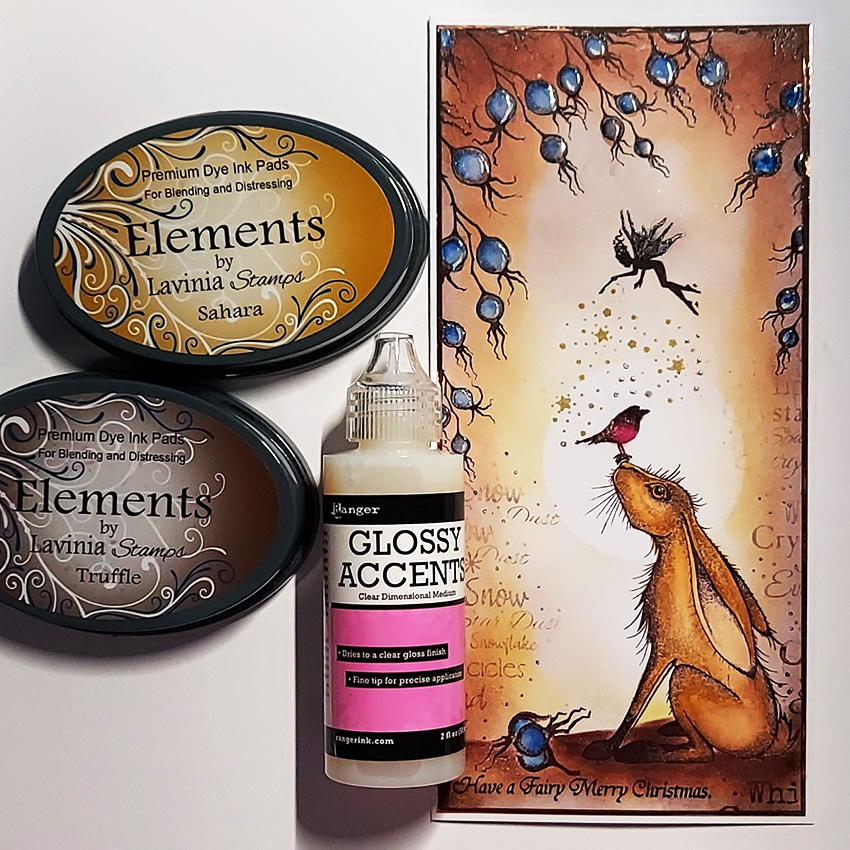
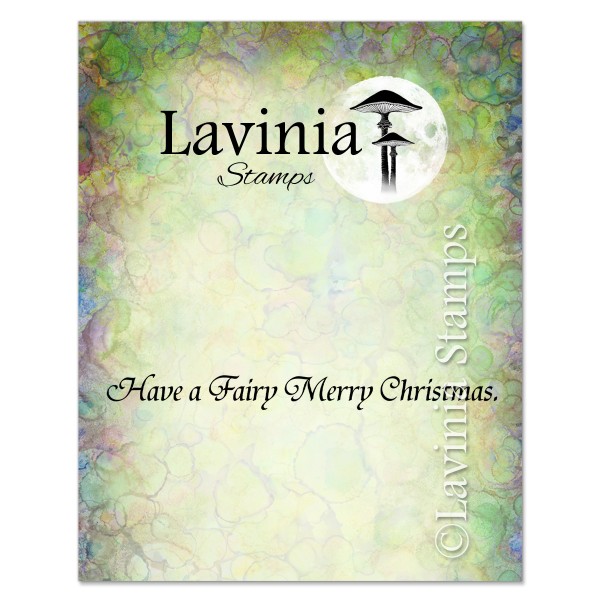
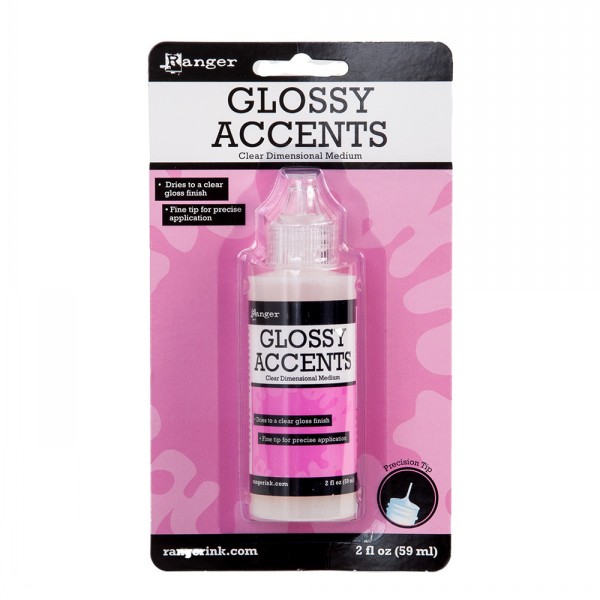
- Deepen the colour of the card using Elements inks Sahara and Truffle to add depth and make it warmer and use some Glossy Accents over the berries. Now stamp the Fairy Merry Christmas stamp using Versafine Clair Pinecone and add some Wow! Clear embossing powder. To finish mount the finished card on some copper coloured Mirri/metallic card and then onto a card base.
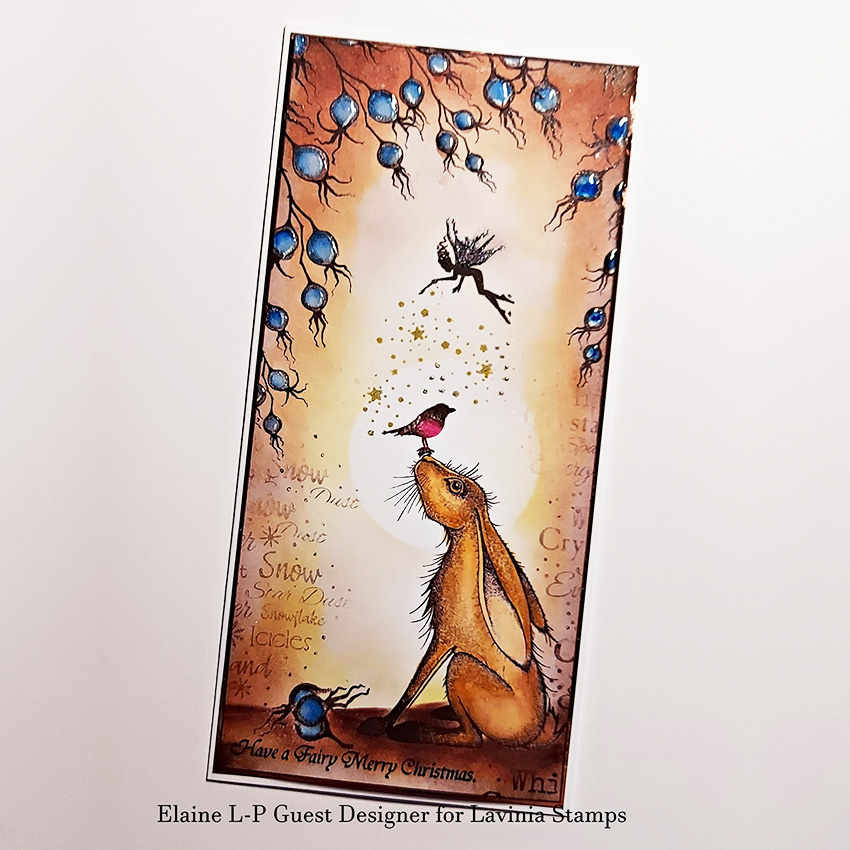
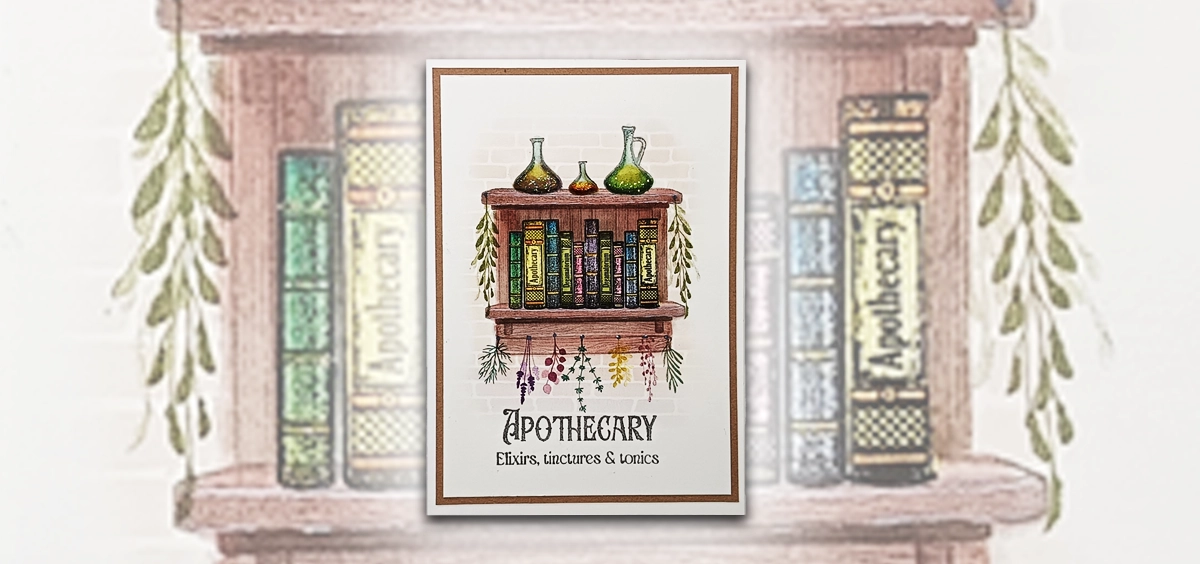
- The finished card. I do hope you have enjoyed my tutorial – fingers crossed!
Happy Crafting, Hugs Elaine xx


