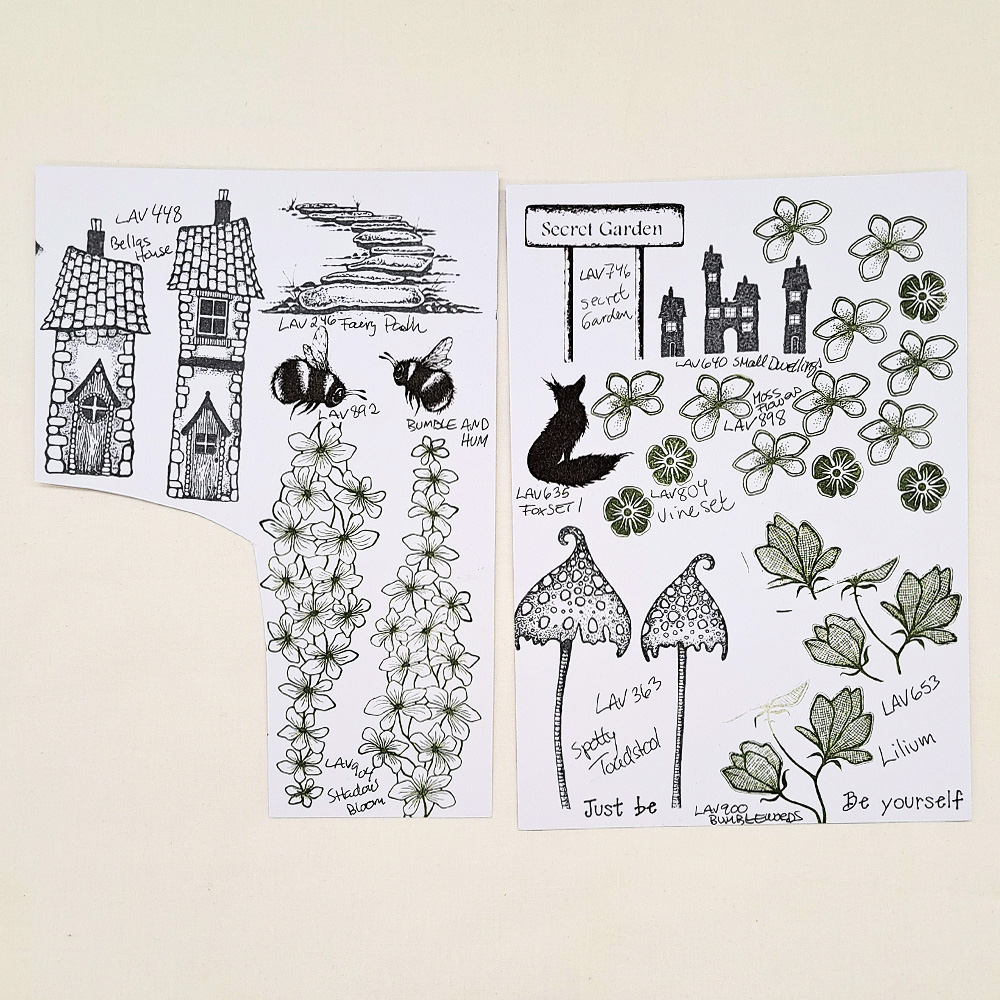
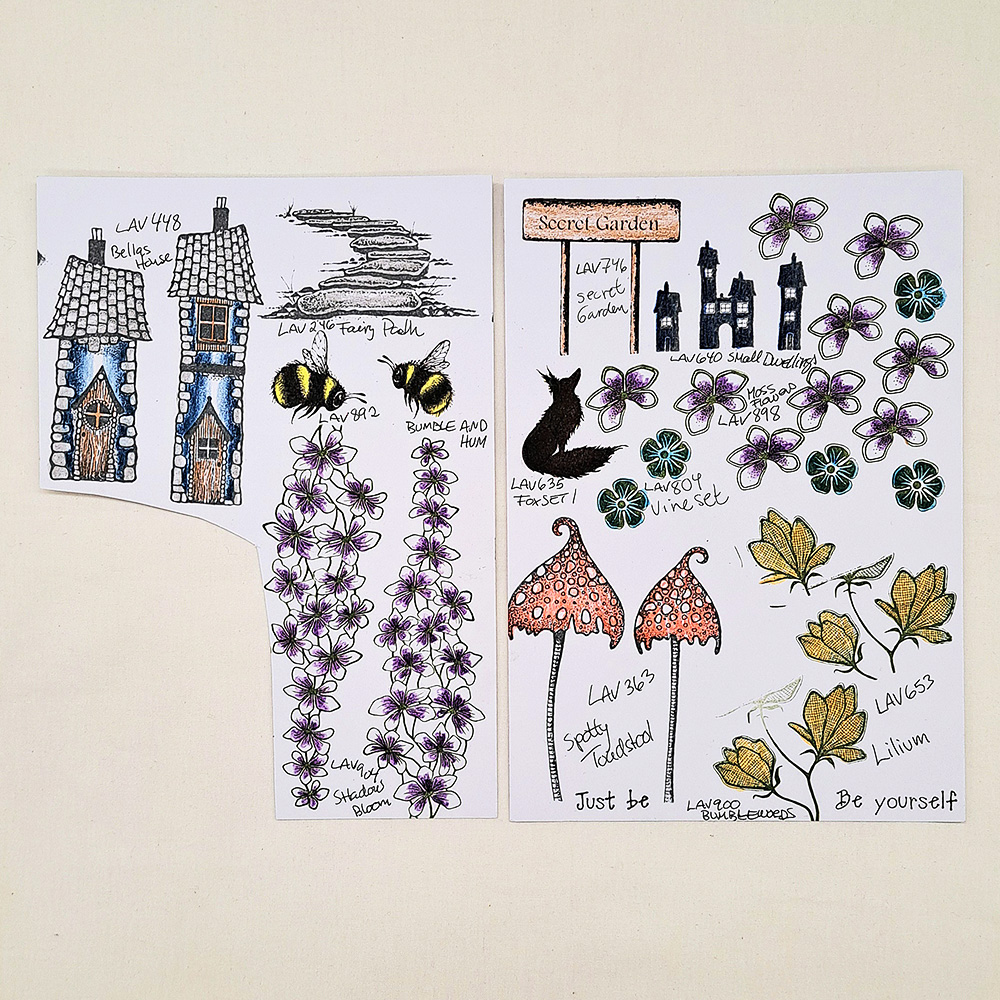
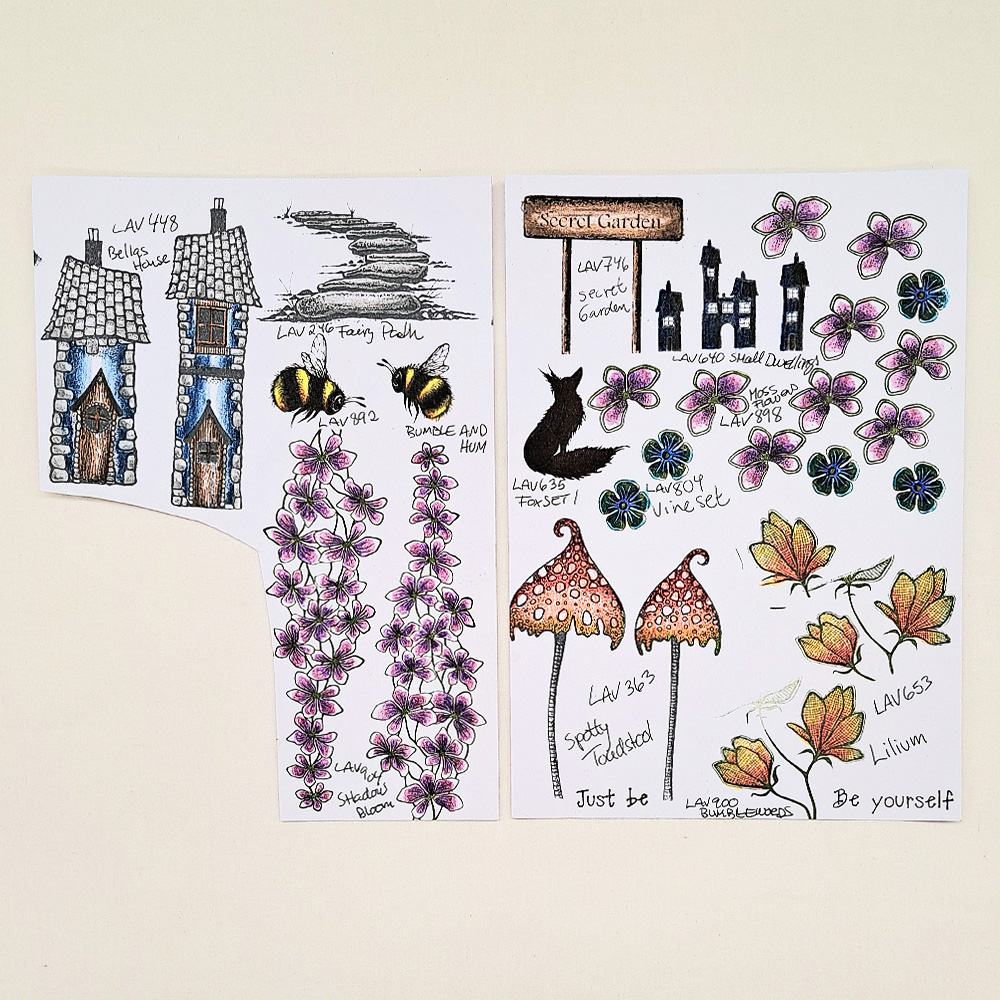
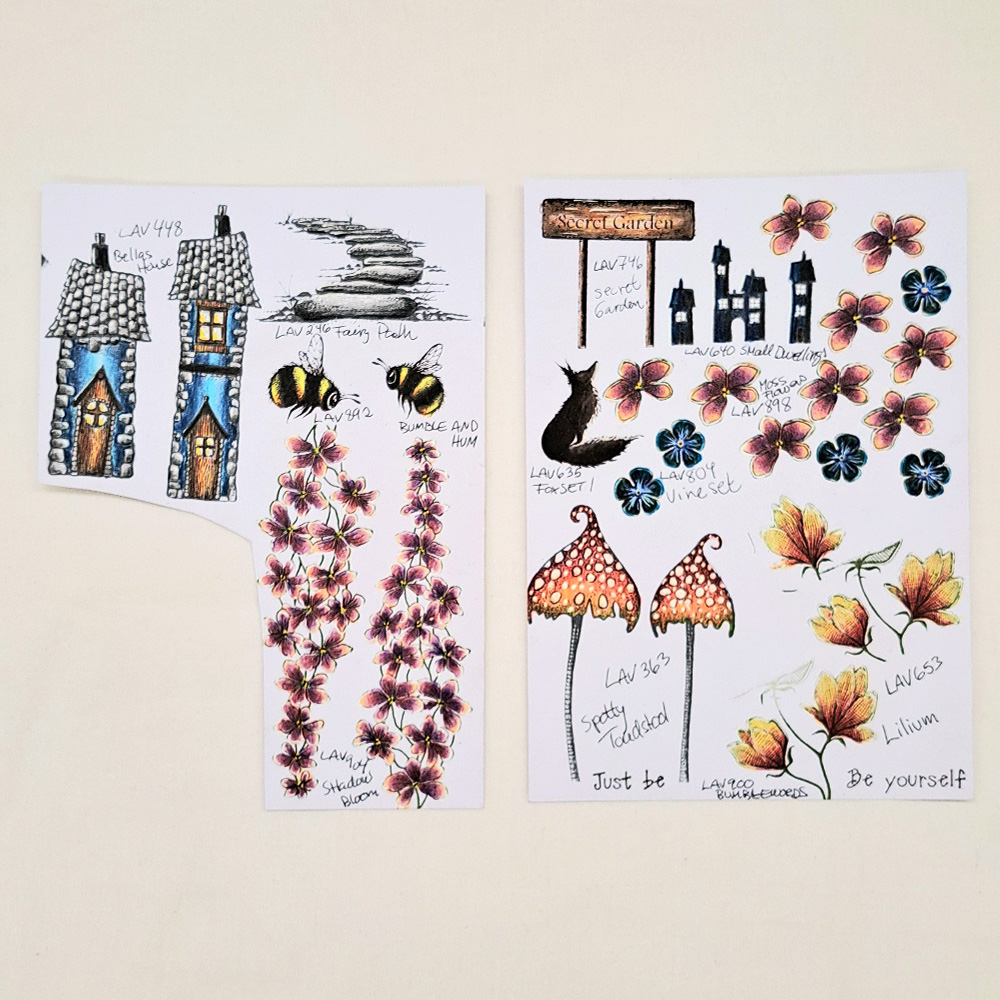


 Shadow Bloom Stamp
£9.60
Add to cart Lilium Stamp
£7.80
Add to cart Vine Set Stamp
£6.40
Add to cart Moss Flowers Stamp
£7.10
Add to cart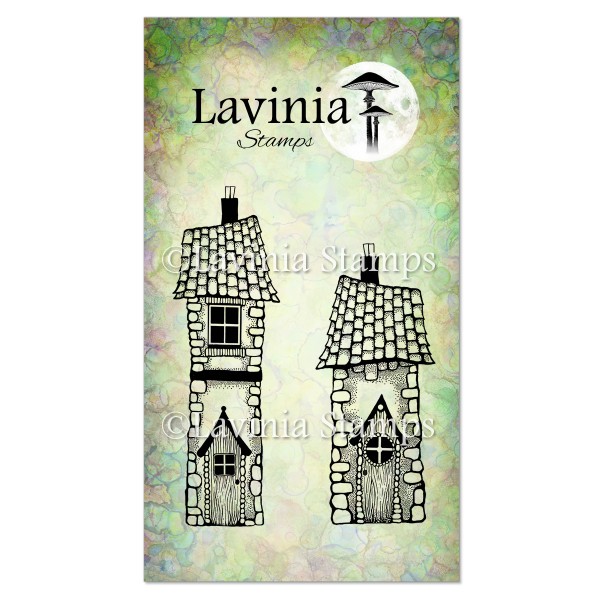 Bellas House Stamp
£9.20
Add to cart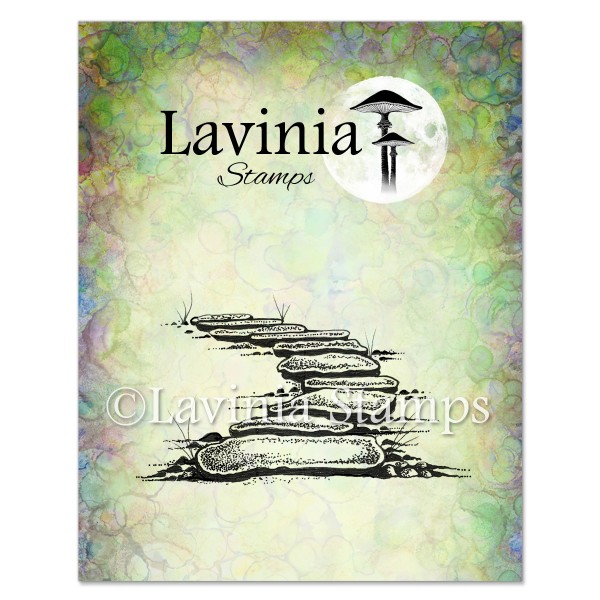 Fairy Path Stamp
£6.90
Add to cart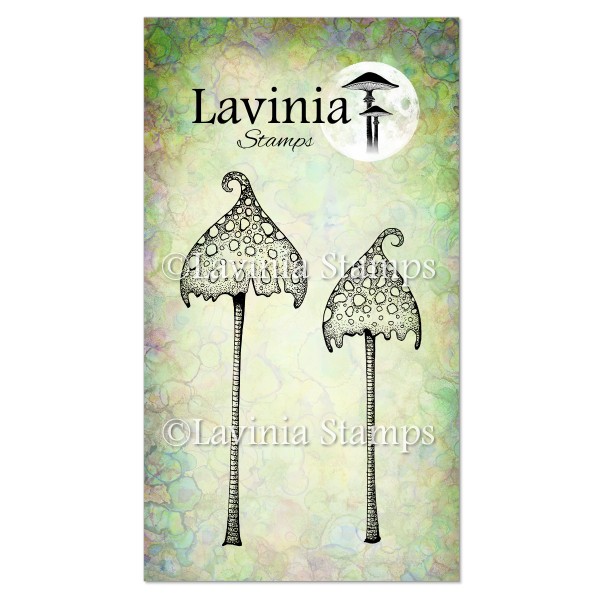 Spotty Toadstool Stamp
£8.20
Add to cart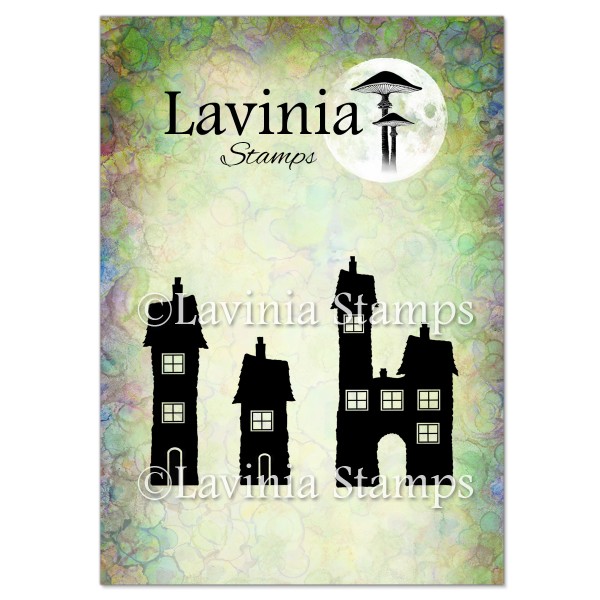 Small Dwellings Stamp
£5.60
Add to cart Secret Garden Sign Stamp
£6.80
Add to cart Fox Set 1 Stamp
£7.90
Add to cart Bumble and Hum Stamp
£6.80
Add to cart Tree Den Stamp
£8.20
Add to cart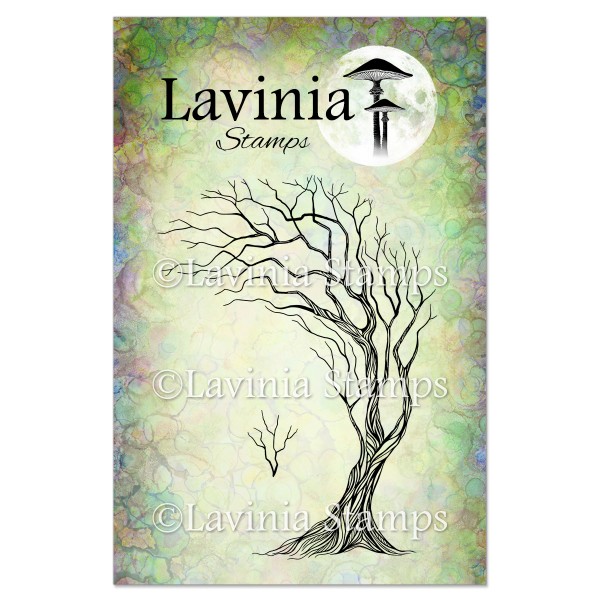 Tree of Hope Stamp
£10.80
Add to cart Tree of Courage Stamp
£10.80
Add to cart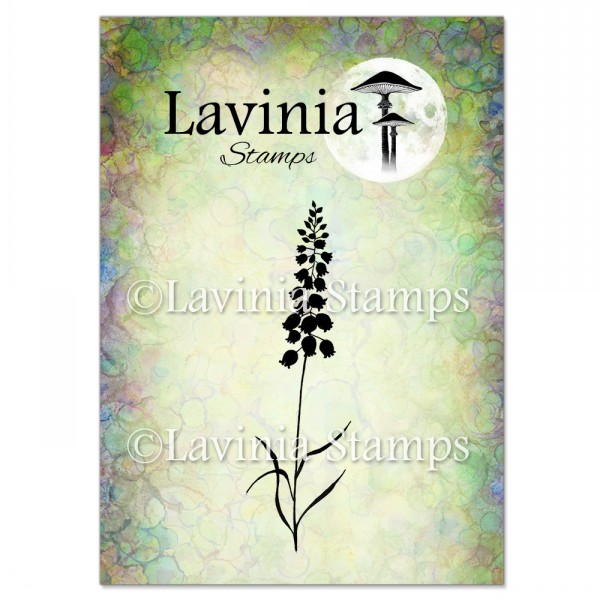 Bluebells Stamp
£5.80
Add to cart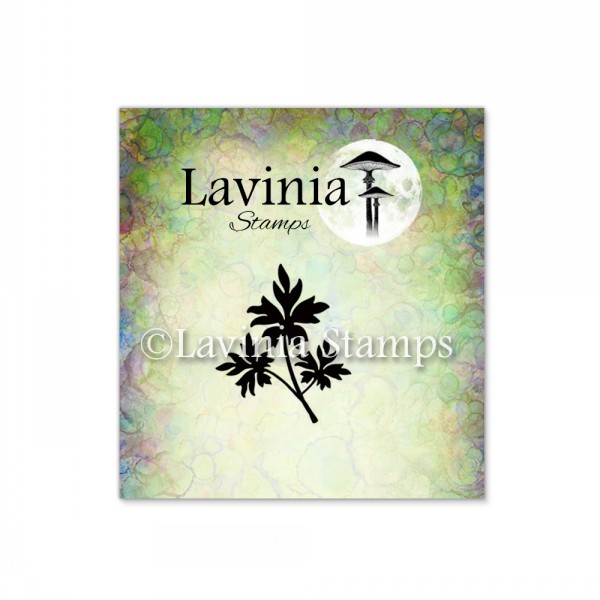 Mini Leaf 1 Stamp
£1.10
Add to cart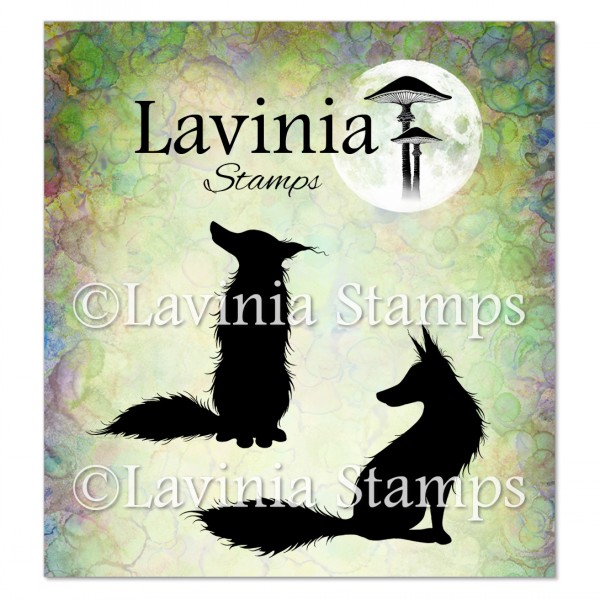 Fox Set 2 Stamp
£7.90
Add to cart Bumble Words Stamp
£4.40
Add to cart Versafine Clair Ink Pad – Shady Lane
£5.80
Add to cart Versafine Clair Ink Pad – Morning Mist
£5.80
Add to cart Versafine Clair Ink Pad – Fallen Leaves
£5.80
Add to cart Mondeluz Watercolour Pencils 72 Set
£59.95
Add to cart Elements Premium Dye Ink – Olive
£5.85
Add to cart Versafine Clair Ink Pad – Pinecone
£5.80
Add to cart Distress Oxide Ink Pad – Tumbled Glass
£6.25
Add to cart Elements Premium Dye Ink – Pine
£5.85
Add to cart