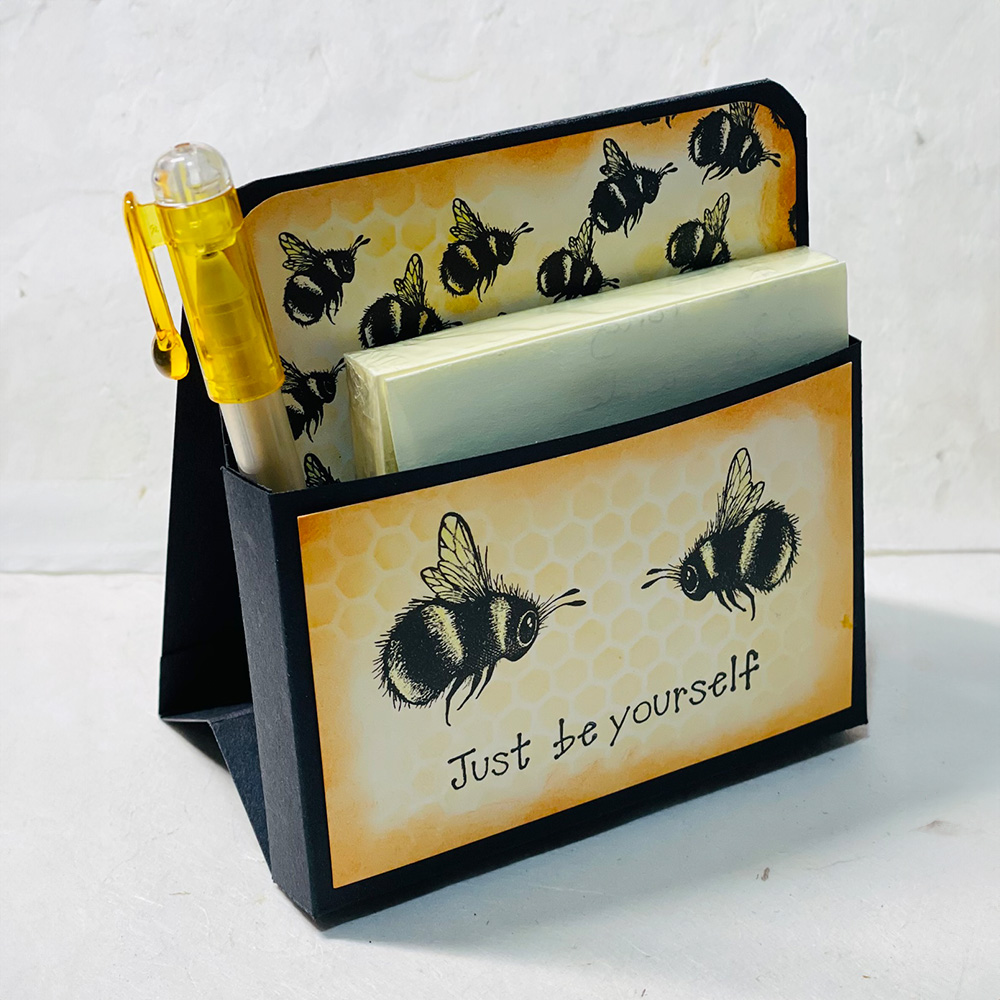
Hi everyone, it’s Rosemary here. In this tutorial I’m going to show you how to make a Post It holder. It makes a lovely gift.”
Hope you enjoy today’s tutorial named “Bee post it holder”
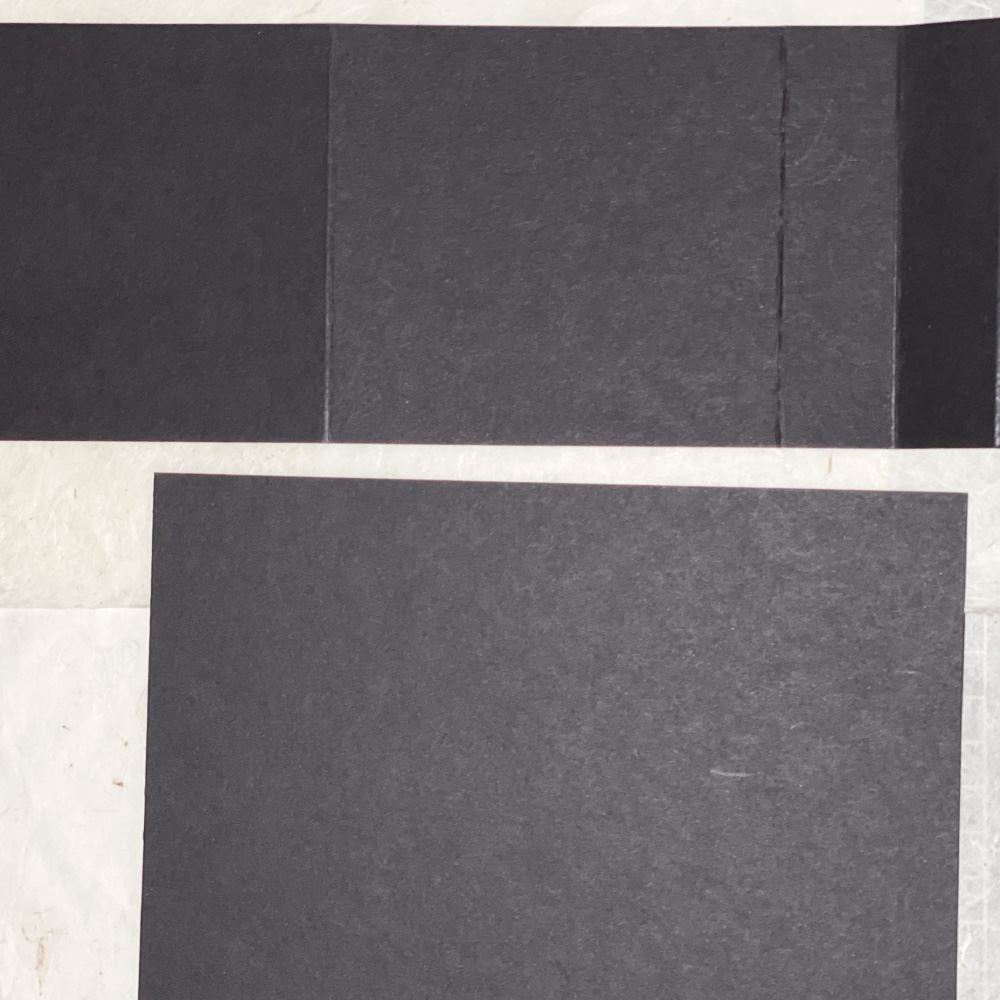
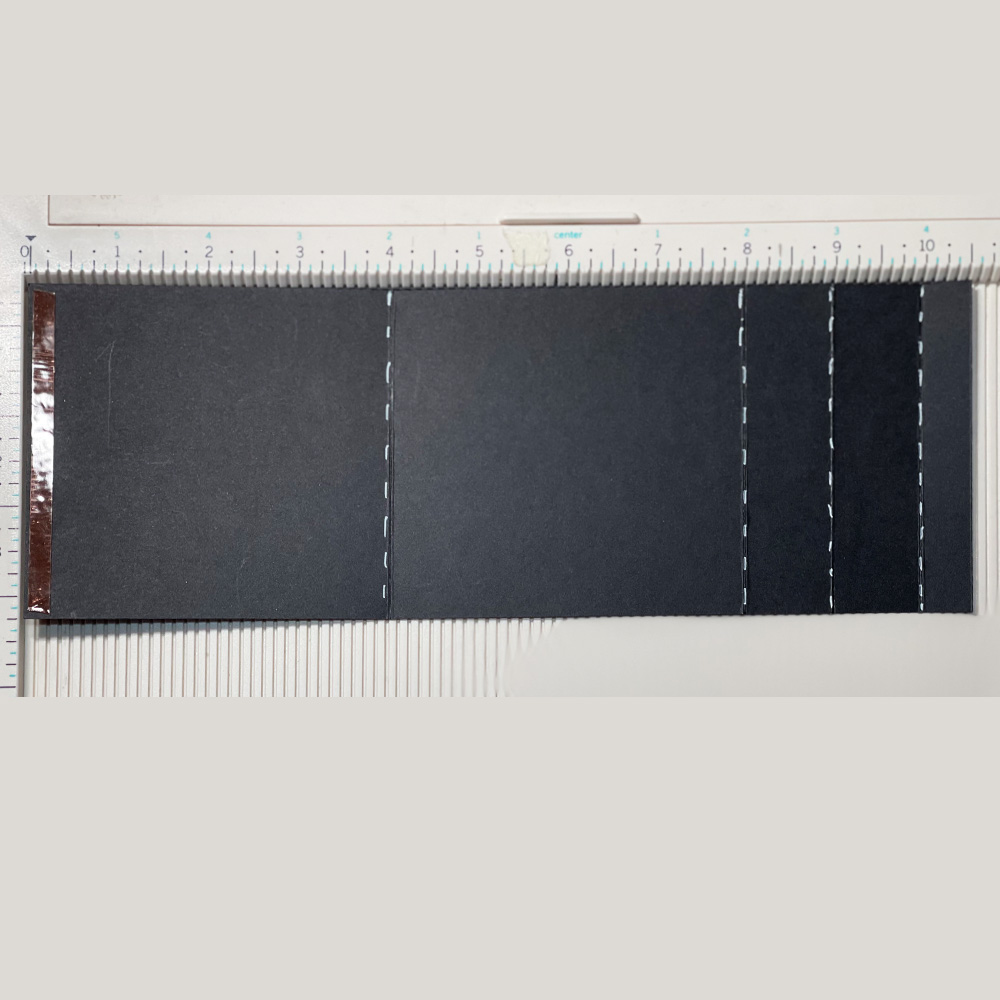
You will need 2 sheets of A4 300gsm black card. For the Easel, cut the card, 10¾“ (26.5cm) long and 3¾“ (9.5cm) wide. For the Pocket cut card, 7” (17.8cm) long and 4¾” (12cm) wide.
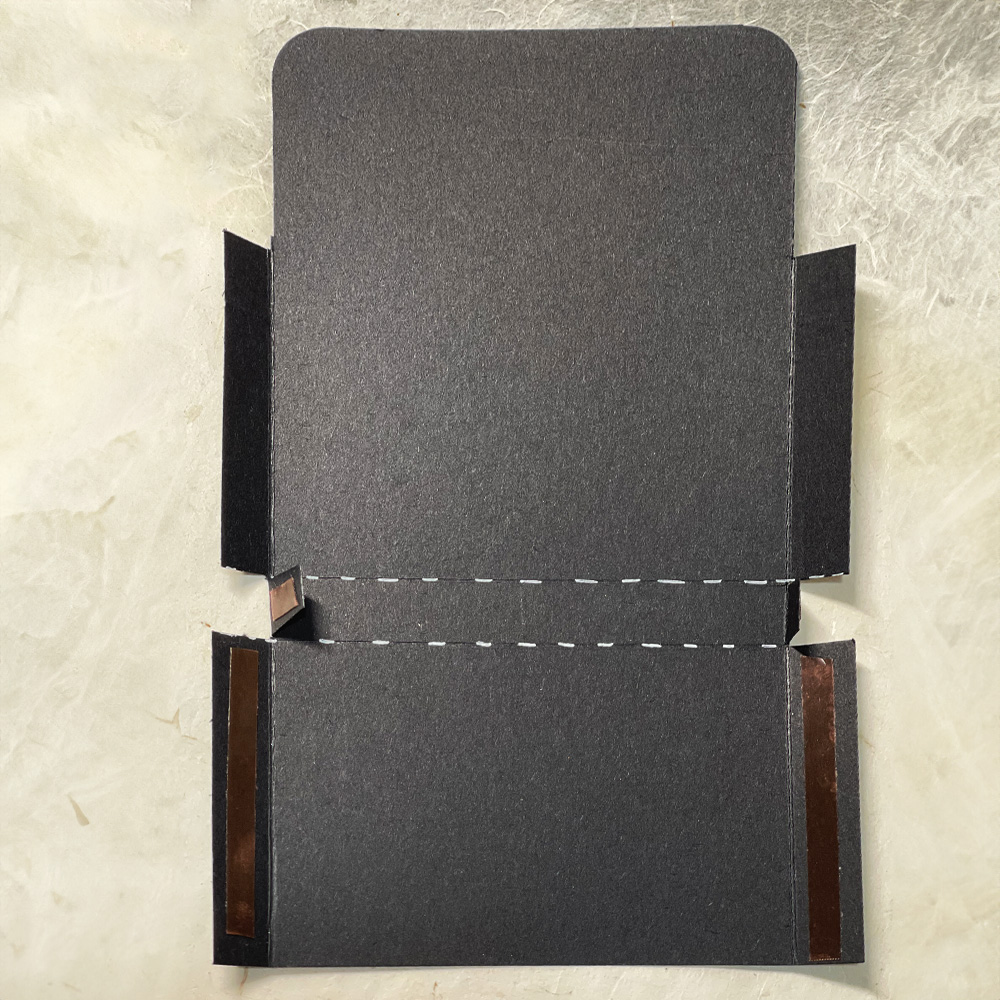
2. Score the Easel card (larger piece) at 4”, 8“ (20cm), 9“ (22.7 cm) and 10” (25.3cm). Then place double sided tape at end of card. Check the picture for placement.
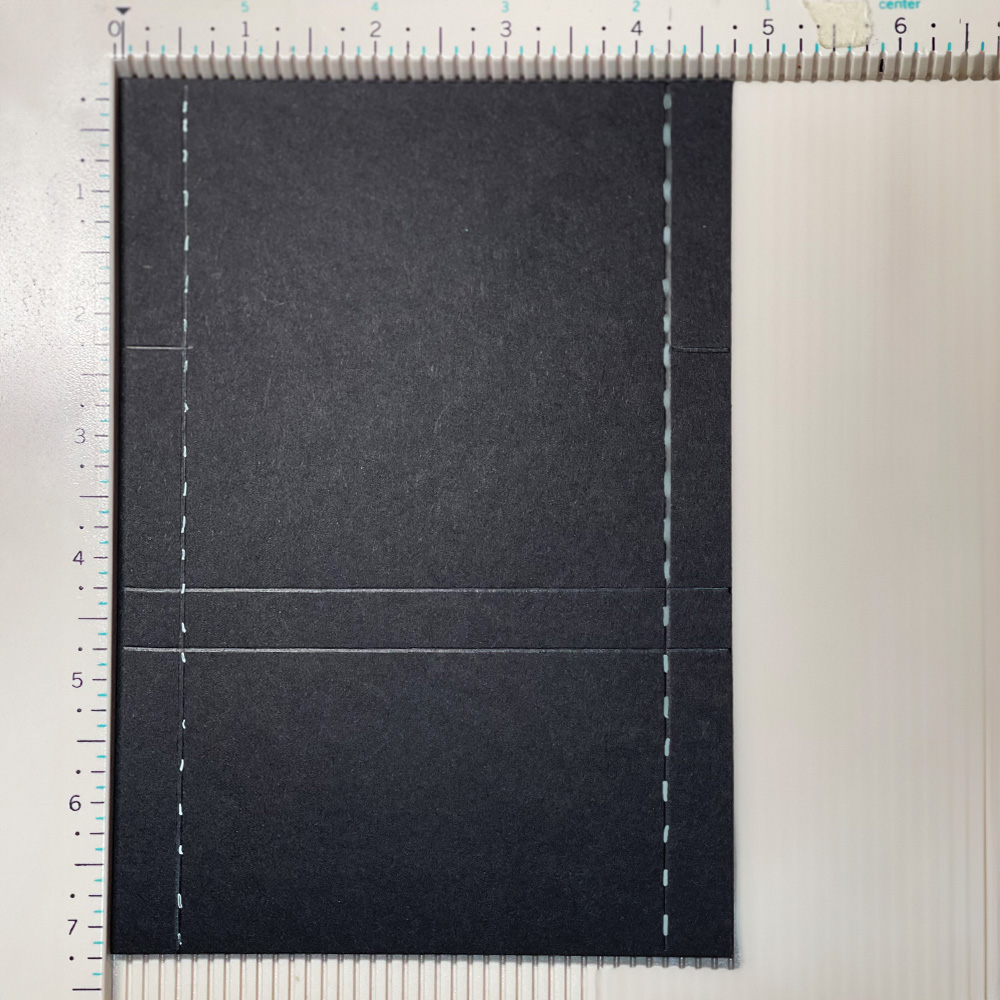
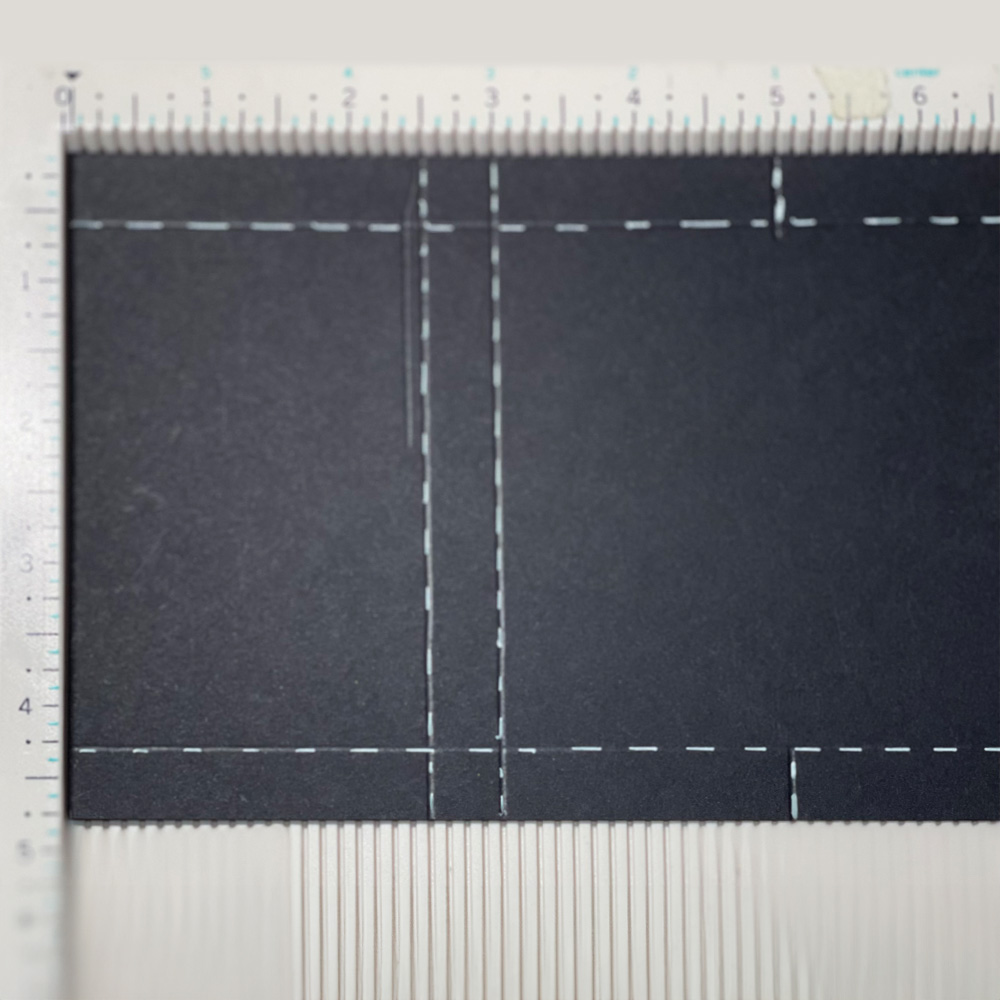
3. Score the Pocket card piece at ½ “(1cm) and 4¼” (11.3cm) on its longer side. Check the picture for placement.
4. Turn the Pocket card piece so the 7” (17.8cm) side is at top of scoreboard. Score at 2½” (6.2 cm) and 3” (7.4cm). Then score at 5½” (14cm) only on the ½“ (1cm) mark. Check the picture for placement.
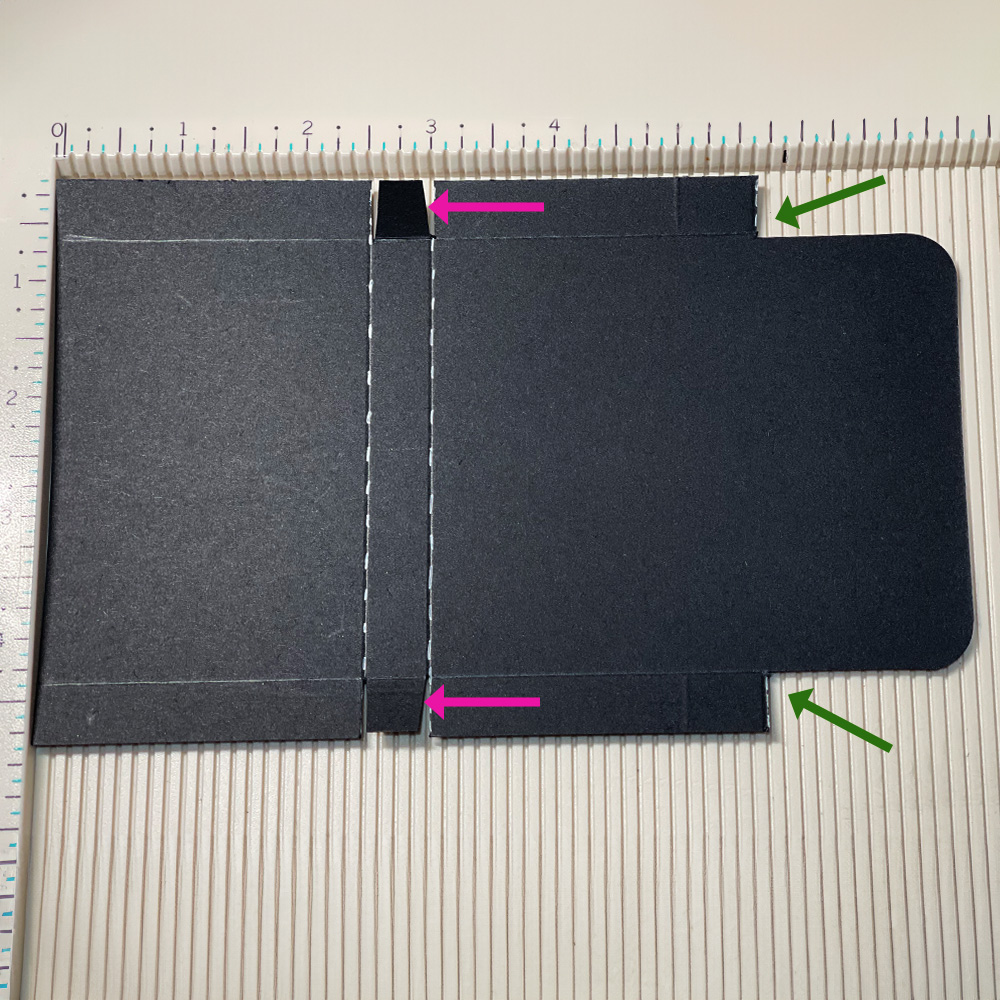
5. Snip up to scoreline to make a tab, then cut a small piece off each side of tab, (pink arrow) so that it folds together easier. Cut off tab at end (green arrow), by snipping to score line then cutting on score line. Round corners with corner rounder punch.
6. Fold score lines and place double sided tape on tabs. Check the picture for placement.
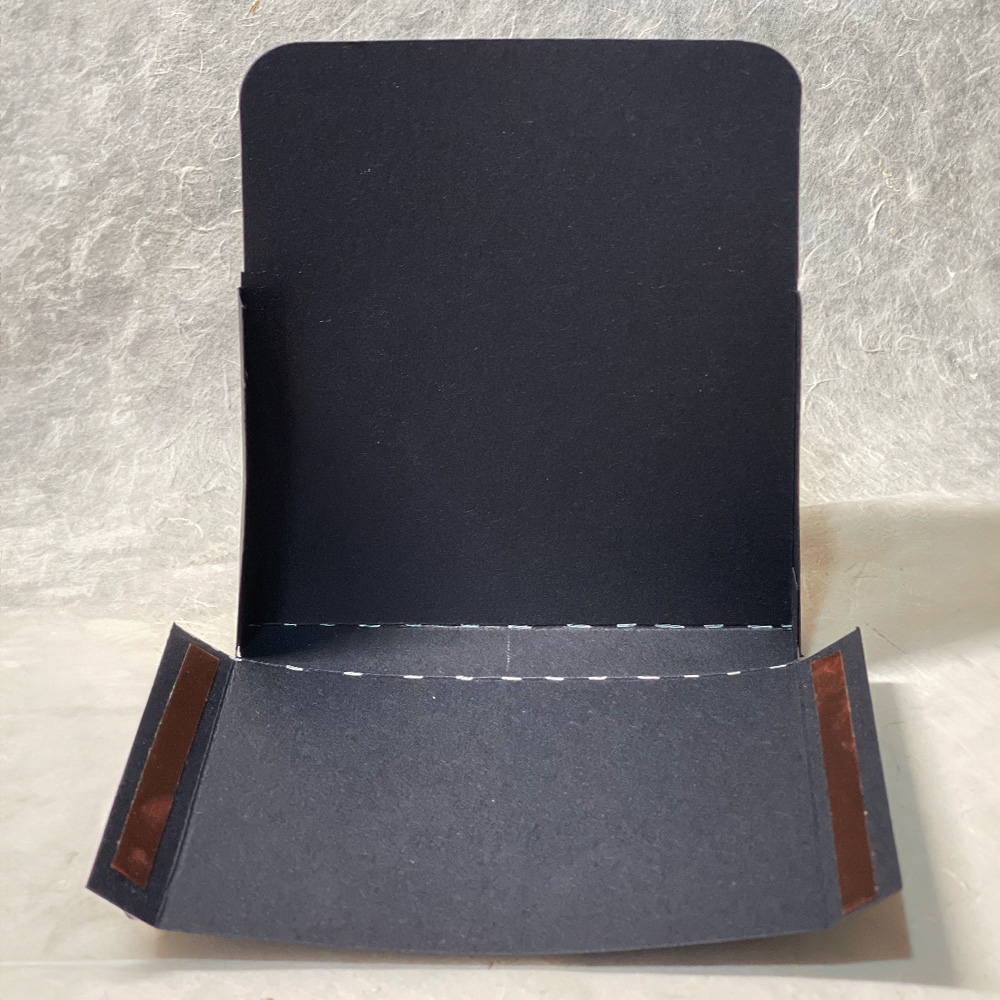
7. Stick small tabs to the long tabs at the back. Then fold front tabs onto back tabs, to make the Pocket.
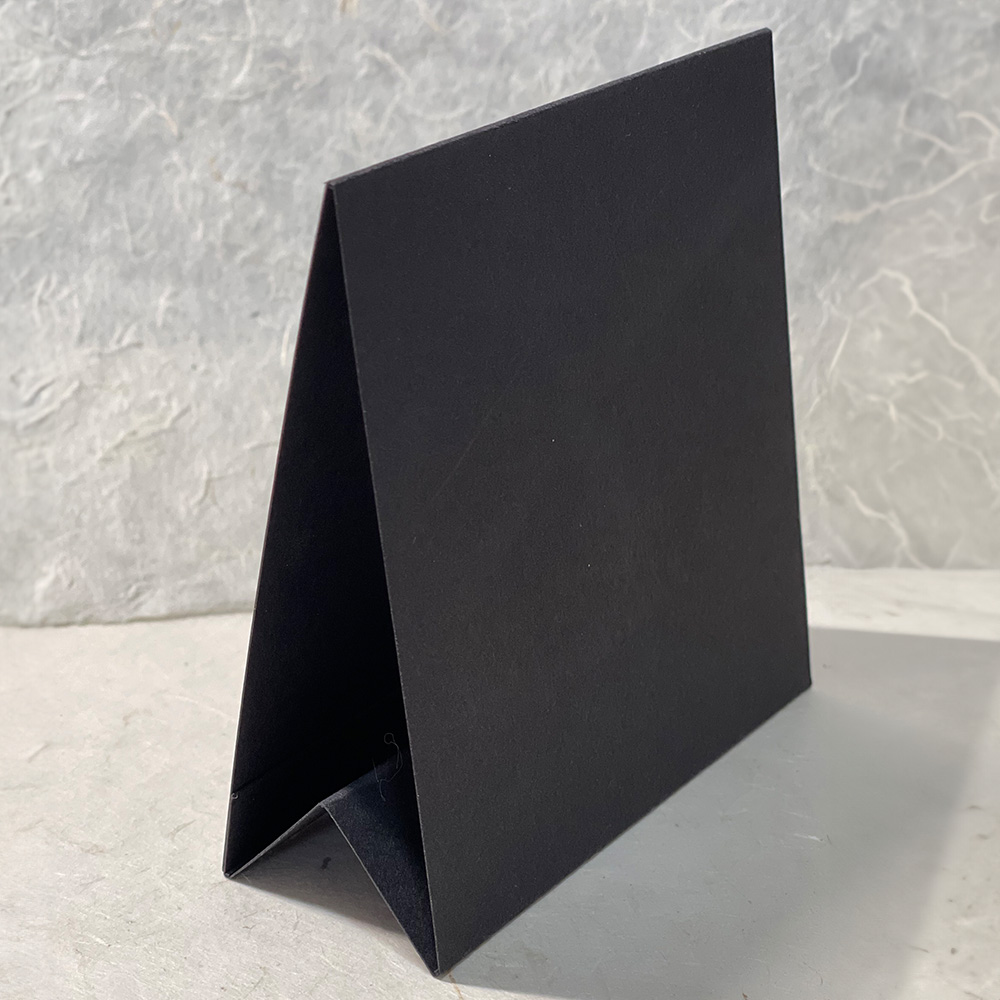
8. To create the Easel. Fold the scored card with valley and mountain folds and press taped sides together.
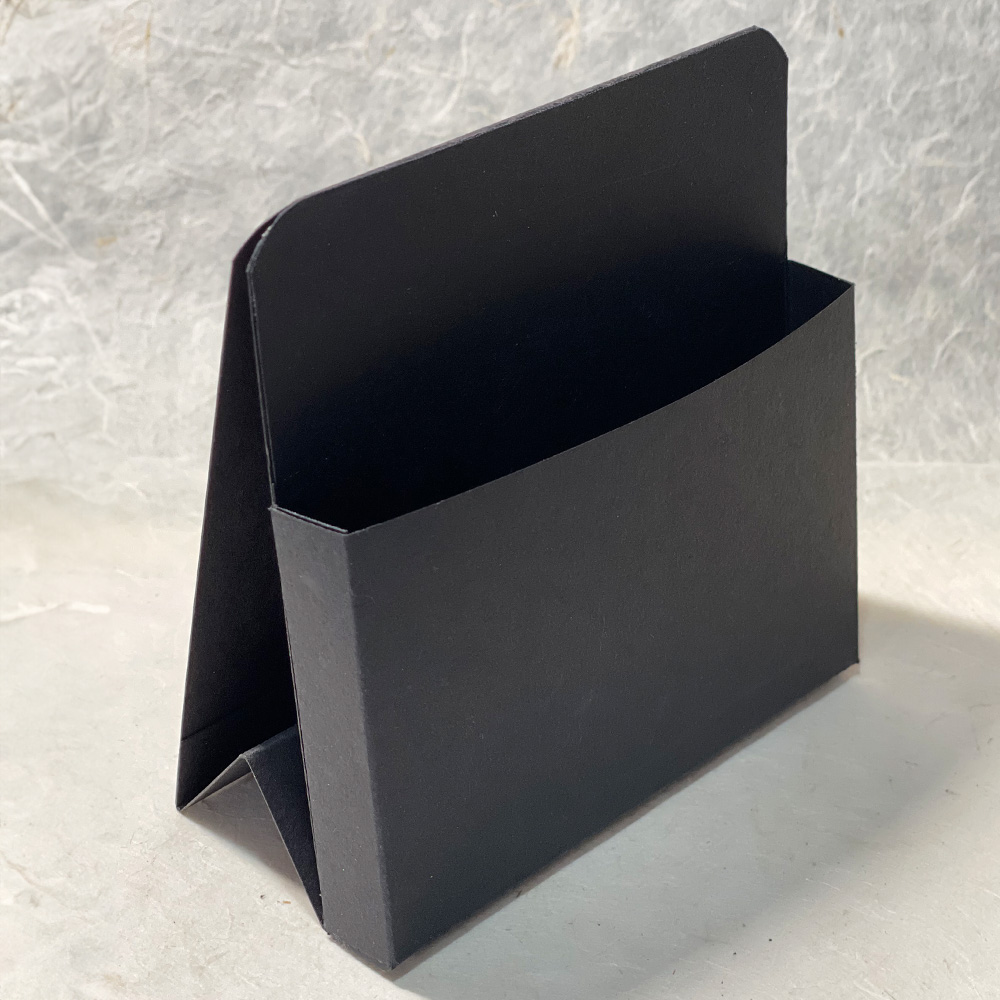
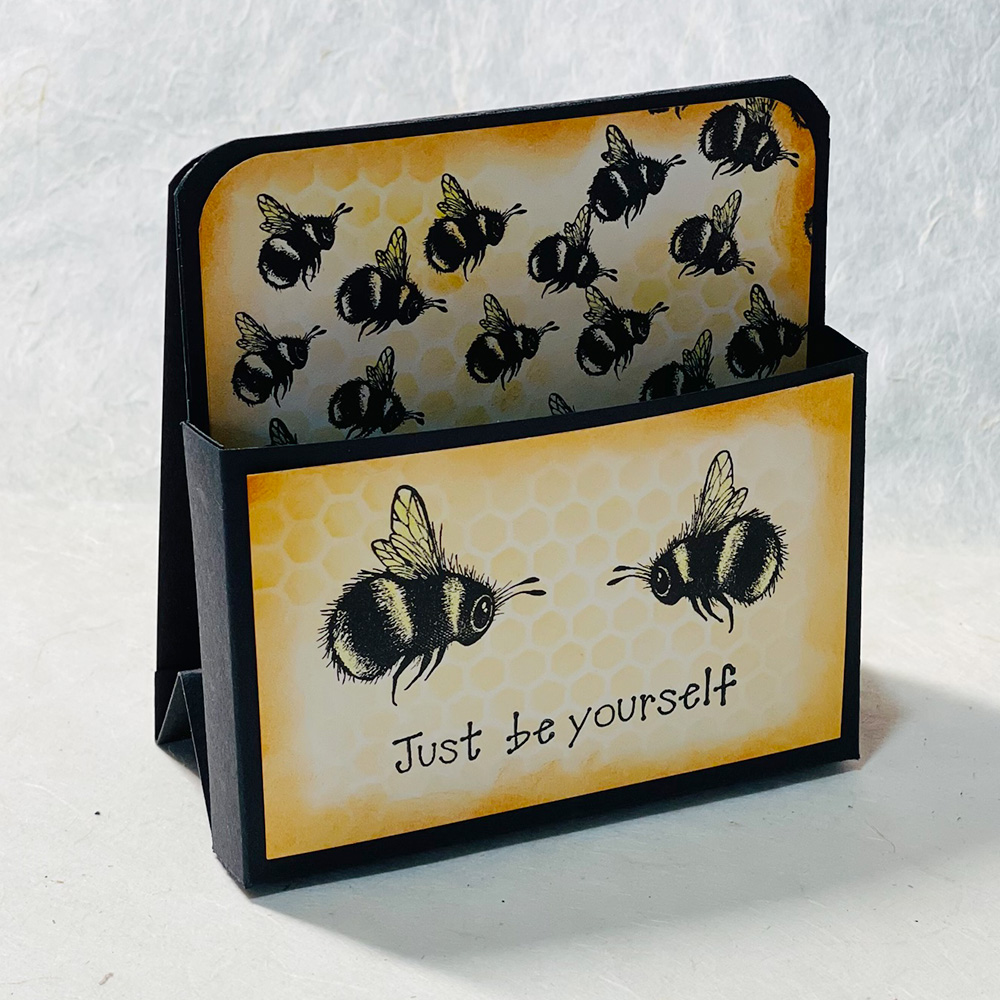
9. Round the top corners of Easel and place double sided tape onto the front face. Stick the Pocket to the front of the Easel. Check the picture for placement.
10. This is what the two pieces together will look like together.
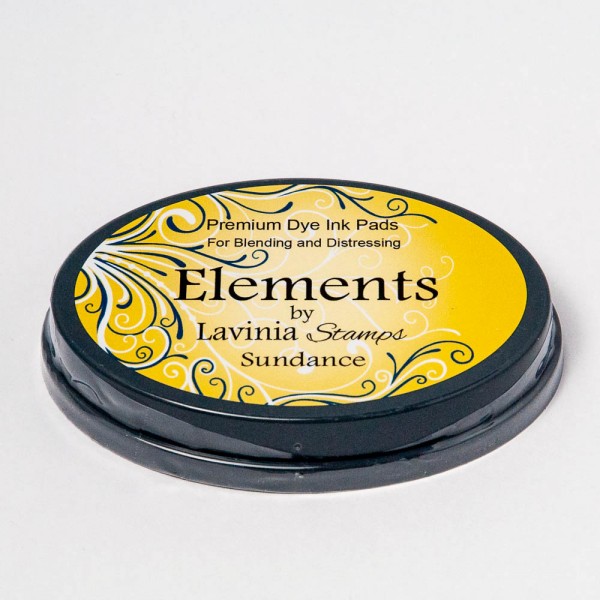
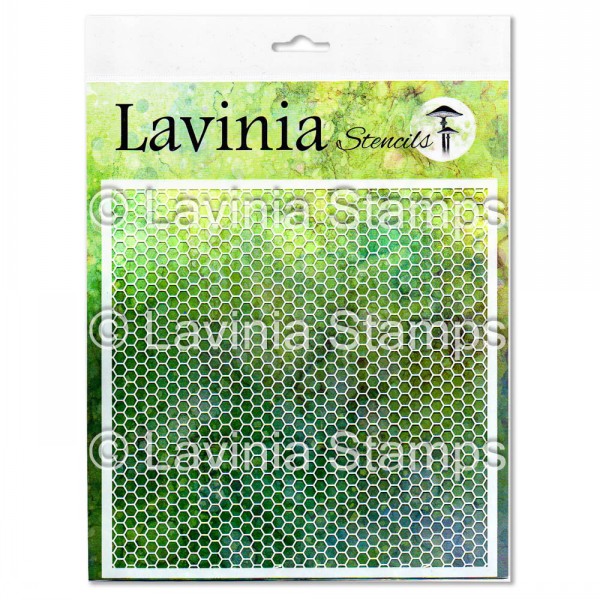
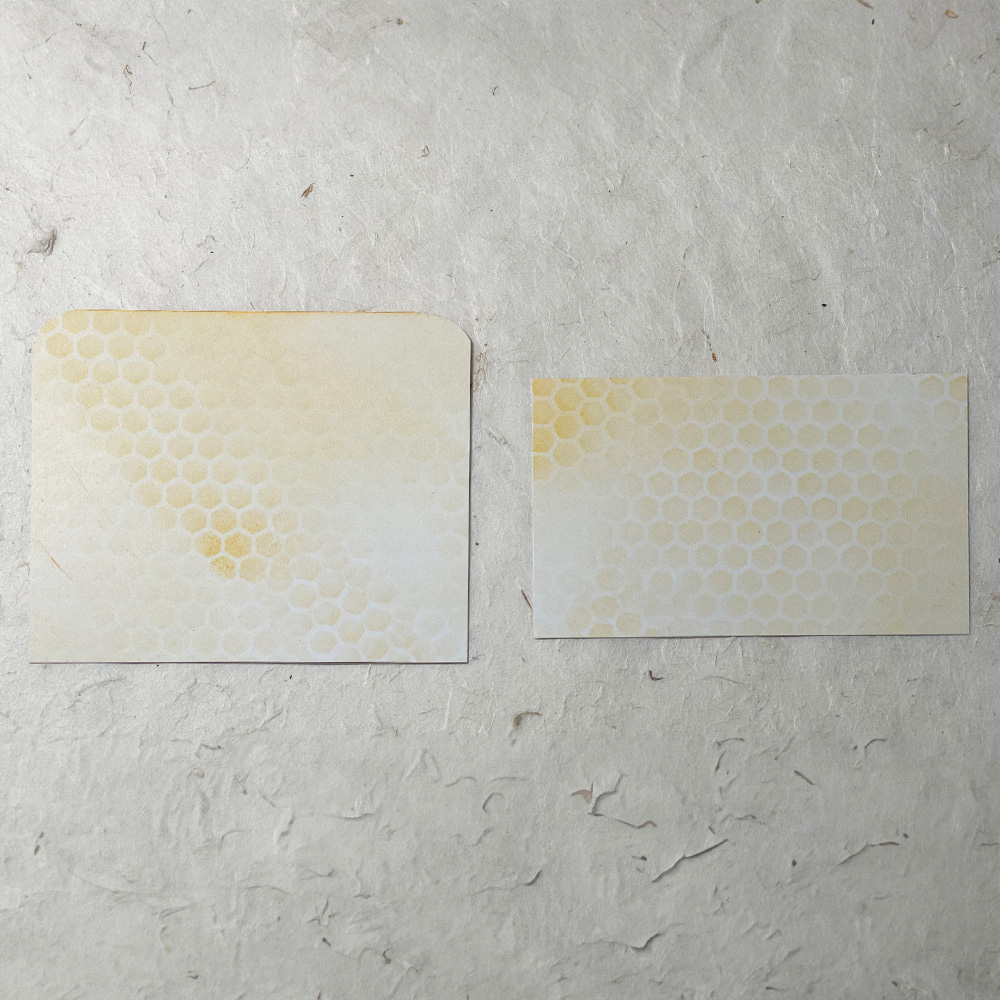
11. Take a piece of smooth piece of A5 multifarious card. Blend the front with Elements ink Sundance using a Series 9 Stencil brush. Then randomly brush over the honeycomb stencil, using same colour.
12. Cut two pieces from this card. A back piece 3½“ (8.9cm) wide and 3” (7.6cm) in length. And a Pocket piece 3½” (8.9cm) wide and 2¼” (5.7cm) in length.
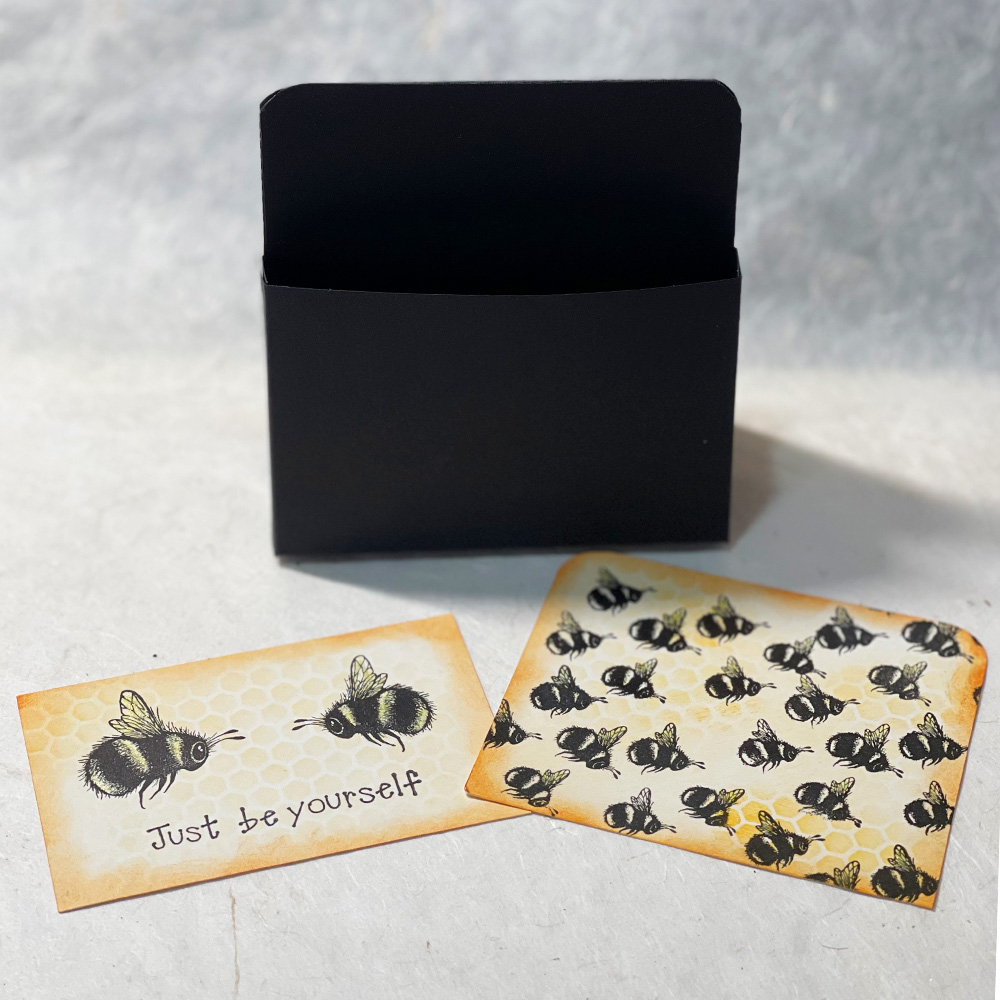
13. Using Nocturne Versafine Clair ink, stamp the Bumblehums LAV893 onto the larger piece, then stamp Bumble and Hum LAV892 onto the smaller piece. Check the picture for placement. Now stamp Bumble words LAV900 underneath Bumble and Hum.
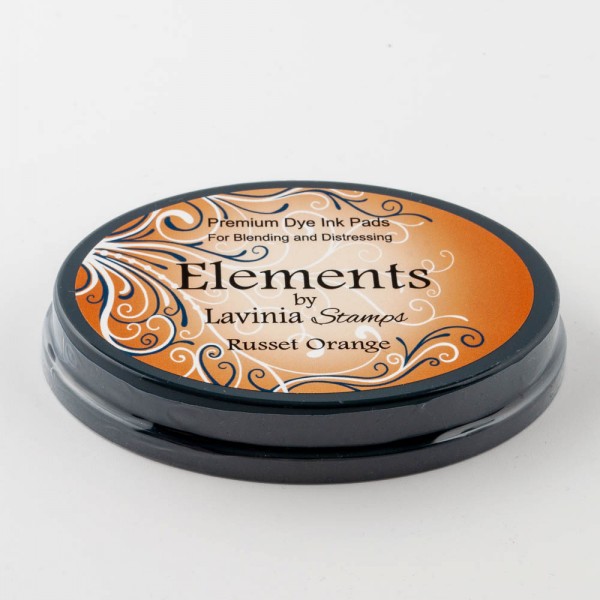
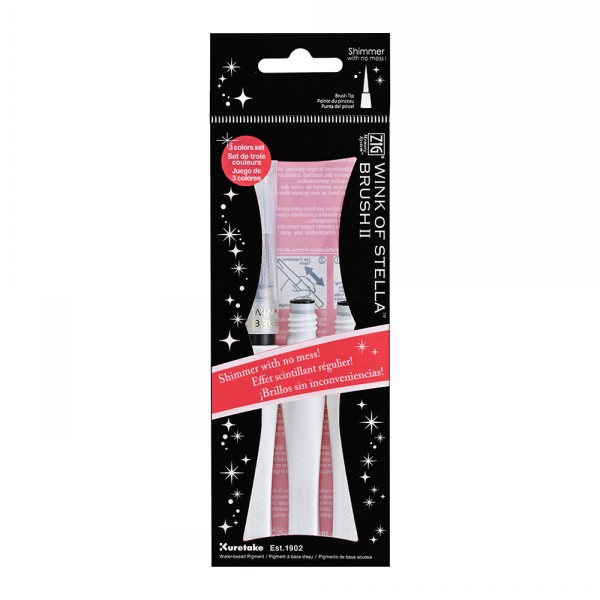
14. When the ink is dry, highlight the edges by blending some Elements ink Russet Orange using a Series 7 stencil brush, then add some sparkle to all the Bees wings with a Wink of Stella or Stickles Icicle. Glue these pieces onto your Easel and Pocket. Check the picture for placement.


 Bumble and Hum Stamp
 Bumblehums Stamp
 Bumble Words Stamp