Bandit by Nicola Simpson
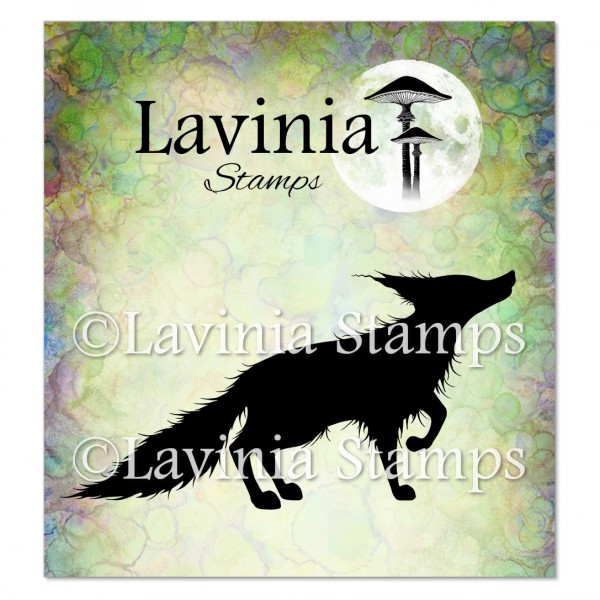
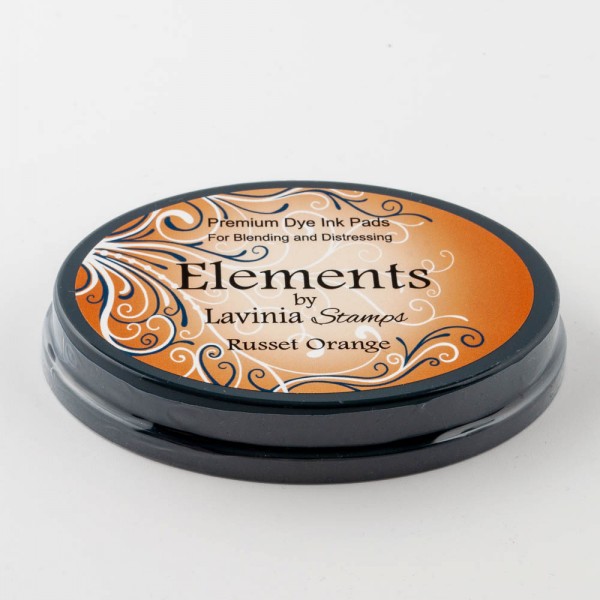
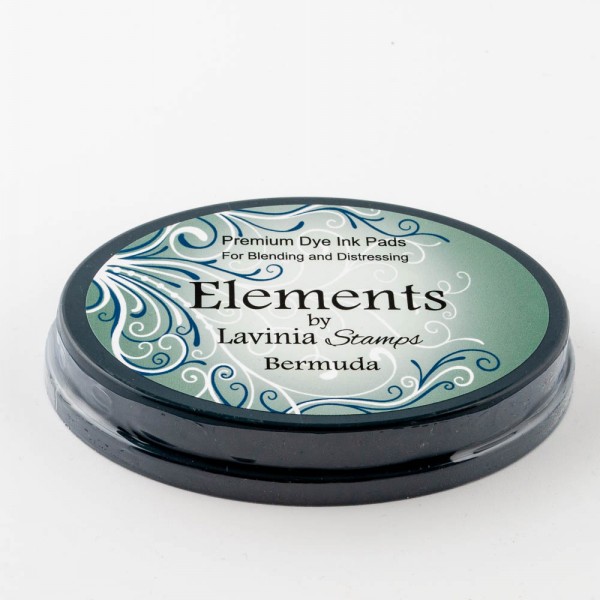
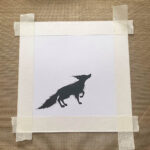
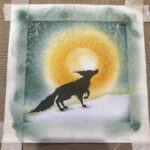
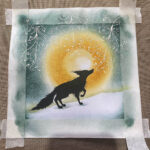
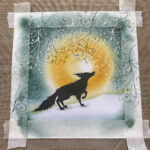
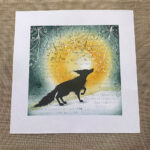
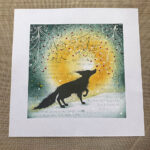
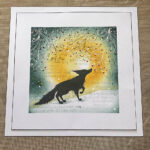
Hello, I thought I’d make this tutorial showing how I created this seasonal sample featuring the handsome Bandit and using the amazing elements inks along with a little embossing.
I hope you enjoy it and have a go yourselves.
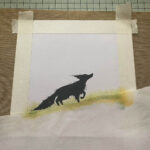
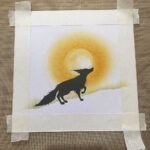
The supplies I used were:

- Stamps: Bandit, Mystical Swirl and Snow Falls (verse).
- Elements inks in Bermuda and Russet Orange.
- Versamark stamp pad.
- Versafine onyx black ink pad.
- Wow! embossing powder in vanilla white.
- Lavinia Stencil brushes, Posca pens in yellow and white.
- Sakura Gelly Roll glaze pen in deep red.
- Low tack tape and a heat gun.
The Steps in Creating the Card
(click on the first image to view as a slideshow)
- I start with a square piece of smooth white card measuring 17x17cm. I edge it with low tack tape to form a border, making sure it’s right up to the edges and firmly stuck down. This tape will stay on right until the end. I then stamp Bandit slightly over to the bottom left using Versafine onyx black. (Versafine Clair nocturne will work just as well).
- Using a torn strip of copy paper at a slight angle and making sure three of Bandits paws are covered I very lightly brush Russet Orange elements ink up and across to form the landscape. I also add a light touch of the Bermuda ink to add definition.
- Again with the Russet Orange elements ink I begin to circle Bandit’s head very lightly. I leave a little white in the centre and as the circle gets larger, I use slightly more pressure and add a little more ink to make it brighter. Keep going until you’re happy with it but don’t rush.
- Using the Bermuda elements ink I “ground” Bandits paws with a very light touch using the torn copy paper I used earlier. I then begin to edge the scene still using Bermuda very lightly at the bottom, getting heavier and quite dark up towards the top. This will take time and I used many light layers but be patient. It looks quite blotchy now but don’t worry.
- Make sure the ink is completely dry now. You can leave it or speed up the process using your heat tool. If the low tack tape lifts a little, press it back down. Using the Versamark I now stamp three times the mystical swirl above Bandit and along the top of the scene. I cover in the Wow! Embossing powder and tip off the excess.
- Using your heat tool emboss the powder until it melts and turns glossy. Leave to cool for a minute then make sure the low tack tape is still stuck down.
- Again, using the Mystic Swirl stamp but this time Bermuda Elements ink, stamp parts of the image along the top and up the sides in between the embossed areas. You won’t need to use the full stamp each time, only parts of it.
- Now using the Snow Falls verse stamp we are going to second generation stamp in Bermuda elements ink. (This means ink the stamp up, stamp on a spare piece of paper to take some ink off then stamp onto your scene). Stamp randomly around your scene to give a bit of texture. You should just be able to see a hint of the words.
- Now it’s time for the finishing touches. Remove the low tack tape. Add a few varying sized dots of white & yellow posca pen around the bottom of the scene and around Bandit. Then using the Sakura Gelly Glaze pen add “berry” dots around the embossed mystical swirl. Leave to dry completely.
- When everything is dry, mat & layer as you like. I’ve simply edged using a black sharpie and mounted on another piece of edged white card.
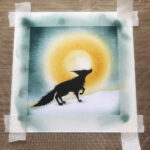
I hope that you enjoyed this tutorial, and maybe have a go yourself.
Stay safe and well.
Nicola