Step by Step by Emma-Jo
Hello everyone, it’s Emma-Jo here.
Today I’m sharing with you a make called “Away with the Fairies!”. I hope you enjoy it.

Picture 1
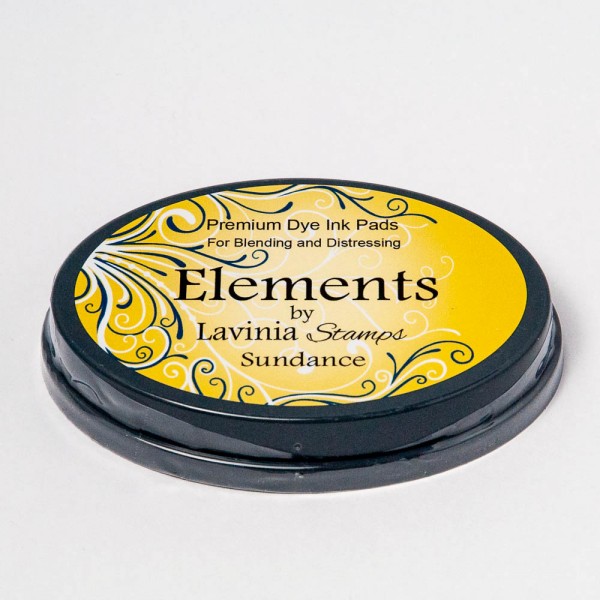
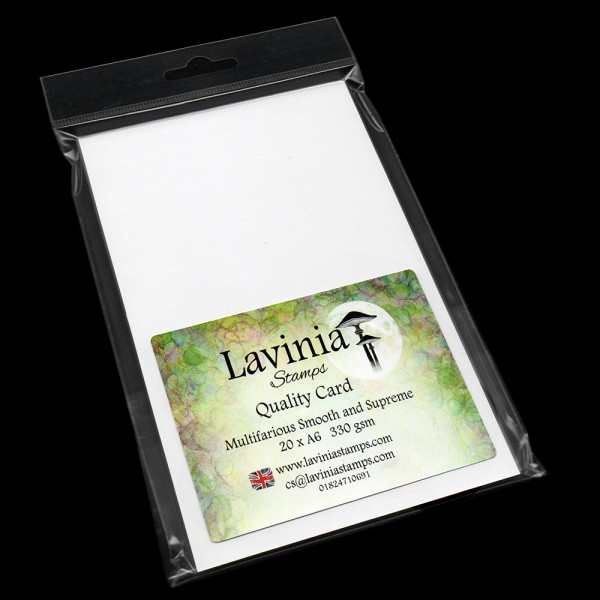
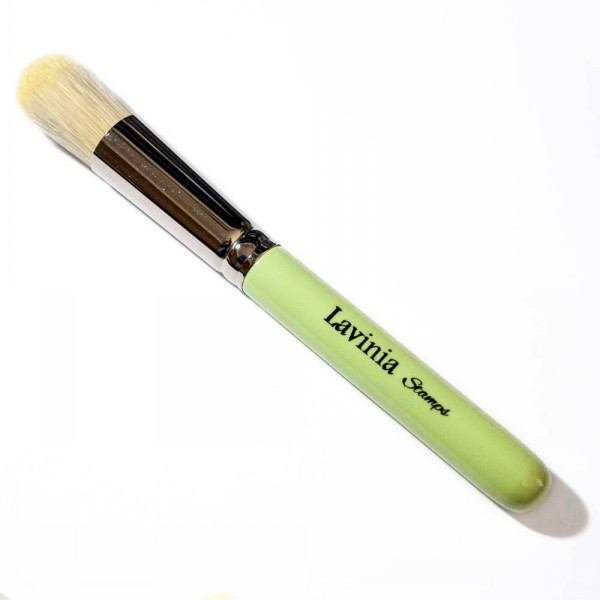
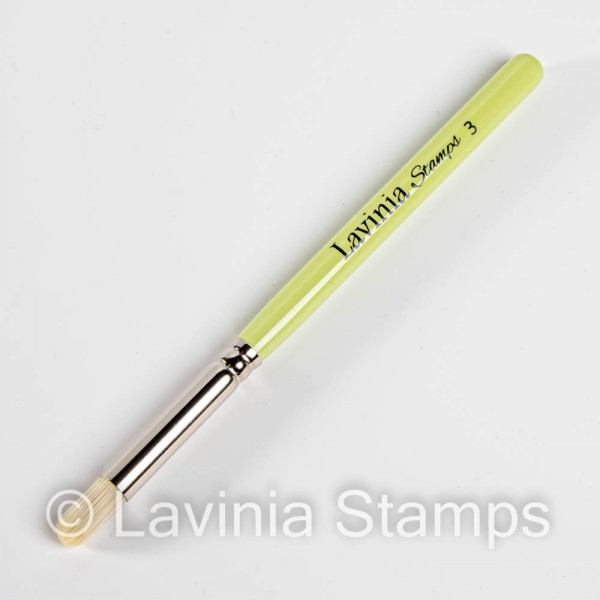
On some A6 multifarious card blend some Elements ink Sundance to the top half of the card with a series 9 stencil brush.

Picture 2
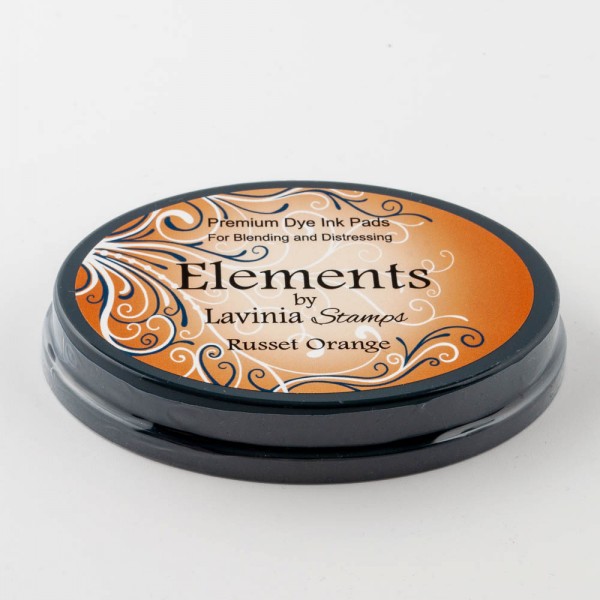
Blend in a light touch of Elements ink Russet Orange to the bottom of the Sundance.

Picture 3
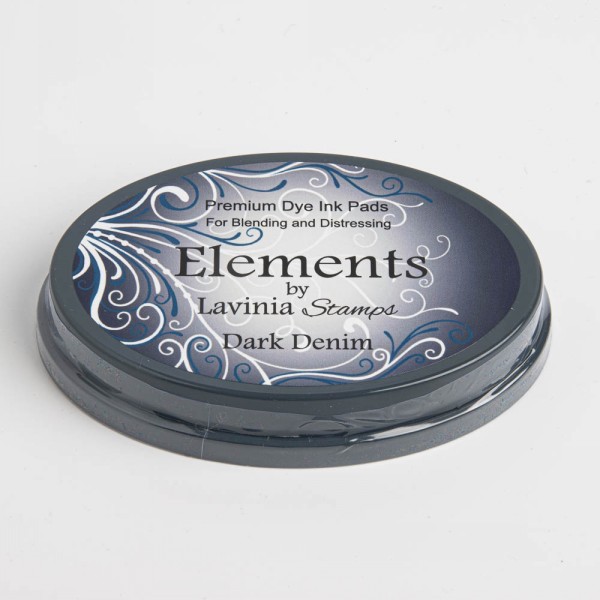
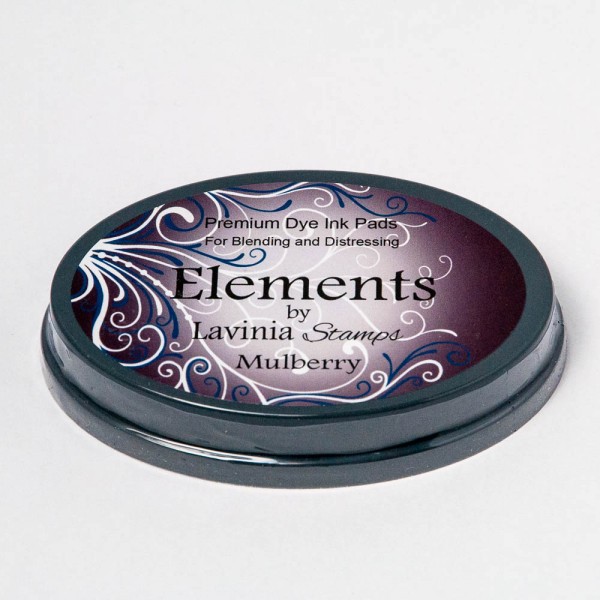
Rip some paper to create some interesting hills in the horizon. Put the paper above the half way point of the card with the ripped edge facing down to the bottom of the page. Take a series 3 stencil brush and softly blend some Elements Ink Dark Denim downwards. This layer should be pale like the picture. Next move the ripped paper down altering the angle and blend some Elements Ink Mulberry lightly to downwards. Add a darker touch of Elements ink Dark Denim to the top by the ripped edge. Move the ripped paper down again alter the angle and blend in some heavier Elements Ink Mulberry.

Picture 4
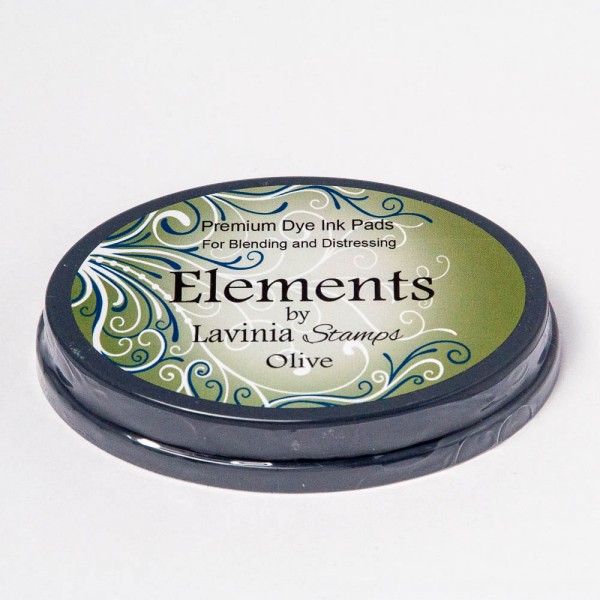
To the bottom of the A6 card fill in the gap with some Elements Ink Olive.

Picture 5
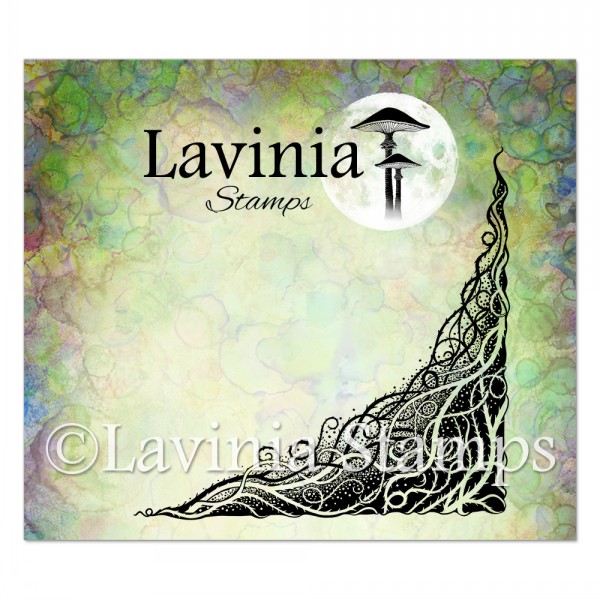
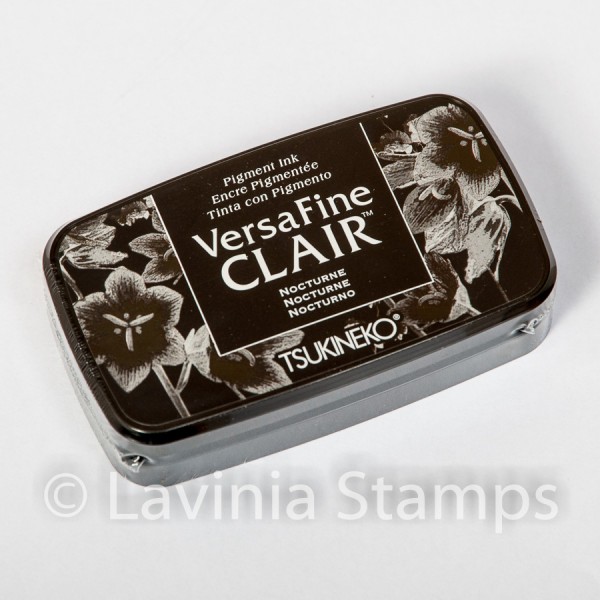
Stamp the Thorn Vine Corner LAV887 Stamp using Versafine Clair Nocturne to the bottom left corner and the top right corner.

Picture 6
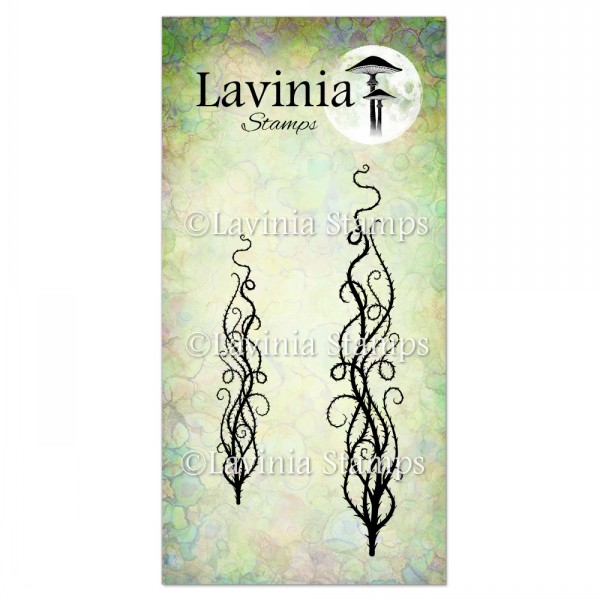
Stamp Dragons Thorn LAV864 in Versafine Clair Nocturne to the bottom right hand corner and the top right hand corner.

Picture 7
Add a touch of Elements Ink Russet Orange to the stamped Thorn Vine Corner LAV887 as in the photograph.

Picture 8
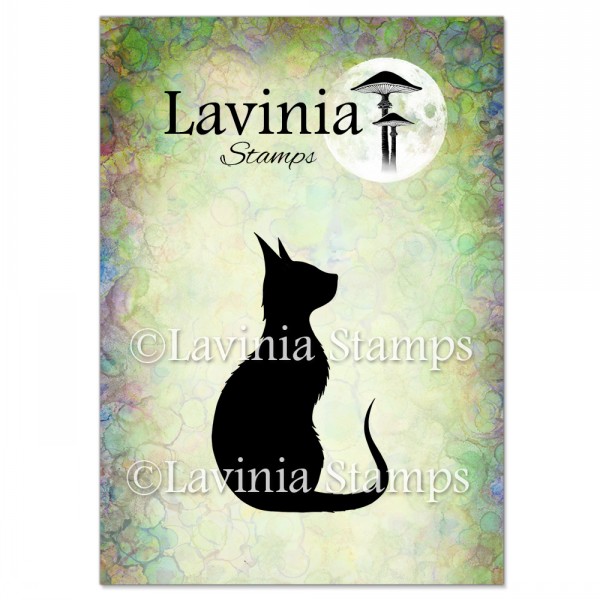
Stamp Luka, the cat, in Versafine Clair Nocturne so they sit just underneath the darker Mulberry ripped paper ridge.

Picture 9
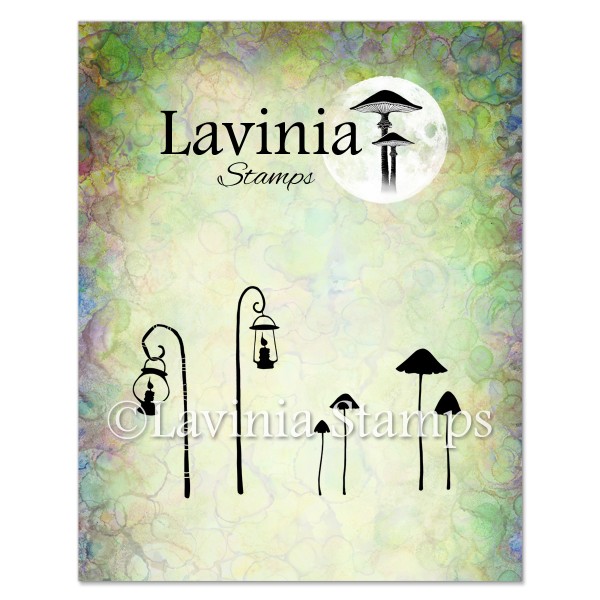
Stamp some Mushrooms from the Lamps LAV758 stamp set in the bottom right hand corner in first and second generation stamping.

Picture 10
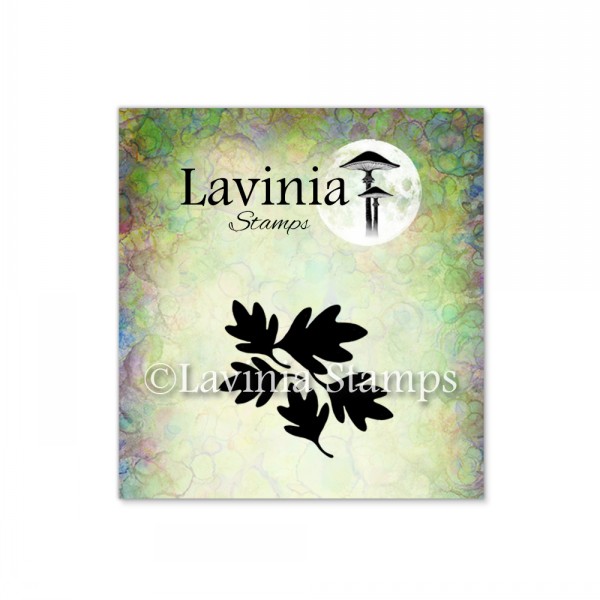
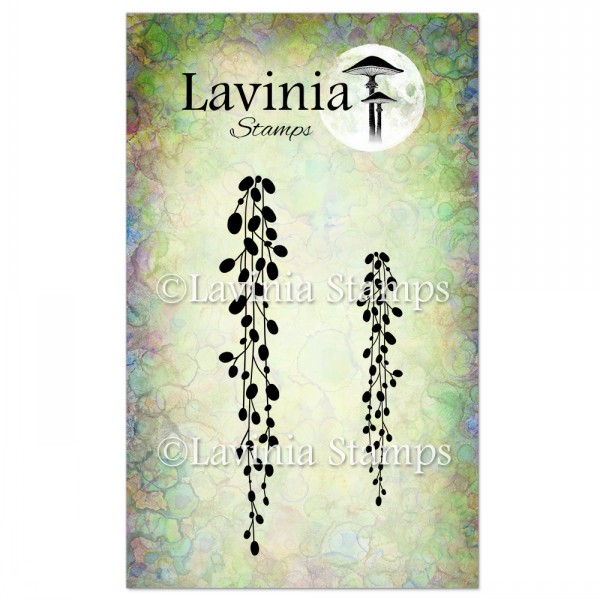
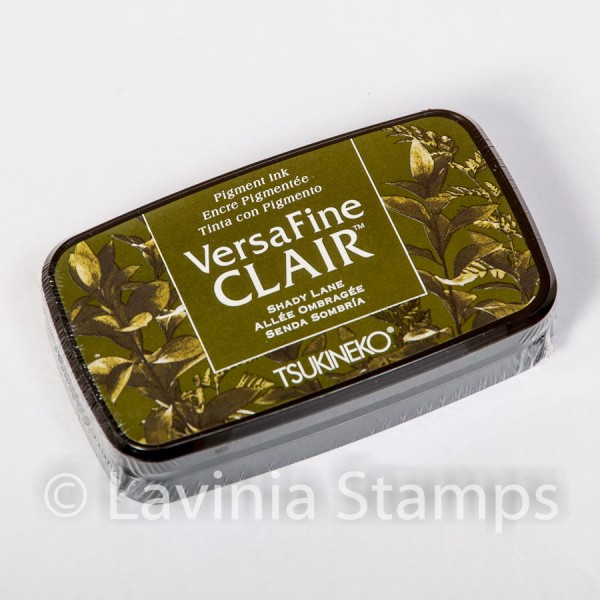
Add some mini River Leaves LAV890 to the inside of the corner stamp in Versafine Clair Shady Lane in first and second generation stamping. Add some to the opposite side too as per the picture. Stamp some Leaf Creeper Set LAV742to hang from the top in Versafine Clair Shady Lane in first and second generation stamping.

Picture 11
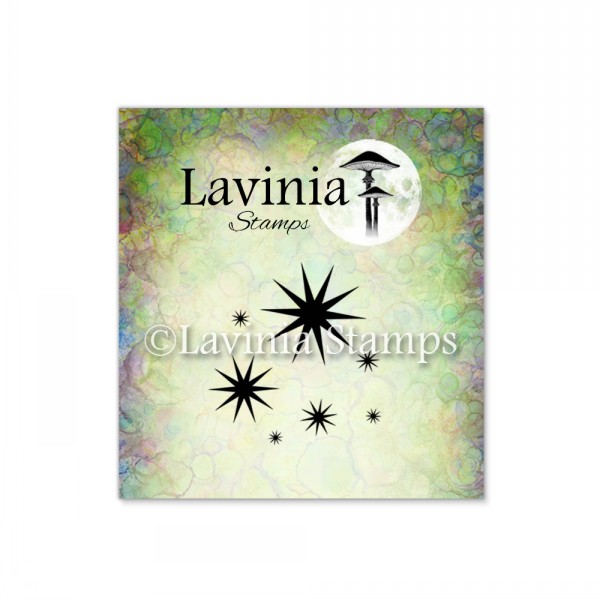
Stamp in Versafine Clair Nocturne Mini Stars 2 LAV212. Check the picture for placement.

Picture 12
Using Elements Ink Dark Denim create a darker frame to the edge by blending with a Series 3 stencil brush.

Picture 13
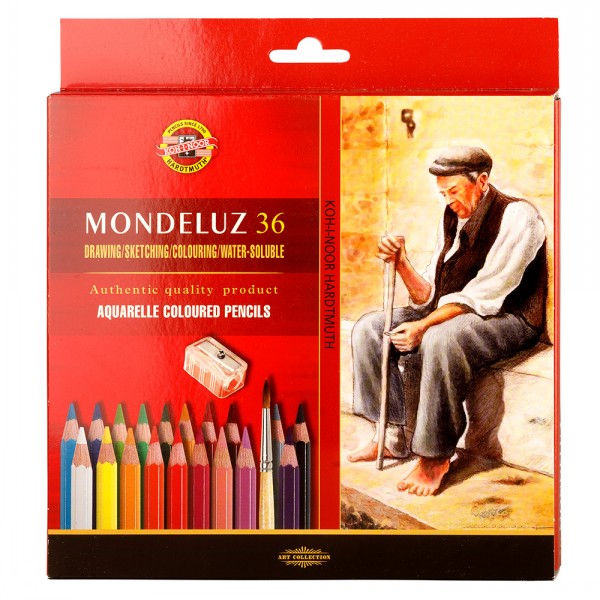
Add a subtle touch of Mondeluz Watercolour Pencils in white to the right side of Luka. Check the photograph for placement.

Picture 14
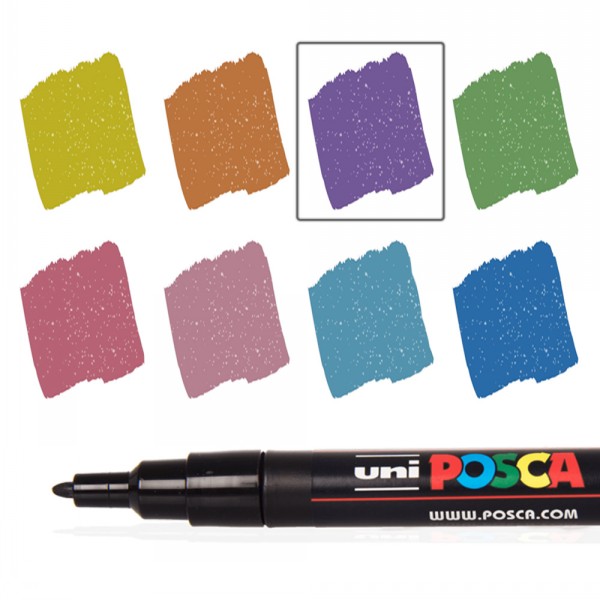
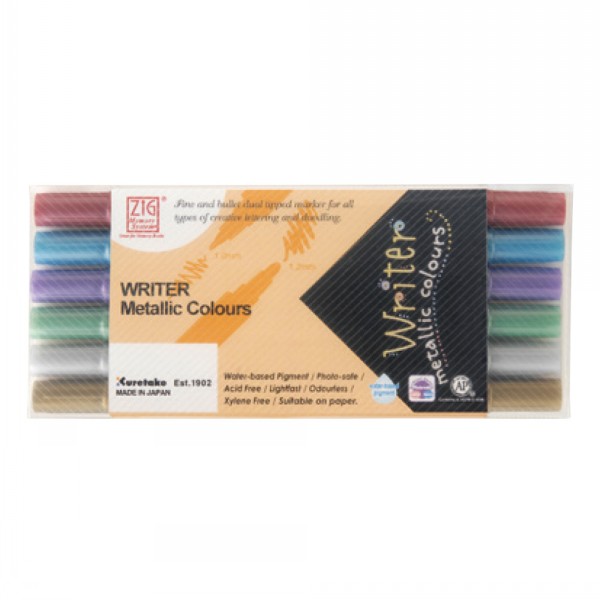
Using the Mondeluz Watercolour Pencils add touches of orange and pale blue to some of the sweeping curves of the Thorn Vine Corner LAV887. Add some dots in red sparkling posca to the Mushrooms. Create some orbs by drawing open circles using some orange, pink, pale blue pencils and Kuretake dual tip metallic pens. I’ve used the Gold on here. To the centre of these open circles add White Posca Pen – the smaller ones have just a dot and the larger orbs have a larger dot. A couple of dots over Luka LAV881the cat add to the magic!

Picture 15
Add some Stickles Gold to the very centre of the Mini Stars 2 LAV212 stamp for a touch of bling.

Picture 16
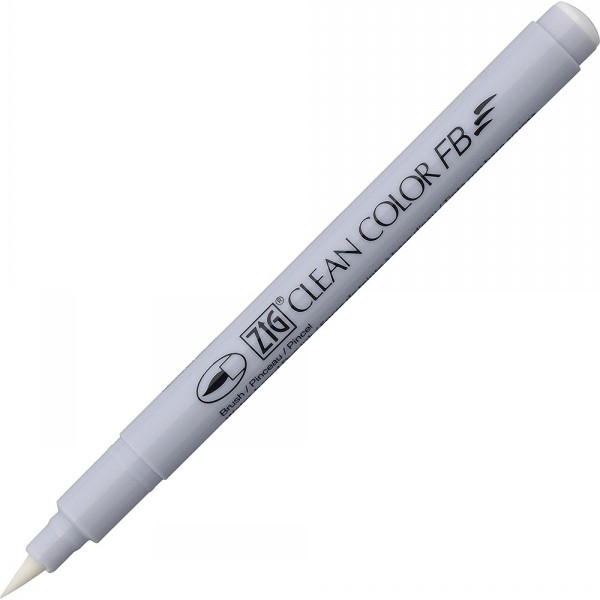
To finish your make add some words. I’ve chosen to use Sentiment Stickers 6 and the phrase “away with the fairies”. Cut up your phrase into individual words and stick them at a jaunty angle as per the photograph. Then add a touch of Kuretake Clean Colour Real Brush pens in beige to just under the word stickers and dilute with the Kuretake Zig blender.
Picture 17
There we go! Your card is finished!
I hope you have enjoyed creating this card. Until next time – Have fun!
Emma-Jo 🧚♀️💙👓X


